Little Less Conversation A Little More........
#166

Posted 07 September 2011 - 03:49 PM
#167

Posted 07 September 2011 - 07:42 PM
You must be mental
#168

Posted 08 September 2011 - 10:26 AM
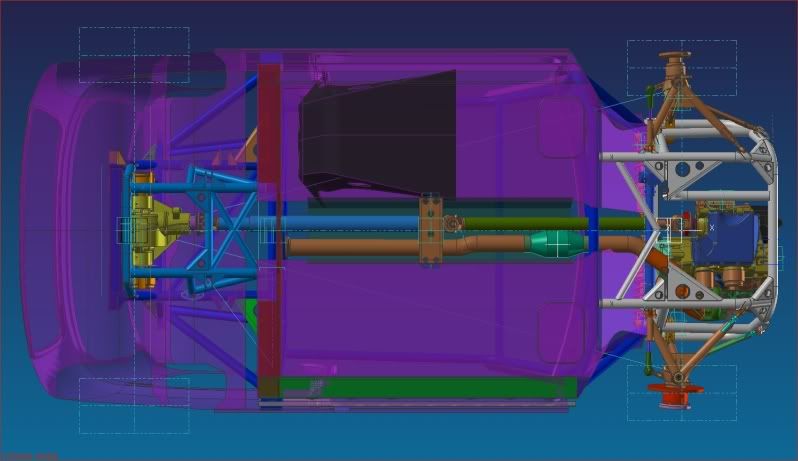
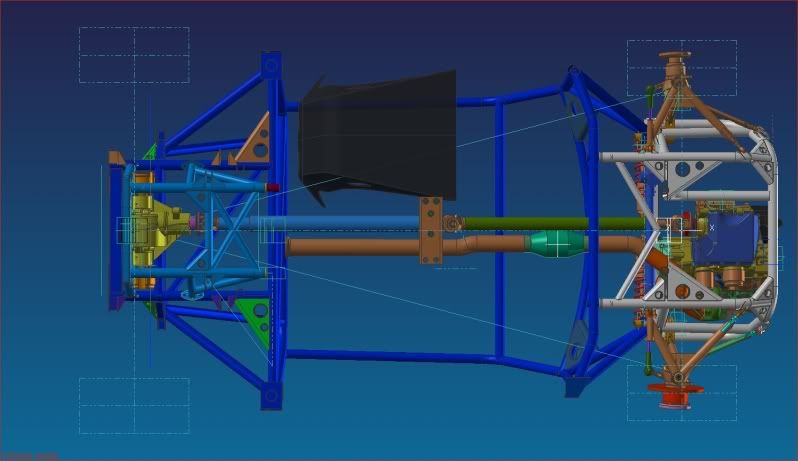
Undecided on engine position yet or where the drivers gonna sit, all we know is it gonna be bike engine driven and although we have to stick to the rules of the MSA for spaceframe design and construction we wont have to worry about IVA and all the BS.....Just need an ignition on and Start/Stop.
It'll probably take us next year to build it and then hope to be racing in the 2013 Sprint/Hillcimb championship.
If your anything like me I cant be ar53d with building in the summer as theres much more fun stuff to do, but here comes the bleak winter so batten down the hatches and lets get scribbling/cutting/welding (more scribbling and mousing for me though)...
#169

Posted 09 September 2011 - 11:09 PM
#170

Posted 13 September 2011 - 12:31 PM
#171

Posted 15 September 2011 - 10:10 PM
(Feel free to throw that right back at me at some point as well...
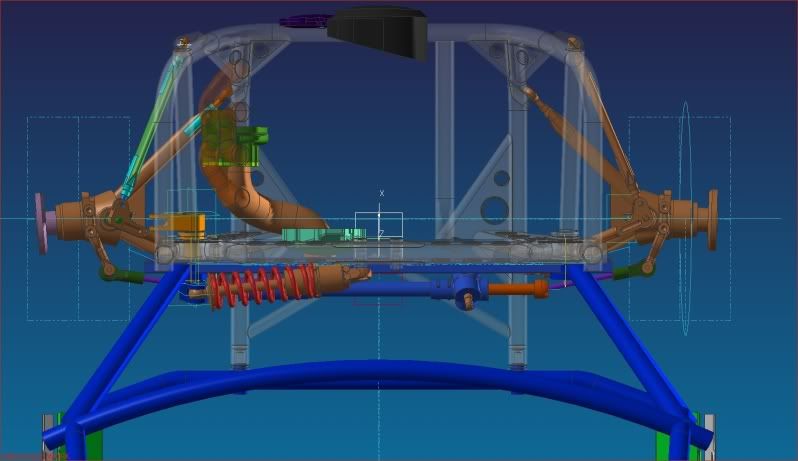
Been slowly cranking away on design this last week......
#172

Posted 18 September 2011 - 01:20 PM
#173

Posted 20 September 2011 - 07:35 PM
#174

Posted 23 September 2011 - 12:03 AM
#175

Posted 24 September 2011 - 08:28 PM
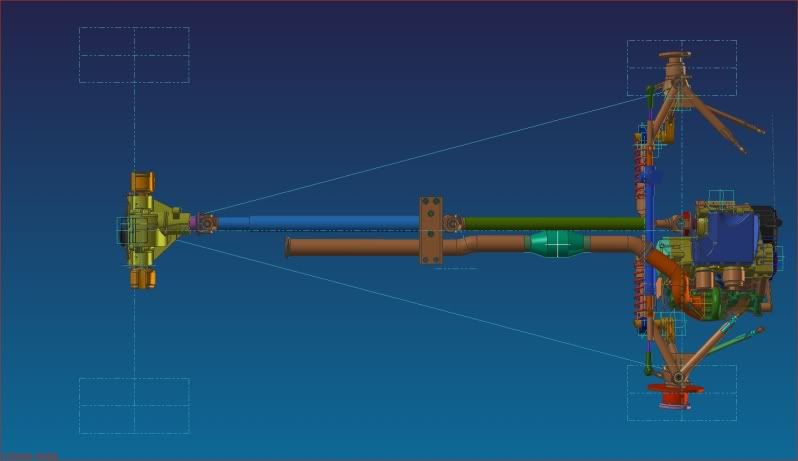
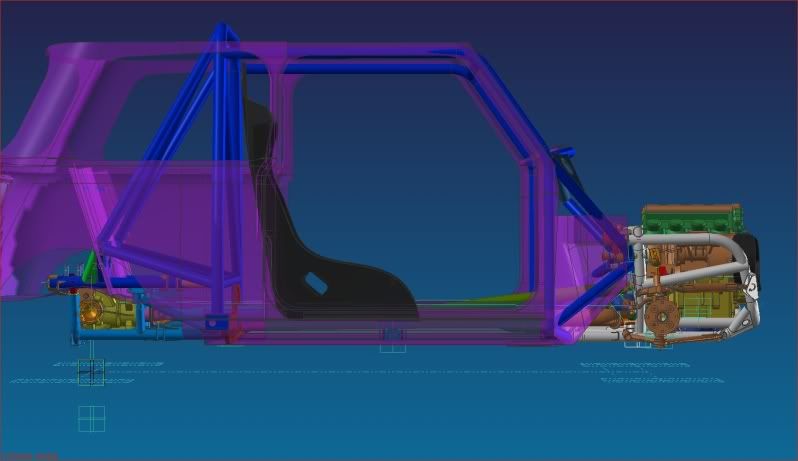
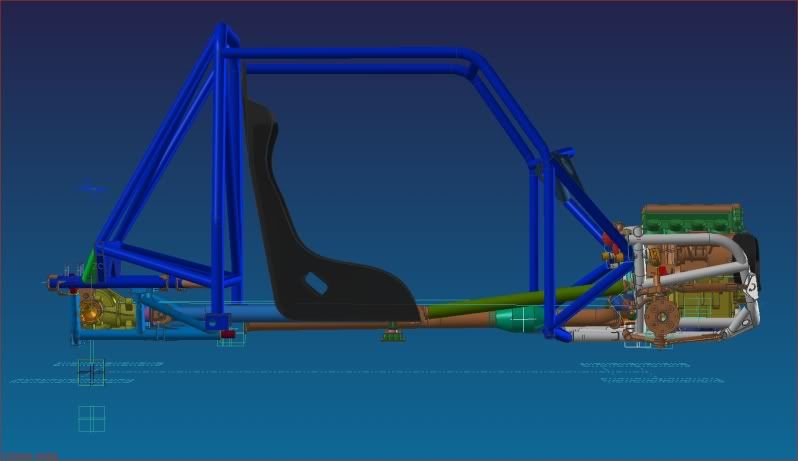
Having a good weekend on the practical side so far (all day today, planned same for tomorrow) but in the week I spent a decent amount of my free time on the design... Here's a few images for a Saturday night....
#176

Posted 26 September 2011 - 05:38 PM
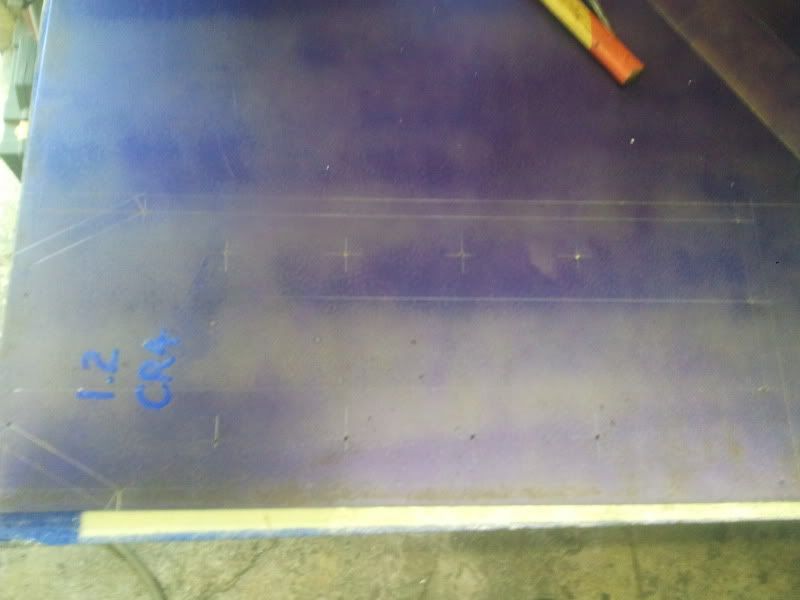
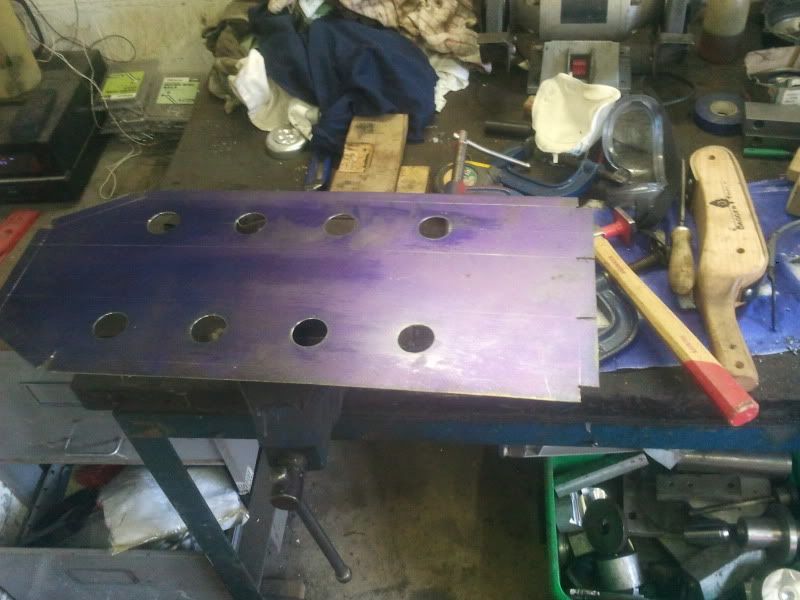
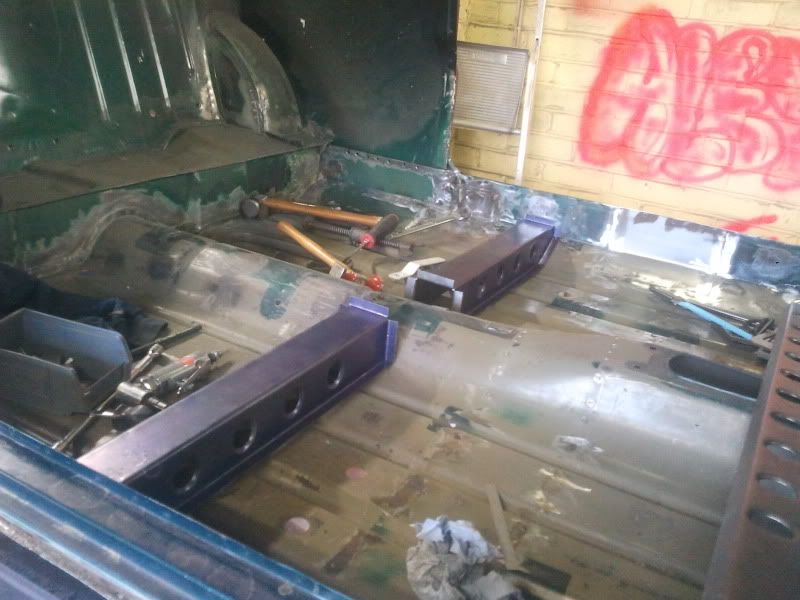
I got through the lot I'm pleased to say... Now completely ready to start the next bit, which will be cutting the floor for the propshaft tunnel and making the floor strengthening beam to carry the centre joint... Need to get some CAD done in the evenings this week....
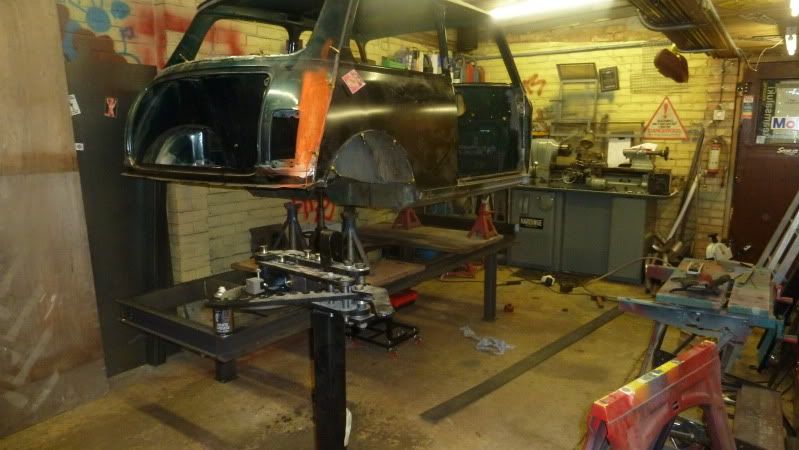
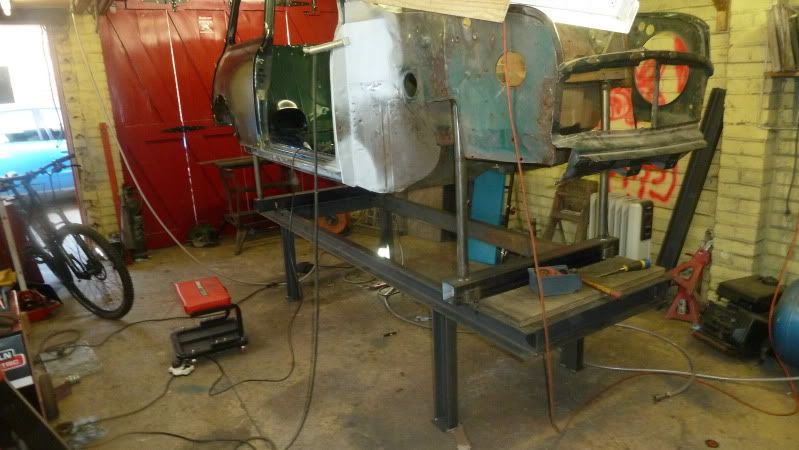
Lining up the shell with a plumb line...
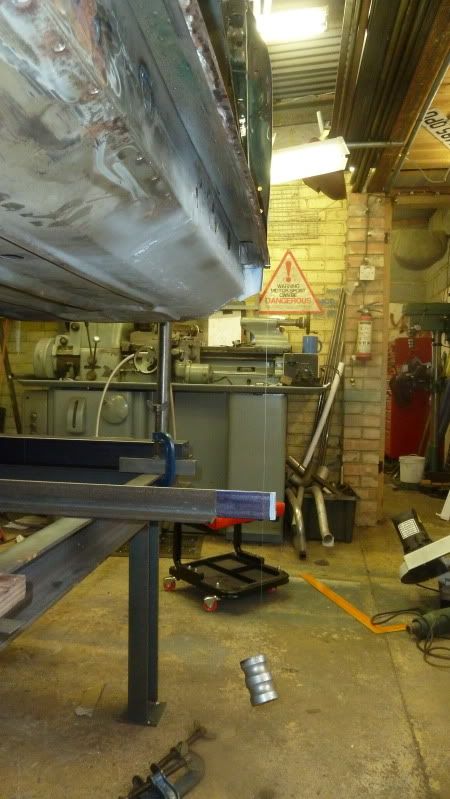
Shimming under the shell supports to accurately position relative to the jig...
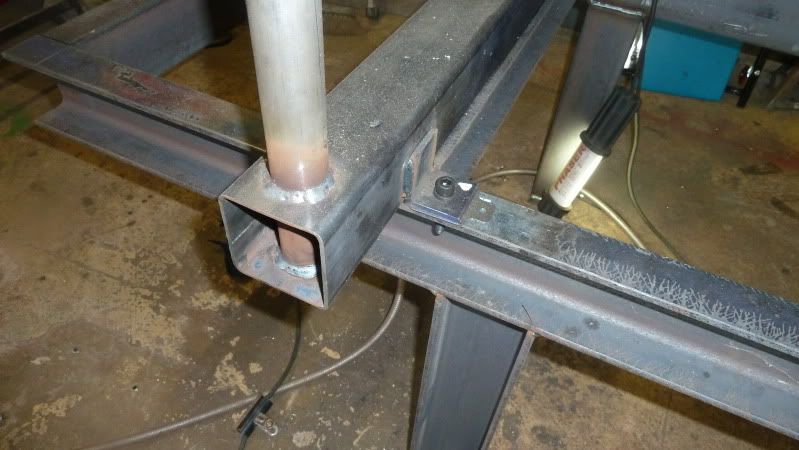
Properly sat in the jig at last... (for now - it'll all have to change once the main frame is in and I am ready to start the front and rear subframes)
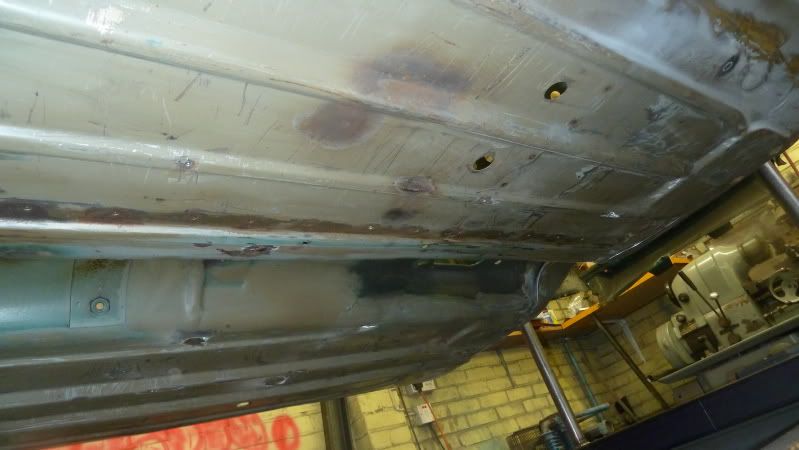
Might not look much but I spent a serous amount of time to get the underside of the floor like this!
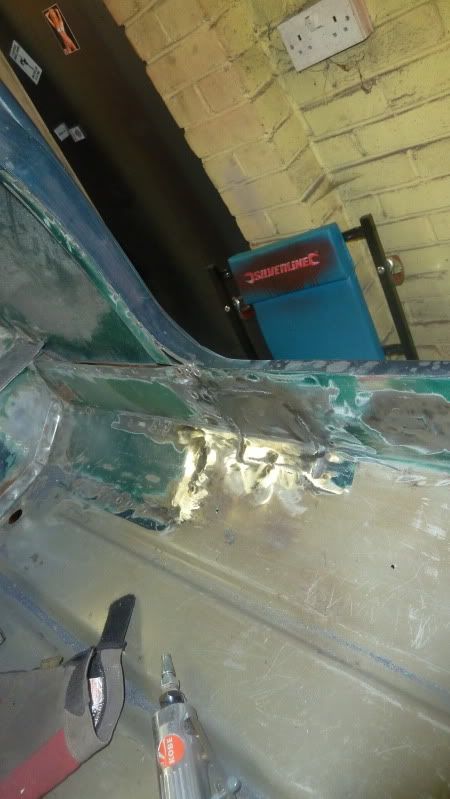
One of two new peices of new metal let into the inner sill - NS
i would like to thank these friends for their unwavering support...
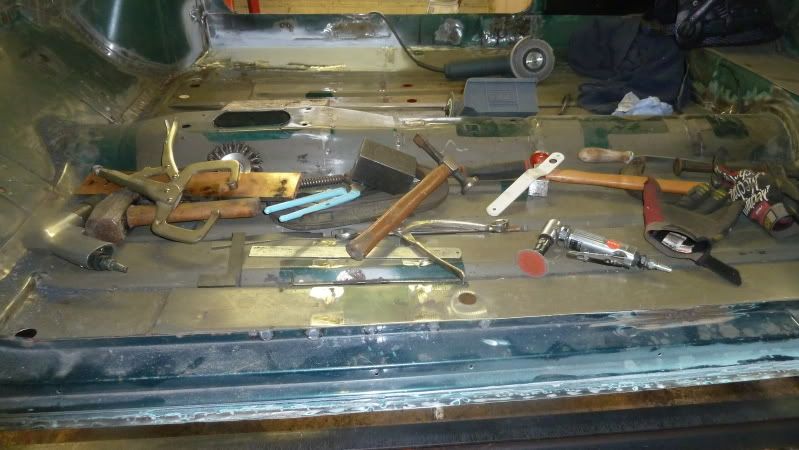
Next up - some large bits of floor cut out... Normally page 1 in these build threads, I'm afraid its taken until page 12 in this one.......
#177

Posted 01 October 2011 - 02:49 PM
#178

Posted 04 October 2011 - 10:02 PM
So nearly had a shitty setback this week, but thankfully lady luck has smiled. I have an external drive which I keep all of my music and photos and other such stuff backed up on... I'm normally pretty good at backing up photos etc when I upload them off the camera and music is always on different devices anyway. I've not been that good with the CAD data for the car though - which I store on the C: drive as it can be accessed quicker by the machine. Its about the only thing that lives on the PC's internal drive.. which I last backed up about 6 weeks ago...
Anyway - went to turn the PC on Sunday morning and it clearly wasn't seeing the hard drive.. which was also giving out the click of death. Checked all the cables inside and they were all connected - which is about as far as I go with computer repairs.
Thankfully I have a computer ninja for a mate, so I called him on Monday and ran over with it. I dunno if it was the movement of transporting the box over, or more likely Ciaron's subconscious presence in the Matrix.. but anyway the casualty managed to boot itself up OK... if slowly.. and i could retrieve the files.
Apparently it took 10 hours to image the drive - and its making a squeaking noise.. But we're all good.. new one off Amazon twice the size was 40 quid. What a win!!
#179

Posted 07 October 2011 - 02:07 PM
#180

Posted 07 October 2011 - 02:32 PM
Whats the final plans for the car? such as wheels, colour scheme, any engine mods, interior? but it looks good so far
1 user(s) are reading this topic
0 members, 1 guests, 0 anonymous users


