Project Lolux
#166

Posted 06 June 2011 - 11:38 AM
#167

Posted 06 June 2011 - 11:41 AM
#168

Posted 07 June 2011 - 08:03 PM
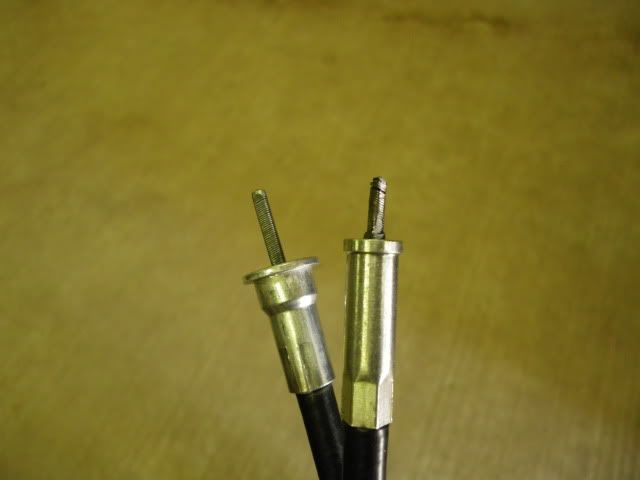
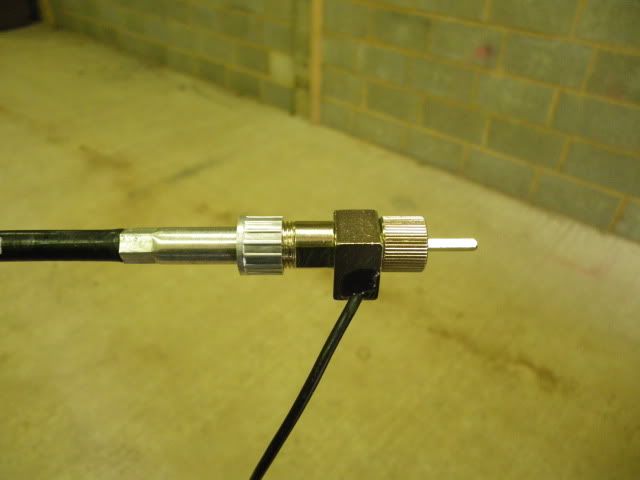
Had to do a bit of creative metal removal so that the speedo cable would fit the dash speed sensor
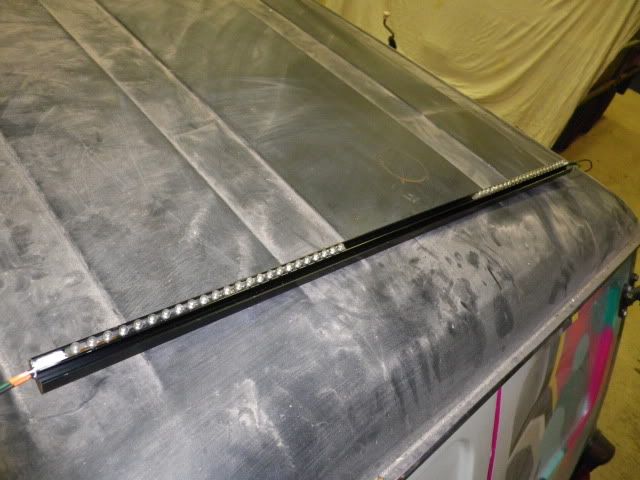
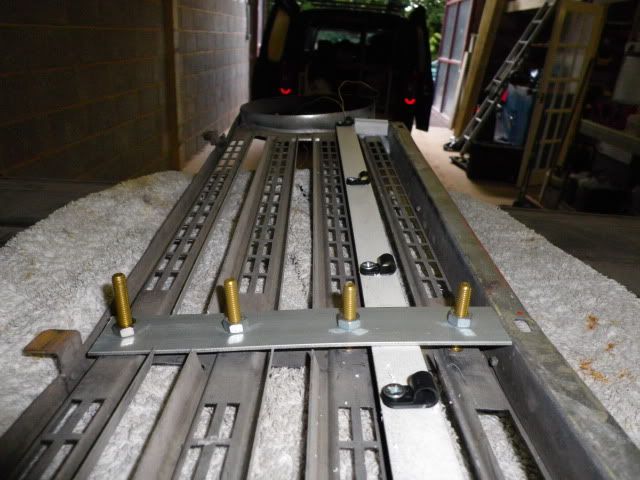
And started to fit the indicators
#170

Posted 11 June 2011 - 03:50 PM
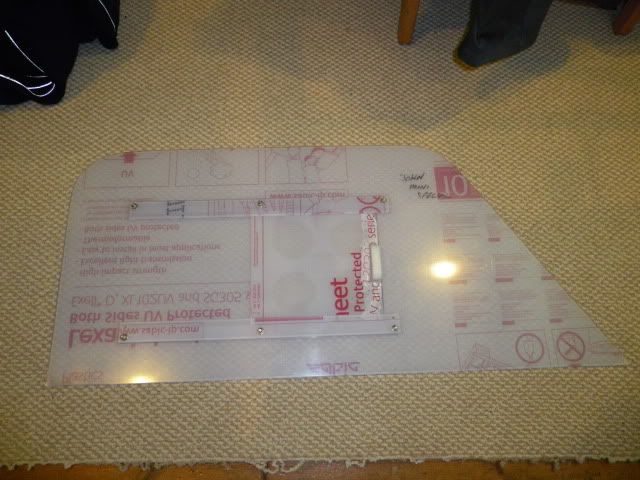
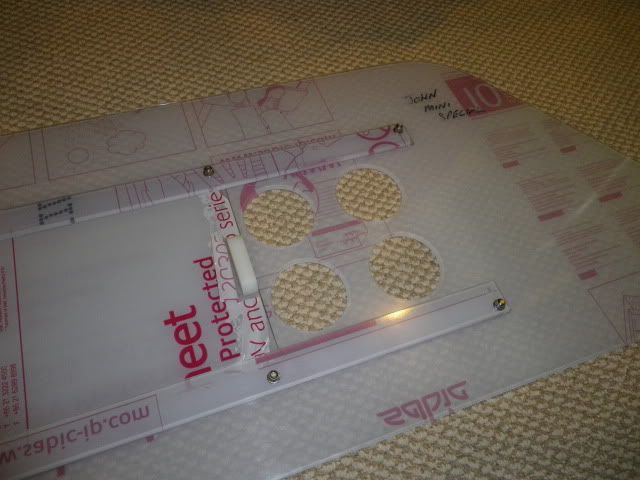
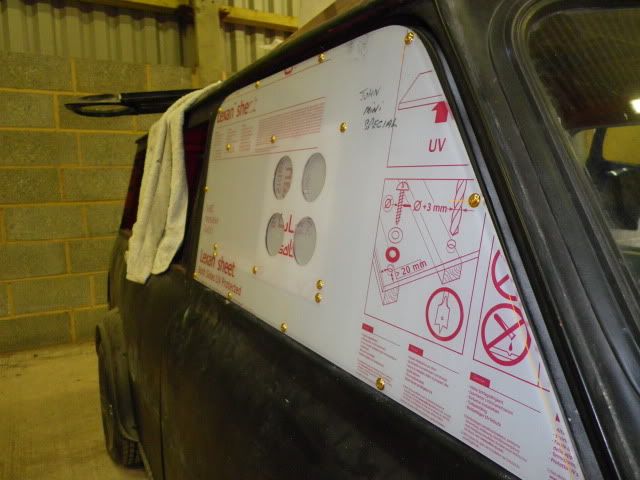
Using rivnuts and epoxy resin i fitted one of the new windows, i would of fitted the other side but i ran out of bolts
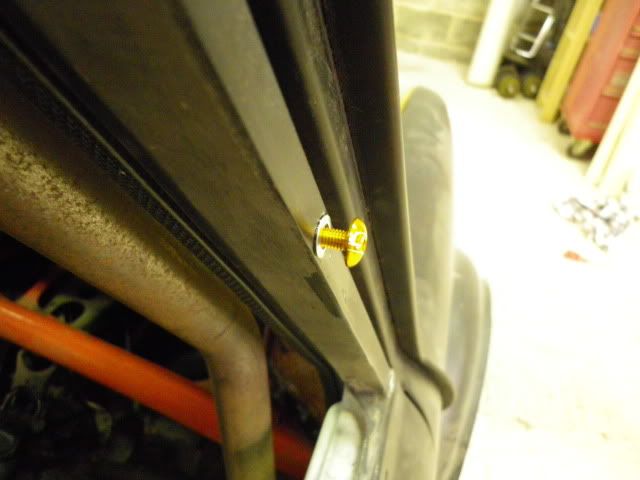
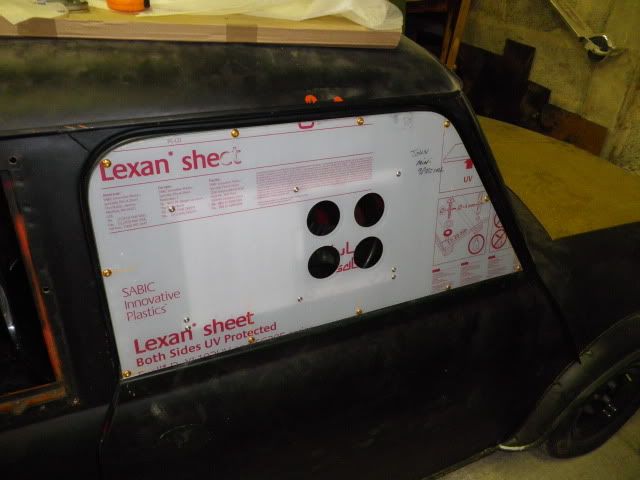
and then replaced the stainless slider bolts for the gold fairing ones
I test fitted one of the new carbon panels, they seem a little flimsy so i may have to bond on some braces on the back
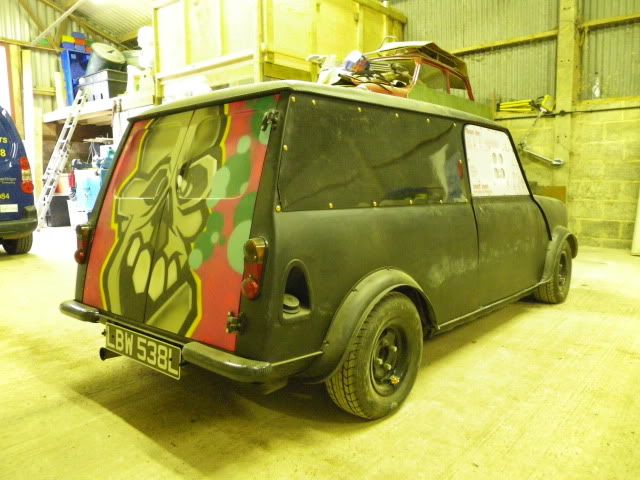
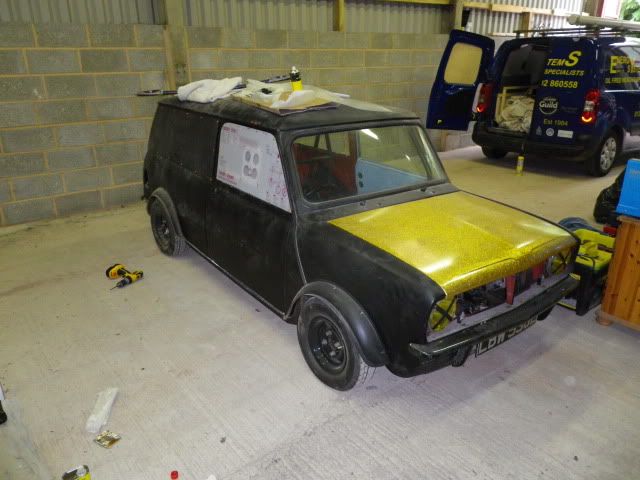
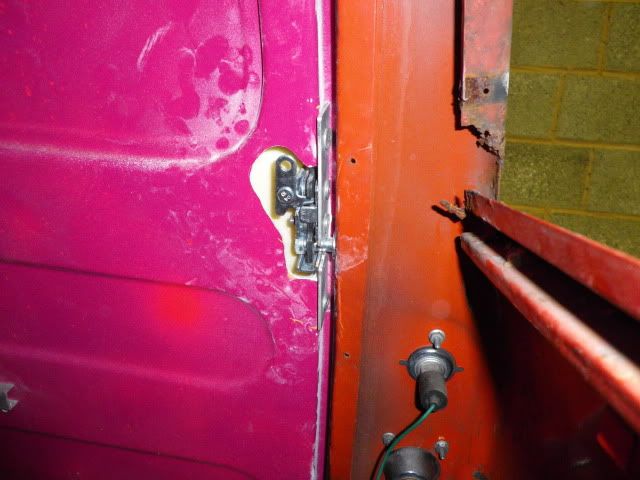
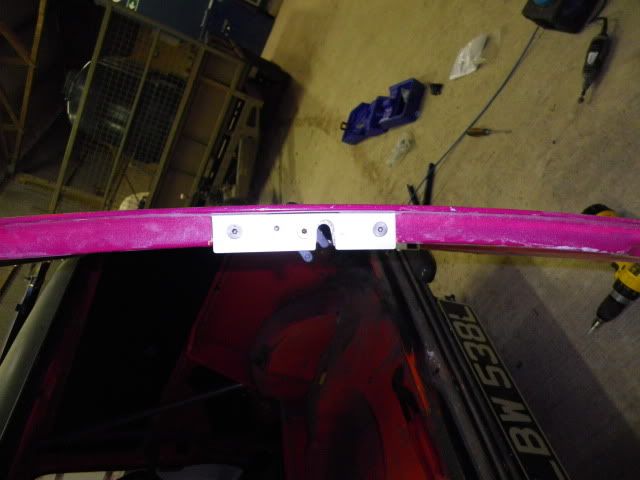
I've also attacked the rear lock so that it can also be popped open using the remote fob. I've joined the two doors together and fitted a kit car bear claw latch and striker. This gives a real positive closing action and can be popped open with a door solenoid like the side doors. I.m also planning to add a gas strut to swing the door clear and to keep it open. The plan is to re mount the old hinges on the opening side but without the ball so it still looks like the doors centrally open.
#171

Posted 12 June 2011 - 11:26 PM
#172

Posted 14 June 2011 - 11:03 AM
#173

Posted 18 June 2011 - 08:12 PM
cheers mate, they are very nice windows!Nice work, indicators look good. And i like the windows, i've got the same for mine.
#174

Posted 18 June 2011 - 08:20 PM
So I finished wiring up the switch panel... after getting a headache looking at wiring diagrams!
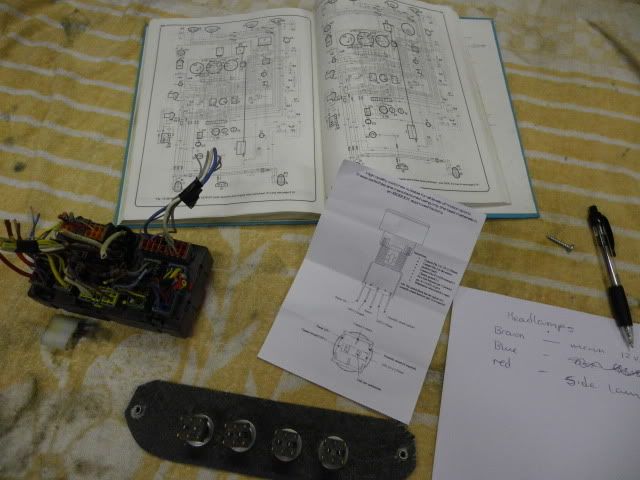
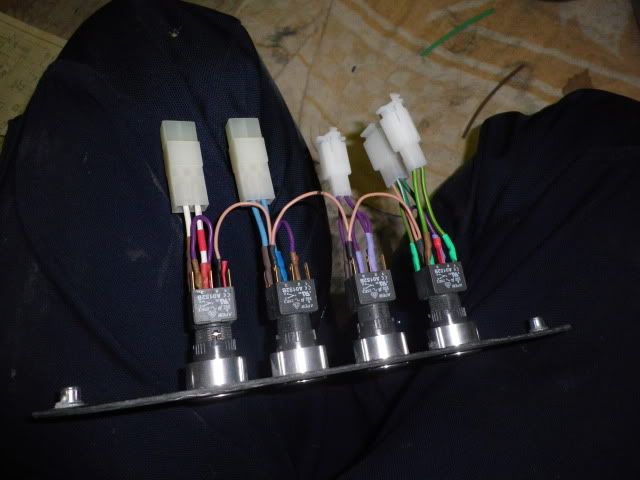
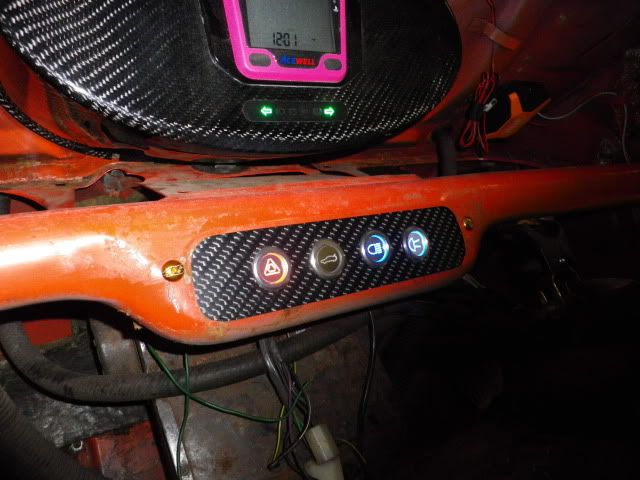
luckily although the switches are large they fit perfectly above the heater... phew
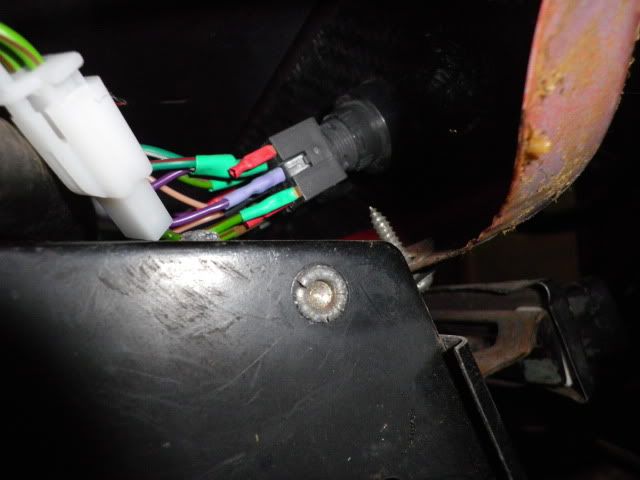
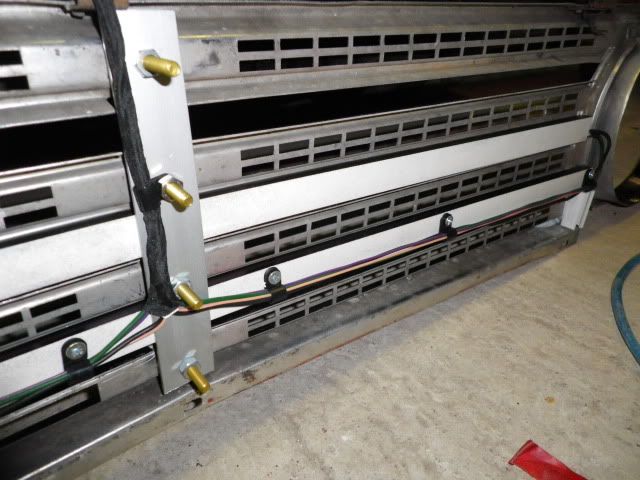
after that i got on and finished the grille wiring
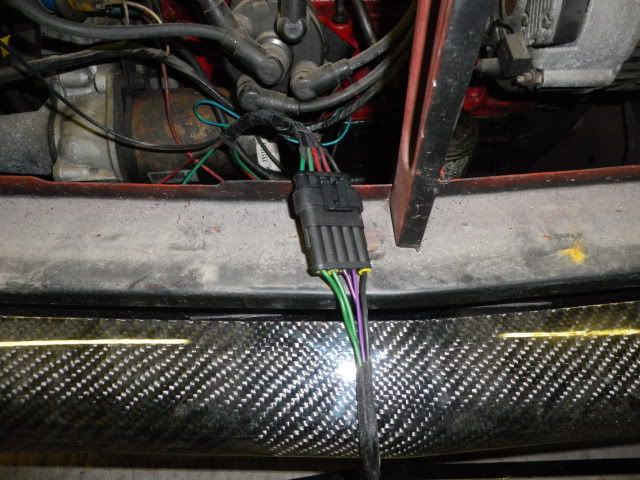
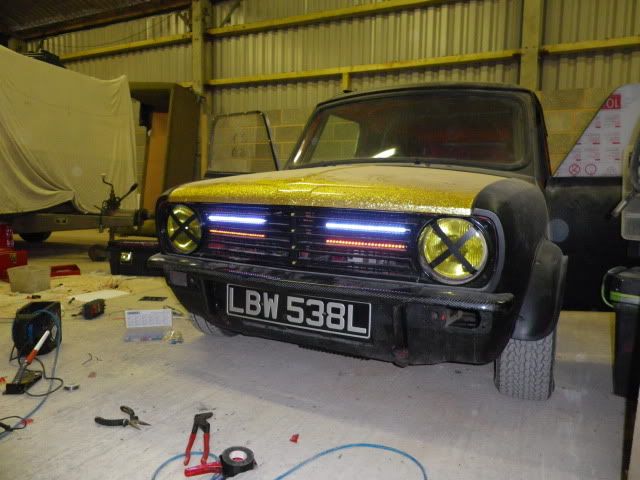
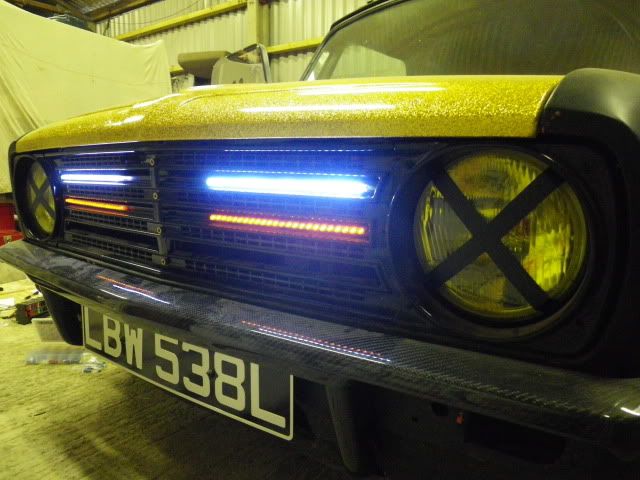
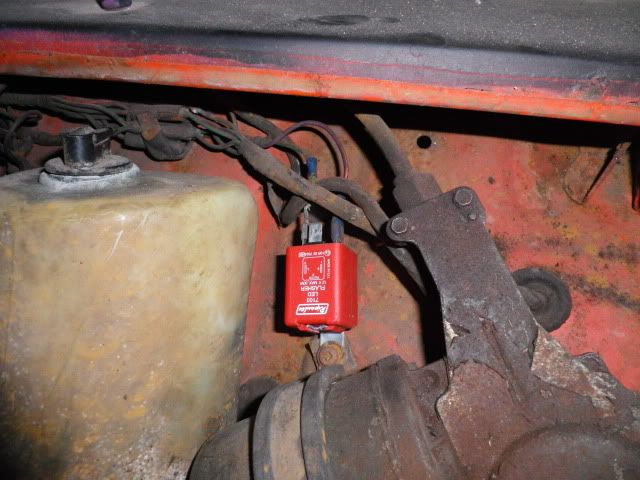
and got the indicators to work properly by fitting this led flasher relay
#175

Posted 18 June 2011 - 10:10 PM
#176

Posted 19 June 2011 - 12:46 AM
Great idea with the lights, ive wanted an alternative to the standard ones since i got mine but not seen anything else i liked
#177

Posted 19 June 2011 - 01:16 PM
Great idea with the lights, ive wanted an alternative to the standard ones since i got mine but not seen anything else i liked
Cheers, they are a complete hassle to fit first time around but when you've done one set they are an absolute doddle
#178

Posted 11 July 2011 - 05:41 PM
These bad boys turned up t'other day
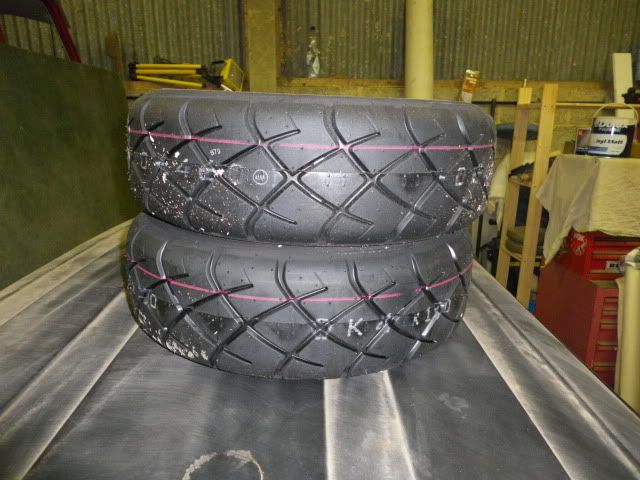
and i've finally finished welding the cage
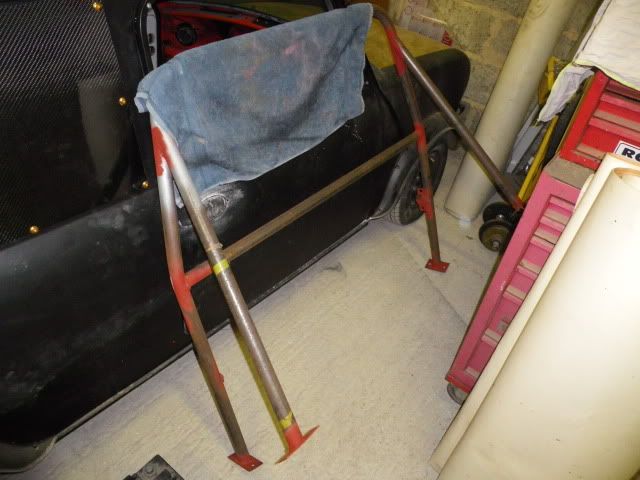
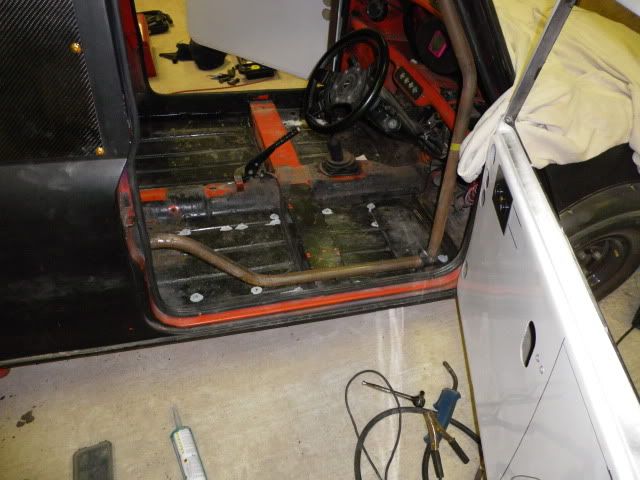
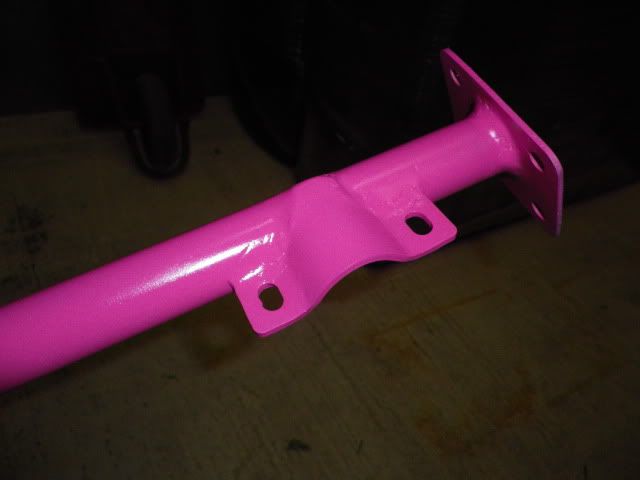
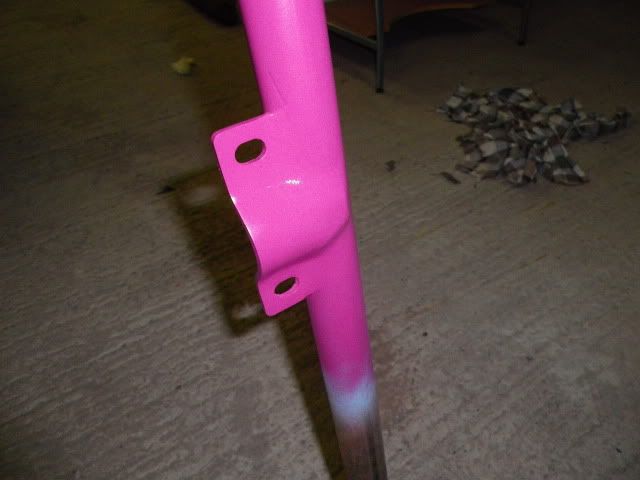
because i'm an idiot and once i have an idea i stick to it, i decided to smooth all the welds on the cage so it'd look nicer.... but at over and hour per joint it really was a silly idea
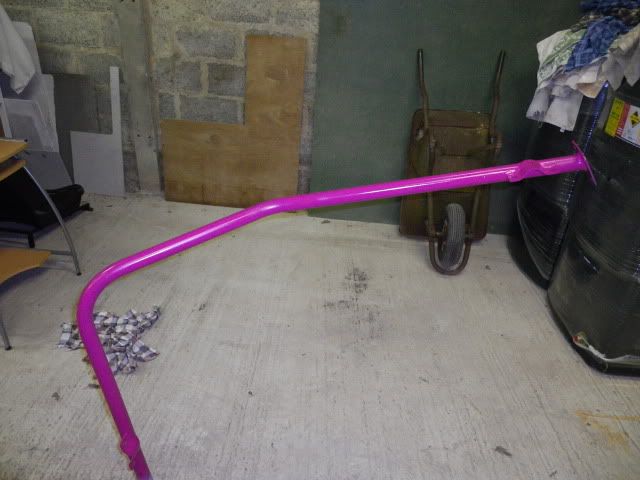
but they do look nice... only 12 more to do
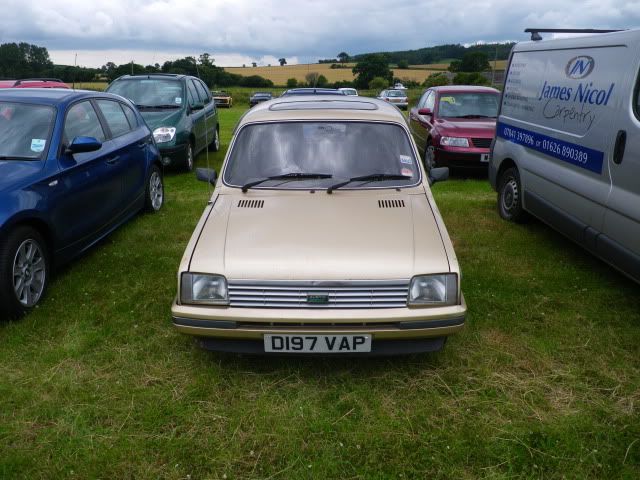
oh and i bought an automatic metro
#179

Posted 01 August 2011 - 11:13 PM
gave her a little bit of a dust off...
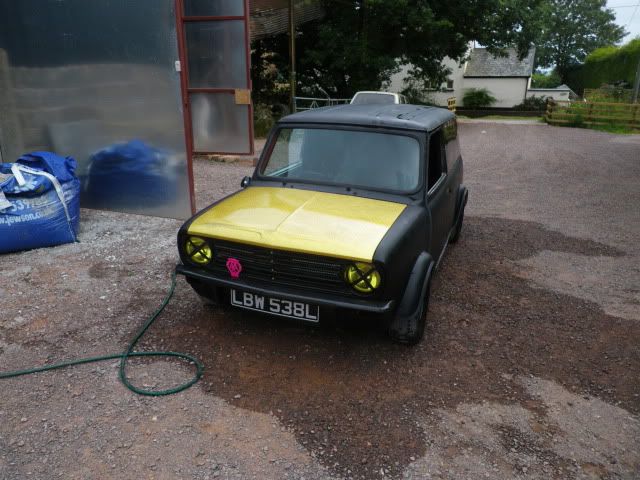
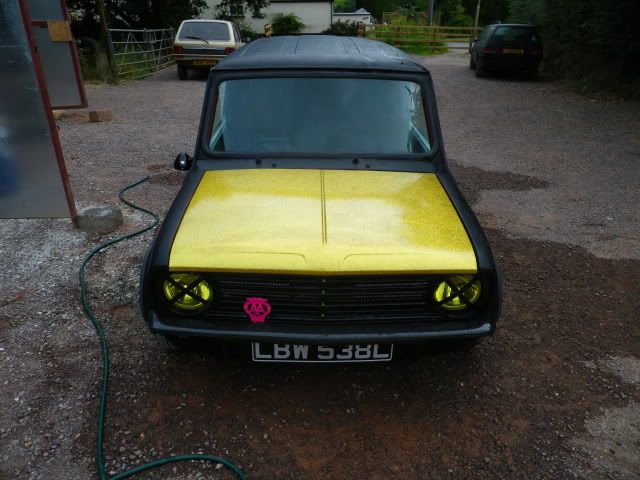
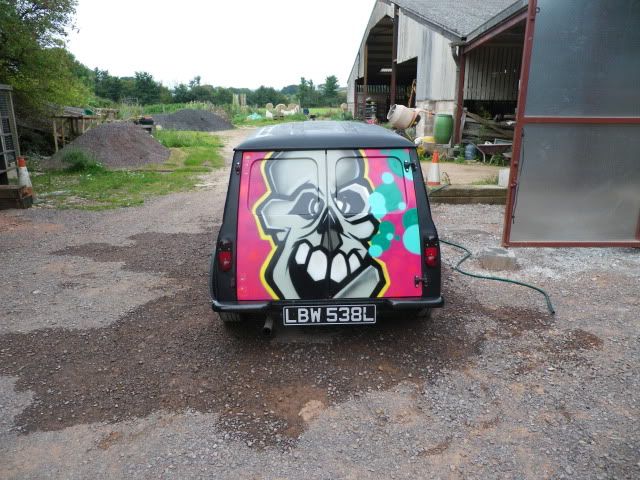
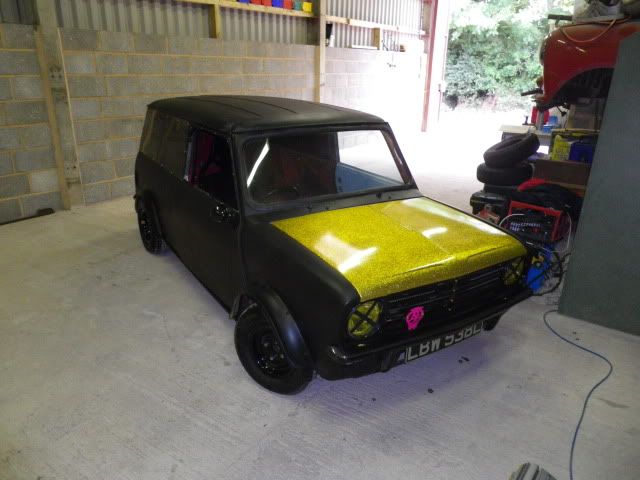
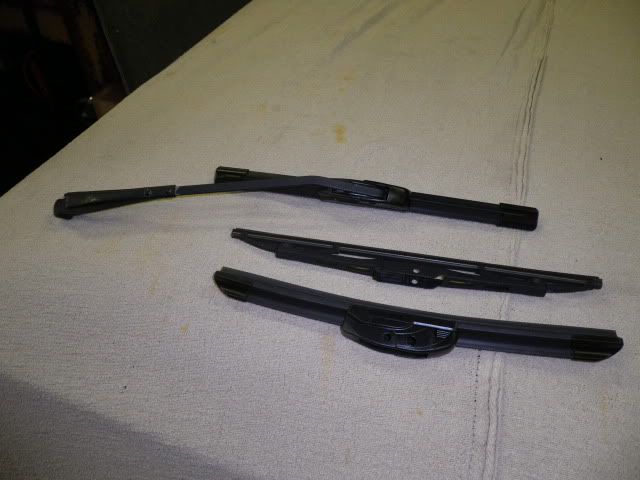
and managed to get hold of some black wiper arms and some tasty aero wipers!
#180

Posted 13 August 2011 - 04:48 PM
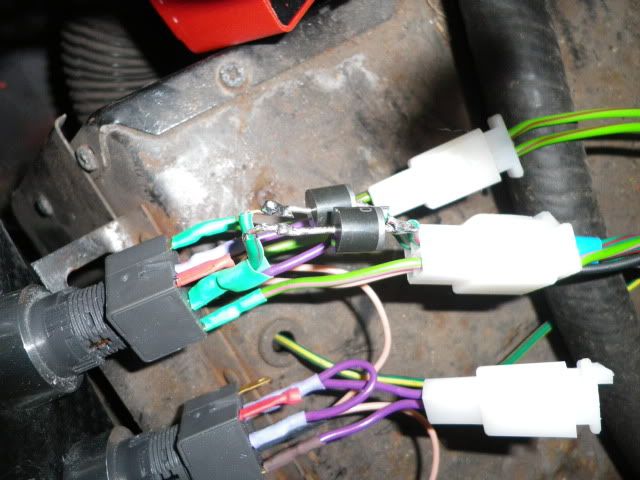
Finally addressed the problem with both indicators coming on when only one way was selected, to seperate them i had to fit some diodes on the hazard switch.
I also tackled the door opening from the wing mirrors which was a riiiiiight fiddle, but definitely worth it!
First i had to split the mirrors
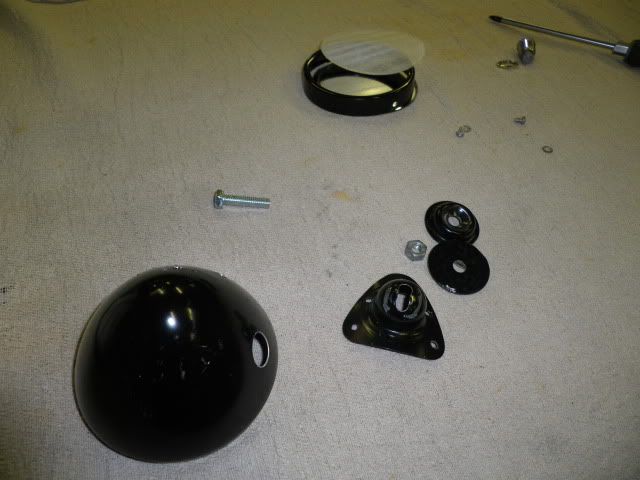
then drill out the fixing bolt so that the wires can pass inside the door
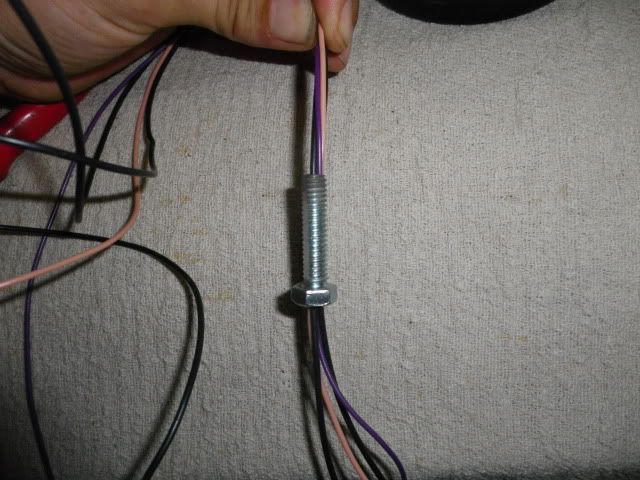
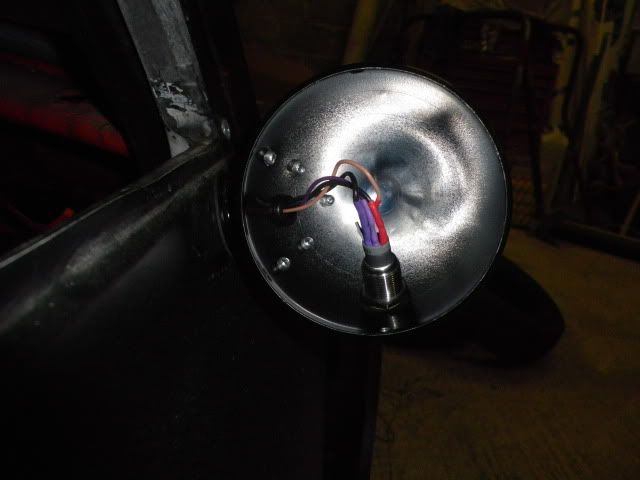
and the result....
1 user(s) are reading this topic
0 members, 1 guests, 0 anonymous users


