My Speaker Pod Build
#16

Posted 23 August 2008 - 02:13 PM
you'll probs just pip me as il have to wait longer for the resin to go off throuoghly then ive got to fill them
#17

Posted 23 August 2008 - 05:33 PM
Just something i would like to point out - im no expert, but when you turn the speakers up, then will vibrate? Will they not potentially hit the base?
Apart from that - looks wicked!!
The speaker cone is the only thing that moves, whats really close to touching is the magent at the end of what they called the basket. The guys used some thick thick wood there, so the chances of movement there are damn slim! Could hold back a train with that
Ouster, your weakest point in that build will be your sides, so make sure you whack on a fair few layers if your doing fibreglass only.
Ahh of course, well now i know!!
Ouster - lookin proper good dude!! You going to trim them in cloth, or sand and paint?
#18

Posted 23 August 2008 - 07:42 PM
#19

Posted 23 August 2008 - 08:00 PM
Keep up the good work chaps.
Off topic; James, did you get my PM buddy?
Cheers, Mark.
#20

Posted 23 August 2008 - 08:41 PM
#22

Posted 23 August 2008 - 08:52 PM
#23

Posted 23 August 2008 - 09:05 PM
#24

Posted 23 August 2008 - 09:14 PM
#25

Posted 24 August 2008 - 10:35 AM
One pod is just about ok, but the other is still a bit tacky. I'll give it a couple days to see if they cure properly, and work on the engine instead in the meantime.
Edited by Ouster, 24 August 2008 - 02:45 PM.
#26

Posted 24 August 2008 - 10:43 AM
#27

Posted 26 August 2008 - 10:26 PM
#28

Posted 08 September 2008 - 04:06 PM
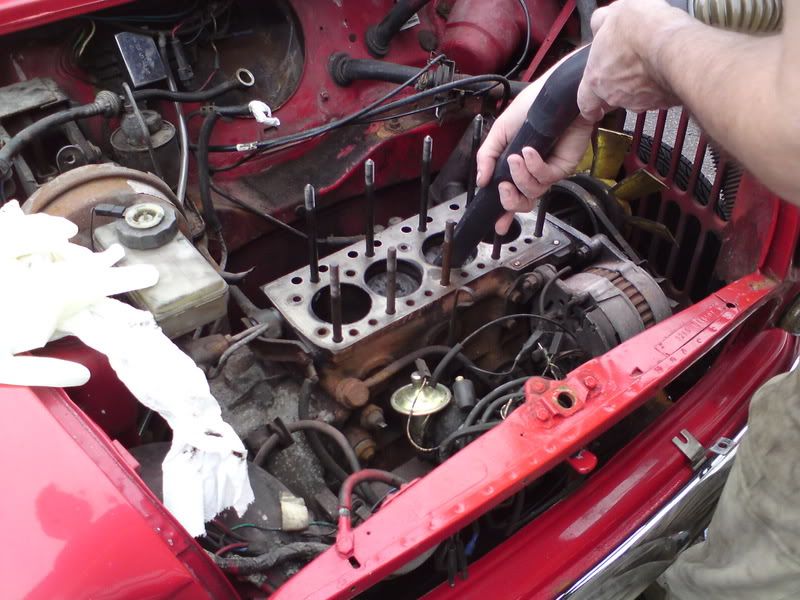
Anyways, back to the pods - here's a mini update, hopefully should get them finished and fitted this week. Initially I thought that I hadn't used enough hardener when mixing - I sprayed a bit of resin activator (the stuff they also use for nails) onto it and thankfully after a bit of sanding the surface lost all tackiness. Phew!

Me unmasked (well, kind of) finally!
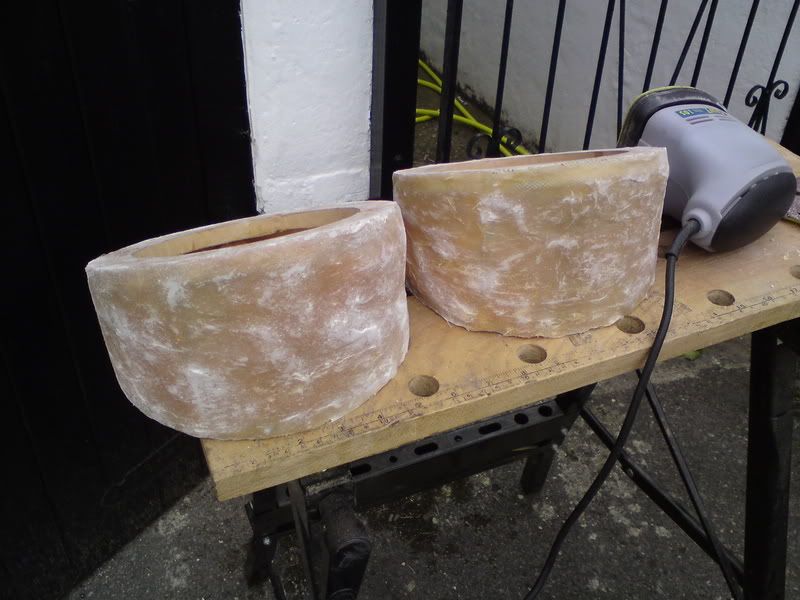
Initial sanding over with a mouse sander, to get all the big bits off.
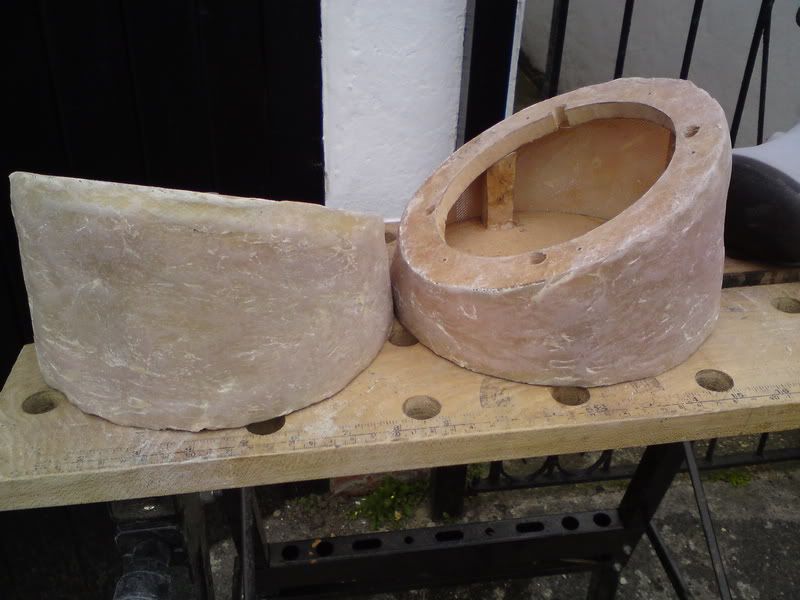
Sanding finished - after the mouse, I used 120 grit followed by 400. Now nice and smooth, ready for filler and more sanding, which'll probably get done tomorrow as I need Dad to sort out the garage and find some filler for me!
Edited by Ouster, 08 September 2008 - 04:09 PM.
#29

Posted 09 September 2008 - 02:22 PM
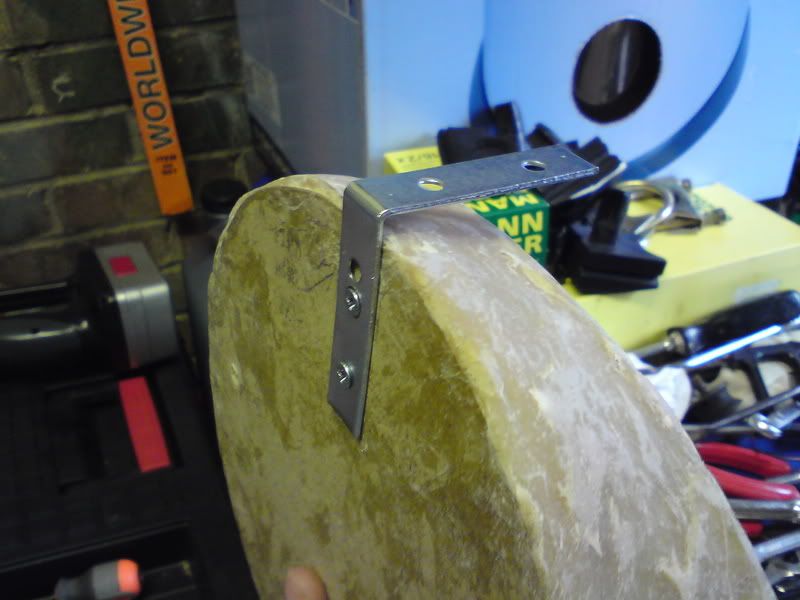
This is how the pods will be attached - the top of the L bracket will be bolted to the lower dash rail.
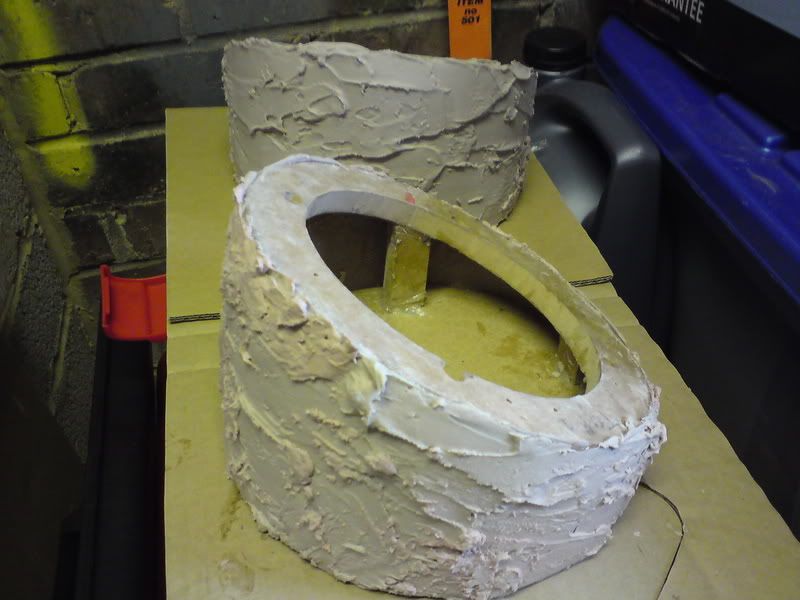
Fillered up using Isopon P38, ready for sanding. Just waiting for a break in the weather so I can do this!
#30

Posted 09 September 2008 - 04:13 PM
Just a bit of advice with the filler, when your spreading the filler just before it starts to go off give it another very light scrape and that will remove all the unwanted excess material, as its gonna take you about a week to get rid of all that filler.
Try using a coars Rasp or a surform to remove most of the lumps and bumps and then sand from there.
I like your idea of mounting them to the lower dash rail underside, will that not vibrate quite alot as its theorectically only held at one point? id personally use an extra screw through the wheel arch in to the base of your pod (maybe with a rubber spacer in between)
keep up the good work though!
Im just waiting for some good weather to put my pods in so you may beat me yet LOL
1 user(s) are reading this topic
0 members, 1 guests, 0 anonymous users


