
(n.b. this is my first go at using power tools or doing anything practical like this, so if I can do it, so can you! And sorry in advance for the amount and size of pictures)

Marking out..let the cutting begin!
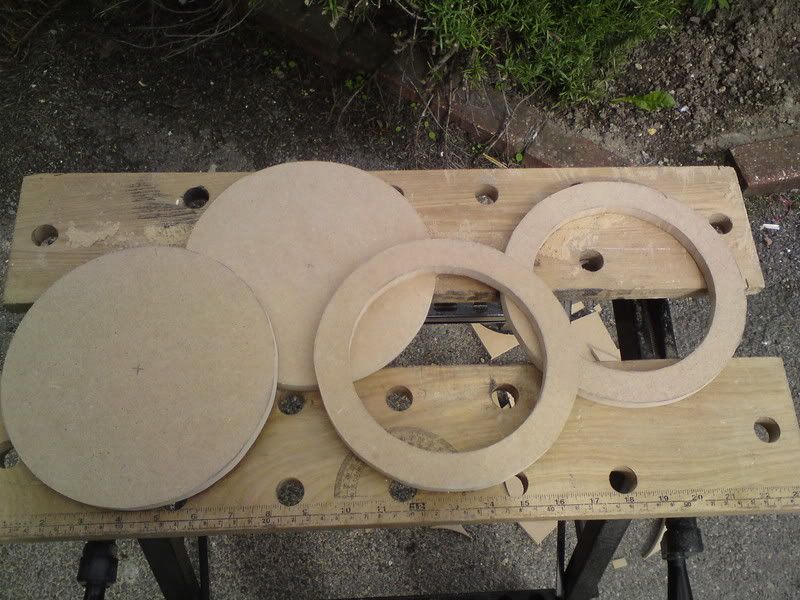
Two baffles, two bases made up.
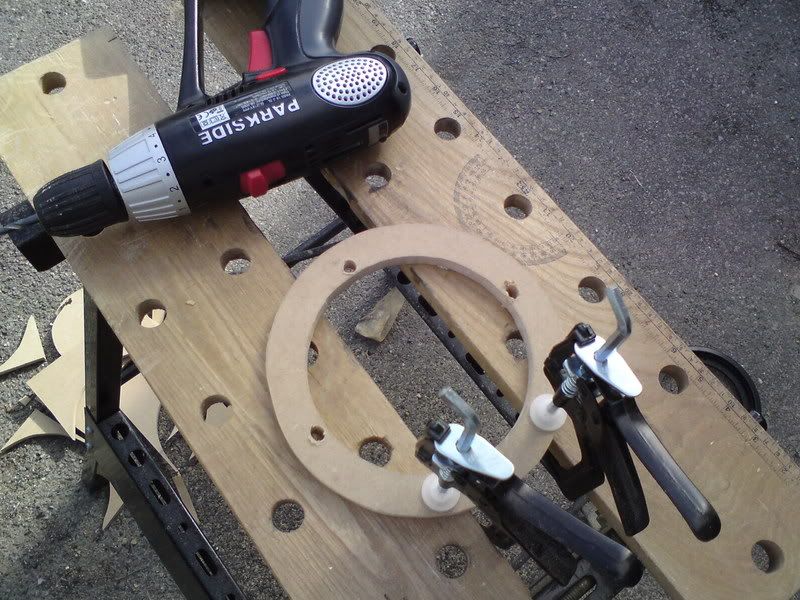
Drilling clearance holes for speaker-to-mounting-ring screws and also screw holes for securing mounting ring to baffle

Speaker mounting ring secured.
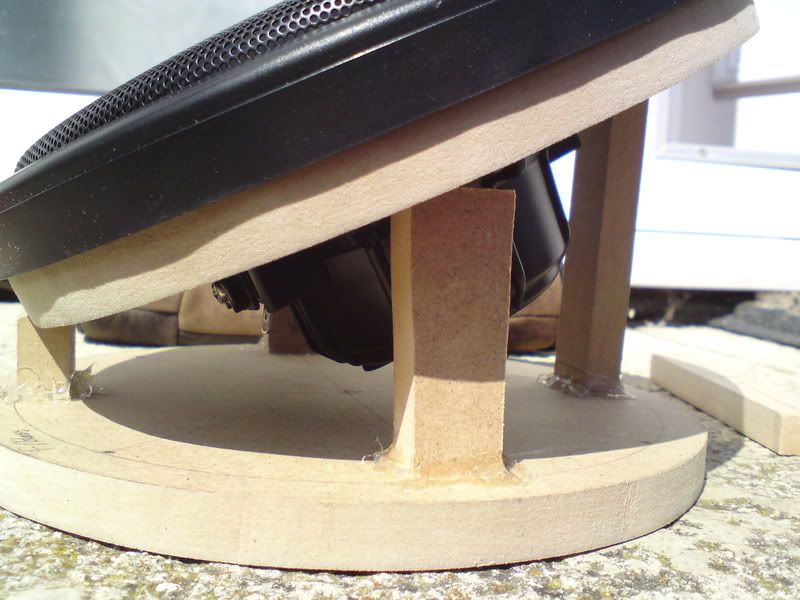
Making up supports to secure baffle and base together.
Me wishing it would all end!
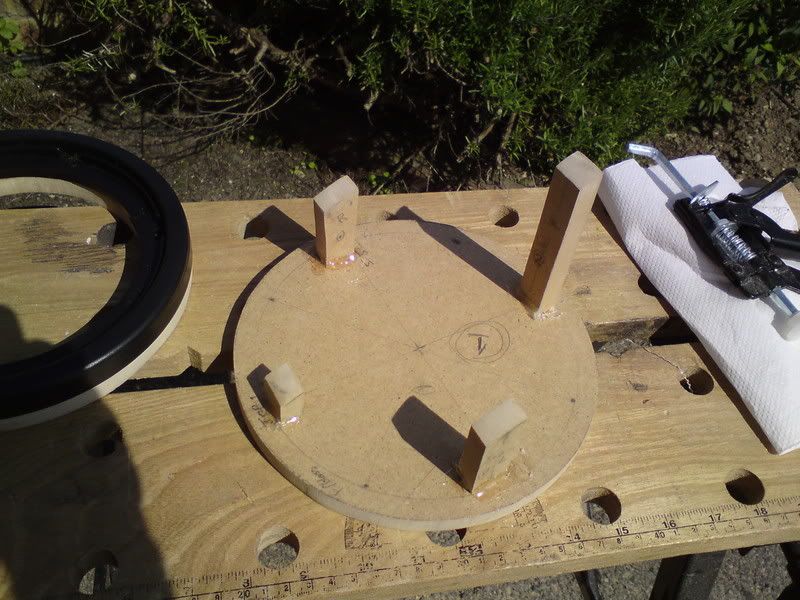
Supports cut and sanded to required angle (an immense amount of guesswork really), and glued in place.

Base glued to baffle. Speaker magnet clears the base! (just)
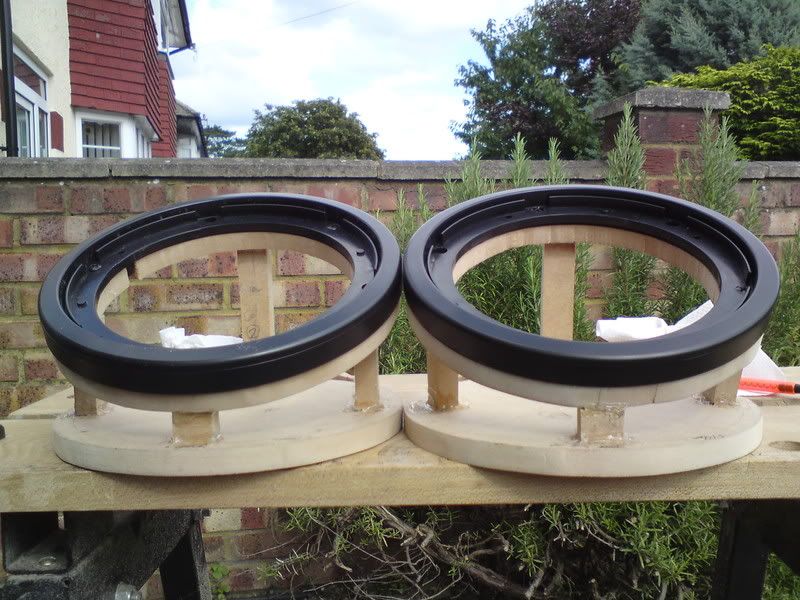
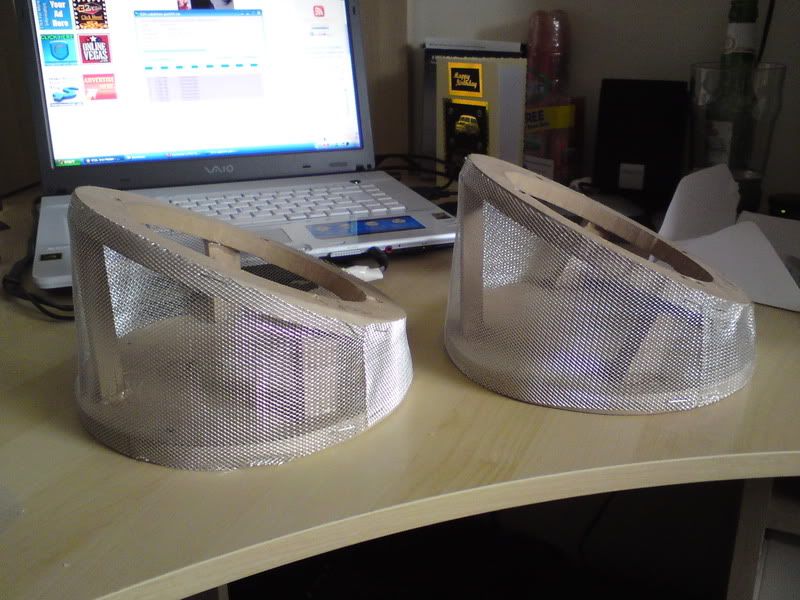
Second pod made up (if you've been anal about measurements, it will be a lot easier to make this set of supports at the same time as the first ones)
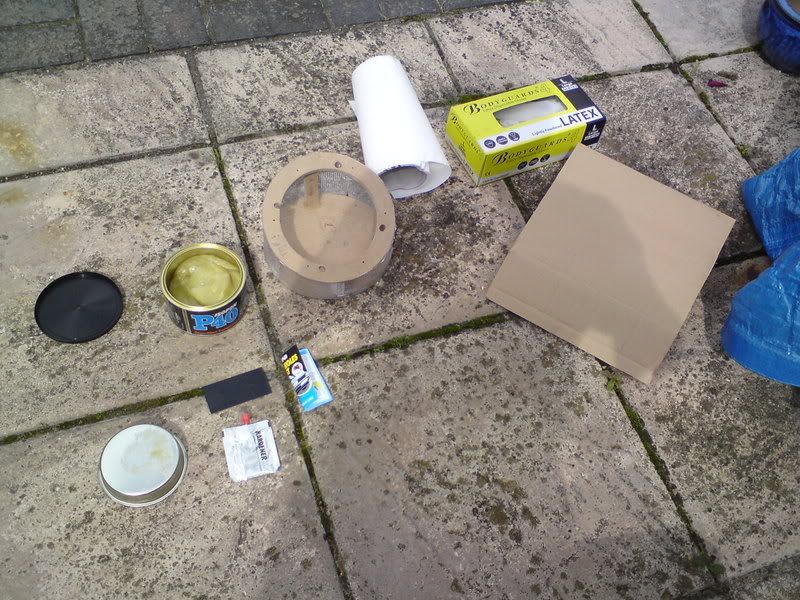
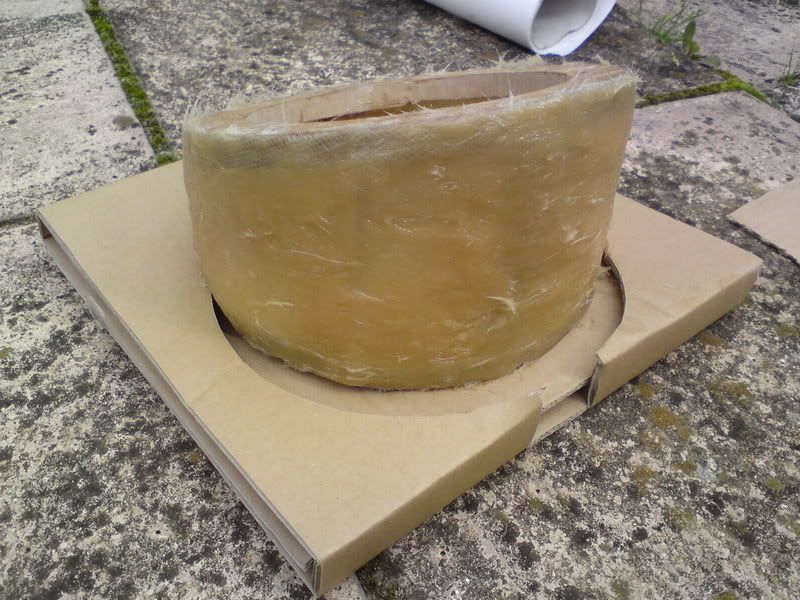
Tomorrow: Fibre glass!
Edited by Ouster, 22 August 2008 - 03:14 PM.