


My Mk1 Turbo
Started by
mad mk1
, Jul 19 2008 09:42 PM
445 replies to this topic
#301

mad mk1
-
- Members
-

- 746 posts
One Carb Or Two?
- Location: woking
- Local Club: TurboMinis.co.uk
Posted 15 February 2014 - 08:50 PM
Have a look at the last page mini man
#302
cradley-heathen
-

- Traders
-
- 2,481 posts
Metro-Man
- Location: have a guess?
- Local Club: spearmint rhino
Posted 15 February 2014 - 10:23 PM
good work here, you have taken things to the lengths i was hoping i may have got to one day!
well done, keep it up, cracking car!
#303
Steely
-

- Members
-
- 1,764 posts
Camshaft & Stage Two Head
Posted 15 February 2014 - 10:33 PM
My friend has a Turbo'd mk1 in the same colour way as yours. His is more standard looking though. Still has the original red interior and big steering wheel too.
#304
mad mk1
-
- Members
-
- 746 posts
One Carb Or Two?
- Location: woking
- Local Club: TurboMinis.co.uk
Posted 15 February 2014 - 10:33 PM
Thanks ! I am starting to run out of stuff to play with now lol. I would say 98% of the bolts and studs are swapped for Ti lol. And I think almost every thing has been worked 
#305
matthew25
-

- Noobies
-
- 57 posts
Stage One Kit Fitted
- Location: chesterfield
Posted 16 February 2014 - 02:39 PM
this is an absuletly stunning car well done matey really nice
#306
mad mk1
-
- Members
-
- 746 posts
One Carb Or Two?
- Location: woking
- Local Club: TurboMinis.co.uk
Posted 16 February 2014 - 05:54 PM
Thank you Matthew.
#307
farres_jr
-

- Noobies
-
- 105 posts
Mini Mad
- Location: Barcelona
Posted 17 February 2014 - 09:26 AM
Awesome work, as always!!!
#308
mad mk1
-
- Members
-
- 746 posts
One Carb Or Two?
- Location: woking
- Local Club: TurboMinis.co.uk
Posted 20 February 2014 - 08:58 PM
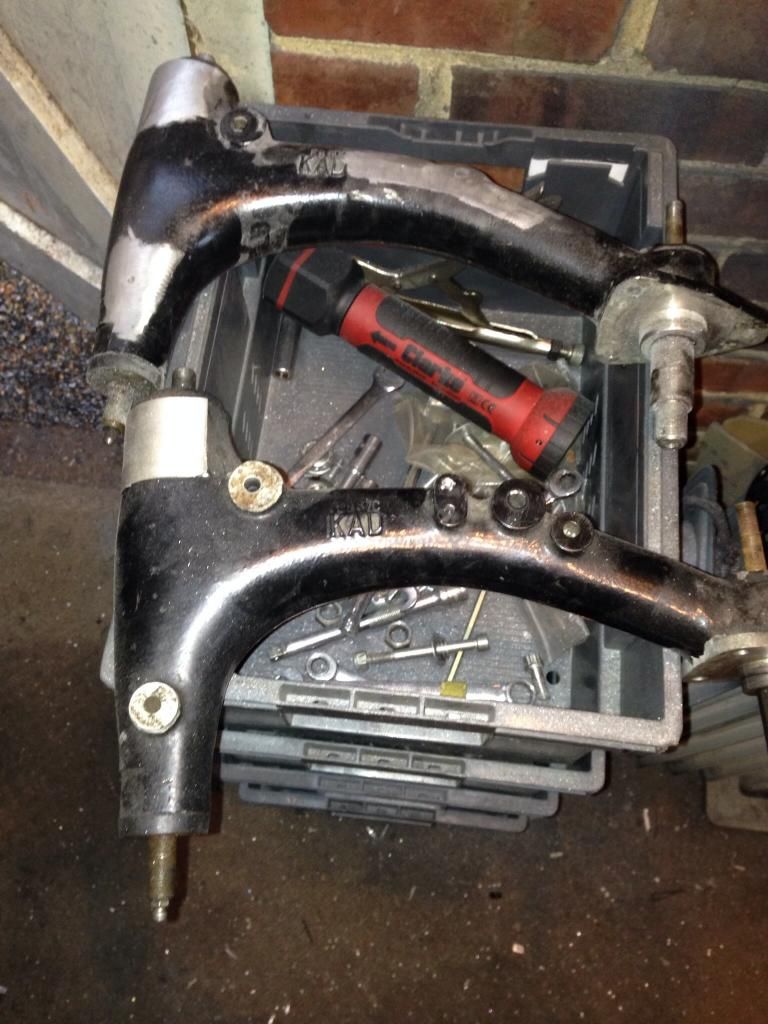
An update of this weeks work on the mk1
I hope I don't regret this.......
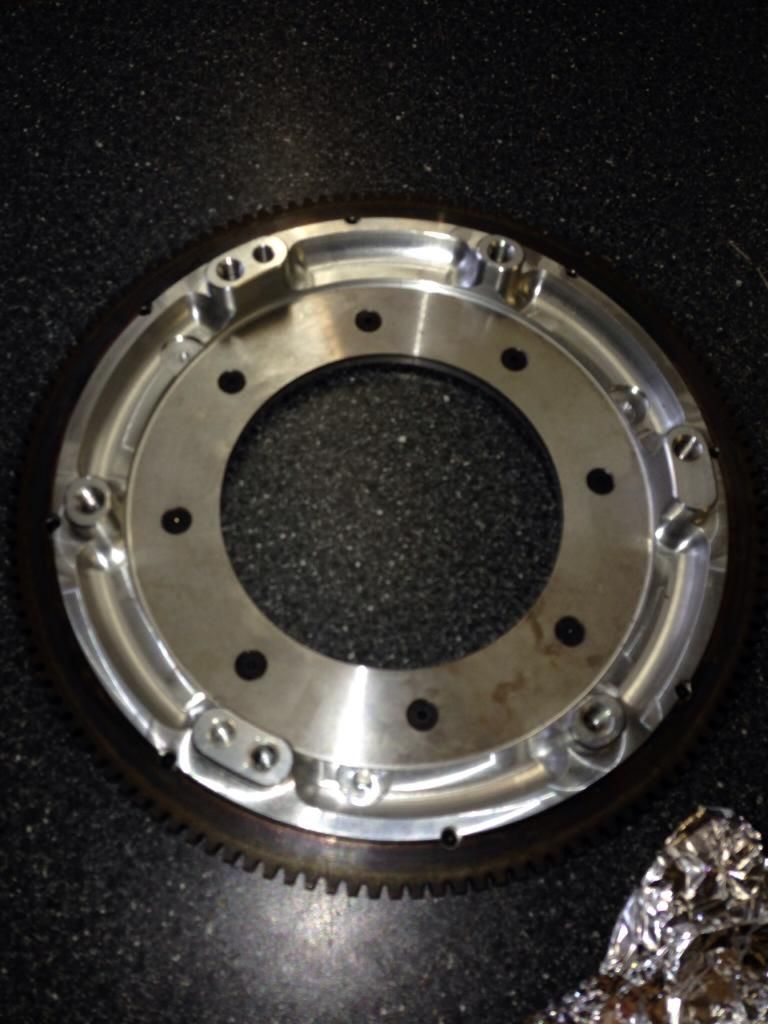
It was spot on! On the balancing machine, I just had to get the posts dropped down to match my old one for my set up
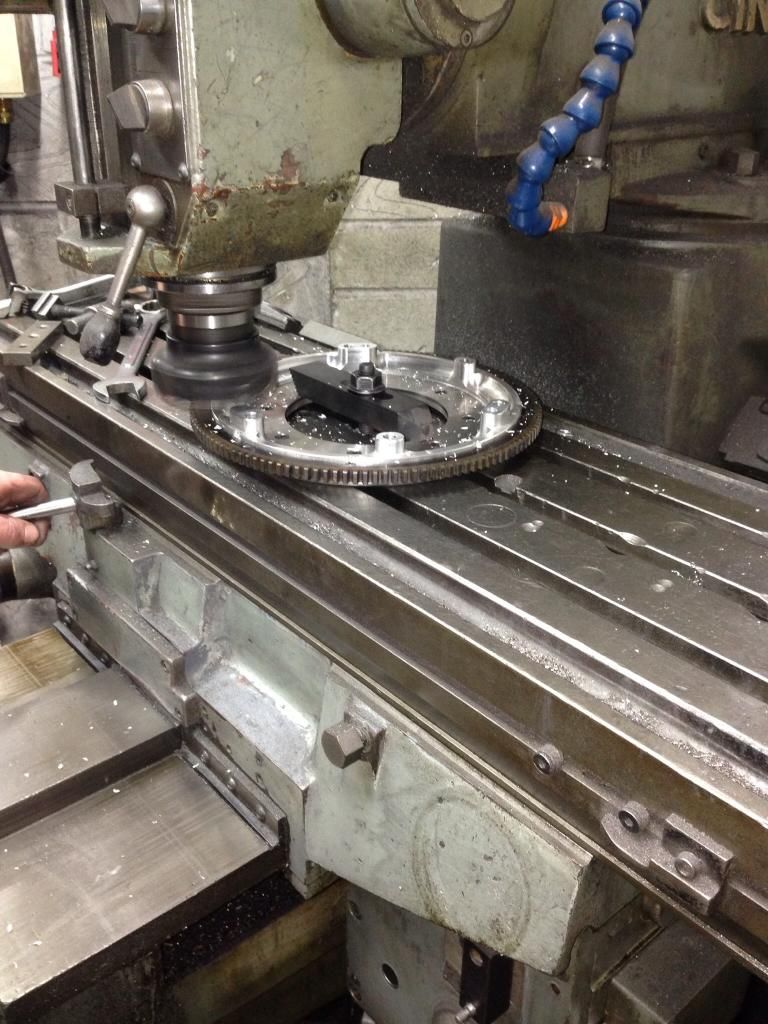
There is 2kg saving over my old one.
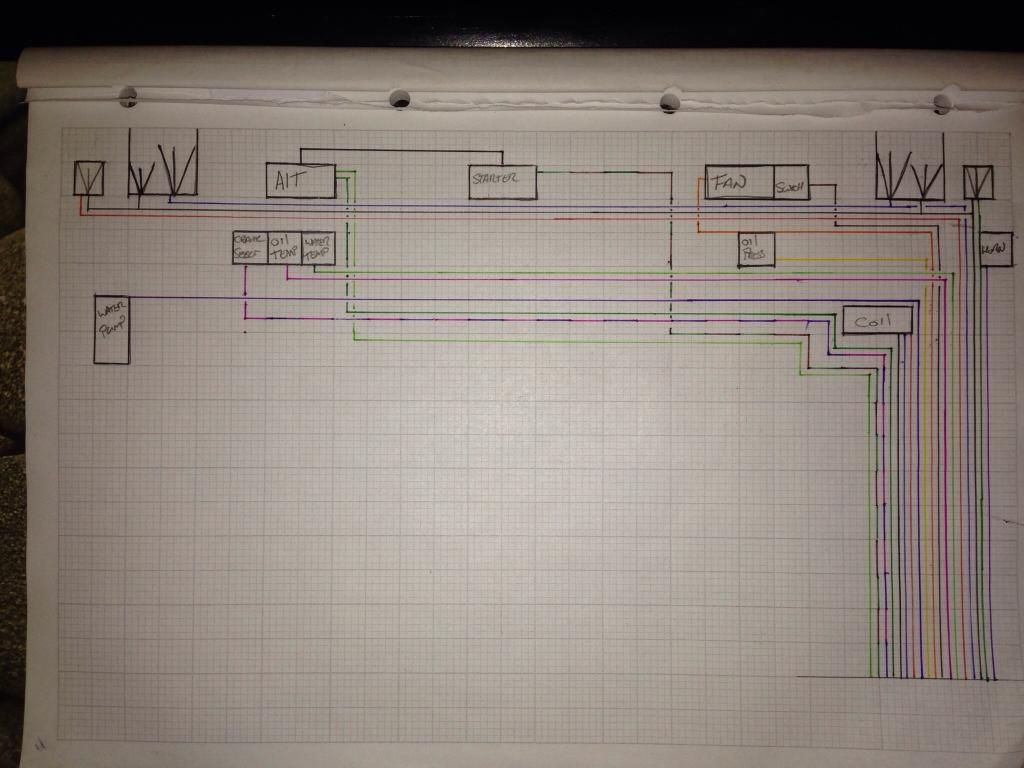
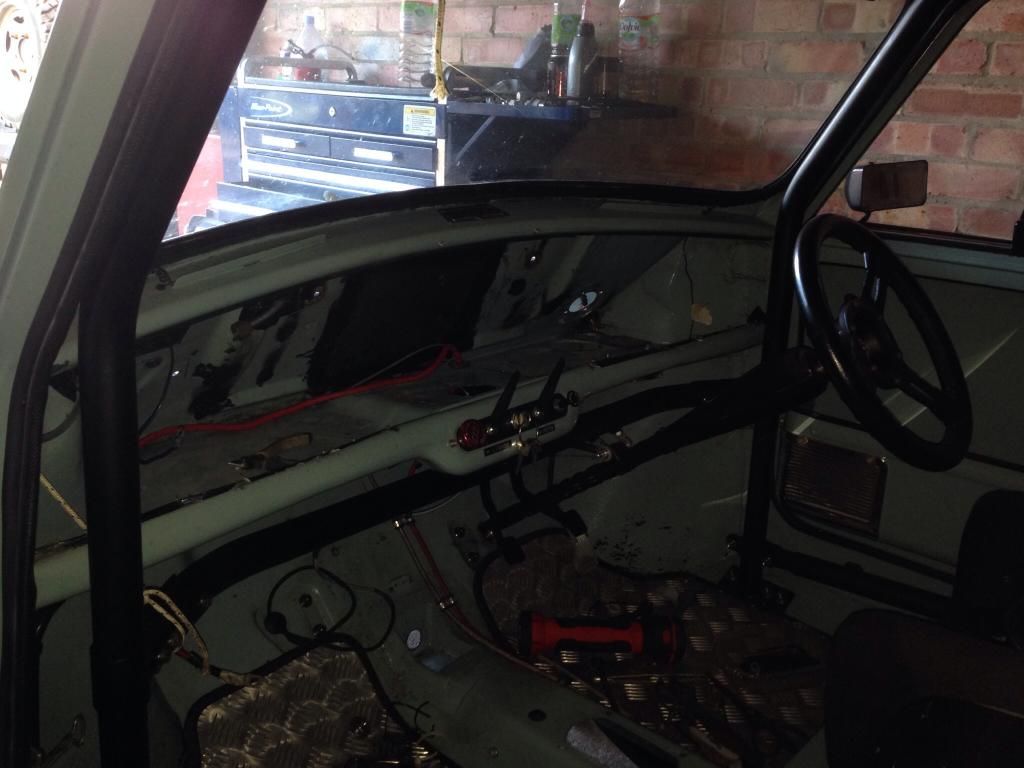
Also I have started mapping out my new loom , I had to put pen to paper as my head was spinning thinking about this lol.
530g saving off the rear suspension setup :-D
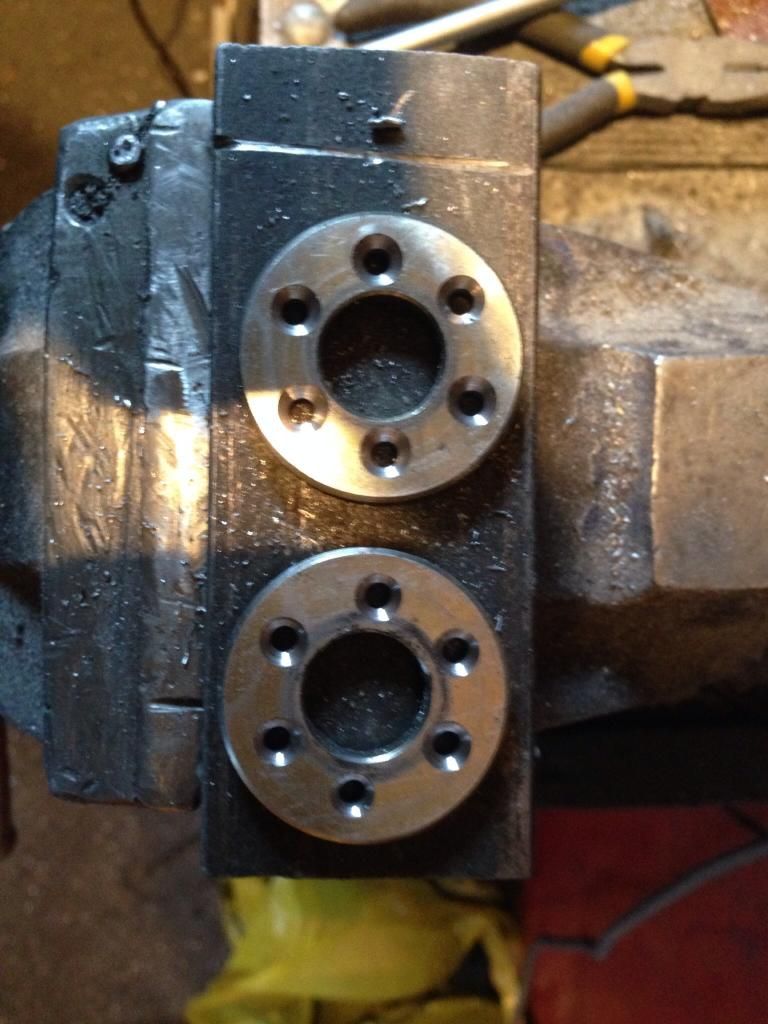

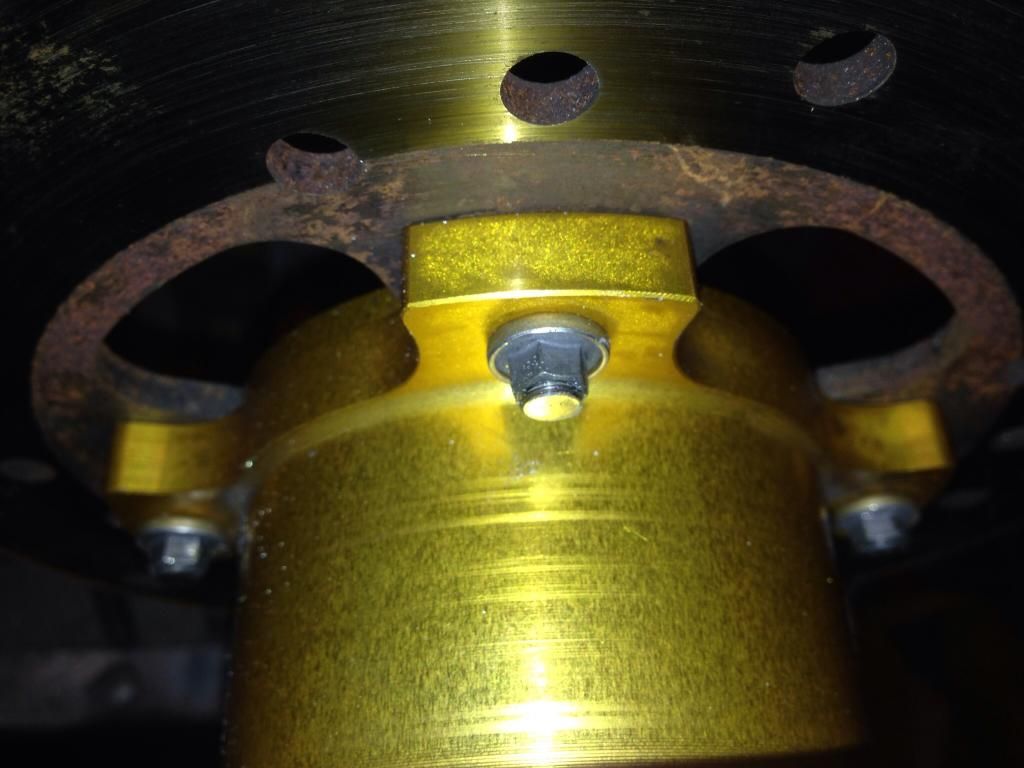
Simon.
I hope I don't regret this.......

It was spot on! On the balancing machine, I just had to get the posts dropped down to match my old one for my set up

There is 2kg saving over my old one.
Also I have started mapping out my new loom , I had to put pen to paper as my head was spinning thinking about this lol.

530g saving off the rear suspension setup :-D


Simon.
#309
LosLandenos
-

- Noobies
-
- 75 posts
Stage One Kit Fitted
- Location: Gothenburg
Posted 20 February 2014 - 09:19 PM
Nice.. Let the cutter do the talking.. What kind of total weight are you aiming on?
#310
Artful Dodger
-

- Members
-
- 4,435 posts
" I AM THE SPECIAL ONE"
- Local Club: aint no body got time fo dat
Posted 20 February 2014 - 09:19 PM
The trick to lightweight wiring is in the connectors and joiners, and making sure you use solderless ones. And lightweight fuses or circuit breakers. They make a big difference!!
Micro wires on military spec lightweight 12pin connectors are quality! Expensive though!
Also, have you lifed or crack detected any of your older Ti bolts? We have had a fair few in our caterhams, and after a season we have found a few questionable ones.
Don't want to see this in the wall after bolt failure!:)
Edited by Artful Dodger, 20 February 2014 - 09:24 PM.
#311
mad mk1
-
- Members
-
- 746 posts
One Carb Or Two?
- Location: woking
- Local Club: TurboMinis.co.uk
Posted 20 February 2014 - 09:25 PM
Don't worry about that dodger I have it all wiring covered lol.
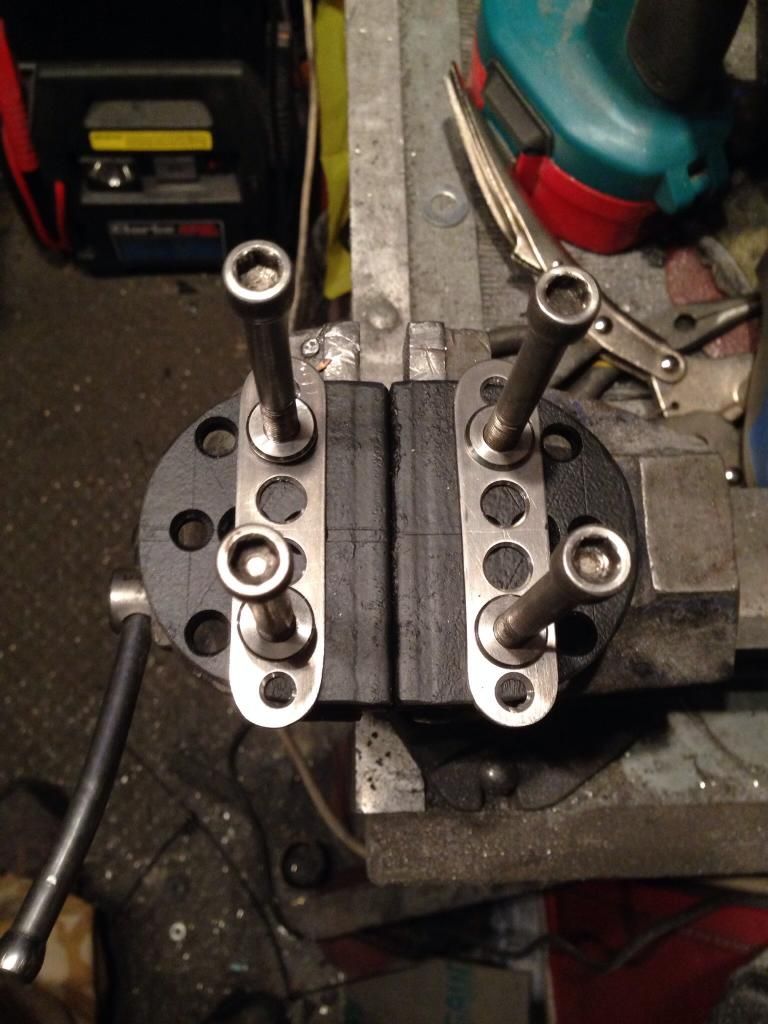
Also I don't use Ti bolts on any thing with a load ie suspension and a likes.
Also I don't use Ti bolts on any thing with a load ie suspension and a likes.
Edited by mad mk1, 20 February 2014 - 09:34 PM.
#312
mad mk1
-
- Members
-
- 746 posts
One Carb Or Two?
- Location: woking
- Local Club: TurboMinis.co.uk
Posted 01 March 2014 - 08:14 PM
I will let the pics do the chatting
All gone :-/
All striped out,
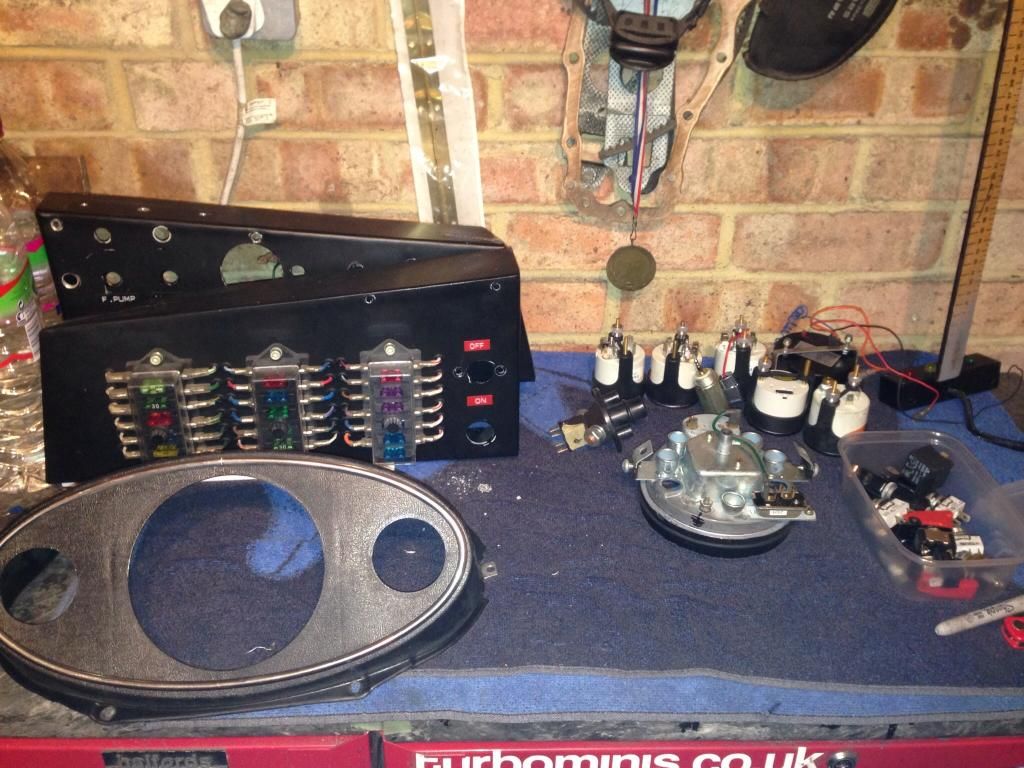
The front loom getting there,
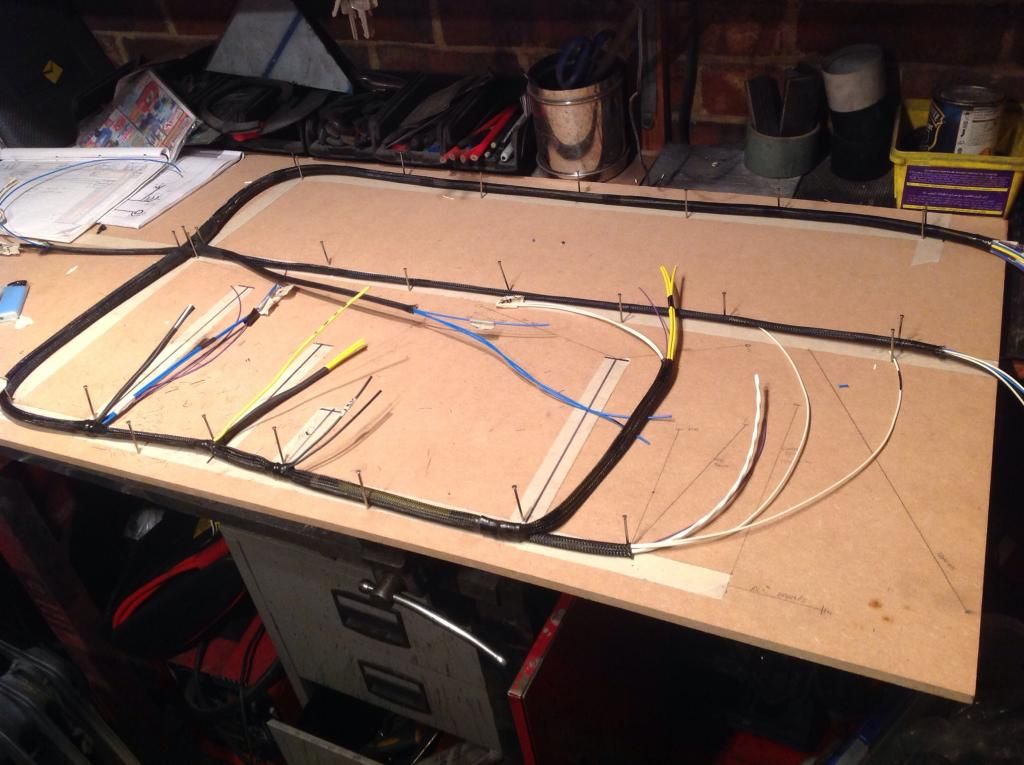
Then 90% done
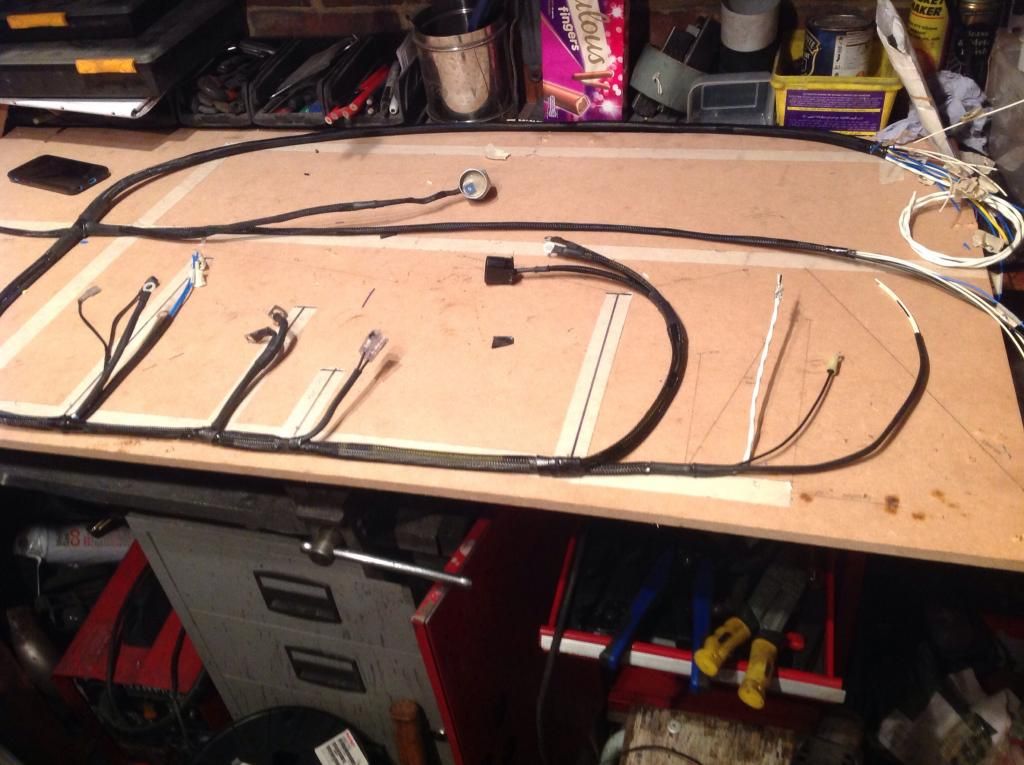
Then on to the rear loom..
All done
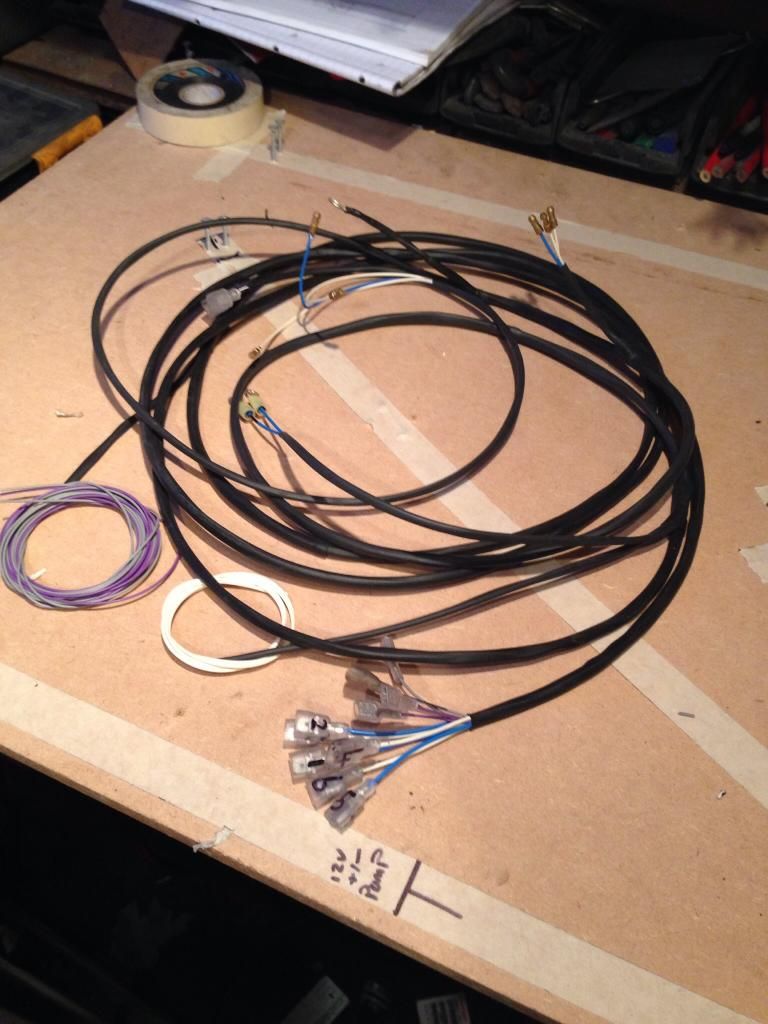
All done
So not a bad days work!
Simon.
All gone :-/

All striped out,

The front loom getting there,

Then 90% done

Then on to the rear loom..

All done

All done

So not a bad days work!
Simon.
#313
Joe250
-

- Just Joined
-
- 215 posts
Mini Mad
- Location: California
Posted 02 March 2014 - 08:19 PM
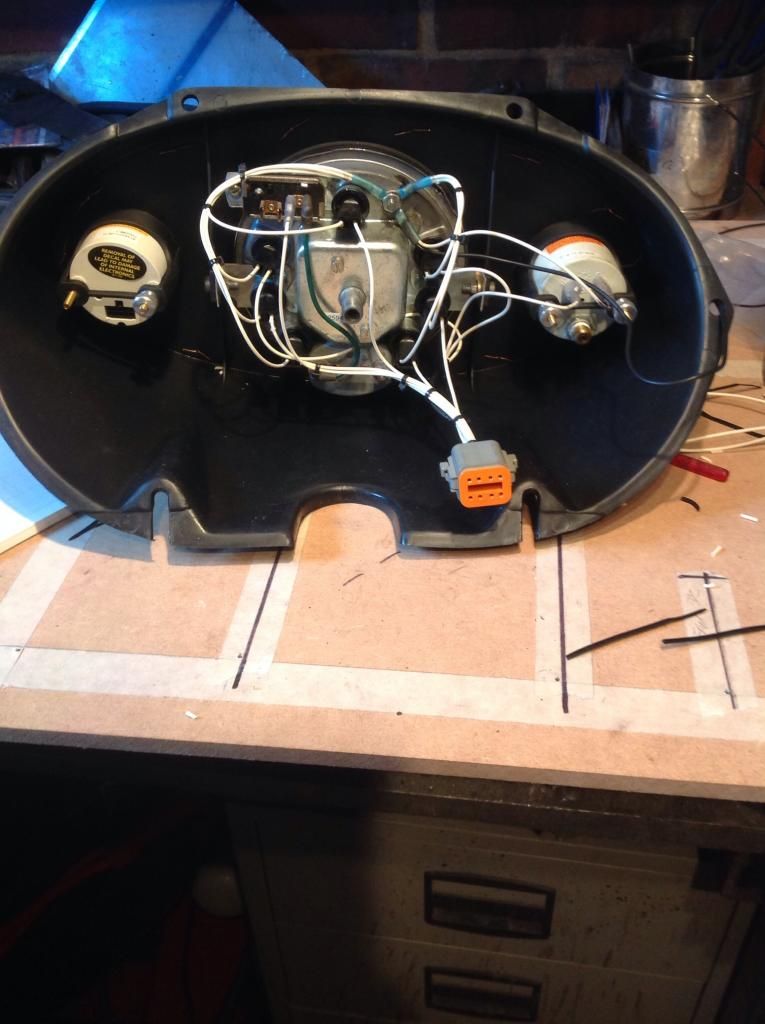
Simon,
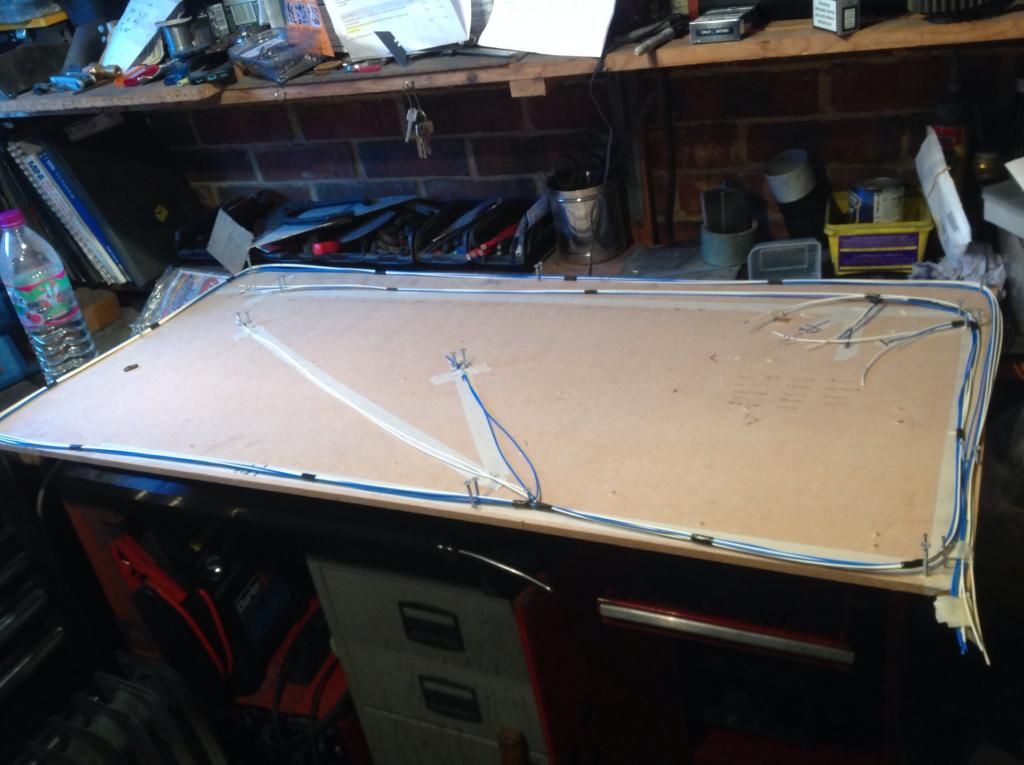
Nice work as always. The binnacle wiring turned out really cleanly. Pop on by California and help me finish mine. 
#314
mad mk1
-
- Members
-
- 746 posts
One Carb Or Two?
- Location: woking
- Local Club: TurboMinis.co.uk
Posted 02 March 2014 - 09:12 PM
Hi joe,
I am at the point now that's just a head f+++ working out all the dash wiring and making sure it all runs.
I have broke it up in to little circuits and now I am just tieing it all in to the brain of the car.
I was in the man cave for 8 hrs today and did not have much to show for it :-/ but the mega jolt is wired up, and the switched live and starter relays are all done.
Simon.
#315
DazWood
-

- Members
-
- 182 posts
Mini Mad
- Local Club: North East Mini Club
Posted 02 March 2014 - 09:28 PM
B.E.A.Utiful!!!
Im in awe at the sheer amount of work you have put in to this!
Keep it up man!
Im in awe at the sheer amount of work you have put in to this!
Keep it up man!


1 user(s) are reading this topic
0 members, 1 guests, 0 anonymous users


