Jump to content


Photo

73 Van Restro


  • Please log in to reply
75 replies to this topic

#16 l_jonez

l_jonez

    One Carb Or Two?

  • Members
  • PipPipPipPipPipPipPip
  • 1,453 posts
  • Local Club: south wales mini club

Posted 18 August 2008 - 07:31 PM

well today was the day of the BIG weld

tacked the floor in

Posted Image

then set about welding it in :)

i havent used CO2 for a while as i normaly use argonsheild but CO2 is all i have ;)

my welds aint as neat :- with it but is acceptable because its being ground down

Posted Image

once the welding was done i started to grind back the welds and quickly got bored and came indoors for a few pints

Posted Image

Im using a "joggled" lap joint so the other side has also been welded but im not going to bother grind that down as it will be hiden by carpets

#17 l_jonez

l_jonez

    One Carb Or Two?

  • Members
  • PipPipPipPipPipPipPip
  • 1,453 posts
  • Local Club: south wales mini club

Posted 27 August 2008 - 09:05 PM

managed to make a small bit of progress
i tackled the inner wing which i had previously modified to fit :)

had to make a few small adjustments but it seemed to go in ok

tacked

Posted Image

welded and partly ground down

Posted Image

i was going to sort the patch on the toe board but i just could not be bothered today ::)

few weeks back i bought a repair panel for the doorstep to the rear arch

Posted Image

when it arrived i wasn't happy that it was one piece and didn't have the join at the rear of the door step so today i decided to butcher 50 quids worth of panel to create two separate panels ;)

made a template off the van

Posted Image

Mr Kipling- exceedingly good templates :)

once they were cut i had to re-fabricate the corner

Posted Image

then tidied it up

Posted Image

then created a new side which had to have a recess to allow the rear quarter panel to sit flush

Posted Image

I'm relatively happy with the outcome, least the recess part wont be seen

old door step cut out

Posted Image

then spent hour after hour fitting new door step clamping it all in looking at where it needed to be trimmed, taking it out trimming abit refitting looking again taking out again etc etc

but now its ready and as long as all my measurements are correct its in the right place :-/

(possibly the best sight, new steel )

Posted Image

Posted Image

once i have painted the inside of the sills it can get welded in :)

#18 l_jonez

l_jonez

    One Carb Or Two?

  • Members
  • PipPipPipPipPipPipPip
  • 1,453 posts
  • Local Club: south wales mini club

Posted 29 August 2008 - 07:02 PM

small update, sorry no pics as the camera decided it didn't want to play today


managed to weld the door step in today, trying to hold the spot welder above my head to spot it to the outer sill was fun to say the least but its done now :dontgetit:

its ready to be flipped over onto its other side now to weld in the second half of the floor pan in but i think I'm gonna have a few days off possibly a week
hopefully the other half will go quicker as i now know what I'm likely to come up against and how to solve it.

once the other half and door step are done I'll move on to the hard part which is the rear load bay floor which I'm not looking forward to

#19 l_jonez

l_jonez

    One Carb Or Two?

  • Members
  • PipPipPipPipPipPipPip
  • 1,453 posts
  • Local Club: south wales mini club

Posted 01 January 2009 - 01:36 PM

forgot i had a build diary on here. i've done abit since the last post. to bring it up to date this is pretty much wots been done :D

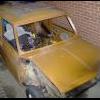
tipped it back on to its floor ::P

Posted Image

one half of the floor is finished along with door step :D

Posted Image

so it been tipped on to its side to do the other half now, but not before a quick pic.

Posted Image


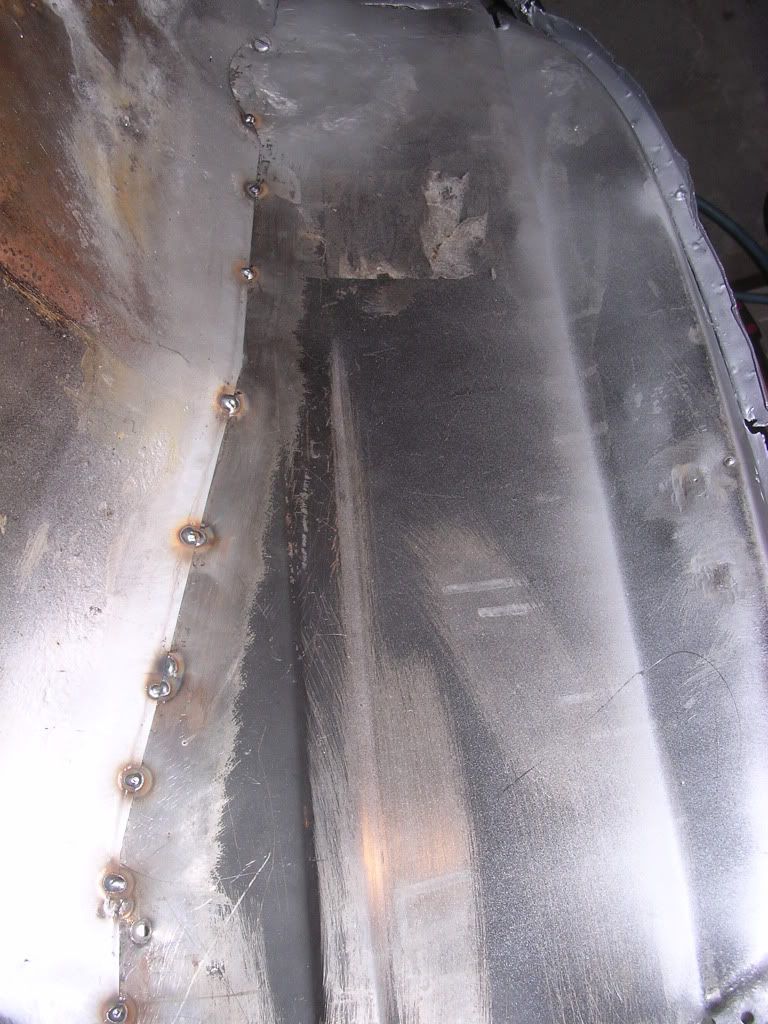
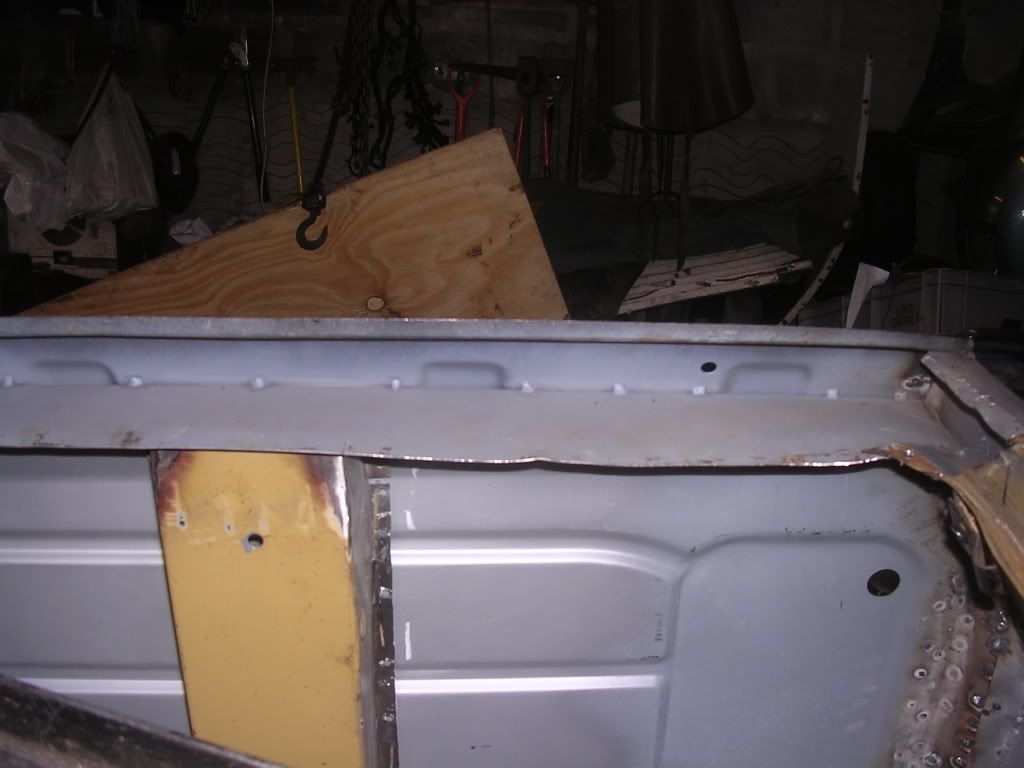
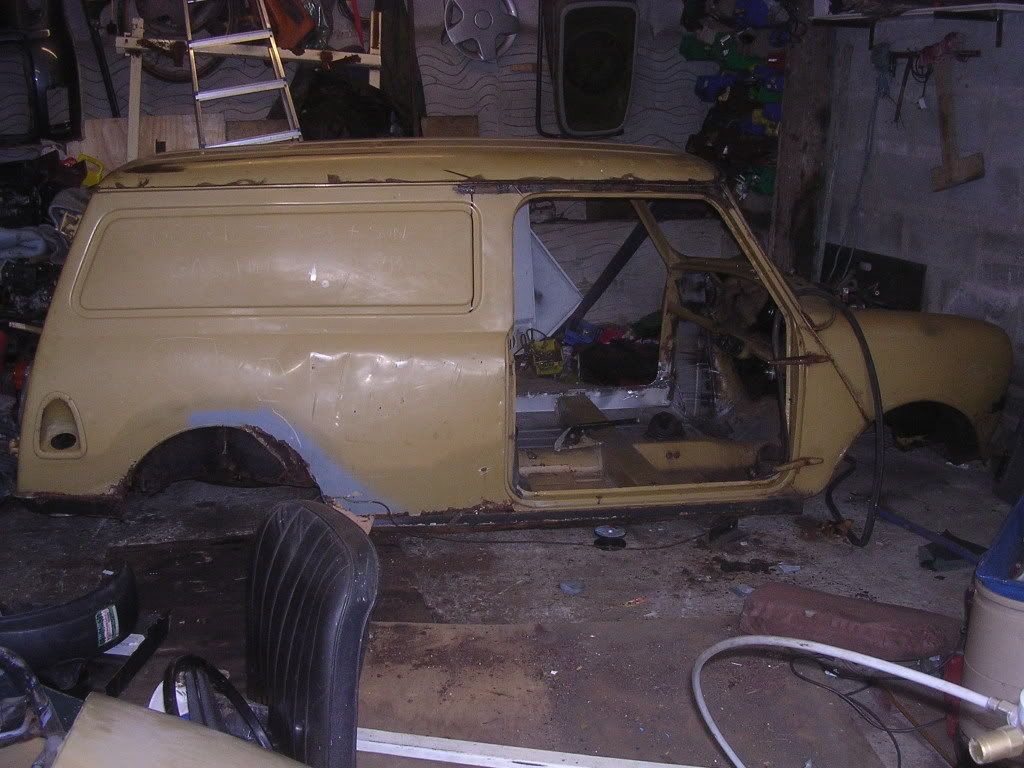
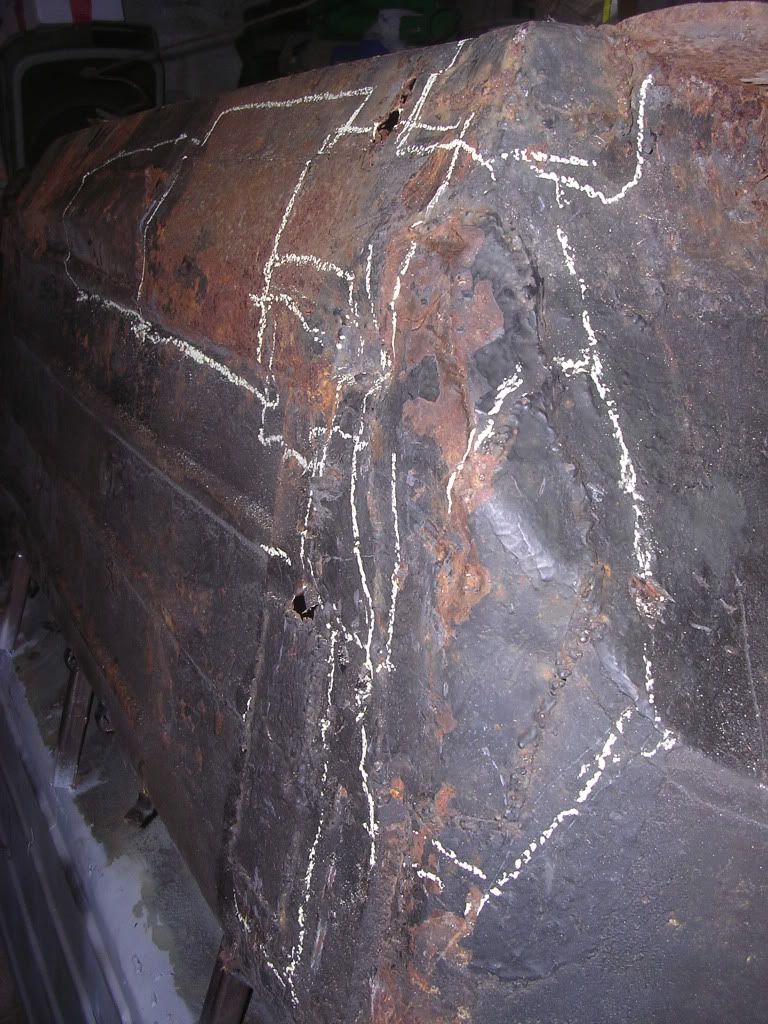
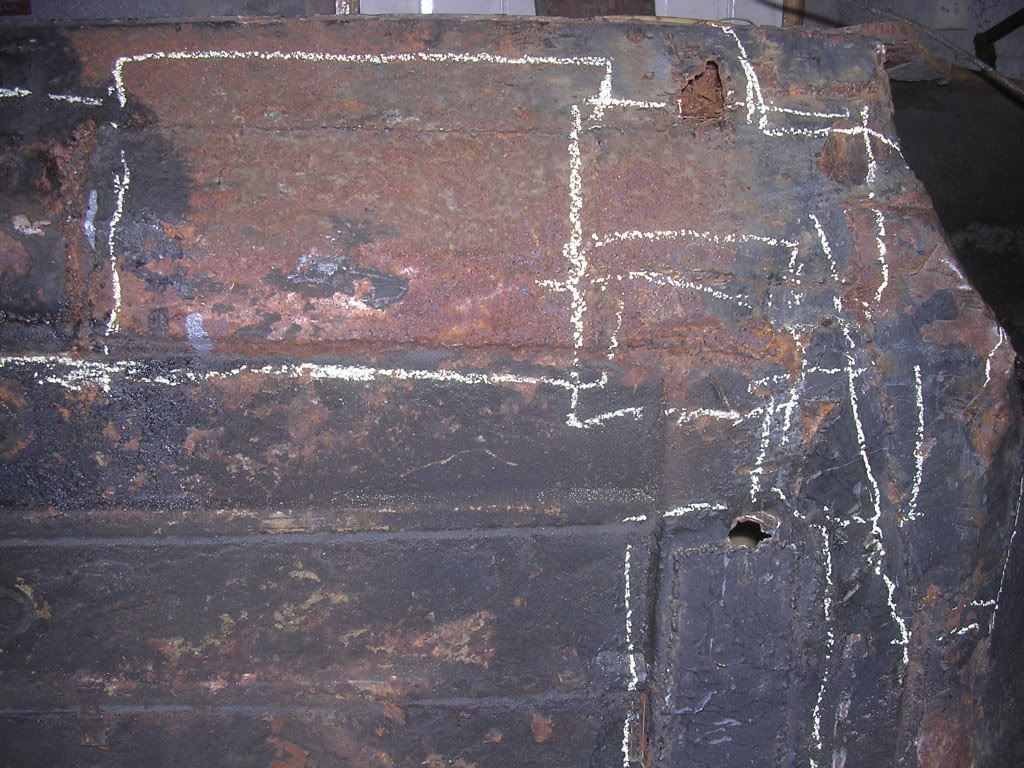
with nothing to do i thought I'd count the amount of patches welded on to the remaining half of the floor. the total 14!! :o 
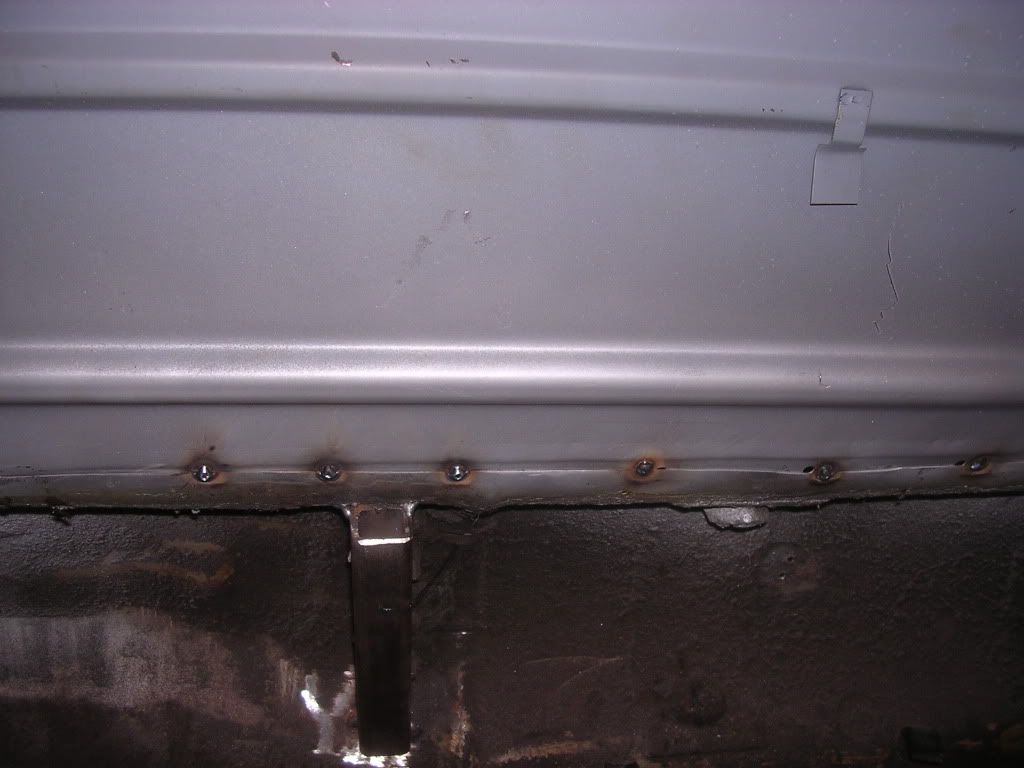
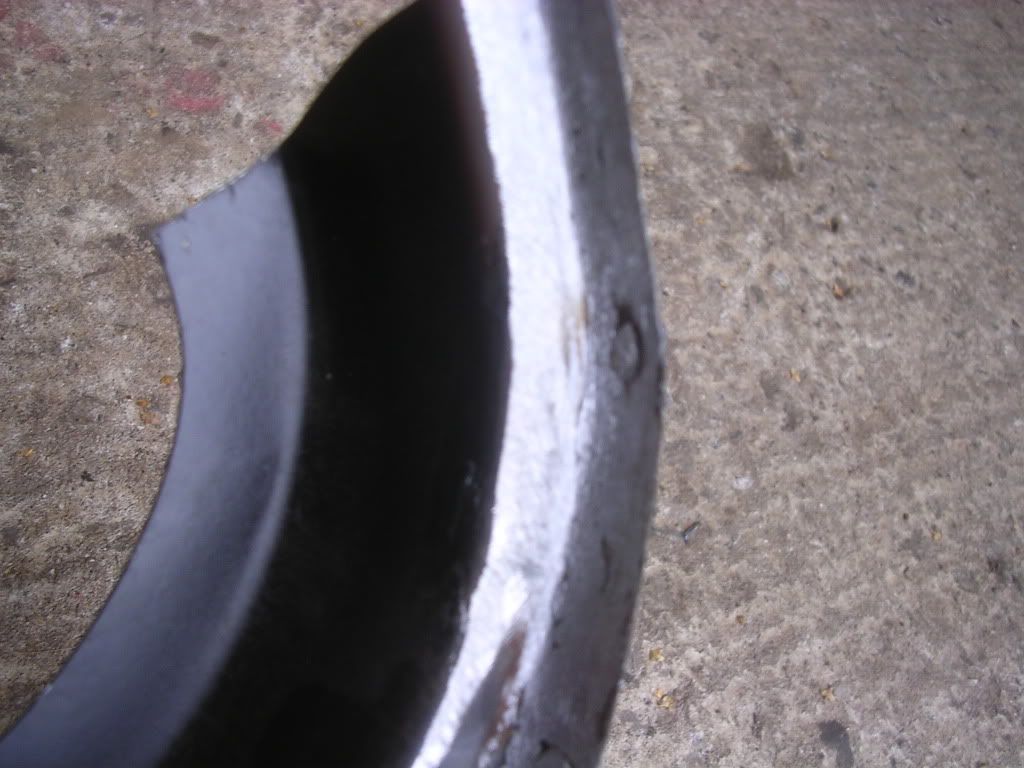
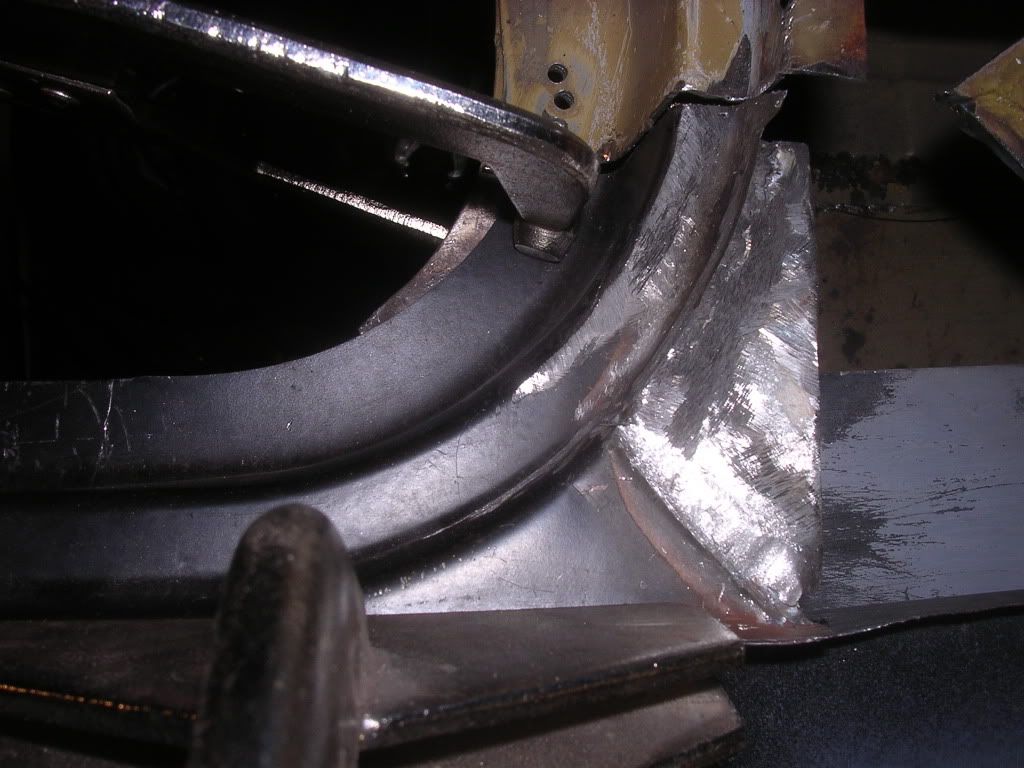
and that doesn't count the biggest bodge of all the over-sill >;)

i highlighted a few of them, theres more on the inner sill ::P

Posted Image

Posted Image

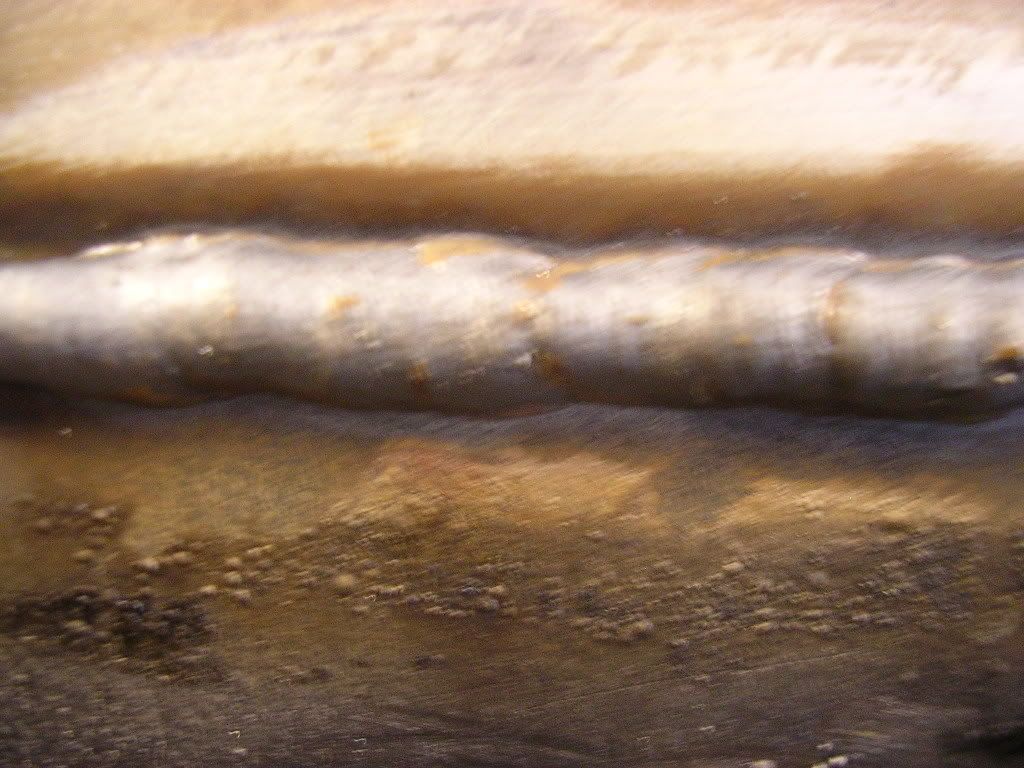
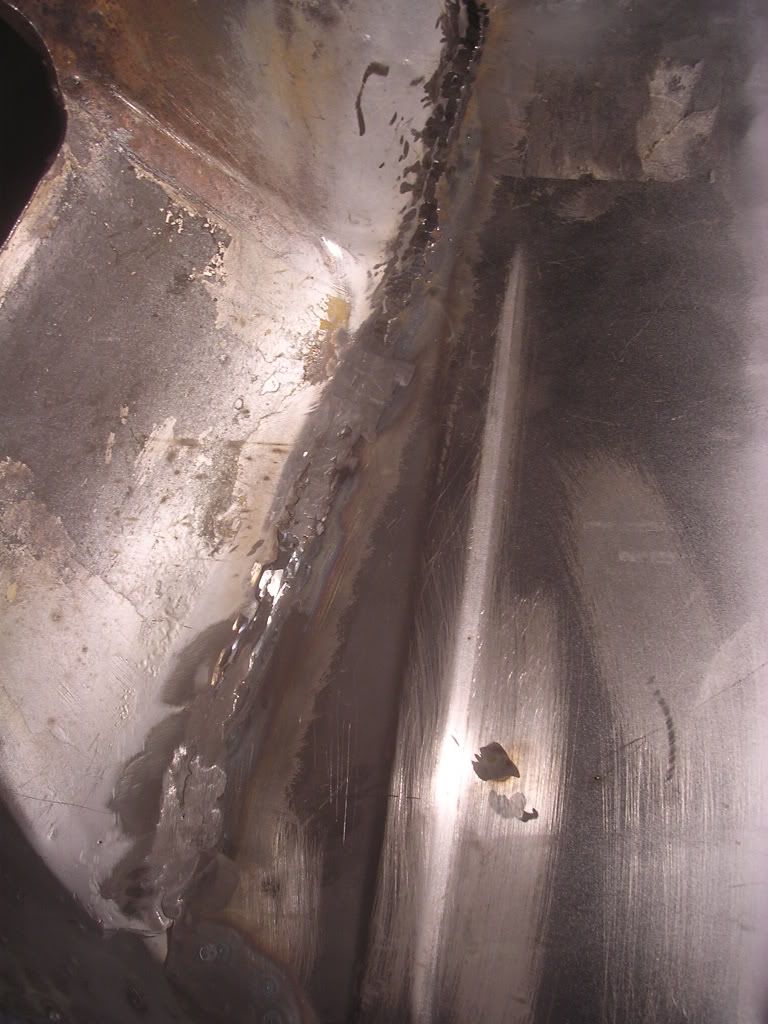
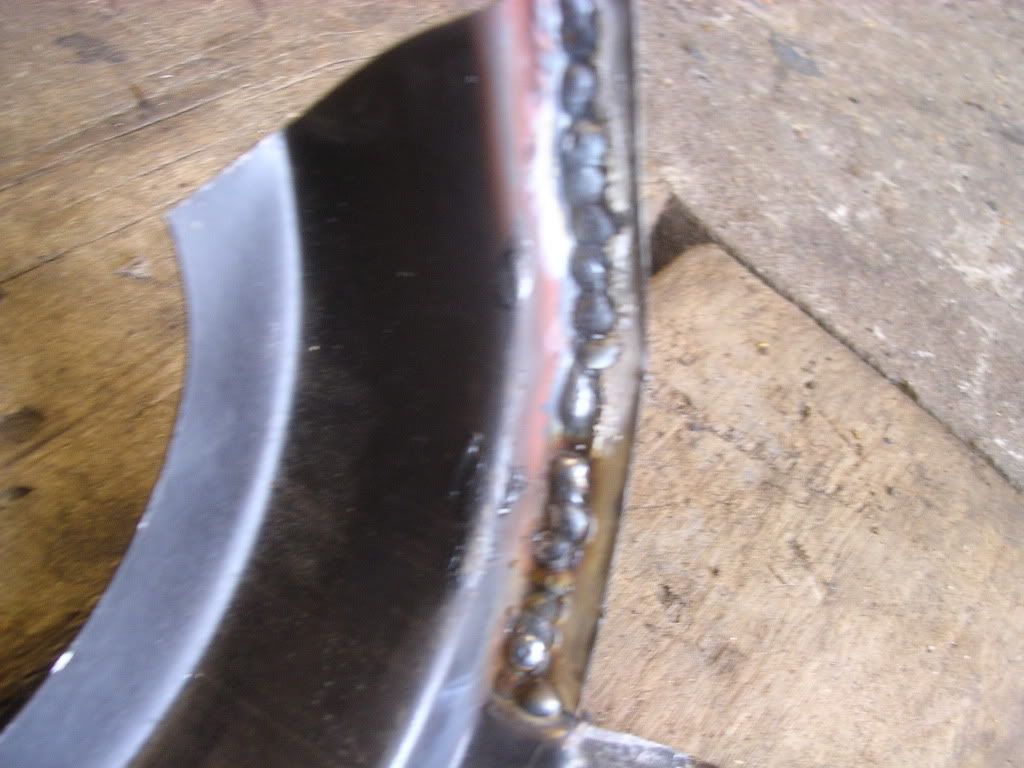
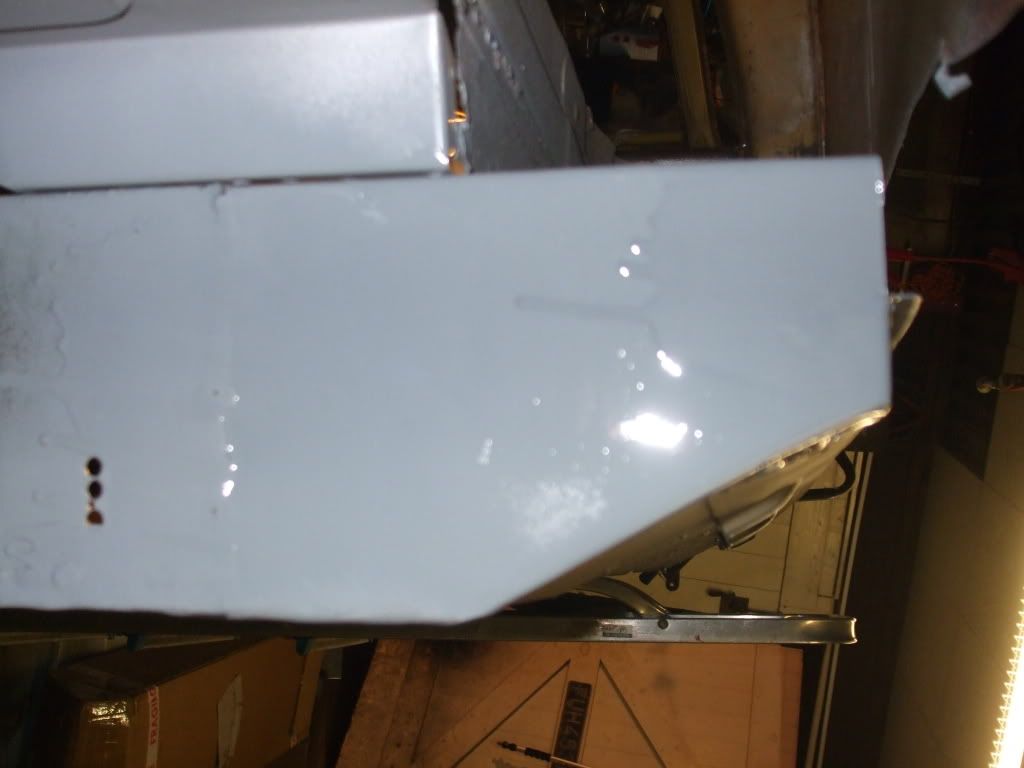
and this is the quality of the welding that had been carried out

Posted Image

i don't think I'll ever take any of my cars to the garage that did that


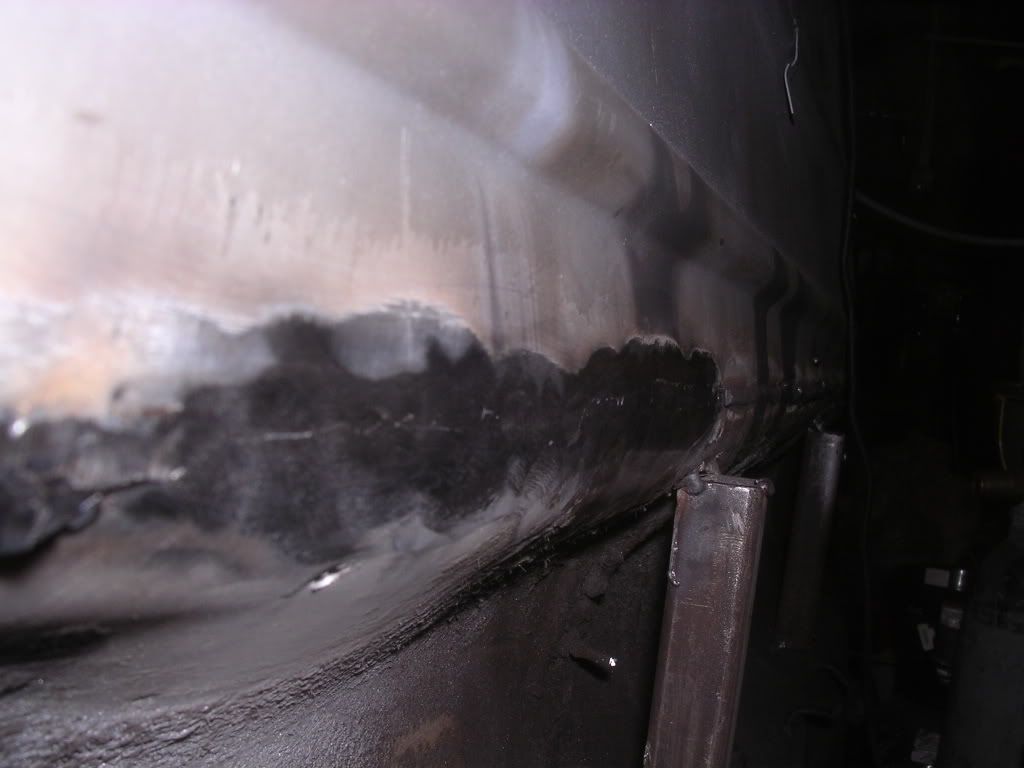
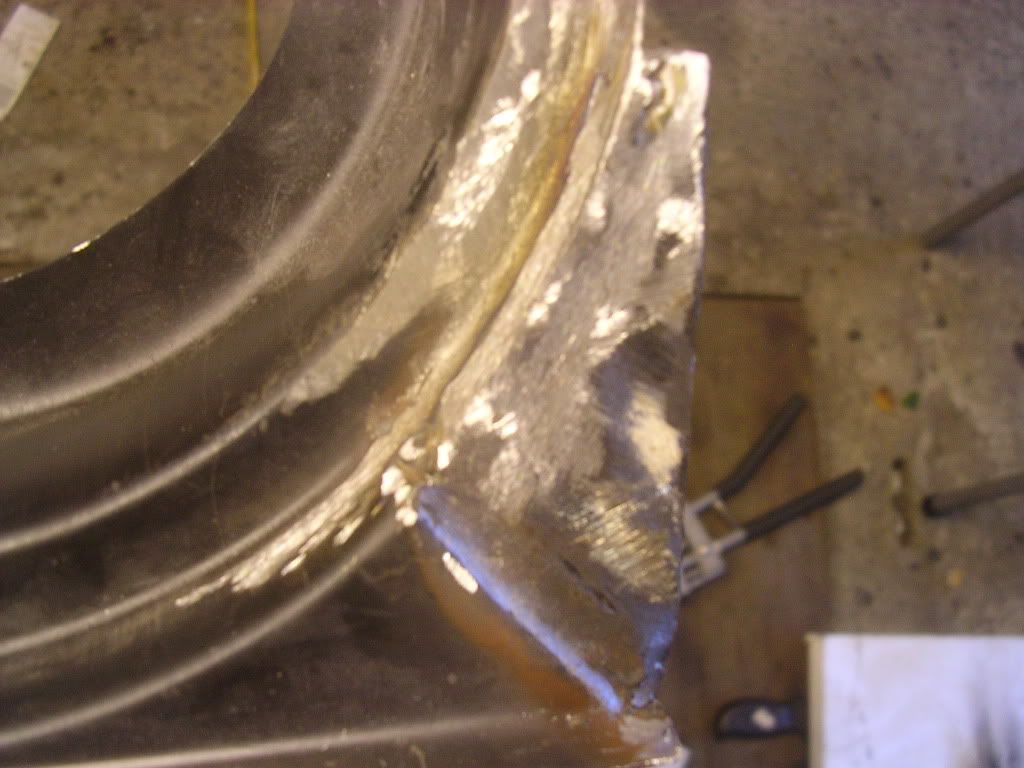
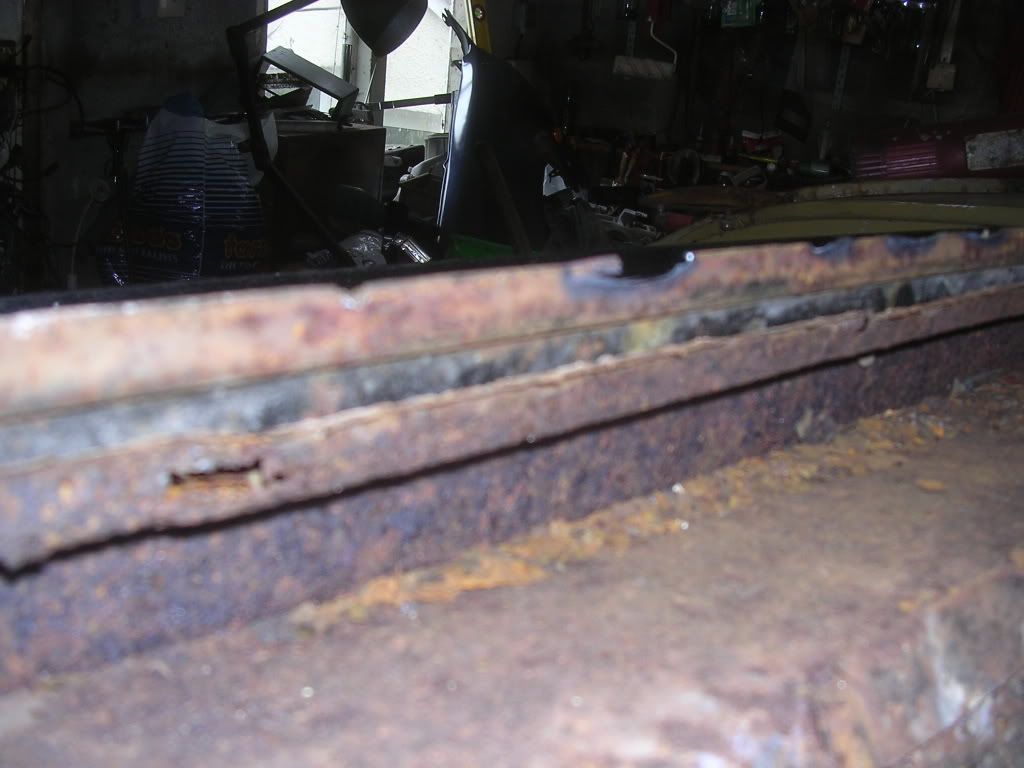
so first off was the over-sill

and underneath it :o
Posted Image

discovered that the van has had a new door step welded in at some point but it was welded over the old one ::)

Posted Image

then floor cut out

Posted Image

just got a small section to remove off the rear companion box then the the remaining floor can be prepared ready for the new pan.

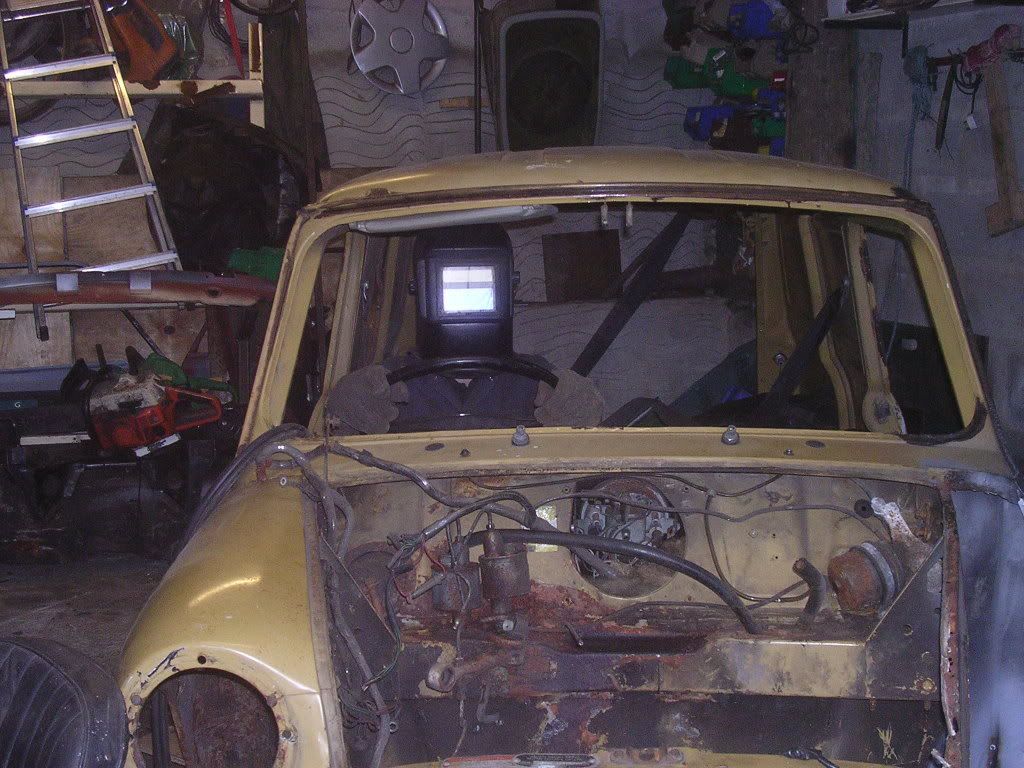
Also let me introduce you all to the man who lives in my van

Posted Image

a previous owner had him on the dash and i haven't brought my self to remove him yet


the floor and new pan both cut and trimmed ready for welding.

Posted Image

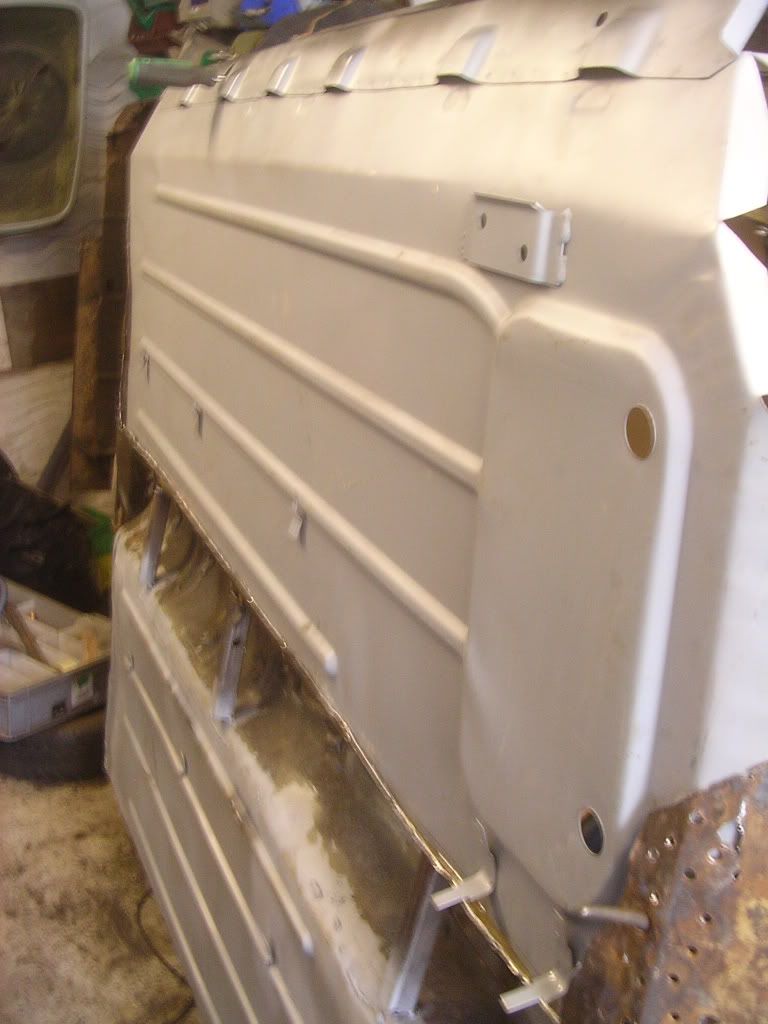
got a few small repairs to make to the cross-member and rear companion box, then the floor can go in :)


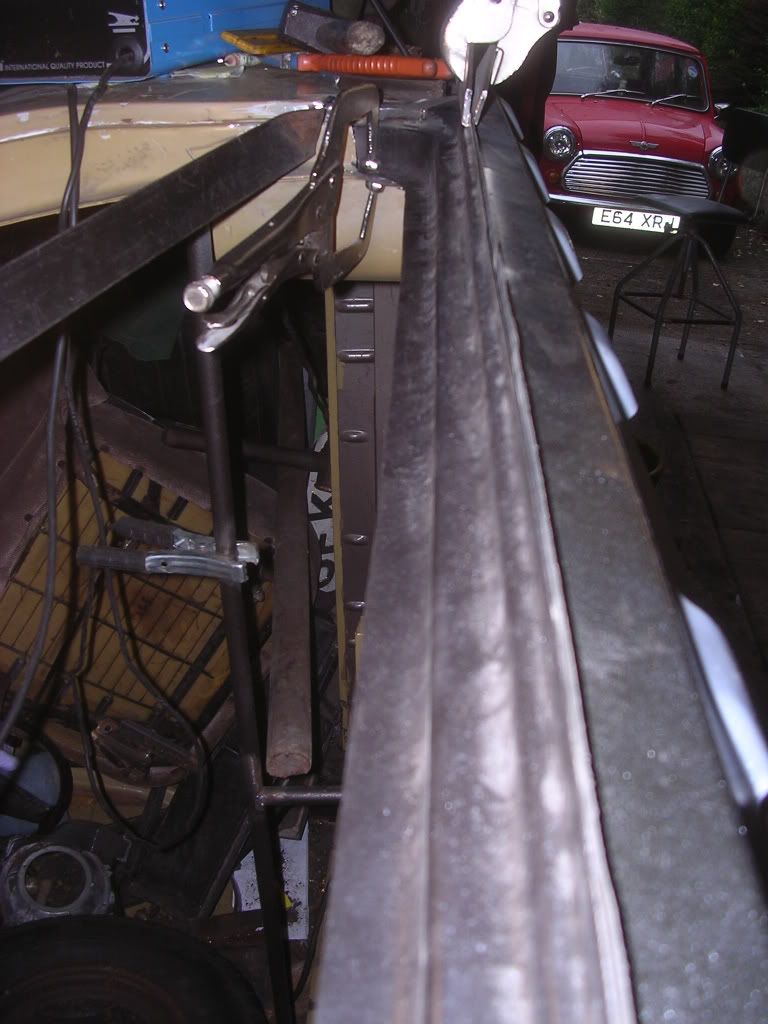
managed to get the floor welded in :)

Posted Image


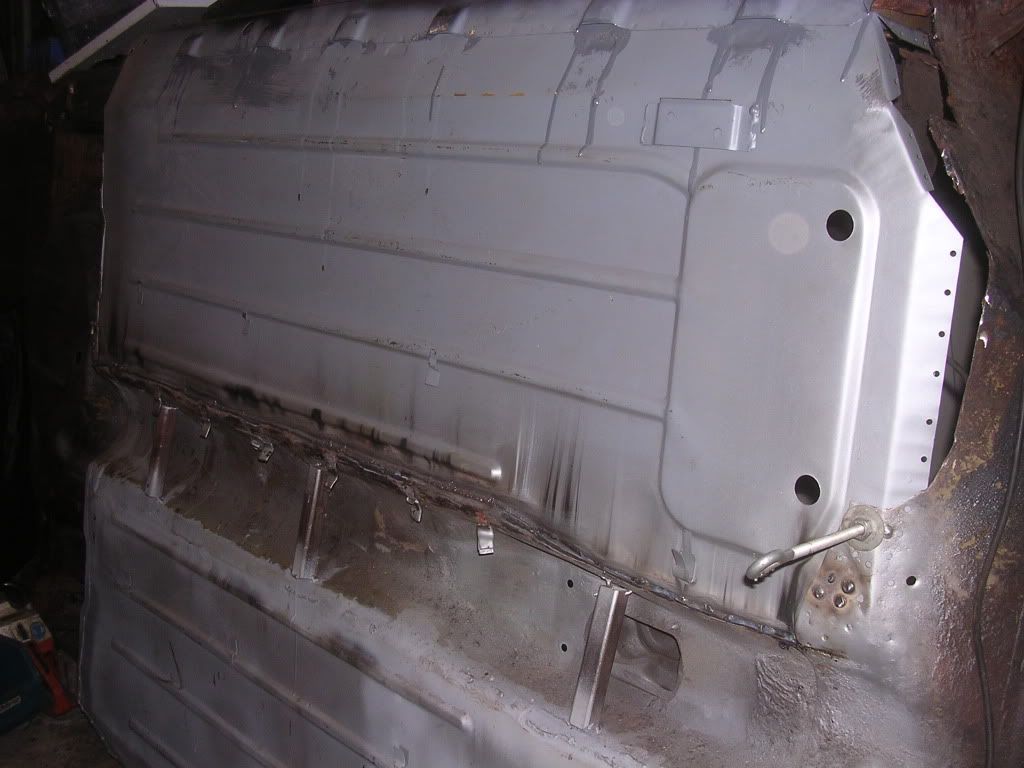
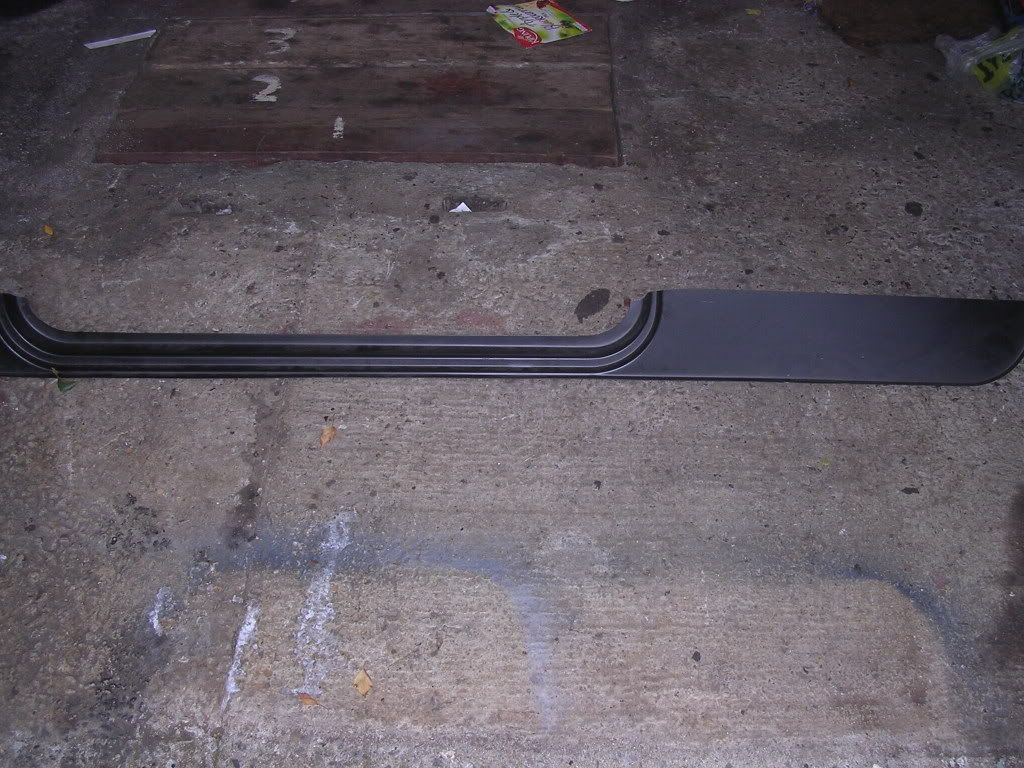
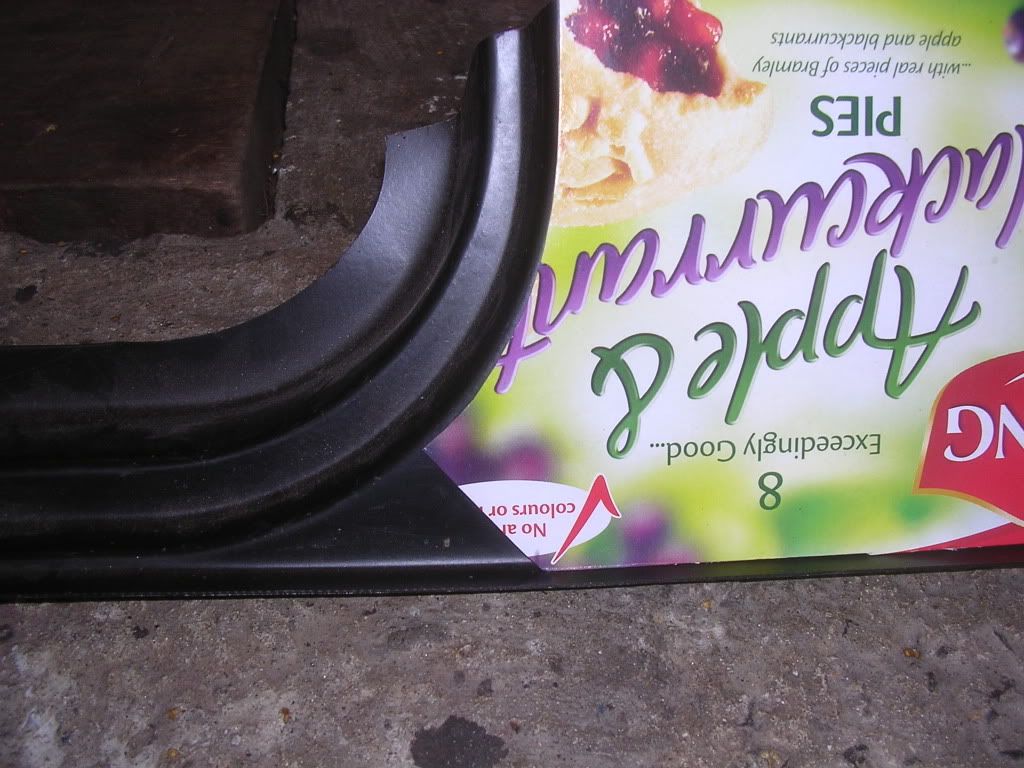
welded the new doorstep in on the drivers side

was the same as the proccess as the passanger side, cut up reapair panel and modify it to create the lip for the rear quarter panel, then POR 15 the inside of the sills and door step then spot weld in place with weldable primer on the seams.

was going to post the pics but theres not really much point as they are identical to the passanger side ones ( but flipped around) which are already posted.


new doorstep

Posted Image

i still need to flat the welds etc but I'm gonna leave it for now and do all the final flatting in one go at the end as i really want to get as much new steel in and painted before it gets any damper.


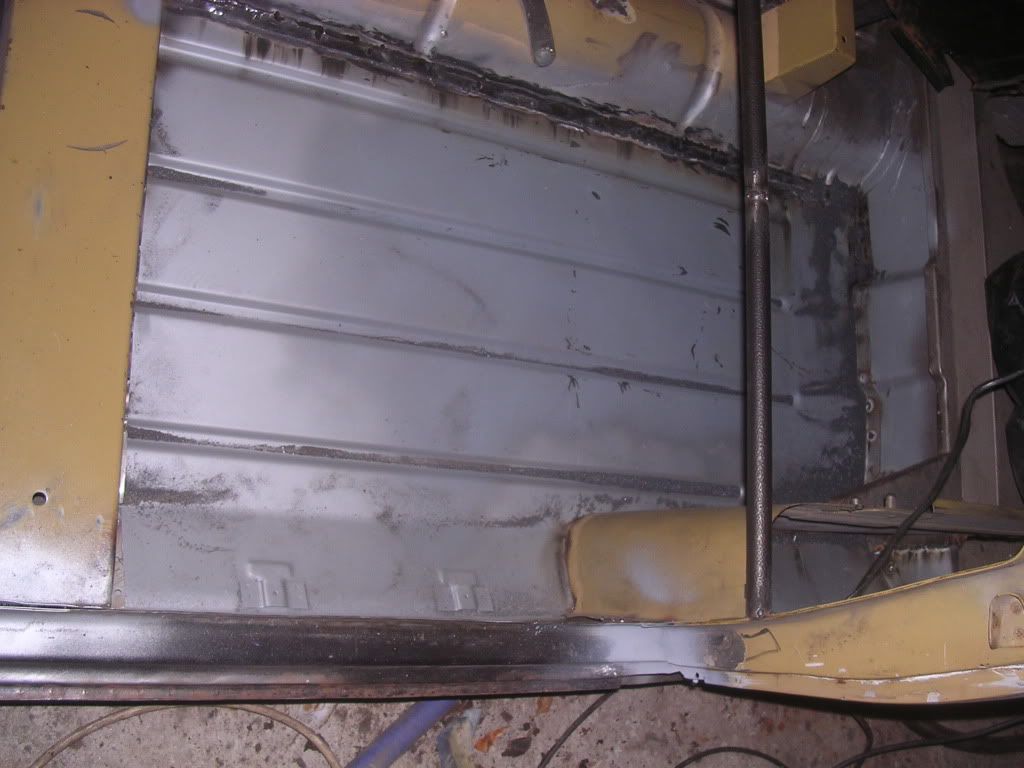
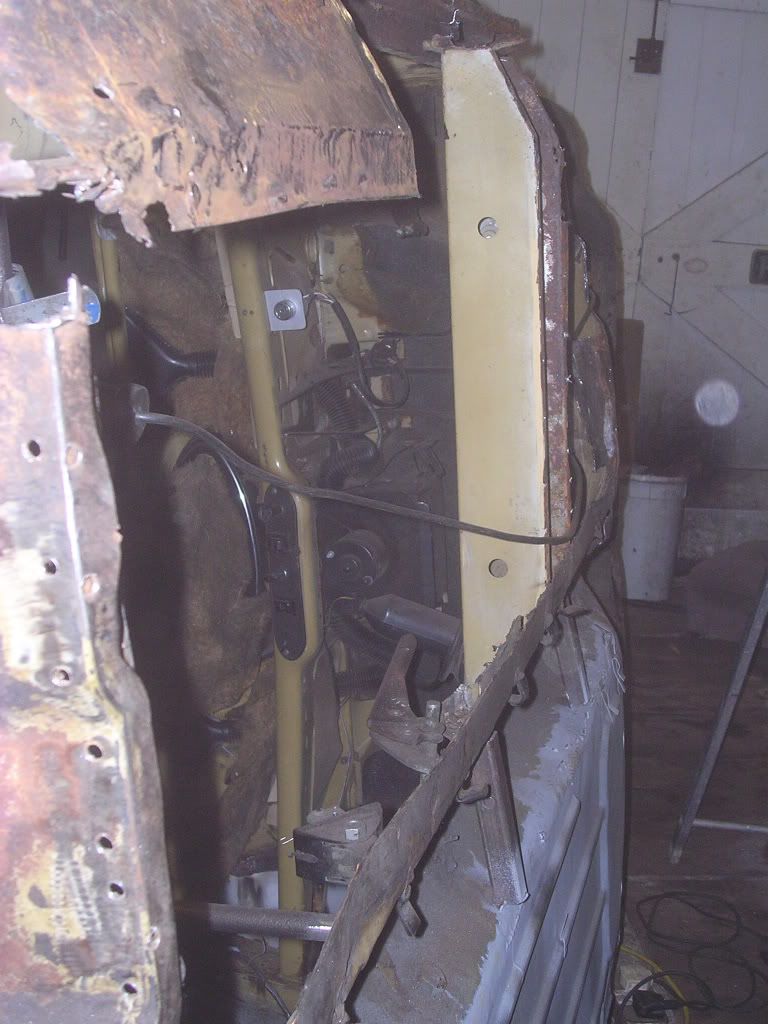
removed outer A panel to find that the inner one was a bit rusty

Posted Image

Posted Image

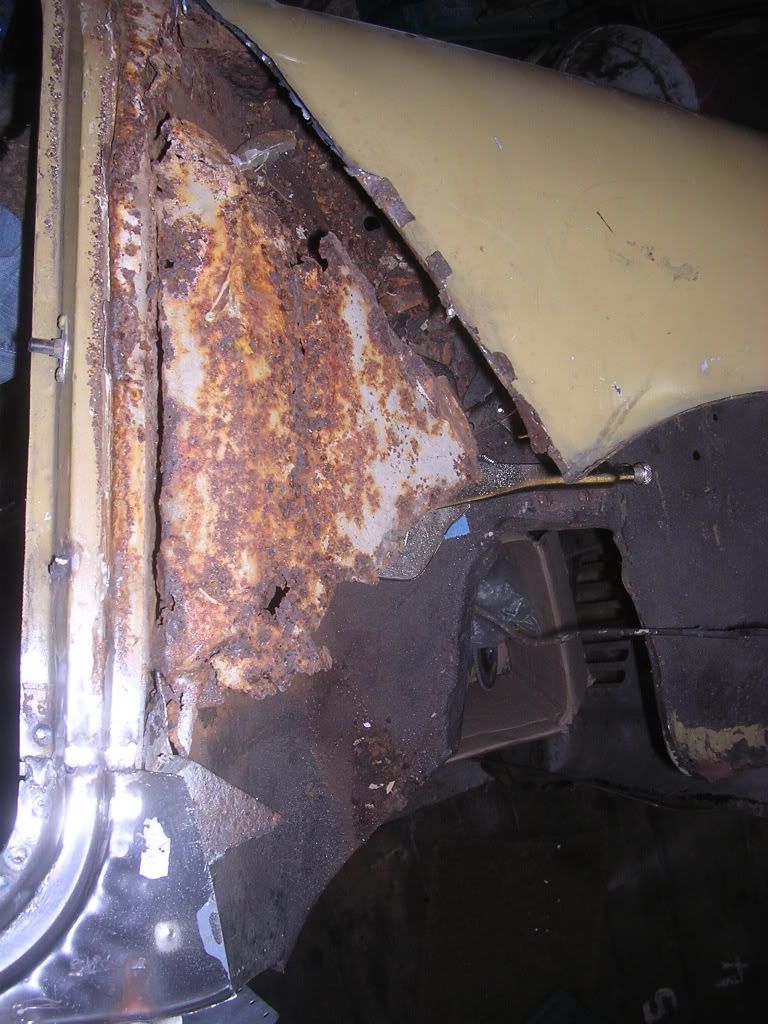
you cant really see it but both the upper and lower hinge brackets had rusted away to nothing and the hinges were bolted directly to the outer A panel ::)

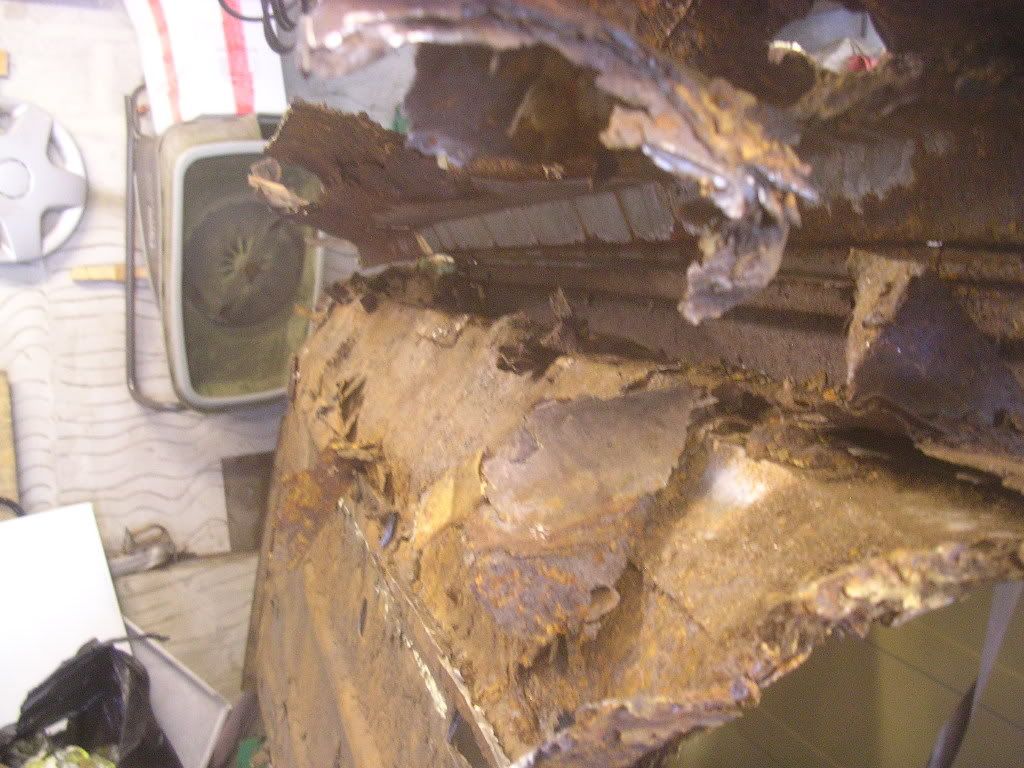
then i removed the inner A panel to find..

Posted Image

i knew it was gonna be bad after doing the other side but dint expect that many holes

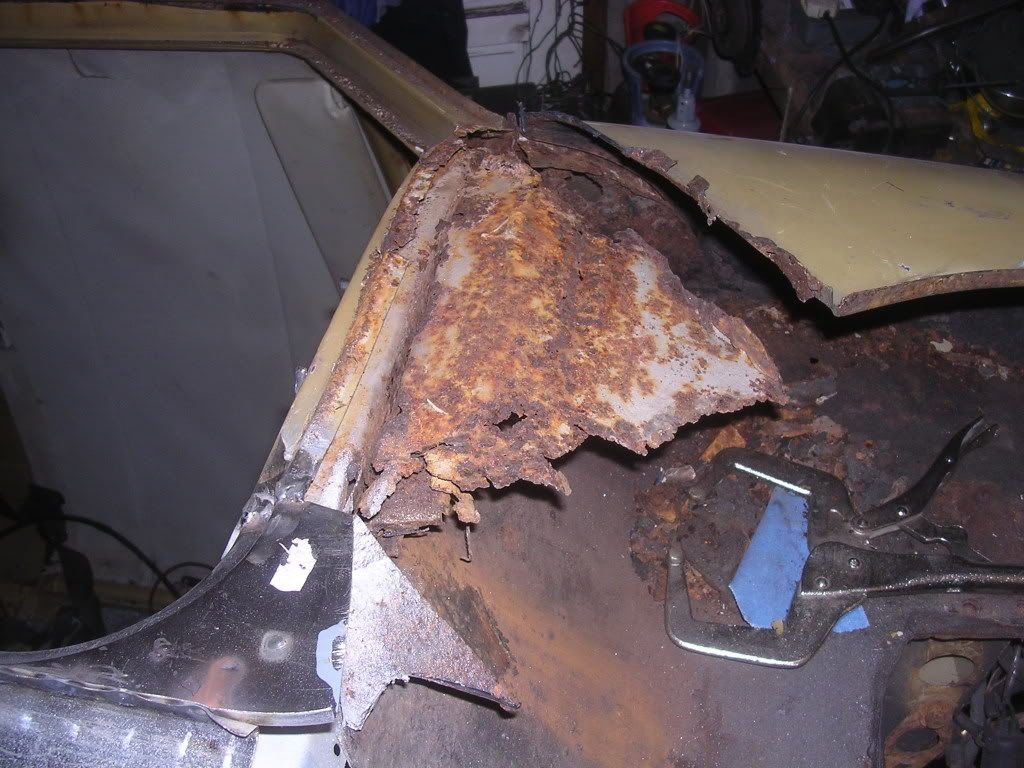
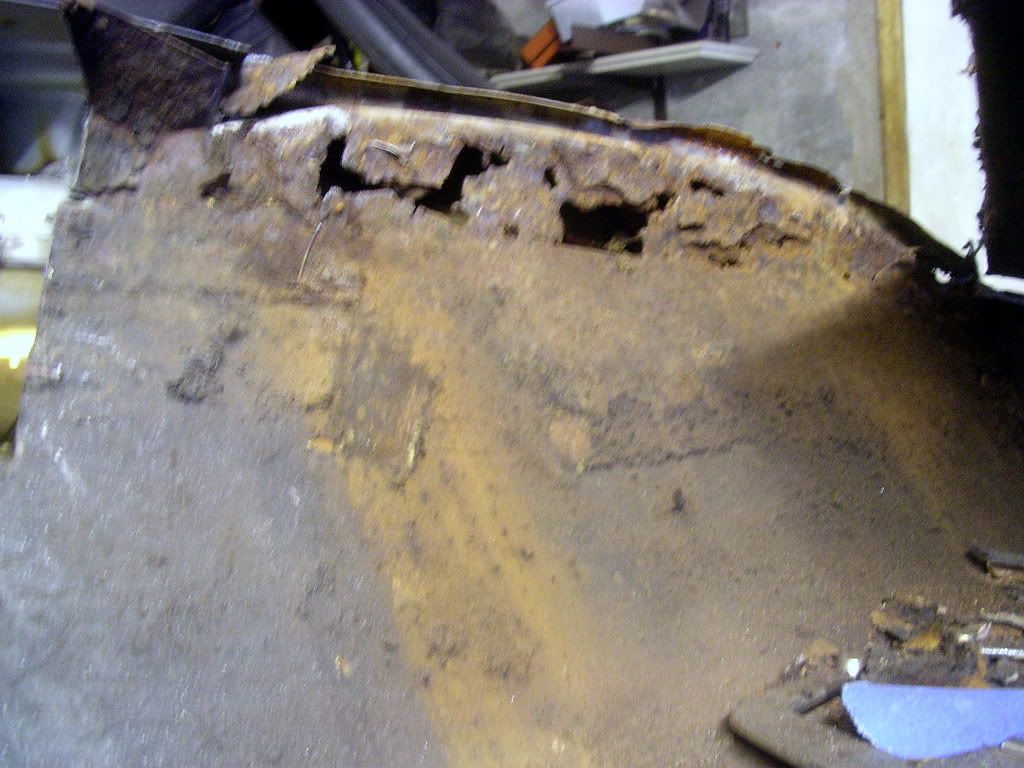
i decided i could not face doing the inner wing so i put my attention to the rear floor, this corner to be exact

Posted Image

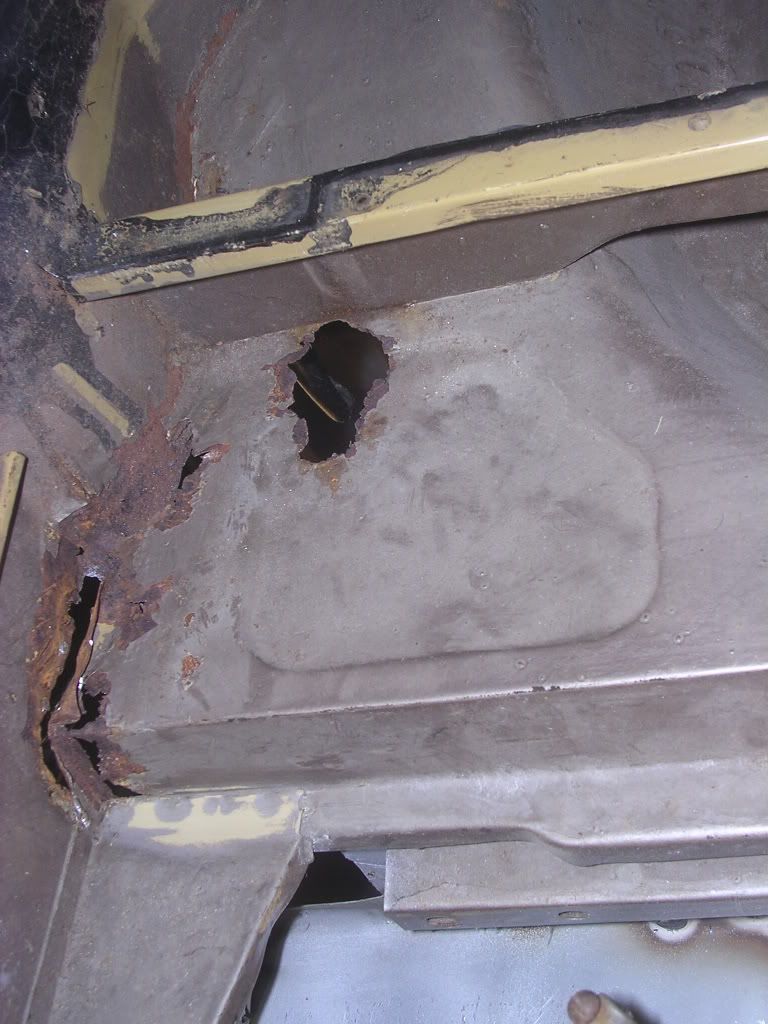
so corner was cut out and repair panel welded in

Posted Image

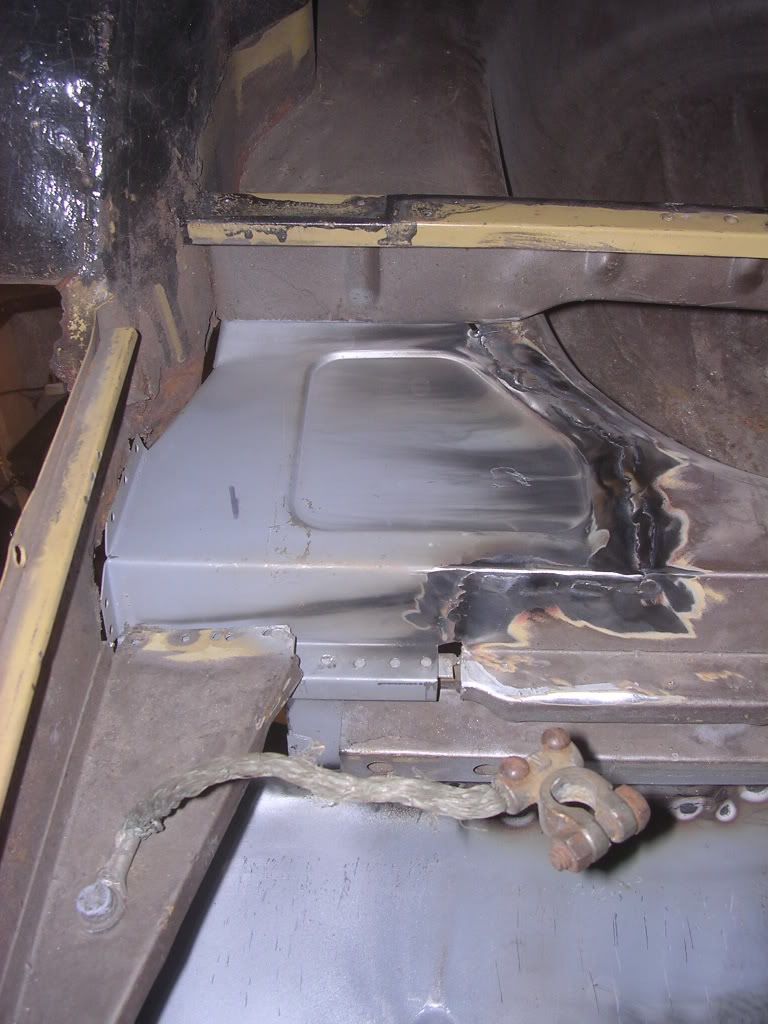
turned out to be a right mare of a job, but its 90% done now, just got a few plug welds along the heel board to do

oh and weld a small strip into the lower edge where some how i managet to cut it to short


welded in some new steel to the heel board.

i took a load of pics of the template, the steel being shaped etc but the camera has decided it not to work and throws up a error screen when ever you turn it on

so was theres only a mobile phone pic of the finished item now ;)

Posted Image

still got to flat the welds down and spot weld it to the rear floor but i gave it a good coat of primer for now as the garage is getting rather damp in this weather.

I'll spot the holes for the subframe tomorrow, then it can go back on temporary to help with moving it around


thats pretty much it

#20 David Hall GT

David Hall GT

    On The Road

  • Noobies
  • PipPip
  • 42 posts

Posted 01 January 2009 - 02:24 PM

looking good dude

#21 Nickh_16

Nickh_16

    One Carb Or Two?

  • Members
  • PipPipPipPipPipPipPip
  • 724 posts
  • Local Club: Pembs

Posted 01 January 2009 - 03:39 PM

amazing work you're doing, saving another bodged mini from the scrapper :D

nice one!

#22 lewis

lewis

    Up Into Fourth

  • Traders
  • PipPipPipPipPipPipPipPipPip
  • 2,322 posts
  • Location: Jersey C.I
  • Local Club: Mini Club Jersey

Posted 01 January 2009 - 08:43 PM

you are very brave, and i like how happy you are as you tackle some serious rot

good luck to you sir!

#23 buddylove

buddylove

    Camshaft & Stage Two Head

  • TMF+ Member
  • PipPipPipPipPipPipPipPip
  • 1,640 posts
  • Location: North America
  • Local Club: SAMOA

Posted 02 January 2009 - 01:17 AM

Wow, props for tackling so much rot.

#24 edi57

edi57

    One Carb Or Two?

  • Members
  • PipPipPipPipPipPipPip
  • 821 posts

Posted 15 February 2009 - 09:47 PM

Any more progress on this lately mate? I'm interested to see your Mk1/Van A-Panels going on.

Ed

#25 l_jonez

l_jonez

    One Carb Or Two?

  • Members
  • PipPipPipPipPipPipPip
  • 1,453 posts
  • Local Club: south wales mini club

Posted 16 February 2009 - 12:01 PM

Any more progress on this lately mate? I'm interested to see your Mk1/Van A-Panels going on.

Ed


sadly not due to lack of space and several projects on the go this one has been put on the back burner for the forseeable future

#26 Minid

Minid

    Stage One Kit Fitted

  • Noobies
  • PipPipPip
  • 76 posts

Posted 16 February 2009 - 04:35 PM

Sorry to hear that as its just what i need to see before i start on my old van.

Great work so far though.

#27 minidream94

minidream94

    One Carb Or Two?

  • Members
  • PipPipPipPipPipPipPip
  • 1,233 posts

Posted 15 May 2010 - 08:09 PM

old thread revival.

anymore progress on this one mate, have a van on the go mysef and loving your project.

#28 l_jonez

l_jonez

    One Carb Or Two?

  • Members
  • PipPipPipPipPipPipPip
  • 1,453 posts
  • Local Club: south wales mini club

Posted 15 May 2010 - 09:05 PM

old thread revival.

anymore progress on this one mate, have a van on the go mysef and loving your project.


sadly no progress. how ever the plan is to start again in july when my other project is finished

#29 l_jonez

l_jonez

    One Carb Or Two?

  • Members
  • PipPipPipPipPipPipPip
  • 1,453 posts
  • Local Club: south wales mini club

Posted 02 December 2010 - 08:04 PM

Today saw the van pulled out of storage and dusted off, hopefully the welding can be finished over winter ready for the warmer weather in spring when it can be sprayed

#30 jagman.2003

jagman.2003

    One Carb Or Two?

  • Members
  • PipPipPipPipPipPipPip
  • 1,307 posts
  • Location: In the shed.
  • Local Club: Owner of my own club of Minis

Posted 03 December 2010 - 08:34 AM

Looking forward to seeing more.


1 user(s) are reading this topic

0 members, 1 guests, 0 anonymous users