#1456
Posted 07 February 2012 - 10:16 PM
I don't want to scare anyone, but here's an update. Even if it is a bit dull!
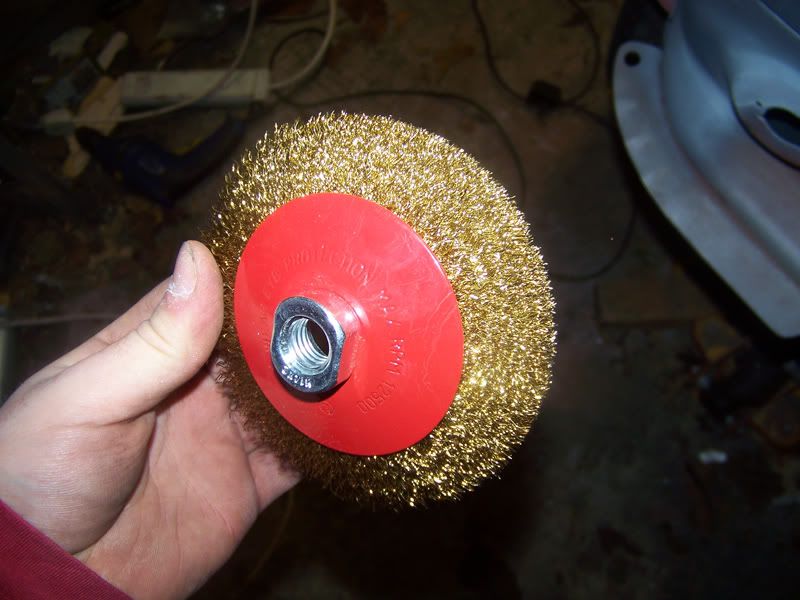
Got a wire wheel off eBay. I'm hoping this will be tame enough to not harm the metal of the car body but still remove the paint.
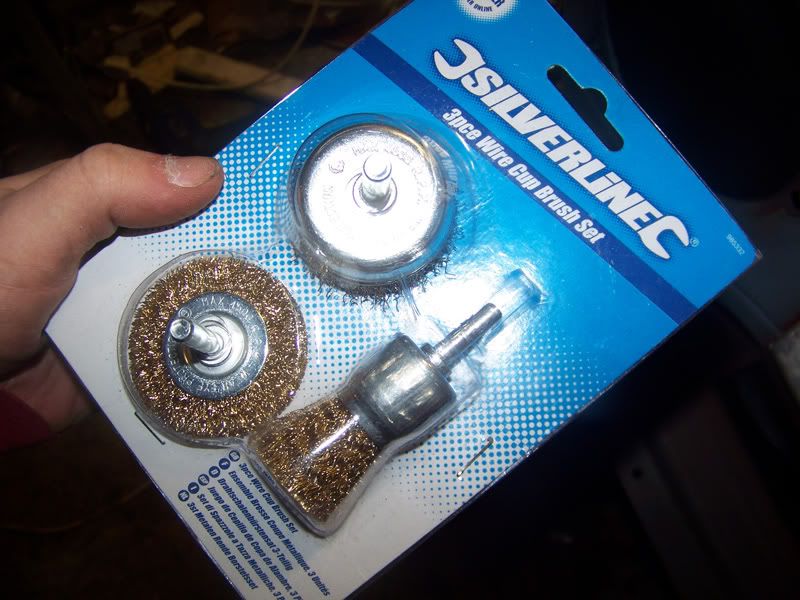
Smaller ones for the drill to get in to the tight bits.
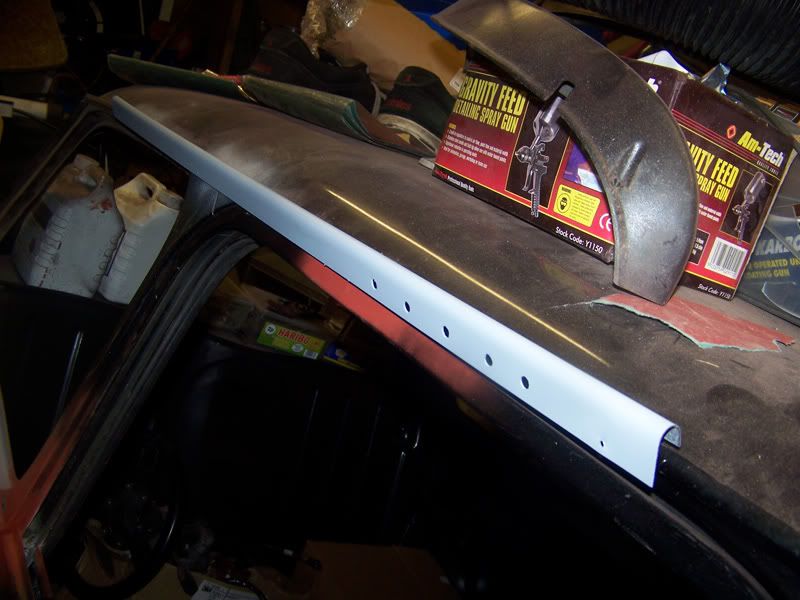
New battery channel, only drilled where I can't get access from the inside due to the crossmember. I don't weld upside down unless I have to.
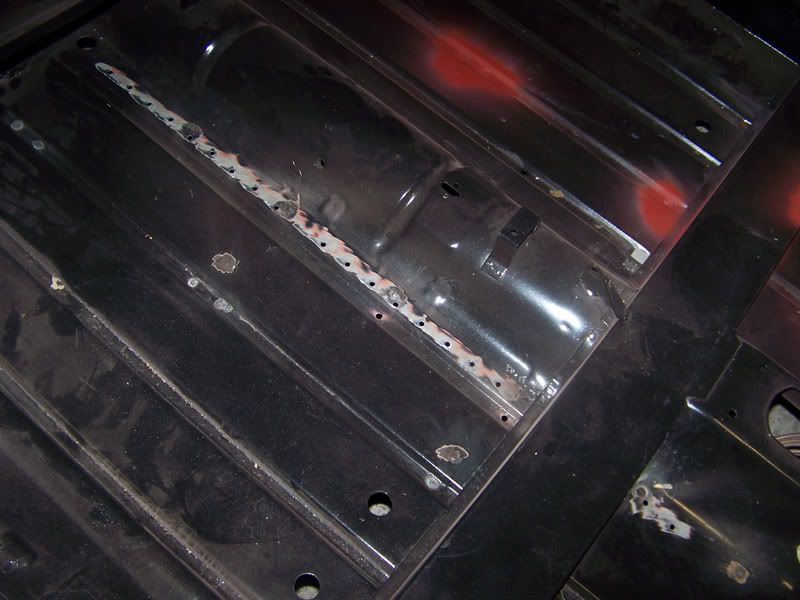
All the other holes in the car floor.
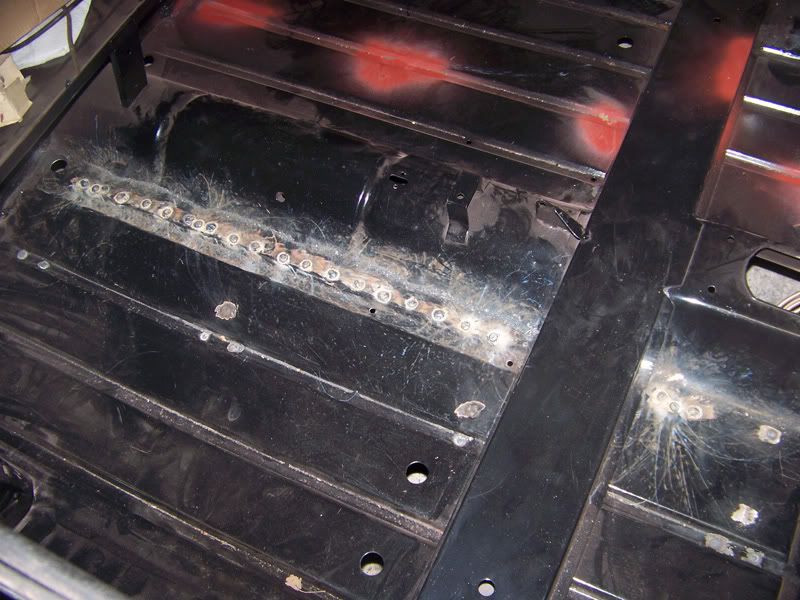
Had a bit of a weldathon.
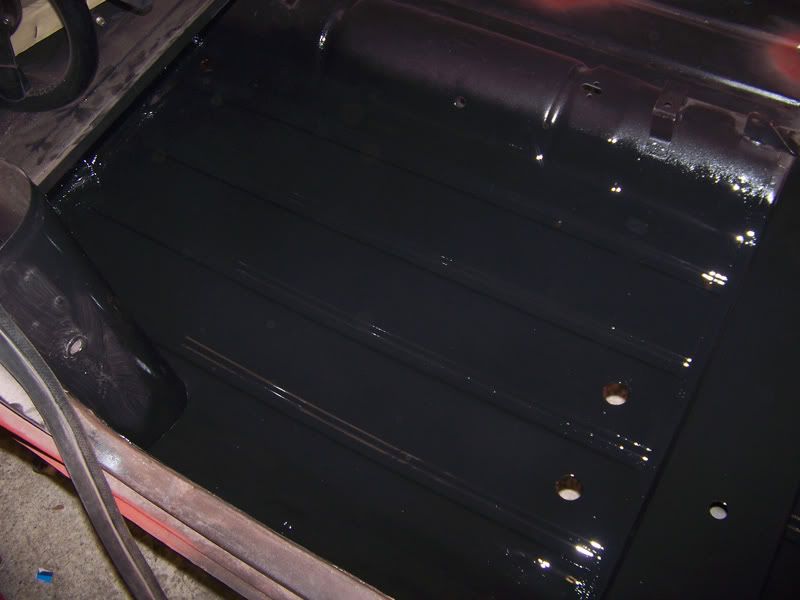
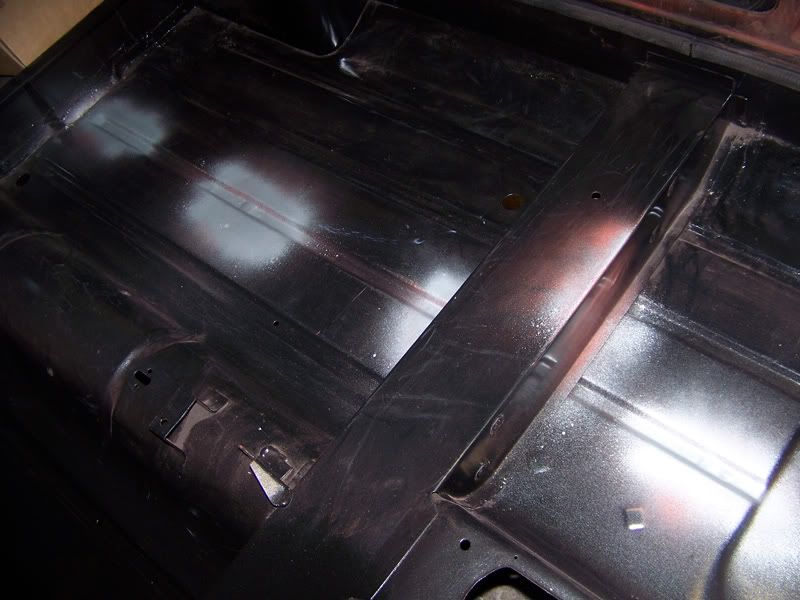
Welds dressed, floor primed and coated with paint.
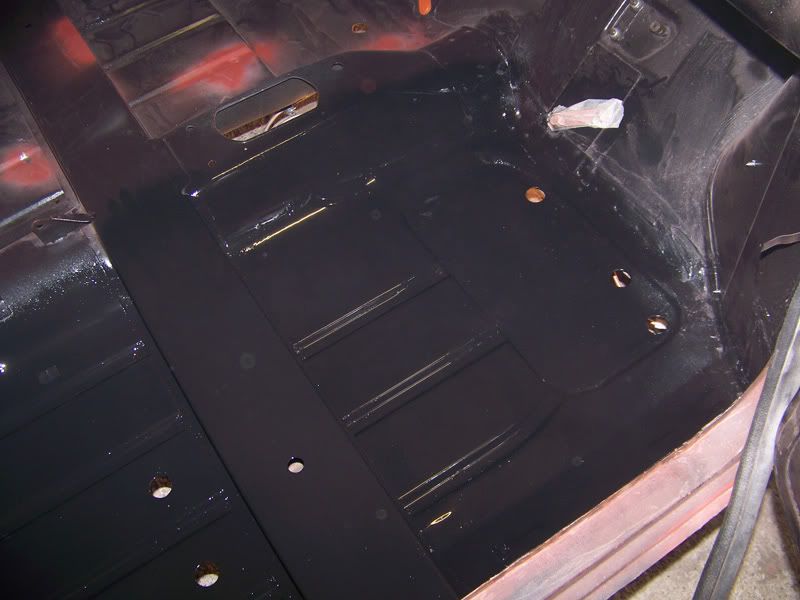
And the front.
Still need to do the passenger side but I need to jack the other side of the car up for that.
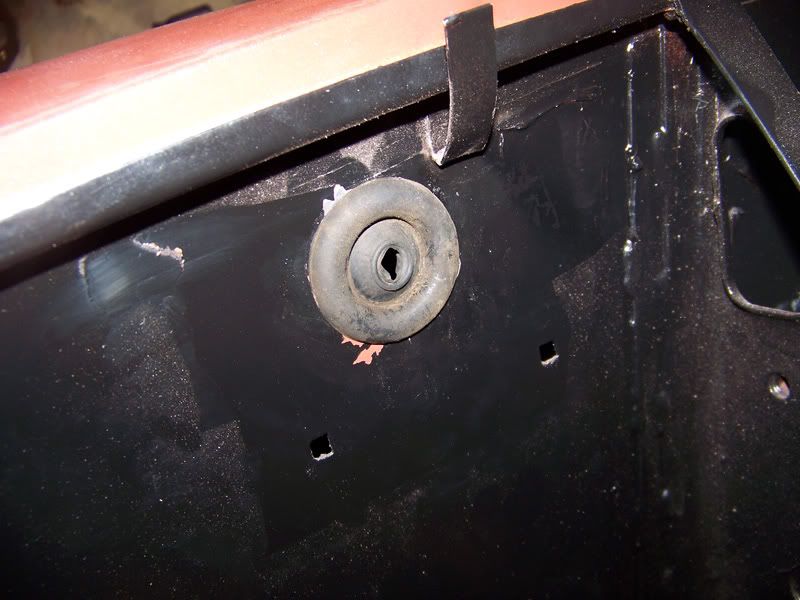
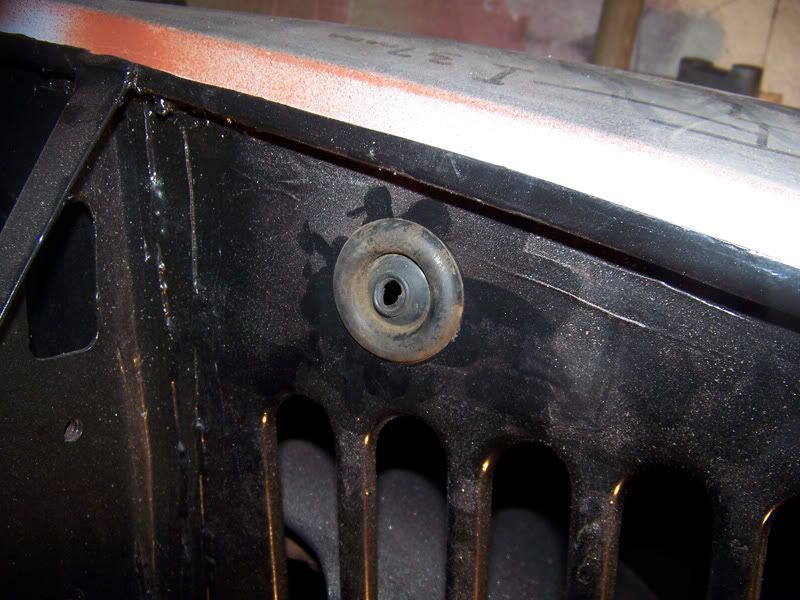
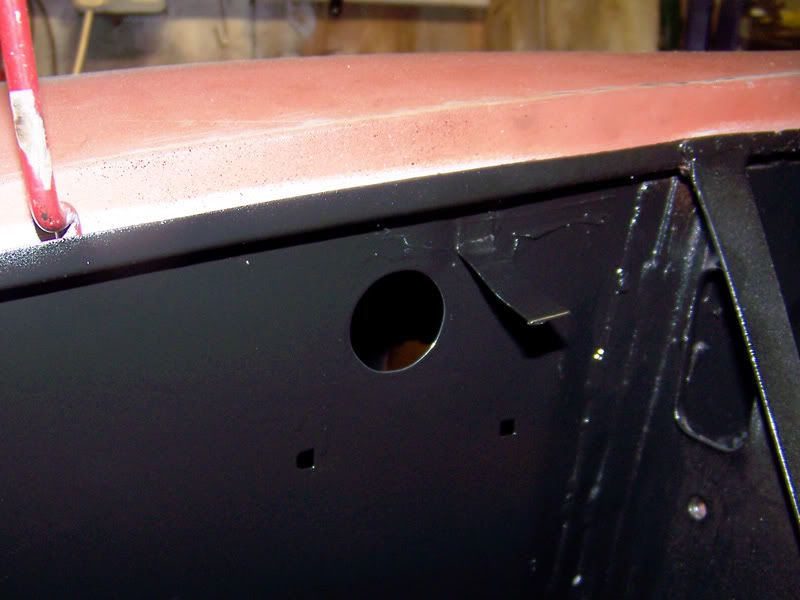
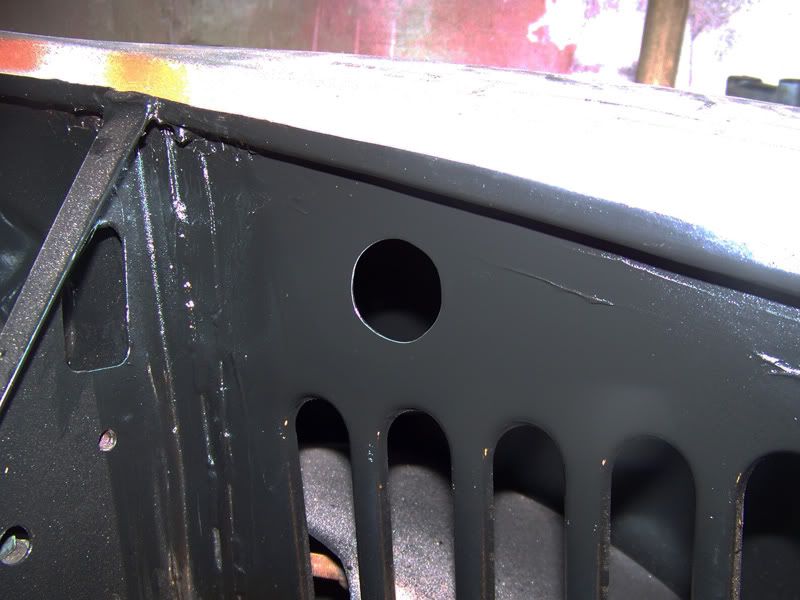
Another thing I needed to sort was the holes for the side repeater wiring. My new inner wings didn't have the holes so I needed to mark out where they should be and make them myself.
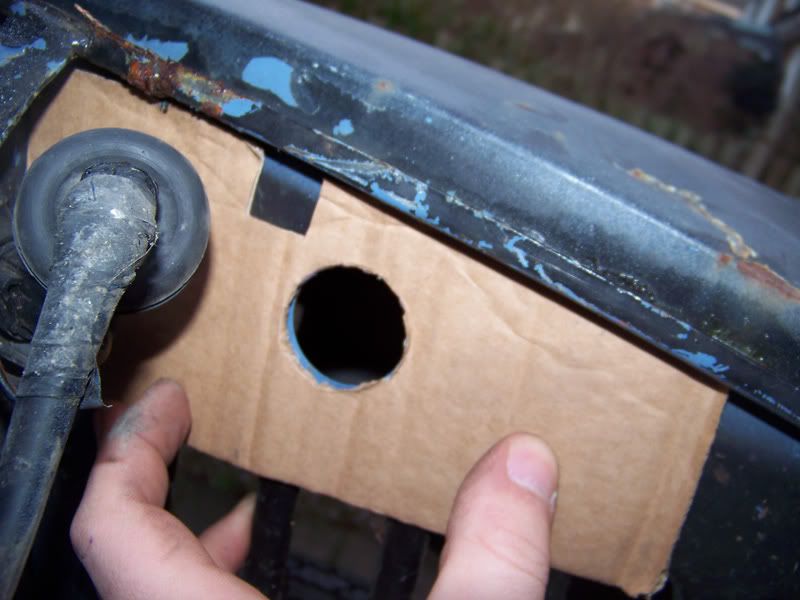
Made a template from another car.
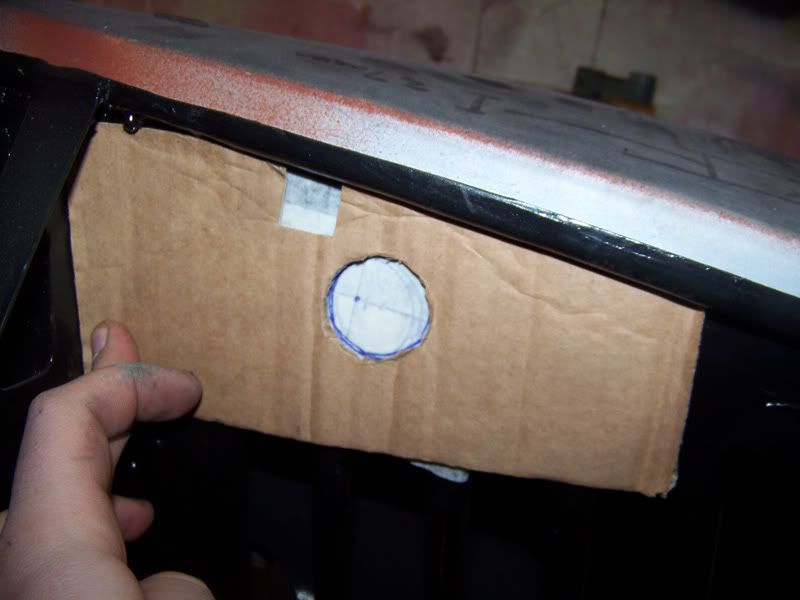
Template used to mark passenger side hole.
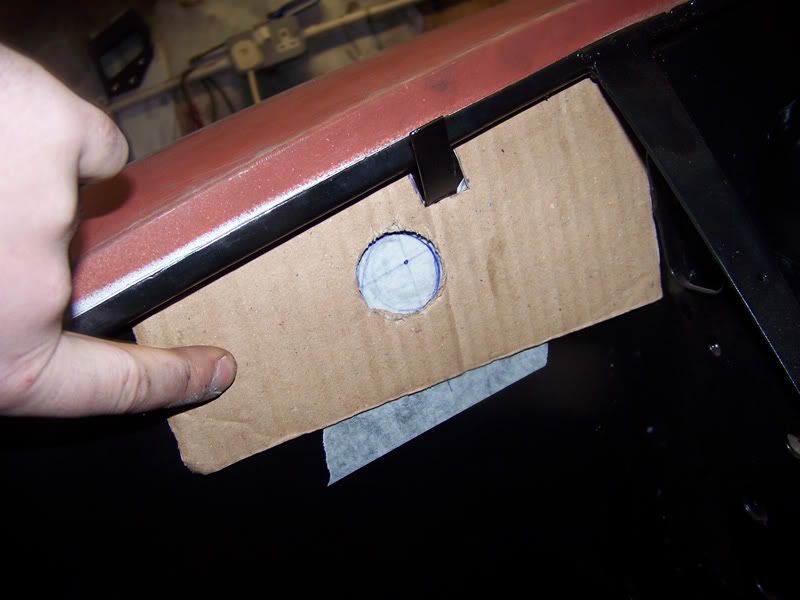
And the driver side hole.
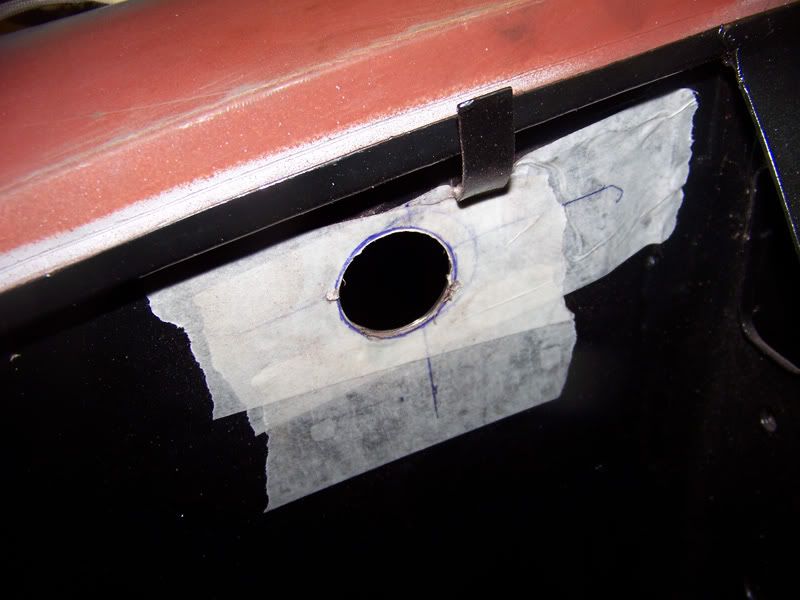
Driver side pretty much done. Just needs checking for size and then painting again.
That's where I'm up to now. I'm trying to get a move on with it now and push past my lack of enthusiasm. I know it'll come back once I get past the painting stage. I'm just dreading it in case I make a right mess.
Thanks for looking :).
#1457
Posted 07 February 2012 - 10:18 PM
I was speaking to someone earlier about your attention to detail with regard rustproofing your rebuild, and how I wanted to do mine like that :)
#1458
Posted 07 February 2012 - 10:43 PM
#1459
Posted 07 February 2012 - 10:48 PM
#1460
Posted 07 February 2012 - 10:56 PM
Looking good! Keep it up, got mine running today
I don't know whether to go the same route as you and get all the engine and stuff in and running before I paint the outside. Can't make my mind up.
I wanted the engine bay all waxoyled and protected before I put the engine in. I suppose I could still do that and just leave the waxoyling of under the wings and stuff until after paint?
Decisions decisions!
#1461
Posted 07 February 2012 - 11:00 PM
#1462
Posted 08 February 2012 - 10:22 AM
nice to see you back at it, dreading things is for sure a motivation reducer. I feel the same way about many things on the mini, front end work, paint, wiring, the list goes on lol. When you do them it all seems easier though. Having followed your build for a while now, you will be fine.
Keep going,
Graham
#1463
Posted 08 February 2012 - 07:07 PM
Hugh
#1464
Posted 09 February 2012 - 12:47 PM
reagrds james
#1465
Posted 09 February 2012 - 09:36 PM
hurry up an ge it paintedddddd!
Ed
#1466
Posted 09 February 2012 - 09:58 PM
Not much done today but here's an update all the same:
Finished off the hole on the inner wing in the driver side. The wiring grommet fits snug now.
Repeated the whole procedure for the passenger side (I've not used a hole saw, which is why it's taken so long).
Driver side cleaned up and painted.
Passenger side cleaned up and painted. Hole is slightly out of round but you'll never see it anyway.
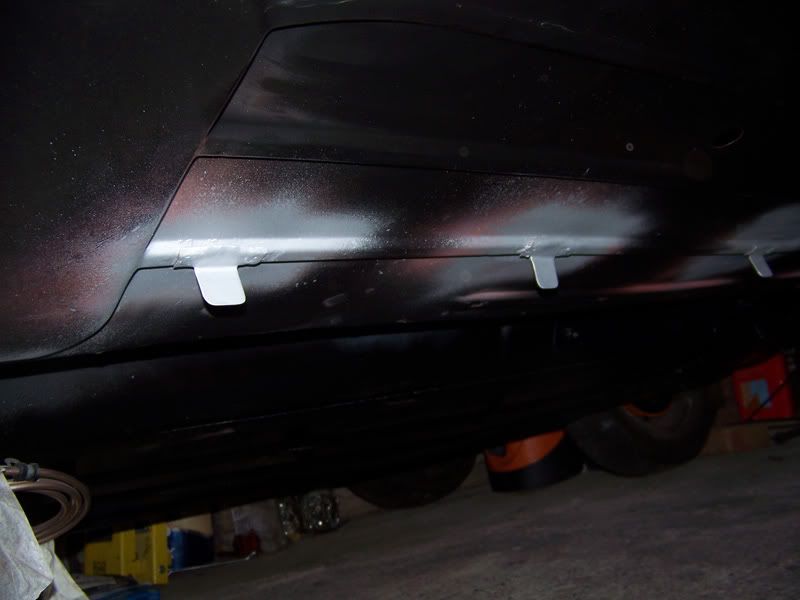
Rubbed down and zinc primed the neccesary parts on the passenger side floor inside.
Did the same for the tabs underneath. The zinc primer seems to be the only primer that doesn't react badly with Rustoleum.
That's all for today. Tomorrow I shall seam seal the tabs underneath and with a bit of luck get some paint on them too.
Thanks for looking :).
#1467
Posted 09 February 2012 - 10:00 PM
#1468
Posted 02 March 2012 - 02:11 AM
Looking pretty good as usual man!
Sorry for the late response Tom, not looked in here in a few weeks. Thankyou though .
Made a bit of progress (nothing on what I should have done in the past 3 weeks or so though, sadly).
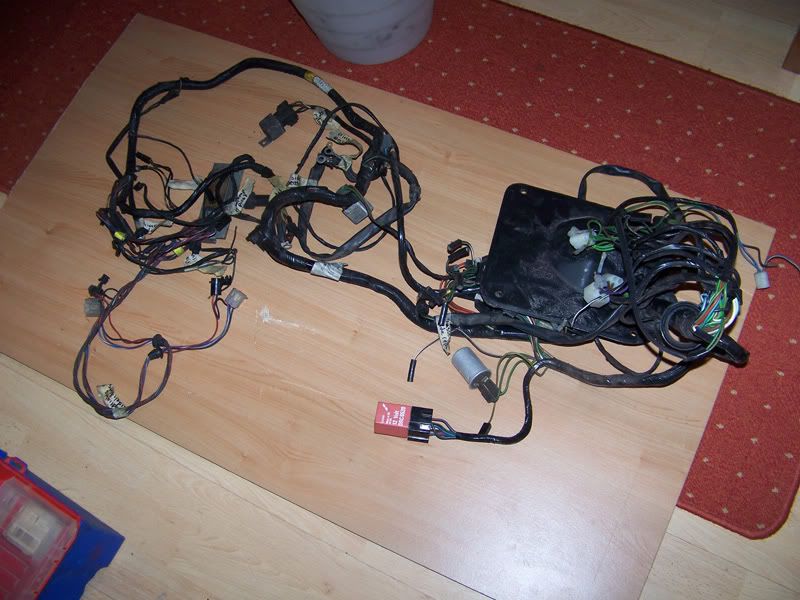
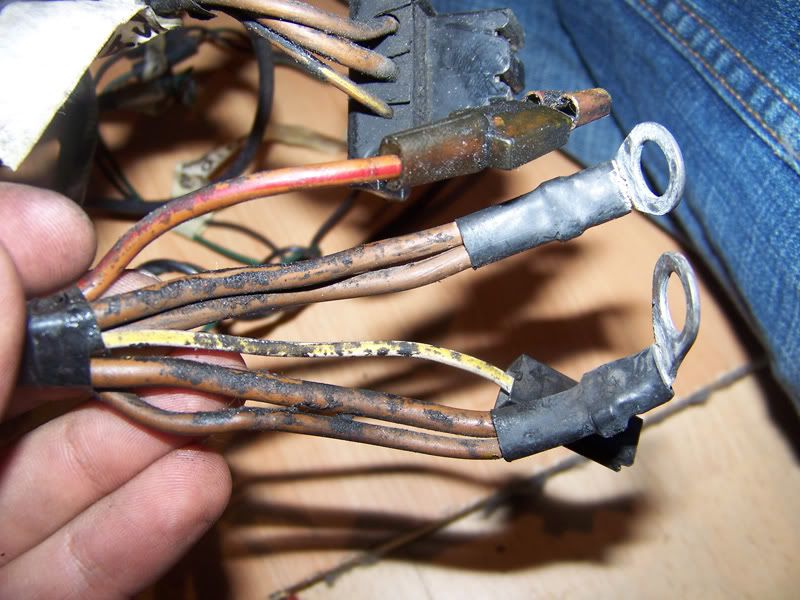
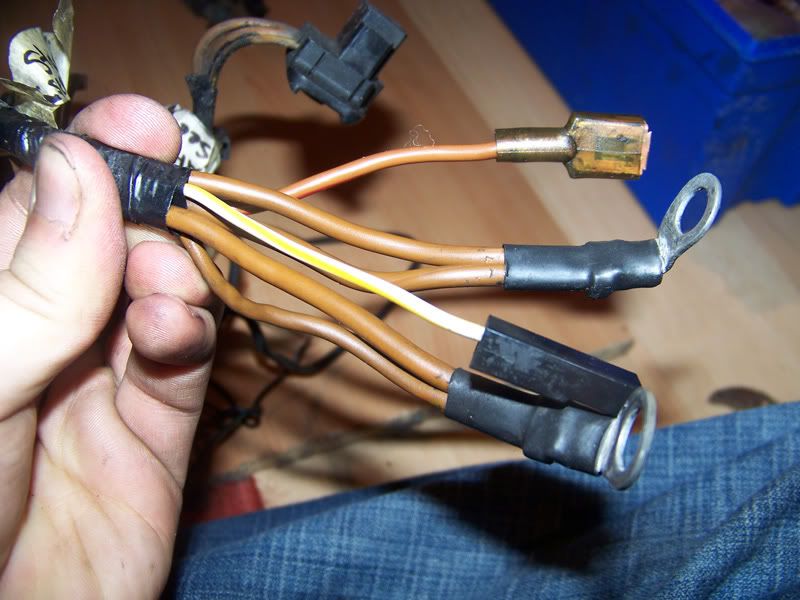
I've made a start on cleaning up the wiring loom so it's ready to go back in when the time comes:
Big pile o' loom.
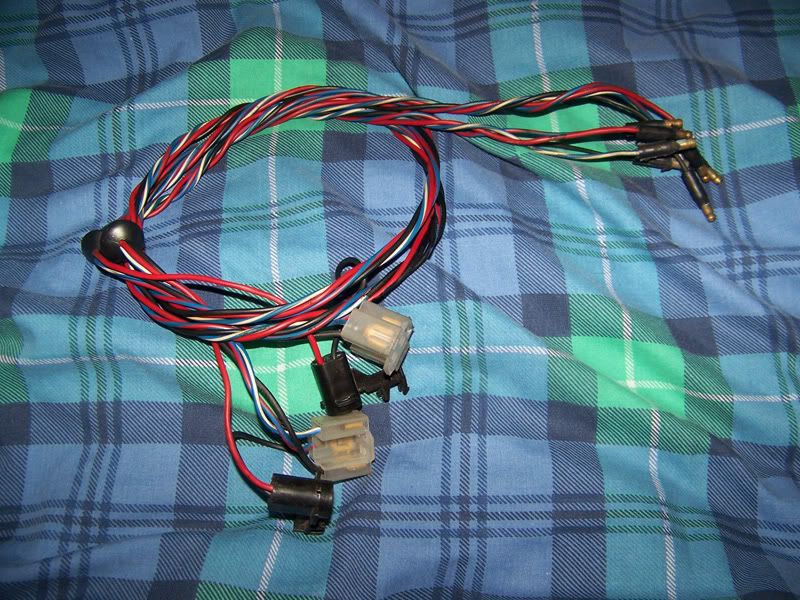
Front lamp wiring removed and cleaned up. I might wrap these before they go back on the car so they don't attract rubbish as much.
Alot of the loom looks like this, wouldn't be acceptable to put it back without sorting it out!
It will all need to look like this before it goes back in.
I've been to the garage for the first time in a fortnight today. Slapped some paint on the interior floor and underside. With a brush that is. I want it done now so I'm not going to mess about trying to get a smooth glossy finish on a surface which is going to get covered in underseal, waxoyl and road muck anyway! As for the inside, it's all going to be covered by sound deadening, underlay and carpet. As long as it's all protected, who cares?!
I did some other odd jobs as well today, finished trimming down the arch shields so they look neat on both sides now. Taken them off as they aren't needed again until the final build up so I'll store them again.
Rear sides of the indicator holes I made previously have now been sanded and primed. I'll top coat them next time I'm at the garage.
Next step is to go around the car and make sure all the panel work is finalised ready for paint prep. Some work still to do on the doors and a few welds in hard to reach places to dress down.
Thanks for looking :).
#1469
Posted 02 March 2012 - 10:24 AM
#1470
Posted 02 March 2012 - 02:03 PM
Wow... Just wow... Read through all 98 pages and I'm just astonished. Well done, sir.
I feel you've accomplished a feat yourself sir! I can't believe this is almost 100 pages long now haha.
Also tagged with one or more of these keywords: roundnose
Projects →
Mini Saloons →
1965 Austin Mini Restoration - Canadian Mk1Started by DoubleEh , 14 Nov 2022 roundnose |
|
|
||
Projects →
Mini Saloons →
Project Joe - 1991 Mini Mayfair 998Started by Eggers , 02 Jun 2022 roundnose |
|
|
||
Projects →
Mini Saloons →
Mpi Dashboad ProblemStarted by mikeprez , 22 Dec 2021 roundnose |
|
|
||
Projects →
Mini Saloons →
1978 Oew - Willy The MiniStarted by smalltreegrower , 11 Nov 2021 roundnose |
|
|
||
Projects →
Mini Saloons →
1968 Mk2 Cooper BuildStarted by Minime998 , 15 Sep 2021 roundnose |
|
|
1 user(s) are reading this topic
0 members, 1 guests, 0 anonymous users