#1441

Posted 13 November 2011 - 08:18 PM
#1442

Posted 14 November 2011 - 07:41 PM
Got some more done today:
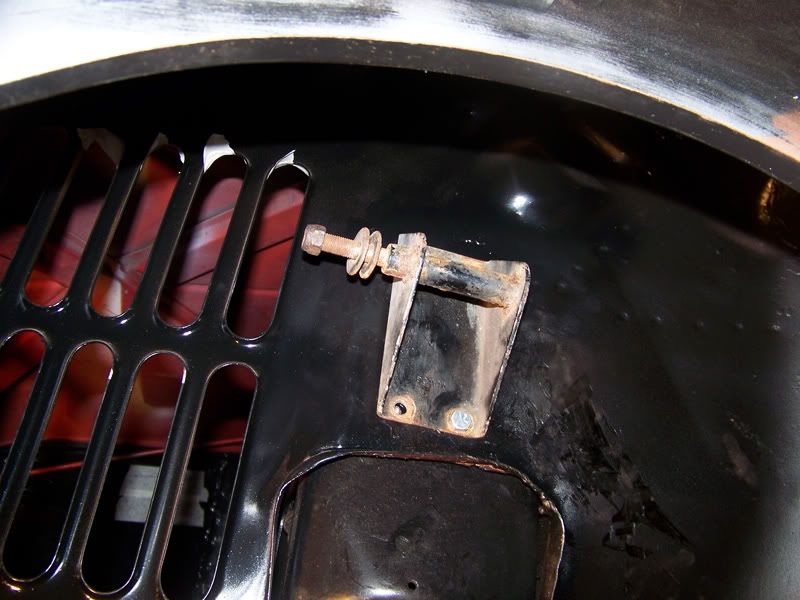
Found the passenger side damper bracket and fitted it temporarily.
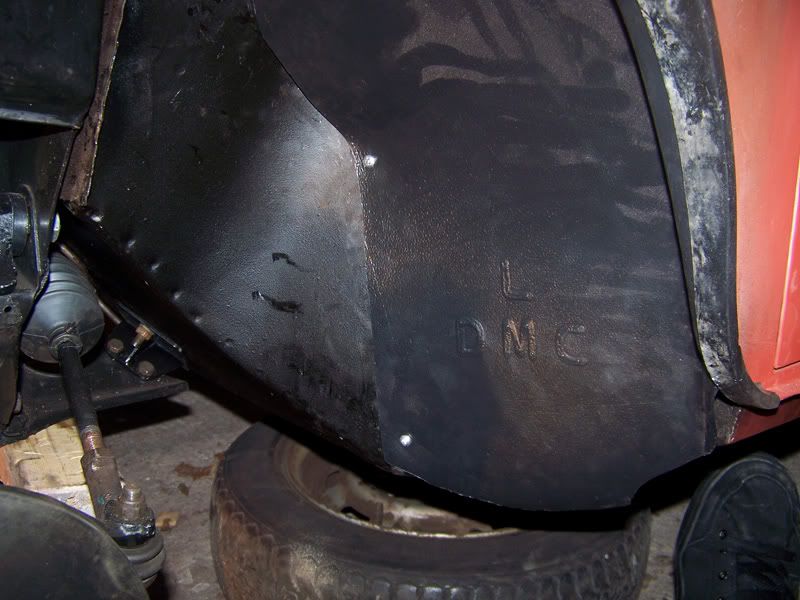
Rear of arch shield secured.
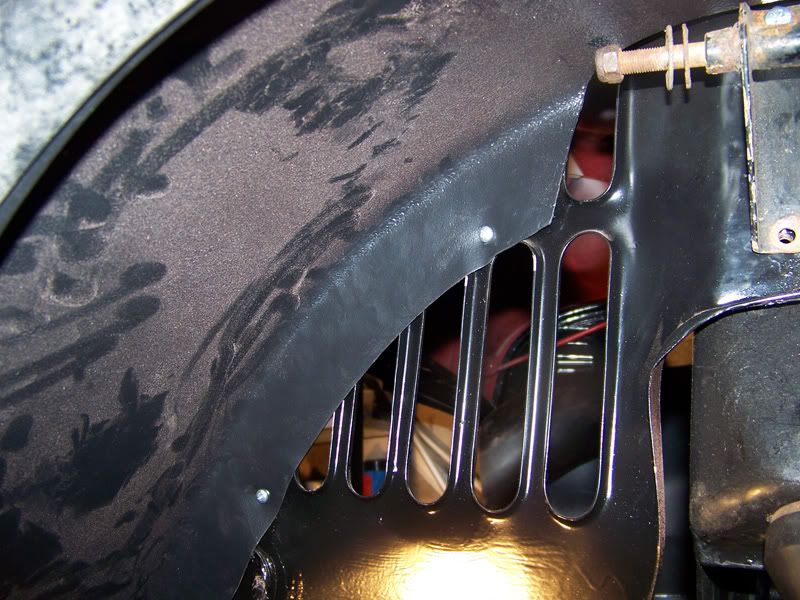
And the front. It covers a considerable amount of the radiator slats so I will have to keep an eye on the engine temperature.
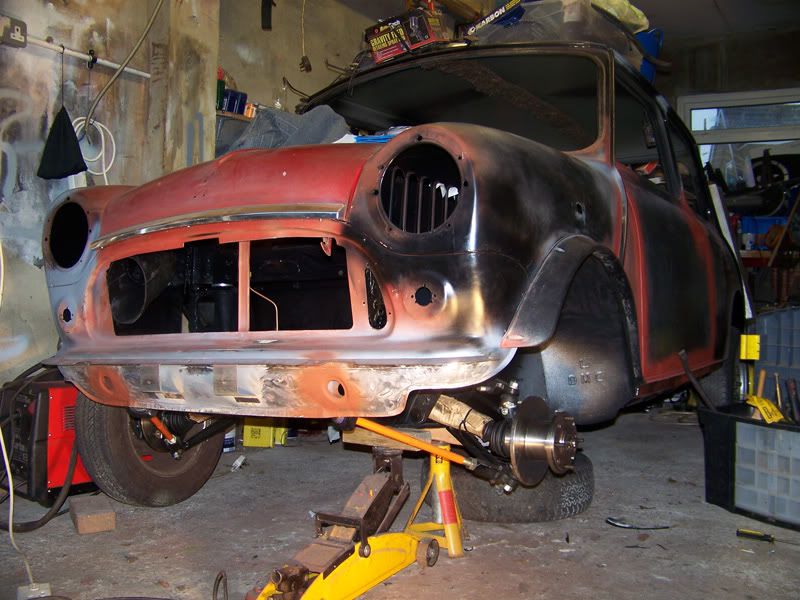
Overall view.
I have done more work than that but I didn't take any pictures. I think I've got my enthusiasm back so more progress tomorrow.
Thanks for looking
#1443

Posted 14 November 2011 - 07:43 PM
#1444

Posted 14 November 2011 - 07:50 PM
There is also the little vent at the side of the front panel which gets covered by the grille. It's meant to feed the passenger side fresh air vent but since I don't have any I might be able to utilise it to feed the covered slots.
It's all something which can be tinkered with later anyway if I have any troubles. But Minis having the air catching engine bay that they do, I don't think it'll be a problem.
#1445

Posted 15 November 2011 - 01:18 PM
Hugh
#1446

Posted 15 November 2011 - 01:58 PM
#1447

Posted 15 November 2011 - 03:44 PM
#1448

Posted 15 November 2011 - 09:31 PM
Haha yeah Hugh, it's been going on far too long haha.
Here's todays update:
I'd decided that securing the brake and fuel lines as well as the battery cable with p-clips was going to prove both expensive and impractical and even though I've already painted the floor underside and inside that I was going to put tabs back on the underside. Some would call me crazy, these people would be correct! I'm intending to keep this car and it will be constantly tinkered with so if I ever came to uprate the fuel line or remove the battery cable for whatever reason, I didn't want to have to mess about with nuts and bolts (some of which I'm pretty sure I wouldn't be able to reach both sides of on my own), not to mention having to rip out the whole interior for a job which is on the underside of the car!
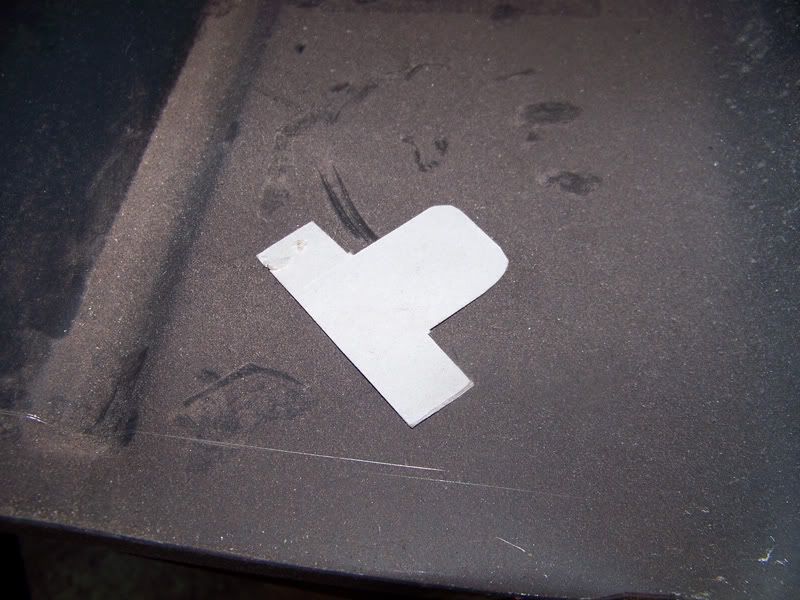
Template made up. Not quite the same as standard but they'll do the same job.
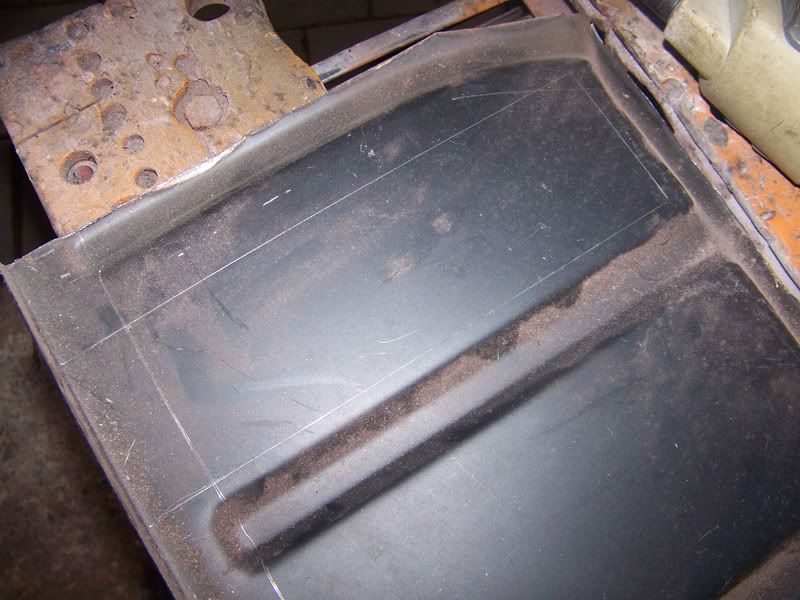
Butchered the remains of a floor panel I had kicking around for the steel sheet I needed.
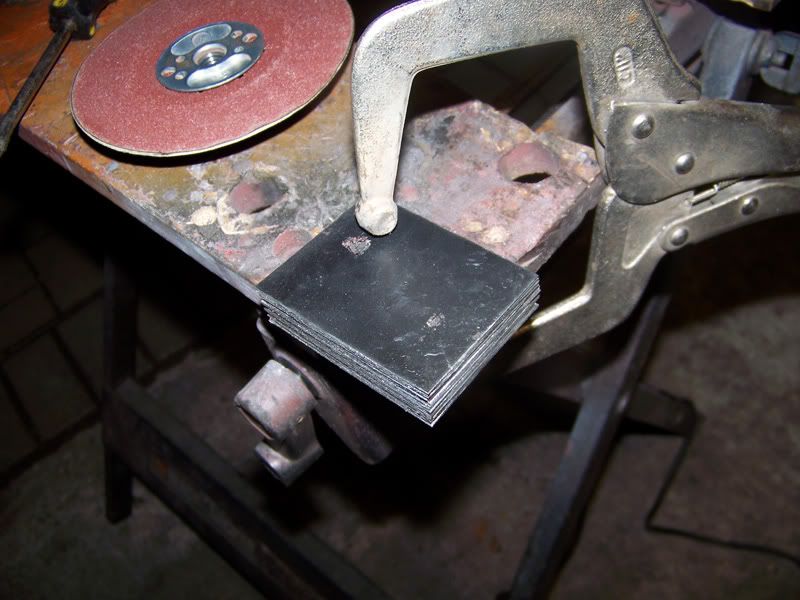
Layered up so I could cut them all at once.
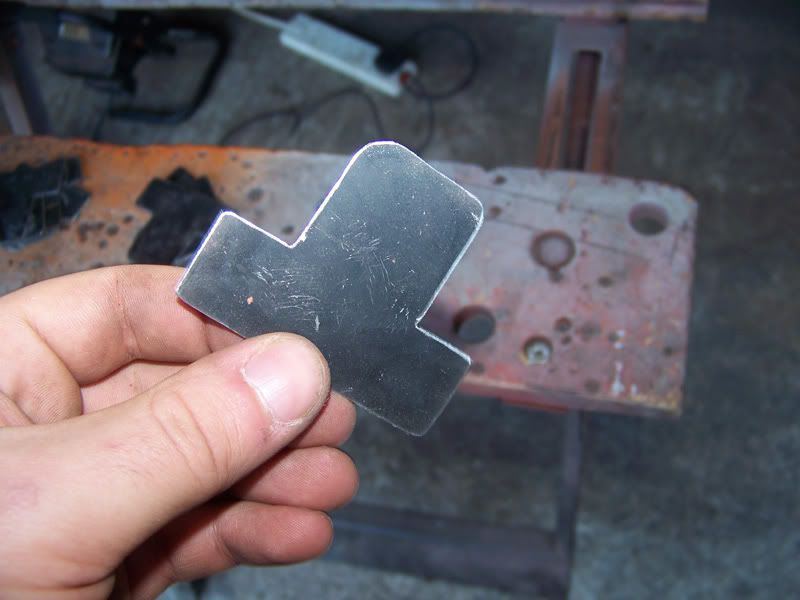
Here's how they came out.
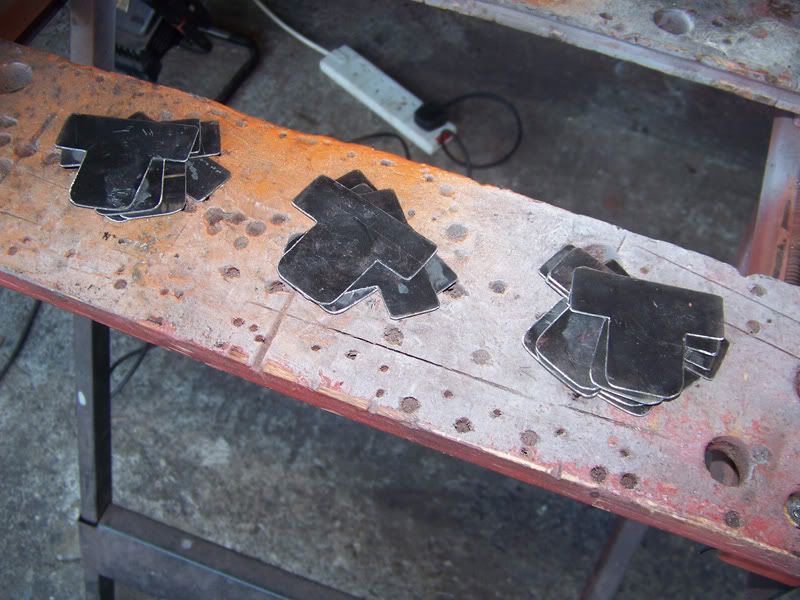
Left to right: 4 for the fuel pipe, 4 for the brake pipe and 8 for the battery cable as I wasn't prepared to pay £15 for the proper channel and then £10 to have it posted to me only to then have to sit around and wait for it to arrive. I also wanted to move the channel a bit further away from the exhaust tunnel.
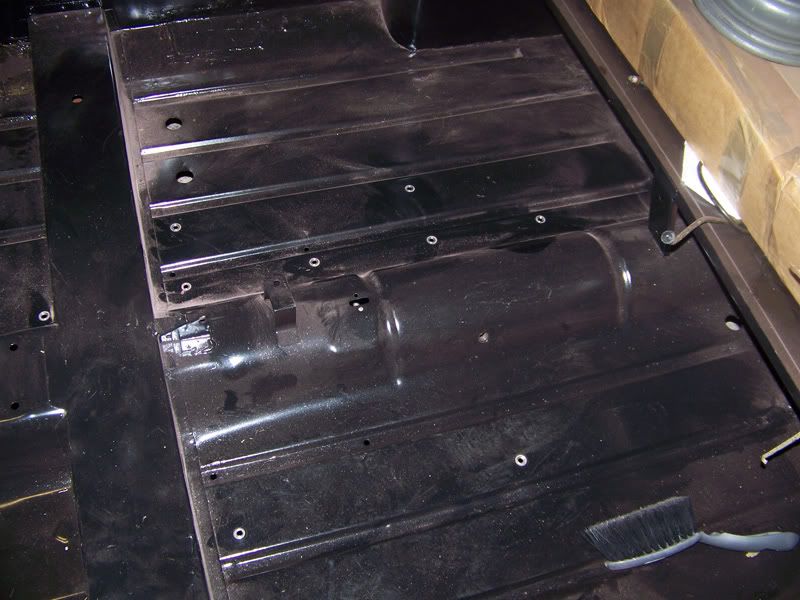
Used the wire brush attachment to remove some of the paint around the holes I'd originally drilled for nuts and bolts so I could weld them up.
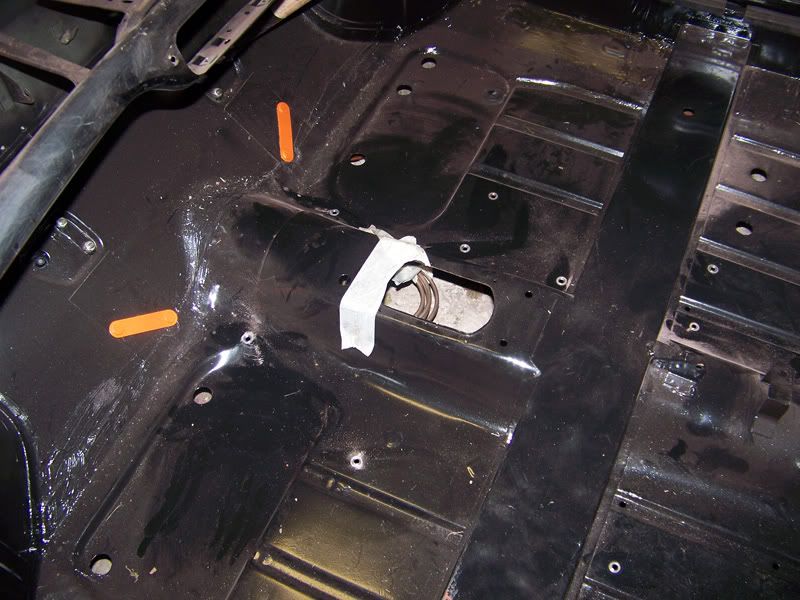
Same treatment at the front. He's mad they say!
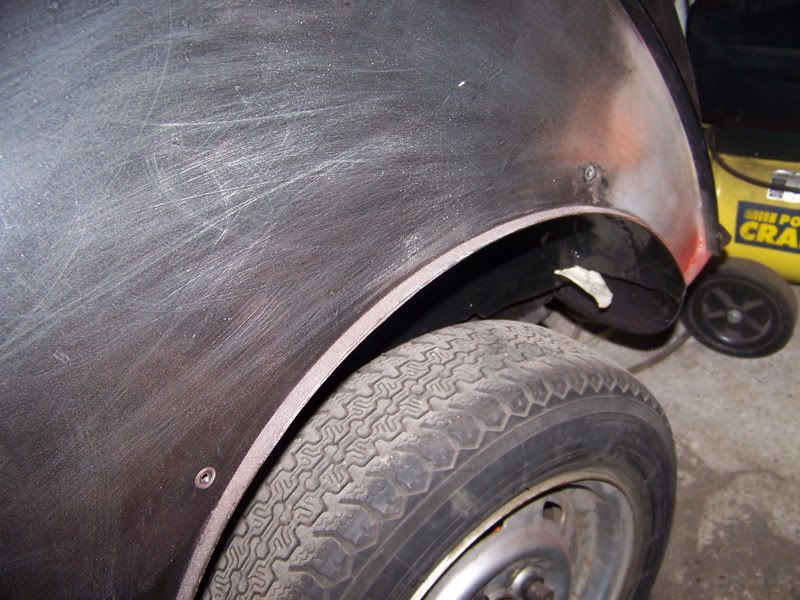
Same treatment for the two remaining arch holes as someone has made them larger than standard at some point so my new fixings don't fit in them.
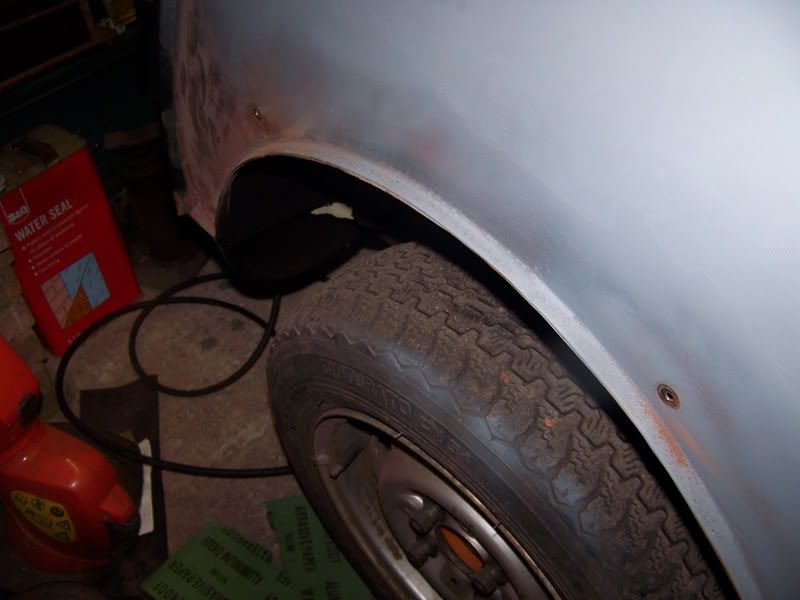
Same around the other side.
I did get all the holes welded up but I hadn't finished dressing them so I've no photos of them filled in.
That was all for today! Either tomorrow or Thursday I'll be starting to weld the tabs in place.
I know what you're all thinking, he's ruined that paint work he faffed about doing. Never fear though as I bought some more Rustoleum and this time I even got a rattle can of the stuff to try out so I can easily blow the paint back in when I'm finished welding the tabs on.
I've learnt an important lesson as I've progressed with Elliot, whenever you think a modification is a great idea and wondered "Why the hell didn't they do it my way in the first place?!", don't do it. You'll only regret it later. Most of the modifications I've done to Elliot over the last 3 years, I've later regretted and ended up reversing. Those of you who have read from the beginning will know I speak the truth. Think back to these mods:
- Flip front (removed inner wings)
- De-bumpered front end
- Fiberglass boot lid
- Fiberglass rear valance
- P-clips on brake/fuel and battery cable
Thanks for looking
#1449

Posted 17 November 2011 - 12:55 PM
Anyway! I've just ordered all the gubbins I need to paint Elliot. Well bar etch primer which I will have to get from somewhere else.
A big thanks to PanelBeaterPeter for helping me sort out what I needed to get and making sure I didn't buy a load of stuff I didn't need!
Off to the garage shortly to crack on.
#1450

Posted 17 November 2011 - 06:39 PM
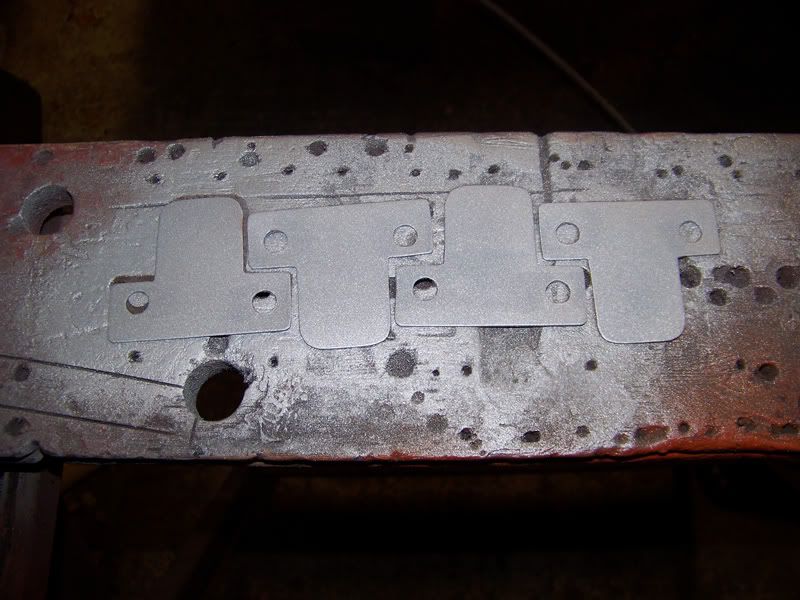
Holes drilled for plug welding and zinc primed.
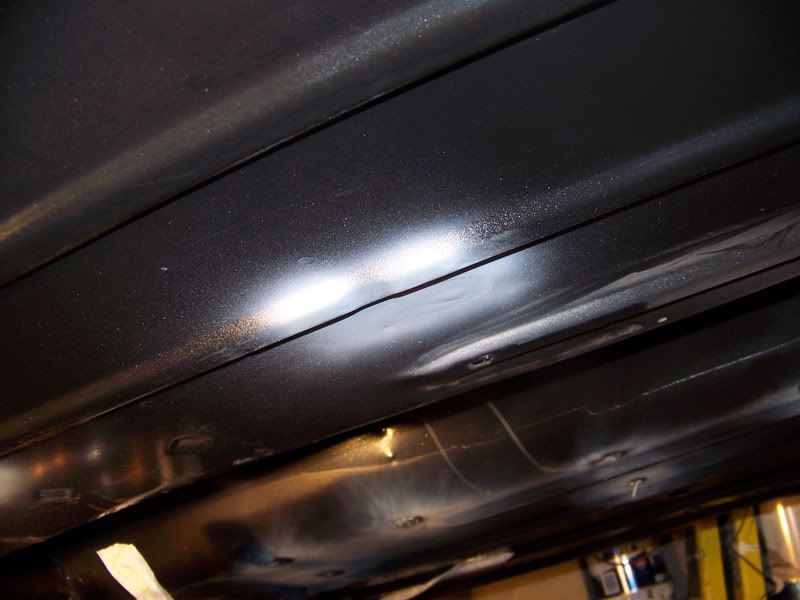
I bare metalled the areas where the plug welds would be and zinc primed them too.
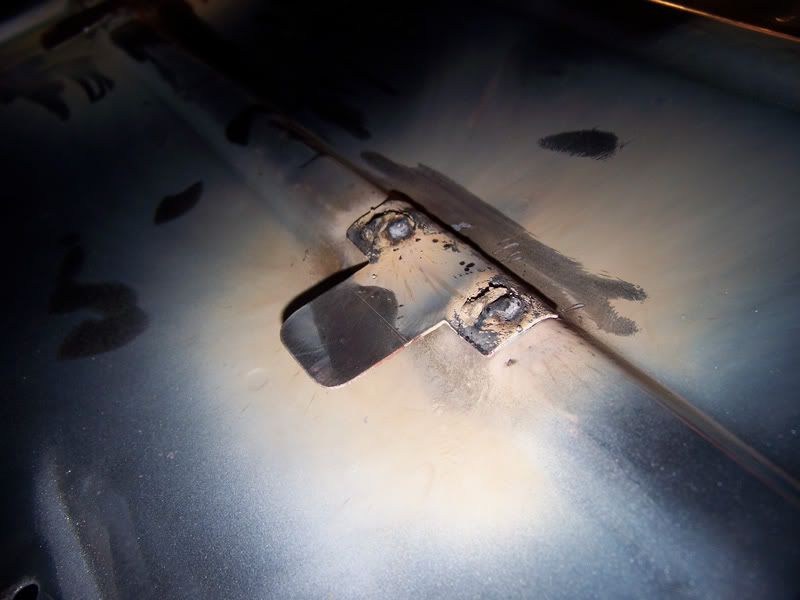
Then I welded the tabs in place. I hate welding upside down.
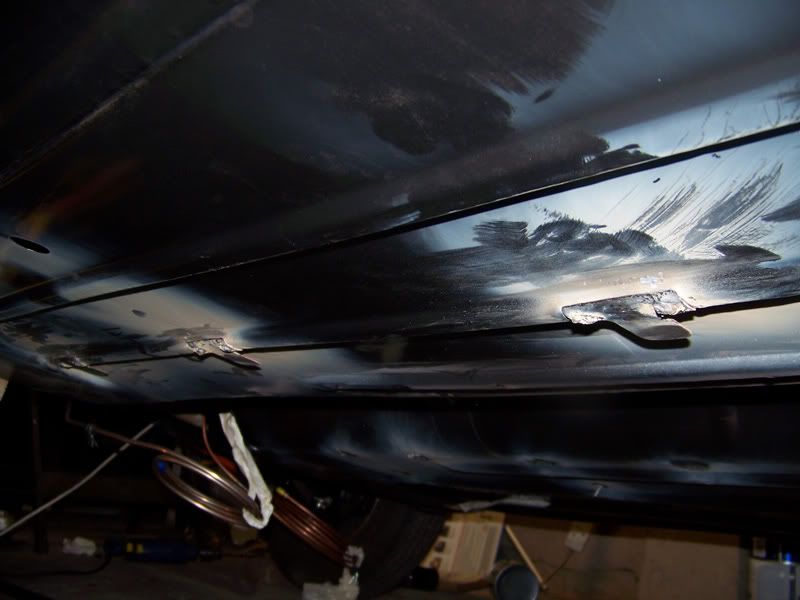
All in place for the fuel line, just a little tab to make for right up at the front and then I'll dress them and get them painted.
Thanks for looking
#1451

Posted 17 November 2011 - 07:39 PM
anyway, whats done is done!
looks good pal!
Ed
#1452

Posted 17 November 2011 - 08:56 PM
After looking in this months Mini Mag I've been considering using a mk1 boot lid light on my mk4 lid and welding up the original holes.
#1453

Posted 17 November 2011 - 09:38 PM
Graham
#1454

Posted 17 November 2011 - 09:41 PM
Yeah, welding upside down sucks! Spatter in your face, neck starts to ache, the list goes on!
#1455

Posted 18 November 2011 - 03:55 PM
Also tagged with one or more of these keywords: roundnose
Projects →
Mini Saloons →
Mini Cooper Project - Finally StartsStarted by piphatch , 08 Jan 2025 |
|
|
||
Projects →
Mini Saloons →
1965 Austin Mini Restoration - Canadian Mk1Started by DoubleEh , 14 Nov 2022 |
|
|
||
Projects →
Mini Saloons →
Project Joe - 1991 Mini Mayfair 998Started by Eggers , 02 Jun 2022 |
|

|
||
Projects →
Mini Saloons →
Mpi Dashboad ProblemStarted by mikeprez , 22 Dec 2021 |
|

|
||
Projects →
Mini Saloons →
1978 Oew - Willy The MiniStarted by smalltreegrower , 11 Nov 2021 |
|

|
1 user(s) are reading this topic
0 members, 1 guests, 0 anonymous users


