Dragging my feet at the moment, it isn't good.

#1366

Posted 10 September 2011 - 04:49 PM
Dragging my feet at the moment, it isn't good.
#1367

Posted 13 September 2011 - 07:57 PM
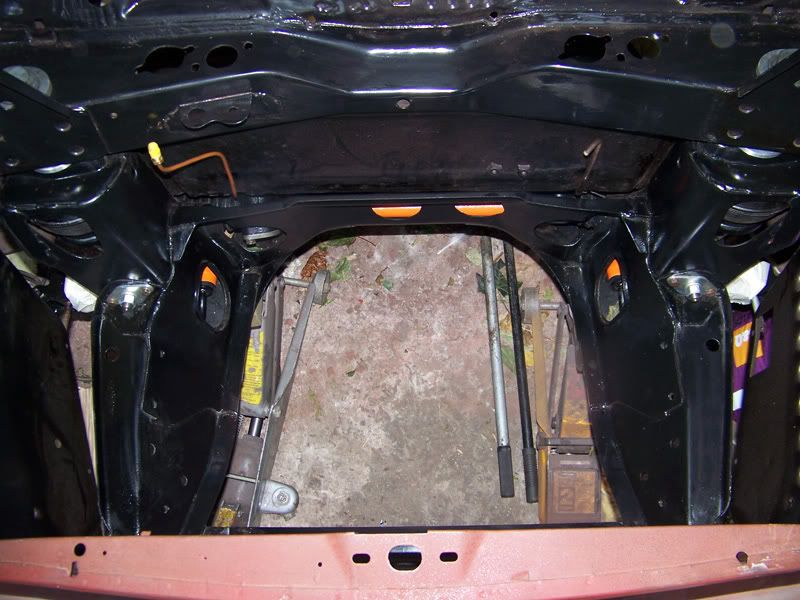
Subframe, plus brake and fuel pipes in.
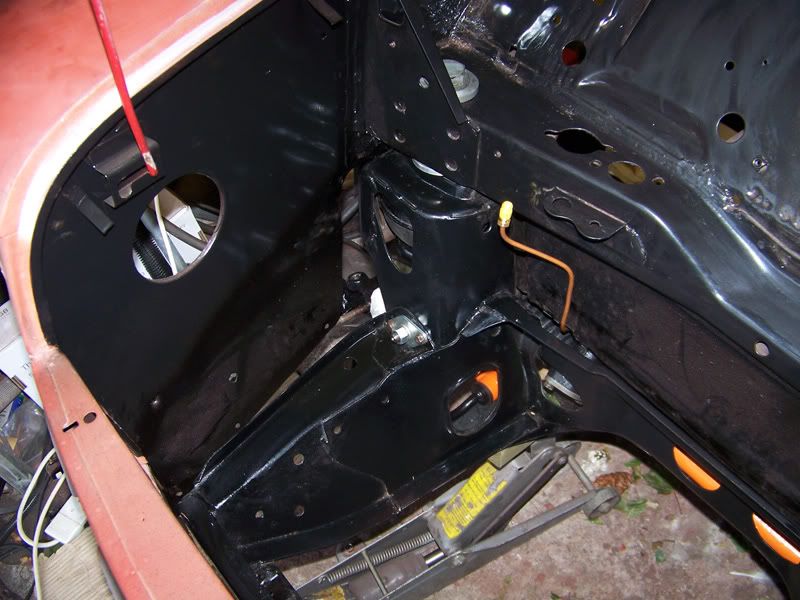
Driver side.
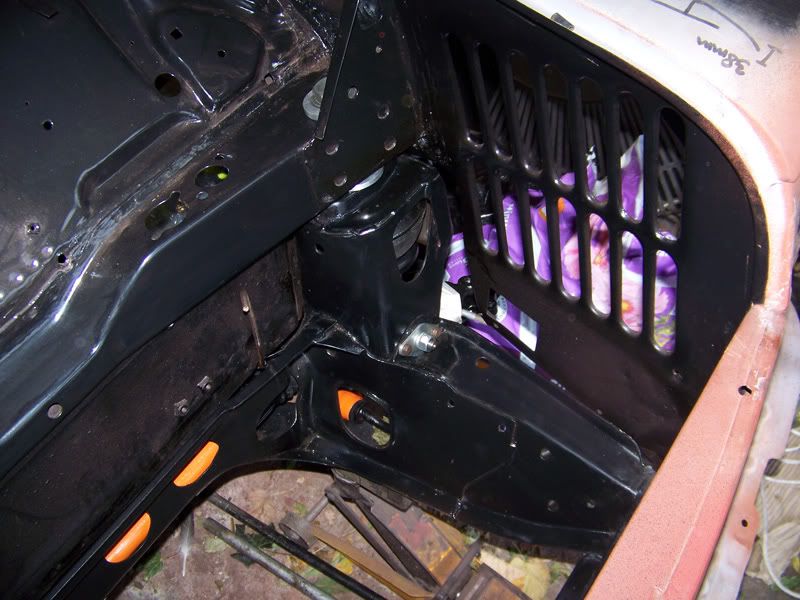
Passenger side.
The brake and fuel lines aren't finished. Just the front section is fitted and the remainder is masked to the floor underneath the car. I was going to do them properly but I'm a few bits and bobs short of what I need to do the whole lot.
The hubs are built up ready to go on the car too. Shouldn't be too long before she is rolling again.
Thanks for looking
#1368

Posted 13 September 2011 - 08:18 PM
#1369

Posted 14 September 2011 - 02:06 PM
It is indeed! Especially when the bits go together easily. Had some problems with the subframe tower bolts, one of them wouldn't go in all the way even though it wasn't cross threaded, very odd. Then it just went straight in, must have been some crud in the threads which eventually shifted.
The whole engine bay needs a wash before the engine and stuff starts to go in I think, dust from sanding is getting everywhere!
#1370

Posted 22 September 2011 - 07:56 PM
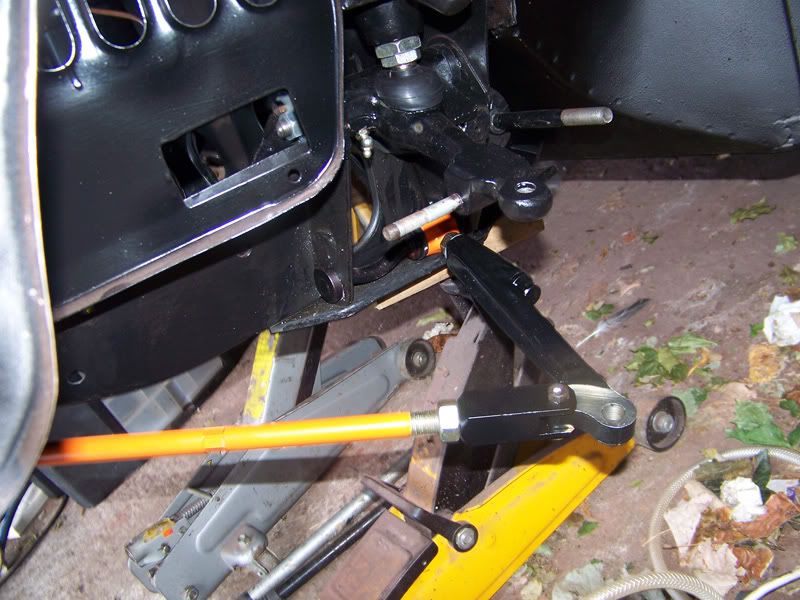
Passenger side tie bar installed.
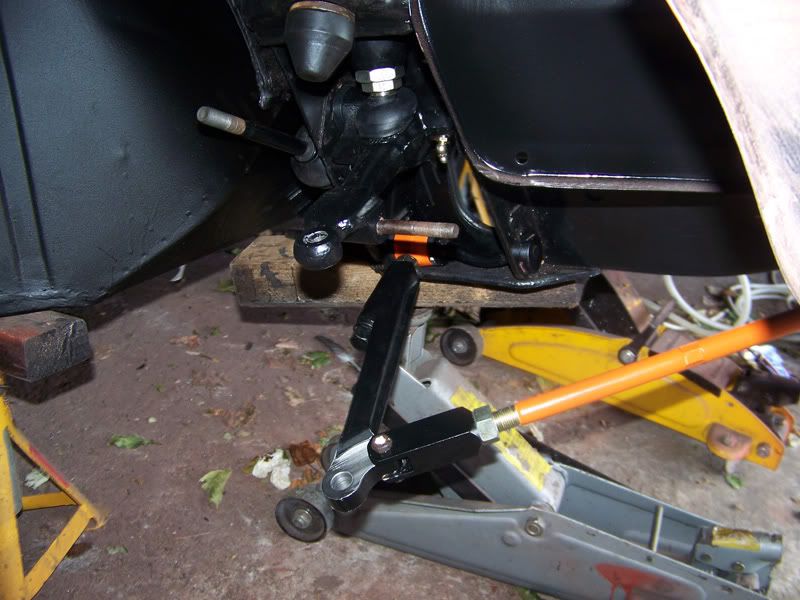
Driver side tie bar installed.
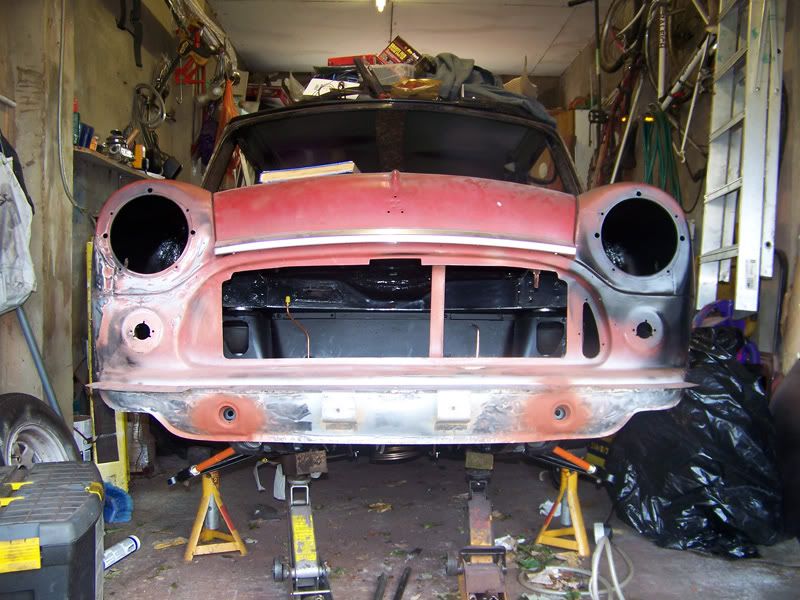
Bars peaking down.
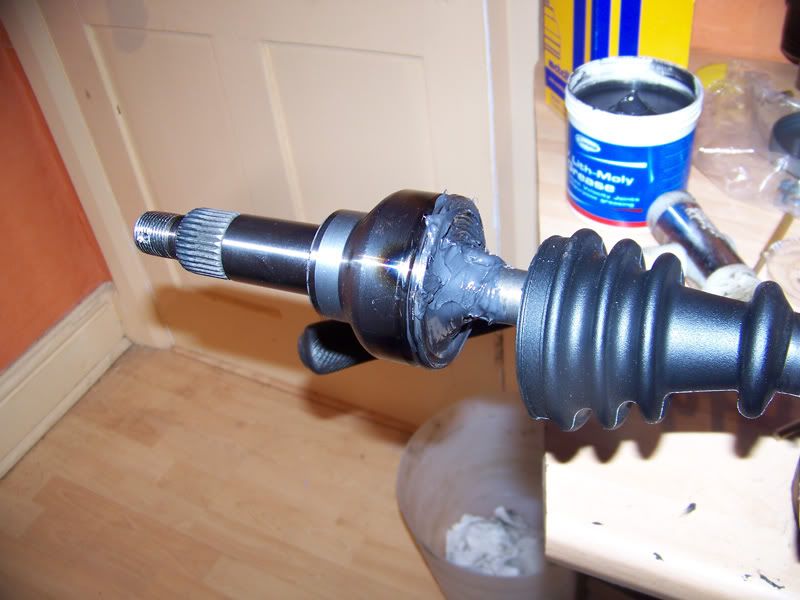
Installing new CV joints on the drive shafts.
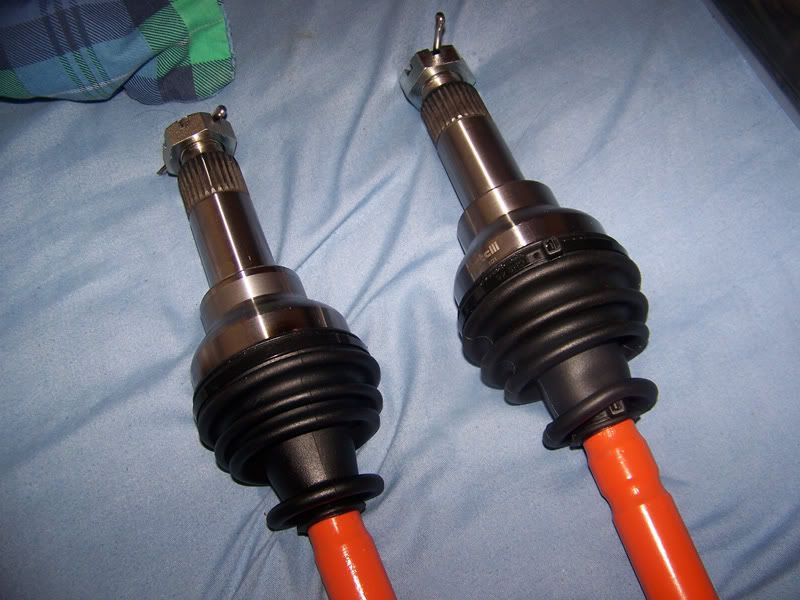
Both done. I used zip ties instead of the clips that came with them.
From this point on I apologise for the pictures. I had to use my phone camera and it's far from great.
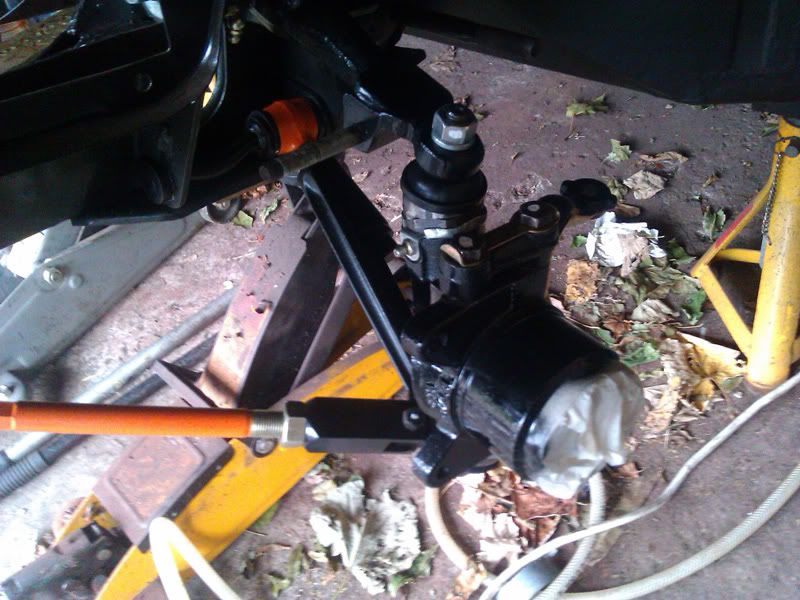
Passenger side hub installed and nuts torqued up.
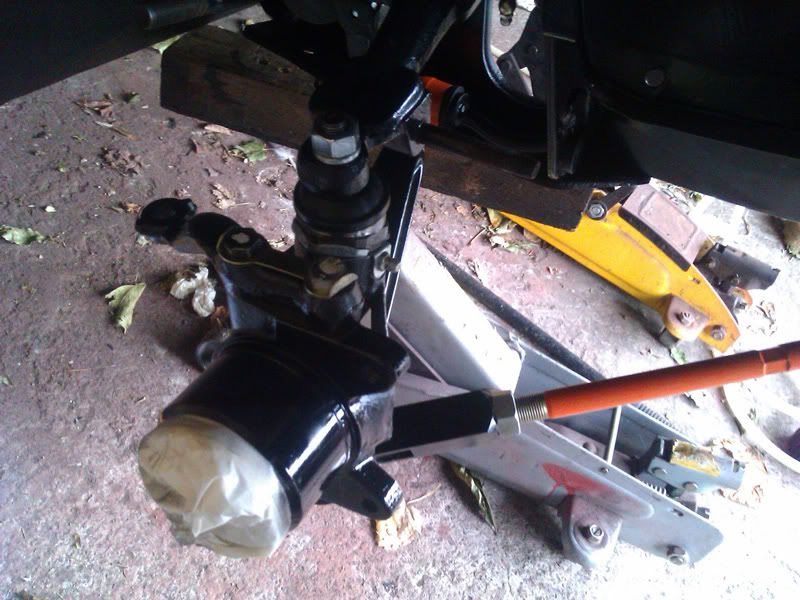
Driver side hub installed and nuts torqued up.
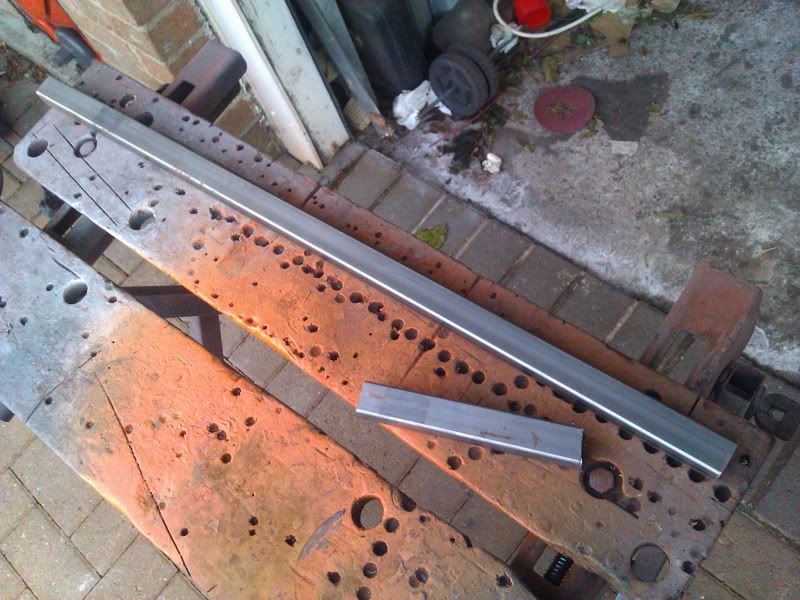
Started making a tool for holding the drive flange while I torque up the hub nuts. I shall finish this off tomorrow.
Thanks for looking
#1371

Posted 22 September 2011 - 08:55 PM
(called the carburetor a car'potato for years ho hum)
#1372

Posted 23 September 2011 - 12:54 AM
In acutual fact I've told a bit of a porky. My tool will be using the studs on the brake disk to hold the drive flange and drive shaft still while I torque up the retaining nut and pre-load the wheel bearings
#1373

Posted 23 September 2011 - 07:14 PM
#1374

Posted 24 September 2011 - 06:16 PM
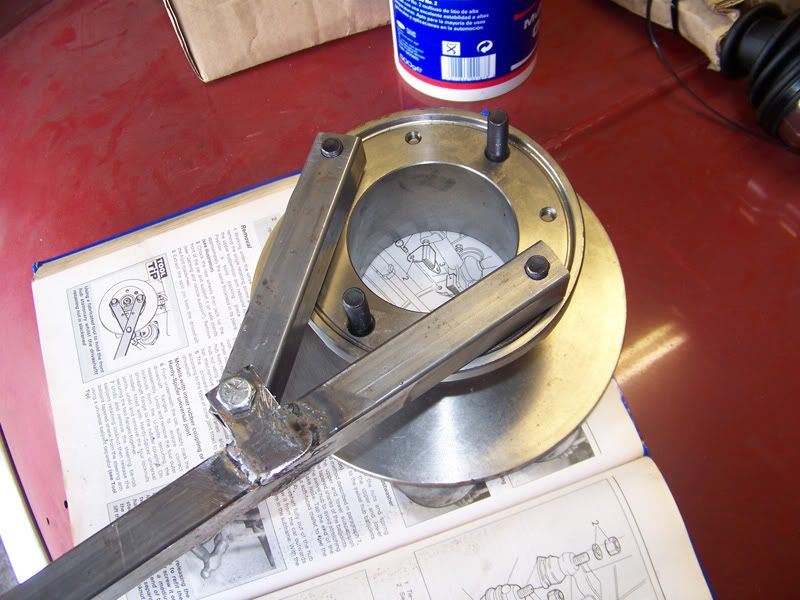
Finished off my tool.
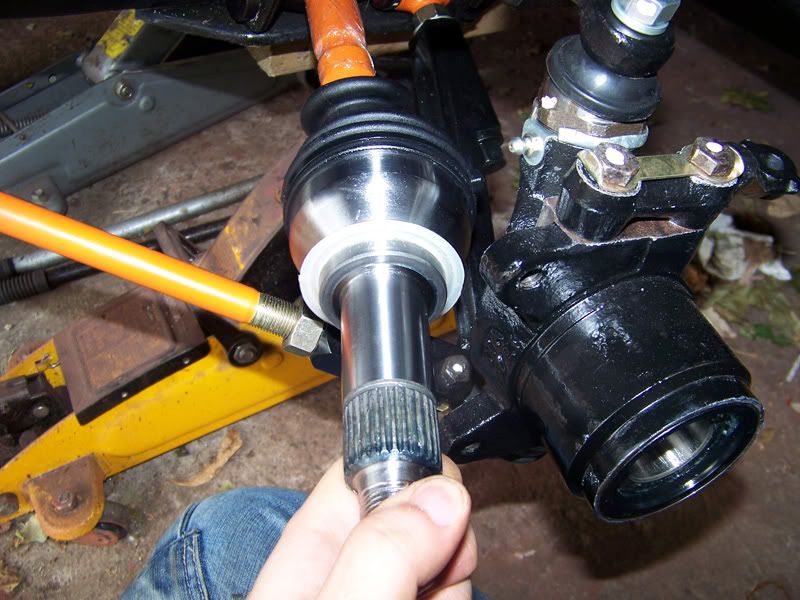
Bearing shield in place and drive shaft slotted through subframe.
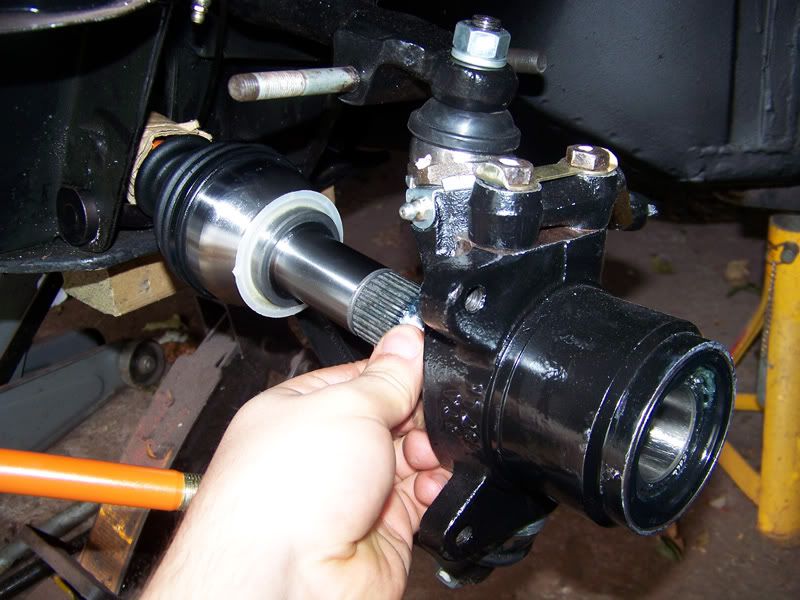
And in to the hub.
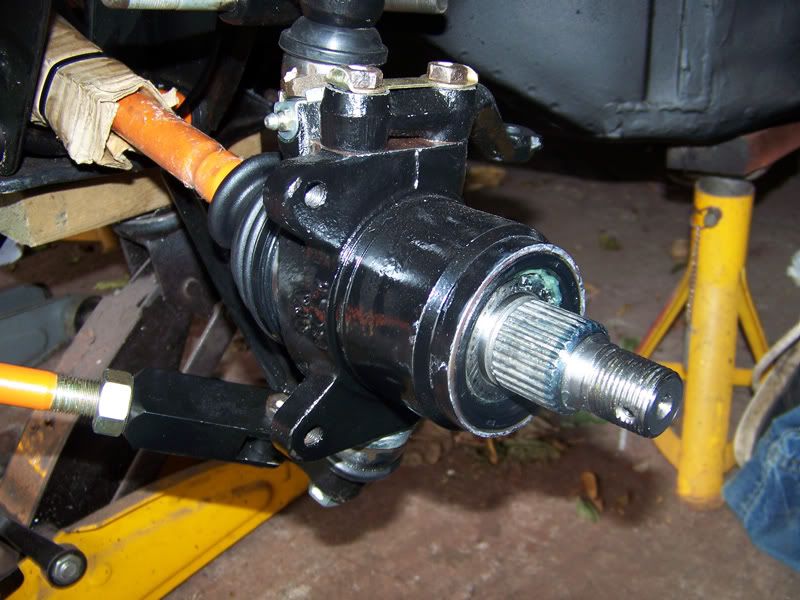
All the way home.
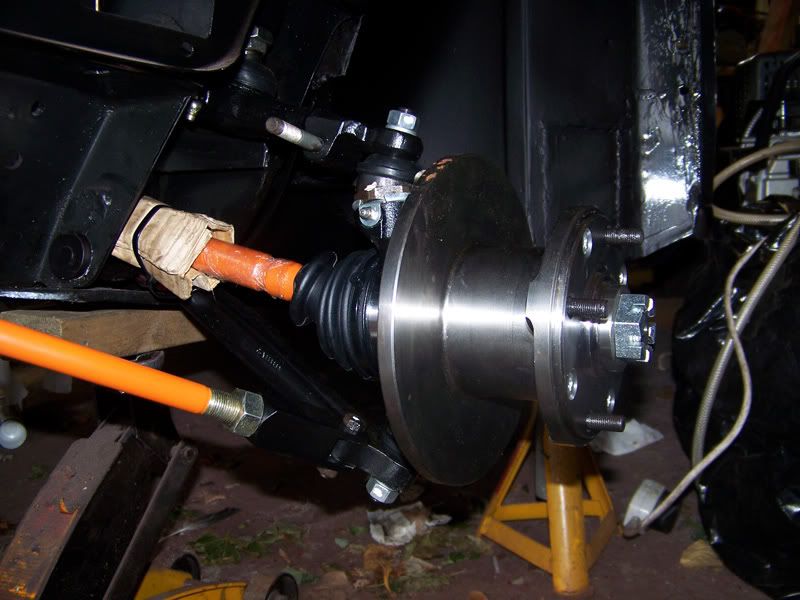
Disk installed on drive flange and flange located on drive shaft.
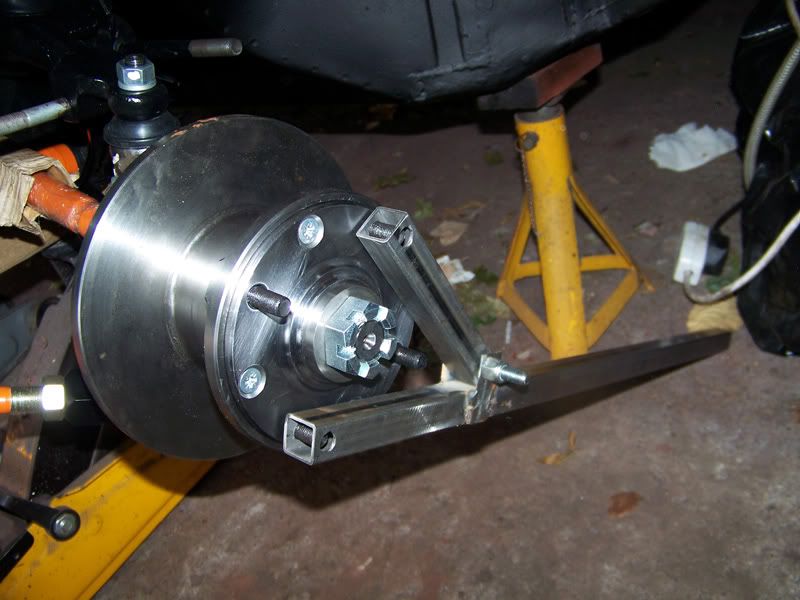
Tool used to hold assembley while I torqued up the hub nut with the flat washer in place.
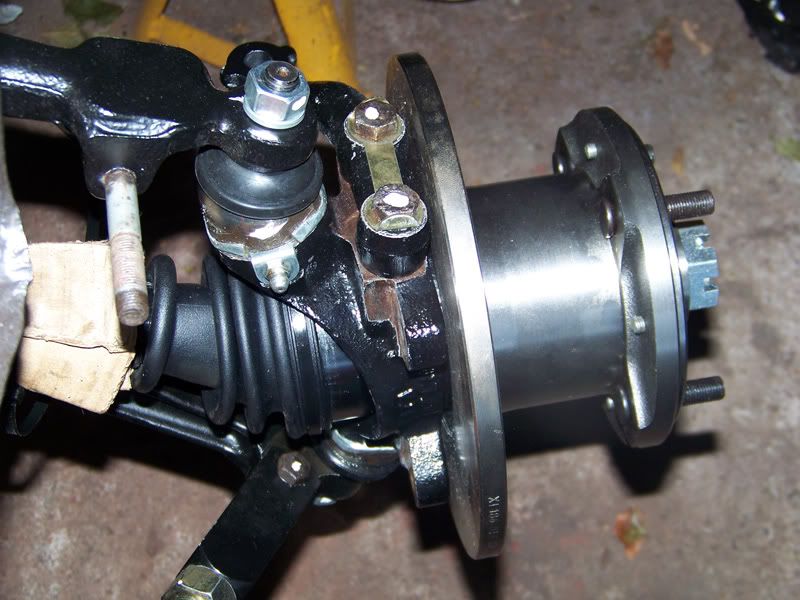
How it's sitting now. Disk is close to the hub but I think that's normal.
I've left it torqued up with the flat washer for now. I'll undo the nut tomorrow and put the conical washer in place and finalise the whole installation.
Can anyone see anywhere I've gone wrong? I'm not really sure how tight the drive flange to disk screws should be.
Thanks for looking
#1375

Posted 24 September 2011 - 06:26 PM
It's all so clean and shiney
#1376

Posted 24 September 2011 - 06:41 PM
#1377

Posted 24 September 2011 - 07:28 PM
Yeah that's what I'm doing. Stops me checking them over and over!That looks right to me. Are you tippexing bolt heads as they are torqued? If so, I like that, I need to adopt that practice for slow build ups!
It's all so clean and shiney
Cheers, it's getting there
Haha, it wasn't my invention. You can see it in the haynes manual in the first picAll is clear!!! Great idea well done with the invention test !!
#1378

Posted 24 September 2011 - 07:30 PM
Hugh
#1379

Posted 24 September 2011 - 07:32 PM
She's going to be within an inch of her life once she's got an MOT and tax. I've got alot of Mini driving to catch up on!
#1380

Posted 24 September 2011 - 07:44 PM
havn't got a clue what was going on, but im glad its working again.
cant wait to see this when its finished!
Also tagged with one or more of these keywords: roundnose
Projects →
Mini Saloons →
Mini Cooper Project - Finally StartsStarted by piphatch , 08 Jan 2025 |
|
|
||
Projects →
Mini Saloons →
1965 Austin Mini Restoration - Canadian Mk1Started by DoubleEh , 14 Nov 2022 |
|
|
||
Projects →
Mini Saloons →
Project Joe - 1991 Mini Mayfair 998Started by Eggers , 02 Jun 2022 |
|

|
||
Projects →
Mini Saloons →
Mpi Dashboad ProblemStarted by mikeprez , 22 Dec 2021 |
|

|
||
Projects →
Mini Saloons →
1978 Oew - Willy The MiniStarted by smalltreegrower , 11 Nov 2021 |
|

|
1 user(s) are reading this topic
0 members, 1 guests, 0 anonymous users


