
Should be ...
Yeah.. like simon says


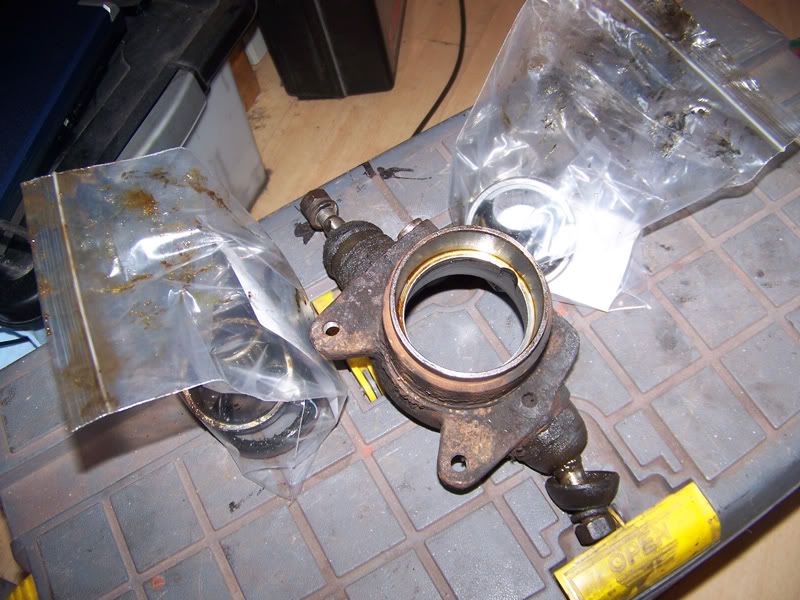
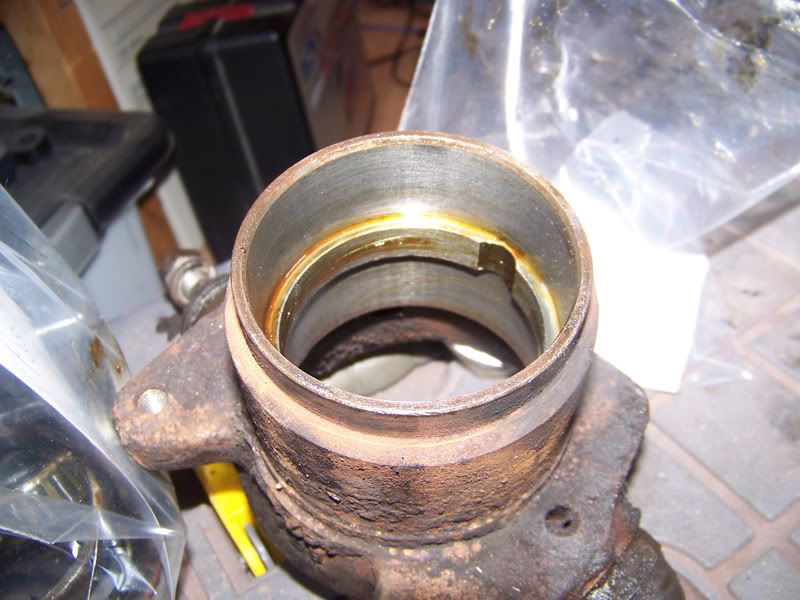
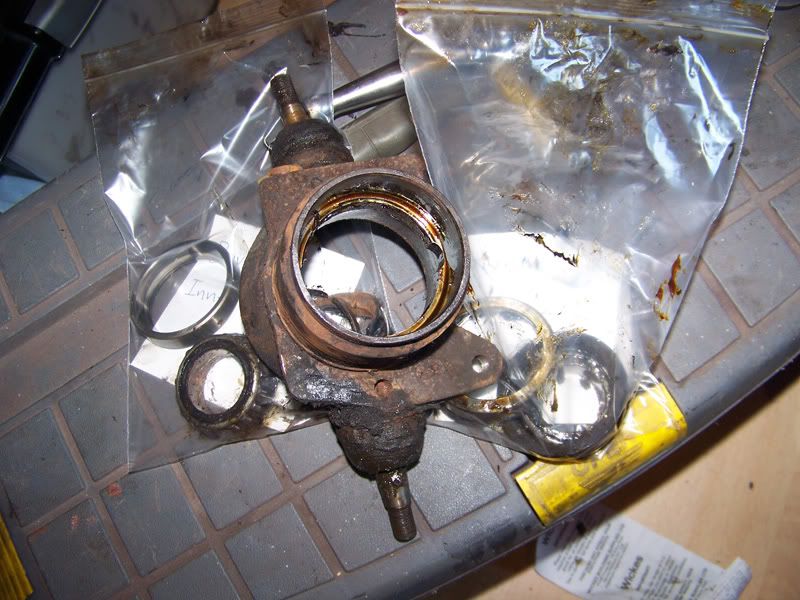
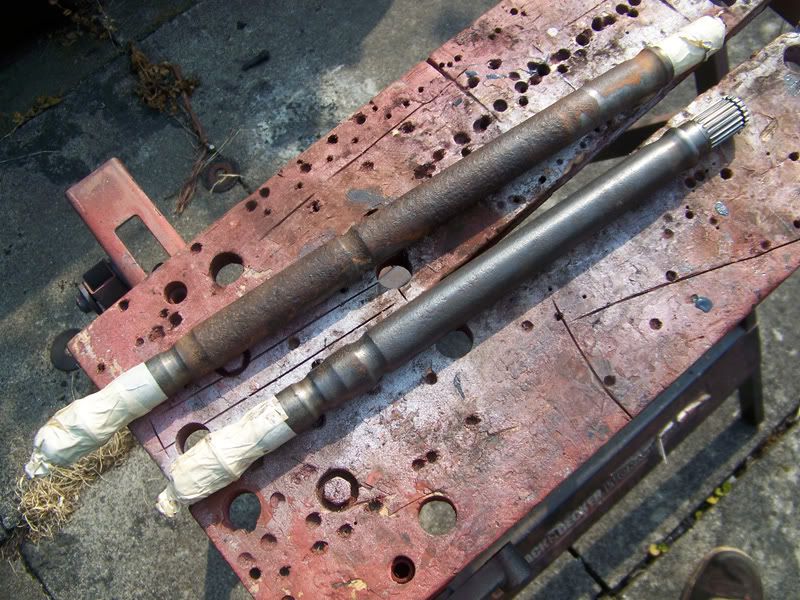
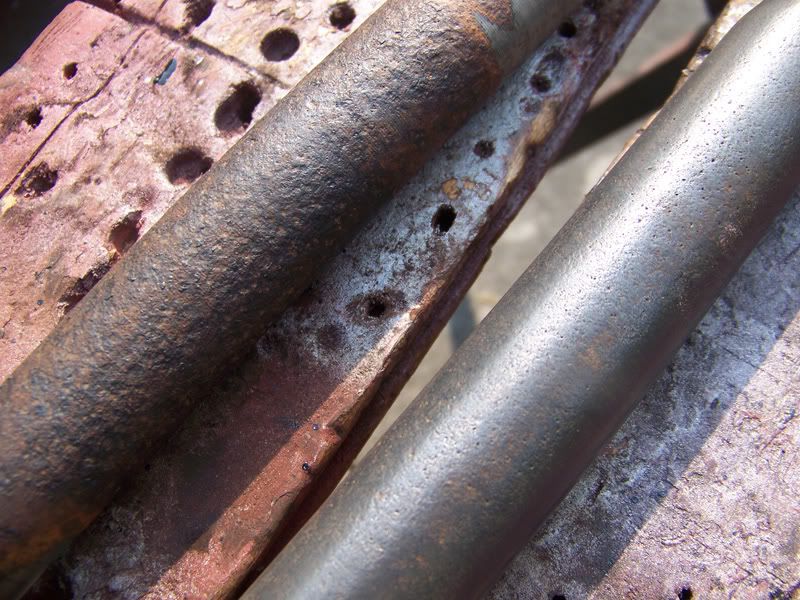
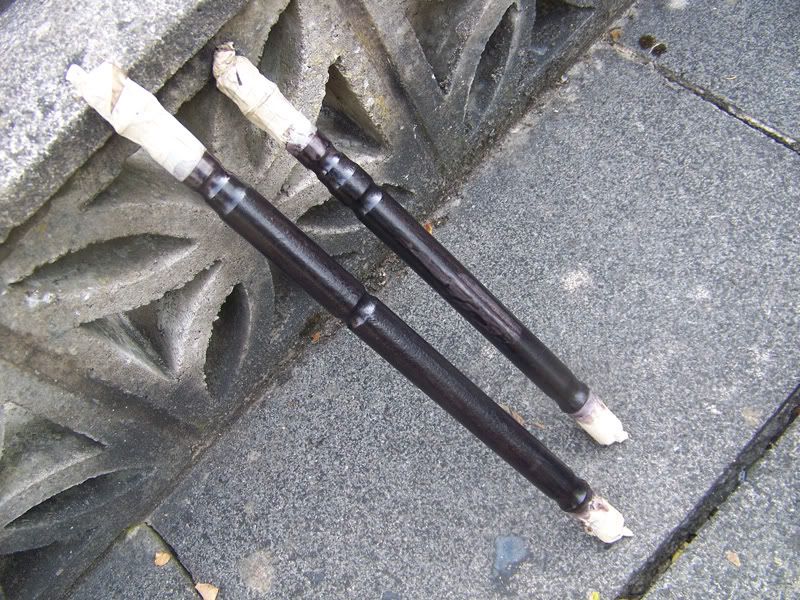
One Carb Or Two?


Posted 28 June 2011 - 08:16 AM
Should be ...
Have you tried turning it off and on again?
Posted 28 June 2011 - 11:57 AM
One Carb Or Two?
Posted 28 June 2011 - 10:43 PM
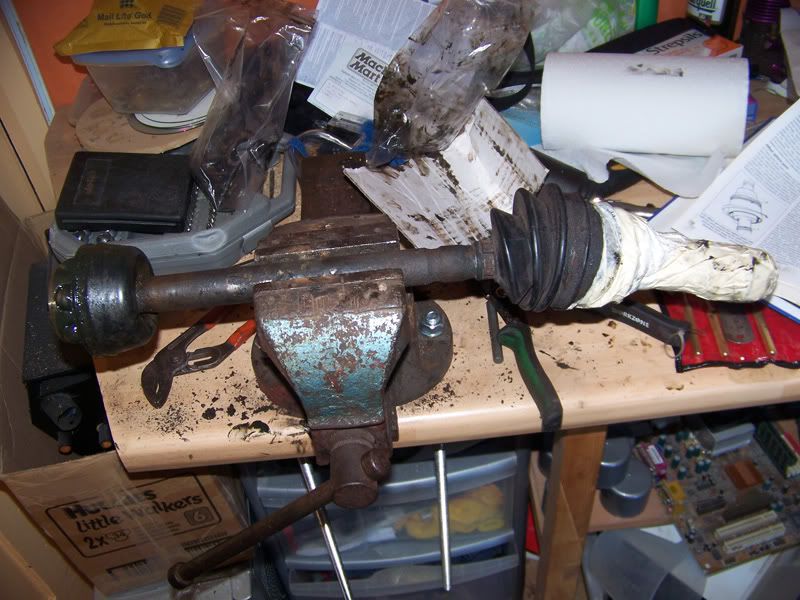
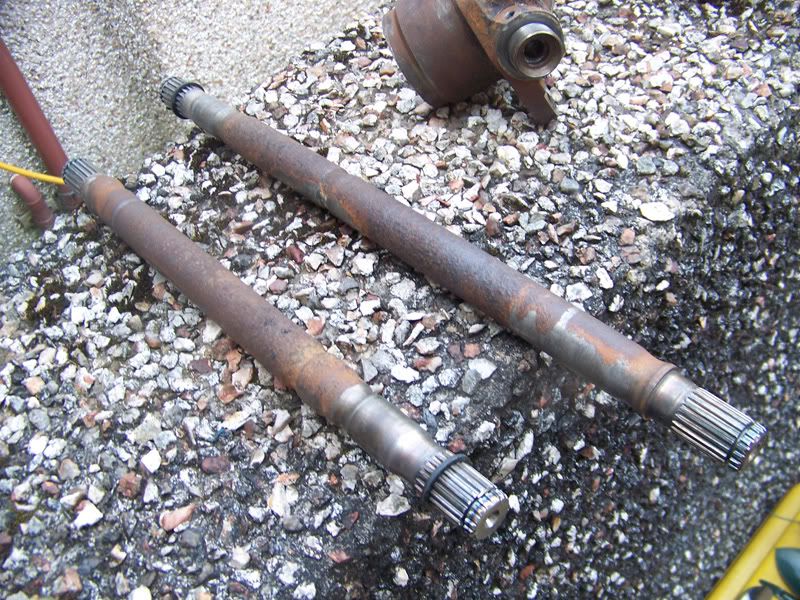
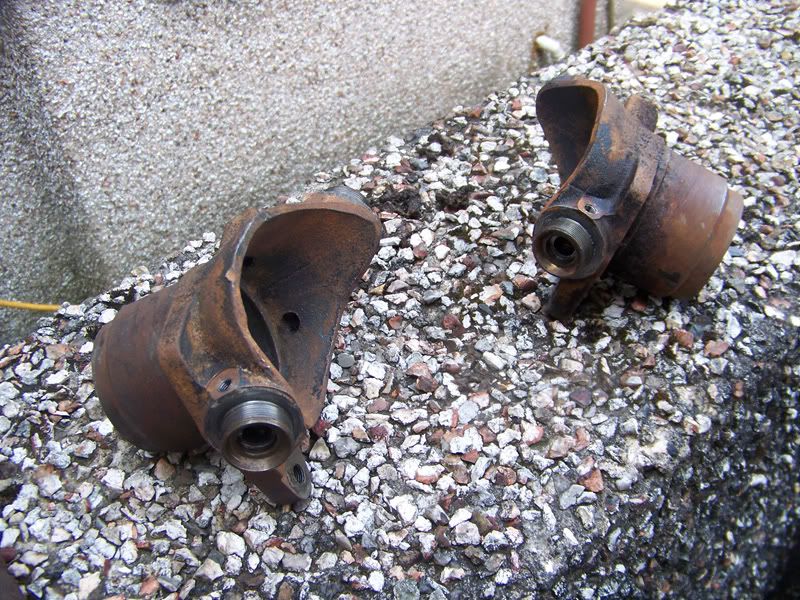
I hope it is! There isn't anything left that I've not taken to pieces! Eeek!
Up Into Fourth

Posted 30 June 2011 - 06:50 PM
I've just spent £240 on Mini Spares...

Should be the last big lot of stuff though!
Famous last words!
Have you tried turning it off and on again?
Posted 03 July 2011 - 05:30 PM
Silly old me, I looked through all the delivery and forgot to take pictures, doh.I've just spent £240 on Mini Spares...
Should be the last big lot of stuff though!
Famous last words!
hahaa! so so so true!
look forward to the update after delivery!
 .
.
Have you tried turning it off and on again?
Posted 03 July 2011 - 05:34 PM
 .
.
Have you tried turning it off and on again?
Posted 04 July 2011 - 06:28 PM
 .
.
Have you tried turning it off and on again?
Posted 05 July 2011 - 08:40 PM
 .
.
Have you tried turning it off and on again?
Posted 06 July 2011 - 09:00 PM

 .
.
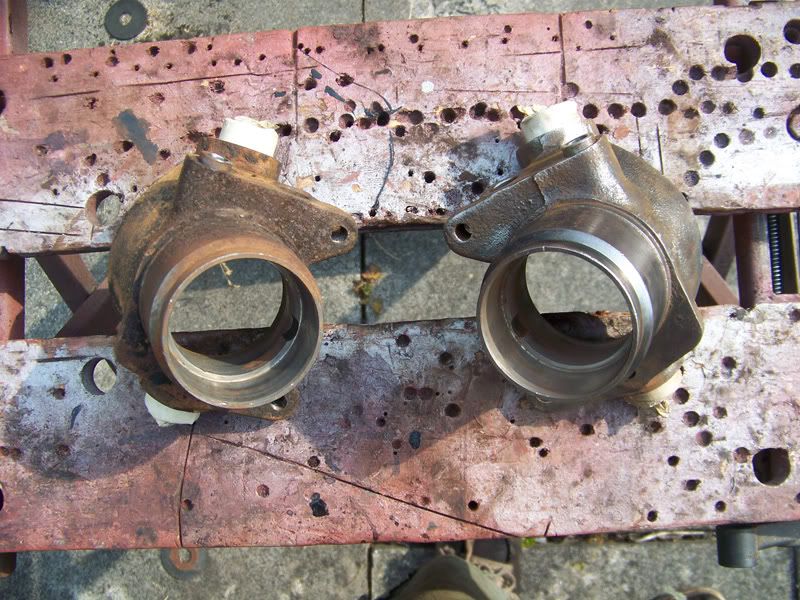
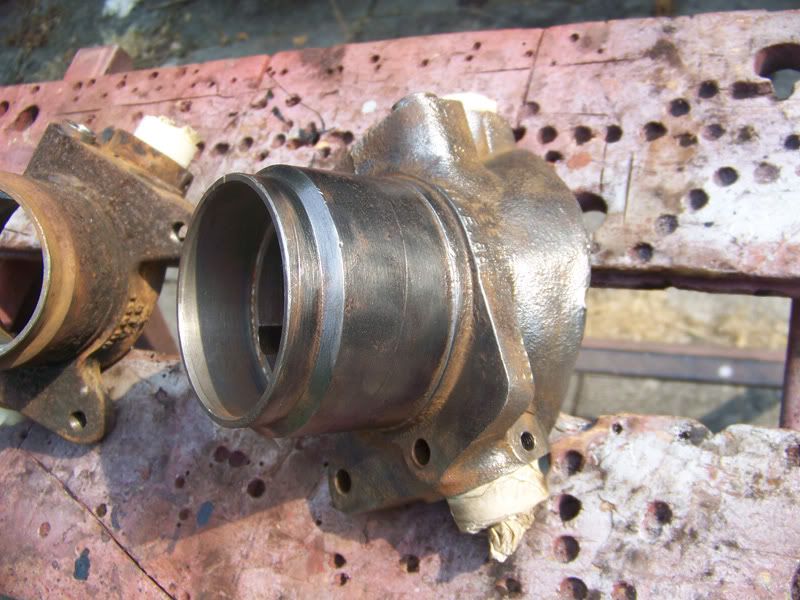
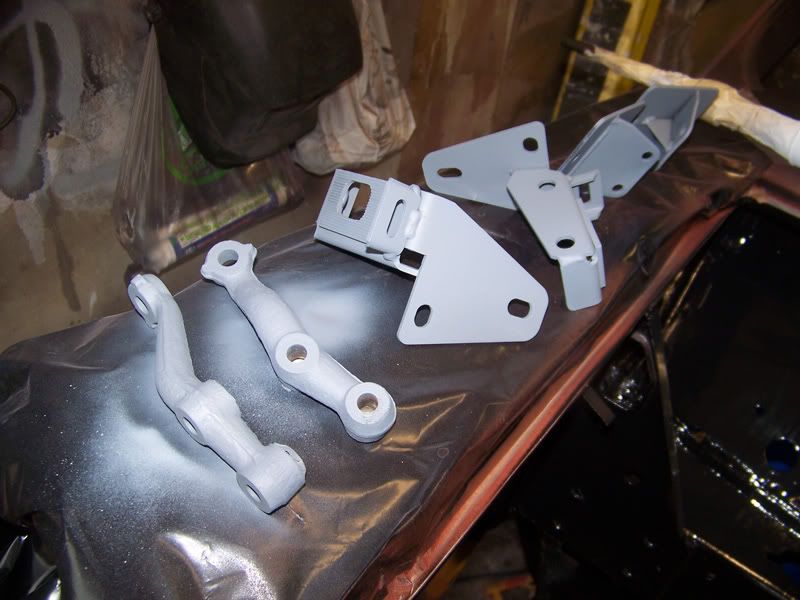
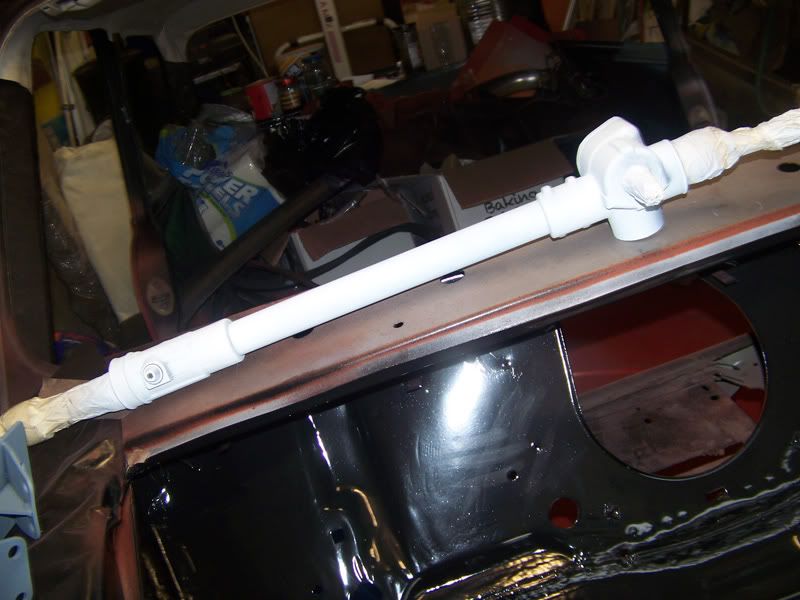
Stage One Kit Fitted

Posted 06 July 2011 - 09:07 PM
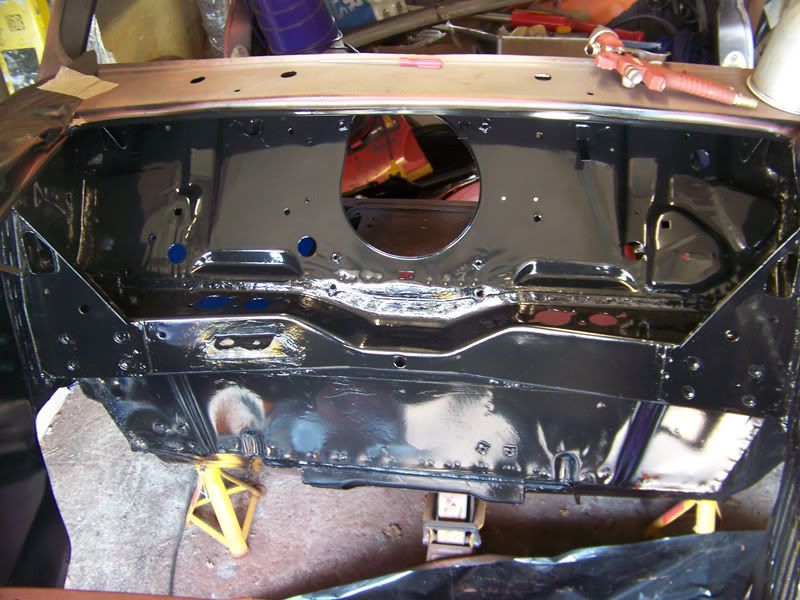
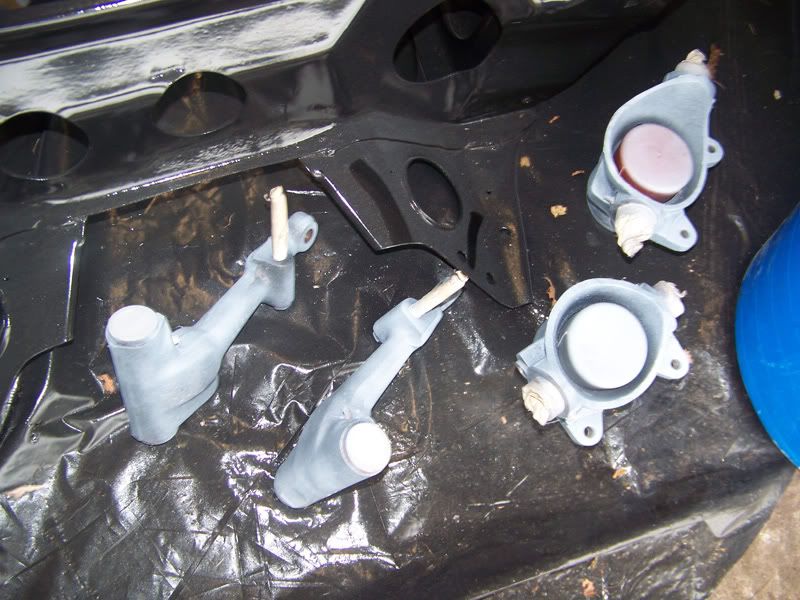
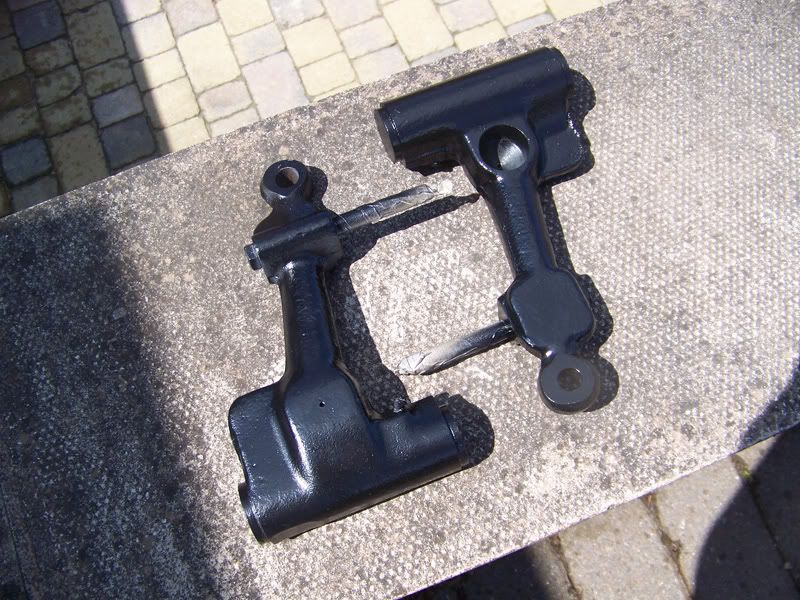
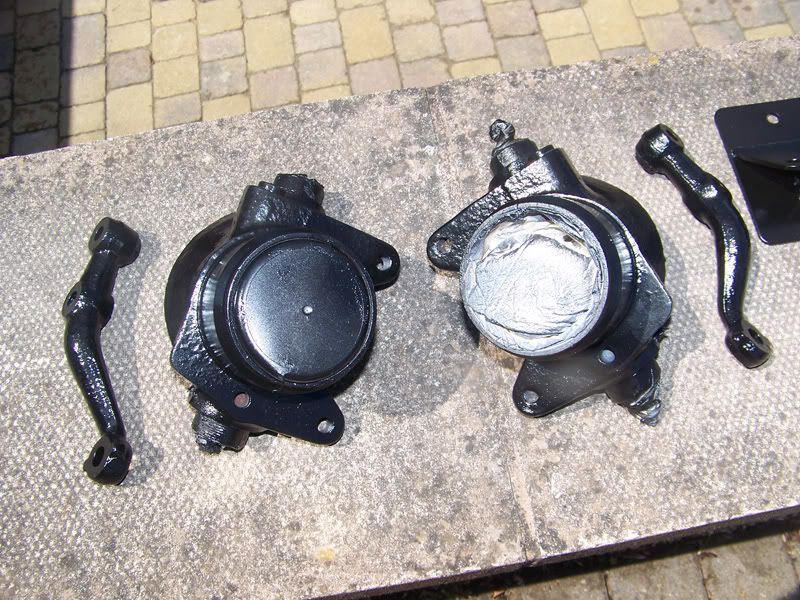
I like the idea of welding in nuts to the roller bearings for the top arms. I've always used the 6inch nail, Locating the head of the nail on the edge of the bearing trouch the top arm and hitting the pointed end... a bit of a faff compared to your neat method! Nice paint finish on everything too.Soldiering Along

Posted 07 July 2011 - 08:54 AM
Starting My Mini Up

Posted 07 July 2011 - 10:21 AM
Have you tried turning it off and on again?
Posted 07 July 2011 - 04:32 PM
Your method sounds like it could be a bit quicker though! I never even thought of a nail. I had tied a screwdriver but it just shattered the outer race of the bearing.Hi, Just had a brief look through and it looks liek a proper job
Max
We all do it at times Hugh, you've just gotta take some time to yourself every now and thenIt is looking good. I do wish I was at your stage. I've been ignoring/ avoiding mine but better get back to it. Always like seeing your progress.
Hugh
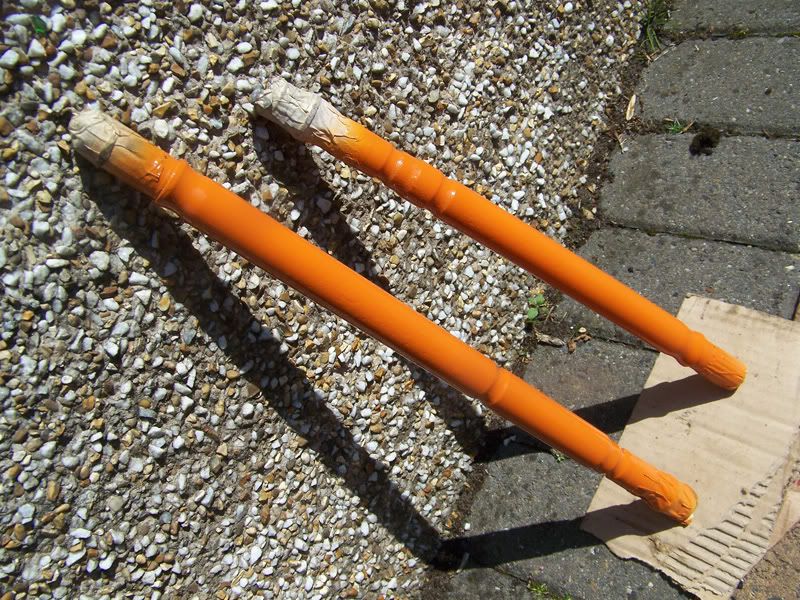
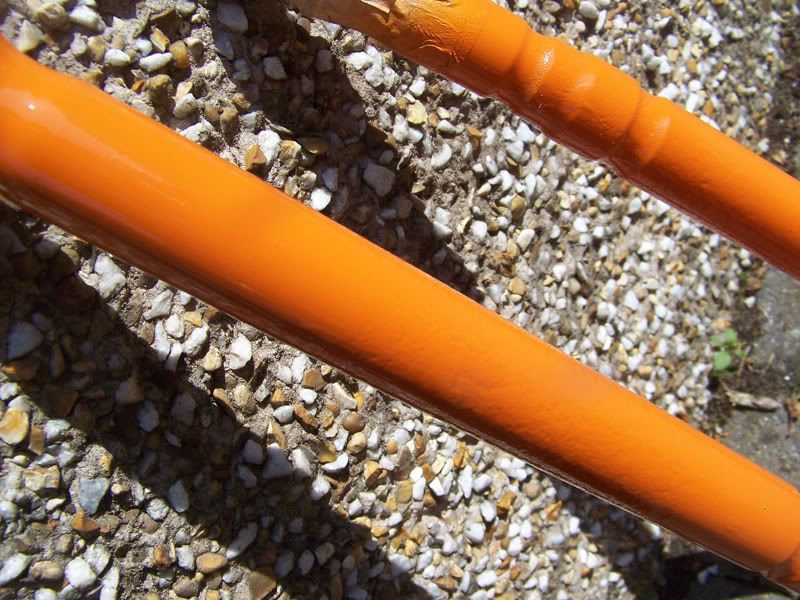
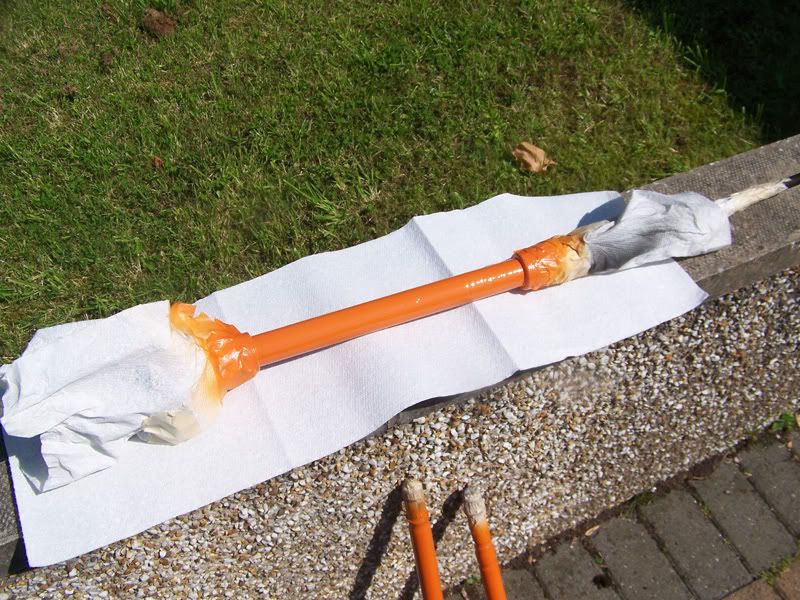
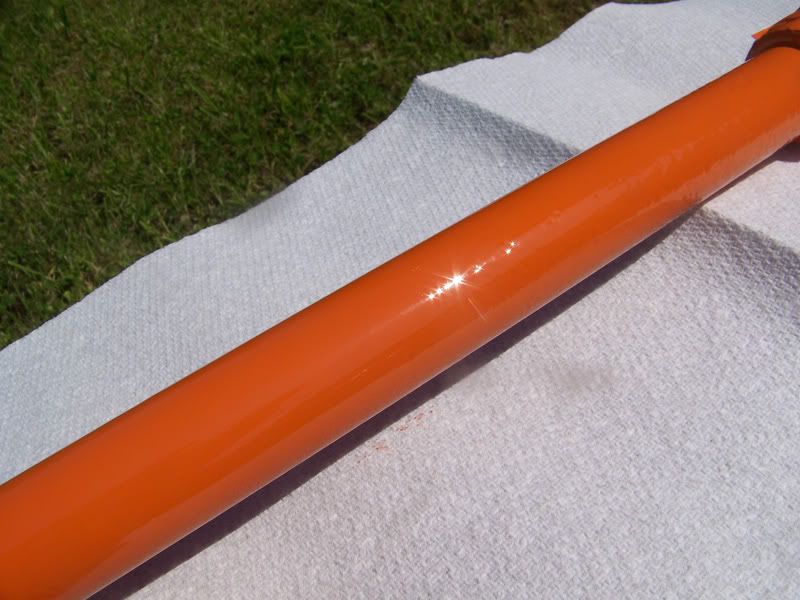
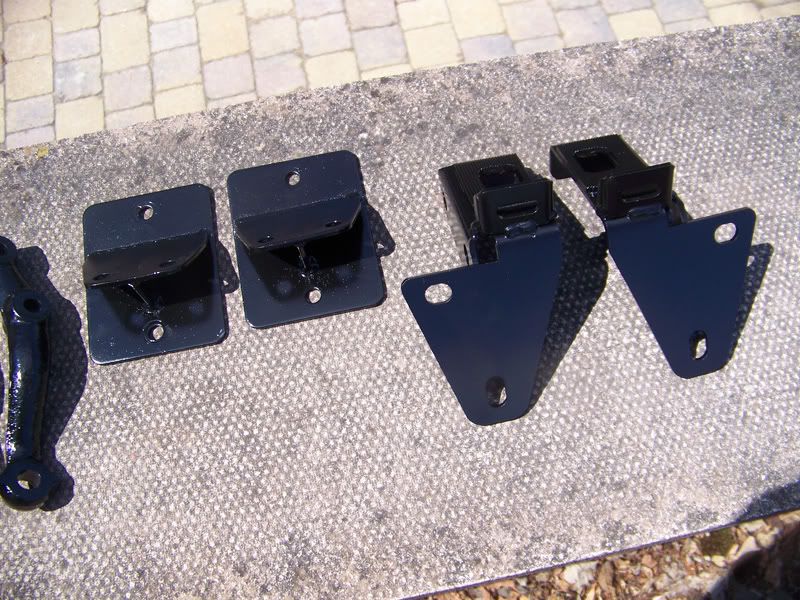
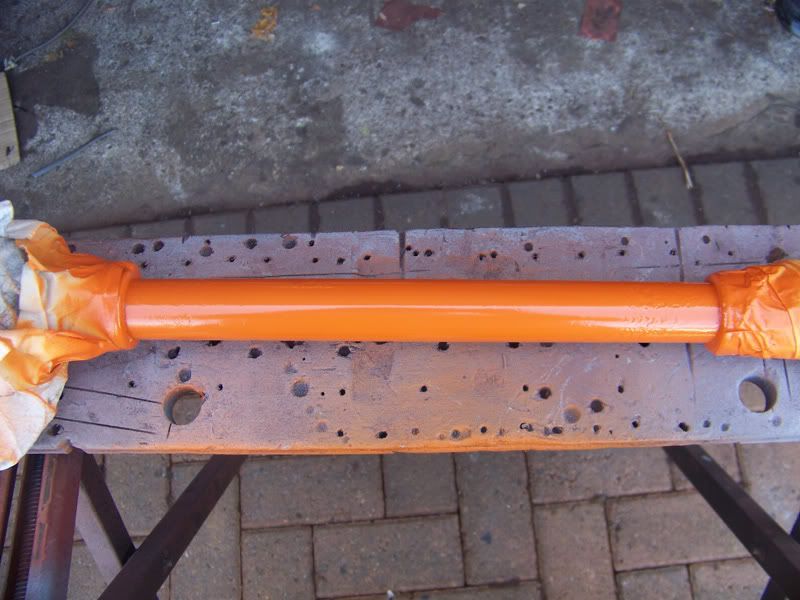
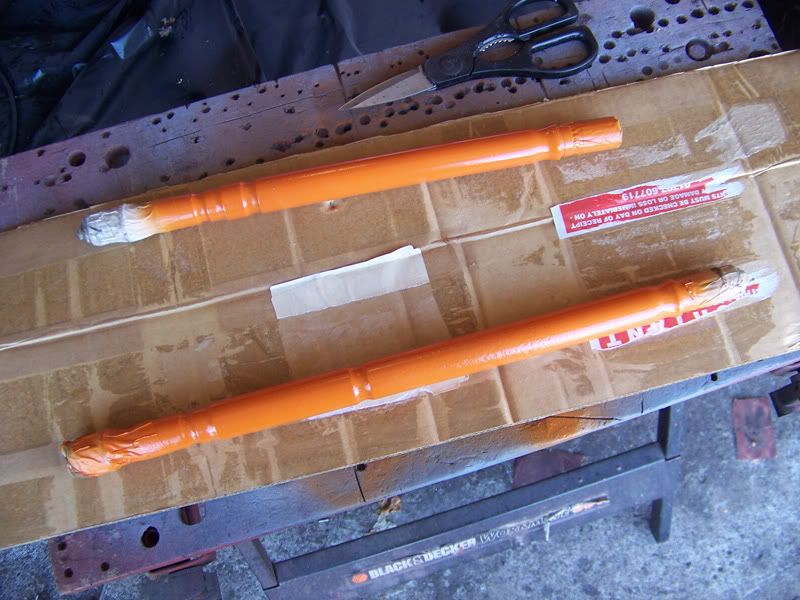
.Cheers, everytime I spray something in that orange I'm amazed by how vibrant it is. I can't wait to see how the whole roof is going to look in that colourIm liking the orange and black theme, gonna look really good. Wish i had the knowledge and the space to do something like this. Really good project, keep it up.
 .
.Cheeky!Finished yet?
Have you tried turning it off and on again?
Posted 07 July 2011 - 04:37 PM

 .
.


Projects →
Mini Saloons →
Mini Cooper Project - Finally StartsStarted by piphatch , 08 Jan 2025 |
|

|
||
Projects →
Mini Saloons →
1965 Austin Mini Restoration - Canadian Mk1Started by DoubleEh , 14 Nov 2022 |
|

|
||
Projects →
Mini Saloons →
Project Joe - 1991 Mini Mayfair 998Started by Eggers , 02 Jun 2022 |
|

|
||
Projects →
Mini Saloons →
Mpi Dashboad ProblemStarted by mikeprez , 22 Dec 2021 |
|

|
||
Projects →
Mini Saloons →
1978 Oew - Willy The MiniStarted by smalltreegrower , 11 Nov 2021 |
|

|
0 members, 3 guests, 0 anonymous users


