Jump to content


Photo
- - - - -

Elliot - The Second Attempt

roundnose

  • Please log in to reply
1658 replies to this topic

#1141 Deathrow

Deathrow

    Have you tried turning it off and on again?

  • TMF IT Specialist
  • PipPipPipPipPipPipPipPipPipPip
  • 5,734 posts
  • Name: Adam
  • Location: Manchester, UK

Posted 07 April 2011 - 09:11 PM

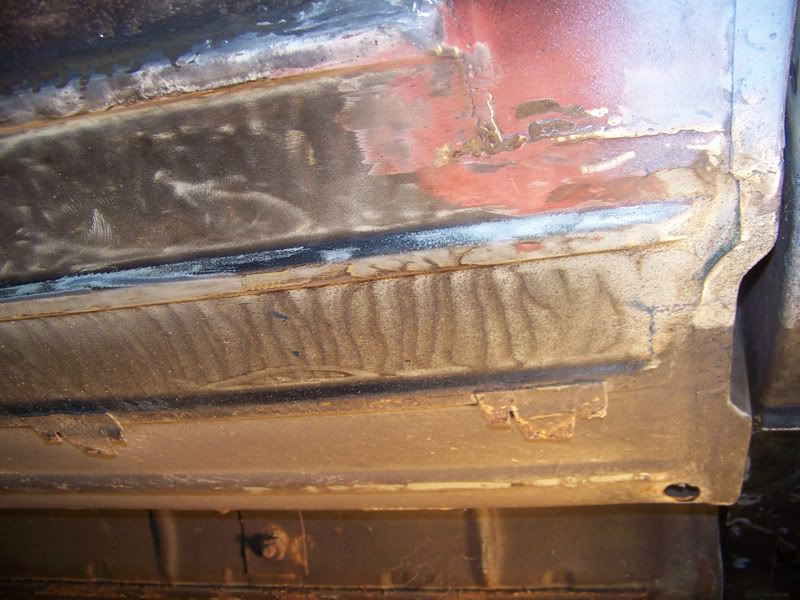
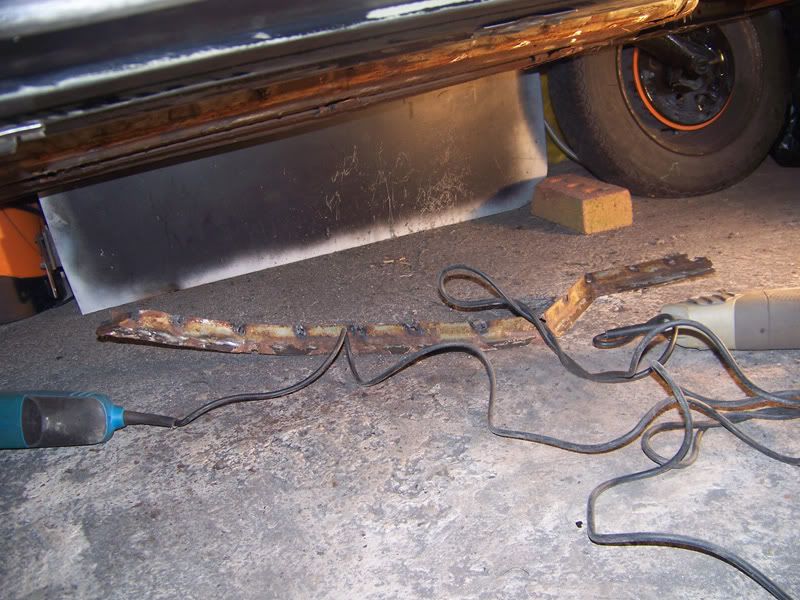
Yeah not too far to go now. Going to get started on the other sill tomorrow I think.

Bodywork to do list looks like this:
  • Weld on driver side outer sill
  • Strip, prime and paint underside of the main floor
  • Strip, prime and paint underside of boot floor
  • Paint engine bay and under wings
  • Paint inside the boot
  • Paint interior floor and rear bench
  • Prep, fill, prime and paint exterior
Then it's time to get on with putting it all back together with new shiny bits :thumbsup:.

#1142 sonikk4

sonikk4

    Twisted Paint Polisher!!!

  • Admin
  • PipPipPipPipPipPipPipPipPipPipPip
  • 15,998 posts
  • Name: Neil
  • Location: Oxfordshire

Posted 07 April 2011 - 09:16 PM

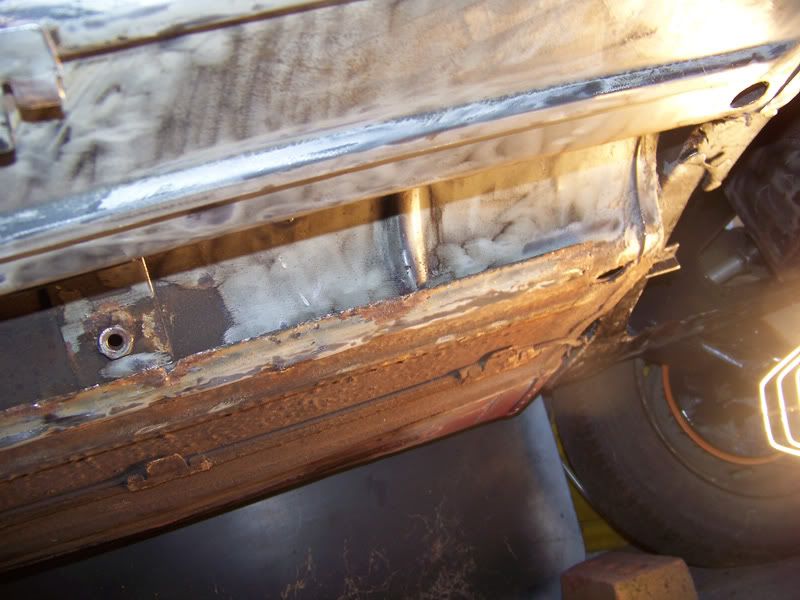
The hole at the front of the sill is i believe some sort of drain from the inner A post, personally i would weld them up especially if you do not have the little bracket behind it. There should also be one at the rear as well.

Its really coming along, soon be time for paint??

#1143 Shifty

Shifty

    Sponsored by Fosters (tm)

  • Admin
  • PipPipPipPipPipPipPipPipPipPipPip
  • 13,135 posts
  • Name: Sean
  • Location: Shropshire(sunny)
  • Local Club: TMF

Posted 07 April 2011 - 10:02 PM

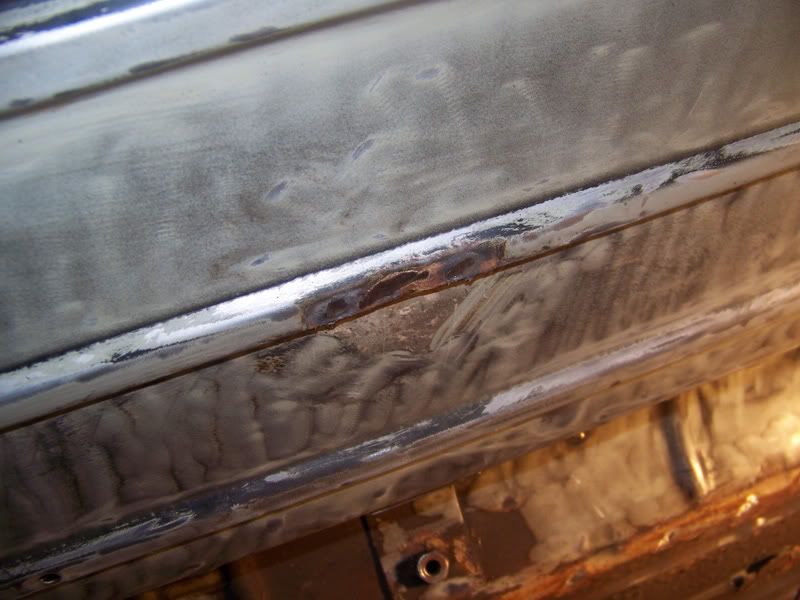
Looking at the pics it may be best to seam weld the sill where you've done the stitch welds. When you go for MOT the tester may think its only been stitched on and not spotted as well.

#1144 Deathrow

Deathrow

    Have you tried turning it off and on again?

  • TMF IT Specialist
  • PipPipPipPipPipPipPipPipPipPip
  • 5,734 posts
  • Name: Adam
  • Location: Manchester, UK

Posted 07 April 2011 - 10:46 PM

They're welded all the way across each flat piece that meets the inner sill Shifty. Plus, once the seam sealer goes on, you won't be able to tell they're there anyway. Plus, I'm pretty sure my MOT man said stitch welding was acceptable in place of plug welding anyway. Maybe I'm thinking stitch welding is something it's not? Seam weld an inch, miss an inch, repeat.

sonikk, yeah won't be long now. Can't wait! I've not achieved anywhere near the level of perfection you have on erm but I'm quite happy with how its come out so far :thumbsup:.

#1145 tedmcedd

tedmcedd

    Up Into Fourth

  • Traders
  • PipPipPipPipPipPipPipPipPip
  • 2,751 posts
  • Location: Huddersfield

Posted 09 April 2011 - 03:19 PM

great to see you back at it matey! looking great!

Ed

#1146 Deathrow

Deathrow

    Have you tried turning it off and on again?

  • TMF IT Specialist
  • PipPipPipPipPipPipPipPipPipPip
  • 5,734 posts
  • Name: Adam
  • Location: Manchester, UK

Posted 10 April 2011 - 02:13 PM

great to see you back at it matey! looking great!

Ed

Cheers Ed! Definitely coming to the end of the bodywork now, wooo. With a bit of joy I've done a good enough job and it won't come back for a looooong time.

#1147 Deathrow

Deathrow

    Have you tried turning it off and on again?

  • TMF IT Specialist
  • PipPipPipPipPipPipPipPipPipPip
  • 5,734 posts
  • Name: Adam
  • Location: Manchester, UK

Posted 10 April 2011 - 02:23 PM

Well here is the update from yesterday. I should have put it up last night but I was very abruptly dragged to the pub haha.

Posted Image
Started cleaning up the floor. I figured it would be easier to sort the floor out in two halves when doing each sill.

Posted Image
Battery cable channel was shot so I've bent it over flat here to get at the spot welds with the grinder.

Posted Image
Channel removed. I've not decided if I'll put the battery lead along the underside with p-clips or if I'll run it through the car.

Posted Image
Brake and fuel pipe retaining clips looked a little sorry for themselves so off they come. The lines will be held in place with p-clips in the standard positions.

Posted Image
This is how the floor looked all over when I started.

Posted Image
Passenger side half now looks like this.

Posted Image
And the tunnel.

Posted Image
Tunnel further forward.

Still some bits to sort at the front and rear then I'll get it all rubbed down ready for painting. Not sure if I can get the spray gun under there or if I'll have to paint it with a brush. Either way, it'll get done.

#1148 analogue_radio

analogue_radio

    Up Into Fourth

  • TMF+ Member
  • PipPipPipPipPipPipPipPipPip
  • 4,897 posts
  • Location: Melton Mowbray, UK.

Posted 10 April 2011 - 03:41 PM

Good stuff mate, I don't know why but I really enjoyed stripping and sorting the floors on both of my shells.. although I've decided I'll be running my cables via the cab.

Oh, do you have any idea what size p-clips are needed?

#1149 analogue_radio

analogue_radio

    Up Into Fourth

  • TMF+ Member
  • PipPipPipPipPipPipPipPipPip
  • 4,897 posts
  • Location: Melton Mowbray, UK.

Posted 10 April 2011 - 03:43 PM

I've just realised you had to squeeze underneath to clean it all up? don't think I'd enjoy it if I was doing it that way.. haha.

How did you go about it, what did you use?

#1150 Deathrow

Deathrow

    Have you tried turning it off and on again?

  • TMF IT Specialist
  • PipPipPipPipPipPipPipPipPipPip
  • 5,734 posts
  • Name: Adam
  • Location: Manchester, UK

Posted 11 April 2011 - 01:37 AM

Yeah exactly, if it'd been on a spit it'd have been bliss hehe.

I started out using the angle grinder with a wire wheel on it but when I got to the tunnel I realised that it'd wipe off with white spirit and paper towels anyway so I used that method on the tunnel. Still got the other side to do but I'll do that after I've fitted the sill on that side. Just hoping I can get the spray gun under there so I don't have to brush paint it. We shall see.

I asked the same question about the p-clips:

http://www.theminifo...howtopic=187320

I've ordered some 5mm ones and some 8mm ones. I'll order some for the battery cable when I buy it as I don't know what thickness it's going to be yet. I might run that inside though for safetys sake.

#1151 fabdabcab

fabdabcab

    Mini Mad

  • Noobies
  • PipPipPipPip
  • 175 posts

Posted 11 April 2011 - 06:54 AM

nice to see you cracking on, i cant wait till i get to that stage i getting fed up with oiley hands lol

#1152 Deathrow

Deathrow

    Have you tried turning it off and on again?

  • TMF IT Specialist
  • PipPipPipPipPipPipPipPipPipPip
  • 5,734 posts
  • Name: Adam
  • Location: Manchester, UK

Posted 14 April 2011 - 12:50 AM

Since Photobucket have now sorted the issue they were having I'll show you the highlight of the past few days.

Posted Image
Passenger side half floor and tunnel primed.

Plenty of runs as you can see. This is because it was so awkward maneuvering the paint gun under there that I wasn't really paying as much attention to what I was painting as I should have been. I'l cut the worst of the runs off with a razor blade before the top coat goes on. At least I know it's all well covered.

Thanks for looking :lol:.

#1153 Deathrow

Deathrow

    Have you tried turning it off and on again?

  • TMF IT Specialist
  • PipPipPipPipPipPipPipPipPipPip
  • 5,734 posts
  • Name: Adam
  • Location: Manchester, UK

Posted 14 April 2011 - 06:30 PM

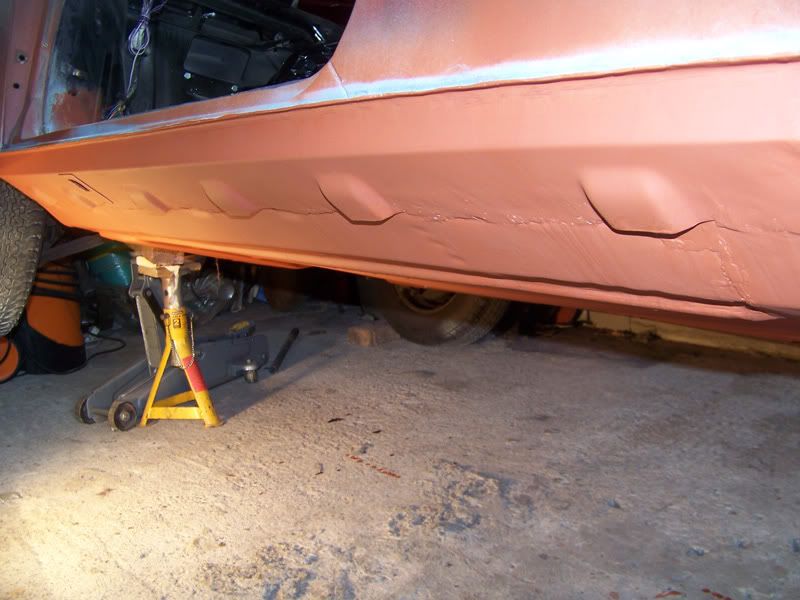
More progress today:
Posted Image
Primer all dried out.

Posted Image
Seam sealer applied to all the neccesary areas.

While the seam sealer was drying I decided to do some work on the boot lid as it needs some attention in a few areas.
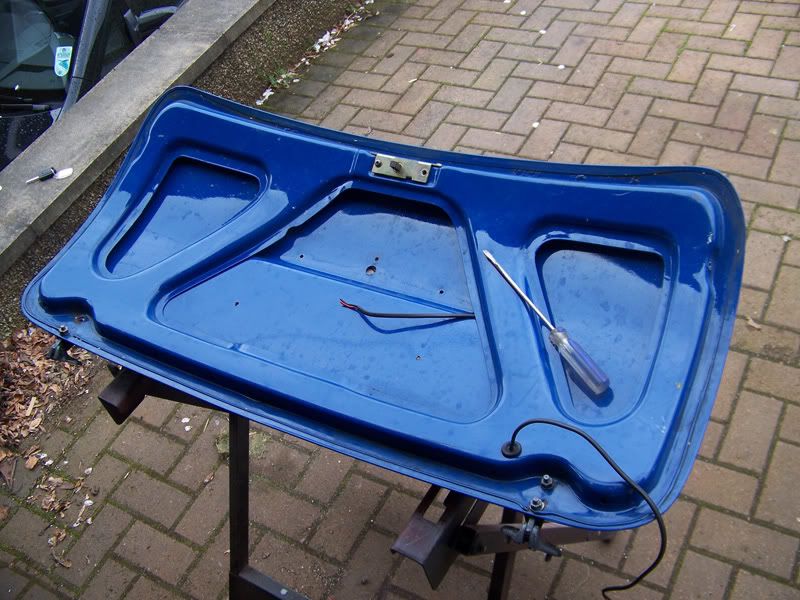
Posted Image
Started stripping all the stuff off it.
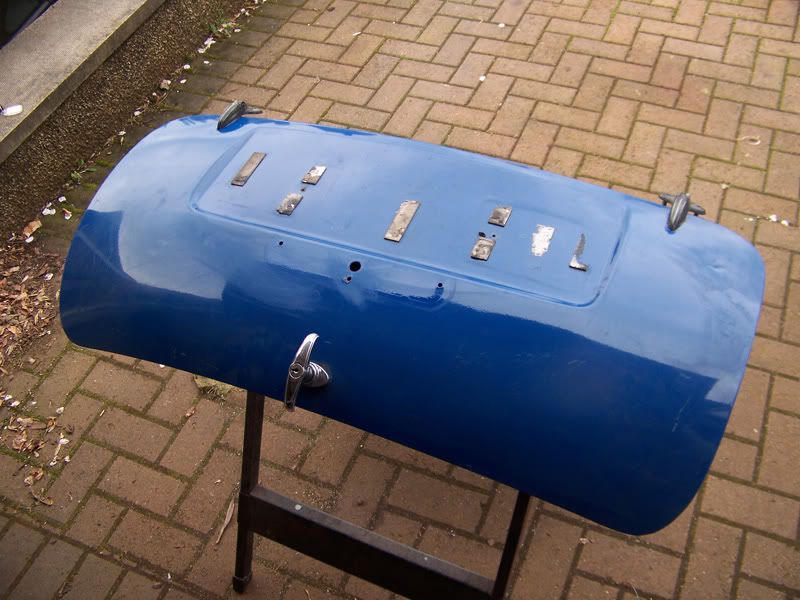
Posted Image
The other side before starting.

Posted Image
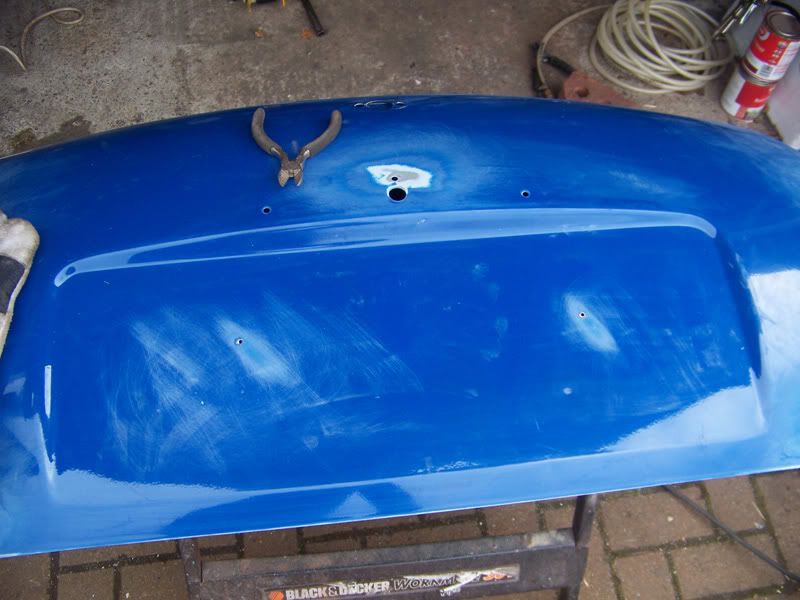
The number plate is going to be attached with adhesive pads so the two holes here aren't needed.
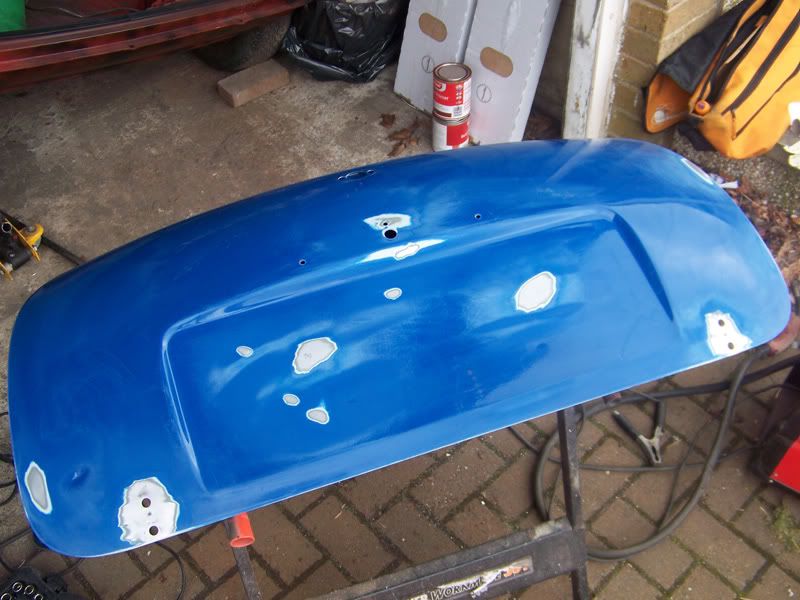
Posted Image
Holes welded up and some areas of surface rust taken back to bright metal.
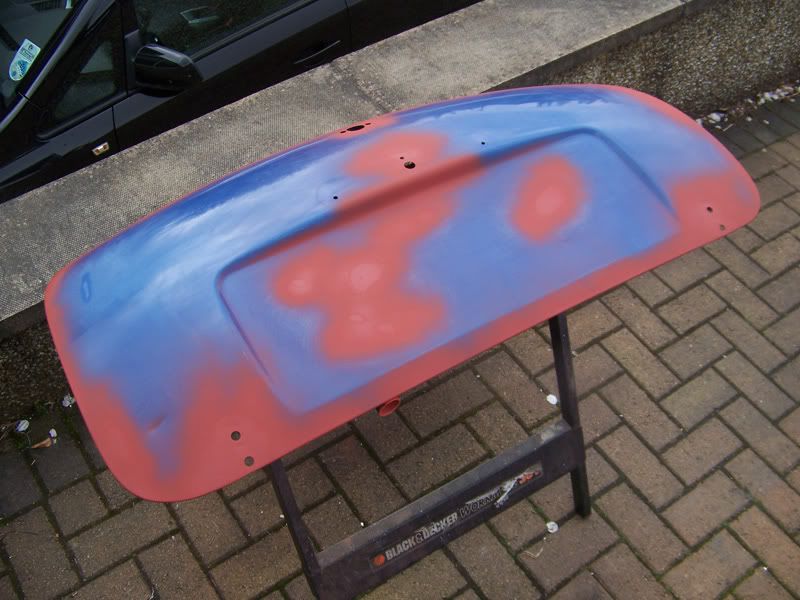
Posted Image
Red oxide sprayed on for protection, it'll all be sanded off when I prep the lid for paint anyway.

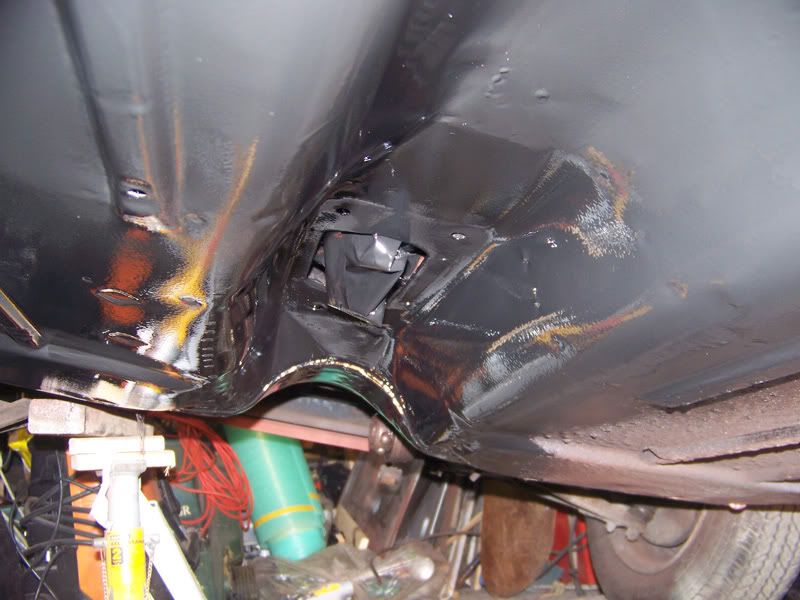
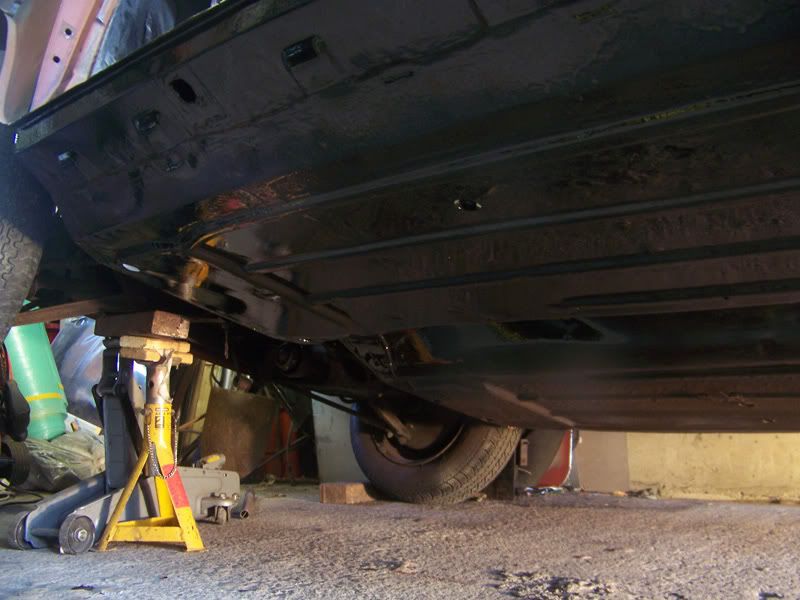
Then I painted the under side.
Posted Image
General view of the floor.

Posted Image
Exhaust tunnel.

Posted Image
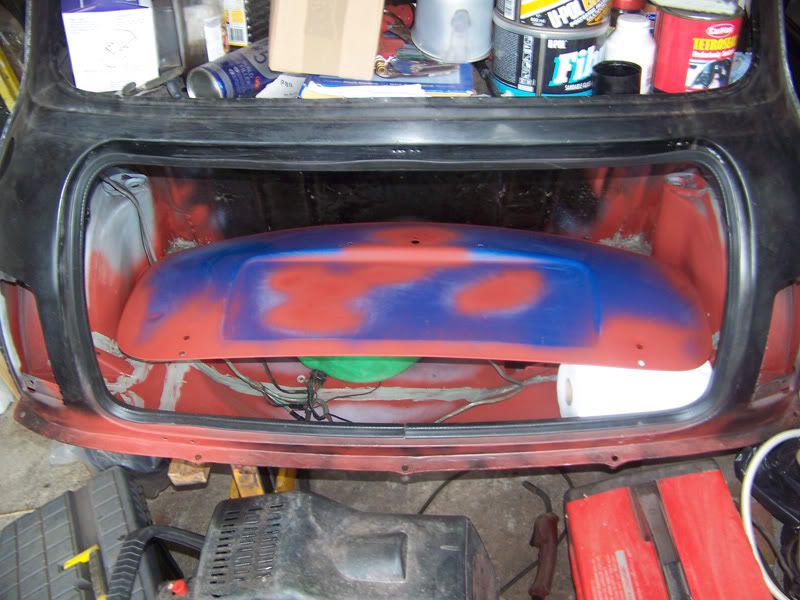
Popped the boot lid in the boot for storage.

That's all for today. Tomorrow I'm going to jack up the other side and start putting the driver side sill on.

Thanks for looking :lol:.

#1154 Deathrow

Deathrow

    Have you tried turning it off and on again?

  • TMF IT Specialist
  • PipPipPipPipPipPipPipPipPipPip
  • 5,734 posts
  • Name: Adam
  • Location: Manchester, UK

Posted 17 April 2011 - 11:09 PM

Update from the last few days:

Posted Image
Paint now touch dry.

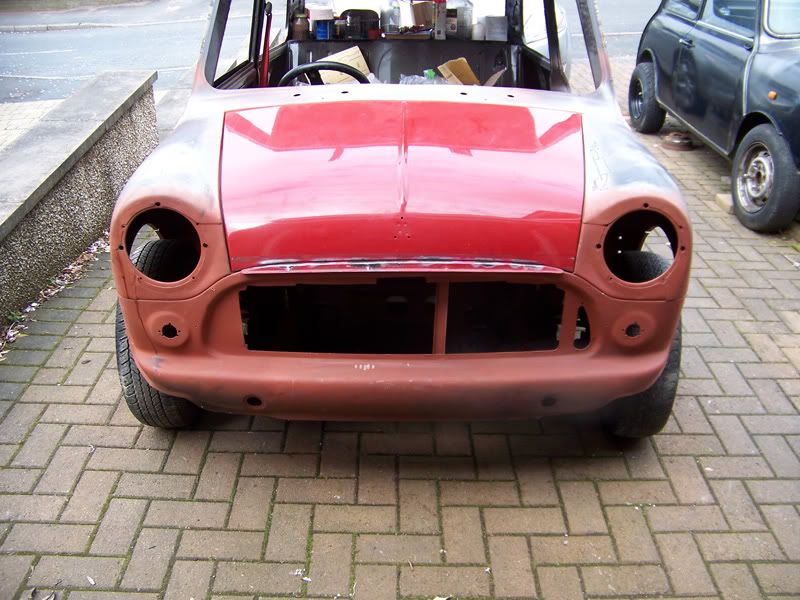
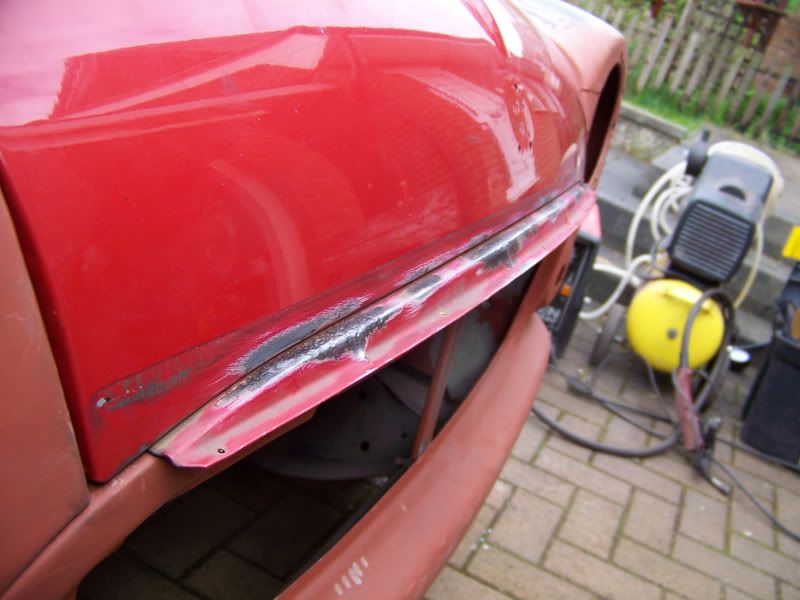
Posted Image
Took the bonnet lip chrome off and found rust, another thing which needs attention.

Posted Image
Ughr.

Posted Image
Jacked up on the other side.

Posted Image
All tacked in place.

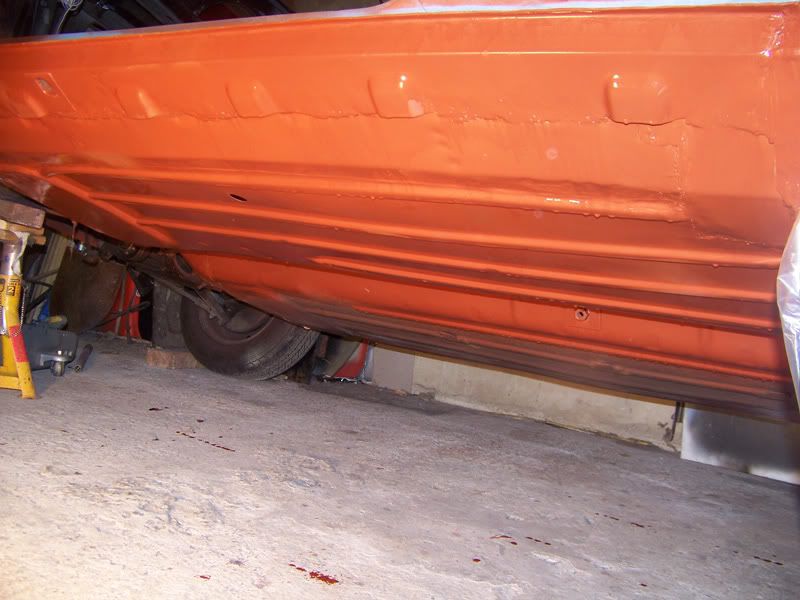
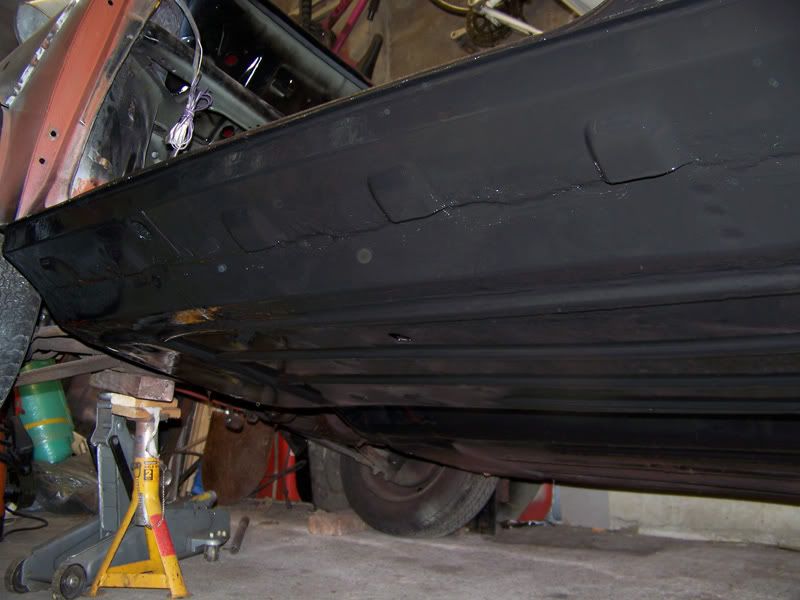
Posted Image
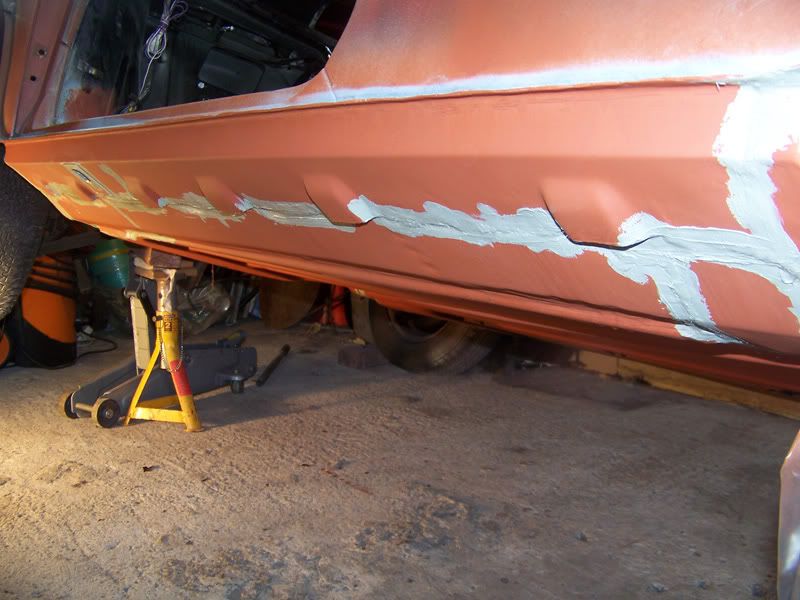
All welded along one seam.

I'll carry on with that tomorrow.

Thanks for looking :).

#1155 sonikk4

sonikk4

    Twisted Paint Polisher!!!

  • Admin
  • PipPipPipPipPipPipPipPipPipPipPip
  • 15,998 posts
  • Name: Neil
  • Location: Oxfordshire

Posted 18 April 2011 - 06:24 PM

Coming along very nicely, you could always chop the lip off the bonnet as it is a very good rust trap.


Also tagged with one or more of these keywords: roundnose

3 user(s) are reading this topic

0 members, 3 guests, 0 anonymous users