#1126
Posted 31 March 2011 - 01:55 PM
I wasn't going to post this update as it didn't seem worth while but since it's back on the front page anyway here it is.
I stripped down my clutch slave assembly a few weeks back (no pictures as it was literally a 5 minute job) and popped the parts in the tub of vinegar I have in the back yard.
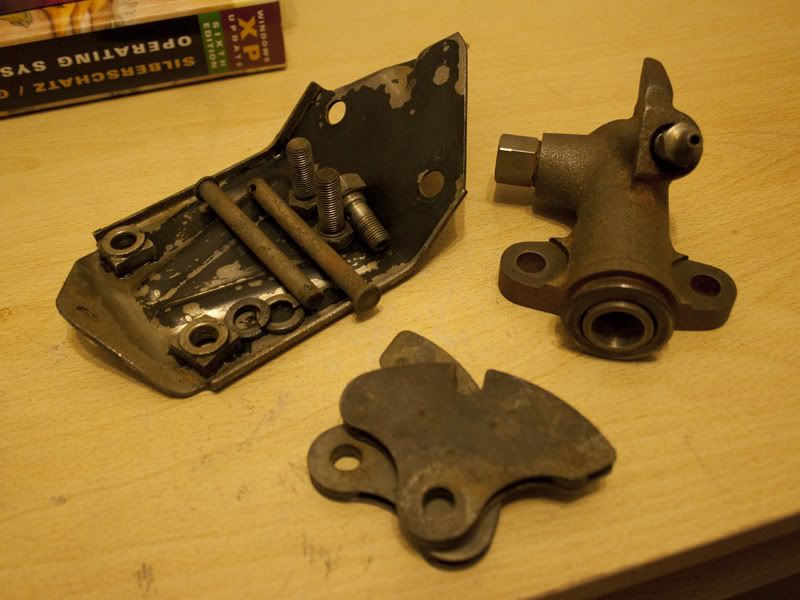
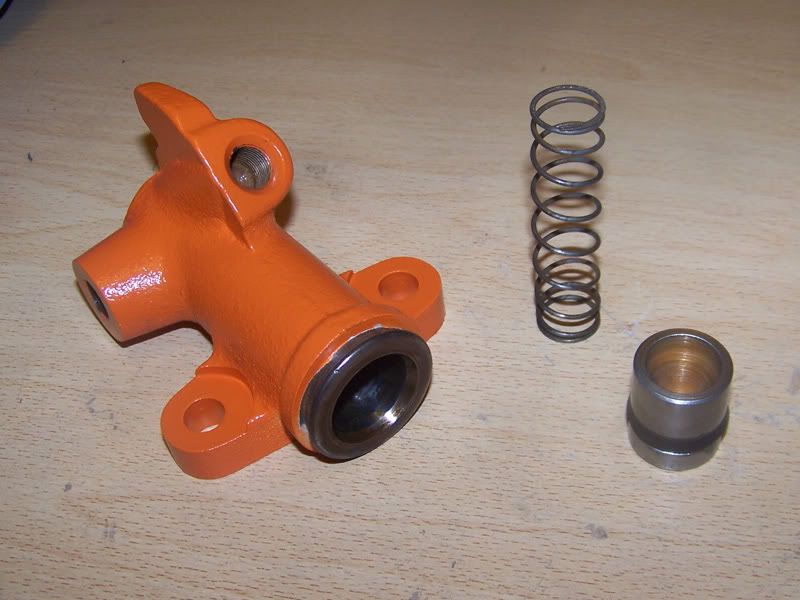
Parts removed from the vinegar.
As you can see they're all cleaned up and nice. I need to make a decision about how to paint the parts up. Not sure whether I should do the mounting plate black and the slave cylinder itself brilliant orange or keep the slave cylinder in raw metal and just lacquer it for protection. Either way, once decided, I'll get it sprayed and rebuild it with the new seals I bought a while ago.
I'm attempting to correct my sleeping pattern (damn you Final Year Project) so I can get back to getting up and working on the Mini as at the moment I'm almost nocturnal.
Thanks for looking .
#1127
Posted 31 March 2011 - 06:21 PM
#1128
Posted 31 March 2011 - 07:09 PM
no update too small, would even have appreciated some of the clutch slave cylinder strip down as I too have this to do. I take it that the seal kit is an easy refit??
Also what is in the vinigar mix, just vinigar or more exotic?? Also does it just take off the surface rust or does it also de fluid the inside??
Graham
#1129
Posted 01 April 2011 - 04:58 PM
grahama, I'll make sure I document the seal being replaced once I've got the cylinder all painted up .
Also yes, the vinegar tub is just vinegar. I use ASDA Smart Price vinegar, it's 13p for a litre, and you can use it as many times as you like. Get yourself a bucket big enough for the biggest part you want to clean up and get enough vinegar to fill it.
I normally leave it a week or two to do its work, but you can pull parts out and check them and put them back in if neccesary.
#1130
Posted 01 April 2011 - 05:01 PM
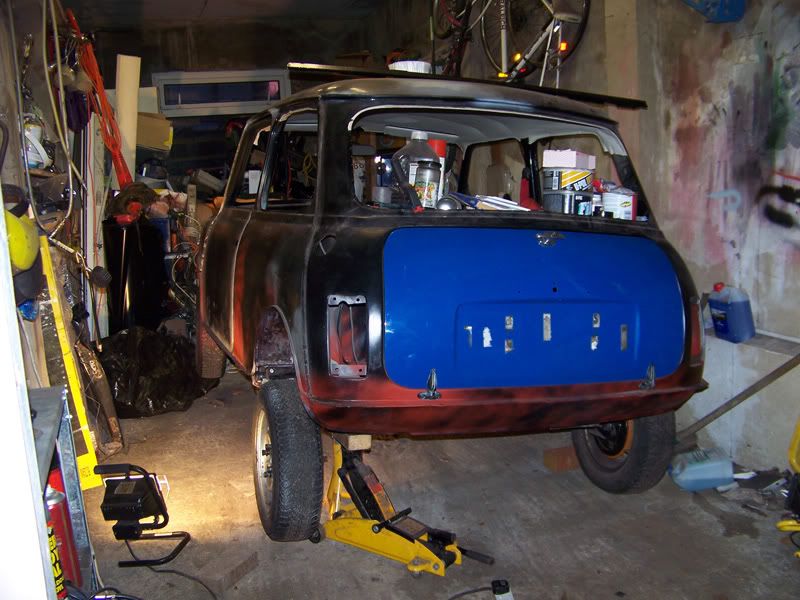
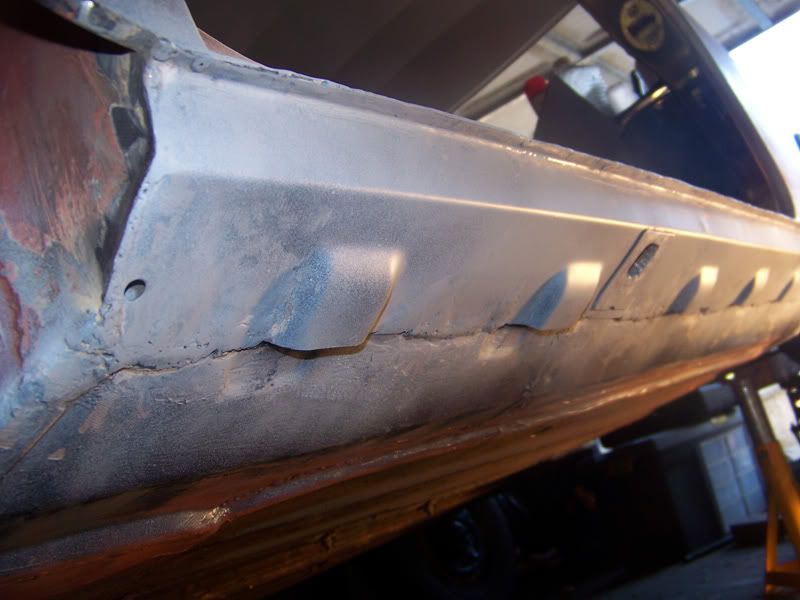
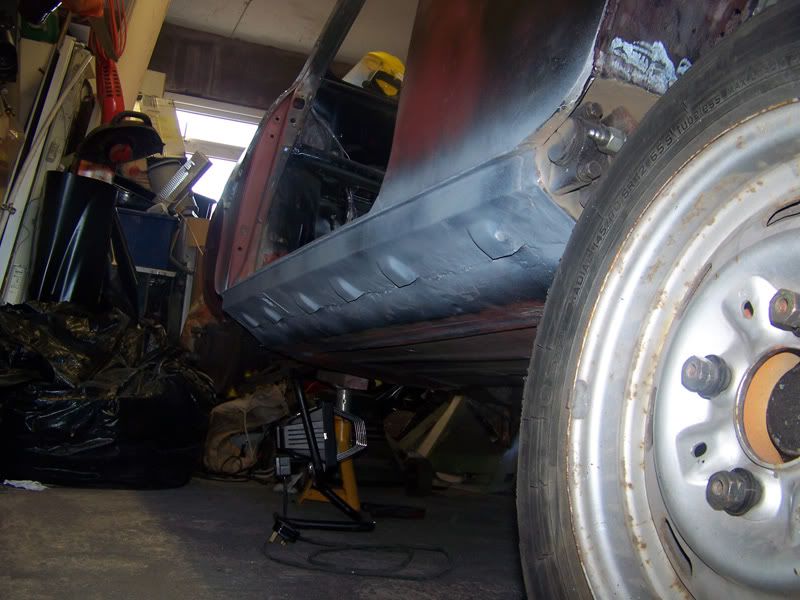
Jacked up on the passenger side.
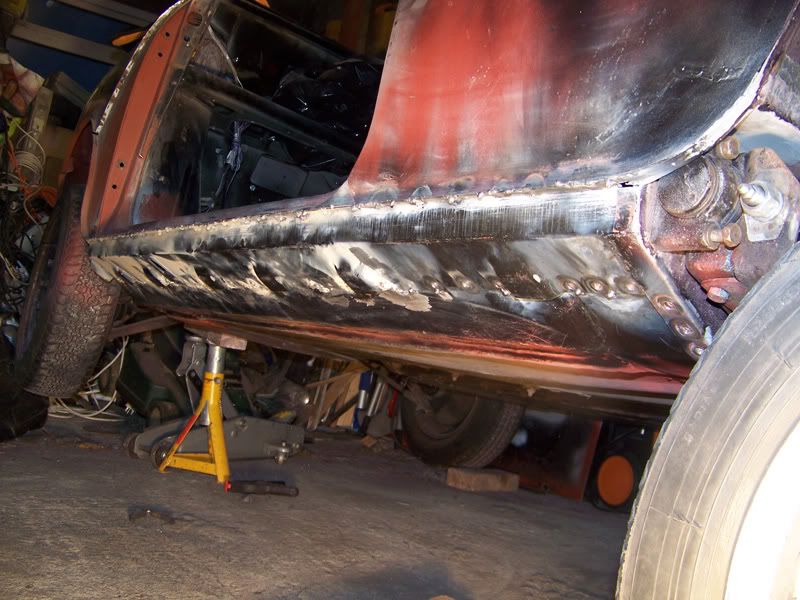
All welded.
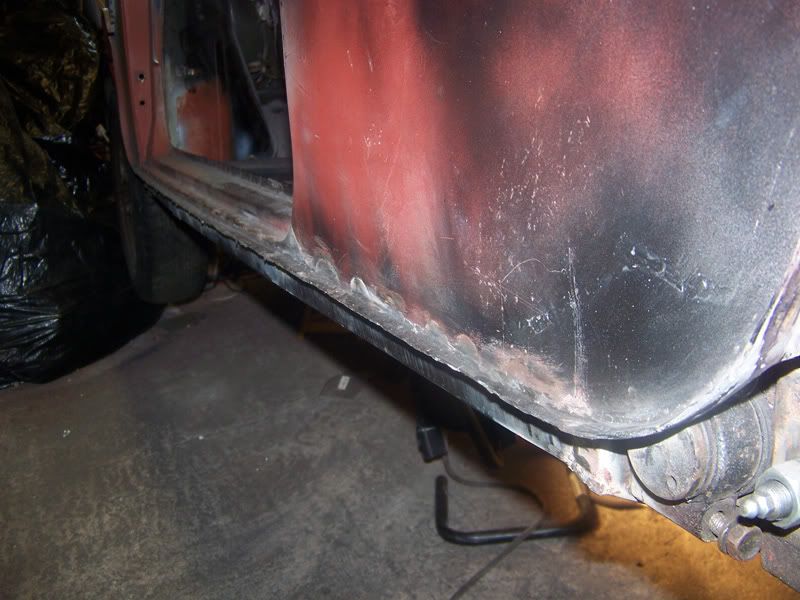
Top of seam cleaned up.
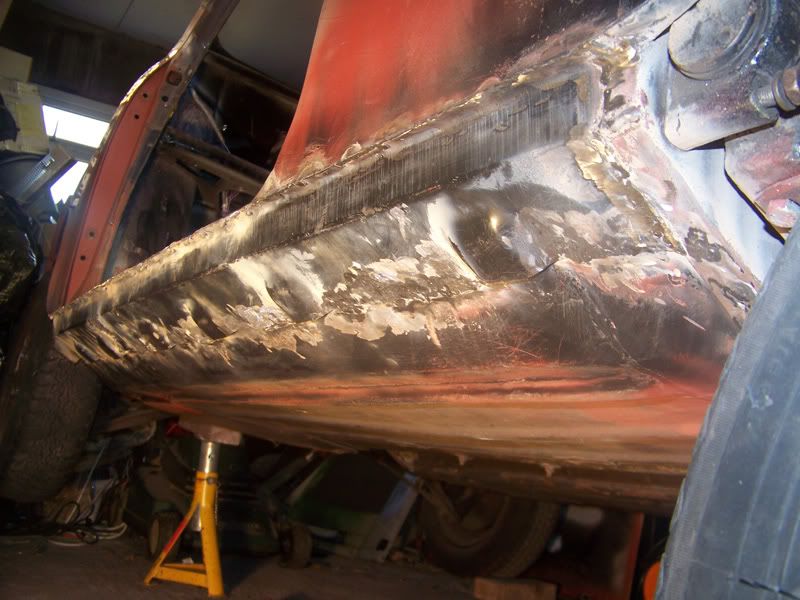
Underside cleaned up. Looks awful, but most of it is just because of the various layers of paint and stuff. It'll look fine once it's all one colour .
There are some bits here and there that want a bit of additional welding just to tidy things up. Once that is done and ground back I'll clean up the whole sill, etch it and prime it then move on to the other side.
Thanks for looking .
#1131
Posted 02 April 2011 - 02:27 AM
Cleaned up and masked.
Etched.
Primed and painted.
More progress tomorrow!
Thanks for looking .
#1132
Posted 02 April 2011 - 05:53 PM
Chris
#1133
Posted 02 April 2011 - 06:16 PM
#1134
Posted 02 April 2011 - 11:55 PM
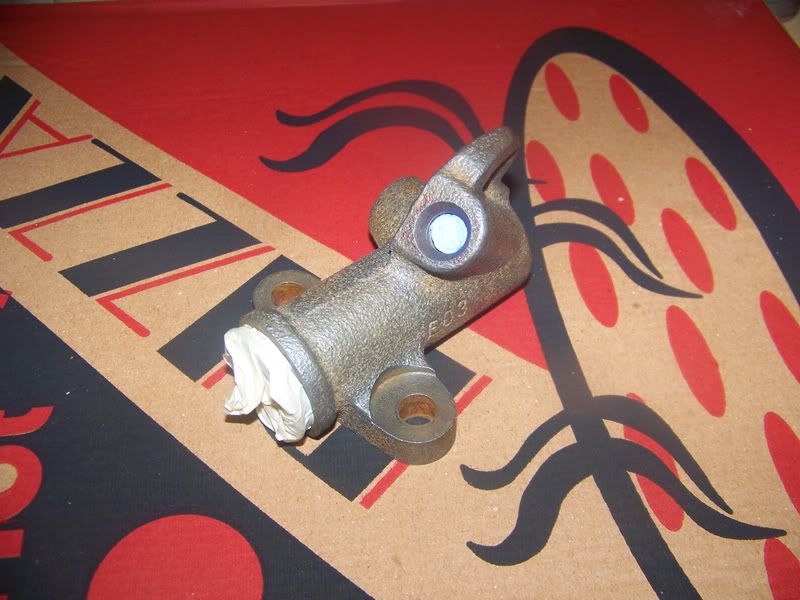
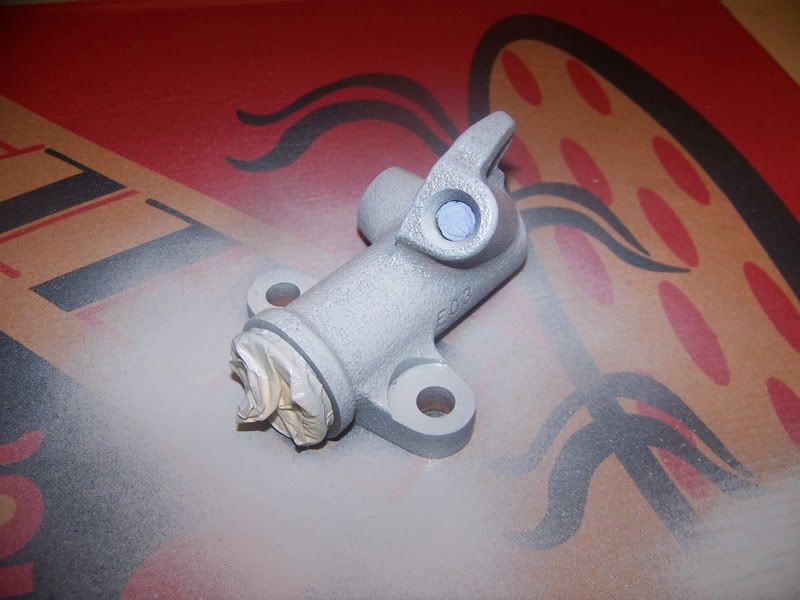
Did some more work on the sills today, taking a bit longer than expected to get the results I want but I'm nearly there now. No pictures of that though I'm afraid! However I did finish off the clutch slave cylinder just now:
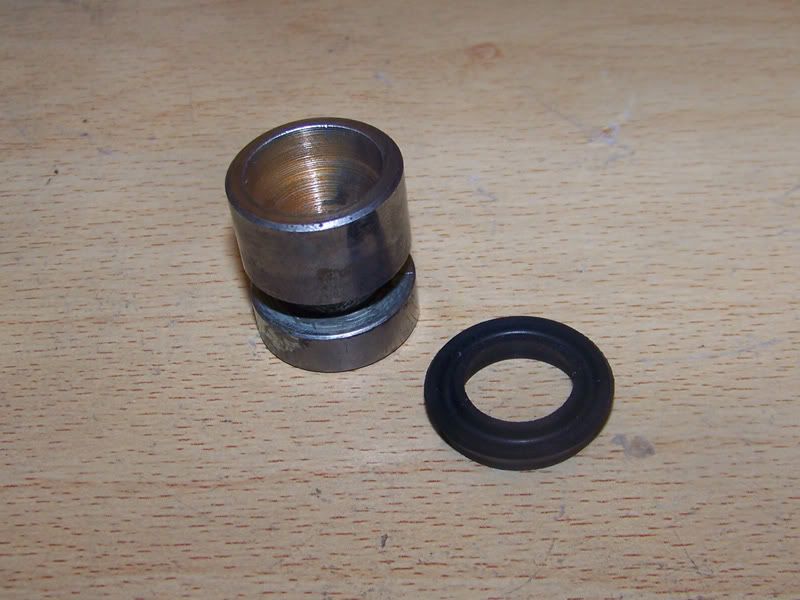
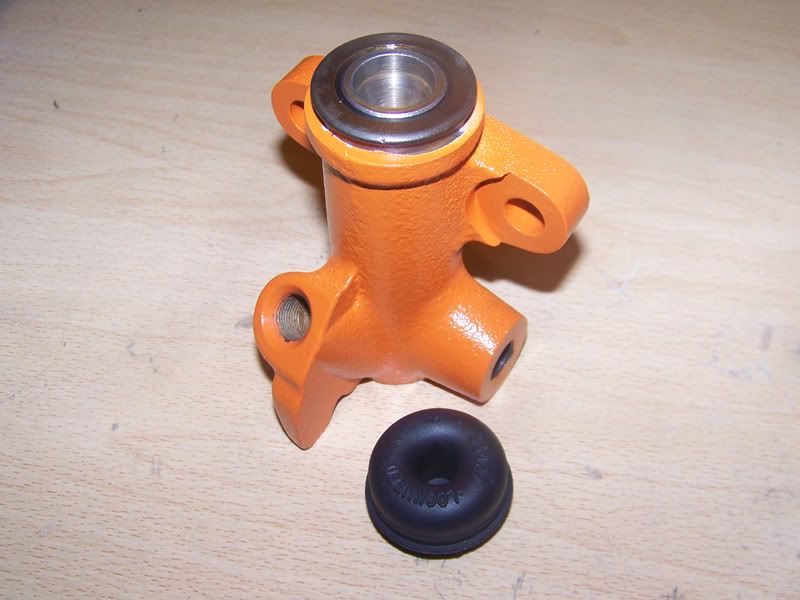
Fit the new seal to the piston.
Put the spring back in, followed by the piston. I used the old spring rather than the one that came in the repair kit, just because the diameters were a bit different, I imagine either would work.
The fiddly bit, put the dust seal on the end of the cylinder.
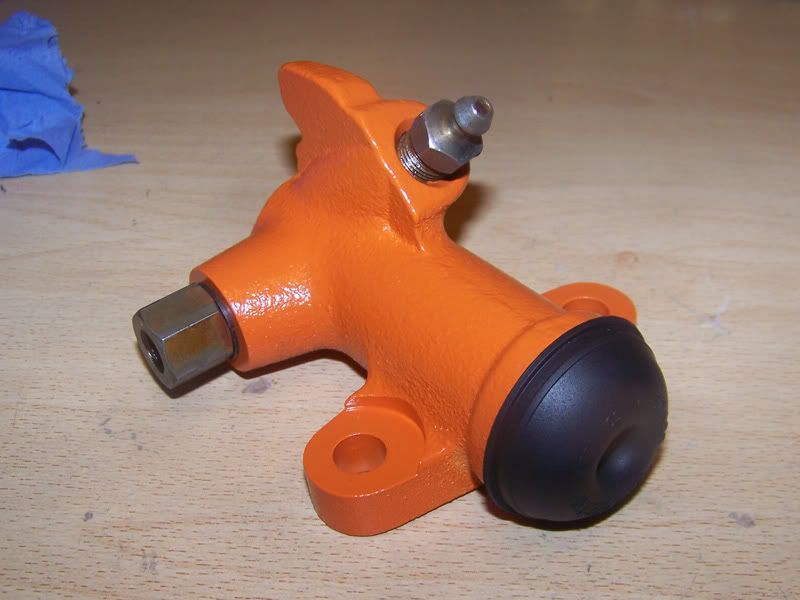
All done!
Going to go and work on the bodywork again tomorrow. Aiming to get that sill finished and make a start on the other side.
Thanks for looking .
EDIT: I made a mistake when rebuilding my slave cylinder. Do NOT use oil to lubricate the seal so it slides in easier. Follow your haynes manual and use the appropriate brake fluid for the system. Oil degrades the seals.
#1135
Posted 03 April 2011 - 09:52 AM
Looking good
#1136
Posted 03 April 2011 - 09:27 PM
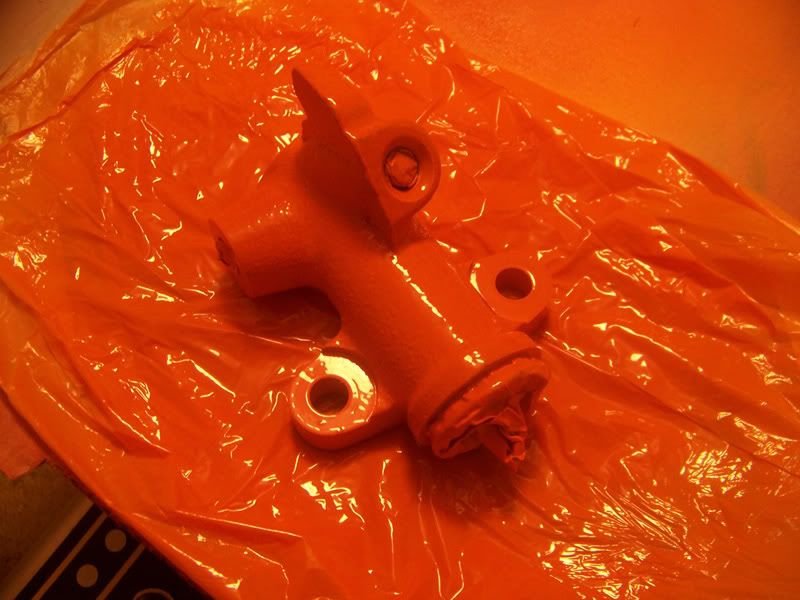
Look at you with your rustless Mini Pete! Some would argue whether it was a Mini at all!Never know about the vinegar trick, must get me down Asda. Oh and buy a mini to restore which has rusty bits to dip in it.. P.S. Dunno if you've noticed yet, but you've accidentally painted your slave cylinder bright orange. Must have picked up the wrong tin or something, can't believe no-one else has pointed it out.
Looking good
I hadn't noticed that! Out with the paint stripper, haha.
I've made a bit of a boo boo, I used light machine oil to install the new seal in the slave cylinder and apparently this is a big no no. The seals in the brake and clutch system are not designed to be used with oil and as a result, oil does them harm. I'm going to get another repair kit and do the seal again, this time using the proper fluid to lubricate it during reassembly. Better safe than sorry!
#1137
Posted 04 April 2011 - 09:17 PM
#1138
Posted 05 April 2011 - 01:59 AM
Nah, no red grease .
#1139
Posted 07 April 2011 - 05:59 PM
Does this tiny hole at the front need welding up? Probably sensible from the point of view of water getting in I guess?
Overall view.
Even though my plug welding was probably fine I was doubting it a bit. The more observant of you will notice there is a good long stitch along each flat of the sill. I'd rather it was over welded than not strong enough. It'll be invisible under the underseal anyway.
Going to work on it again tomorrow as the weather is great at the moment .
Thanks for looking .
#1140
Posted 07 April 2011 - 06:54 PM
Also tagged with one or more of these keywords: roundnose
Projects →
Mini Saloons →
Mini Cooper Project - Finally StartsStarted by piphatch , 08 Jan 2025 roundnose |
|
|
||
Projects →
Mini Saloons →
1965 Austin Mini Restoration - Canadian Mk1Started by DoubleEh , 14 Nov 2022 roundnose |
|
|
||
Projects →
Mini Saloons →
Project Joe - 1991 Mini Mayfair 998Started by Eggers , 02 Jun 2022 roundnose |
|
|
||
Projects →
Mini Saloons →
Mpi Dashboad ProblemStarted by mikeprez , 22 Dec 2021 roundnose |
|
|
||
Projects →
Mini Saloons →
1978 Oew - Willy The MiniStarted by smalltreegrower , 11 Nov 2021 roundnose |
|
|
1 user(s) are reading this topic
0 members, 1 guests, 0 anonymous users