#1021
Posted 09 September 2010 - 05:49 PM
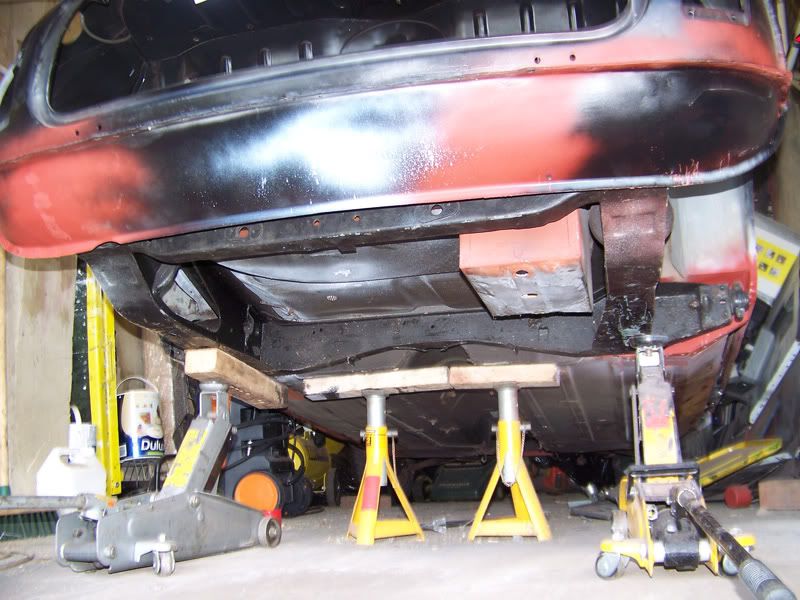
Subframe offered up for a final check and some measurements.
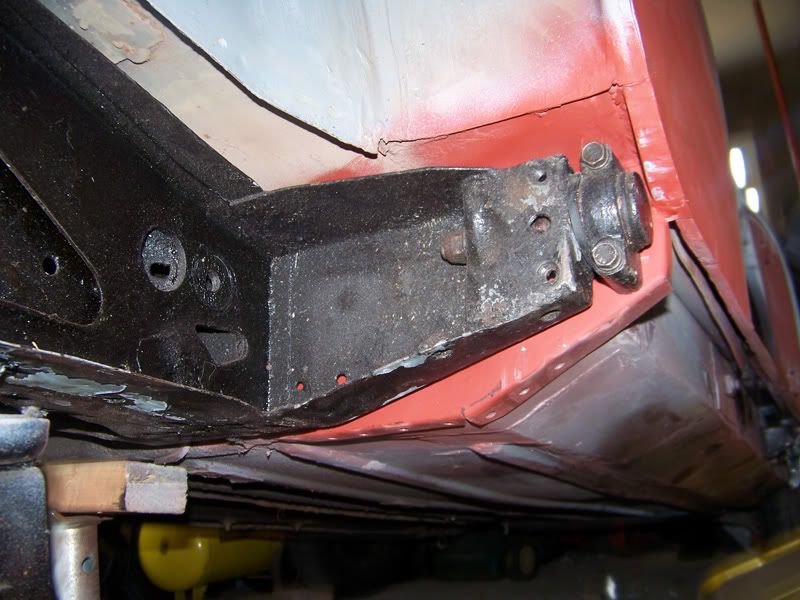
Bolted up on the driver side.
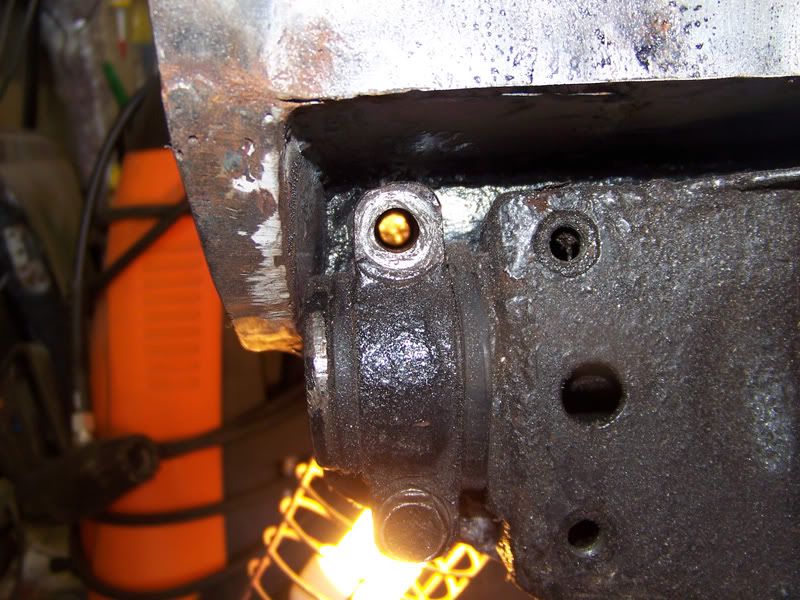
Alignment on the passenger side, spot on.
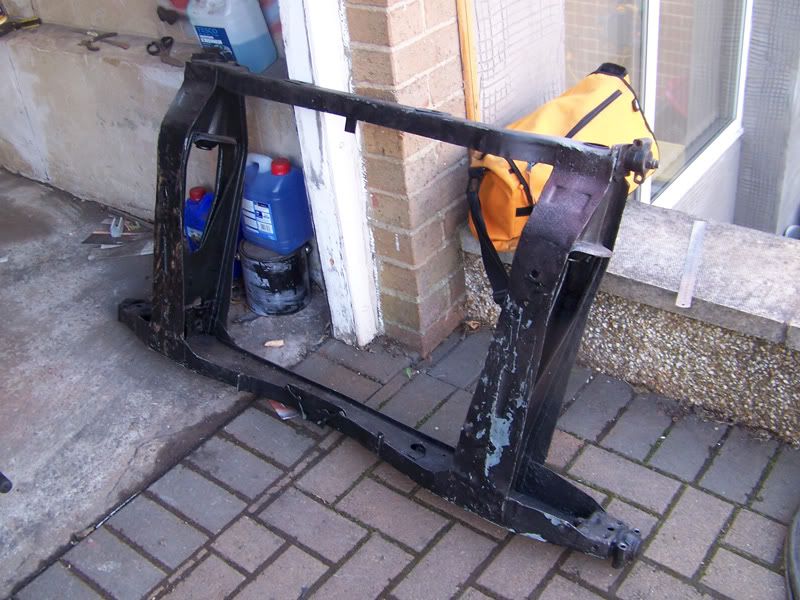
Subframe removed, the primer I used on this from halfords has been rubbish, the top coat keeps peeling off. I'll probably end up stripping alot of this back and using red oxide, a primer I trust, before painting it up again, this time with the spray gun instead of a brush. In fact, once the bodywork is done, I might sling both the front and rear subframes to the sandblasters and do the job properly.
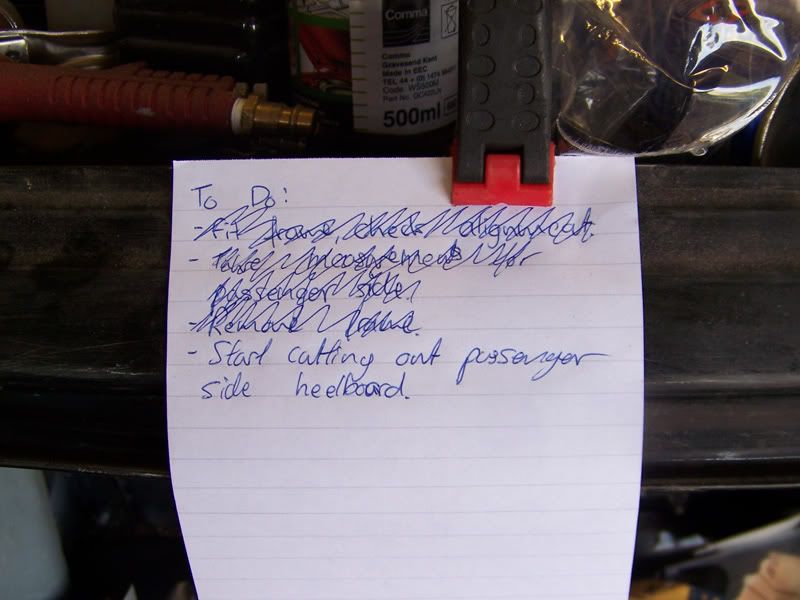
This is my new thing I'm doing. I have a notepad at the garage and I write down all the things I want to get done that day, this means I don't find myself faffing about thinking about what to do next, I just have clear instructions to follow. It seems to make me alot more productive.
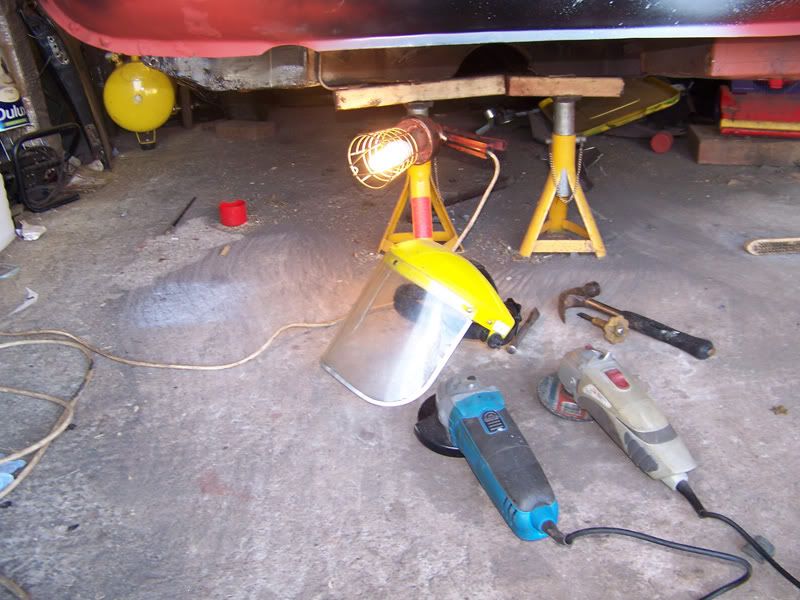
I readied the tools.
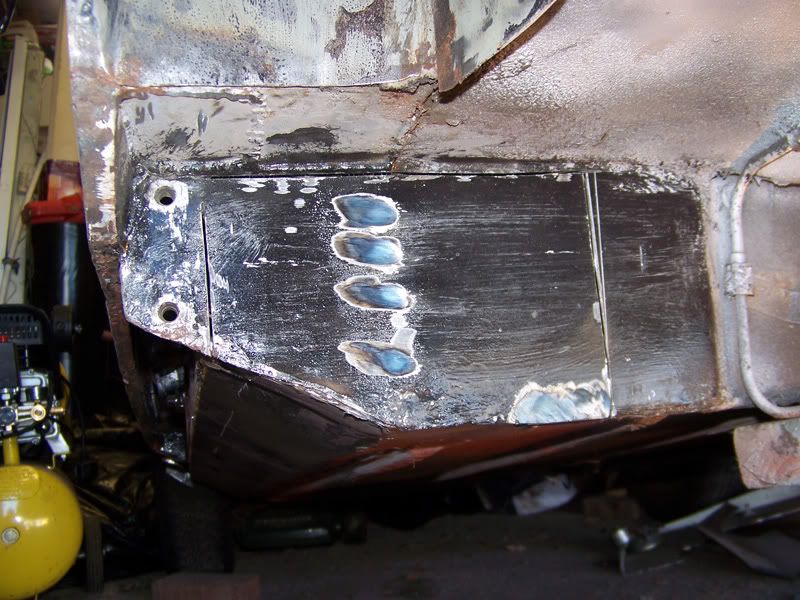
Did some cutting and grinding.
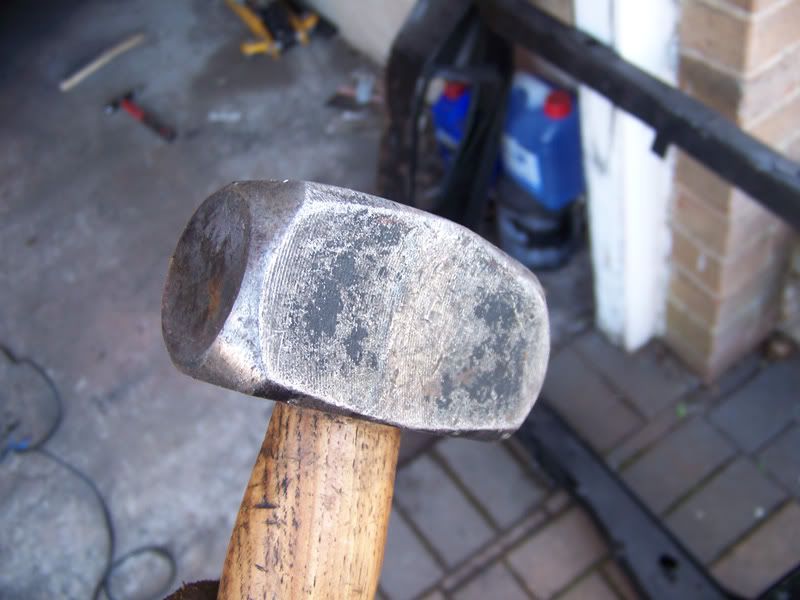
Because the other hammer wasn'y big enough .
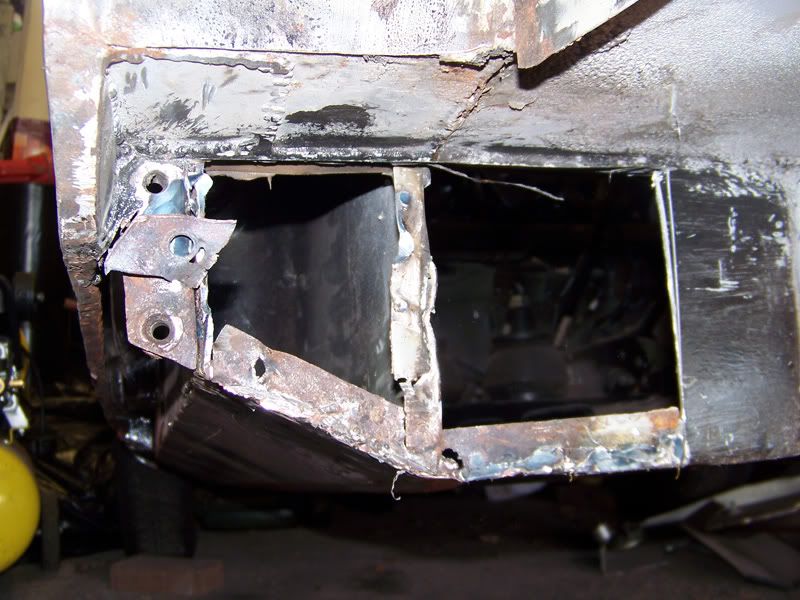
Part way through chopping.
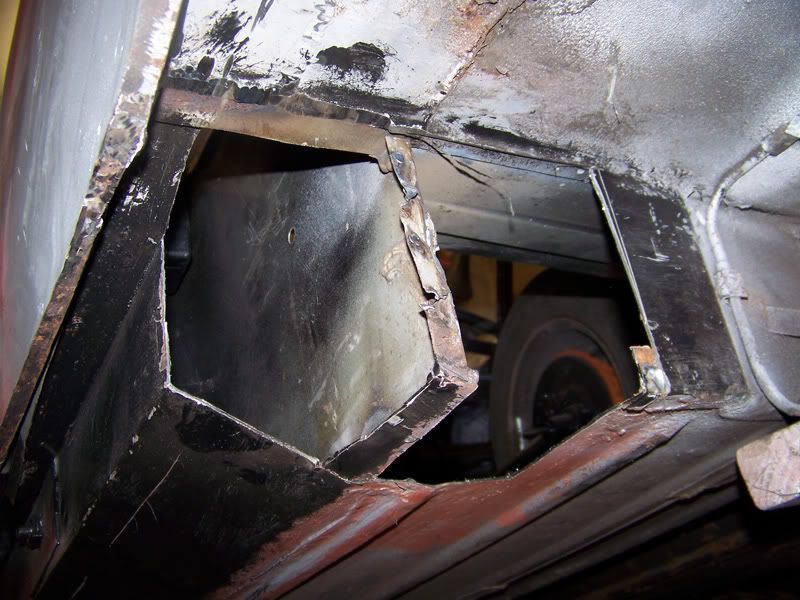
Majority cut out. There are still some bits I need to grind down and I need to remove the spot welds on the seat base and in the companion bin.
More tomorrow, got a good bit of enthusiasm going now.
Thanks for looking .
#1022
Posted 10 September 2010 - 06:01 PM
Ed
#1023
Posted 10 September 2010 - 07:13 PM
Cheers Ed .persuasion hammers always win! hahahaa! nice work! glad it all lines up!! gonna be a jobe well done me thinks!!
Ed
Would have got more done today but I had a migrane late last night and it's knocked me off balance a bit through lack of sleep and stuff so I took the day off. If I'm feeling better in the morning I'll go get some work done tomorrow.
#1024
Posted 12 September 2010 - 07:10 PM
#1025
Posted 12 September 2010 - 07:39 PM
Thanks Sarah, I look forward to recieving it.Saw some of the photos - some reason my computer wouldnt show the last photos - but i hope the bootlids ok for you! Sarah.
I couldn't stand the thought that after all this work the really badly fitting boot lid I had was going to let it all down so I needed to sort out a new one, cheers for that .
#1026
Posted 16 September 2010 - 09:04 PM
Oh doesn't that look yummy!
Not anymore!
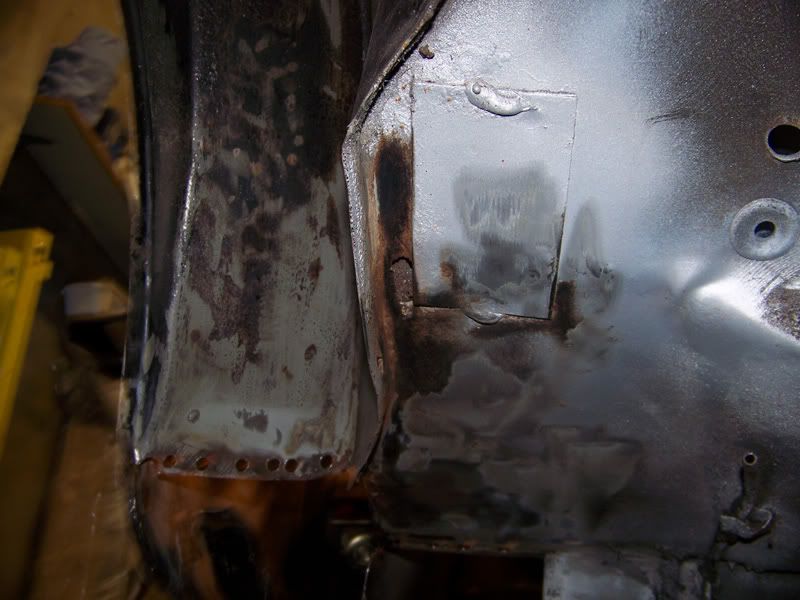
But alas, Elliot always has some more rust she's been saving for me. Are these thick plates neccesary? Can I leave them off after I've repaired the steel underneath them?
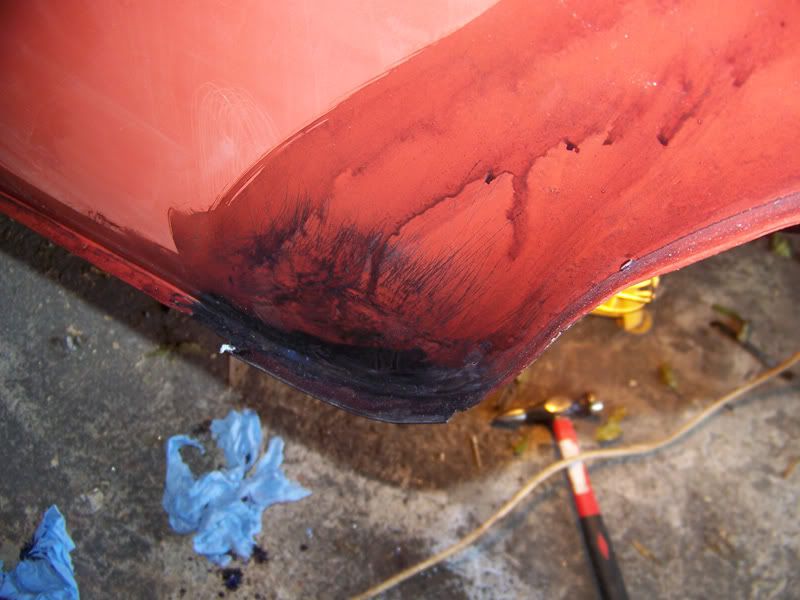
Lip repaired, again. Nevermind the purple, it's only Kurust.
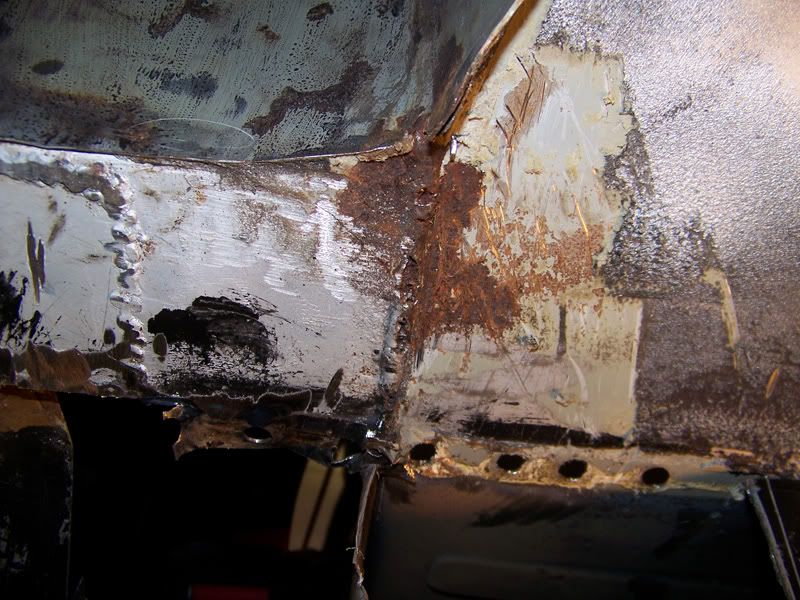
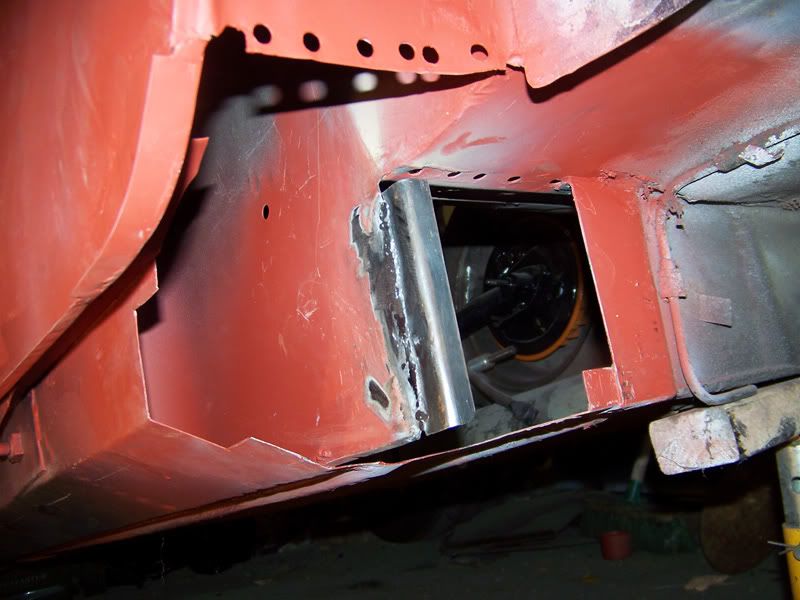
All bad steel now removed.
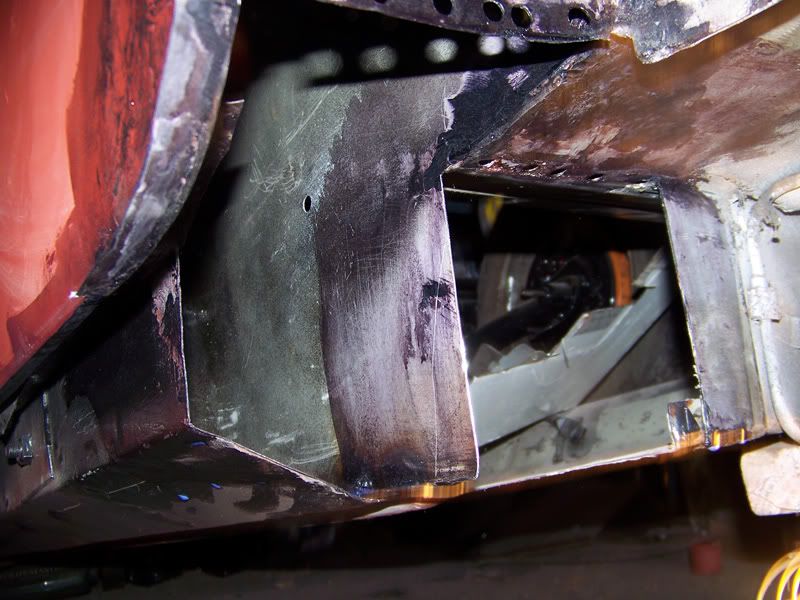
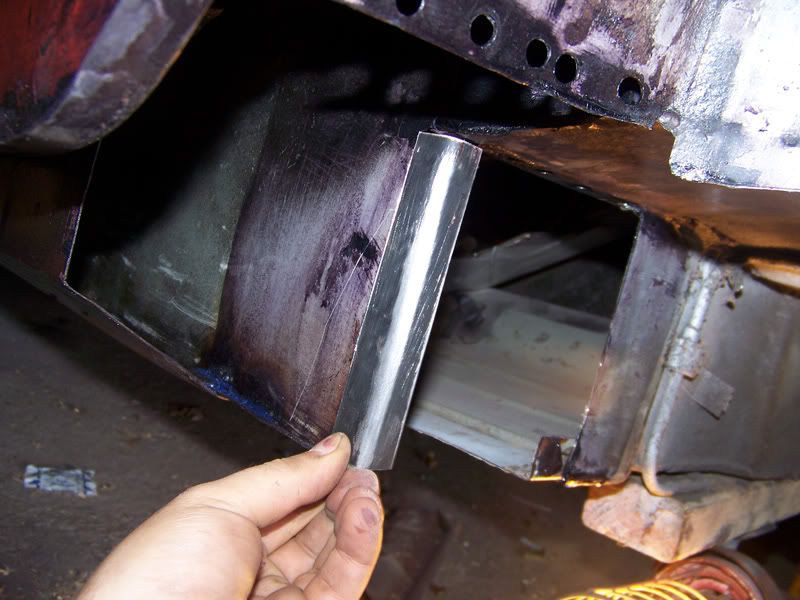
Started making the sections to replace the steel I removed. I've also done card templates for the floor/sill but they're not pictured.
My replacement boot lid should arrive tomorrow, then I'm back off to the garage for some more work!
Thanks for looking .
#1027
Posted 19 September 2010 - 11:16 PM
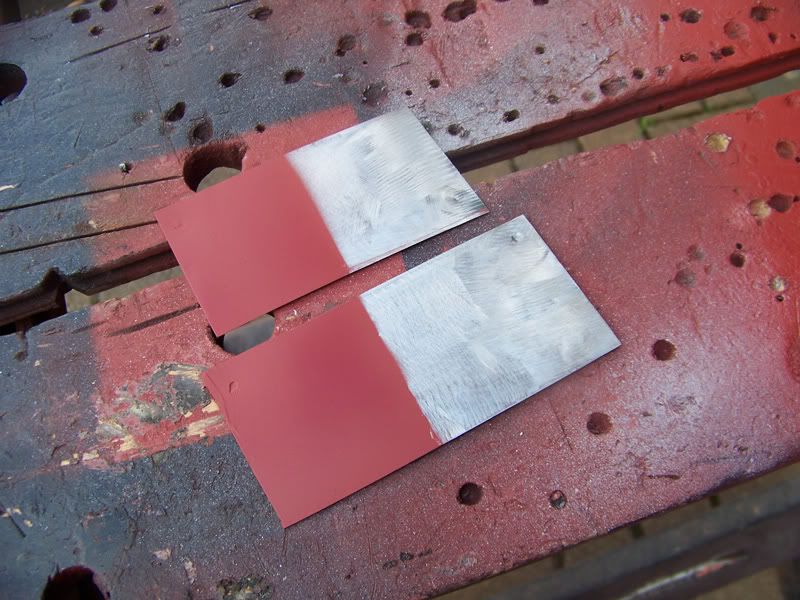
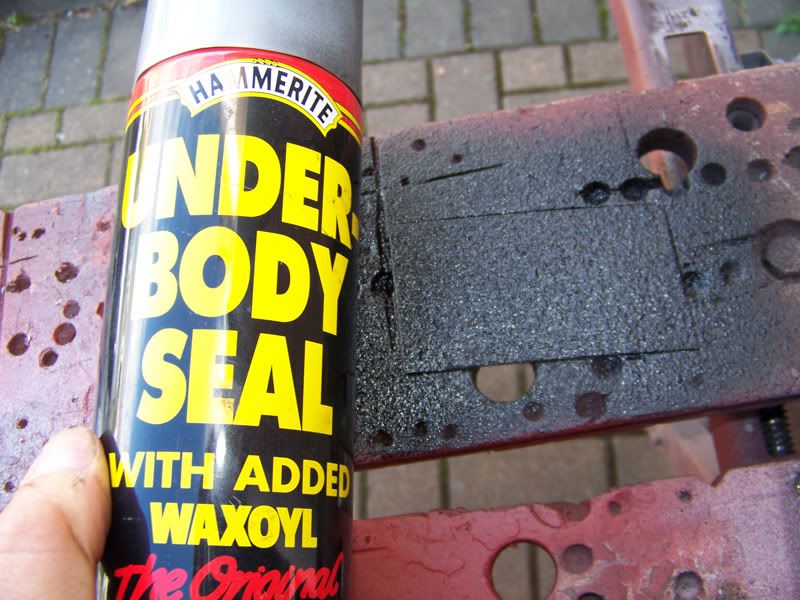
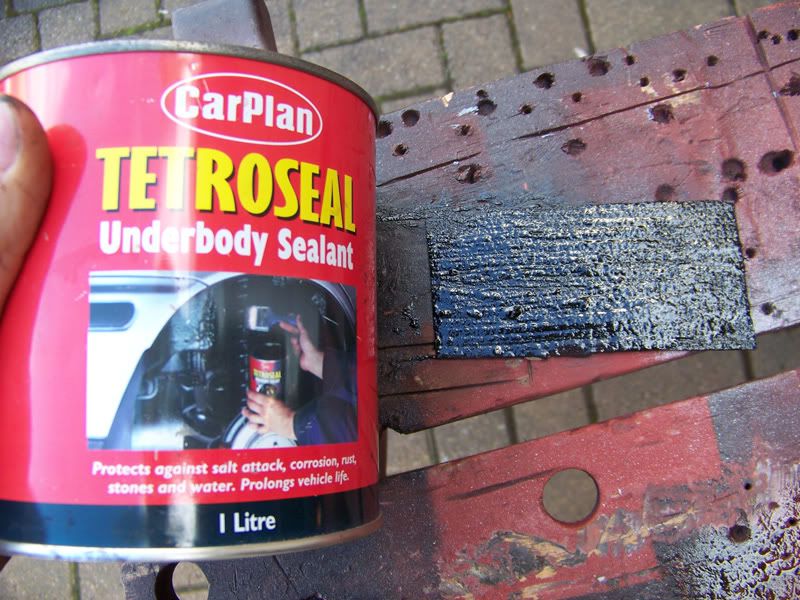
To start with I wanted to perform an experiment to see which underseal is going to be best to use on the underside of the car in the wheel arches and stuff like that.
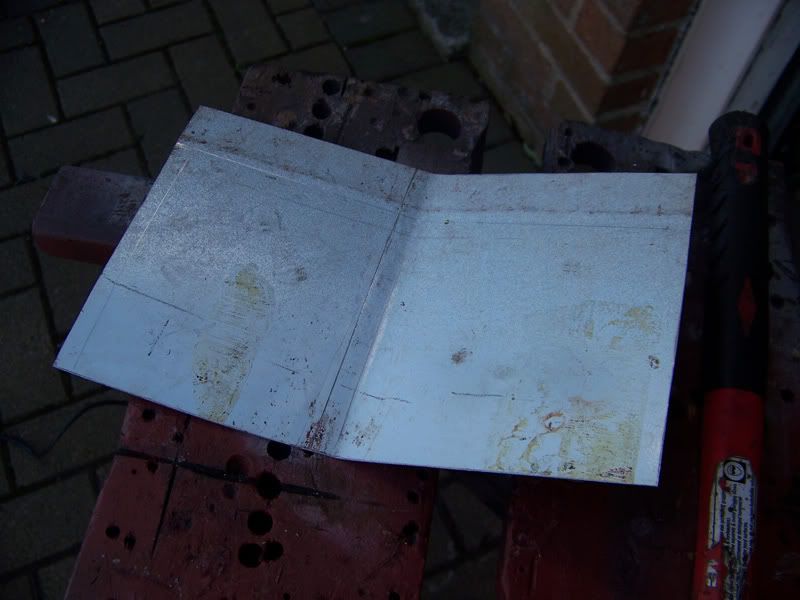
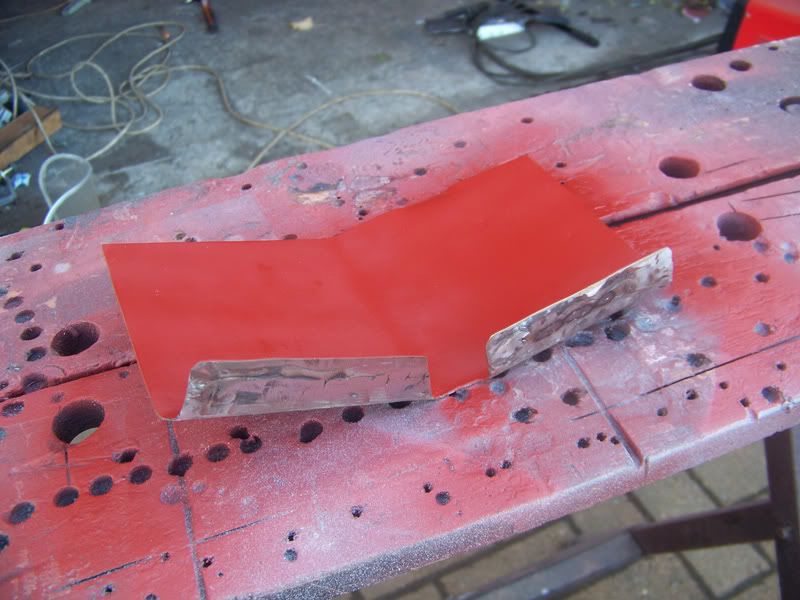
Chopped out two small panels out of thin metal and primed half of each one.
One sprayed with hammerite underbody seal with added waxoyl.
The other with this brush on stuff from my local motorfactors.
I let them dry, put a gouge in the middle of them to try and simulate some trauma such as a stone chip or the like. I've left them out on the garage roof to see what the weather can do to them. I've left the rear of the panels bare metal so that it'll be clear to see when rust really sets in and how the underseal performs. The tetroseal stuff was alot harder to damage though so I'm imagining that is going to fair the best. Time will tell.
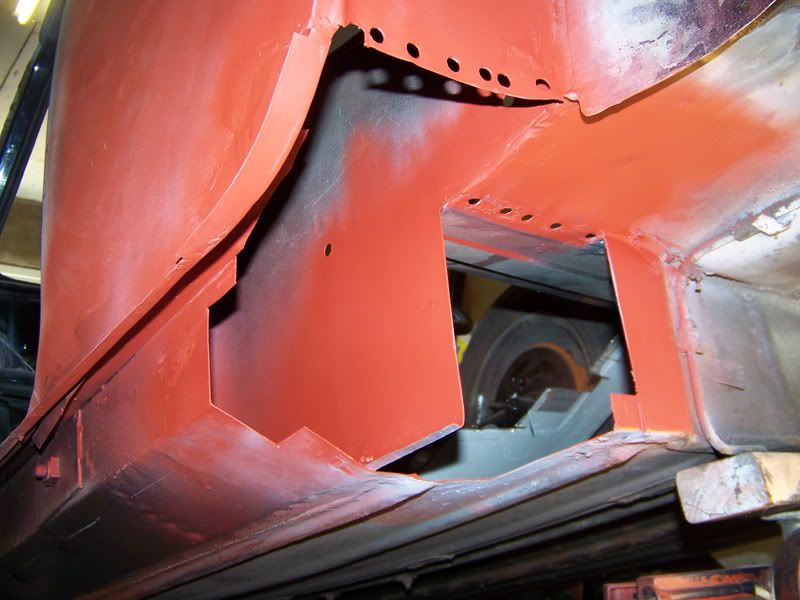
Kurusted areas were rubbed down and primed.
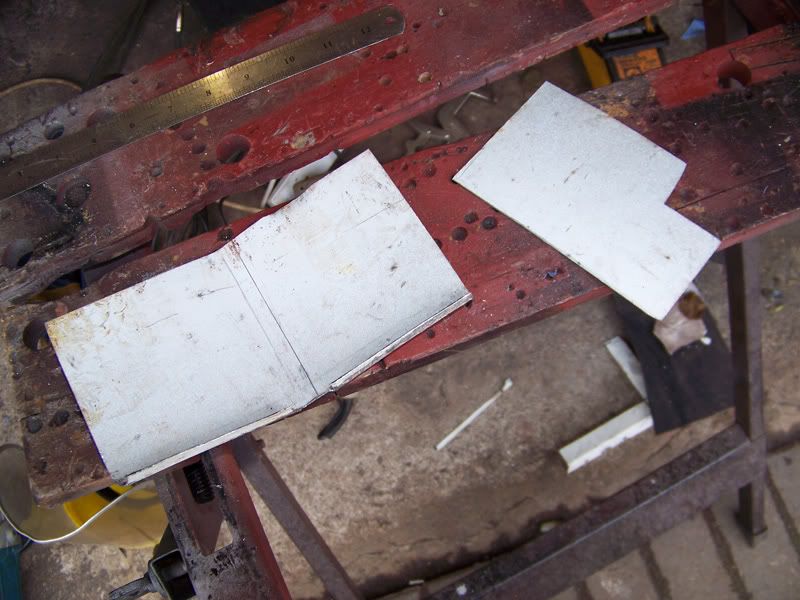
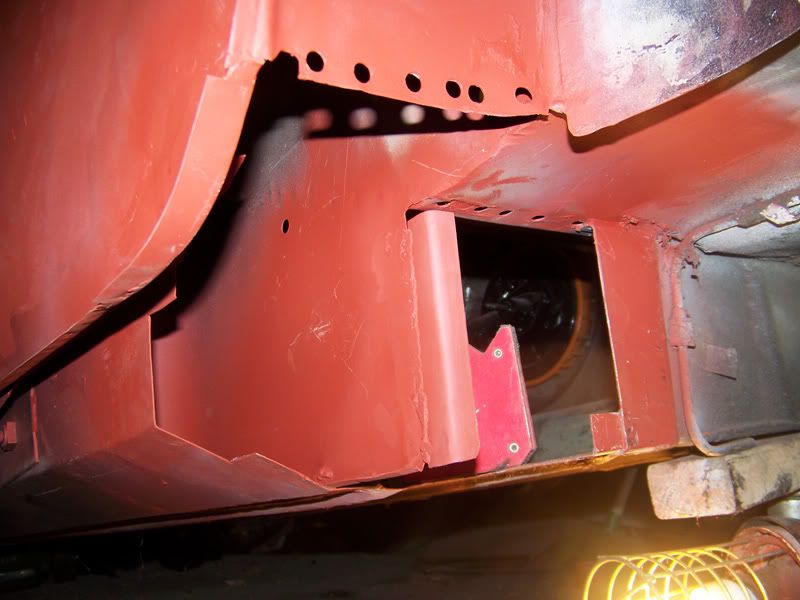
Started fabricating repair panels.
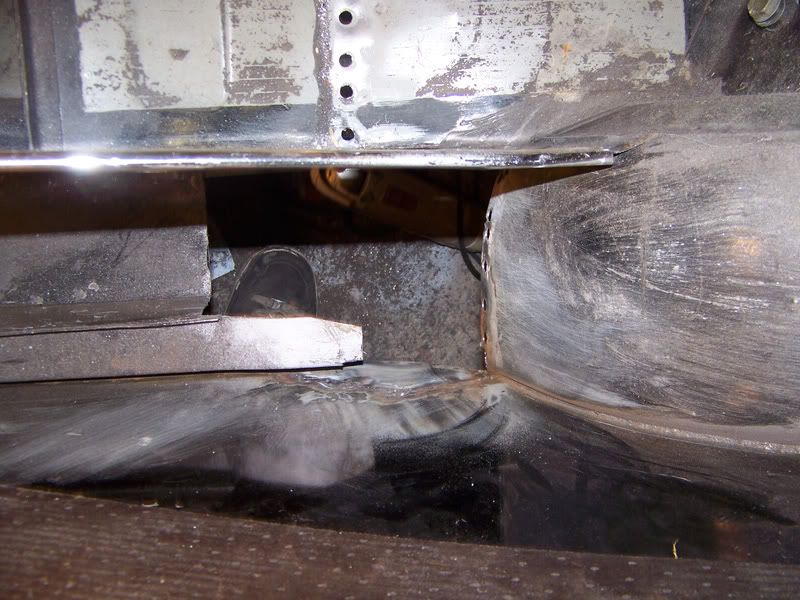
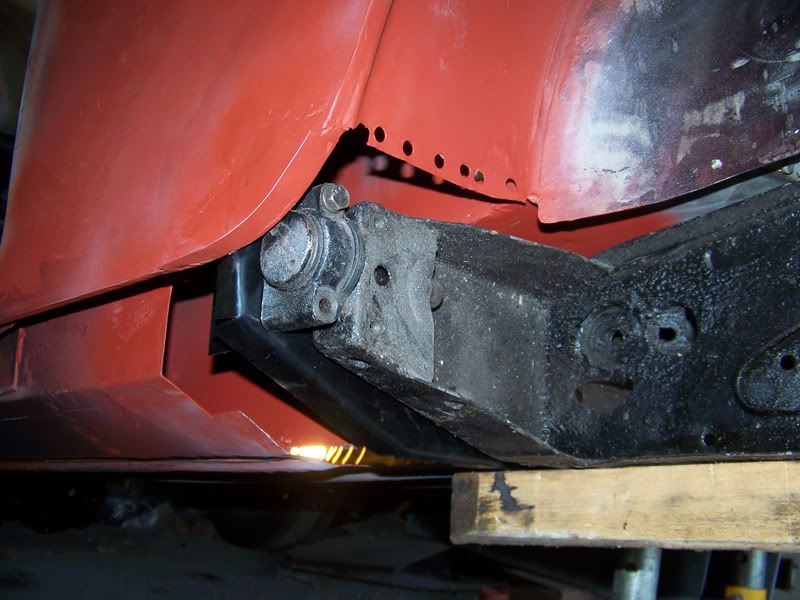
Got subframe in place to see how the repair panels would fit.
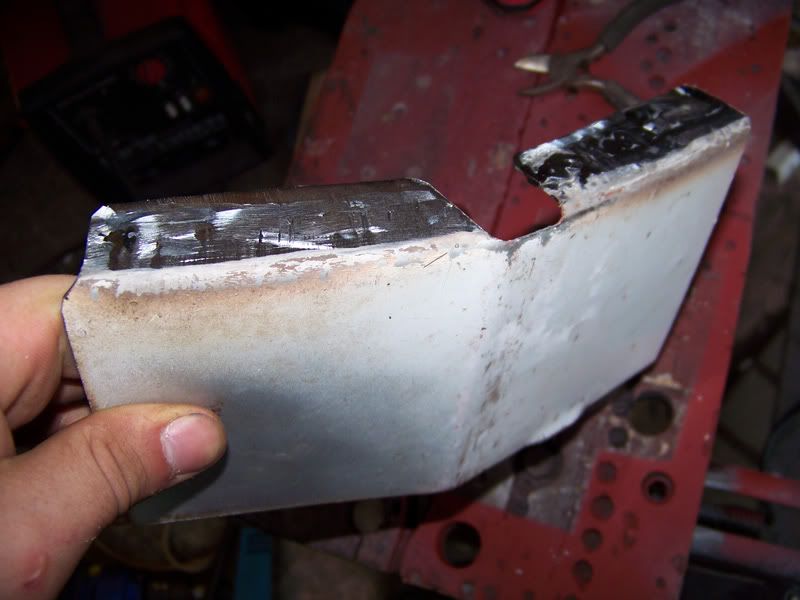
Lips folded for plug welding.
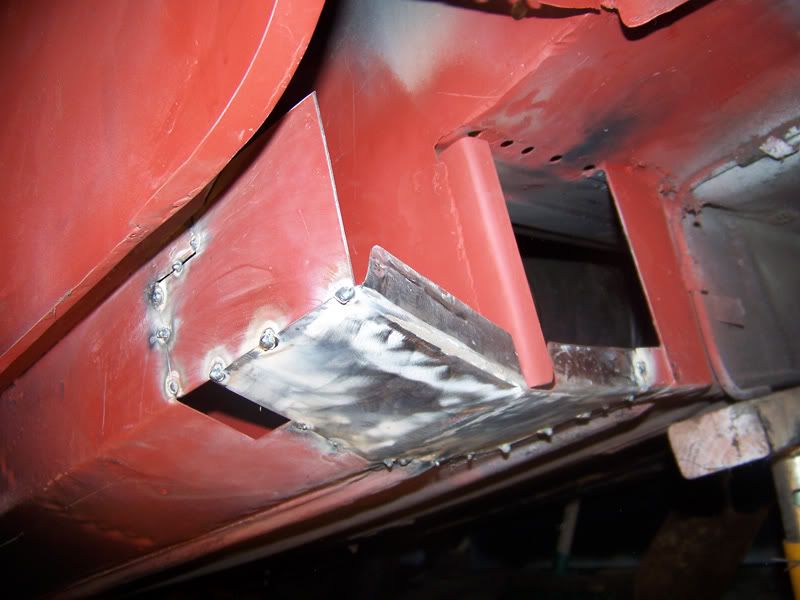
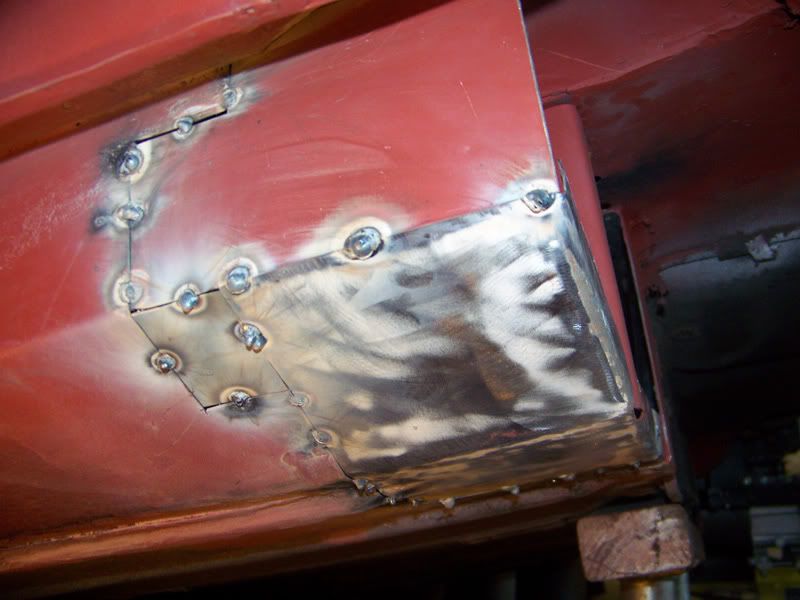
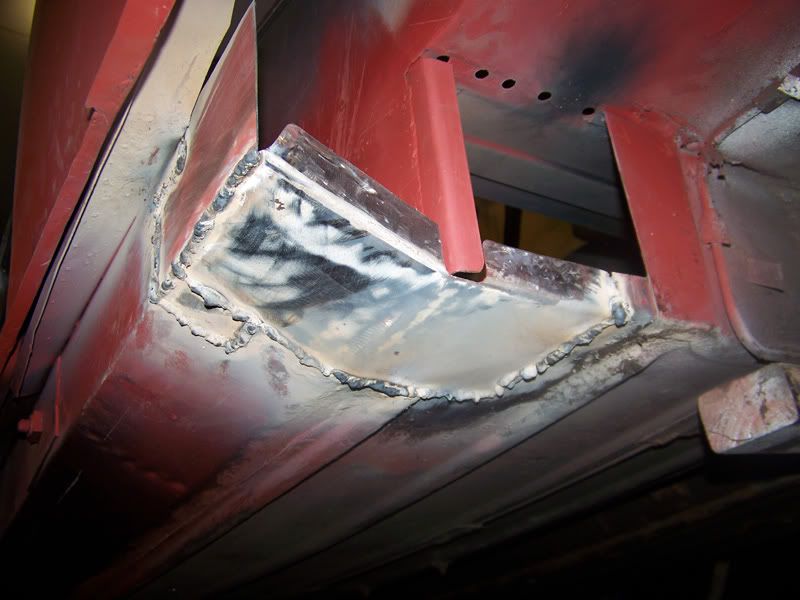
Welded this repair in, not the best looking repair but no one will see it.
Then I trimmed the plug welding tabs down too much like a lemon so had to weld them back on.
I'm going to go and do some more work tomorrow so keep an eye out .
#1028
Posted 20 September 2010 - 06:37 AM
Re the underseal. Have you thought about using proper stonechip?
Much easier to put on and you can then paint over it.
Maybe worth thinking about.
Regards
Steve
#1029
Posted 20 September 2010 - 11:34 AM
I've no need to paint over it as the car is going to be black, plus I wanted something that has an oily base in order to help repel rust and water.
#1030
Posted 20 September 2010 - 08:07 PM
Finished amending my mistakes.
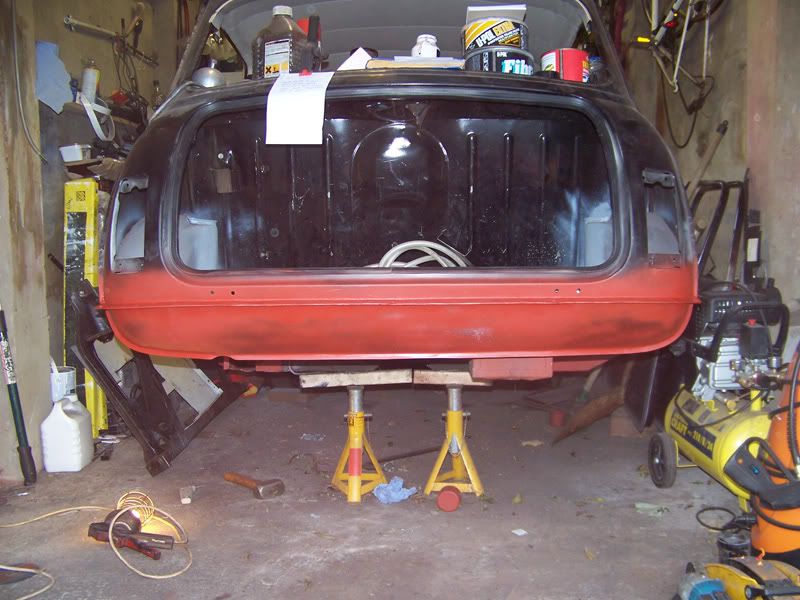
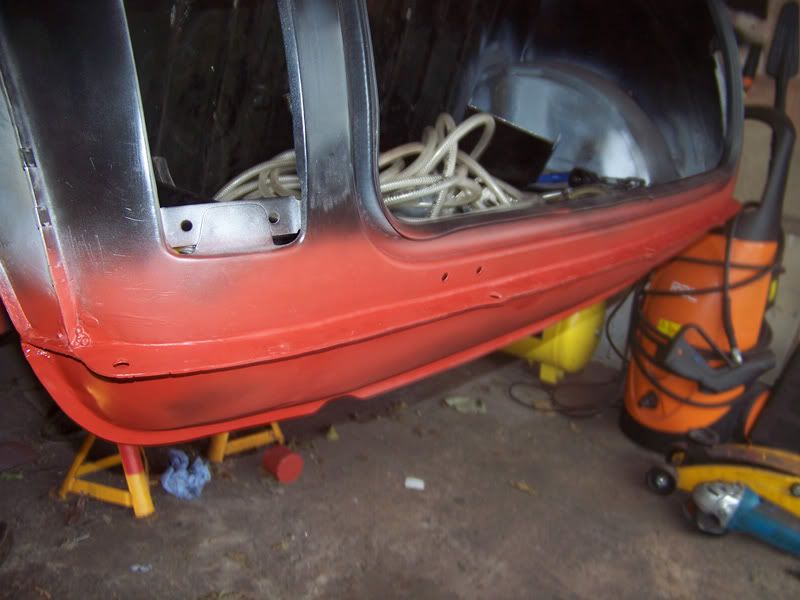
While the primer was drying I did some more work neatening up the rear end, mainly on the bumper lip and rear valance.
Another angle.
Time to start filling this in.
Panels tacked in place.
Additional patch needed.
All welded up .
More tomorrow, thanks for looking .

#1031
Posted 20 September 2010 - 08:15 PM
Ed
#1032
Posted 20 September 2010 - 08:17 PM
#1033
Posted 20 September 2010 - 08:19 PM
I’ve always used the hammerite version of the tinned underseal; just hate painting the stuff on, as it’s rather messy.
Although I’ve recently picked up a few cans (£2.50 each ) of spray underseal to do all the nooks and crannies for when I re-do the underside of all the bits a brush simply won’t get to.
I’ll see how long it lasts, but the last lot of underseal was done about 5 years ago and the only rusty bits I have were rusty before hand, so has probably helped slow it down if anything.
#1034
Posted 21 September 2010 - 09:51 AM
#1035
Posted 22 September 2010 - 02:10 AM
Mike
Also tagged with one or more of these keywords: roundnose
Projects →
Mini Saloons →
Mini Cooper Project - Finally StartsStarted by piphatch , 08 Jan 2025 roundnose |
|
|
||
Projects →
Mini Saloons →
1965 Austin Mini Restoration - Canadian Mk1Started by DoubleEh , 14 Nov 2022 roundnose |
|
|
||
Projects →
Mini Saloons →
Project Joe - 1991 Mini Mayfair 998Started by Eggers , 02 Jun 2022 roundnose |
|
|
||
Projects →
Mini Saloons →
Mpi Dashboad ProblemStarted by mikeprez , 22 Dec 2021 roundnose |
|
|
||
Projects →
Mini Saloons →
1978 Oew - Willy The MiniStarted by smalltreegrower , 11 Nov 2021 roundnose |
|
|
1 user(s) are reading this topic
0 members, 1 guests, 0 anonymous users