
#916

Posted 04 August 2010 - 02:46 PM

#917

Posted 04 August 2010 - 04:07 PM
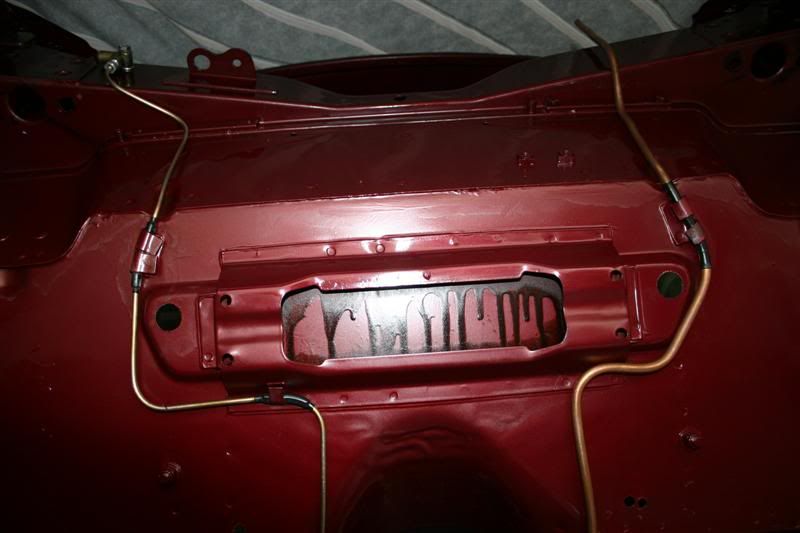
Whoever fitted mine on the factory floor must have been lazy, only one of the two retaining tabs for each pipe was used haha.
#918

Posted 04 August 2010 - 05:42 PM
I used them both 'because I thought it looked better than leaving one flapping!
I could've done a neater job with that waxoil though
Edited by GraemeC, 04 August 2010 - 05:43 PM.
#919

Posted 04 August 2010 - 07:09 PM
Haha, don't worry about the waxoyling! When I do Elliot she's going to look horrific down there but I don't really care, I'd rather it was all protected and ugly than exposed to the elements. Especially since not of it really gets seen anyway!
#920

Posted 04 August 2010 - 08:05 PM
#921

Posted 04 August 2010 - 08:22 PM
Cheers DaveJH, glad you're enjoying it mateWow, just read through your whole topic, so much done here and after 62 pages, still more to come. Look forward to seeing more progress.
More progress tomorrow for definite, I want all the welds ground down on the front end and then I can get the engine bay and stuff ready to be painted up nice and black again
#922

Posted 05 August 2010 - 07:37 AM
Cheers DaveJH, glad you're enjoying it mateWow, just read through your whole topic, so much done here and after 62 pages, still more to come. Look forward to seeing more progress.
.
More progress tomorrow for definite, I want all the welds ground down on the front end and then I can get the engine bay and stuff ready to be painted up nice and black again.
Wonderfull work, wonderfull watching your skill improve through the thread to where you are at this point, deffinatly makes me want to get my mk1 up from my moms house to work on!
One thought, why not some hidden pins on the front of the bonnet that would point towards the rear and slide into some triangles welded in the corners of the front of the engine compartment? Unlock your latches, lift it up and slide the bonnet forward for the pins to disengage from the mounts? It might be a rather smooth mounting system
Chris
1960 Morris 850 Deluxe rustbucket in the USA
#923

Posted 05 August 2010 - 11:41 AM
I had a similar thought about making some hooks which would hook on to the slam panel, but they wouldn't have been as elegant as your solution!
We shall have to see what happens
#924

Posted 05 August 2010 - 09:18 PM
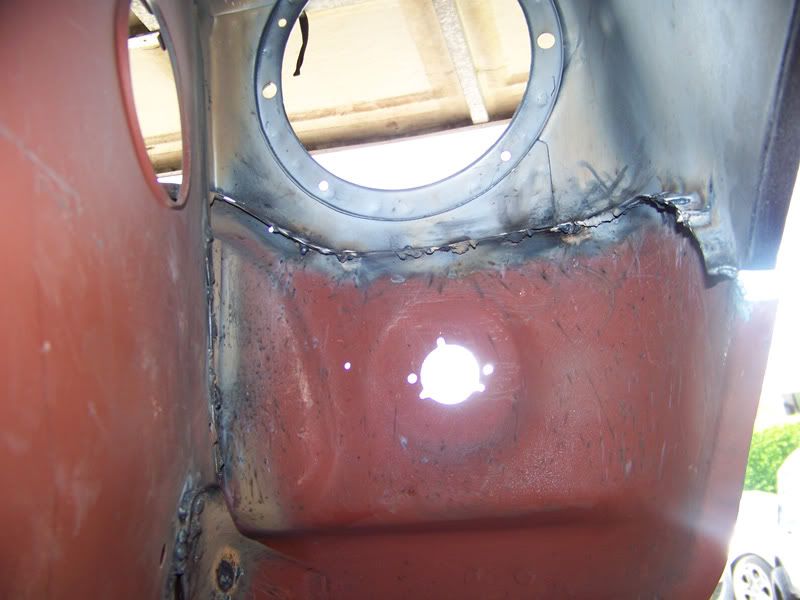
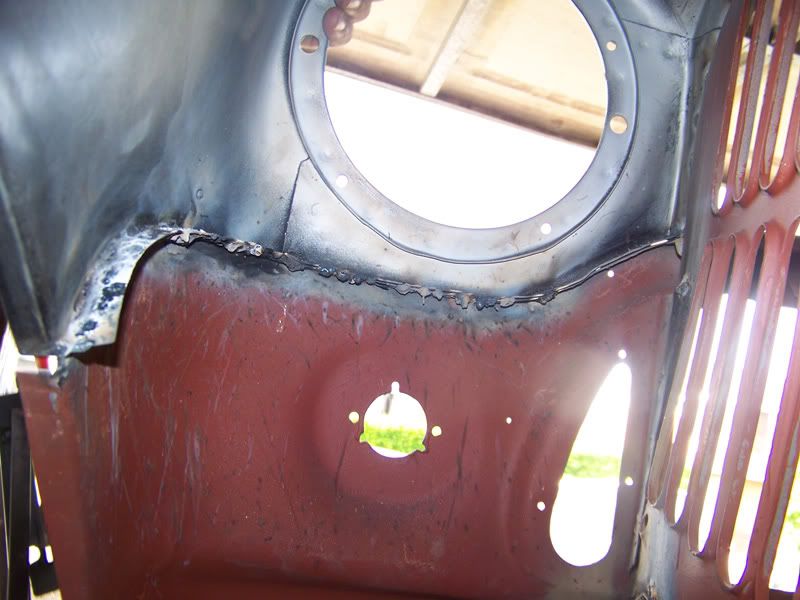
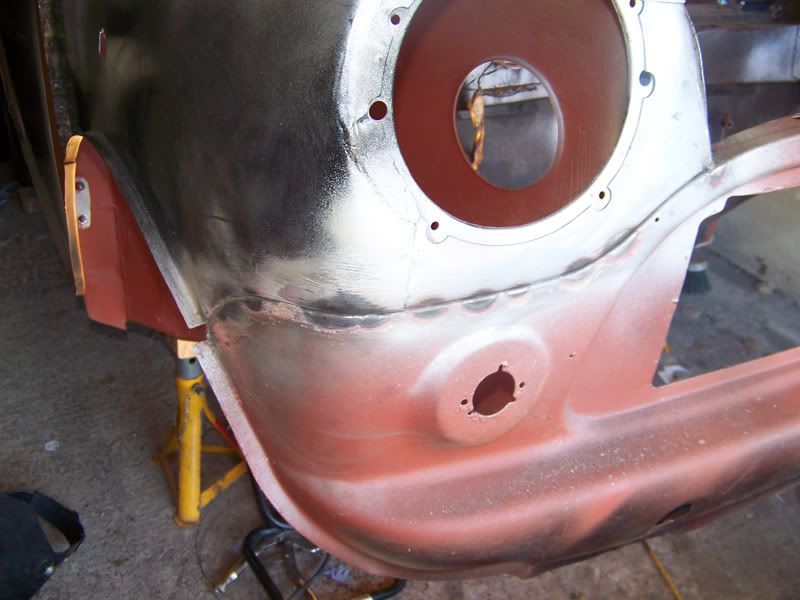
Finished welding wings.
Other side.
Penetration.
Wire brushed loose paint away and protected with zinc primer.
Tomorrows job consists of grinding, grinding and more grinding. Joy!
#925

Posted 06 August 2010 - 06:13 PM
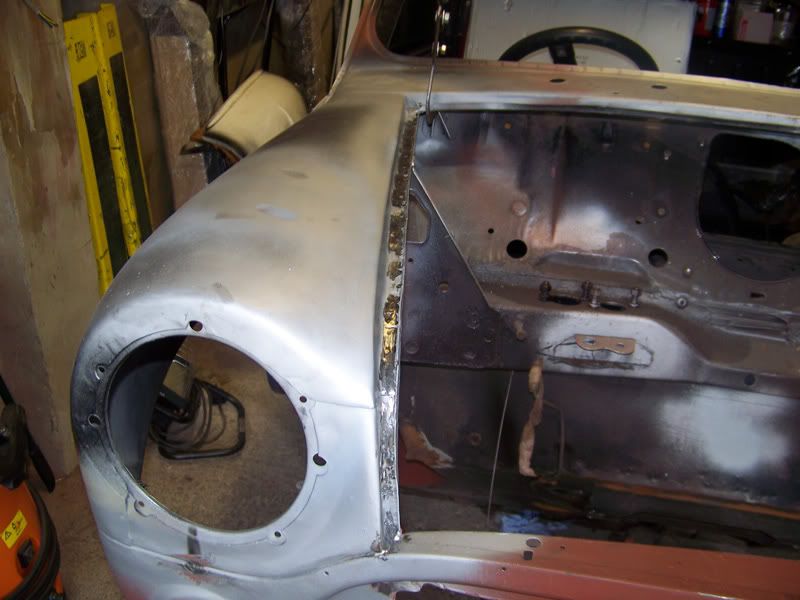
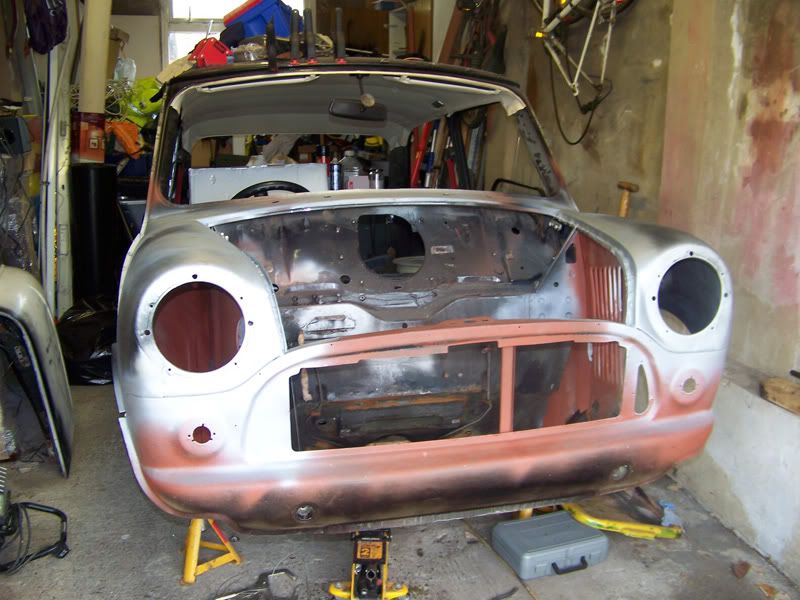
Welds dressed, still a bit more tidying to do here.
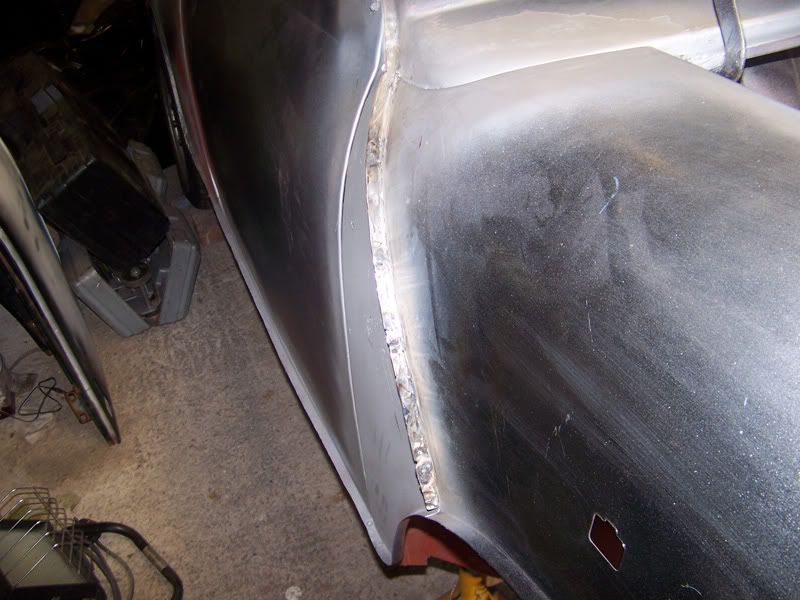
A-panel welds dressed.
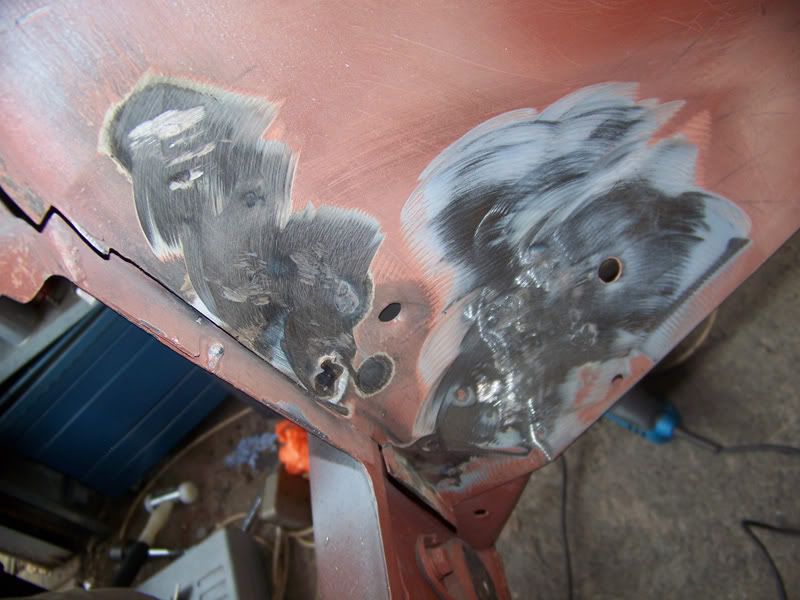
Front panel to inner wing welds dressed.
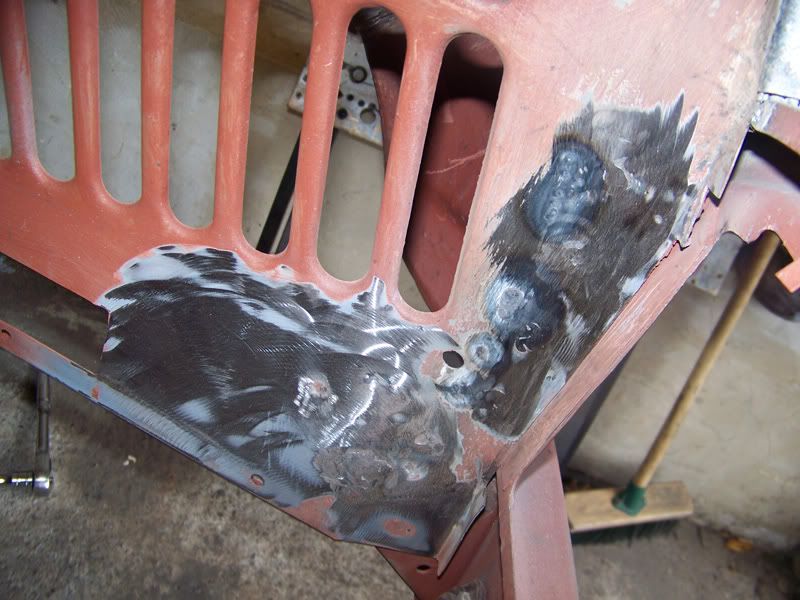
And other side.
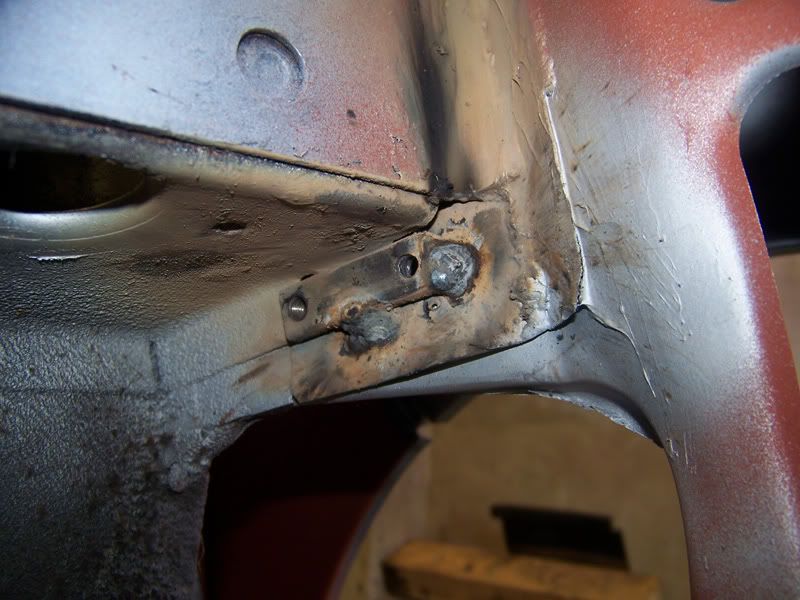
Repaired my damper mounting point.
Tomorrow I'll finish the joyous grinding and start working on the bulkhead.
Thanks for looking.
#926

Posted 06 August 2010 - 06:31 PM
Look forward to more updates
Regards
Steve
#927

Posted 08 August 2010 - 06:06 PM
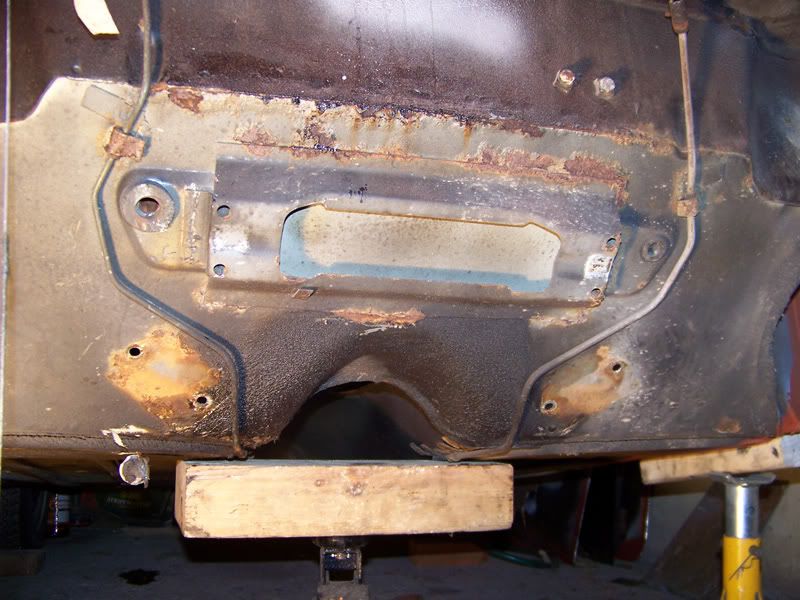
With that rust around the edges it would have paid you to do this
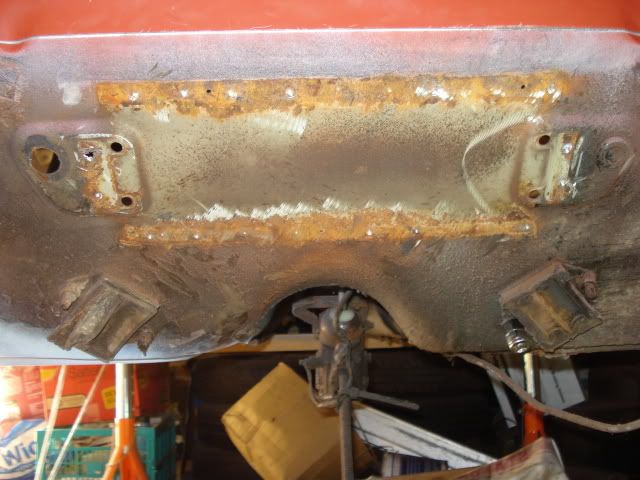
then this
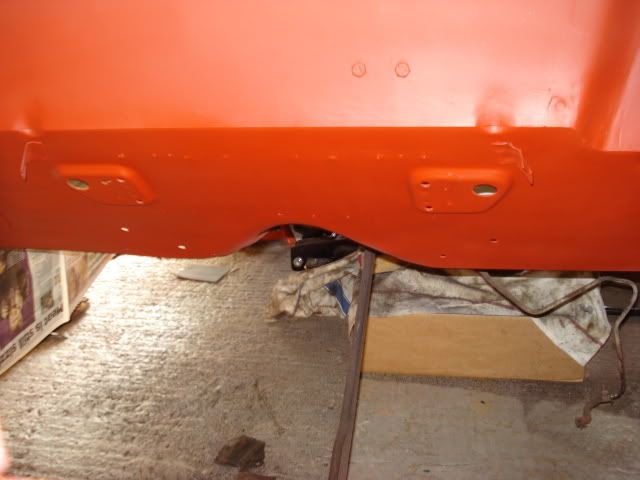
then
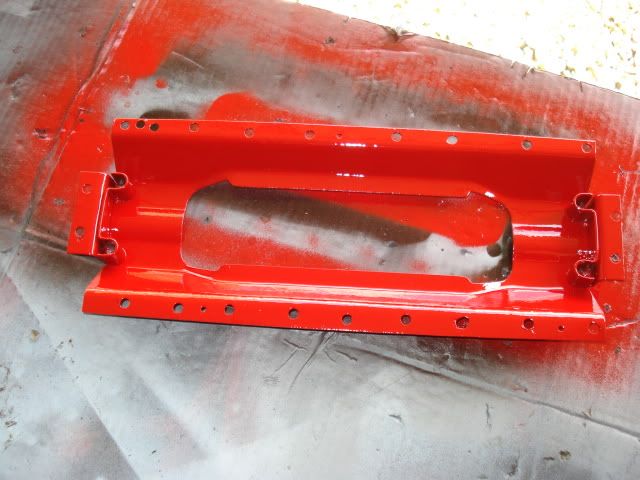
then finally this
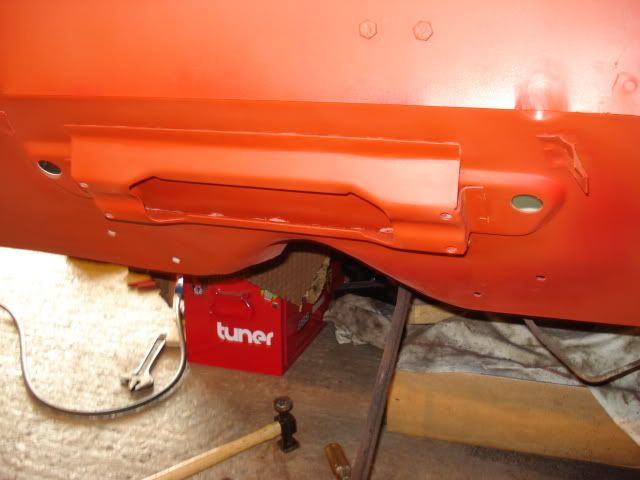
There was quite a bit of rust inside the mount so taking it off then treating painting etc was the best option. Its only spot welded on so very easy to take off then refit.
#928

Posted 08 August 2010 - 07:03 PM
Was it difficult to get it back in the correct place or did you just use the steering rack U-bolts to align it?
#929

Posted 09 August 2010 - 10:02 PM
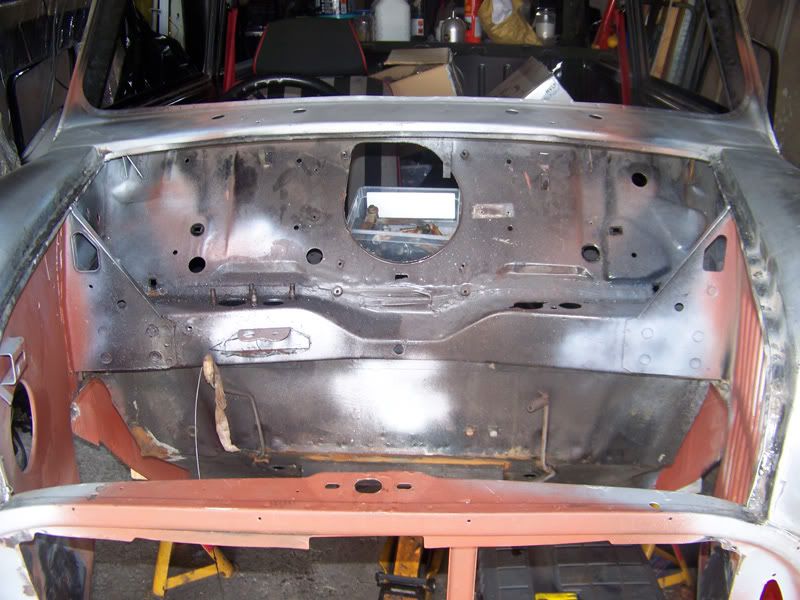
Time to turn my attention to the bulkhead.
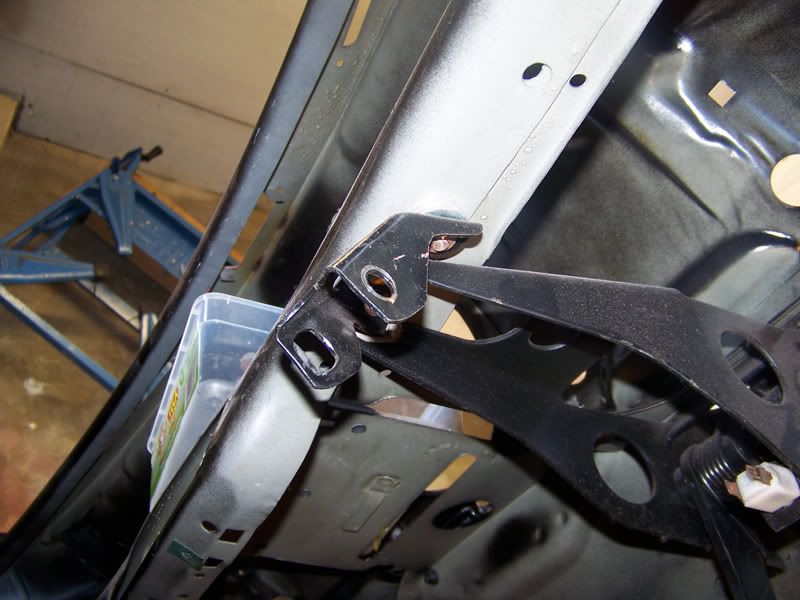
Started removing everything to get the pedal box out of the way.
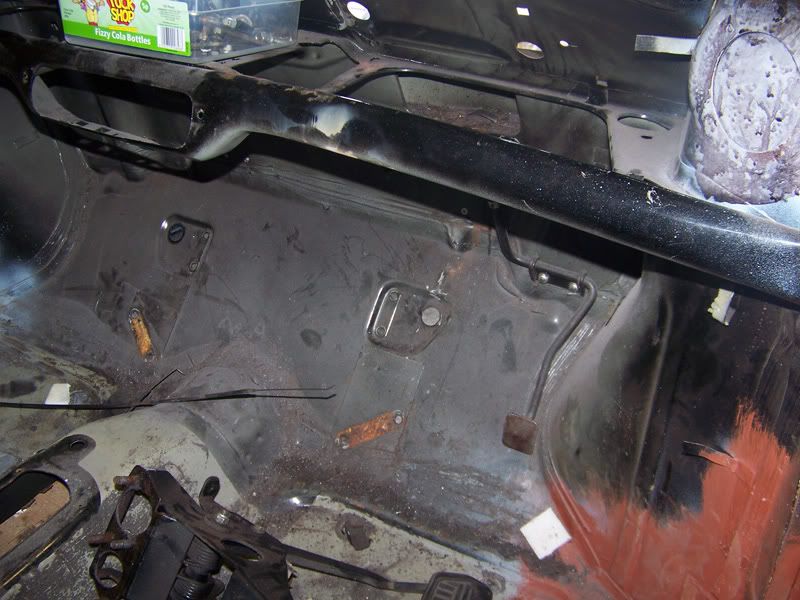
Done.
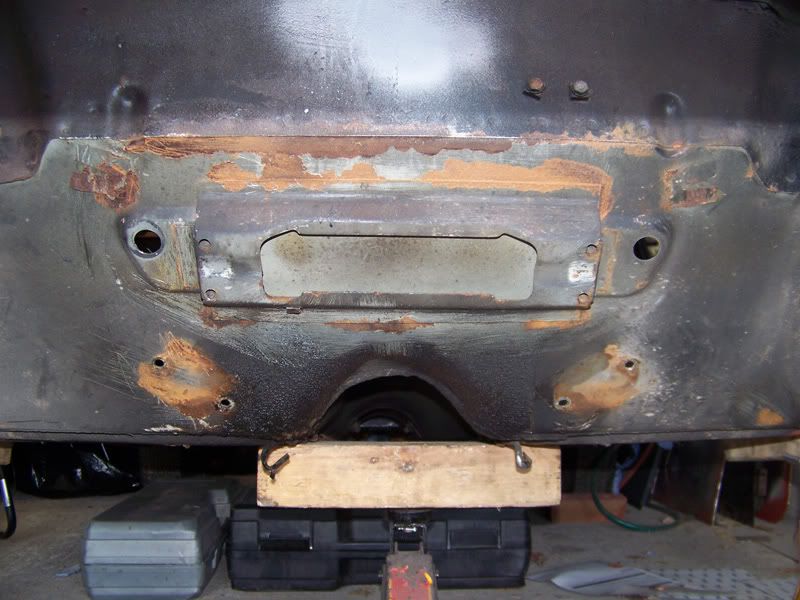
I've cut the old fuel and brake lines to get them out of the way but I've kept the offcuts so I know what shape I need to bend my new copper items to. I don't have any copper fuel line yet but I shall acquire some.
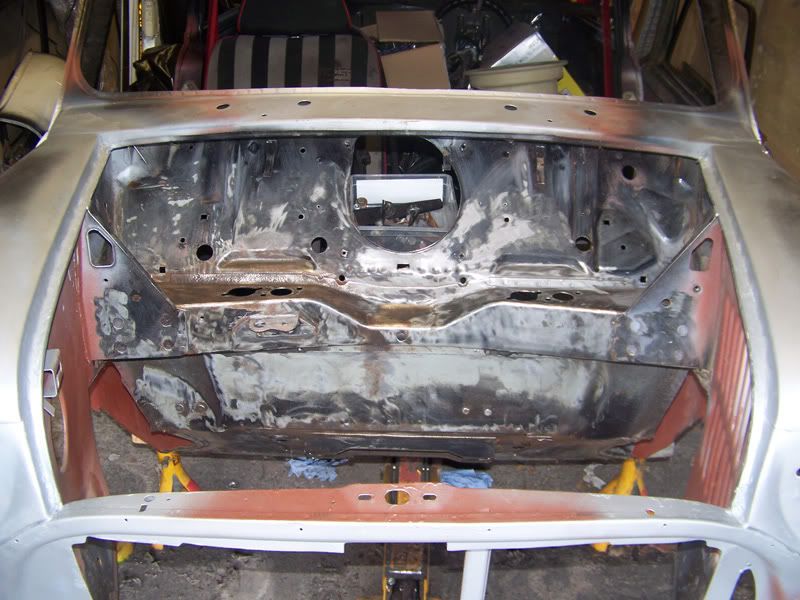
Spent some quality time with the grinder and the wire wheel.
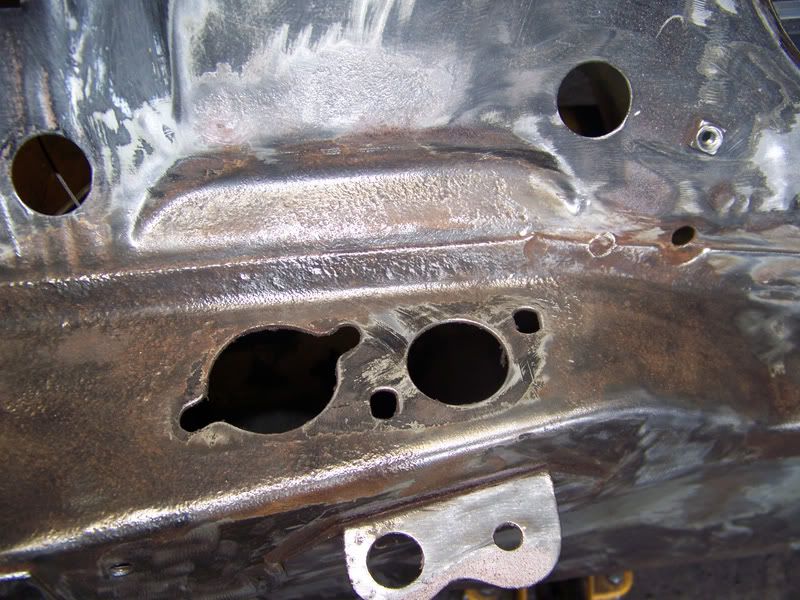
This is the worst area as someone spilt brake fluid on it sometime ago so its got some pitting, the metal here is so thick though it's not worth doing anything so I've ground the rust out and will kurust it all before I prime and paint.
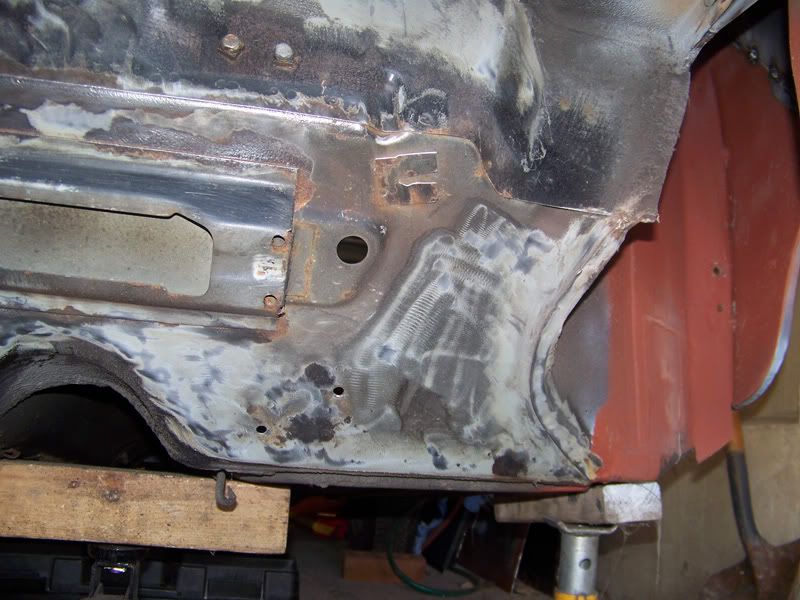
Passenger side toe board, I found that the flitch hadn't been dressed round properly and was just instead covered with stone chip, it's been preserved fine but I don't see why someone couldn't have spent 2 mins with a hammer and done it properly :/.
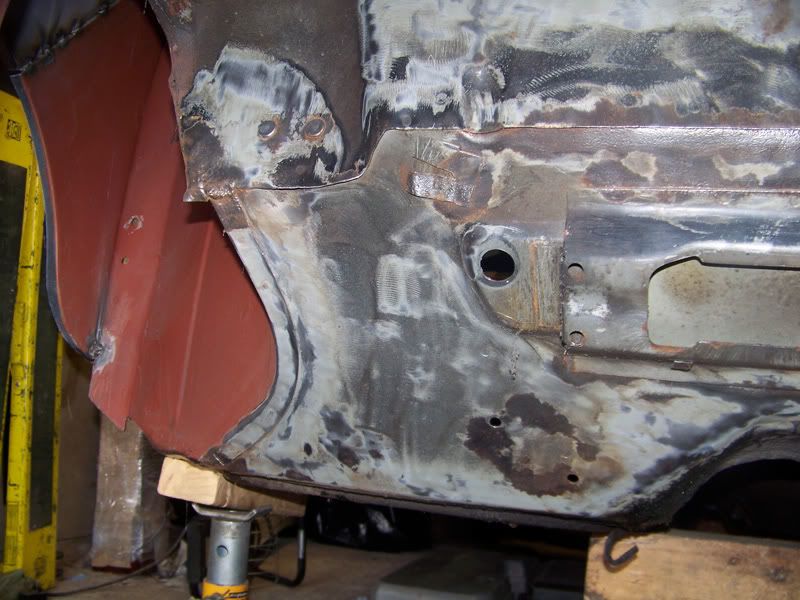
Driver side toe board.
As you can see, still more work to be done! I think I'm going to take sonikk4's advice and drill out the spot welds holding the steering rack braket in place so I can sort out the metal behind it. I'm also going to do this with the engine steady bracket as that's showing similar signs of rust ingress. If a job is worth doing, it's worth doing properly eh?
I'm waiting on some bits and bobs to let me finish off the grinding on the wing seams so I can seam seal them up all nice.
I've also moved my schedule back a week, including this week I have 3 weeks to finish the bodywork. That leaves me 1 week to do the prep work for the paint. Then I'll have to find time in the mornings before I start my days work to lay some paint on. Should be fine as long as she's painted before mid September.
Thanks for looking
#930

Posted 10 August 2010 - 06:19 AM
Also tagged with one or more of these keywords: roundnose
Projects →
Mini Saloons →
Mini Cooper Project - Finally StartsStarted by piphatch , 08 Jan 2025 |
|
|
||
Projects →
Mini Saloons →
1965 Austin Mini Restoration - Canadian Mk1Started by DoubleEh , 14 Nov 2022 |
|
|
||
Projects →
Mini Saloons →
Project Joe - 1991 Mini Mayfair 998Started by Eggers , 02 Jun 2022 |
|

|
||
Projects →
Mini Saloons →
Mpi Dashboad ProblemStarted by mikeprez , 22 Dec 2021 |
|

|
||
Projects →
Mini Saloons →
1978 Oew - Willy The MiniStarted by smalltreegrower , 11 Nov 2021 |
|

|
1 user(s) are reading this topic
0 members, 1 guests, 0 anonymous users


