I have no doubt my doors will need a skim of filler around the edges but hey ho, that's what it's for (not covering rust as some would have you believe of course

#886

Posted 23 July 2010 - 06:41 AM
I have no doubt my doors will need a skim of filler around the edges but hey ho, that's what it's for (not covering rust as some would have you believe of course
#887

Posted 23 July 2010 - 04:11 PM
wings on yet?
#888

Posted 23 July 2010 - 06:13 PM
Here's todays work, quite a few pictures, not alot of time so I'll keep it brief!
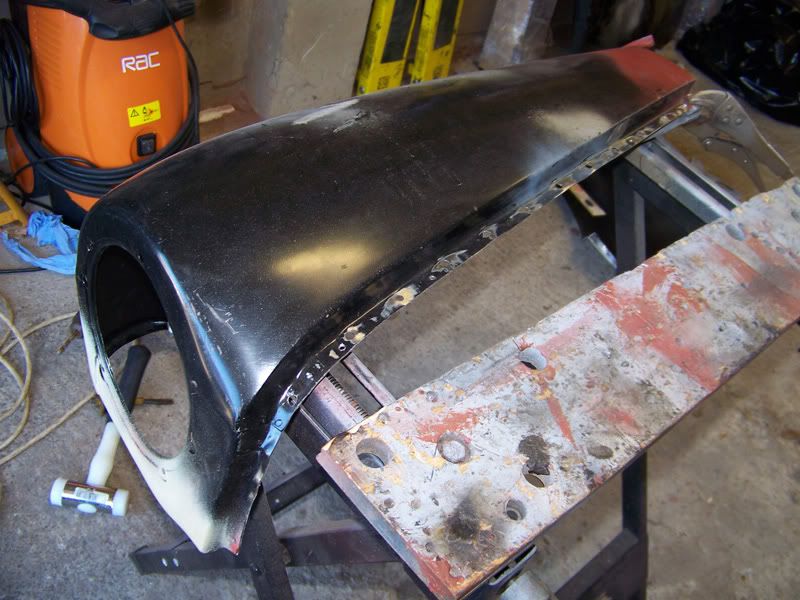
Drilled the wings ready for plug welding.
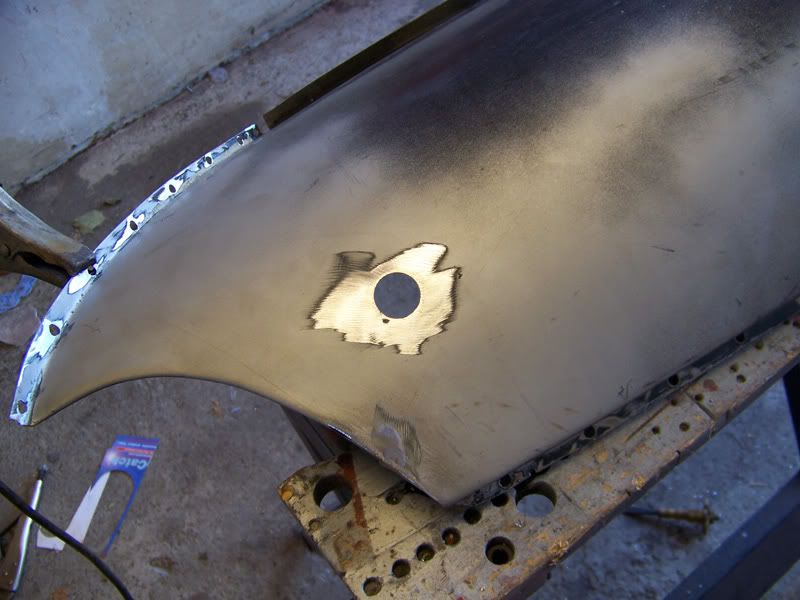
Decided I needed to weld up the aerial hole as Elliot won't be having an aerial in the wing.
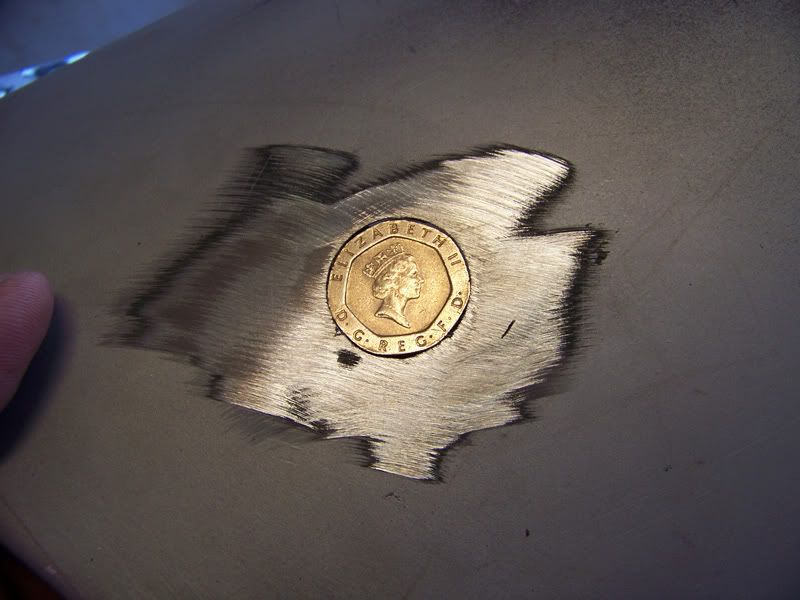
20p was exactly the right size so I welded that in the hole...haha, as if. I used the 20p as a template on some steel.
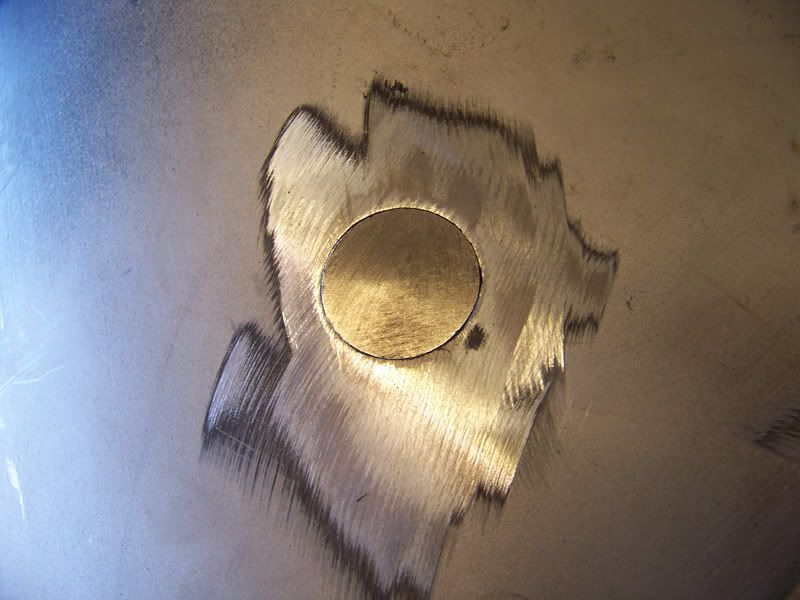
Got that fitting sweet.
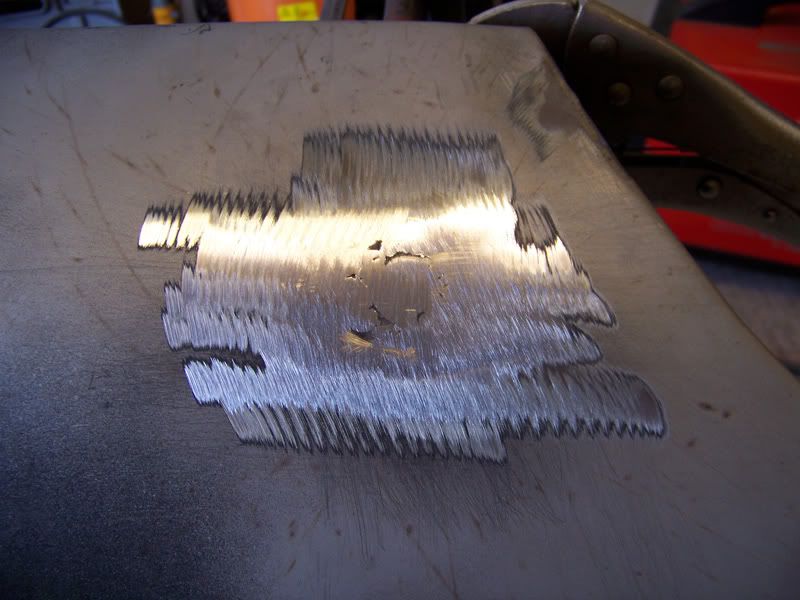
Welded it up, hard to get a neat weld without putting too much heat in the panel, it needs a skim of filler anyway so not to worry!
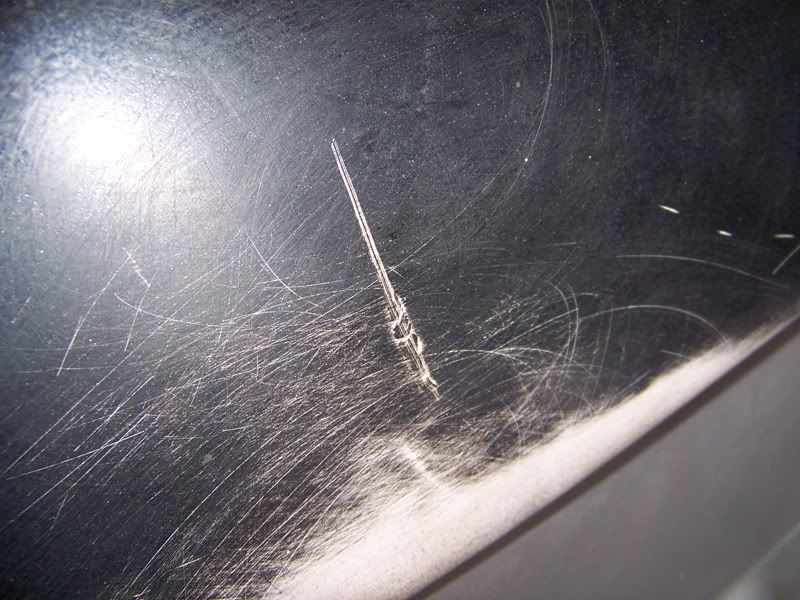
While I was slowly welding on the wing I started to tackle the crack in my boot lid skin, which was my own fault a while ago.
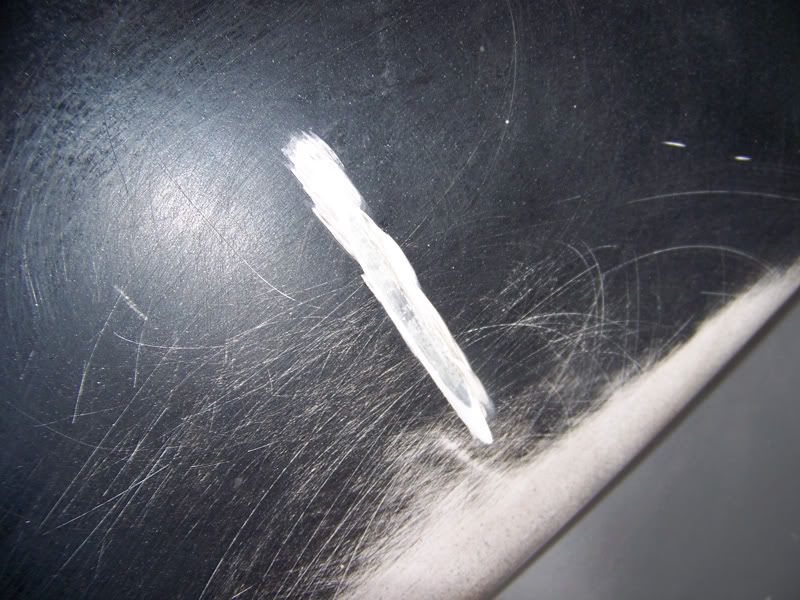
I read in tedmcedd's thread that the only way to get rid of a crack in fiberglass is to vee it out and then repair so this is it veed out.
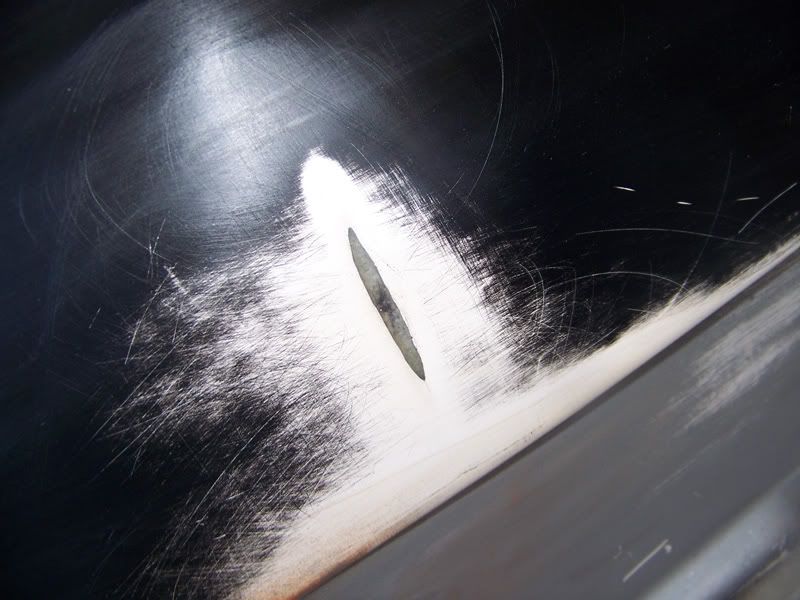
Then smoothed the area. Now anyone who is looking at this and giggling thinking of a lady garden probably should avoid the next image!
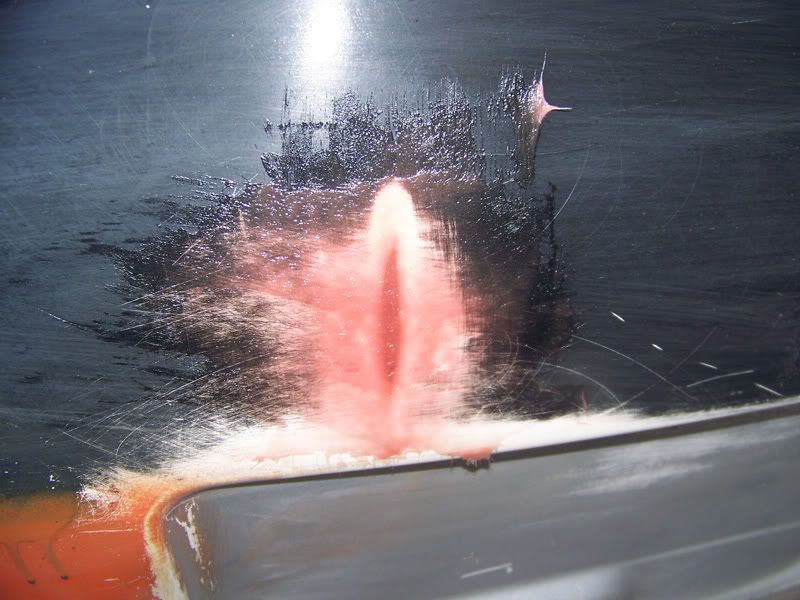
I told you! Fiber filler applied.
I then started to install the front end for gap checking, used self tappers to hold it all in place.
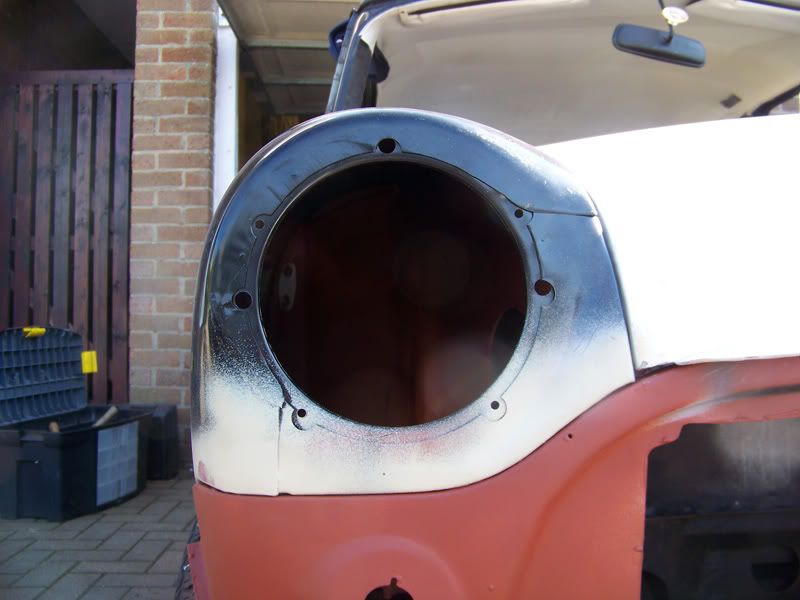
Driver side wing front gaps.
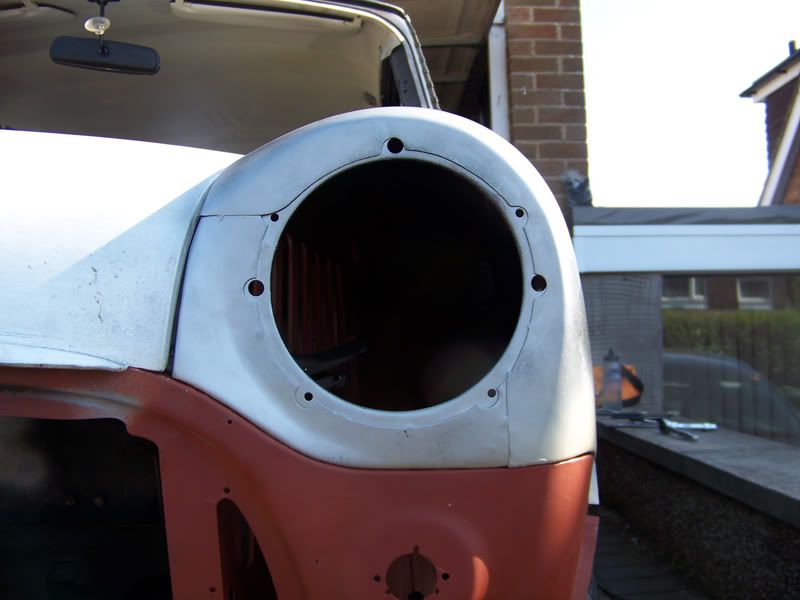
Passenger side.
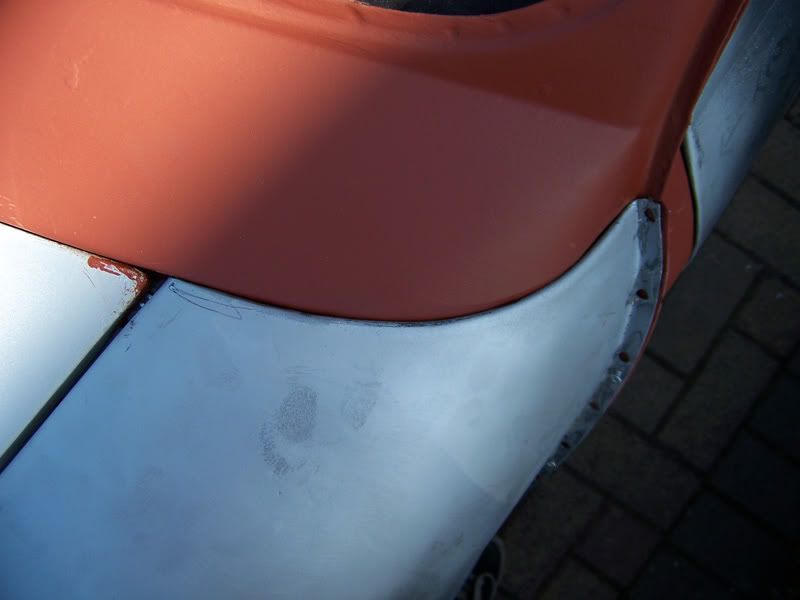
Passenger side scuttle gaps.
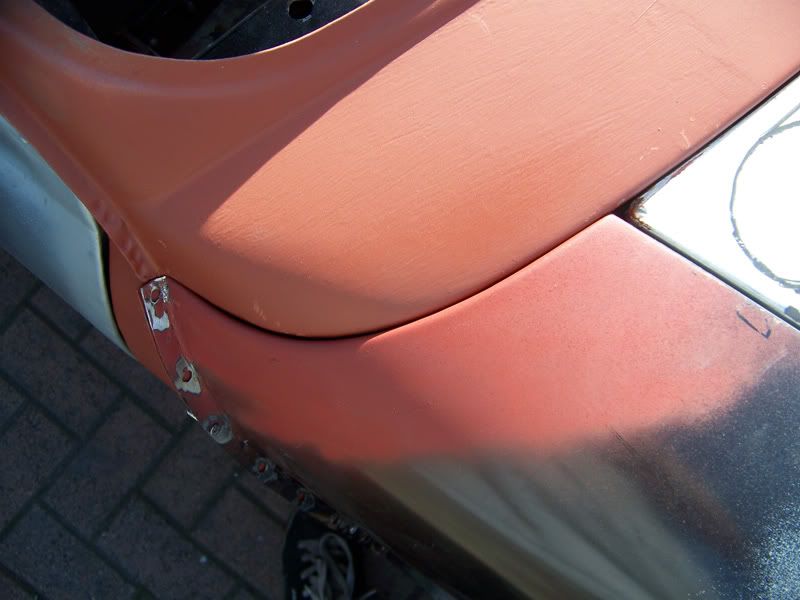
Driver side.
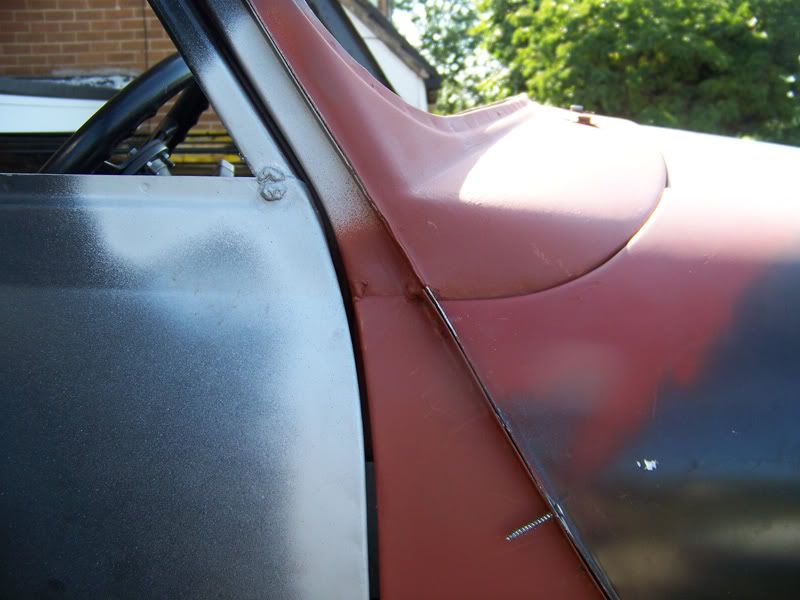
Driver side line across wing top, a-panel and to meet door swage line.
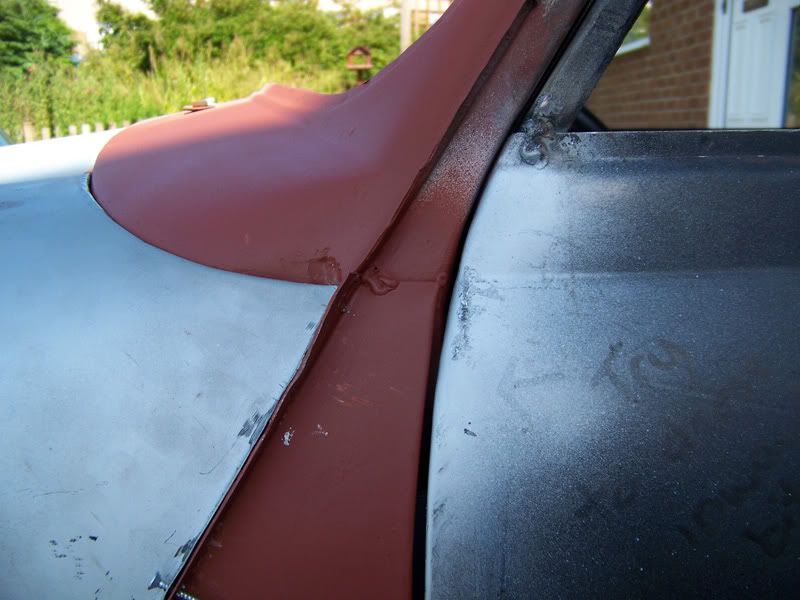
Passenger side.
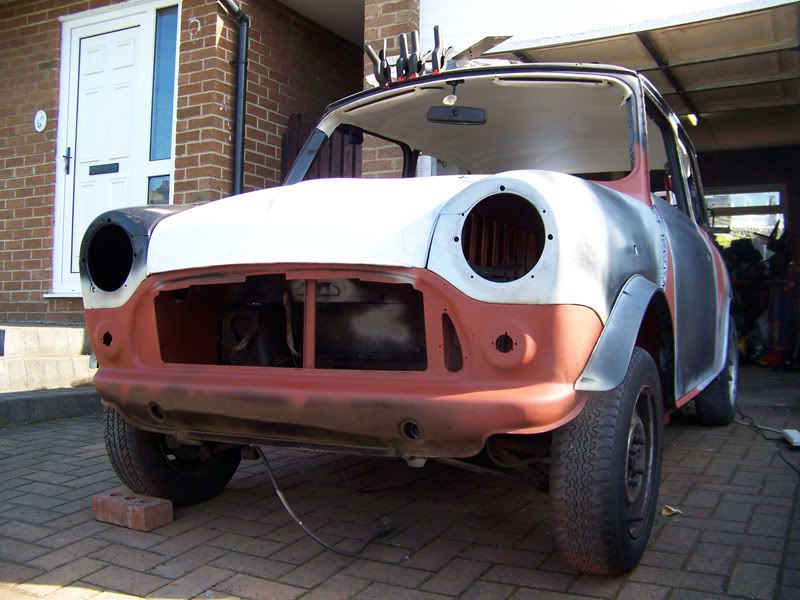
Arches bunged on.
That's how I left her today, I want to fettle the driver side wing a tiny bit more to make sure im getting the best gaps possible. I also need to get some sand paper so I can scuff up the underside of the wings prior to fitting, will be alot easier while they're off the car rather than when im having to sit under it with my head where the wheel would normally be.
Thanks for looking, comments welcome as always
#889

Posted 24 July 2010 - 05:06 PM
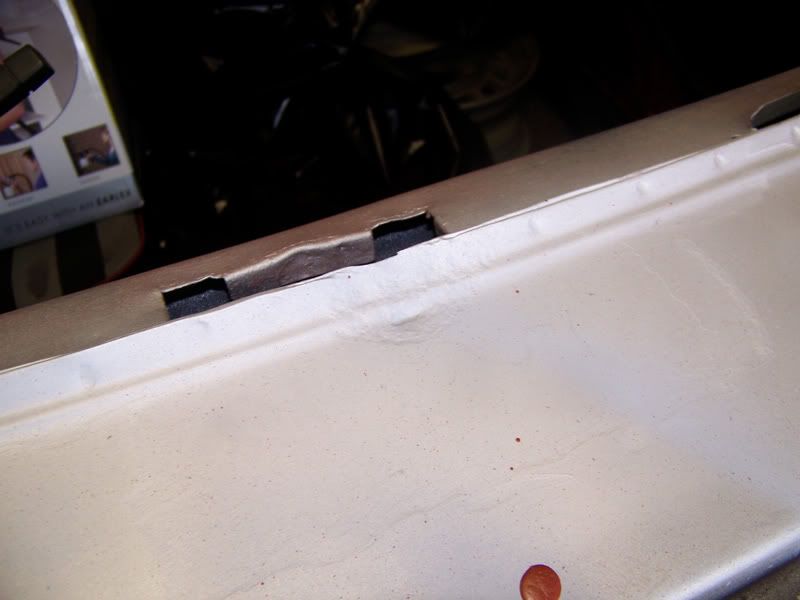
Decided to sort this before I welded the new wings to the scuttle in case it all went pear shaped.
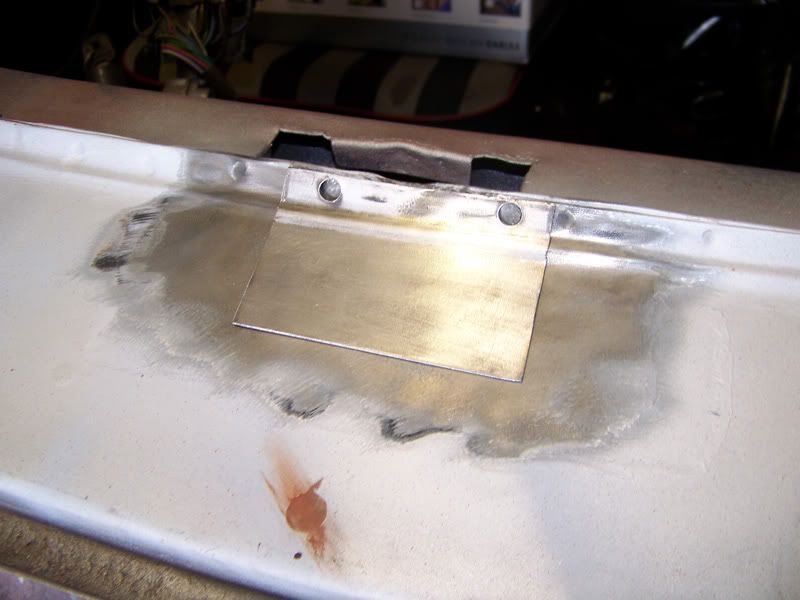
Patch piece cut out from my wrecked doner shell.
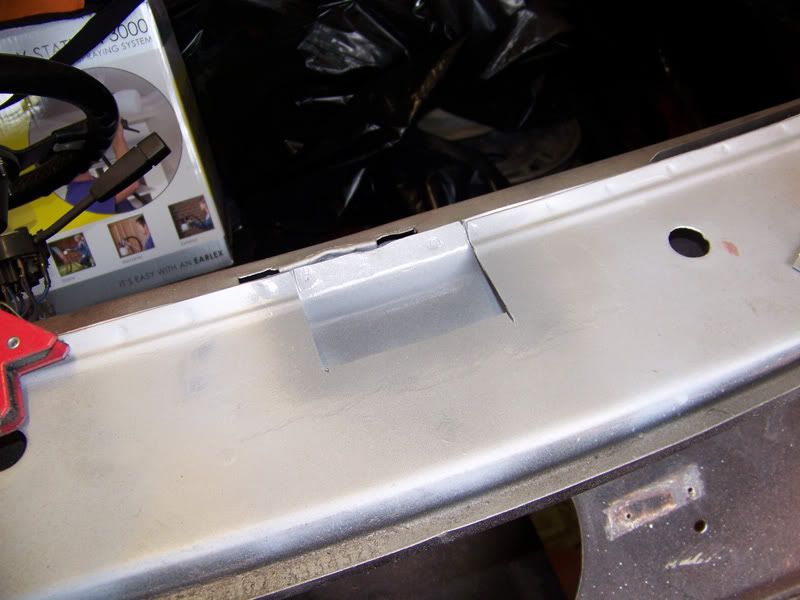
Rot chopped out and area prepared for welding.
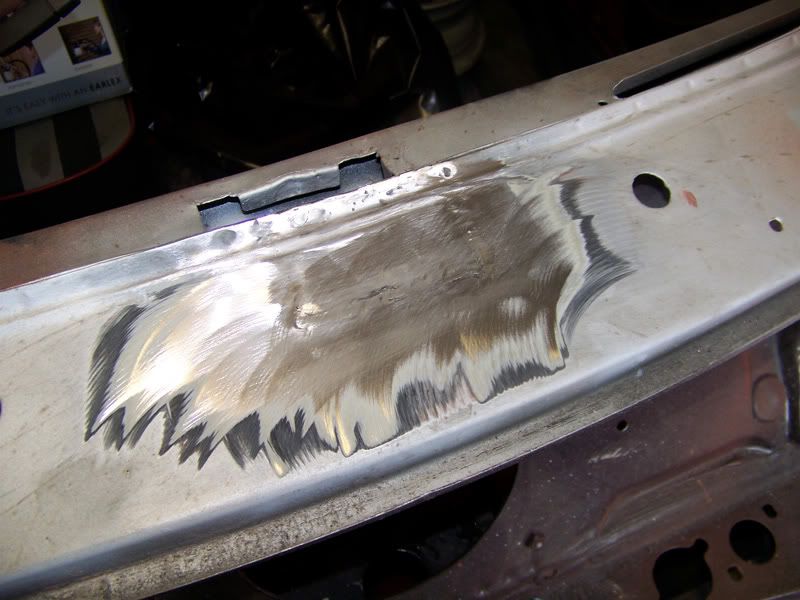
Patch welded in, will need a light skim of filler but i've nothing against that as it's solid metal underneath now.
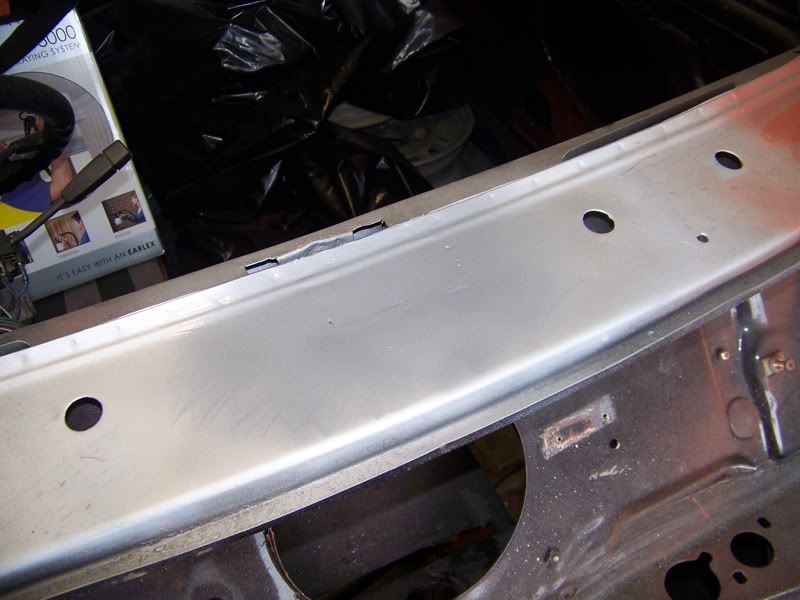
Protected until I come to paint prep time.
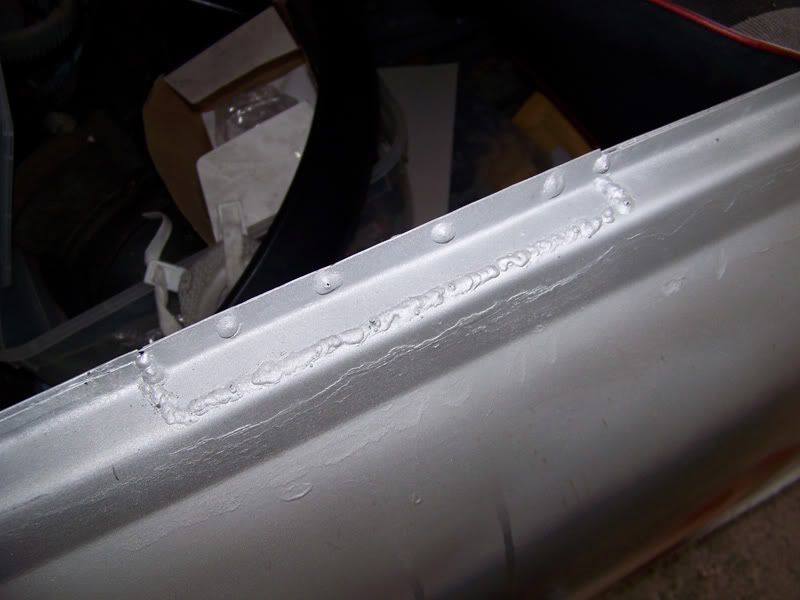
Then I decided to clean up this.
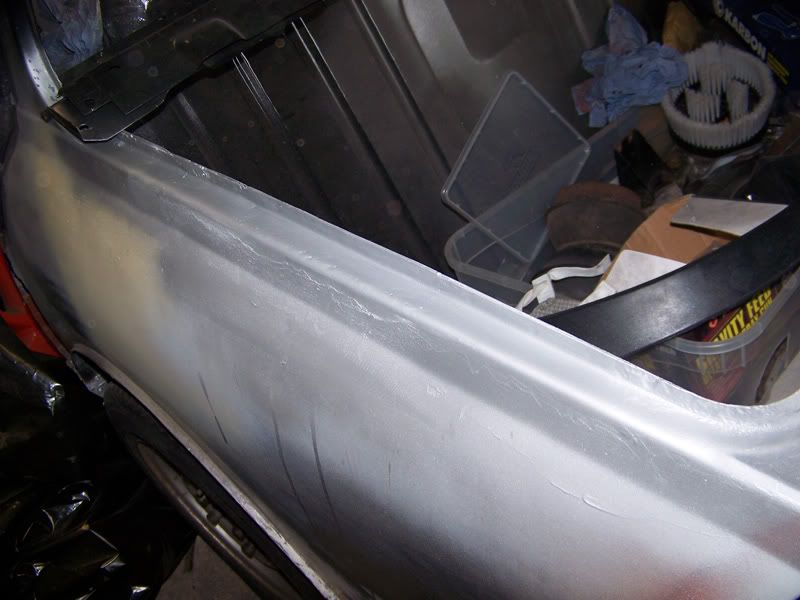
Job done.
That's two fiddly little jobs now out the way.
List of things left to do:
- Fettle and weld front end on
- Repair heelboard corners
- Weld on outer sills
Thanks for looking
#890

Posted 24 July 2010 - 07:43 PM
love the orange and black colour scheme too!
#891

Posted 24 July 2010 - 08:29 PM
It's always nice to hear good things about your work
Hopefully it won't be too long before it's actually in that colour scheme
#892

Posted 25 July 2010 - 02:32 PM
#893

Posted 25 July 2010 - 04:10 PM
Cheers PeterBrilliant! those gaps and seams all look spot on, better than longbridge managed.
I'm having one slight issue with the bonnet gaps.
On the driver side, when I clamp the wing to the a-panel, it pulls out the top front area of the wing, making the bonnet gap larger at this point, it's pretty frustrating. I want to get it sorted before I weld the front on properly.
#894

Posted 25 July 2010 - 04:35 PM
Cheers PeterBrilliant! those gaps and seams all look spot on, better than longbridge managed.
.
I'm having one slight issue with the bonnet gaps.
On the driver side, when I clamp the wing to the a-panel, it pulls out the top front area of the wing, making the bonnet gap larger at this point, it's pretty frustrating. I want to get it sorted before I weld the front on properly.
Yeah there's not a huge amount you can do about that, apart from welding the wing to inner wing first, then clamping and welding to the A panel.
#895

Posted 25 July 2010 - 05:27 PM
It's screwed to the inner wing already, its pulling that over too, although I guess that could be a different story once the front panel is welded on to the inner wings as well. I shall have a play with it.Cheers PeterBrilliant! those gaps and seams all look spot on, better than longbridge managed.
.
I'm having one slight issue with the bonnet gaps.
On the driver side, when I clamp the wing to the a-panel, it pulls out the top front area of the wing, making the bonnet gap larger at this point, it's pretty frustrating. I want to get it sorted before I weld the front on properly.
Yeah there's not a huge amount you can do about that, apart from welding the wing to inner wing first, then clamping and welding to the A panel.
Worst case scenario it doesn't look that bad as it is, especially considering I've done it all myself and it's cost me considerably less than taking it to a shop.
#896

Posted 25 July 2010 - 06:13 PM
Graham
#897

Posted 26 July 2010 - 04:44 PM
from bangkok, that's dedication
#898

Posted 27 July 2010 - 10:21 AM
That's hardcore Luke!beautiful work! writing this
from bangkok, that's dedication
You should be enjoying your holiday!
#899

Posted 27 July 2010 - 08:39 PM
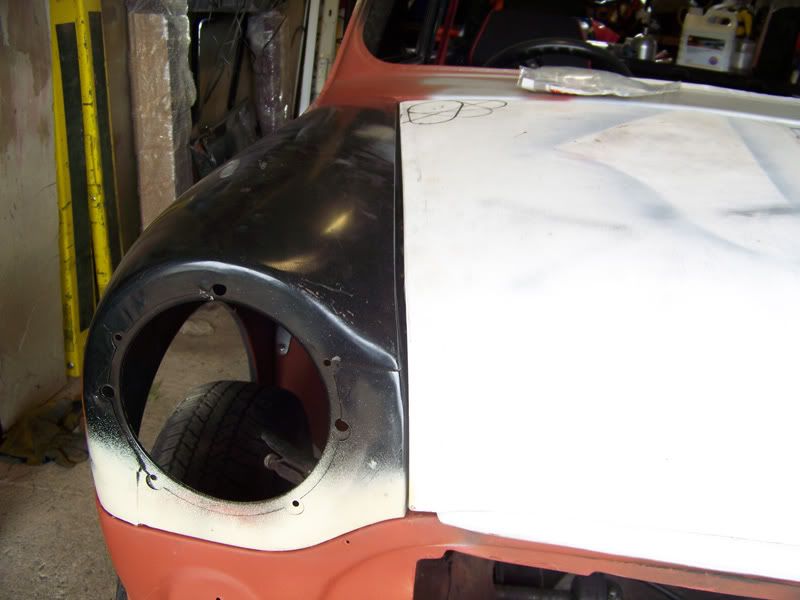
This is the gap I'm not happ with yet. I had a good fettle today but I've not improved it much yet.
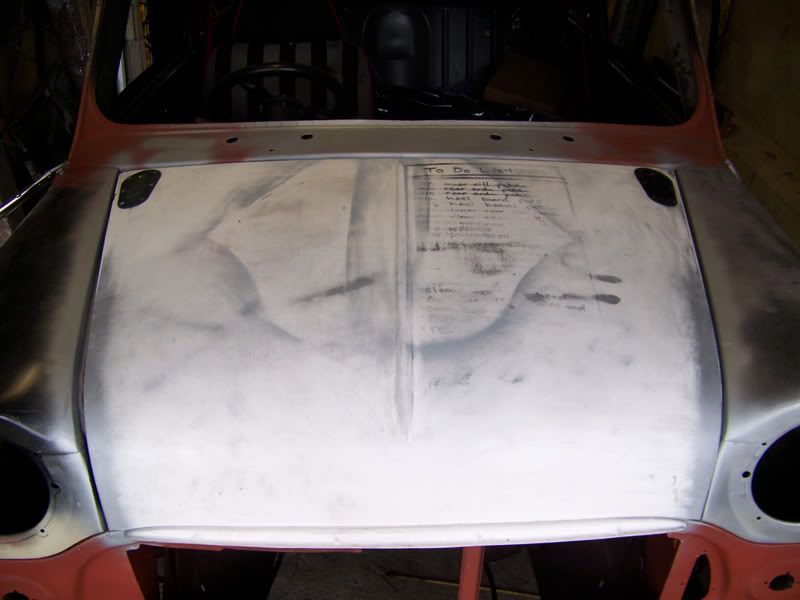
Cut the holes for my Aerocatches.
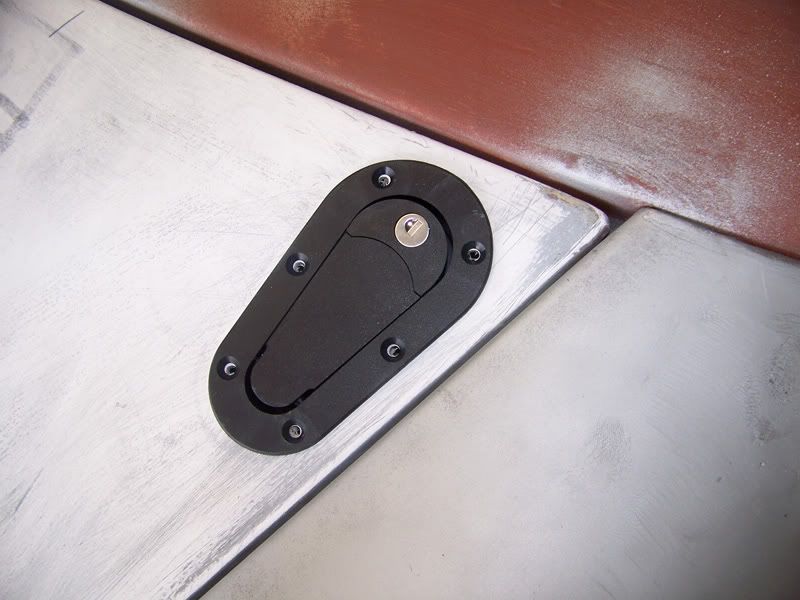
Decided I liked this orientation best, plus it means when the catches are open it's easy to use the handles to lift the bonnet up.
I'm waiting for some welding clamps to come so I can crack on with the front end as I don't trust my old ones to hold the panels together as they're a bit past it. Got another reel of welding wire coming too. Oh and some sheet steel for my heelboard repairs.
Thanks for looking
#900

Posted 27 July 2010 - 08:54 PM
Also tagged with one or more of these keywords: roundnose
Projects →
Mini Saloons →
Mini Cooper Project - Finally StartsStarted by piphatch , 08 Jan 2025 |
|
|
||
Projects →
Mini Saloons →
1965 Austin Mini Restoration - Canadian Mk1Started by DoubleEh , 14 Nov 2022 |
|
|
||
Projects →
Mini Saloons →
Project Joe - 1991 Mini Mayfair 998Started by Eggers , 02 Jun 2022 |
|

|
||
Projects →
Mini Saloons →
Mpi Dashboad ProblemStarted by mikeprez , 22 Dec 2021 |
|

|
||
Projects →
Mini Saloons →
1978 Oew - Willy The MiniStarted by smalltreegrower , 11 Nov 2021 |
|

|
1 user(s) are reading this topic
0 members, 1 guests, 0 anonymous users


