#856
Posted 13 July 2010 - 07:35 PM
The top coat is rustoleum, I'm only using it where it's not going to be seen, the underside, inside the doors, boot, interior, etc.
Panelbeaterpeter has more than convinced me that I need to stretch my wallet and buy cellulose for the outside, just so I can make it shine like a mirror .
#857
Posted 15 July 2010 - 06:47 PM
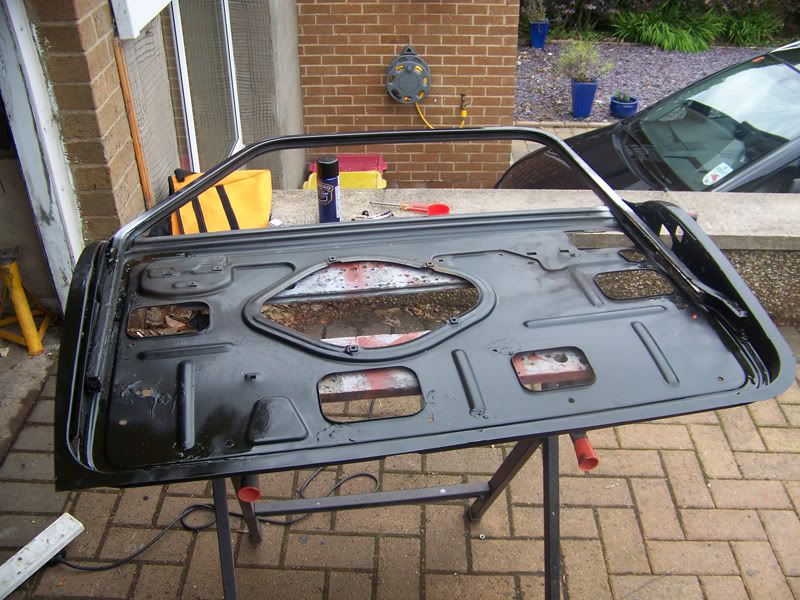
Door frames sprayed with rust preventative wax.
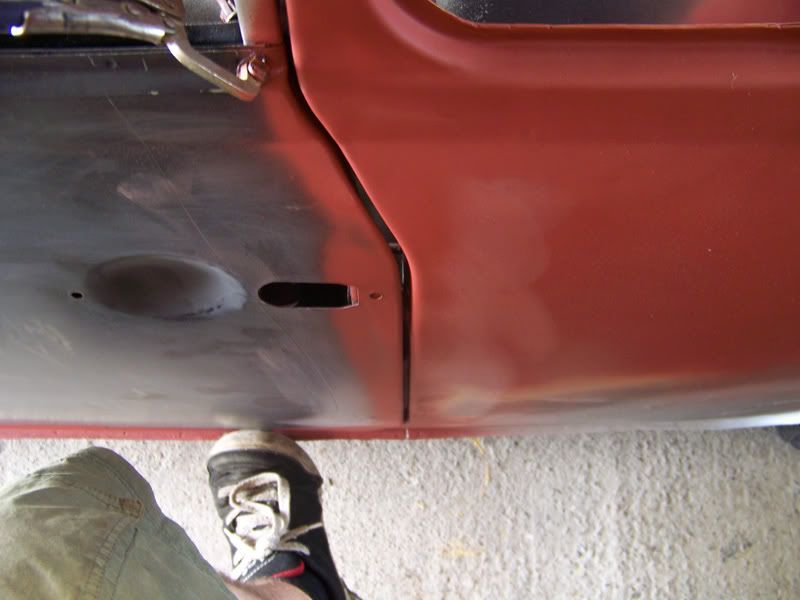
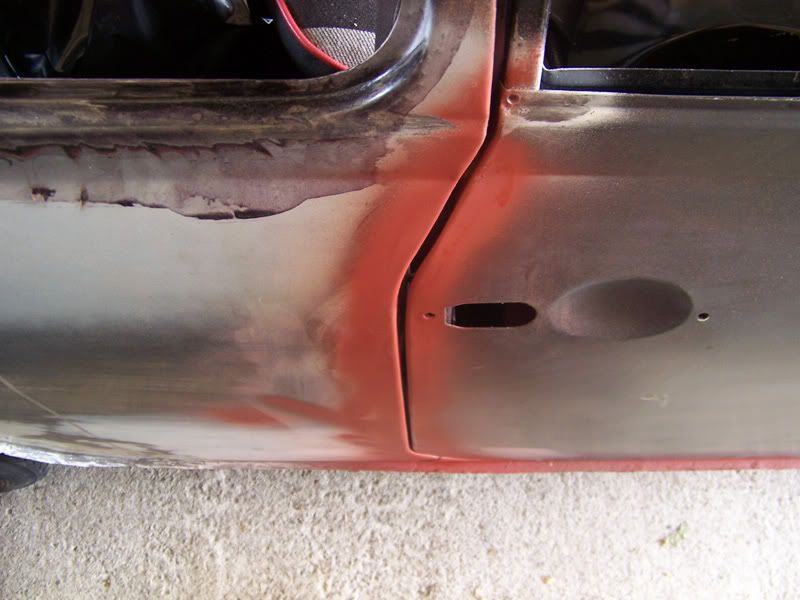
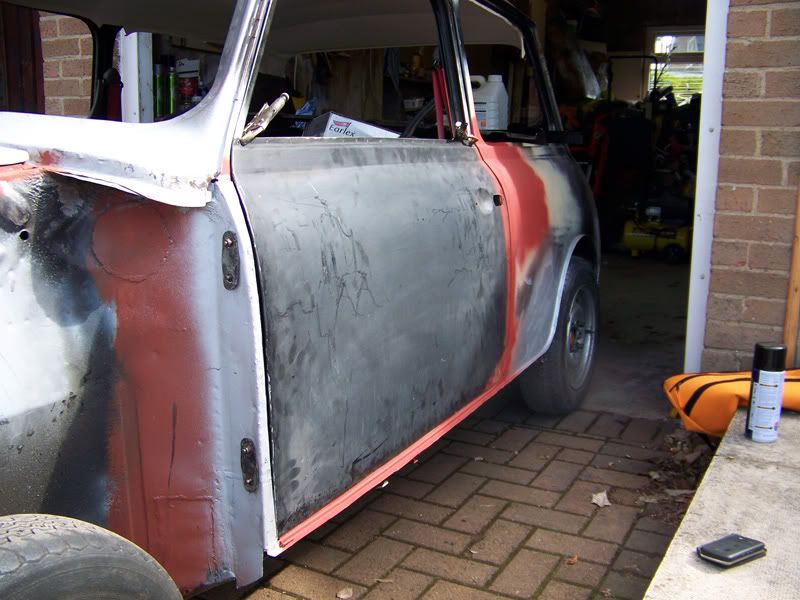
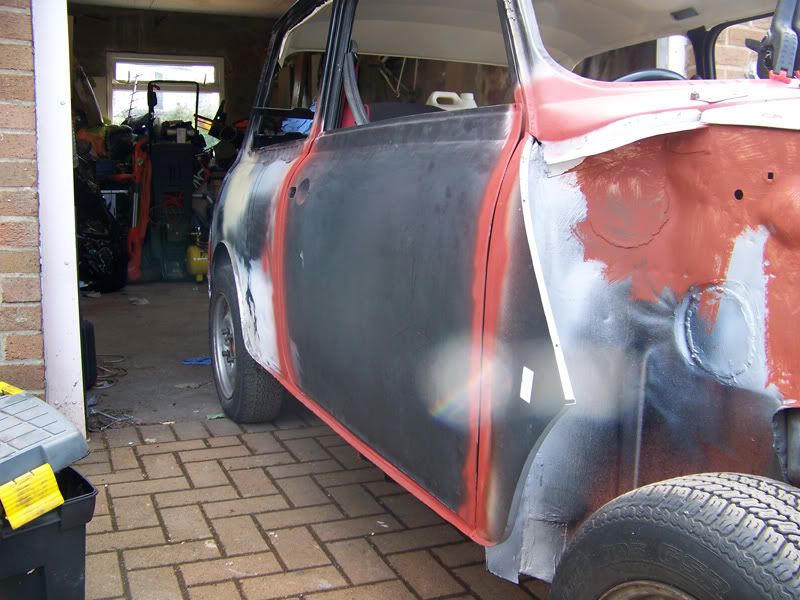
Passenger side rear door gap.
Driver side rear door gap.
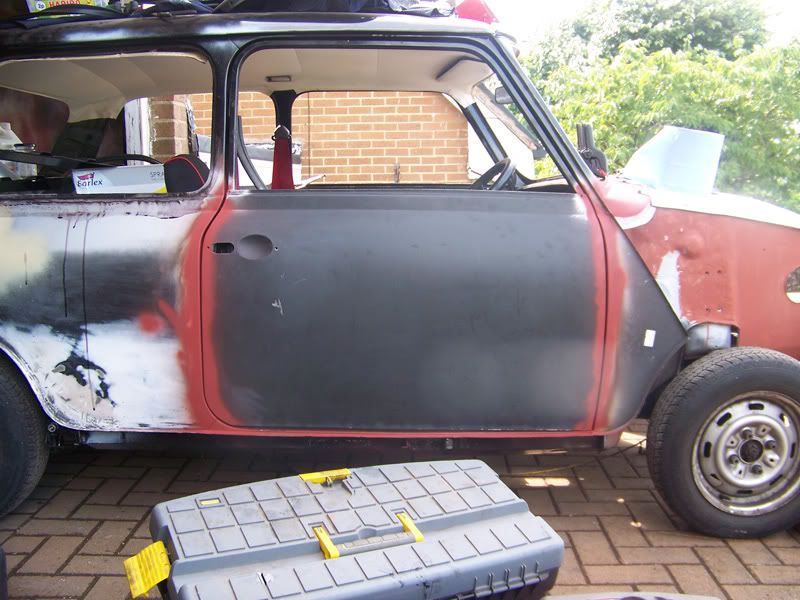
Driver door.
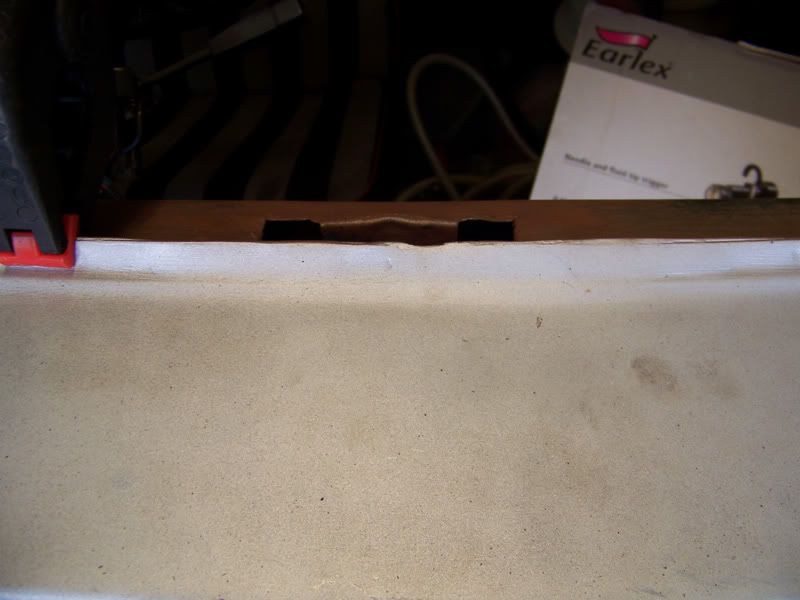
Passenger side door, needs more fettling. The skin has done a bizare thing at the rounded edge at the bottom rear of the door, will take some time with the hammer and dolly.
Driver door, pretty happy with this.
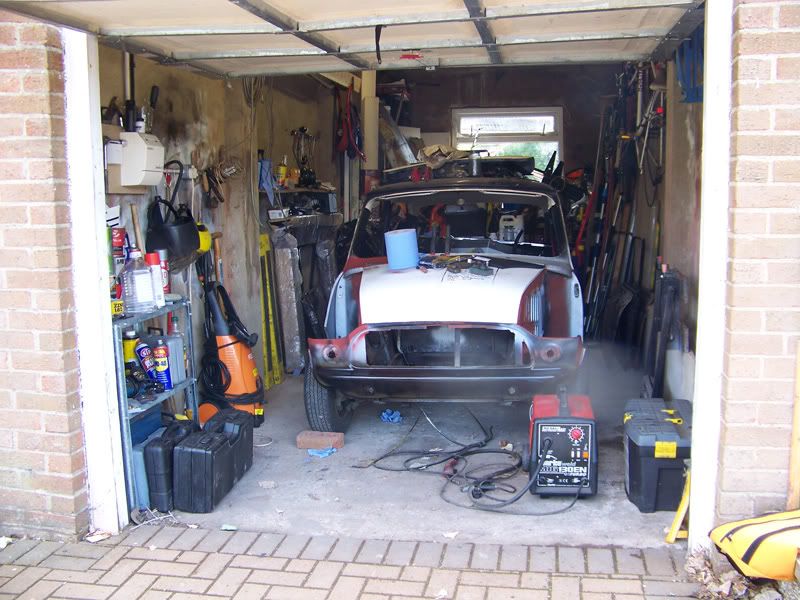
I've put the Elliot in the middle so I've room to get to both sides of the car, this is ideal as it means I don't have to get her out all the time. This means I can work even when it's raining .
I'm hoping tomorrow I can finalise the door skins on the frames, get them welded on so they're permanent. Then it's on to the front end to be welded on!
I've got a schedule I'd like to stick to now. I basically have seven more weeks to work on Elliot every day before my internship starts in September. The plan is, use those seven weeks to complete the bodywork and get the her painted. Then the September evenings will be spent putting her back together and doing all the mechanical bits as they shouldn't be too noisy to be done in the evenings.
Thanks for looking .
#858
Posted 17 July 2010 - 11:19 AM
#859
Posted 17 July 2010 - 12:28 PM
looks great! those gaps look neat!
Ed
#860
Posted 17 July 2010 - 12:52 PM
I'm just working on the other side to get the gaps to match now. The back of the door is good, but the front of it is too far forwards and is catching the a-panel. Going to try and move the a-panel forward a bit when I'm down there next.
You've got to love a garage with a rusty mini in it!
Can't have her rusting again! I shall be purchasing some severe amount of waxoyl once she's all painted! Cheers for the tip about the e-coat, I'd read somewhere that sometimes it just flakes off after a bit, taking your paint with it.
#861
Posted 17 July 2010 - 01:34 PM
#862
Posted 17 July 2010 - 05:26 PM
Nah, I've used Magnum skins purchased from Mini Spares many moons ago.Looking good. I'm gonna have a go at reskinning my doors in a few weeks time too. Did you use genuine door skins?
I'll be honest though, so far, I've not had a problem with them and they seem to be a bit thicker than genuine skins (that were on the doors previously). That might be a negative for someone else, but for me, I see that as a longer time before I need to reskin them again.
#863
Posted 17 July 2010 - 07:05 PM
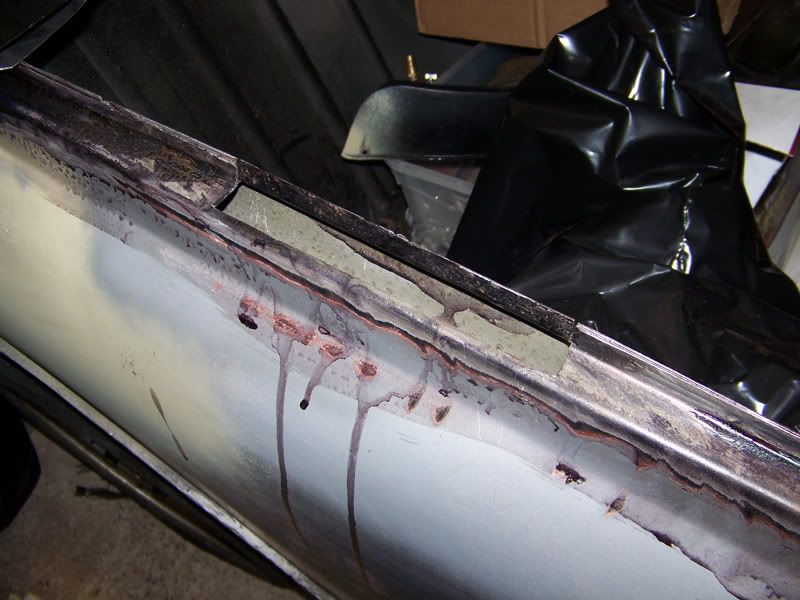
Thought I'd get this sorted.
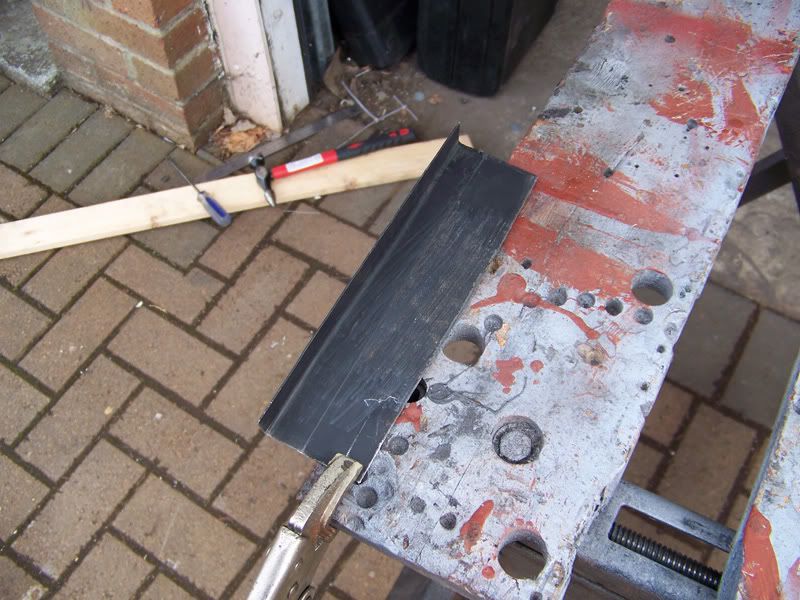
Quick bit of metal forming and I had this.
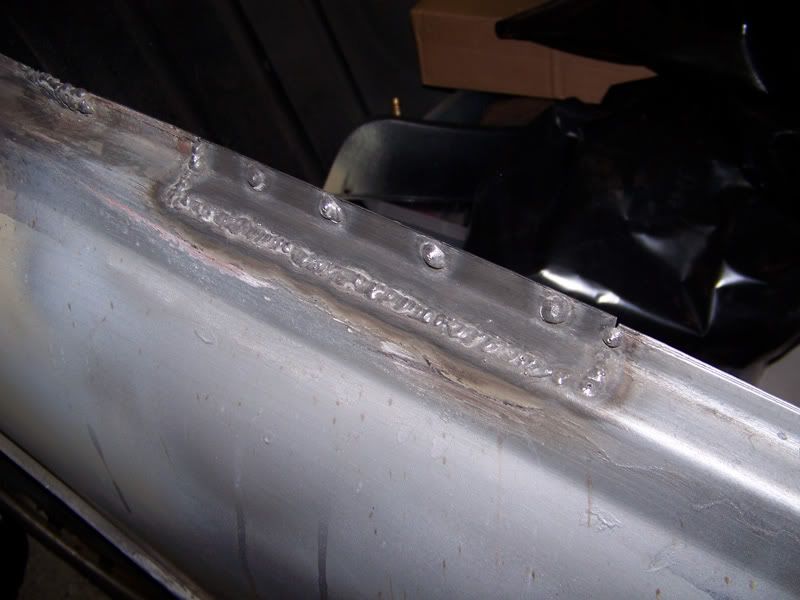
Got it welded in, just needs grinding back and cleaning up now.
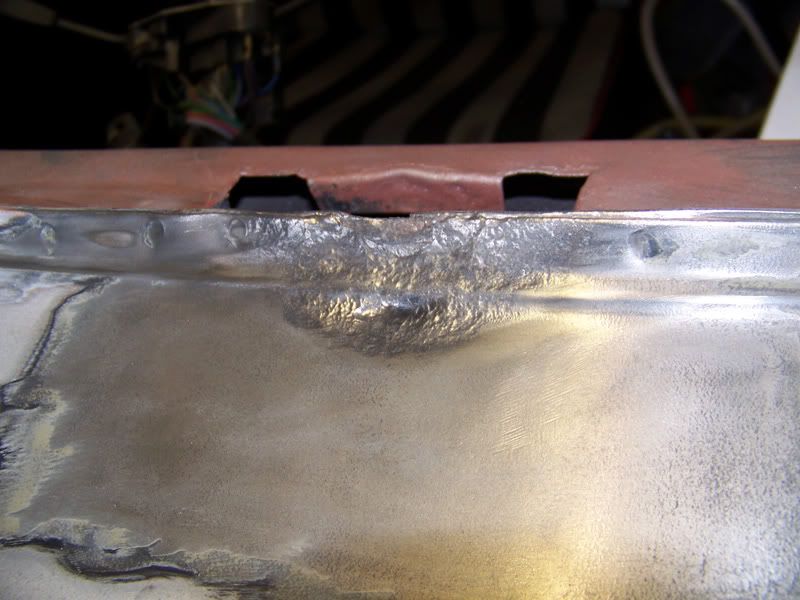
This is the next little niggly bit I want to sort out, looks alright now but...
It's a filler bodge! From when I was a bit more ghetto and was in the position where I could replace the scuttle whenever anyway as I was having a flip front, but since I'm having a fixed front now, I better do the job properly!
Thanks for looking, count down is now running, 7 weeks to finish the bodywork and get her painted. That's not to say I will rush anything, it's just to say I'll try and put in as many hours as are neccesary to meet that deadline, including staying late at night to get the prep work done for paint.
#864
Posted 18 July 2010 - 08:39 PM
Tried to work out where my Aerocatches are going to go so I can suss how large the steel triangles need to be in the corners of the engine bay. However I can't work out what orientation would look best:
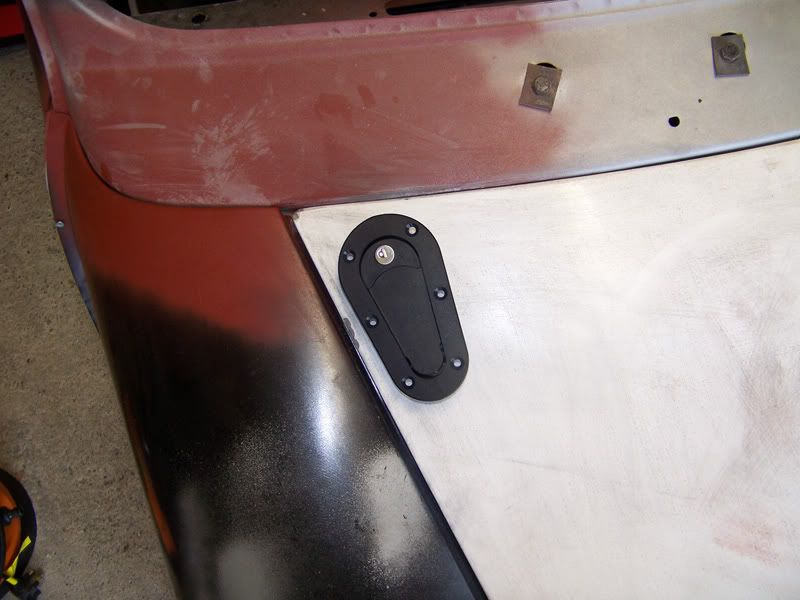
Point towards the front.
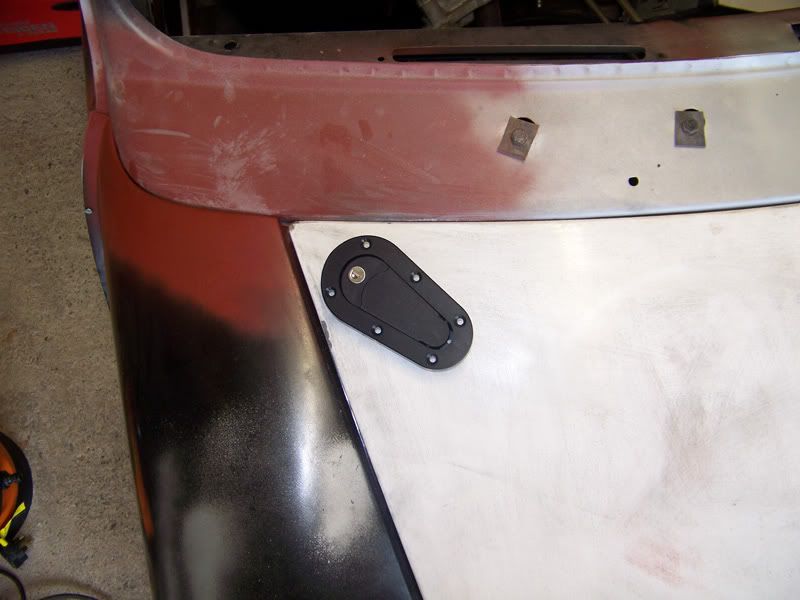
Point towards the front panel.
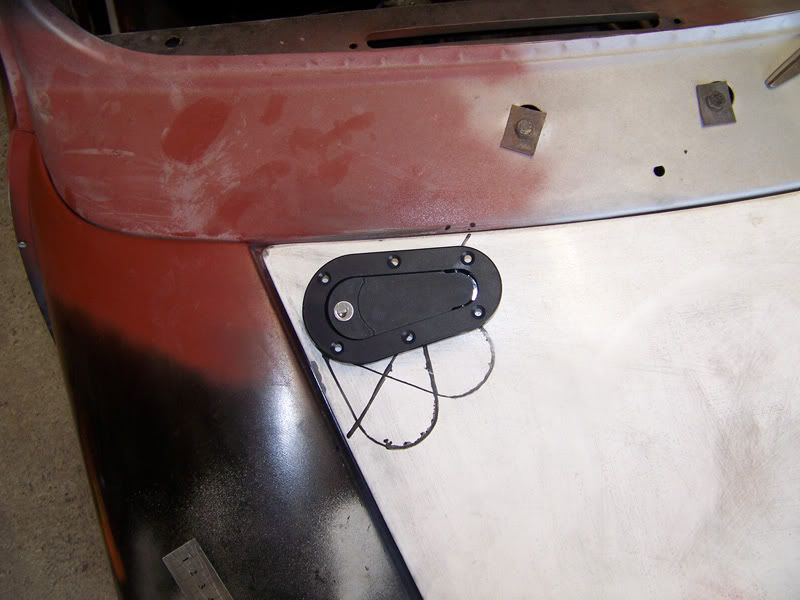
Point towards the center line.
Anyway, regardless of the final decision, I wanted to beef up the bonnet in the areas where the catches will bolt on, just for my own piece of mind.
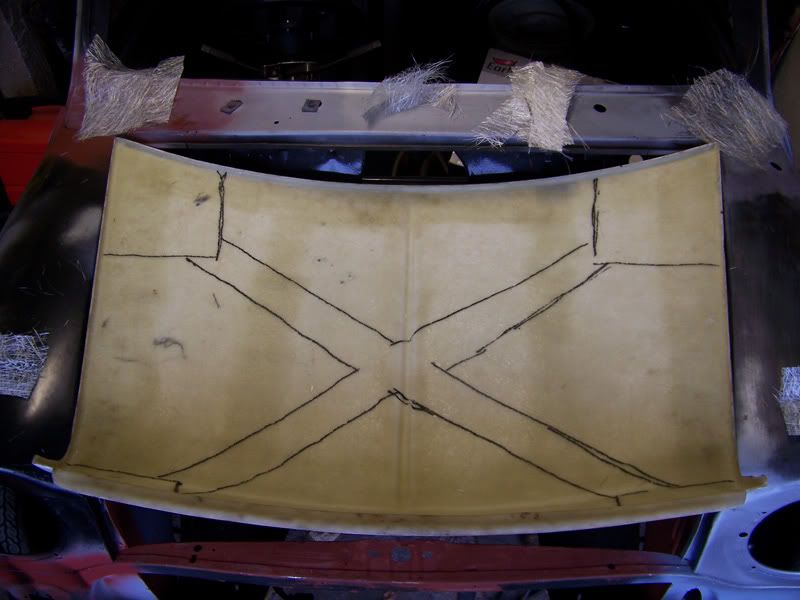
Marked them out, decided against the bracing strips in the end.
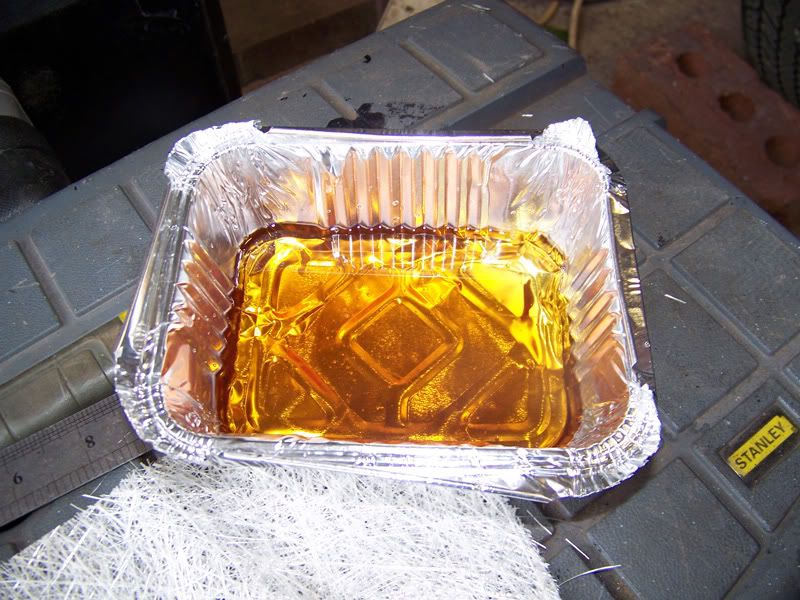
Poured some resin out, this is pre-hardener.
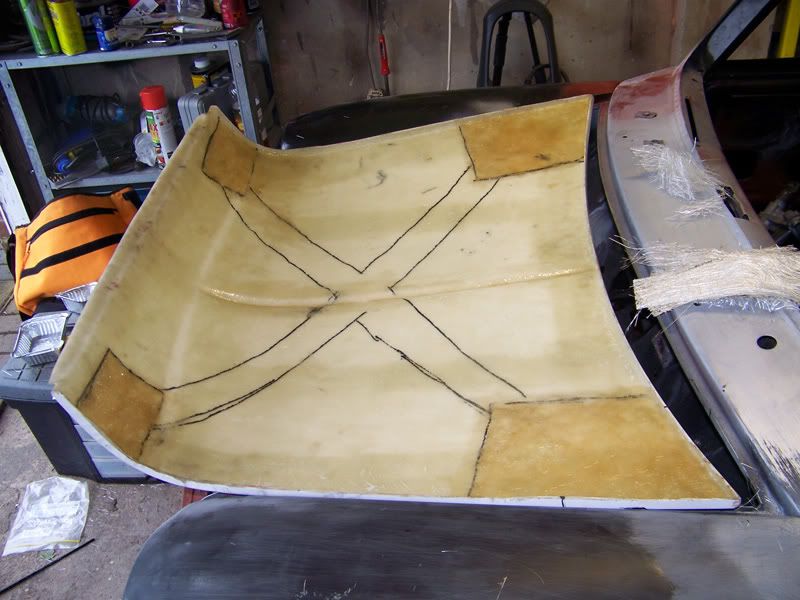
Laid up some matting.
That should keep the bonnet rigid after I make the cut outs and it should help prevent the screws pulling through on the front pins. However, I might just buy some button head machine screws and hold them on with nuts and bolts anyway. We shall see.
Thanks for looking, I'll go down and do some more work tomorrow .
#865
Posted 18 July 2010 - 08:43 PM
#866
Posted 18 July 2010 - 08:45 PM
Good idea with the extra rigidity, I'll have to do the same with mine.
#867
Posted 18 July 2010 - 08:57 PM
Elliot will afterall be kept on the public road at all times.
EDIT, sussed it! I'll wire a courtesy light switch to my alarm and fit it to one of the bonnet pin plates, lifty lifty, WEEOW WEEOW. I need more coffee.
#868
Posted 18 July 2010 - 09:03 PM
#869
Posted 18 July 2010 - 09:09 PM
They're really lovely GreaseMonkey! Such nice operation and they're made out of really good quality materials. I got the locking kind for an extra bit of security as they were originally going to hold my flip front on at the a-panels.I was thinking about these instead of bonnet pins all round, I like the third one
#870
Posted 18 July 2010 - 09:12 PM
Also tagged with one or more of these keywords: roundnose
Projects →
Mini Saloons →
Mini Cooper Project - Finally StartsStarted by piphatch , 08 Jan 2025 roundnose |
|
|
||
Projects →
Mini Saloons →
1965 Austin Mini Restoration - Canadian Mk1Started by DoubleEh , 14 Nov 2022 roundnose |
|
|
||
Projects →
Mini Saloons →
Project Joe - 1991 Mini Mayfair 998Started by Eggers , 02 Jun 2022 roundnose |
|
|
||
Projects →
Mini Saloons →
Mpi Dashboad ProblemStarted by mikeprez , 22 Dec 2021 roundnose |
|
|
||
Projects →
Mini Saloons →
1978 Oew - Willy The MiniStarted by smalltreegrower , 11 Nov 2021 roundnose |
|
|
2 user(s) are reading this topic
0 members, 2 guests, 0 anonymous users