#841
Posted 09 July 2010 - 11:36 PM
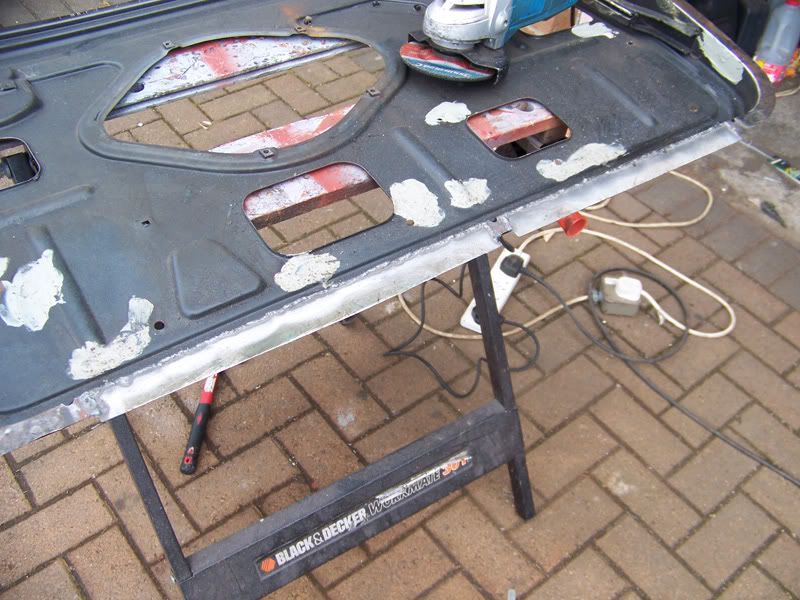
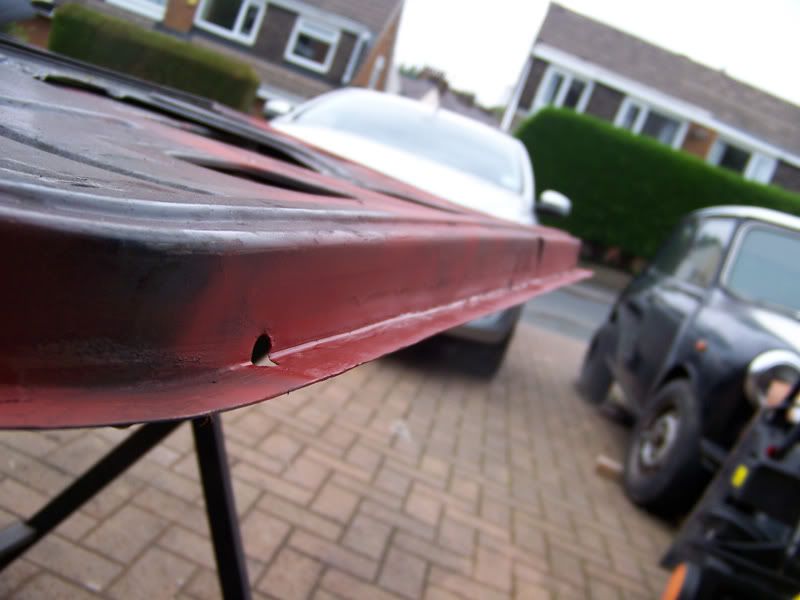
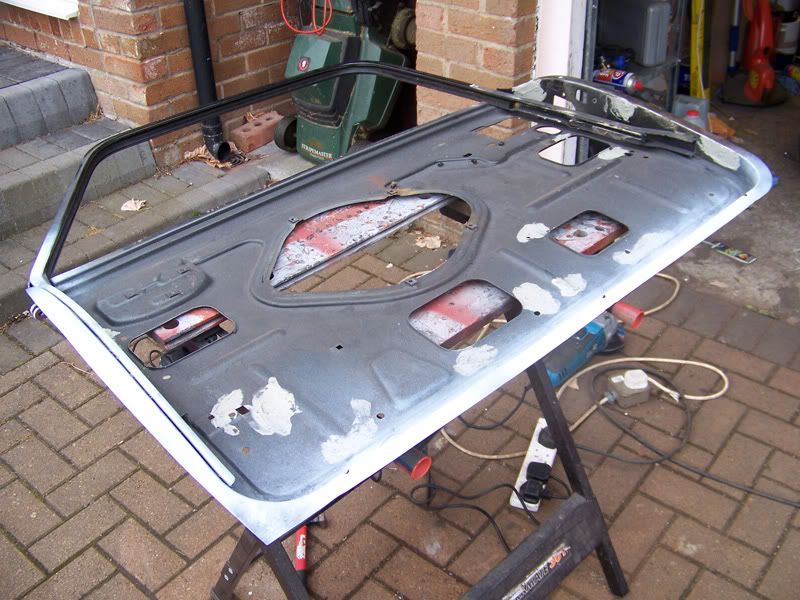
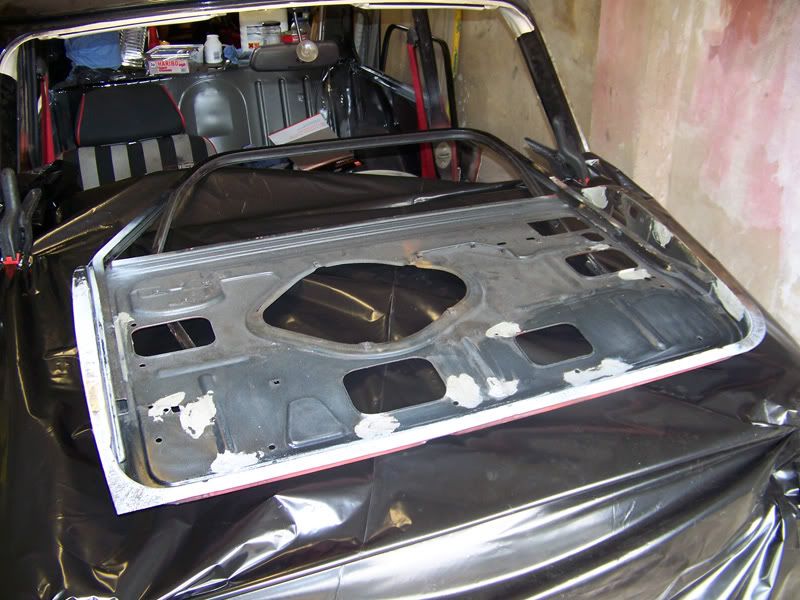
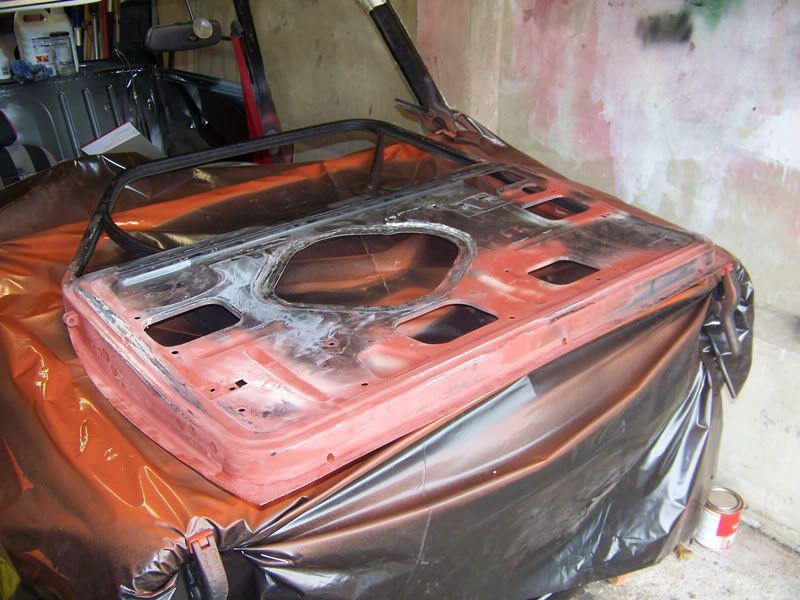
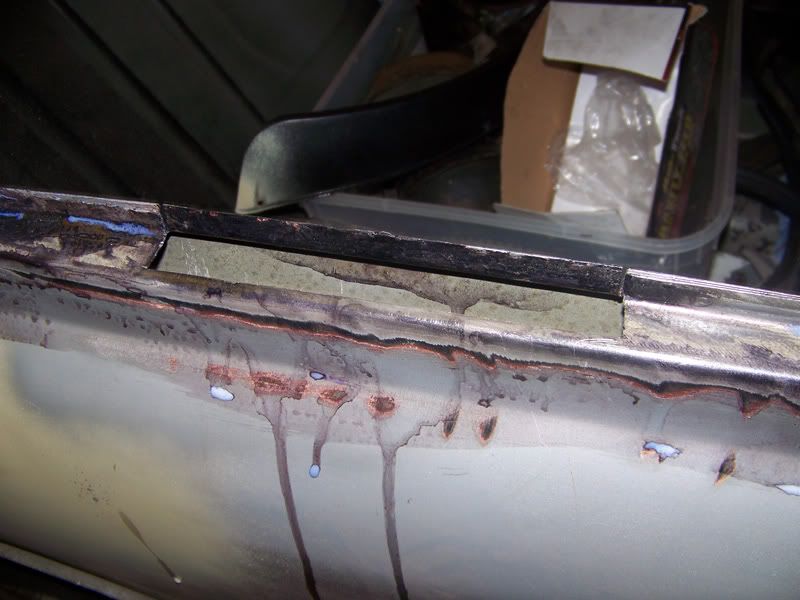
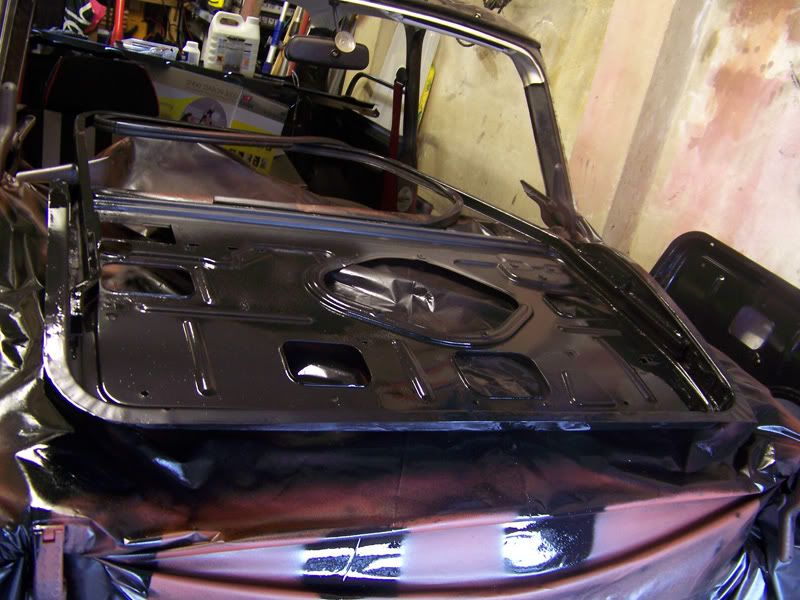
Door to work on, I've already welded up all the useless holes.
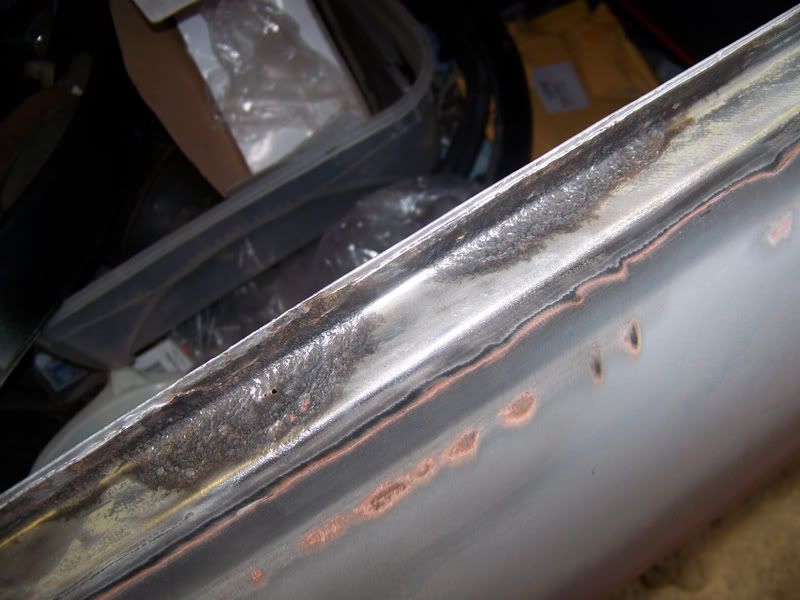
New steel let in at the bottom.
Dressed.
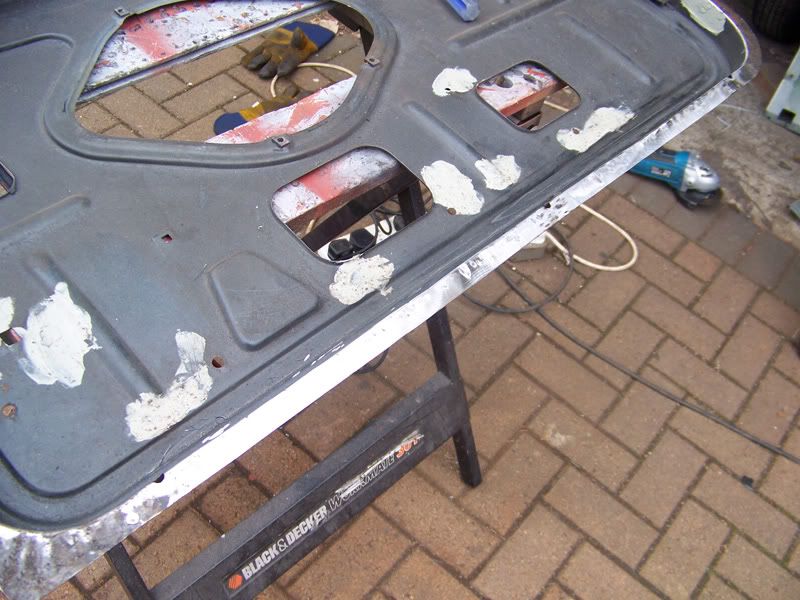
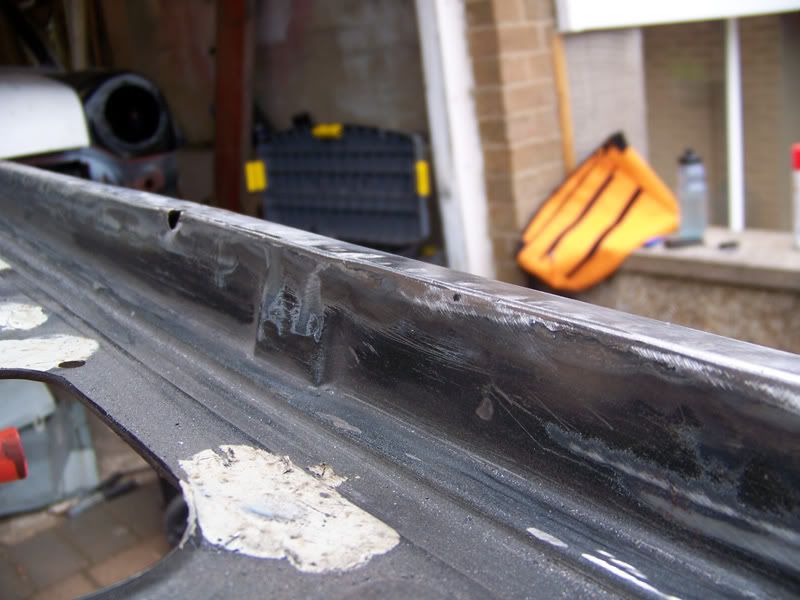
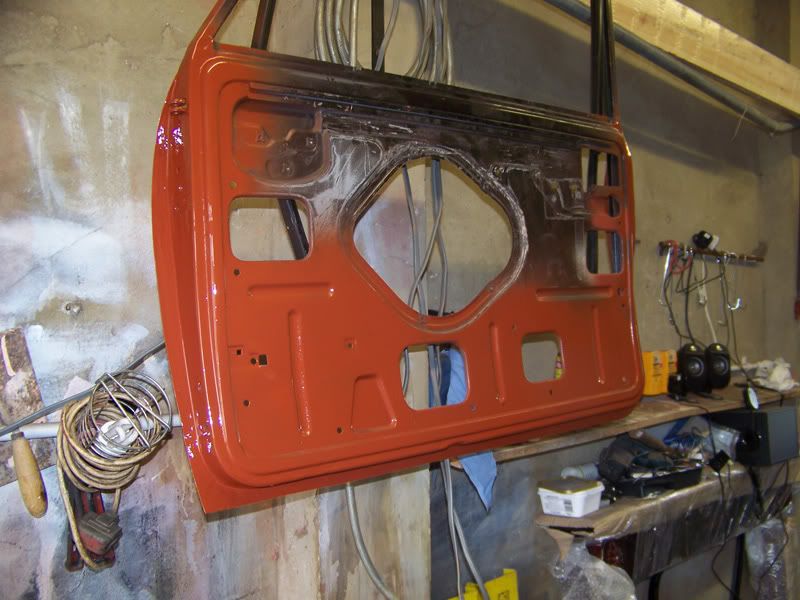
Good as new.
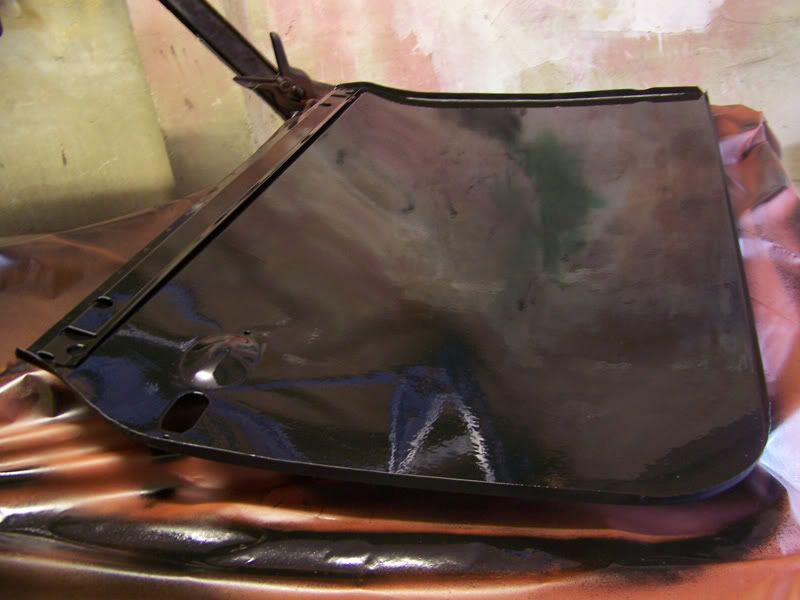
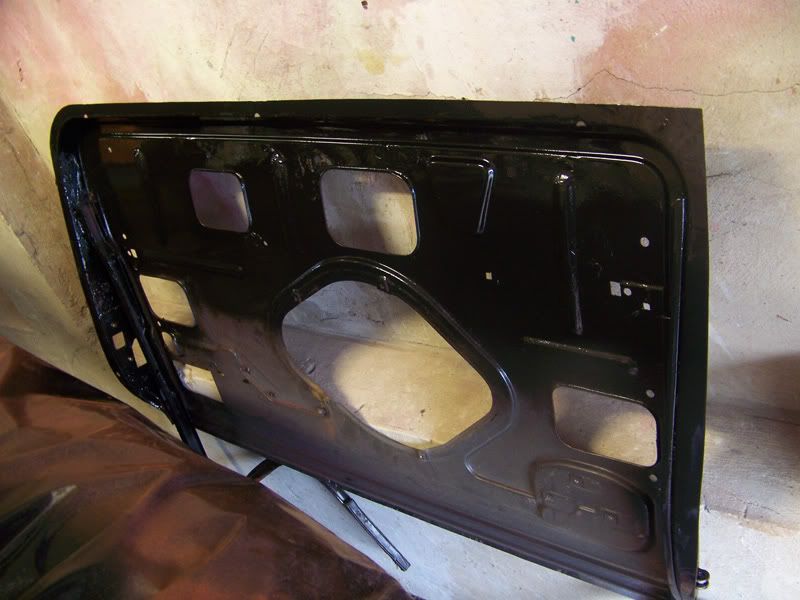
And the other side.
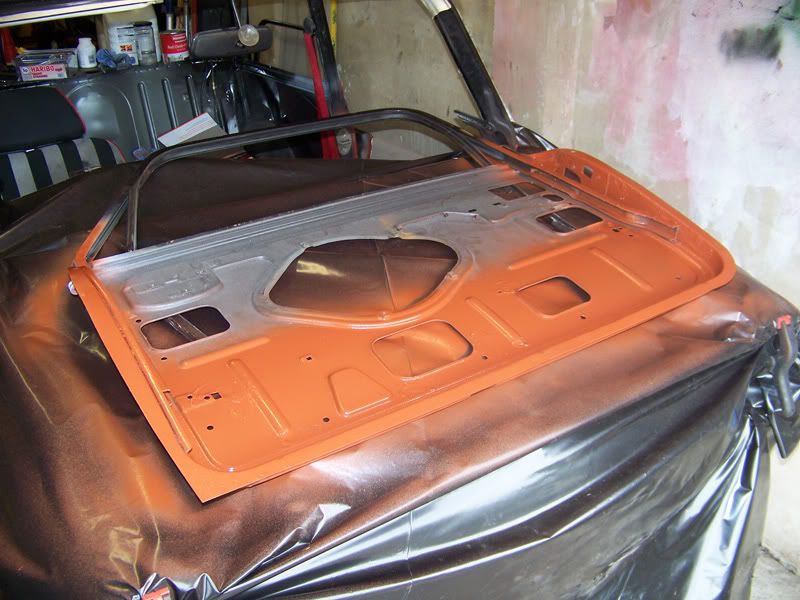
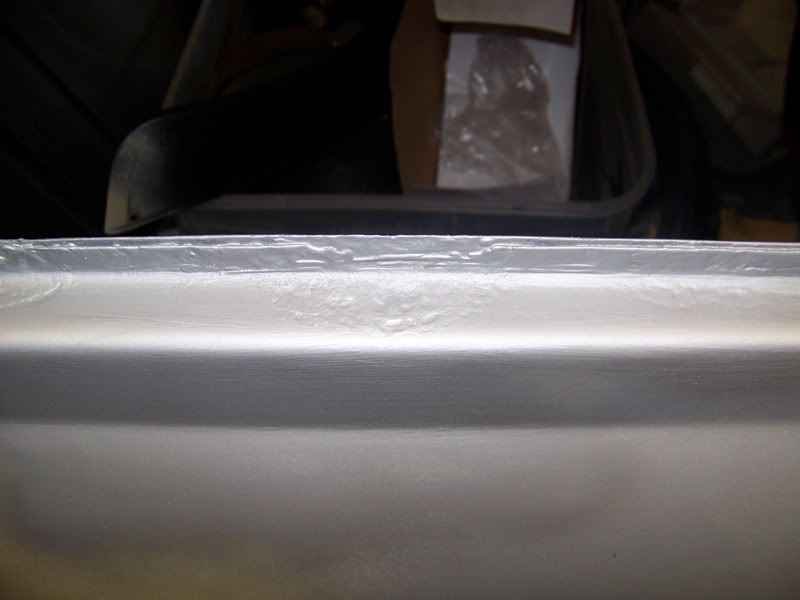
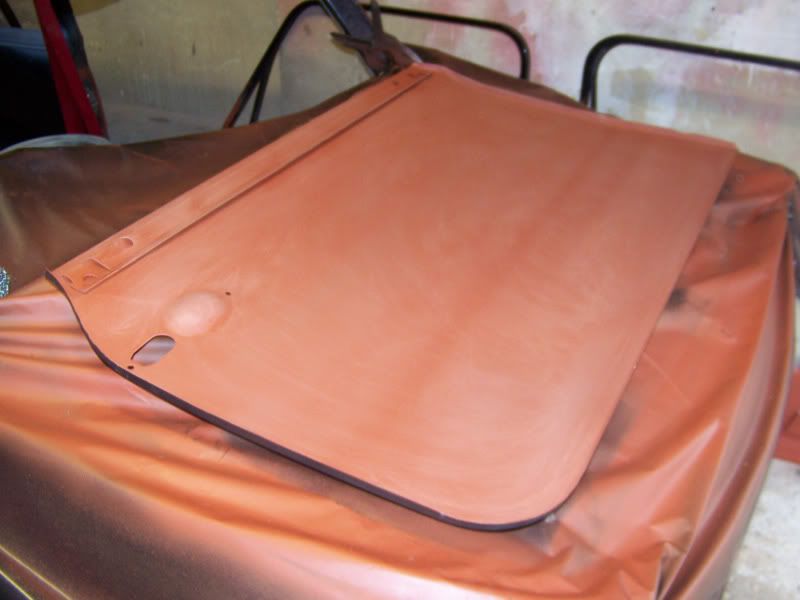
Quick etch.
Tomorrows job is to clean the door frames and skins up ready to accept some paint and primer and hopefully get that on tomorrow so it can have time to dry.
Thanks for looking .
#842
Posted 09 July 2010 - 11:39 PM
#843
Posted 09 July 2010 - 11:40 PM
Ta very much sir! Same as wallpapering isn't it, you get good at it as you finish, haha.Looks tidy, you're getting good at this welding lark!!
#844
Posted 09 July 2010 - 11:42 PM
#845
Posted 10 July 2010 - 10:15 AM
well heres a pictar anyhoo...
ok... my photobucket aint working atm, ill post it when it is... lol xD
#846
Posted 10 July 2010 - 11:44 AM
Yeah, me too. I had like a 40 min drive in my head for some reason!i honestly thought we were closer than 80 miles!! rubbish!!
well heres a pictar anyhoo...
ok... my photobucket aint working atm, ill post it when it is... lol xD
Cheers for the offer of the skinning tool though, it's much appreciated. I'll get some hammer and dolly action going on the door skins .
If it stops lashing it down some time today I'll go and get those door frames and skins primed.
#847
Posted 10 July 2010 - 09:56 PM
#848
Posted 10 July 2010 - 10:01 PM
Seams to have worked so far and the last skin I fitted was so cheap it didn’t even have the top rail on in the inside, so had to reuse the old one (wasn’t rusty) off the old door.
#849
Posted 11 July 2010 - 03:35 PM
Well done for avoiding the door skinning tool, a blind chimpanzee wielding a claw hammer would make a neater job than one of those things.
good job i didnt pay for it then i thought it looked like a good idea!
#850
Posted 11 July 2010 - 06:56 PM
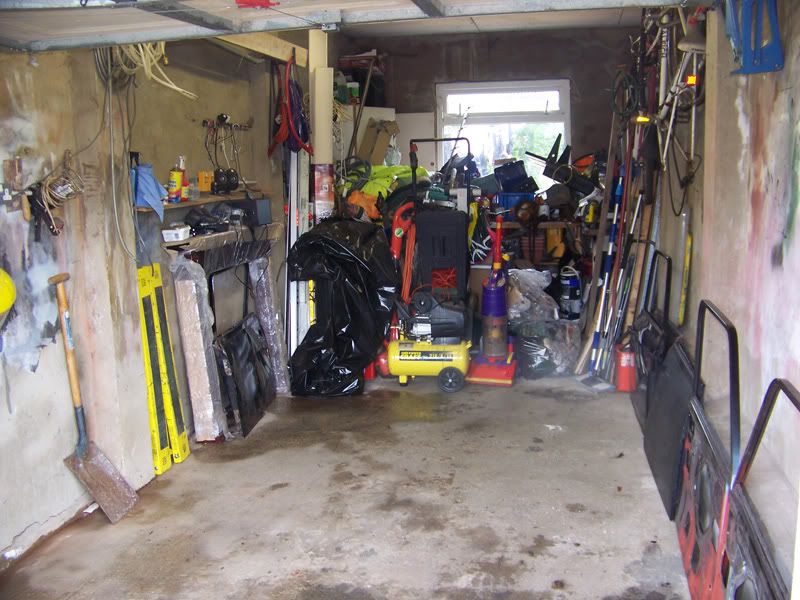
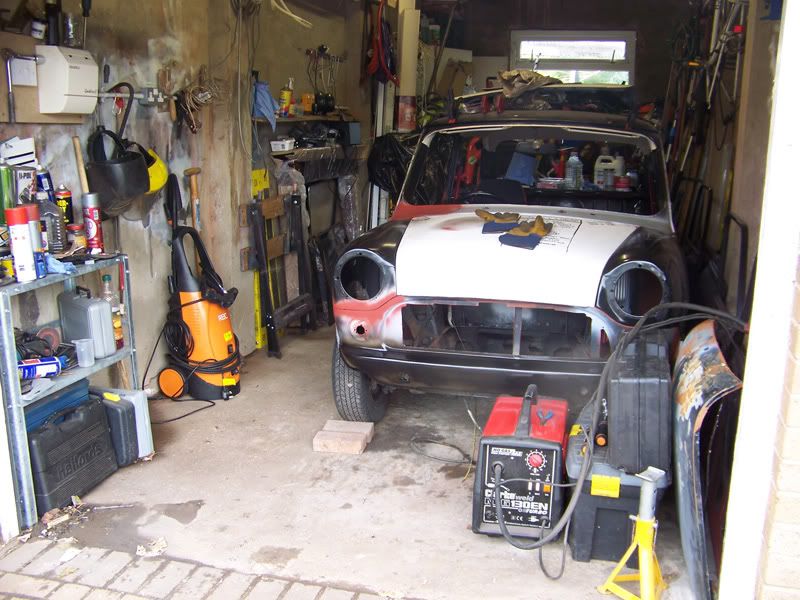
Got much more room to work in now and it's alot cleaner for when I'm ready for spraying, I'll probably clean it again though before I start spraying properly.
Thanks for looking .
#851
Posted 12 July 2010 - 06:09 PM
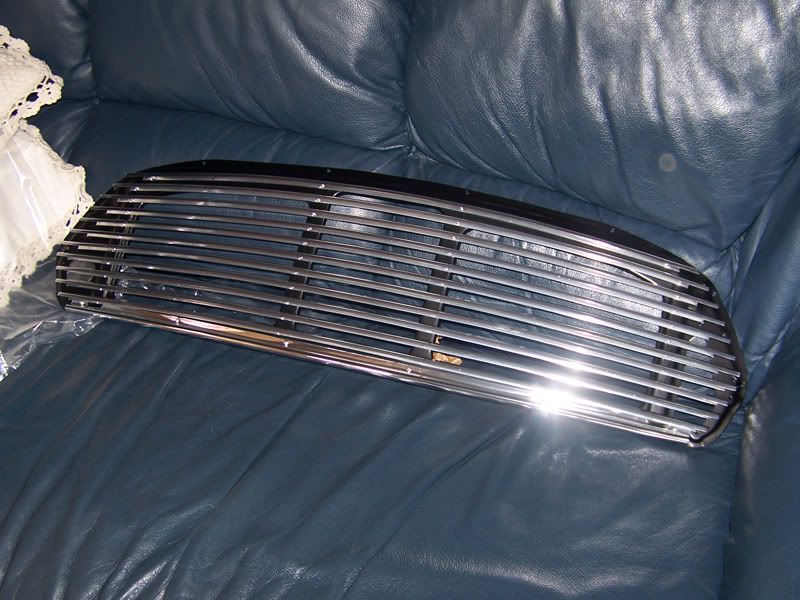
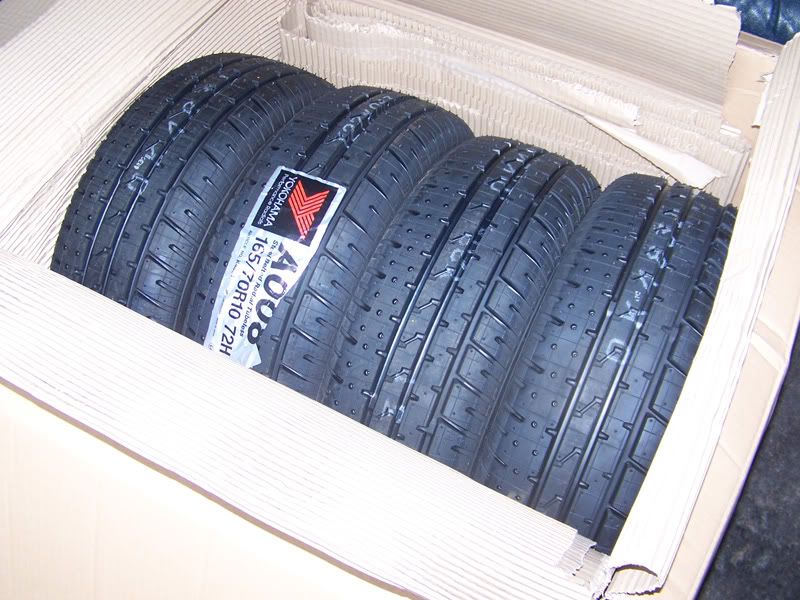
These arrived from Mini Spares.
As well as this.
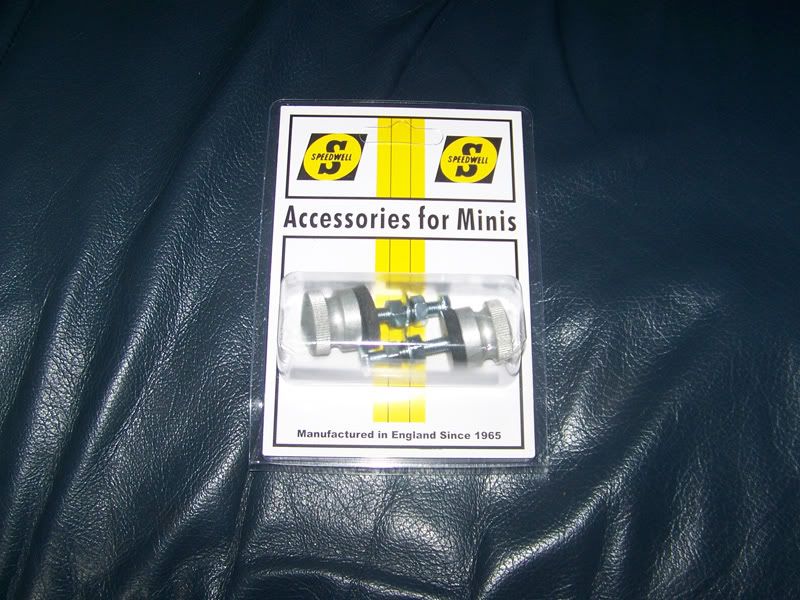
And some grille buttons, but as I don't actually like the appearance of grille buttons, they'll be used in a slightly different way.
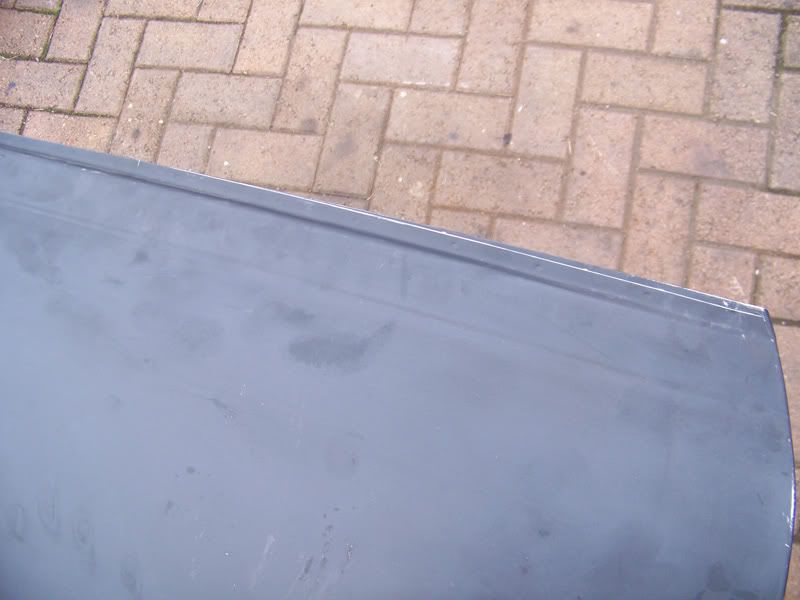
Measured that the door skin was too tall towards the front, both skins needed this sorting.
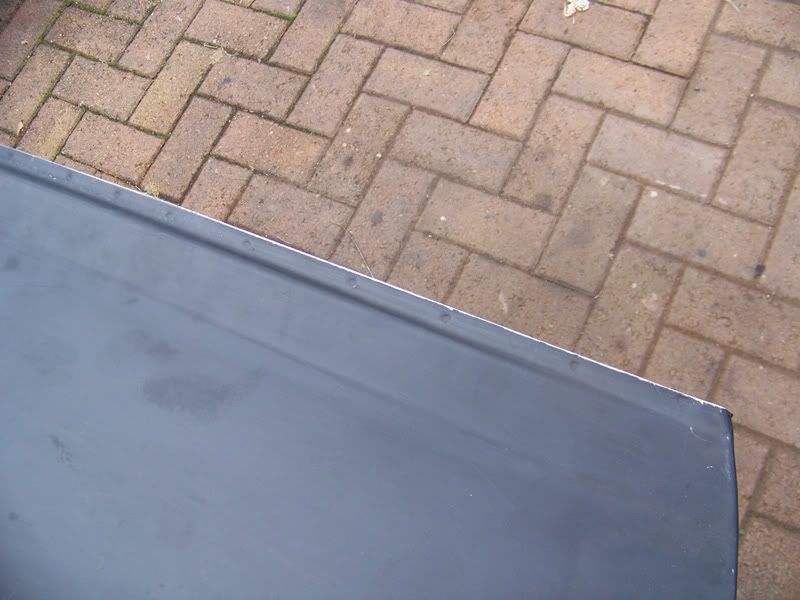
Both skins shortened the neccesary amount.
Now to remove the e-coat from the skins!
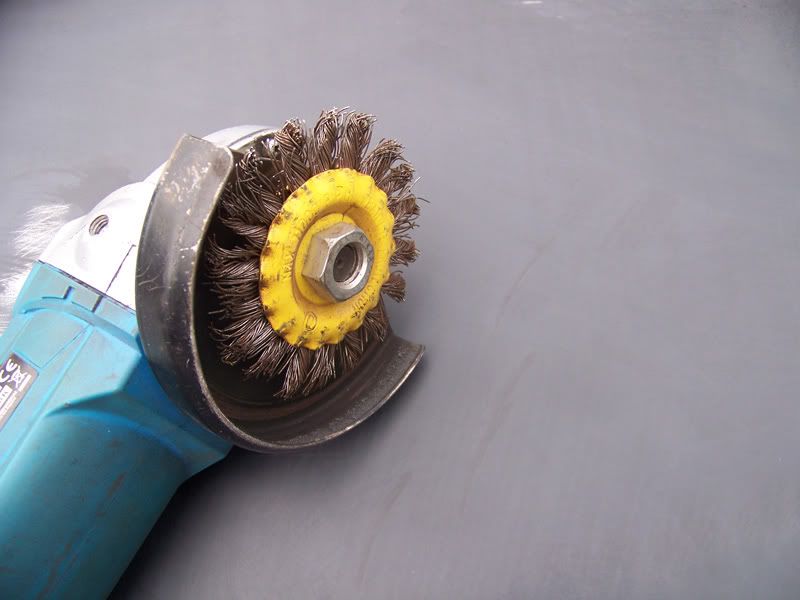
Will a wire wheel on the grinder sort it? No.
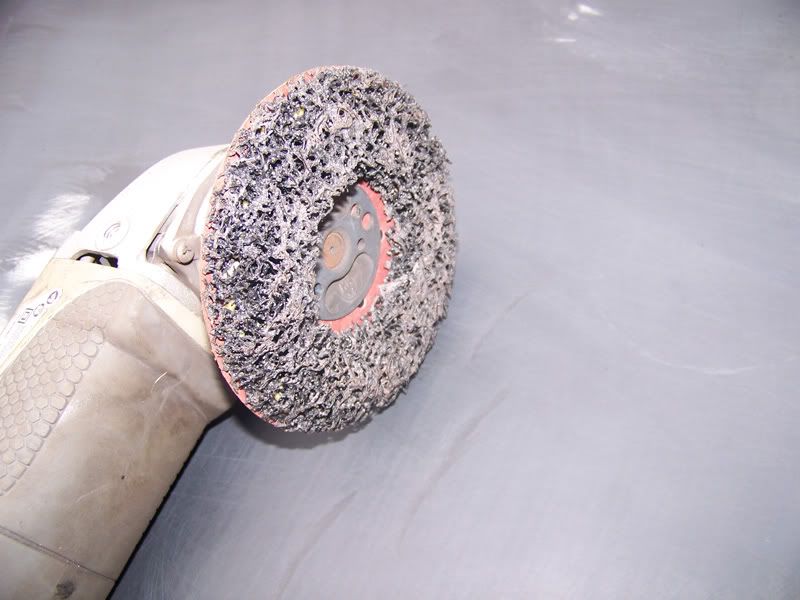
Will a paint stripping disk sort it? Yes, but it'd take hours.
Essentially the e-coat wasn't coming off, and as long as it's not coming off it's welcome to stay.
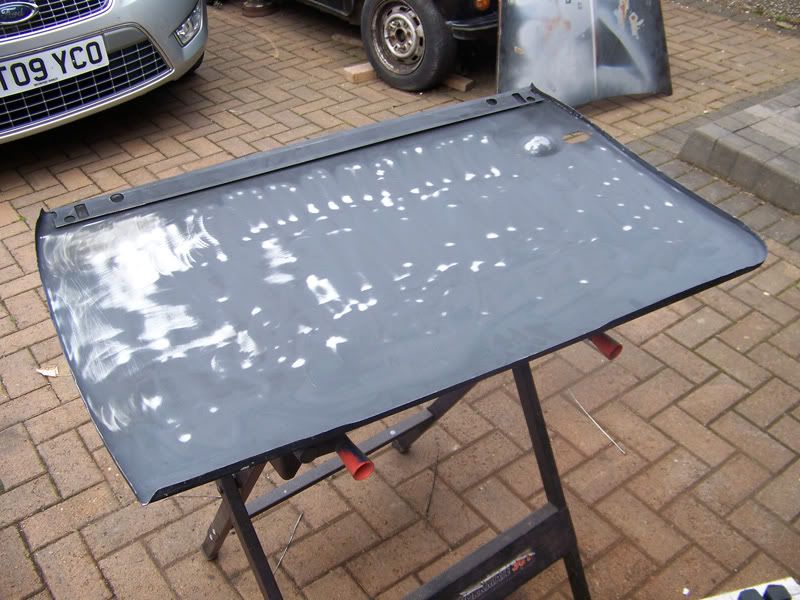
I keyed up both door skins and blasted them with compressed air to clear all the dust away.
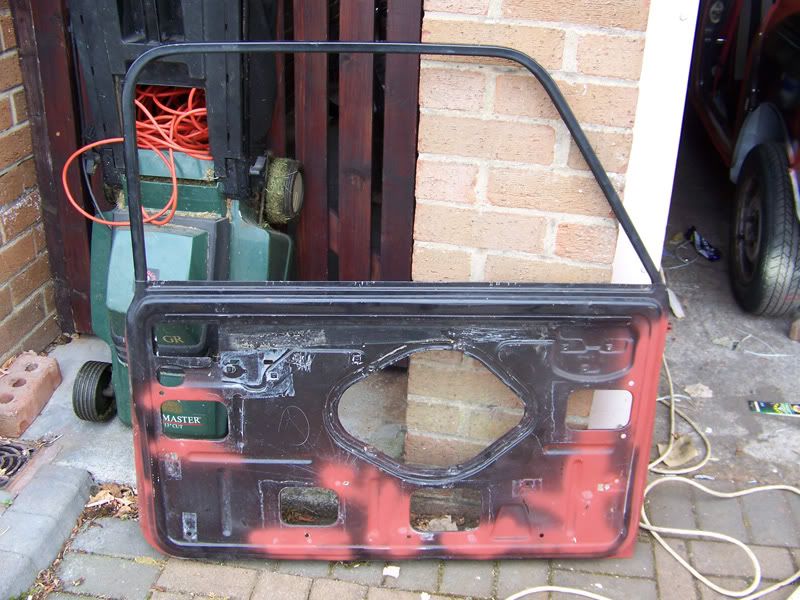
At this point I was just about ready to start spraying the door skins and frames, then it started to rain. The forecast is better tomorrow so I'm going to head round to the garage earlier than normal so I can get some primer on those doors and give it time to cure before I put the Rustoleoum on and let that cure over night. With a bit of luck I can fit the skins to the doors on Wednesaday.
Thanks for looking .
#852
Posted 12 July 2010 - 06:24 PM
is there a correct size they should be?
it was hard work getting the e-coat of the one i have done but i got there in the end.
keep the pictures coming
#853
Posted 12 July 2010 - 07:18 PM
Yeah, always seems to be against me just lately!looking good, always something in the way to stop you progressing eh...how did you know the door skins were to big?
is there a correct size they should be?
it was hard work getting the e-coat of the one i have done but i got there in the end.
keep the pictures coming
I measured the old skin to compare, if I'd left that lip as big as it was, the chrome trim wouldn't have fitted on the door properly.
I'll do my best .
#854
Posted 13 July 2010 - 07:28 PM
Frame ready for spraying.
Primed all the important parts.
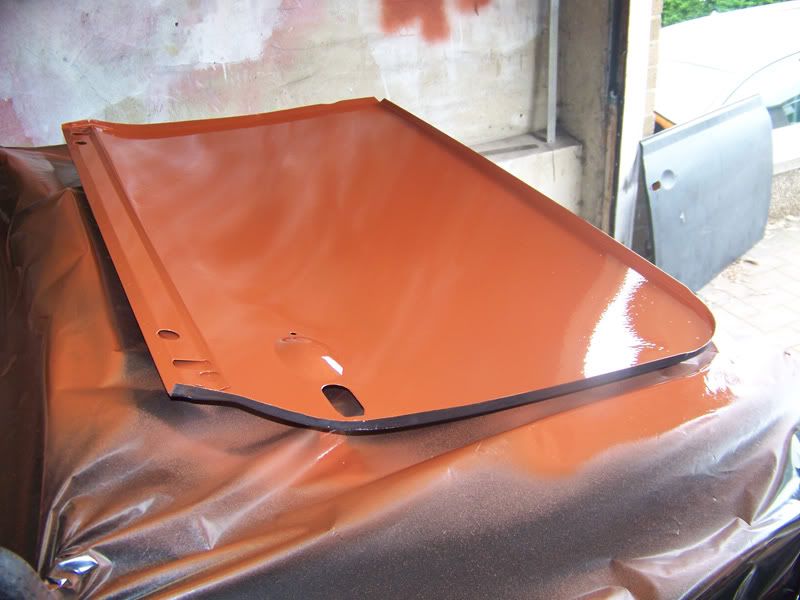
Door skin primed.
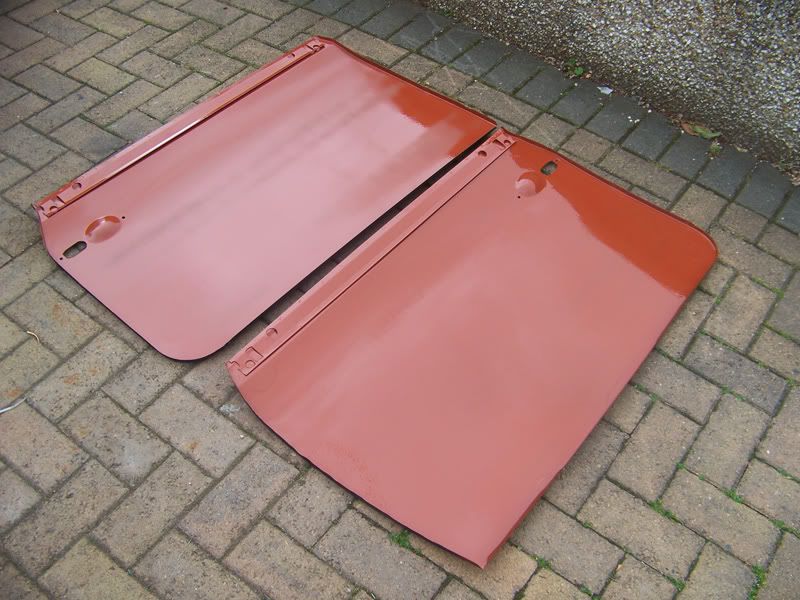
Both skins out drying.
Time for the other side of the frames.
Hung up to dry.
While they were drying I decided to get on with a few small bits of the body which have been irritating me and need doing before paint.
This has been winding me up for ages as it looks awful.
And rightly so as it was pretty thin!
Chopped out ready for a patch.
Skins prepped for paint.
Paint applied.
First frame painted.
And then the other.
I'm pretty pleased so far with how the doors are coming along. With some luck I'll be able to make a start putting the skin back on the driver side door tomorrow, even though it's forecast for rain all week. We shall see!
Thanks for looking .
#855
Posted 13 July 2010 - 07:33 PM
Keep it coming Adam!
What primer are you using?
Also tagged with one or more of these keywords: roundnose
Projects →
Mini Saloons →
Mini Cooper Project - Finally StartsStarted by piphatch , 08 Jan 2025 roundnose |
|
|
||
Projects →
Mini Saloons →
1965 Austin Mini Restoration - Canadian Mk1Started by DoubleEh , 14 Nov 2022 roundnose |
|
|
||
Projects →
Mini Saloons →
Project Joe - 1991 Mini Mayfair 998Started by Eggers , 02 Jun 2022 roundnose |
|
|
||
Projects →
Mini Saloons →
Mpi Dashboad ProblemStarted by mikeprez , 22 Dec 2021 roundnose |
|
|
||
Projects →
Mini Saloons →
1978 Oew - Willy The MiniStarted by smalltreegrower , 11 Nov 2021 roundnose |
|
|
1 user(s) are reading this topic
0 members, 1 guests, 0 anonymous users