
#766

Posted 24 March 2010 - 12:33 PM
Any ideas? I'm guessing maybe something from the reverse switch?
#767

Posted 24 March 2010 - 01:37 PM
#768

Posted 24 March 2010 - 01:51 PM
#769

Posted 24 March 2010 - 03:16 PM
Sounds and looks like it should be your reverse switch Luke yeah. However it could be broken, mine looks like this:When I took mine apart, a tiny little thing fell out. You can see it on the photo.. on the cloth there are 6 screws (from the plate) and just underneath is a tiny bit of threaded screw, it had a small rod going through that middle that moved freely.
Any ideas? I'm guessing maybe something from the reverse switch?
http://www.minispare...=... ROD CHANGE
Although, mine is still a bit grotty looking.
I shall do sir, glad you're enjoying the readhey all ur work is done good job i like it

keep more pictures up
Ah thank you Graeme, I shall whip the plate off and remove the grease I've put in place to block the hole then so the water can escape.They all have a hole in the plate. As the housing isn't really sealed I've always assumed it is to let water out - if it tracks down the selector rod it will easily get into the housing.
It's just so odd that you don't notice it at all until you come to put it back together, presumably because the filth builds up on the grease inside.
I'm moving all my stuff home this afternoon, once I'm all set up at home I shall start putting my radius arms back together I think.
#770

Posted 24 March 2010 - 03:19 PM
Man I can't wait for Easter, two weeks of spending most my days in the garage!
#771

Posted 24 March 2010 - 06:08 PM
I'm on Easter break now Ed, however between working on Elliot and revision, I'm not really going to have time. Summer though, if you're at home, I'll be over sirlooks top! i really am getting annoyed that i cant work on minis... i keep coming back to projects im watching and get all jealous!
when is your easter break? if youre around you could drop by when im back??.
ahh i see... mines not until the 1st April... summer though yes! i break for summer on the 26th May...
EDIT: looking clean! i have all that to do soon!
Edited by tedmcedd, 24 March 2010 - 06:08 PM.
#772

Posted 24 March 2010 - 10:40 PM
My exams are pretty early in our term so I break for summer pretty early tooI'm on Easter break now Ed, however between working on Elliot and revision, I'm not really going to have time. Summer though, if you're at home, I'll be over sirlooks top! i really am getting annoyed that i cant work on minis... i keep coming back to projects im watching and get all jealous!
when is your easter break? if youre around you could drop by when im back??.
ahh i see... mines not until the 1st April... summer though yes! i break for summer on the 26th May...
EDIT: looking clean! i have all that to do soon!
Cheers man, all the little random bits are starting to come back together and form working assemblies again haha.
#773

Posted 24 March 2010 - 10:46 PM
Done a bit more work.
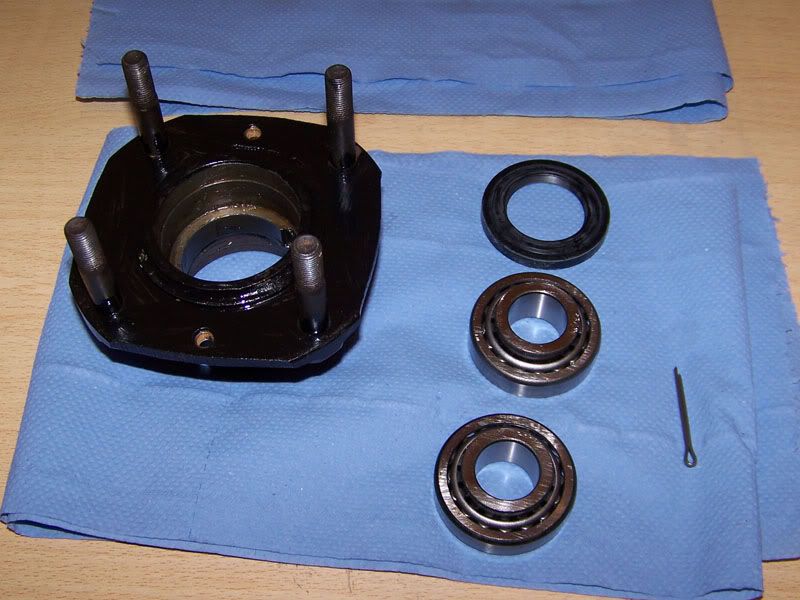
Freshly painted hub and new Timken taper roller bearing kit.
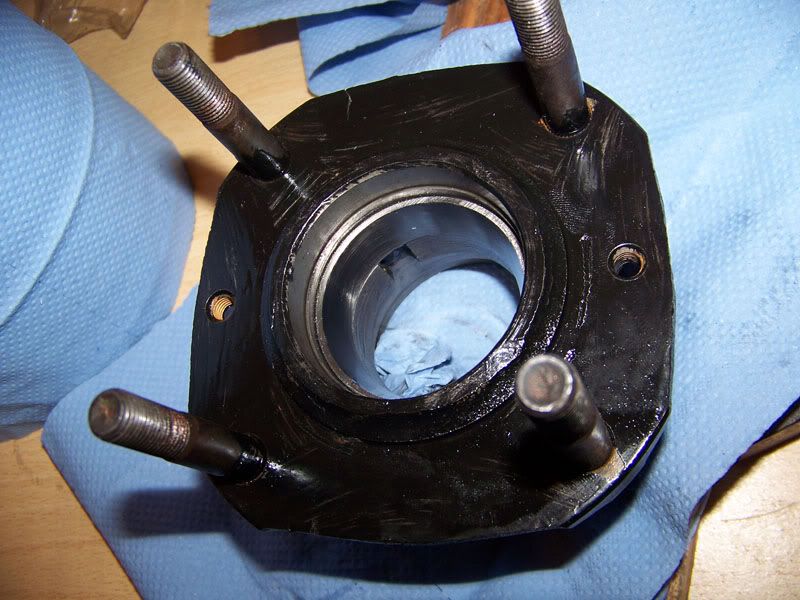
First outter race in place.
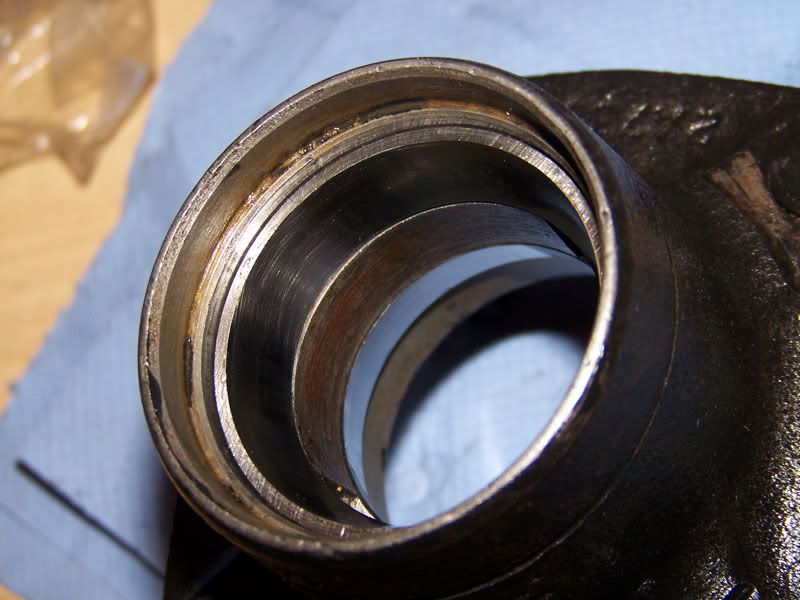
...and the second.
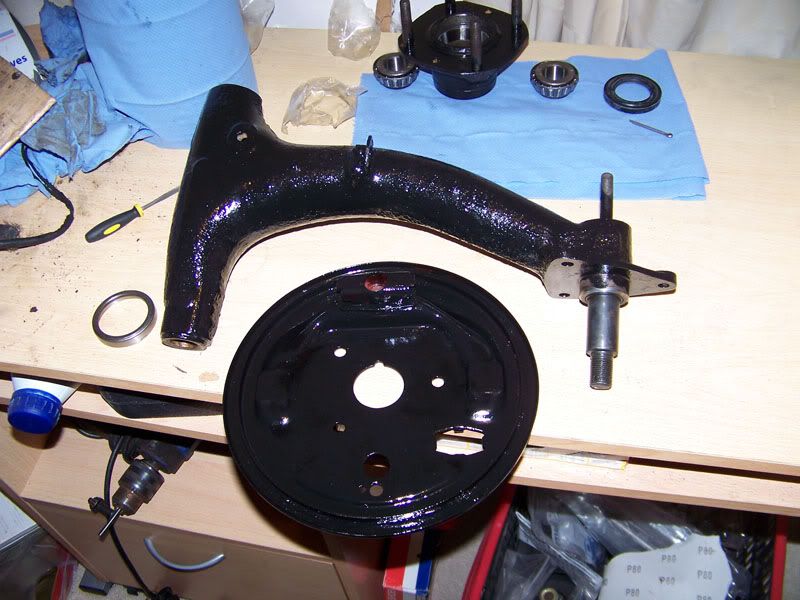
Radius arm and back plate.
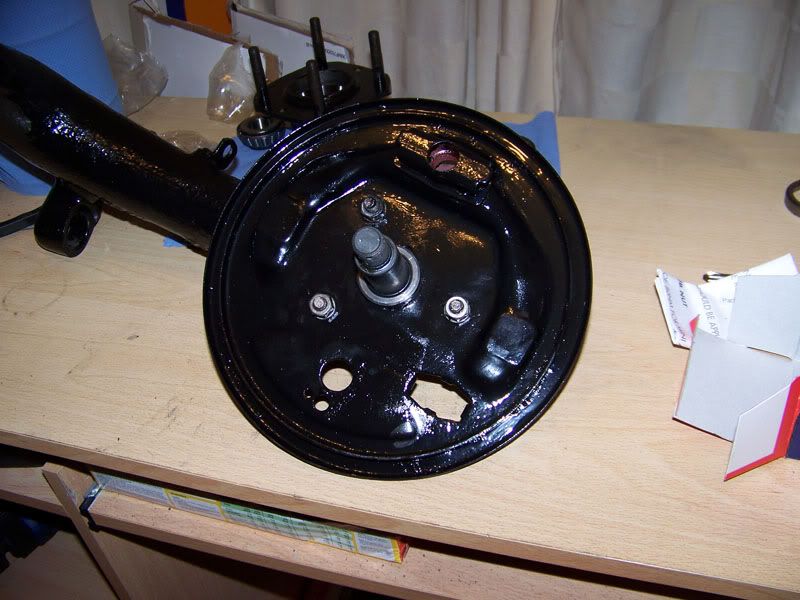
Bolted back together.
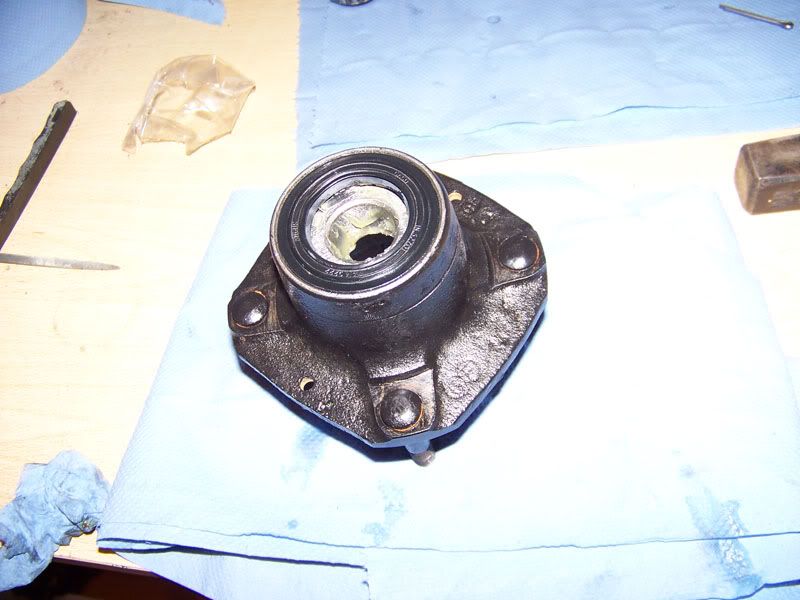
Back side bearing packed with grease, installed and the oil seal installed.
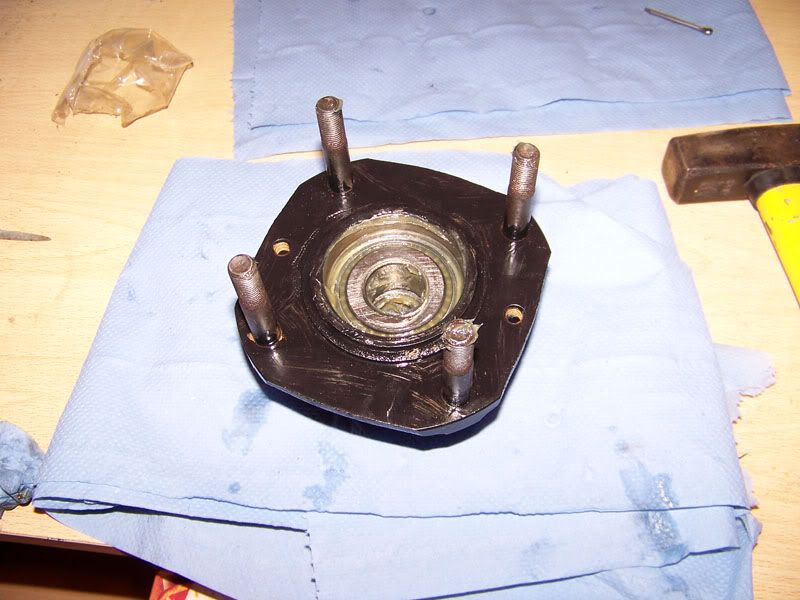
Front side bearing packed with grease and installed.
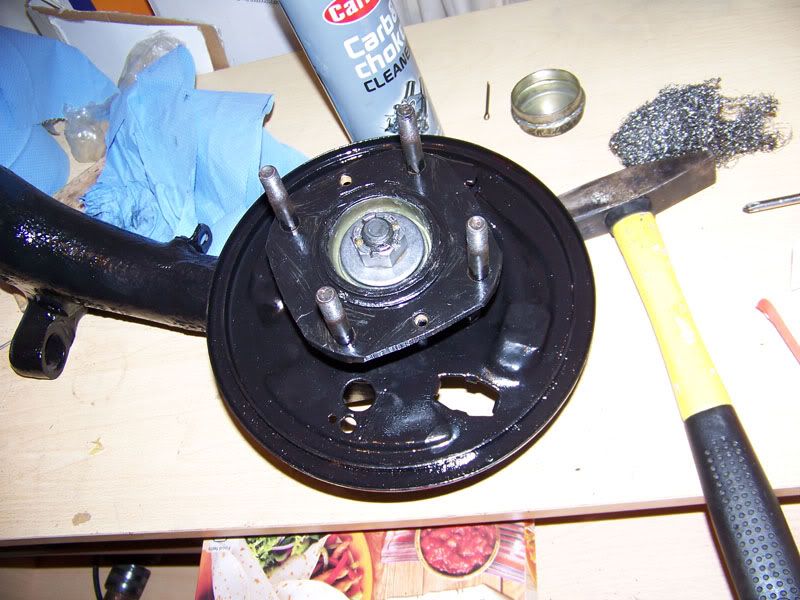
Hub installed on its shaft and retaining bolt done up, still needs doing up to the correct torque, which is why the split pin is absent.
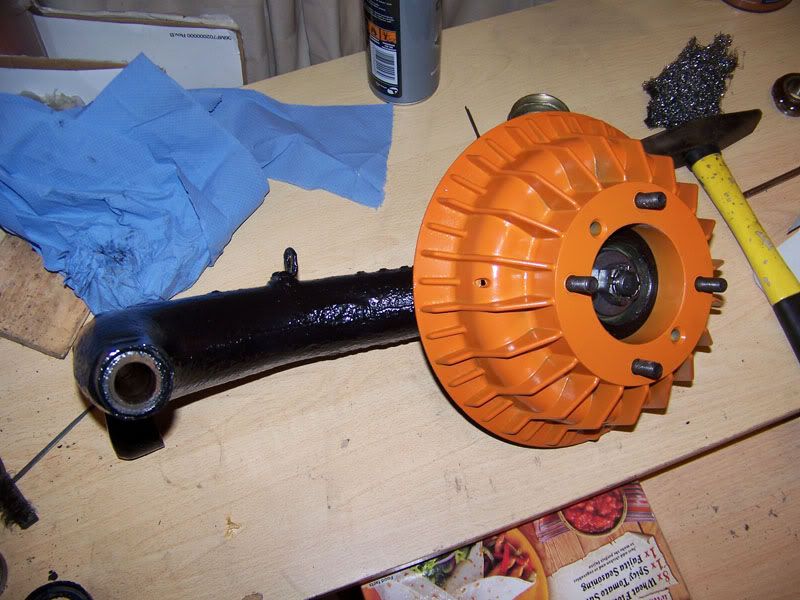
Just because I wanted to see how it was going to look, very pleased with this.
I might go round and do the other arm to the same stage tomorrow. I need to get the proper tool for installing the clips that retain the brake cylinders before I can install all the brake gubbins.
Thanks for looking
Edited by Deathrow, 24 March 2010 - 10:50 PM.
#774

Posted 24 March 2010 - 10:51 PM
#775

Posted 24 March 2010 - 10:56 PM
There is a tool for installing the circlips? I managed to force mine on, without damaging either the circlip or the backplate. It was damn hard though, fiddly too.
Yeeeeasss:
http://www.minispare...ty=pb&pid=37917
I've managed to get them on before, but I've been pushing them on from the side, not above. I'm not sure if doing it from the side puts a bit too much stress on them or not.
#776

Posted 26 March 2010 - 04:02 PM
- Wing LH, Mk5, BUDGET (with Repeater)
- Wing RH, Mk5, BUDGET (with Repeater)
- Front Panel, Mk4-5, for Mini 76-0N
- Inner Wing, Front Half, LH, Mk4
- Inner Wing, Front Half, RH, Mk3 on
The circlip tool is also on the way now so I can finish building up the brake system up on the rear arms. However, I'm going to go install the arms back on the subframe and the subframe back on the car. I want to get her rolling again so that I can start getting ready for installing the outer sills and the rear valance.
I shall probably update again later
#777

Posted 26 March 2010 - 08:26 PM
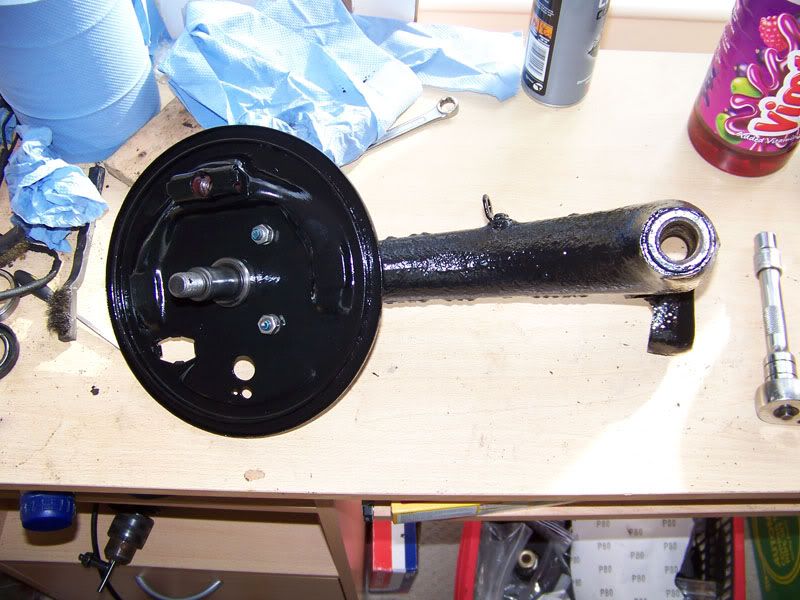
Tother arm and backplate reunited.
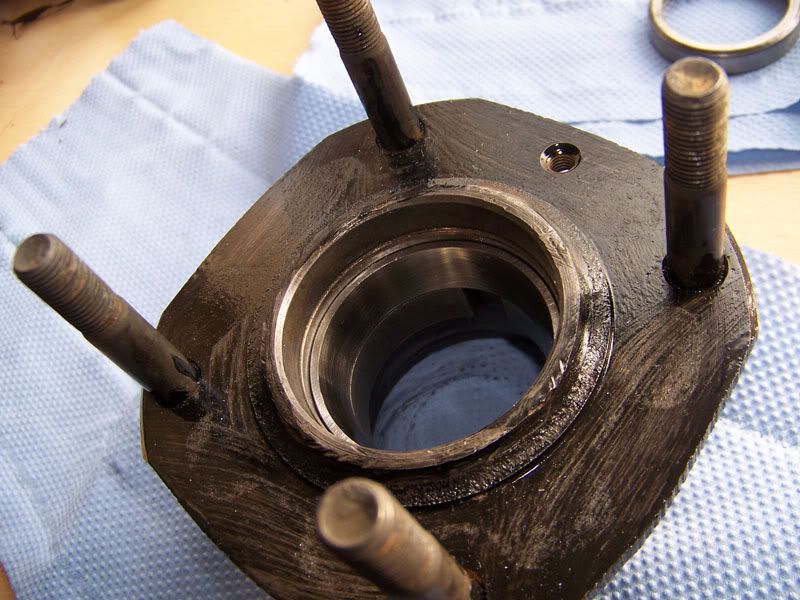
First outter race fitted.
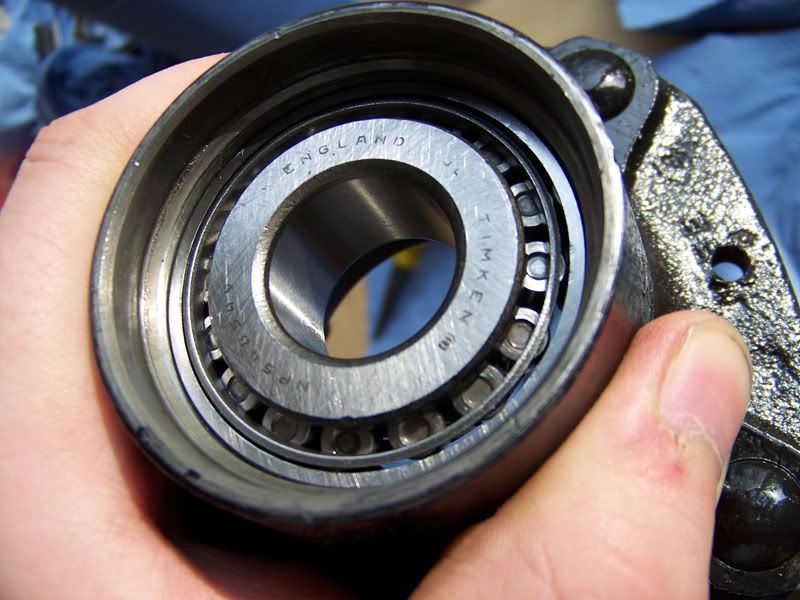
Second outter race fitted and the inner race dropped in for a snazzy shot.
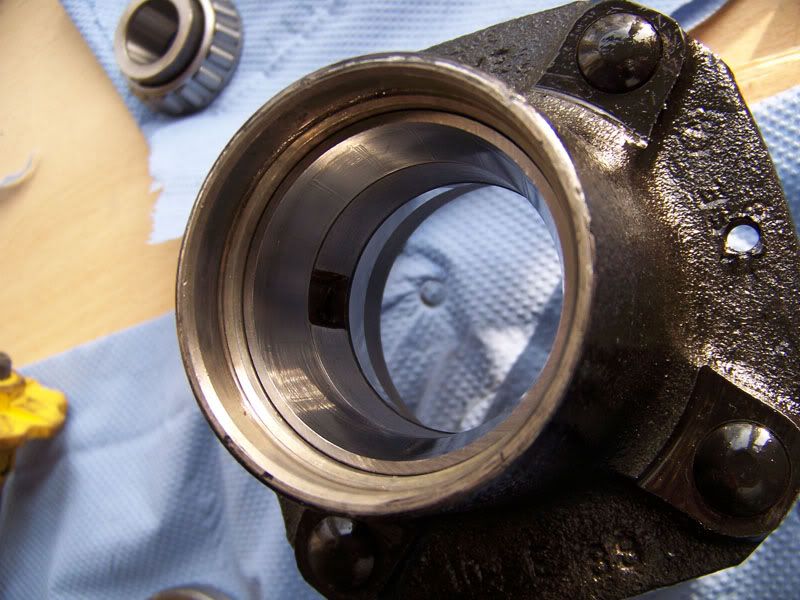
From the back.
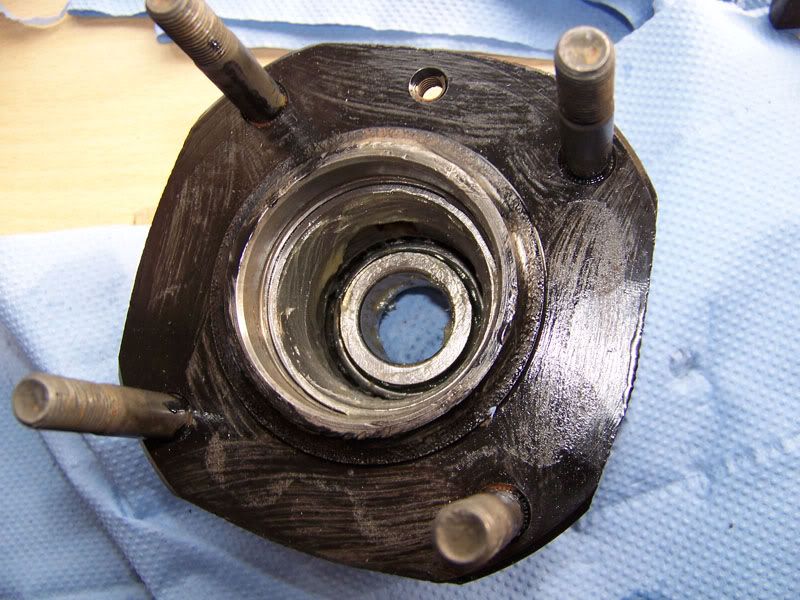
Rear race fitted and oil seal in place.
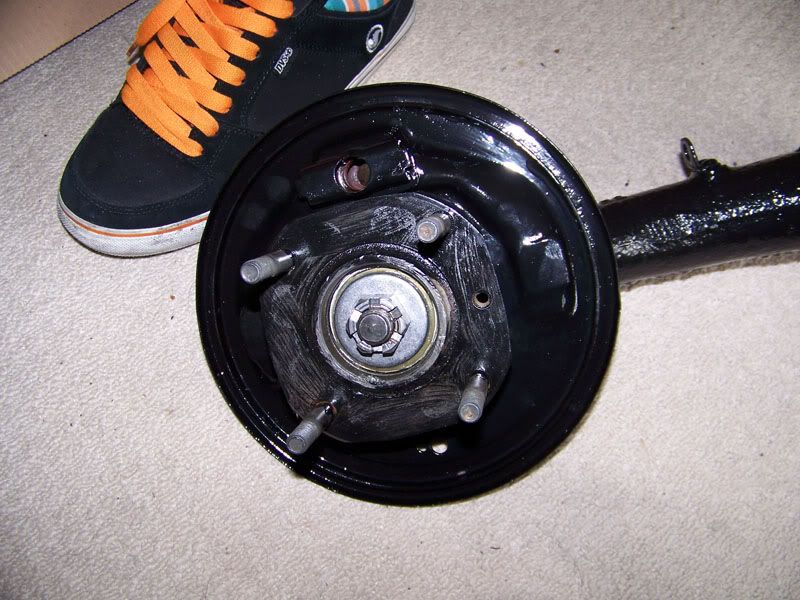
Front race fitted and installed on radius arm stub. (Do you spy a colour scheme inspiration?)
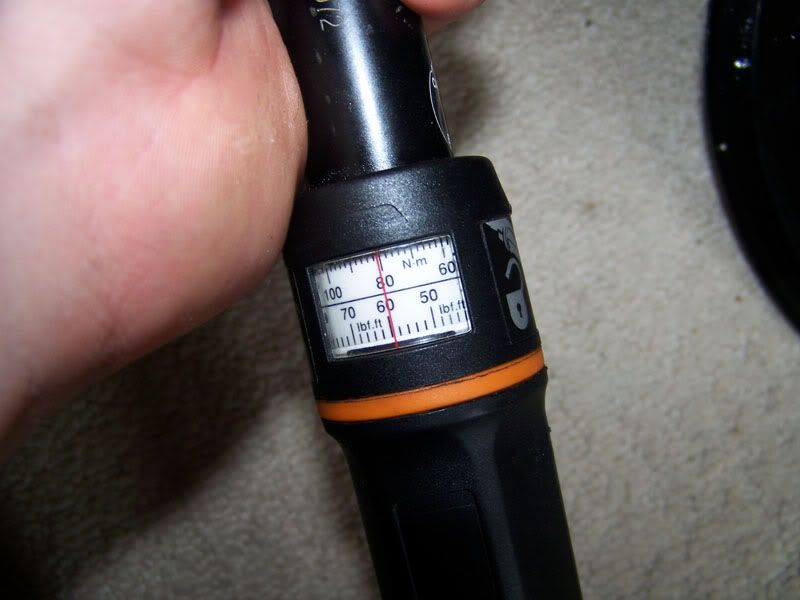
80NM selected.
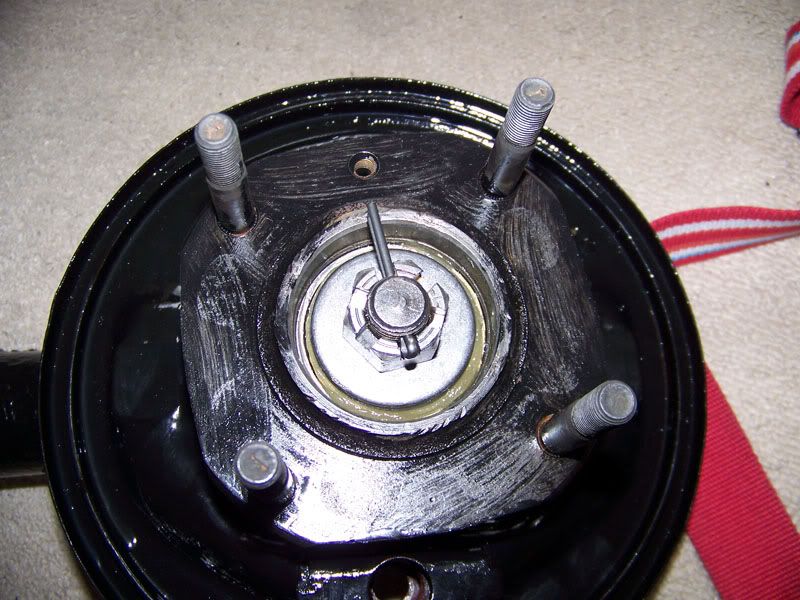
Torqued up and split pin installed. This one ended up feeling a little tighter than the other, I'm going to keep my eye on it over the first 100 miles but I think it just needs the grease to work out a bit.
Thats all for that one!
#778

Posted 26 March 2010 - 08:31 PM
I suppose:
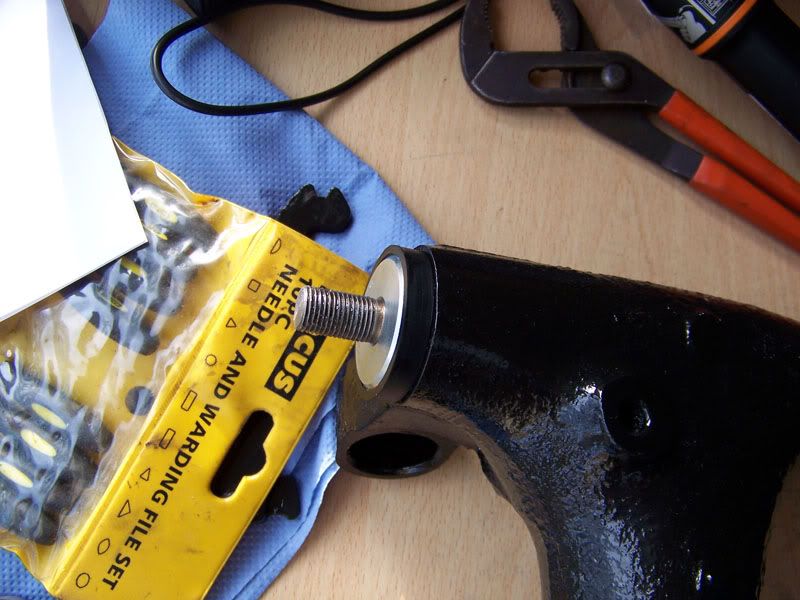
Installing new radius arm pins.
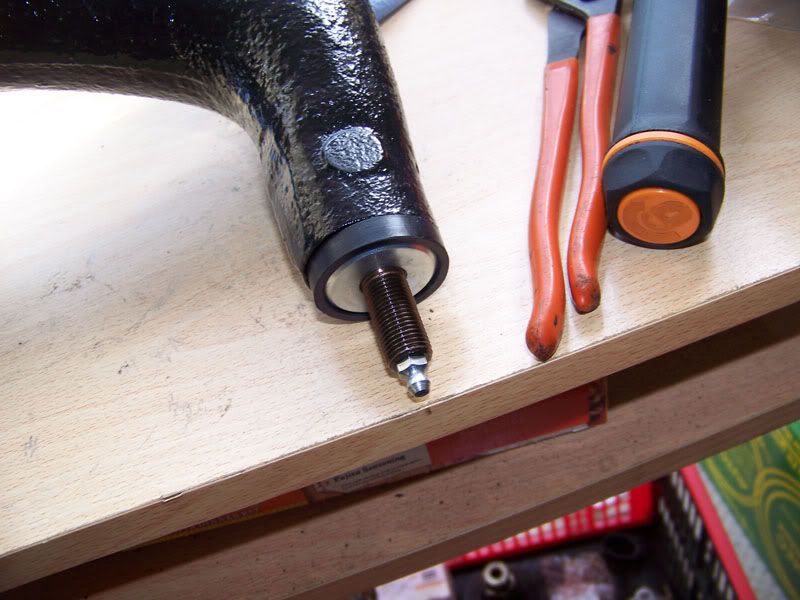
Other side.
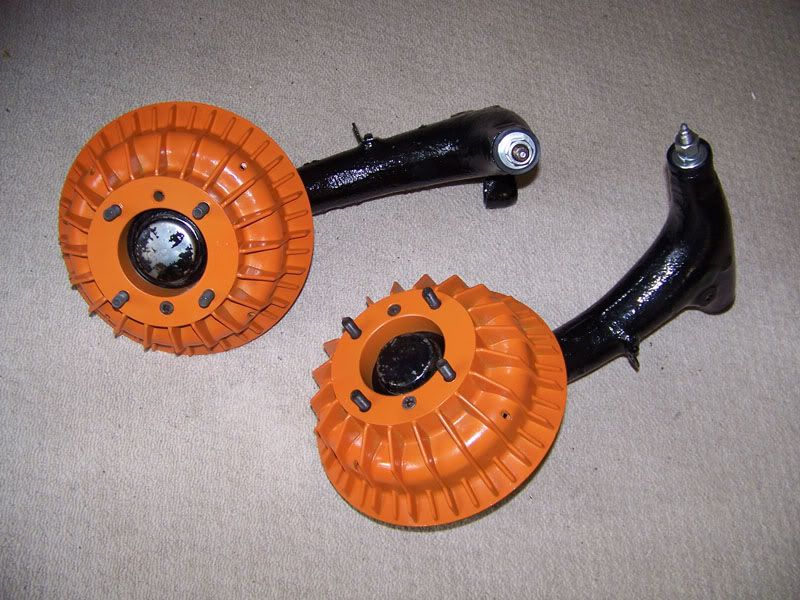
Two snazzy looking radius arms, no brakes included, yet!
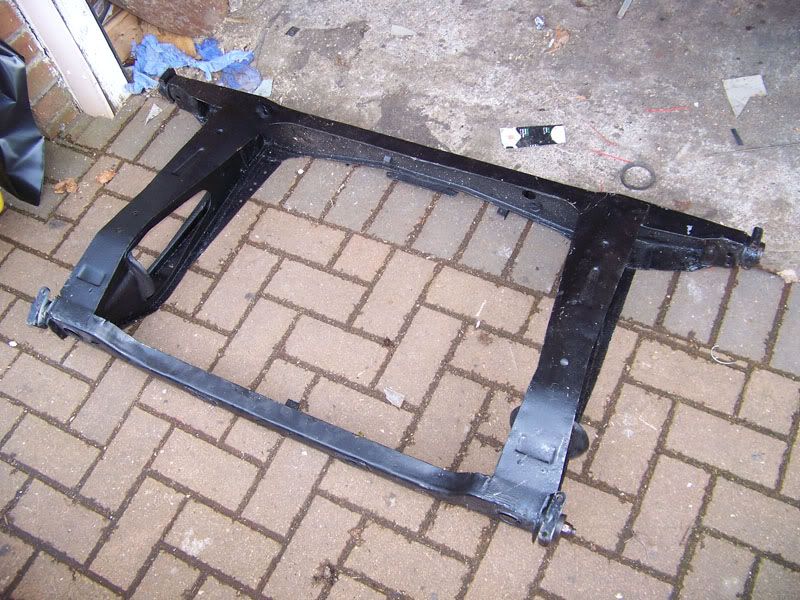
Subframe.
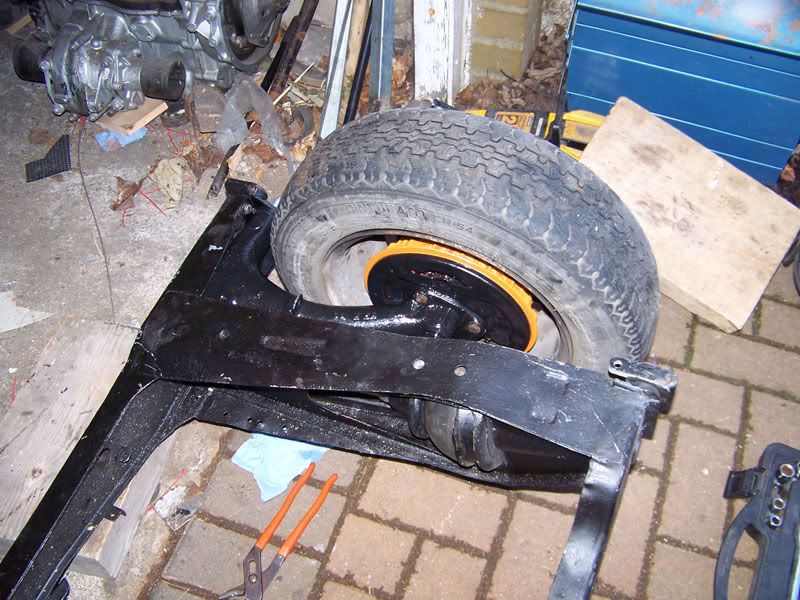
One side done.
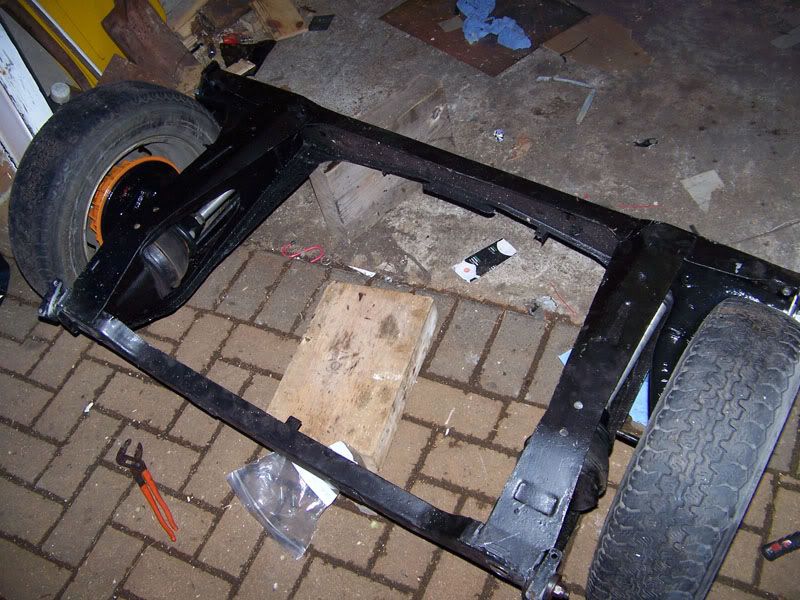
Both sides done.
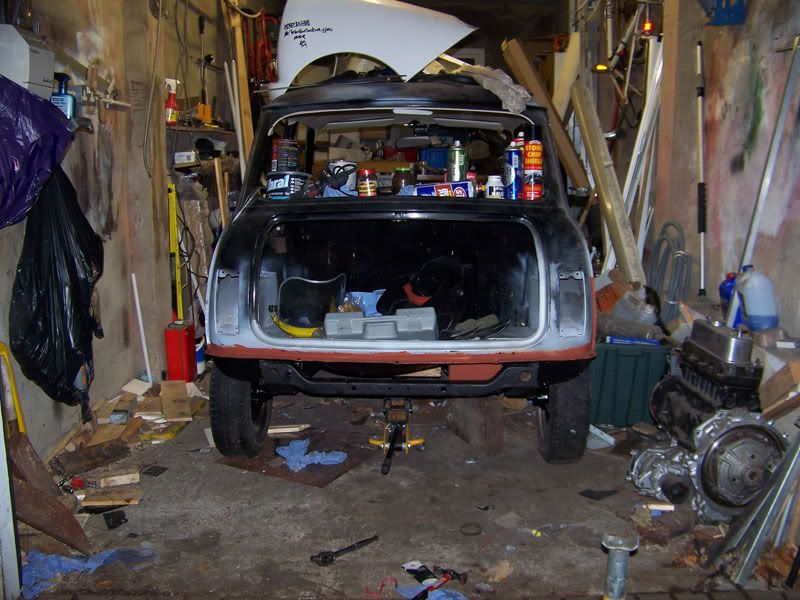
The front of the frame has 2 bolts holding it, I need to get the drill on the rear mounting holes as I've not made them big enough for the bolts.
None of it is installed as a "final" thing yet, its far from it, but I need the car rolling so that I can weld on the sills, I wanted the subframe in place for me welding the rear valance on as well so I knew all the clearances were correct.
We're looking good! Oh and a quick story, the first time i put the frame on, I had the hi-lo's wound down so far I couldn't get my jack out
Thanks for looking ladies and gents
#779

Posted 27 March 2010 - 11:15 PM
I finished getting Elliot back on her wheels and after I wheeled her out of the garage it became quite apparant that I needed to do a bit of a clean up so here and the before and after pictures.
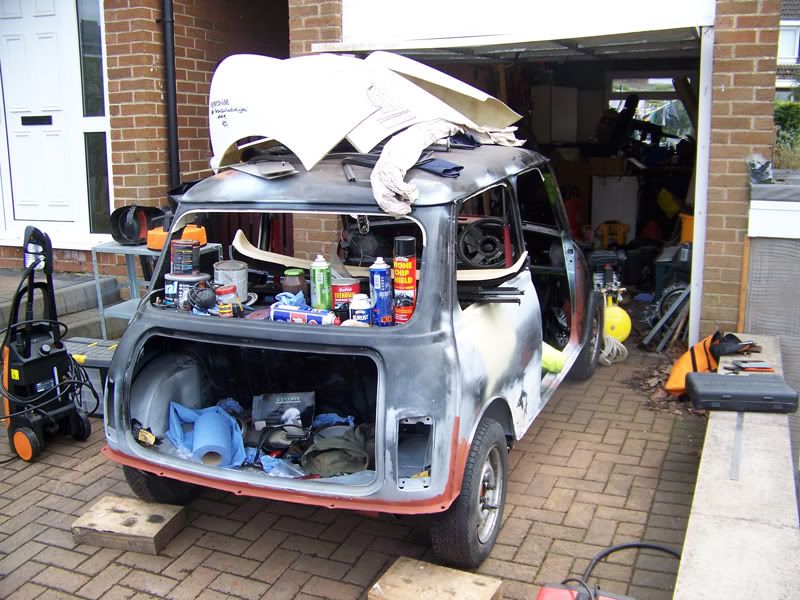
Elliot before.
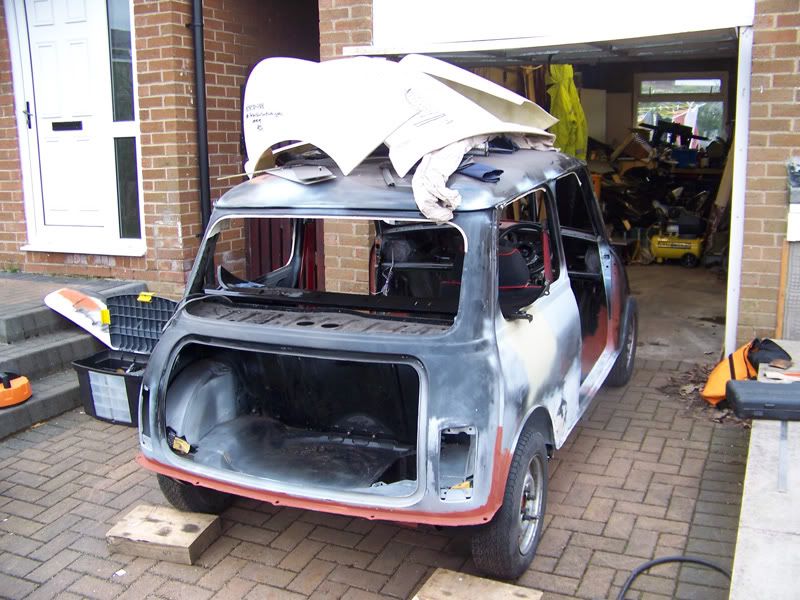
Elliot after.
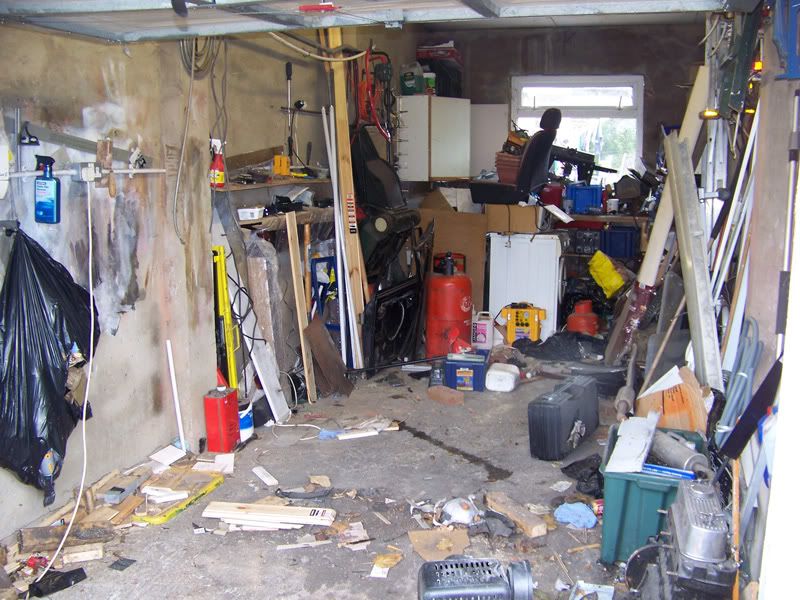
Garage before.
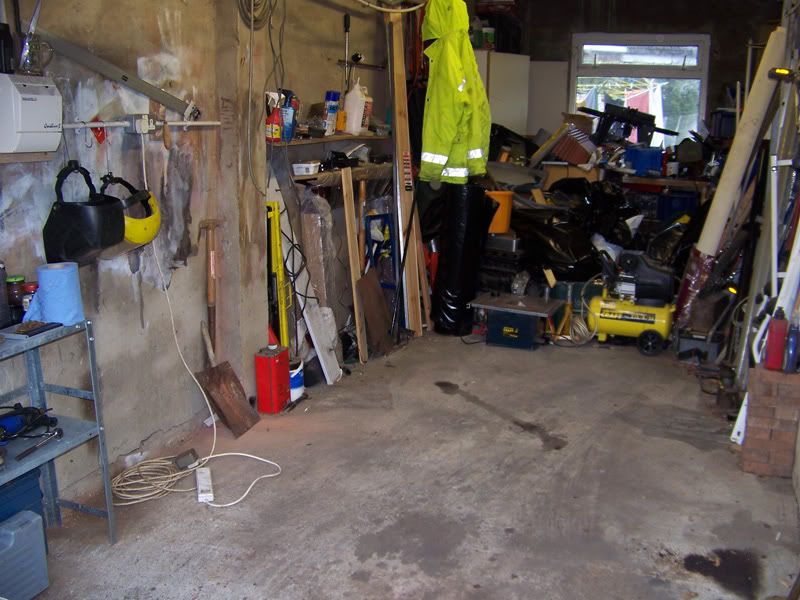
Garage after.
So that was done so I prepared myself for doing some actual work in the next few visits to the garage.
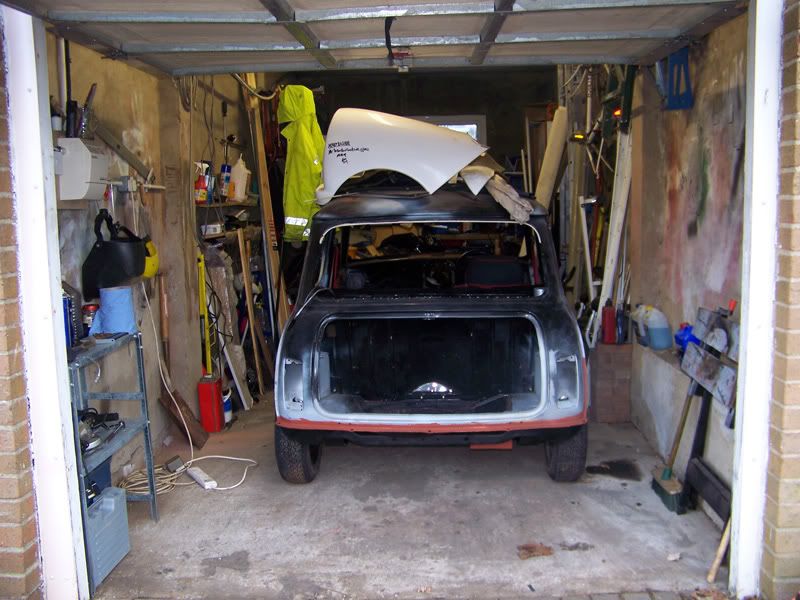
Wheeled her back in, so much room now, it's awesome!
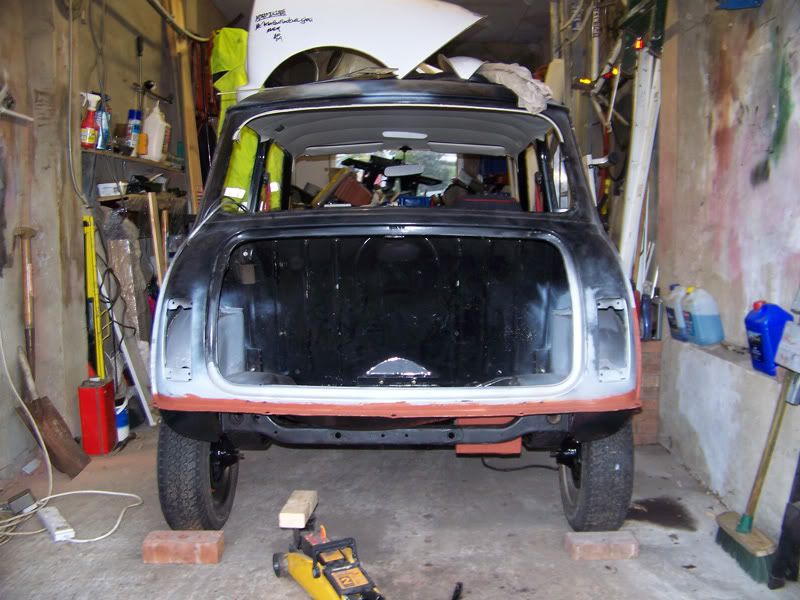
She was a bit low for working on the valance so I jacked her up and wound the hi-lo's right out so she's a monster truck now.
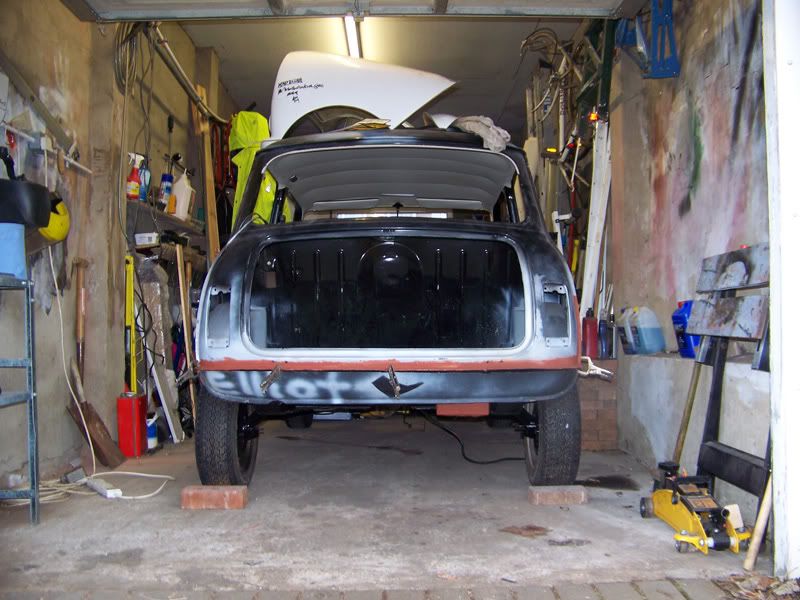
Valance clamped in place to check fit, it's all good.
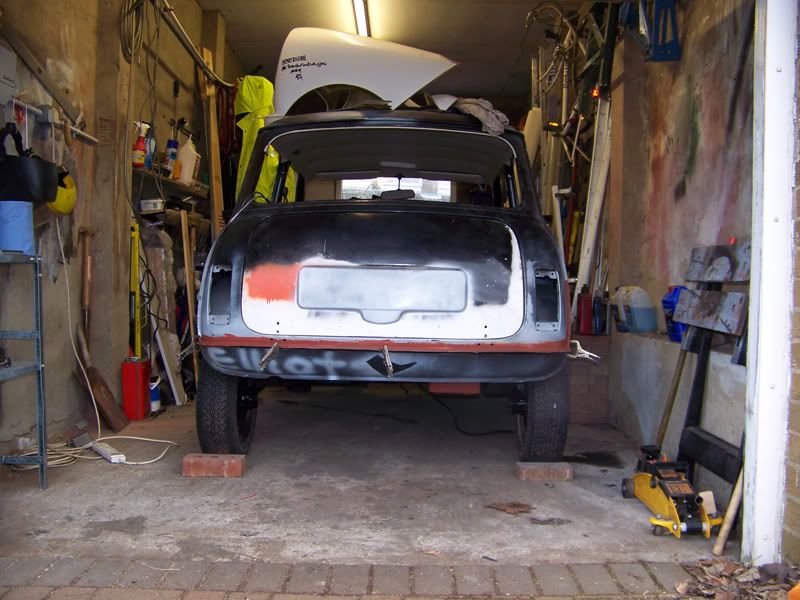
It was too late to do anything so I whacked the boot lid on for an overall look at where we are.
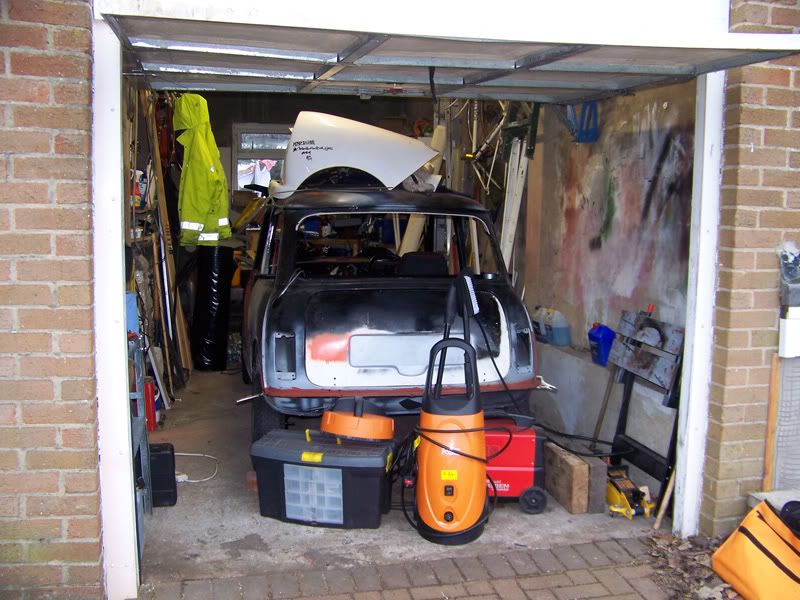
Then I packed up for home.
Still alot to get on with but I'm quite happy about how its coming together. If I can get the rear valance and both sills welded on this holiday, I'll be happy, any more than that is a bonus, but I have a feeling I will get more than that done.
Thanks for looking ladies and gents
#780

Posted 28 March 2010 - 09:25 AM
Also tagged with one or more of these keywords: roundnose
Projects →
Mini Saloons →
Mini Cooper Project - Finally StartsStarted by piphatch , 08 Jan 2025 |
|
|
||
Projects →
Mini Saloons →
1965 Austin Mini Restoration - Canadian Mk1Started by DoubleEh , 14 Nov 2022 |
|
|
||
Projects →
Mini Saloons →
Project Joe - 1991 Mini Mayfair 998Started by Eggers , 02 Jun 2022 |
|

|
||
Projects →
Mini Saloons →
Mpi Dashboad ProblemStarted by mikeprez , 22 Dec 2021 |
|

|
||
Projects →
Mini Saloons →
1978 Oew - Willy The MiniStarted by smalltreegrower , 11 Nov 2021 |
|

|
1 user(s) are reading this topic
0 members, 1 guests, 0 anonymous users


