#586

Posted 10 September 2009 - 08:37 PM
Hardened bushes the ones to go for? mine need replacing too!
#587

Posted 10 September 2009 - 08:51 PM
Hehe, they do look spanky after a bit of love! I'm really happy with how that rear is looking nowAmazing what a lick of paint can do, I couldn't believe they were actually my subframes after they came back from treatment!
Hardened bushes the ones to go for? mine need replacing too!
I've no idea Luke, basically, I wanted them because it's not uncommon for my car to have 4 people in it and I remember driving Elliot with 4 people in used to be scary because you could feel the rear subframe playing catch up with the rest of the car. Was very un-nerving.
#588

Posted 11 September 2009 - 04:36 PM
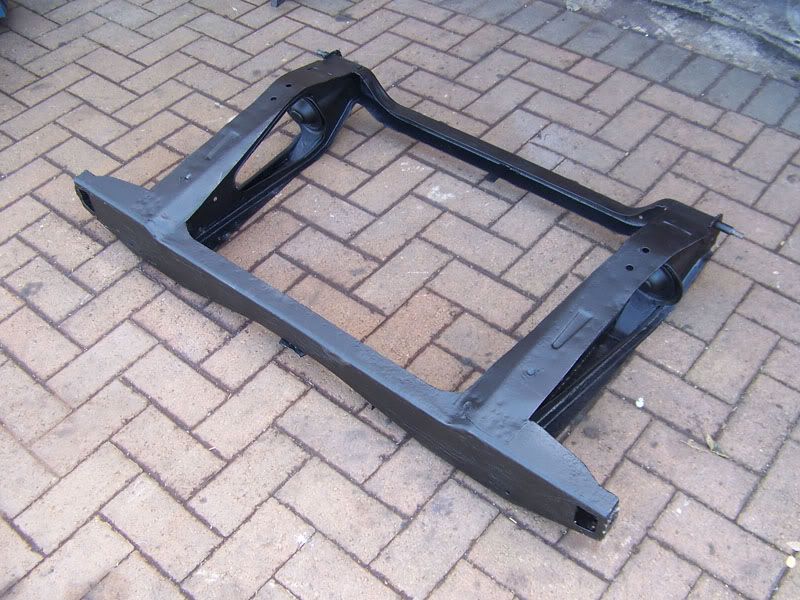
Subframe now dry. The under body seal has dried to a rubbery sort of finish, you can scratch it with your nail but it's very waxy without being sticky. Should do a good job.
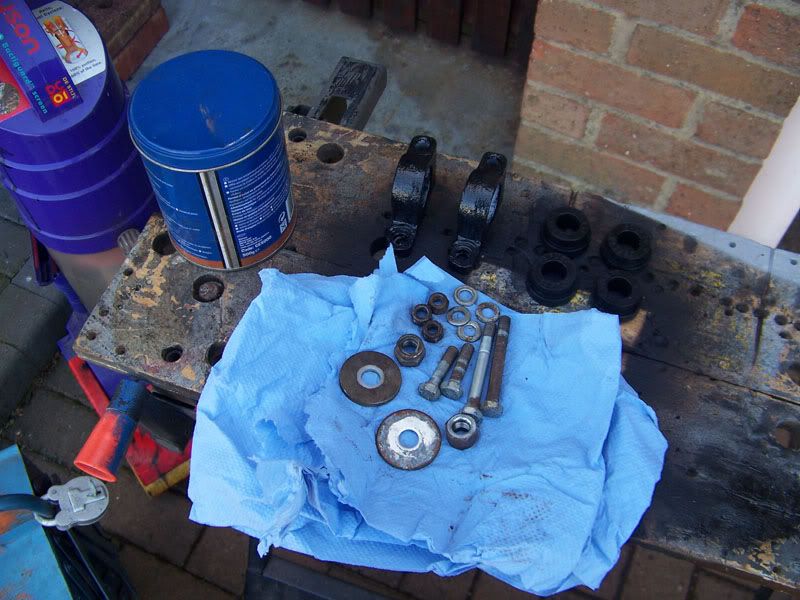
Mounts to be built back up and installed.
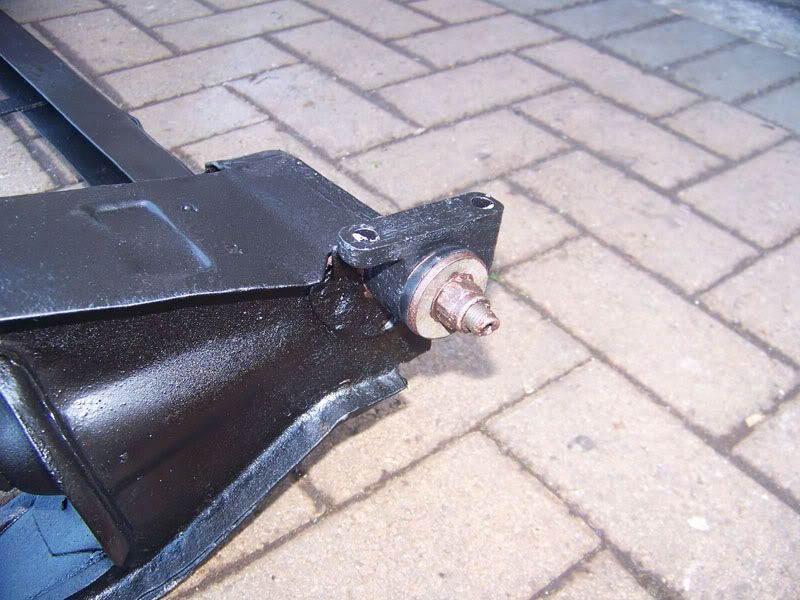
Rear mounts installed with a nice coating of copper slip on the bolts and threads.
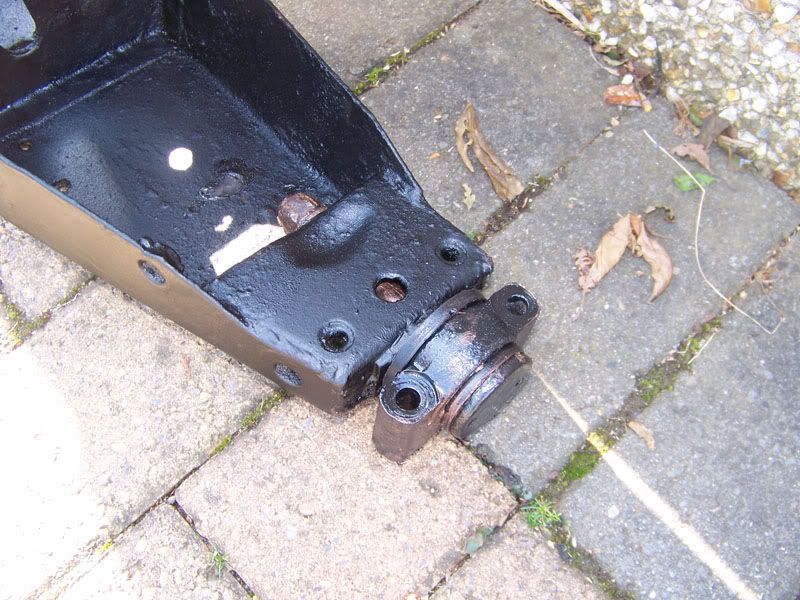
Front mounts installed. Does anyone know how tight these should be?
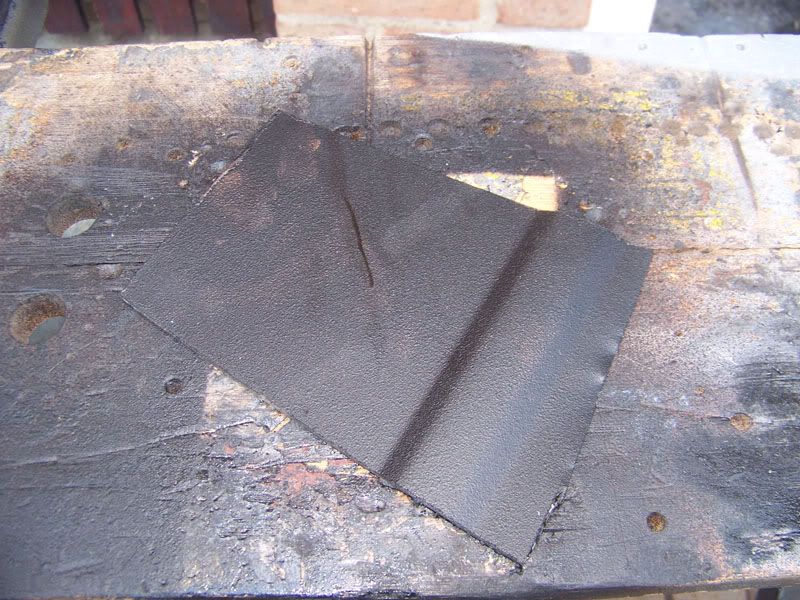
This is a small panel I sprayed with under body seal to see the finish on sheet metal. I've noticed it also does a little in the way to reduce how much the panel vibrates, which is nice.
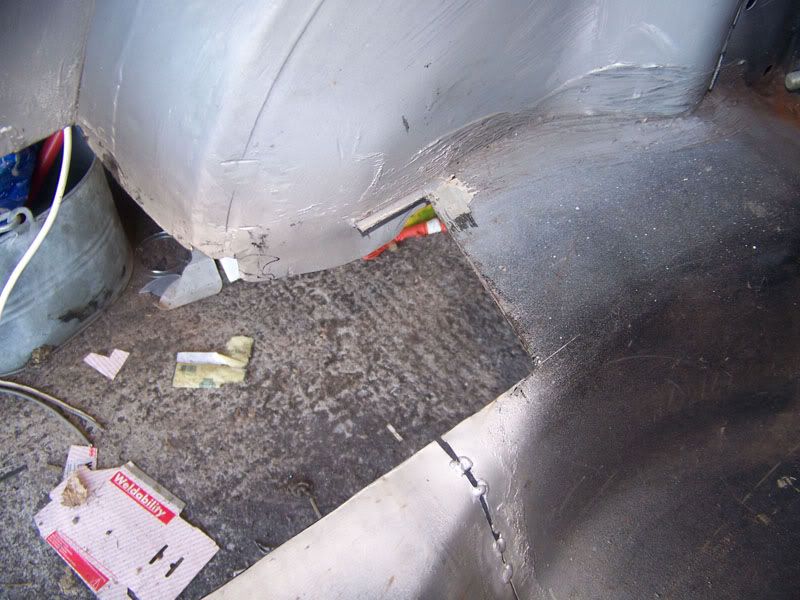
Bit of metal I made a mess of with the grinder removed.
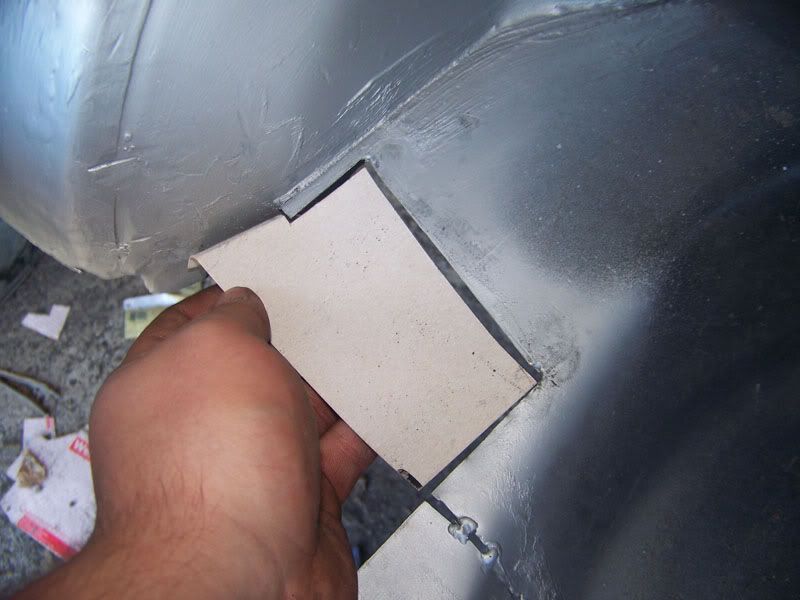
Cardboard used to make a repair template.
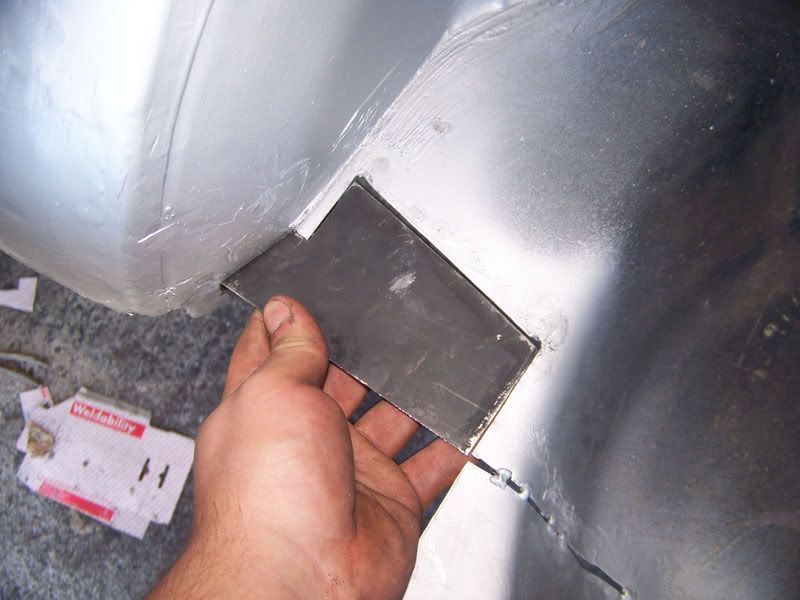
Repair section fabricated.
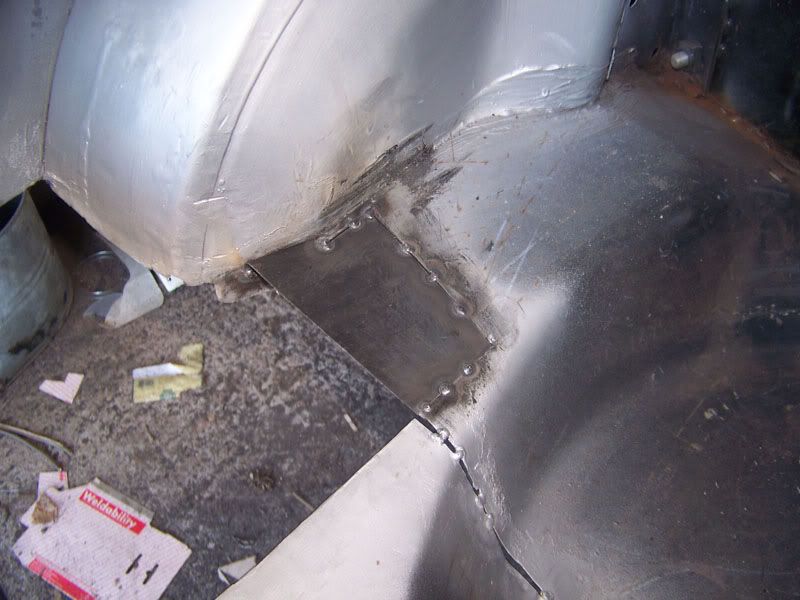
Then tacked in place.
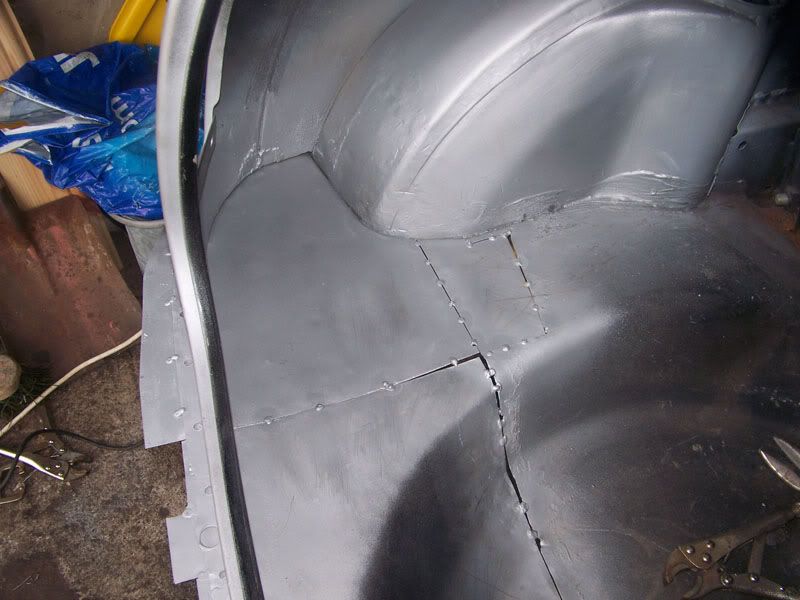
After much fettling I was happy to tack the other repair section in, the gaps aren't fantastic but they're alright. I'll just need to be cautious when I'm welding to make a good job of it.
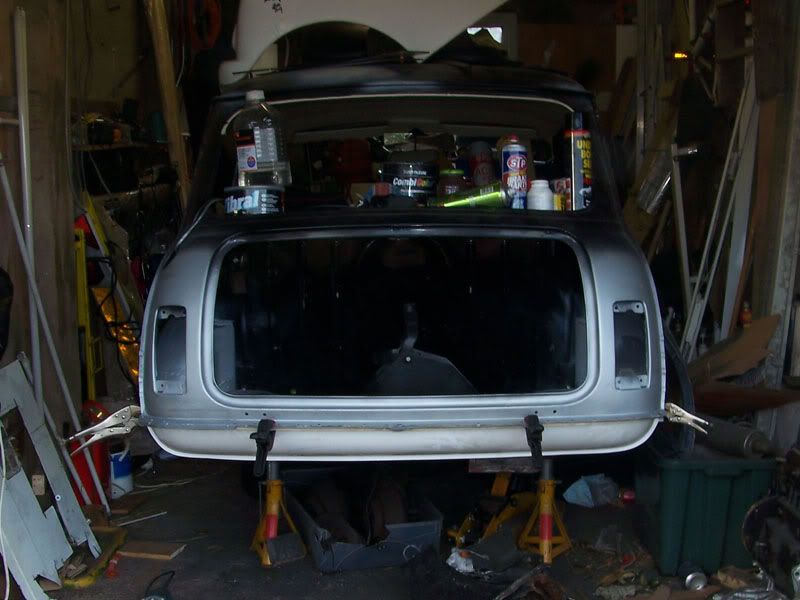
Rear valance offered up just for the hell of it.
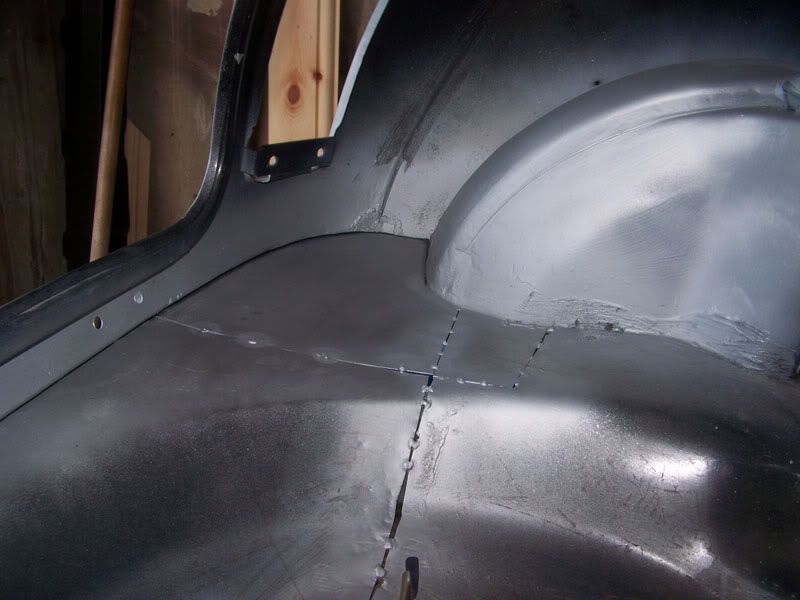
Another view of the floor tacked up.
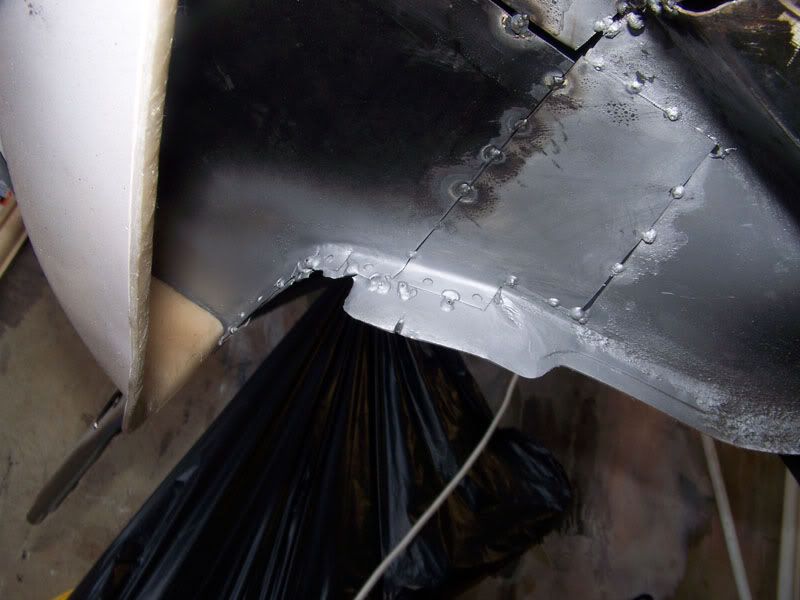
Underside, you can see the holes ready to be plug welded.
Thats what I got done today. Once I've got the passenger side done to the same standard I'll be happy to start slowly seam welding the lot together with great care. I want to be able to grind back the welds on these joins so that the seams are as near to invisible as possible inside the boot. I don't mind having some weld on the underside of the car but I want the inside of the boot smooth, even though no one will ever see it once my boot board is made.
I need to order some new bolts for the camber brackets on the subframe and I need some new seals for each end of the radius arms. Just trying to think of anything else I need to get before I place the order.
Thanks for looking
#589

Posted 11 September 2009 - 06:15 PM
Edit - assuming you are refitting the frame to the car before fitting the radius arms I would leave all 4 bushes slightly loose until the frame is on the car - it will give you a bit of play to get the holes lined up. Once all 4 mounts are bolted to the shell then tighten the bush pins up.
Edited by GraemeC, 11 September 2009 - 06:17 PM.
#590

Posted 11 September 2009 - 06:16 PM
I thought thats what it'd be but I didn't want to go mental and ruin my new bushes.Don't think Haynes quotes a torue for the rear subframe support pin. However they tighten up against a shoulder on the pin so that controls the crush of the bush - I would get them as tight as you sensibly can (which won't be silly tight as they are sod to hold!!)
I'll tighten them up the remainder tomorrow. You can hold them with the holes in the end using one of those tools you use for changing the disc on an angle grinder
#591

Posted 11 September 2009 - 08:25 PM
I thought thats what it'd be but I didn't want to go mental and ruin my new bushes.Don't think Haynes quotes a torue for the rear subframe support pin. However they tighten up against a shoulder on the pin so that controls the crush of the bush - I would get them as tight as you sensibly can (which won't be silly tight as they are sod to hold!!)
I'll tighten them up the remainder tomorrow. You can hold them with the holes in the end using one of those tools you use for changing the disc on an angle grinder.
i used a piece of wood with 2 nails poking through just enough to grab in the holes without going all the way to the bushes... i also tightened them till the end of the thread, i think its how it is supposed to be. did it like that 3 years ago and the bushes didnt look to squashed when i removed the frame last winter... might be different if you're using poly bushes though.
great progress on Elliot by the way!
#592

Posted 11 September 2009 - 10:43 PM
stop making me feel bad! lol
#593

Posted 12 September 2009 - 07:36 AM
Cheers mate.i used a piece of wood with 2 nails poking through just enough to grab in the holes without going all the way to the bushes... i also tightened them till the end of the thread, i think its how it is supposed to be. did it like that 3 years ago and the bushes didnt look to squashed when i removed the frame last winter... might be different if you're using poly bushes though.
great progress on Elliot by the way!
I'm not sure these bushes are poly, they look it but they were sold to me as harder compound rubber. Either way, they're the same size as the standard ones, I checked. I'll tighten the bolts up to the shoulder
Haha, it's not my fault Ed! I want to get it done while we have good weathergreat progress as always!
stop making me feel bad! lol
Once the boot floor is welded up, I've got a few more patches to do and some areas to tweak then I'll be working on getting my front end to fit as well as possible.
#594

Posted 14 September 2009 - 04:30 PM
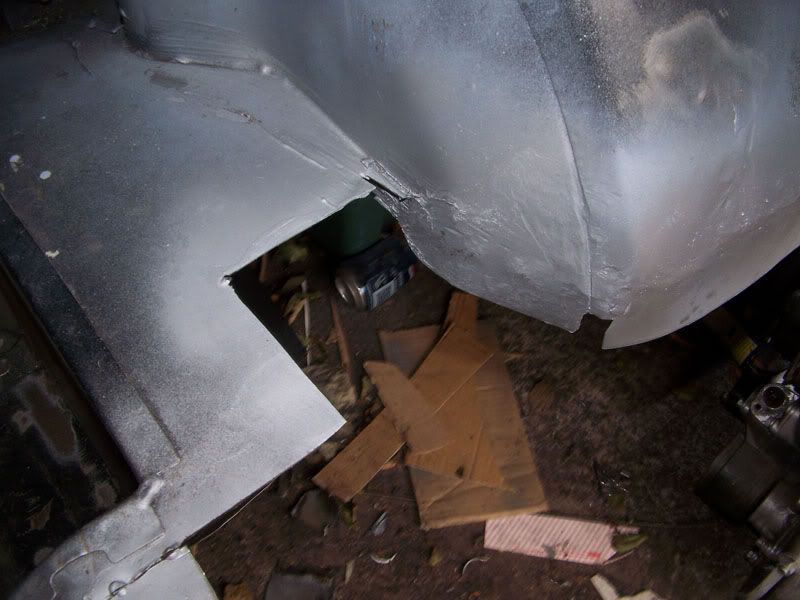
This area of metal was incredibly thin, not rotten, just thin, so I decided I wanted to replace it.
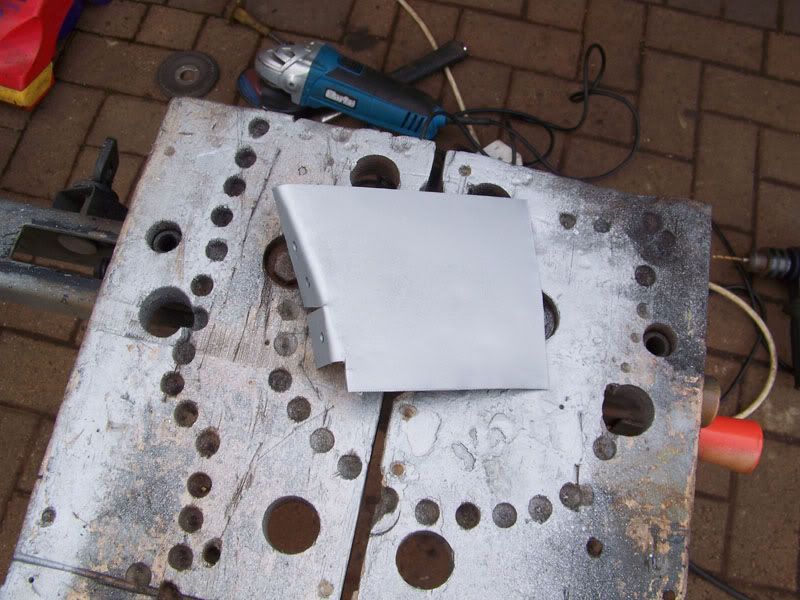
Patch made up.
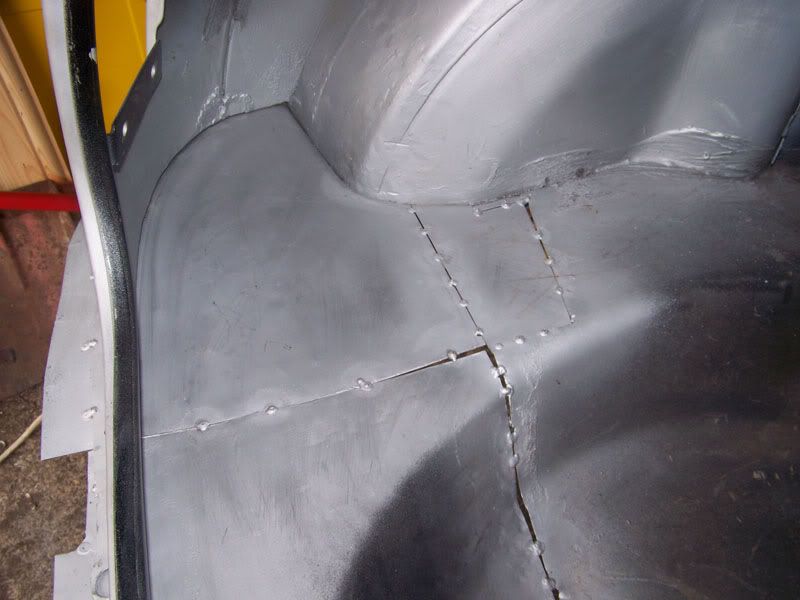
While the wild through primer was drying I headed over to this side.
Then the Fire Brigade turned up because someone was burning stuff in their yard or something.
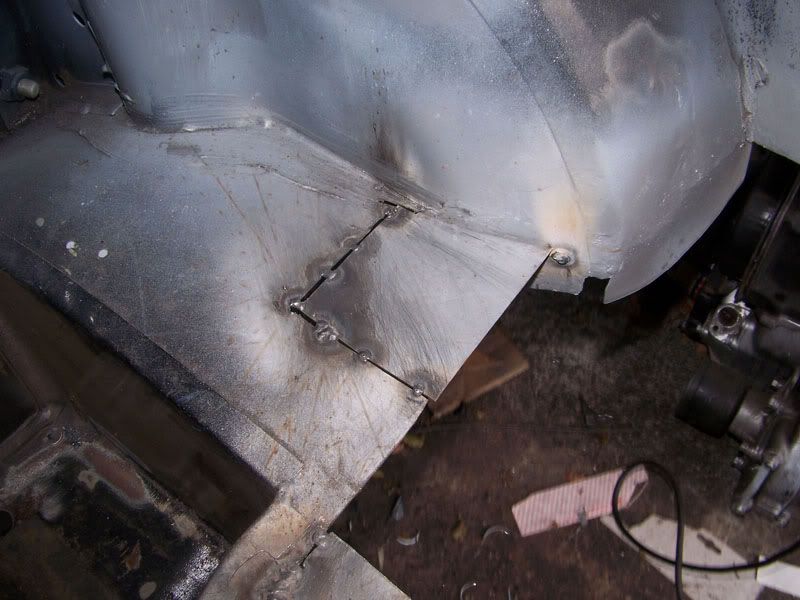
Tacked the repair in place.
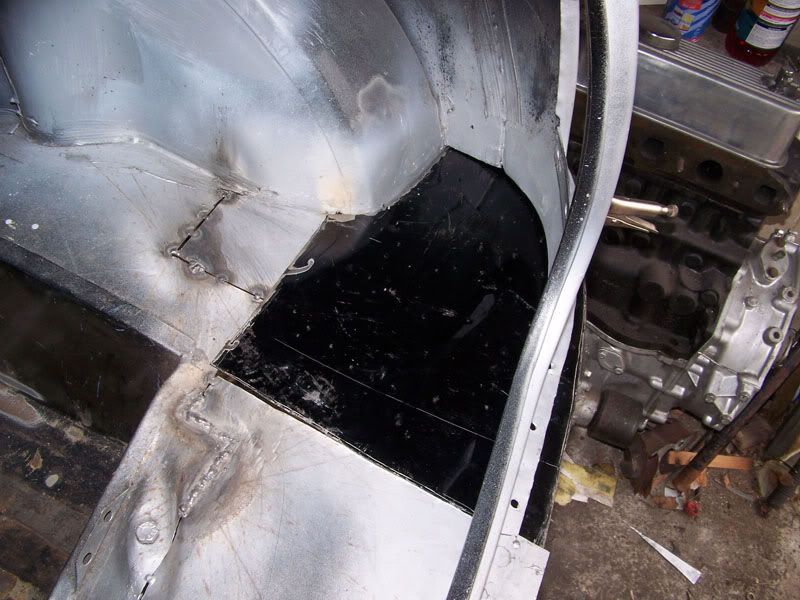
Chopped a sheet out of my old door skin to make patch big enough for this end as what was left of the boot floor panel wasn't wide enough.
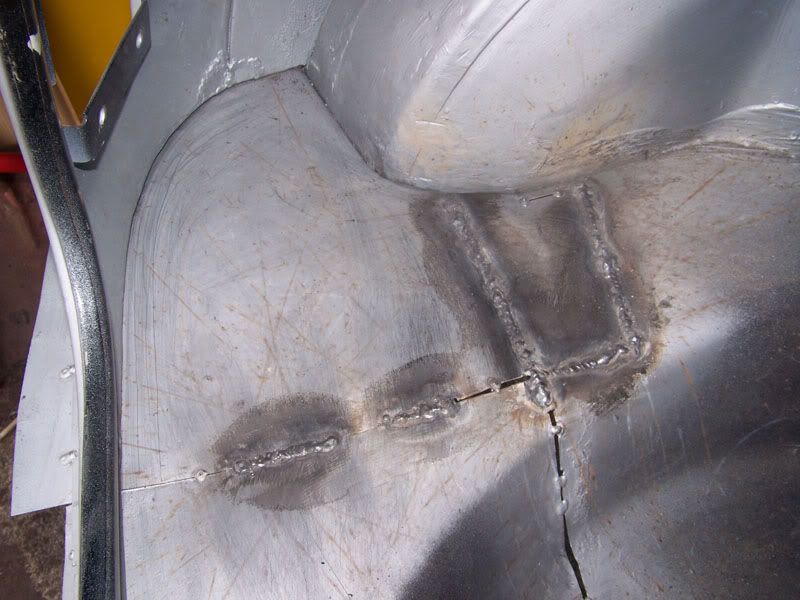
And this is how far I got with welding the other side.
I'm going to finish forming and trimming the driver side patch and get that tacked in before I do any more seam welding. Then I'll slowly seam the whole lot up before I plug weld along the join between the floor and wheel arches and the rear bumper lip. After that everything just needs smoothing down nicely.
Thanks for looking
#595

Posted 14 September 2009 - 04:35 PM
#596

Posted 14 September 2009 - 05:29 PM
Might as well make good use of good metal! Especially when it's such a big sheet and only the bottom few inches actually rot. You need to persude it flat with a hammer though.Nice work, i'll also be using my doorskin to patch the boot corners and lip
.
#597

Posted 14 September 2009 - 05:32 PM
Yes, very true! Nice big sheets when you cut them out so its really ideal, I have my last door-skin to cut out, can't let it go to waste when they get scrapped.Might as well make good use of good metal! Especially when it's such a big sheet and only the bottom few inches actually rot. You need to persude it flat with a hammer though.
#598

Posted 14 September 2009 - 06:42 PM
my MG is getting in the way of the Mk2 at the moment!! it needs a few things doing before its on the road!
#599

Posted 15 September 2009 - 05:43 PM
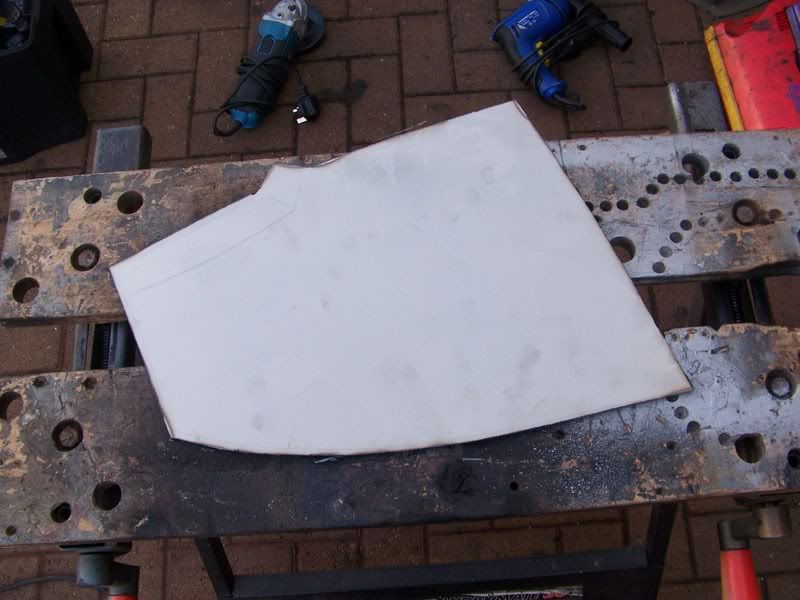
I decided that I wasn't happy with using the door panel on this side of the floor, it was too dimpled by the time I'd got it flat. So I've cut this out from a flat sheet.
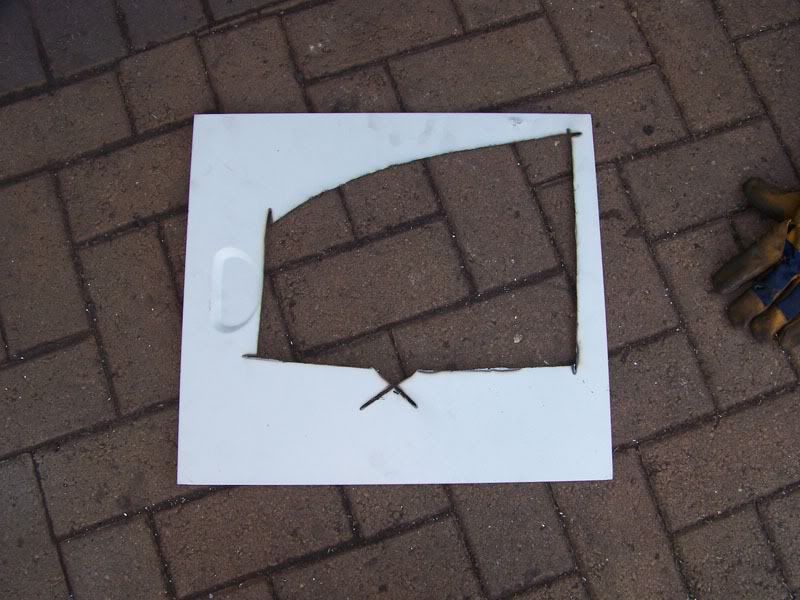
It came from this.
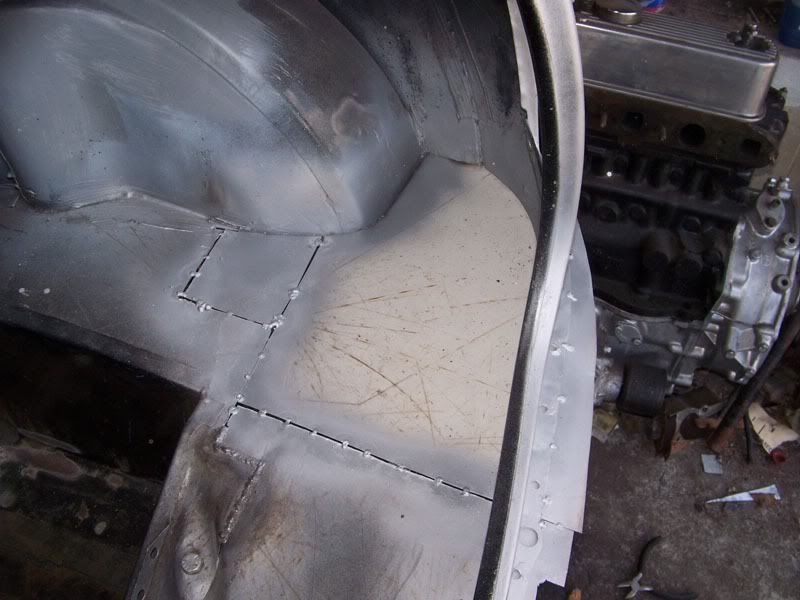
Formed and tacked in place.
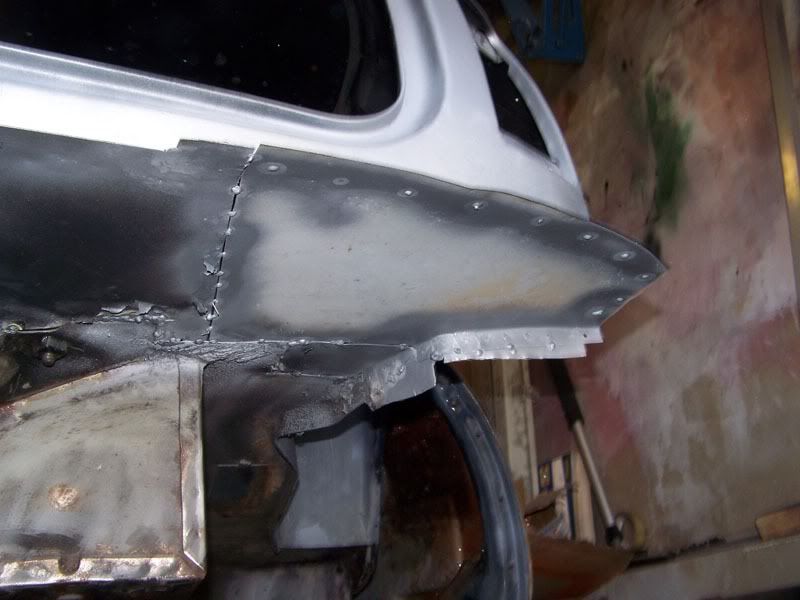
Underneath.
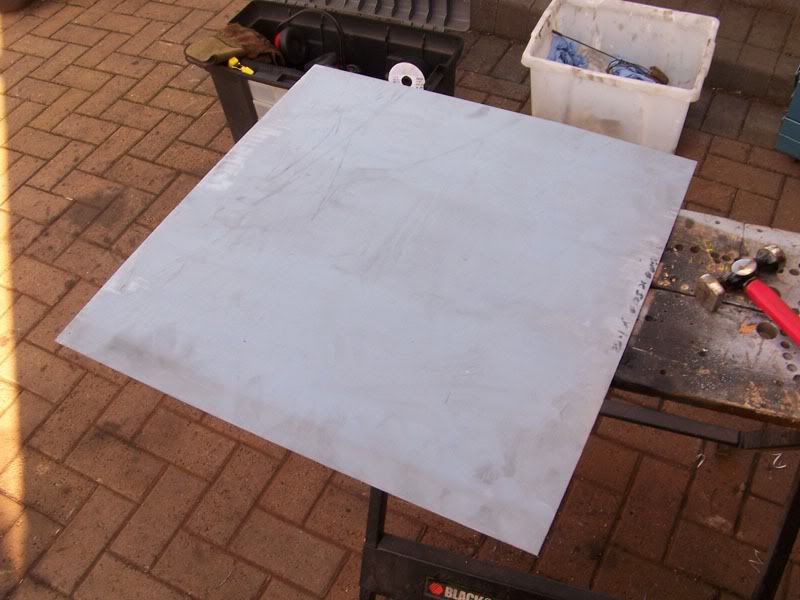
This is the sheet of 1mm steel I got to make the reinforcing plates for the back rear subframe mounting points.
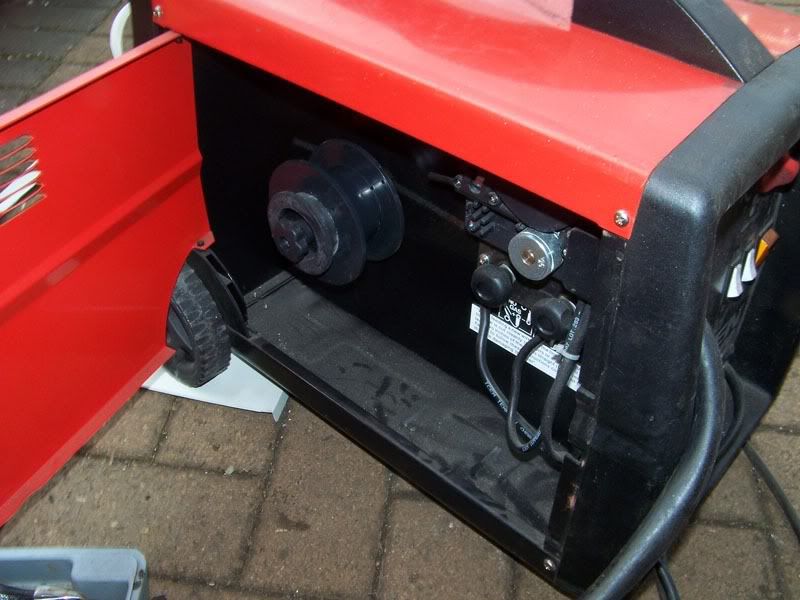
I started seam welding the floor and before I finished, ran out of wire, doh.
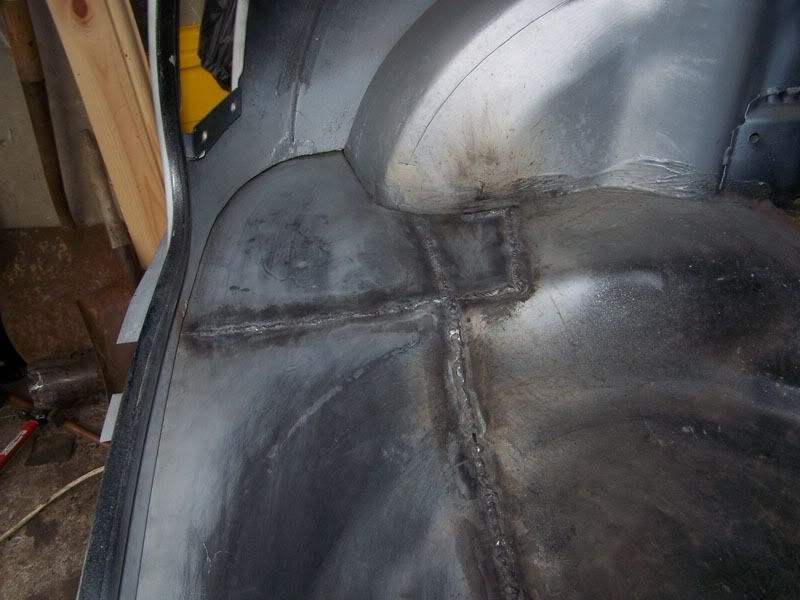
Passenger side.
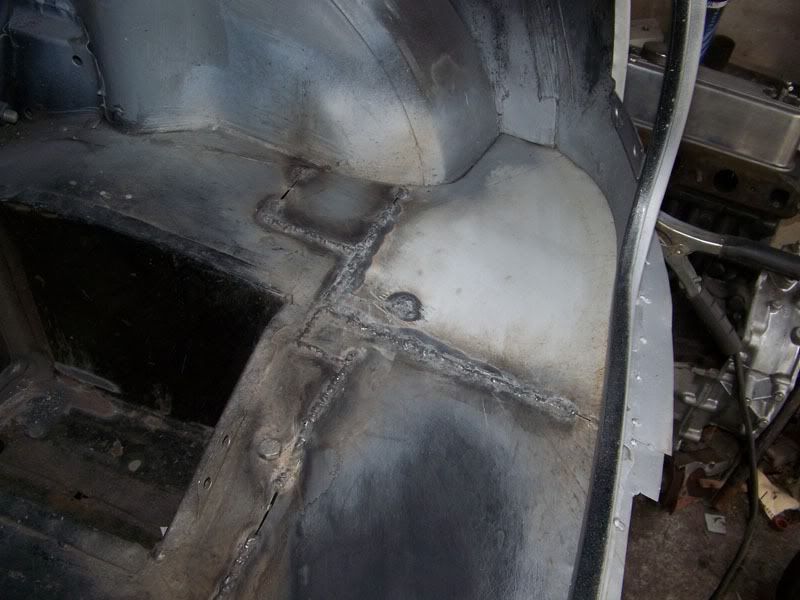
Driver side.
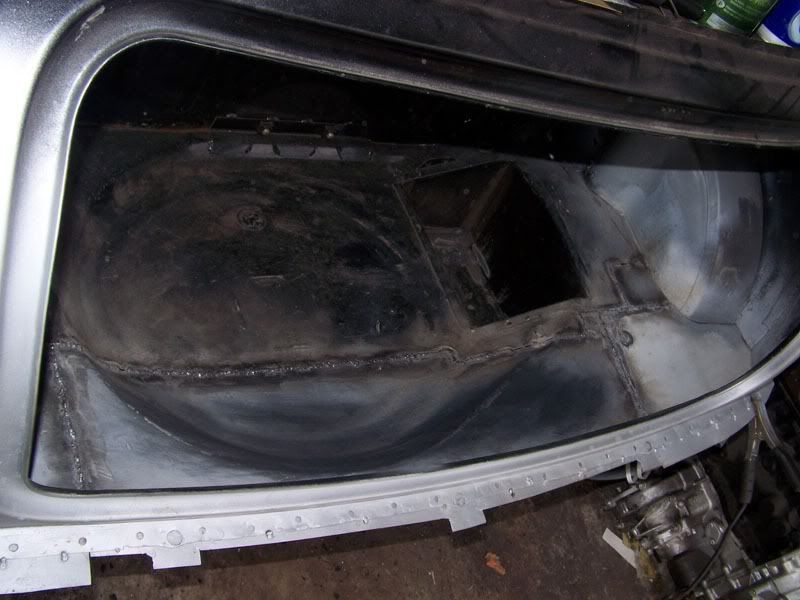
Overall view.
With a bit of luck, the reel of welding wire I ordered yesterday will arrive tomorrow, if it doesn't, I'll get a reel from halfords and just stomach the cost as I want to get on! I want to finish seam welding the floor, get it plug welded where it needs to be and then start griding the welds back to try and get them as flush as I can inside the boot.
Comments are more than welcome, they're demanded!
#600

Posted 15 September 2009 - 05:48 PM
Also tagged with one or more of these keywords: roundnose
Projects →
Mini Saloons →
Mini Cooper Project - Finally StartsStarted by piphatch , 08 Jan 2025 |
|
|
||
Projects →
Mini Saloons →
1965 Austin Mini Restoration - Canadian Mk1Started by DoubleEh , 14 Nov 2022 |
|
|
||
Projects →
Mini Saloons →
Project Joe - 1991 Mini Mayfair 998Started by Eggers , 02 Jun 2022 |
|

|
||
Projects →
Mini Saloons →
Mpi Dashboad ProblemStarted by mikeprez , 22 Dec 2021 |
|

|
||
Projects →
Mini Saloons →
1978 Oew - Willy The MiniStarted by smalltreegrower , 11 Nov 2021 |
|

|
1 user(s) are reading this topic
0 members, 1 guests, 0 anonymous users


