#541

Posted 25 August 2009 - 01:14 PM
#542

Posted 27 August 2009 - 05:58 PM
Been to the garage today, only a few pictures as I was really trying to just get on with it
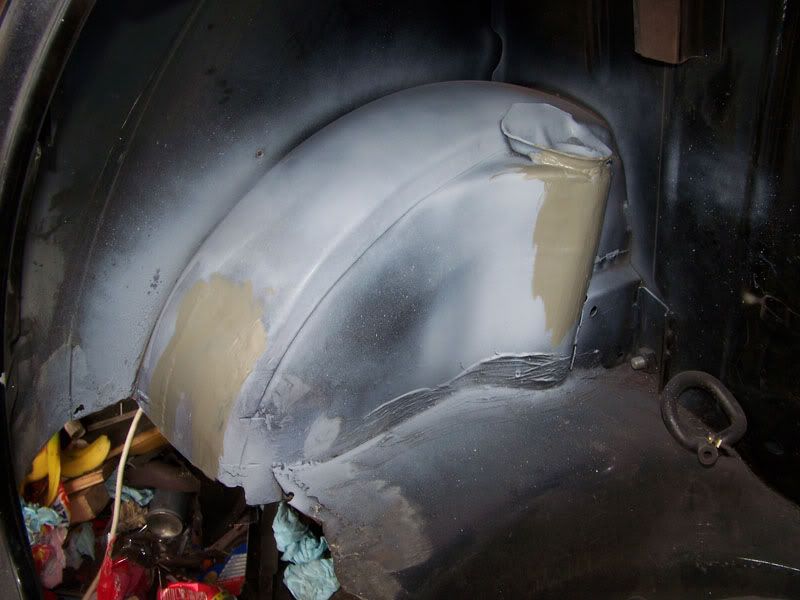
Seam sealed the passenger side arch.
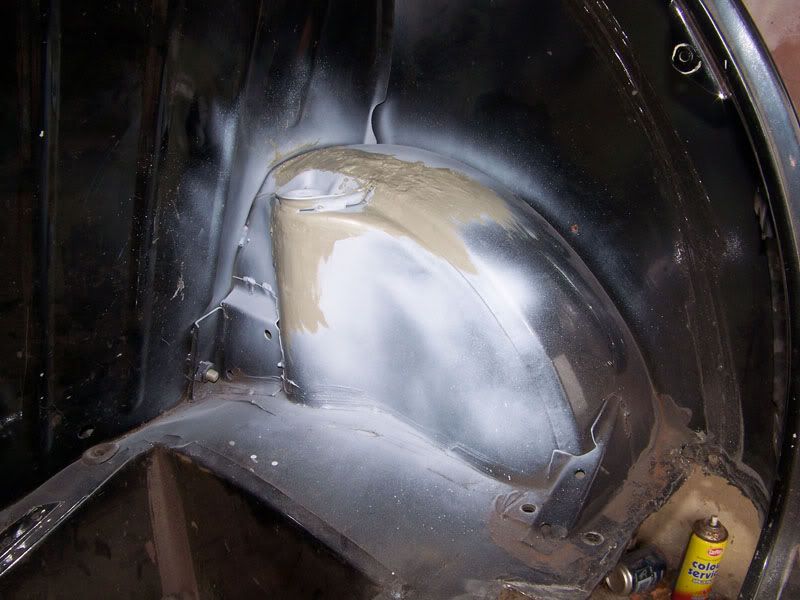
And the driver side arch.
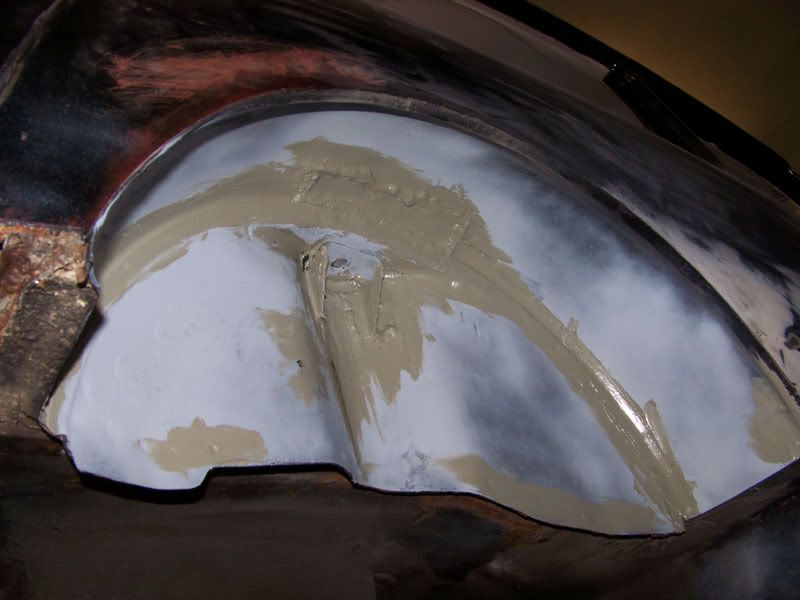
And under the driver side arch.
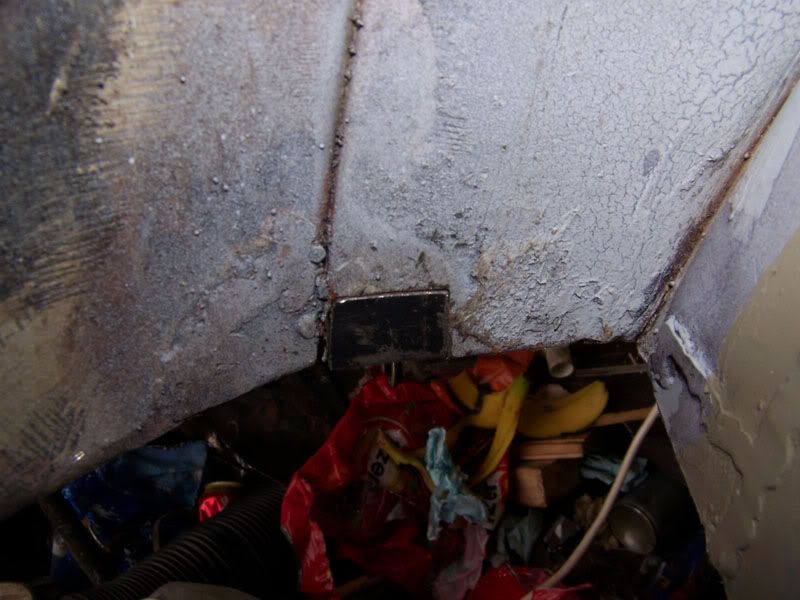
Made a repair for behind the arch on the passeger side.
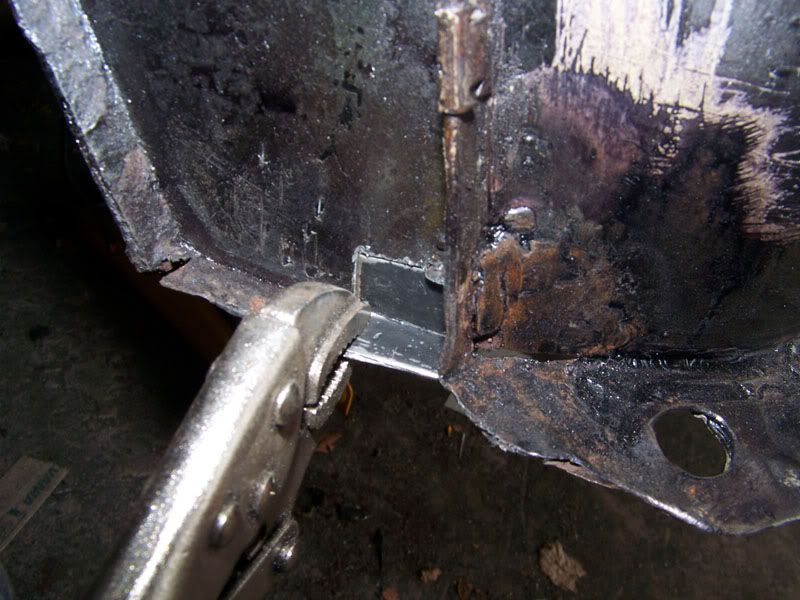
Other side.
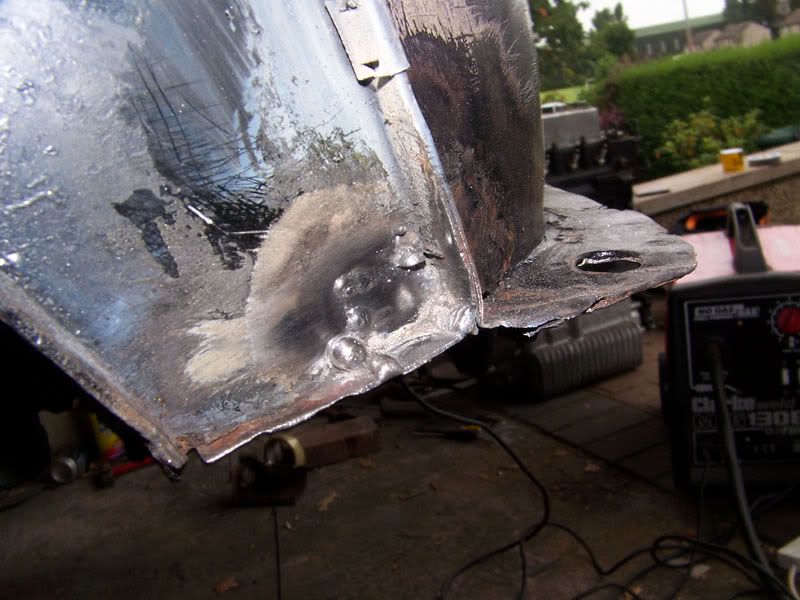
Welded in.
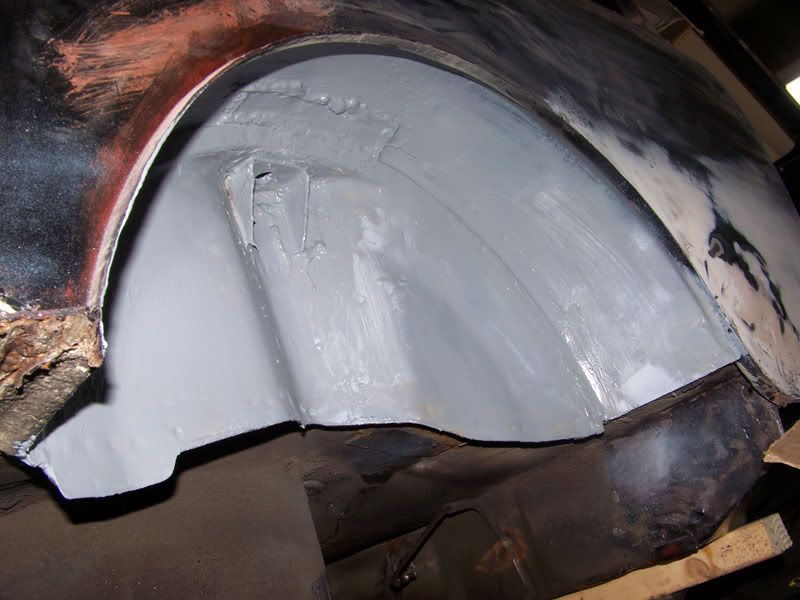
Zinc primed driver arch.
The repairs on the driver side arch are ugly, but very solid. The arch had a fair bit of rot, it's got a good few years left in it yet, but next time it needs attention I'll probably replace the whole arch with a genuine heritage jobby.
Thats all for today folks
#543

Posted 27 August 2009 - 08:21 PM
#544

Posted 28 August 2009 - 04:00 PM
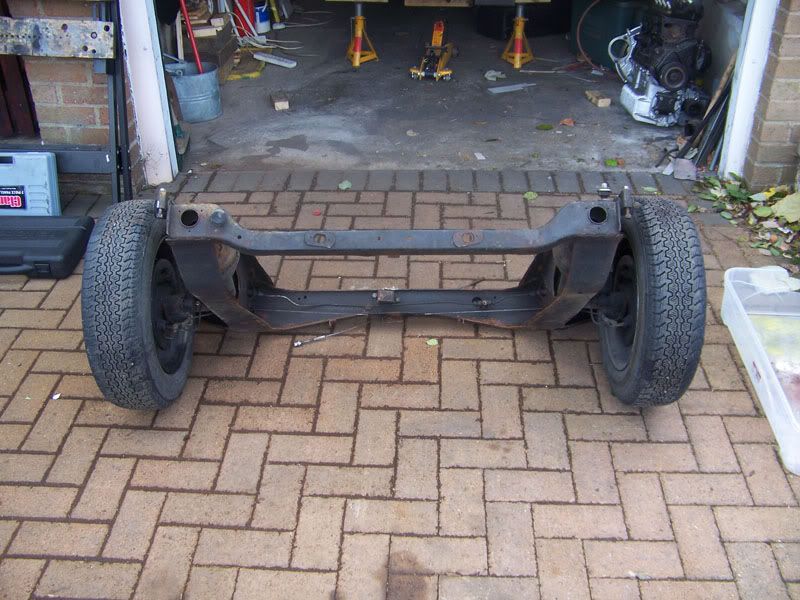
What we had to work with.
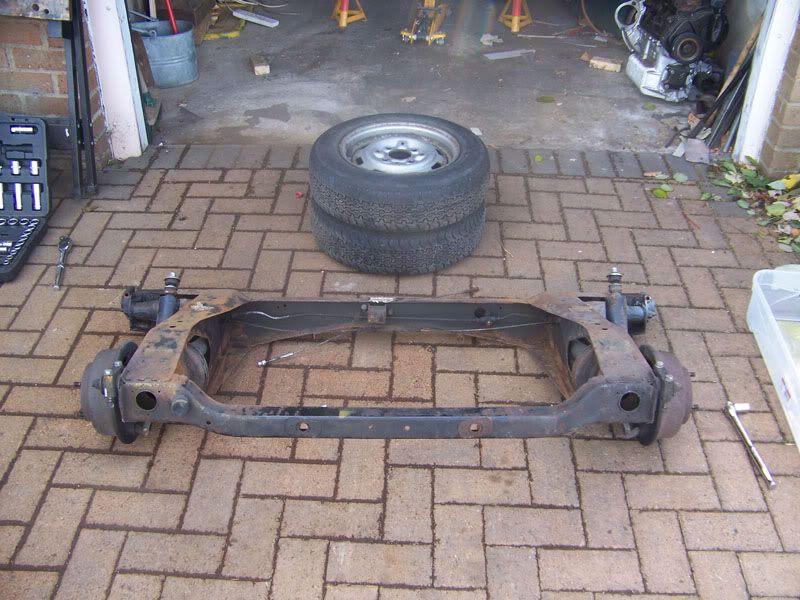
Wheels removed.
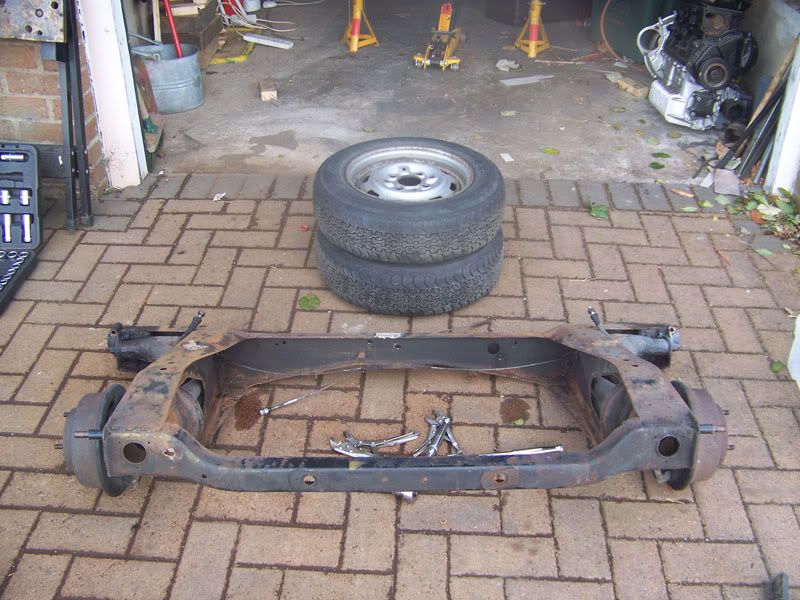
Rear mounts and dampers removed and brakelines disconnected and removed.
Now at this point I needed to remove the brackets that hole the outer end of the radius arm in place. Shockingly, none of these snapped but the 2 that are hardest to get to are rounded, grrr. I've just looked on eBay, does anyone rate this style of bolt extractor:
http://www.machinema...ctor-wrench-set
Or would I be better welding another bolt to the rounded head doing it that way?
Either way, I'm going to renew all the bolts for piece of mind haha.
After I'd found that those bolts were rounded, it went dark all of a sudden and started hail stoning, joy. So I packed up.
Thanks for looking
Edited by Deathrow, 28 August 2009 - 05:34 PM.
#545

Posted 28 August 2009 - 05:38 PM
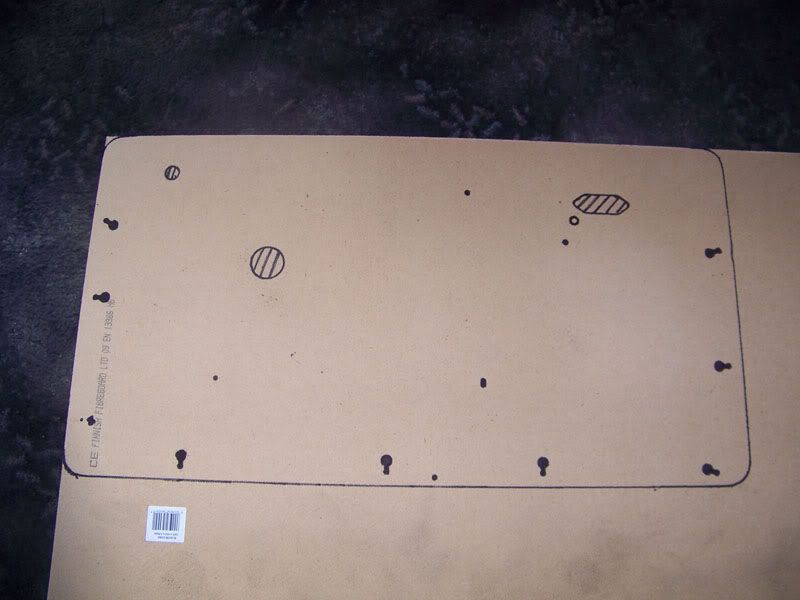
Traced my old, damaged door card on to a new sheet of hardboard.
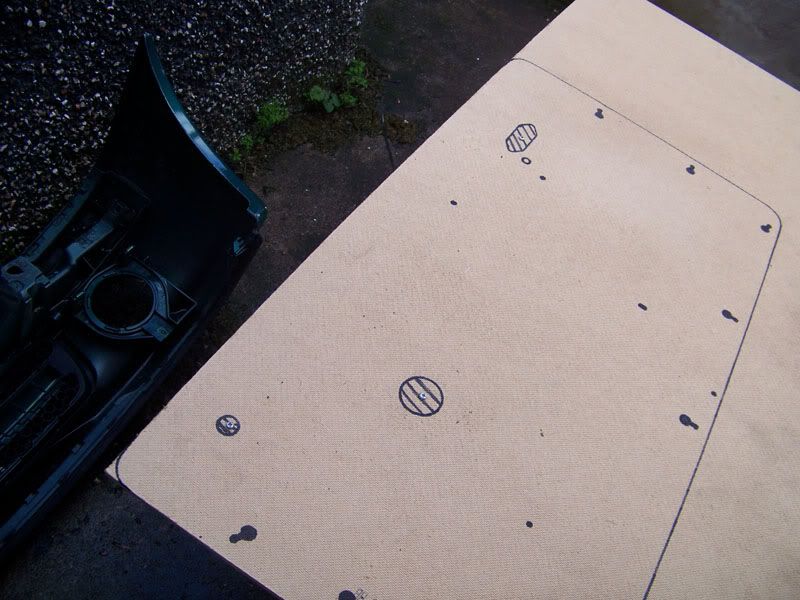
Held the two sheets together with small self tappers.
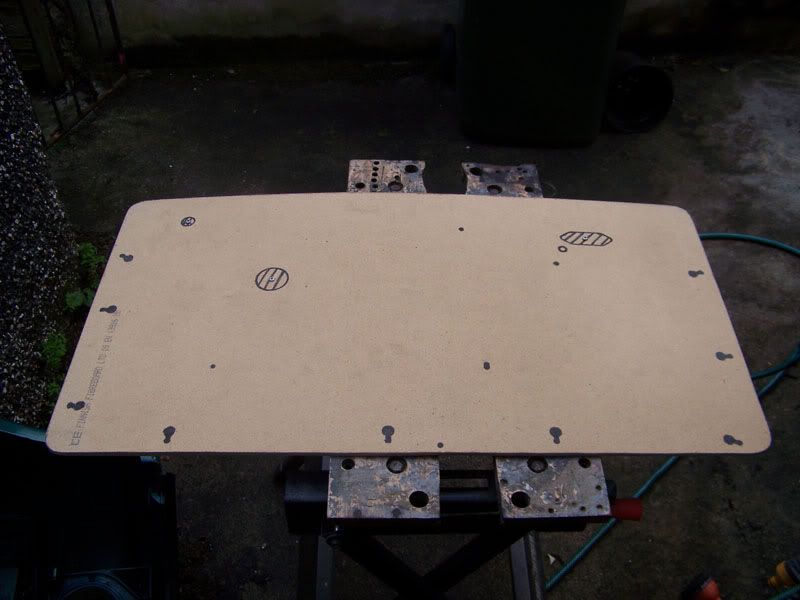
Cut out and edges sanded clean.
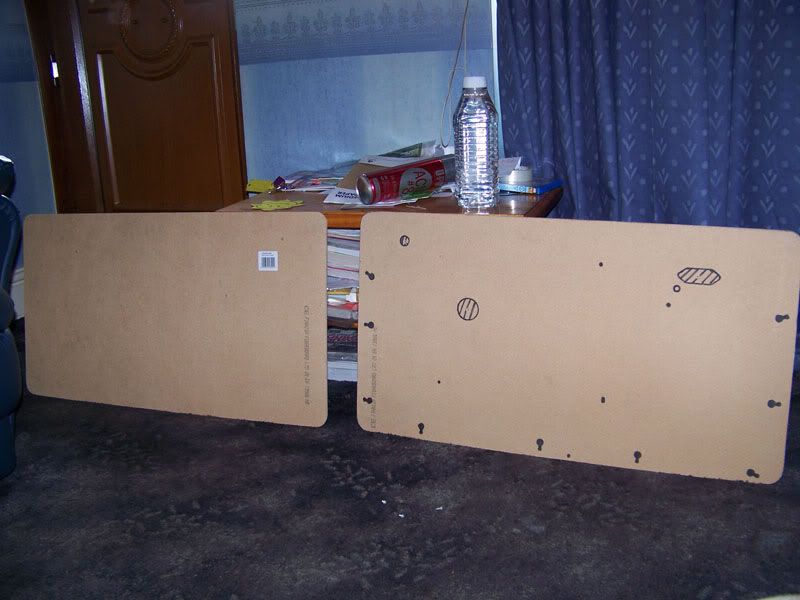
The base of a pair of new door cards complete
I only unscrewed them for the sake of a picture. I might whip the drill out tomorrow and start drilling the holes that are required. I need to find some fabirc I like to cover them in and I also need to find a place that sells thin foam so i can give them a little bit of padding. In fact I might PM Bert from Retro Retrims and see if he has any reccomendations.
Thanks for looking
#546

Posted 28 August 2009 - 06:32 PM
Personally I wouldn't use the extractors your looking at, I've used them in the past with not very good results, they have a tendancy to snap and once they break inside the pilot hole you've drilled your basically buggered as you can't re-drill the hole as the extractor is made from hardened steel. I would go for your other option and weld another bolt onto the headBeen to the garage again today. Decided I wanted a bit of a change from bodywork so I started to strip my rear subframe as this needs to be stripped, refurbed and put back together before I can finalise the boot floor repair as I want the new subframe mount bushes in place when I drill the new holes in the boot floor.
What we had to work with.
Wheels removed.
Rear mounts and dampers removed and brakelines disconnected and removed.
Now at this point I needed to remove the brackets that hole the outer end of the radius arm in place. Shockingly, none of these snapped but the 2 that are hardest to get to are rounded, grrr. I've just looked on eBay, does anyone rate this style of bolt extractor:
http://www.machinema...ctor-wrench-set
Or would I be better welding another bolt to the rounded head doing it that way?
Either way, I'm going to renew all the bolts for piece of mind haha.
After I'd found that those bolts were rounded, it went dark all of a sudden and started hail stoning, joy. So I packed up.
Thanks for looking.
Andy
#547

Posted 28 August 2009 - 06:41 PM
It's a pain because it's the bolt below the radious arm on both sides, argh. I suppose with welding there is the added benfit of the heat, helping to unseize the bolt.
#548

Posted 28 August 2009 - 06:56 PM
I might give that a go tomorrow then
.
It's a pain because it's the bolt below the radious arm on both sides, argh. I suppose with welding there is the added benfit of the heat, helping to unseize the bolt.
There is another option, Halfords and most decent motor factors sell sockets specifically for removing bolts like yours, it's a bit like a socket used for fitting studs
Andy
#549

Posted 28 August 2009 - 08:25 PM
By the way been reading this thread since the start and your doing a great job.
#550

Posted 28 August 2009 - 08:32 PM
here we go
http://www.machinema...e-bolt-grip-set
http://www.machinema...t-expansion-set
#551

Posted 29 August 2009 - 11:08 AM
looking good though!
#552

Posted 29 August 2009 - 04:24 PM
elliot is coming along nicely
#553

Posted 29 August 2009 - 06:01 PM
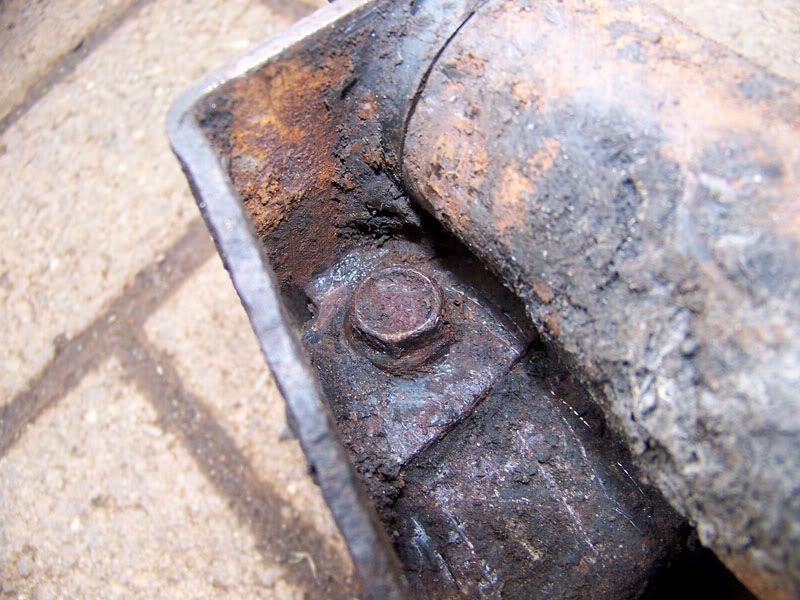
This is the first offending bolt I had to deal with. I had a good look at it and it didn't look as "round" as it was acting.
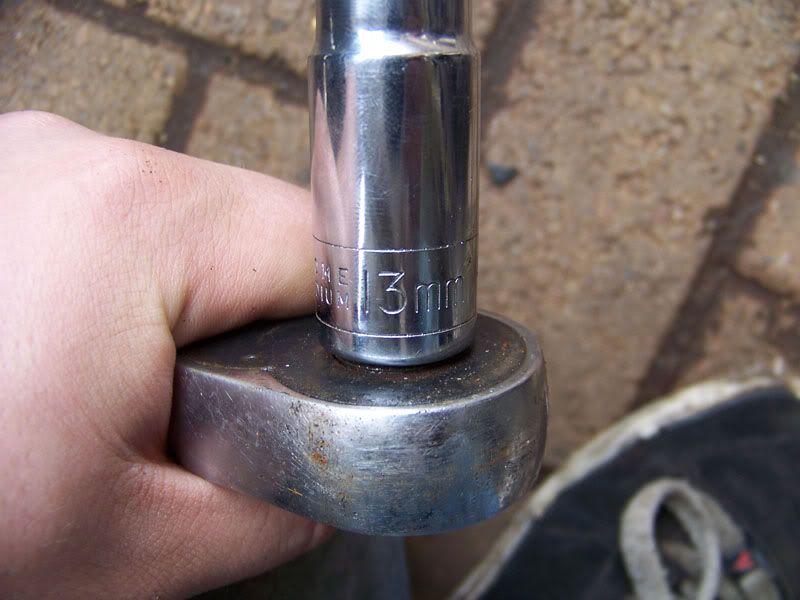
Before things got more drastic i decided to give a regular 6 sided socket a go as opposed to the multipoint sockets I normally use. I only had metric though. Fortunatly, the 13mm brought it out. Good times! I did the other side with a 12mm believe it or not, that bolt was a bit of a state.
Now at this point I thought I was home free, so I started to back out the bolts on the driver side camber bracket while carfully watching the threads to check they were moving and guess what, they weren't.
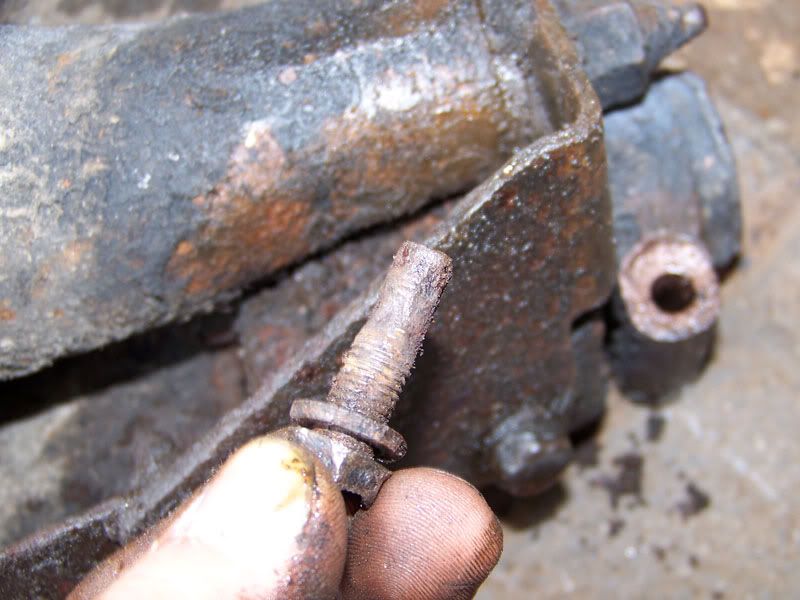
This is said bolt after removal, I had to apply some heat with my welder (don't ask) and that broke it free.
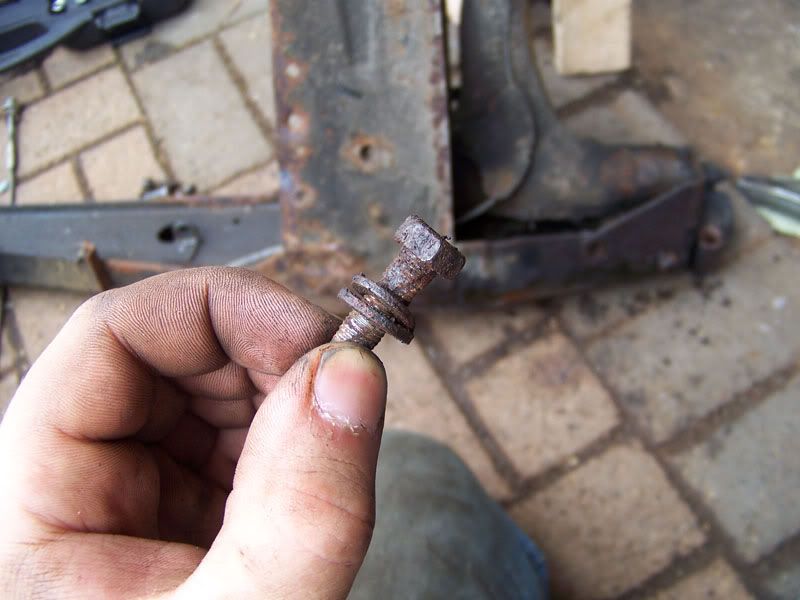
This bolt did the same but again, the heat method worked wonders. I might have to invest in some sort of torch.
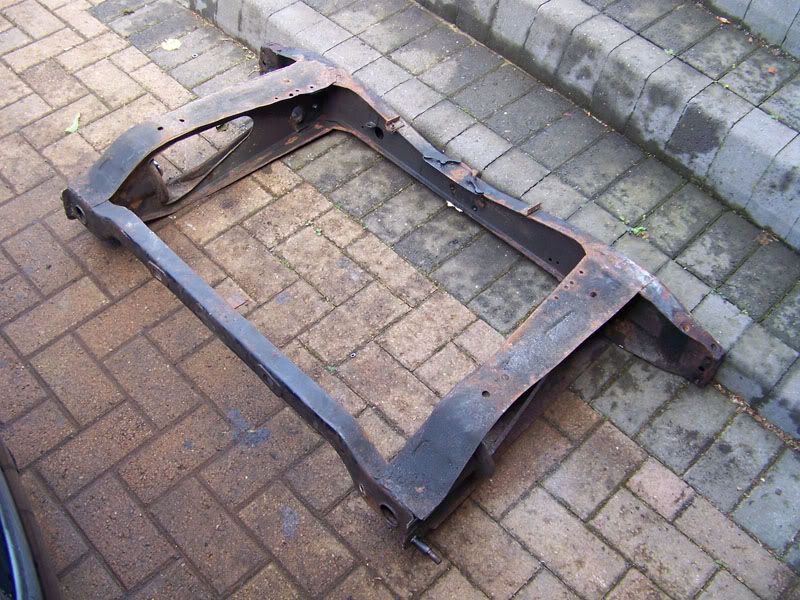
Trunnion bolts removed and subframe now pretty much bare.
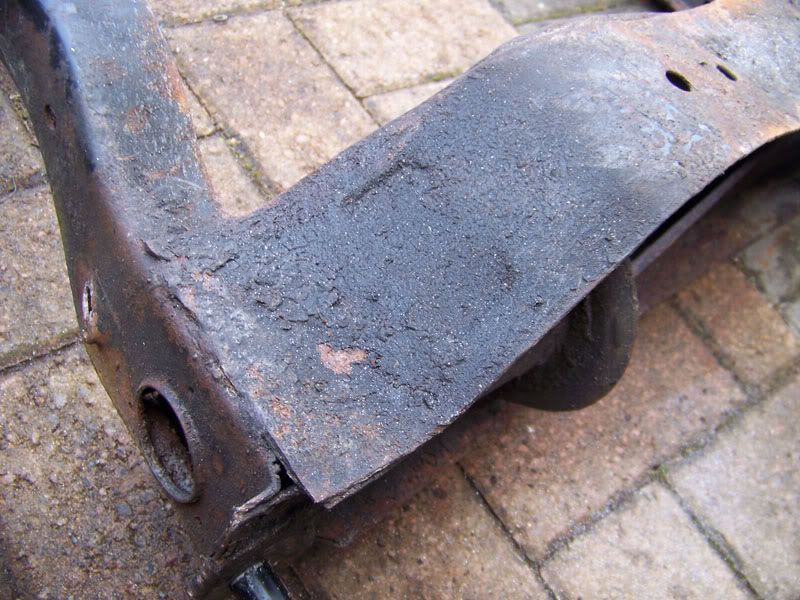
A bit manky looking though so I started clean up with a knot wire wheel in the grinder.
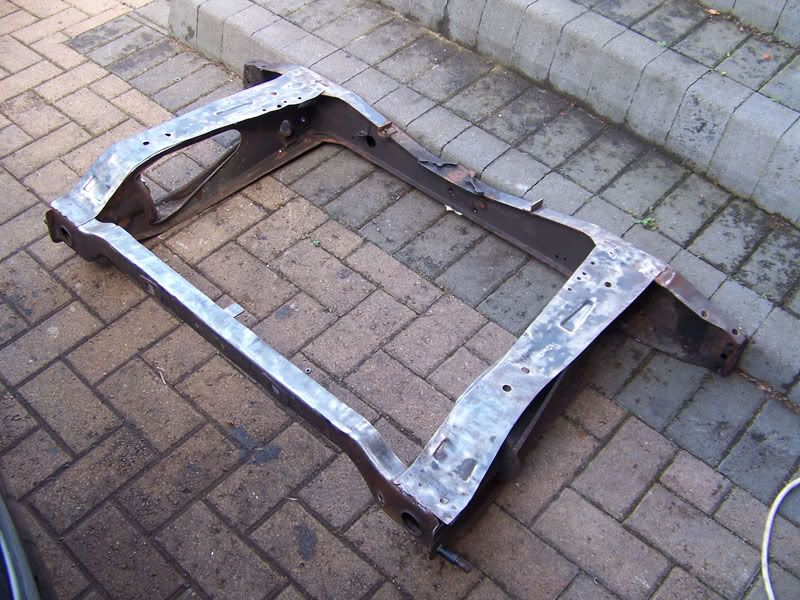
Which left me with this.
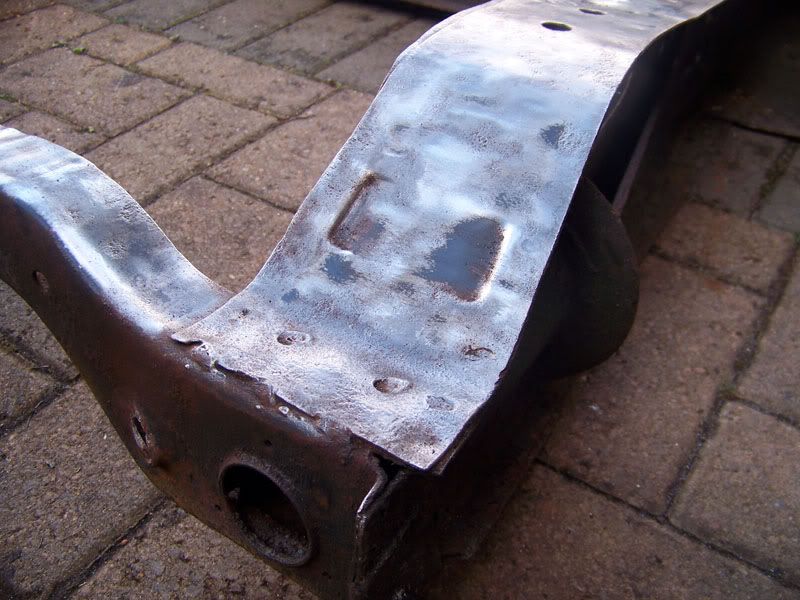
Same close up area.
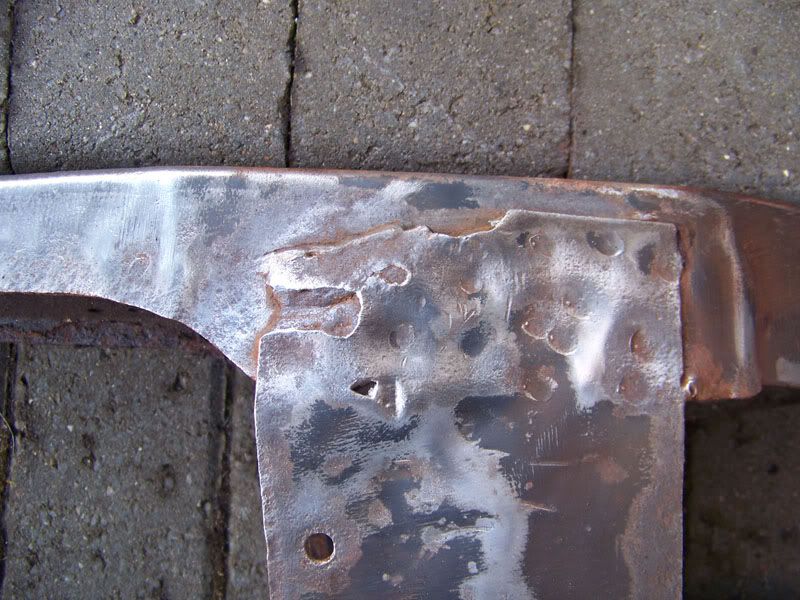
It also revealed this area that needs a small repair.
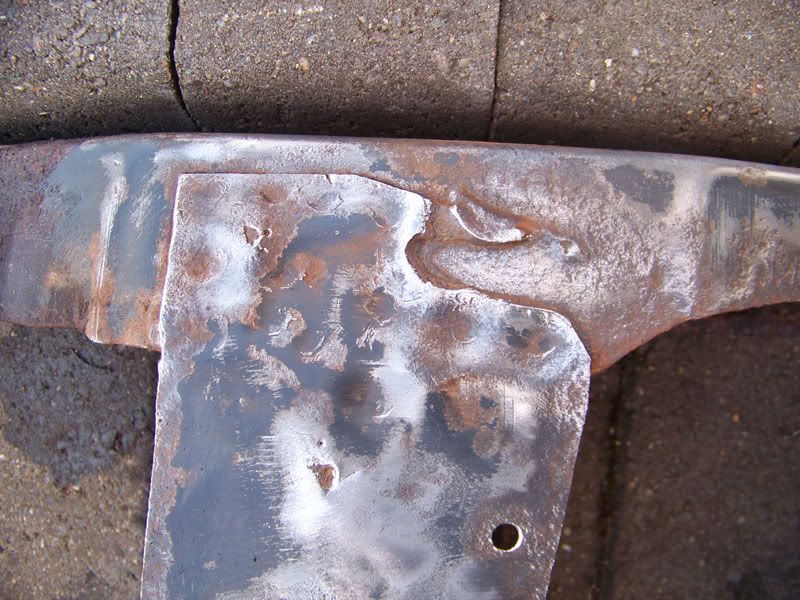
And this one.
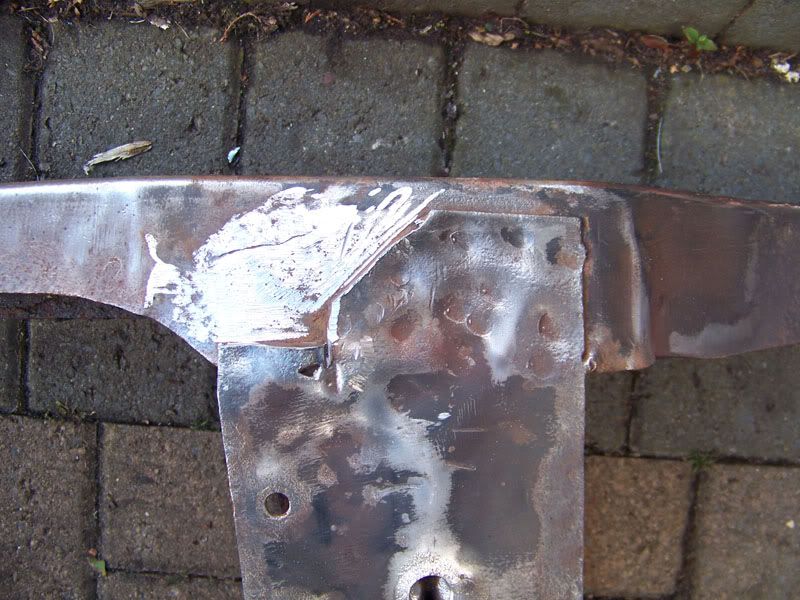
Started on the first one by cutting away the rotten metal.
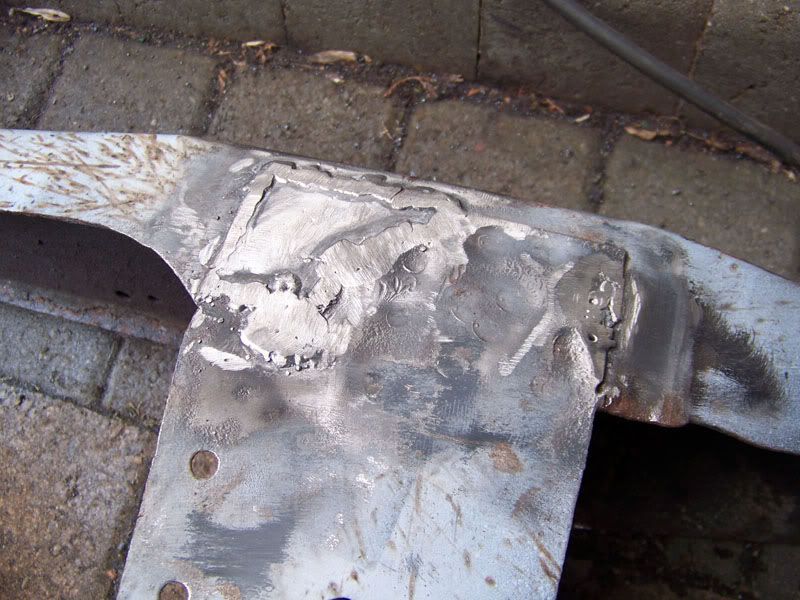
Made a patch, seam welded it in on a slightly higher setting than usual to get good deep penetration and ground back the weld.
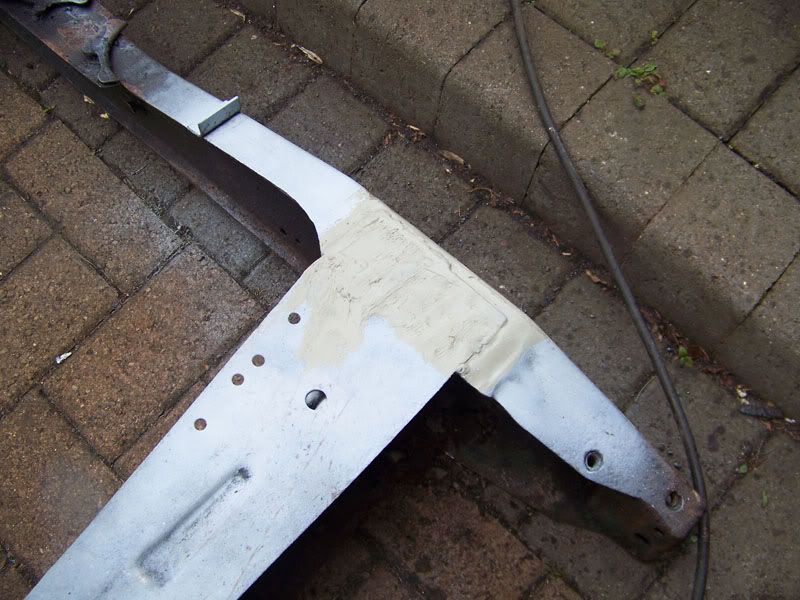
Repair etched and then seam sealed.
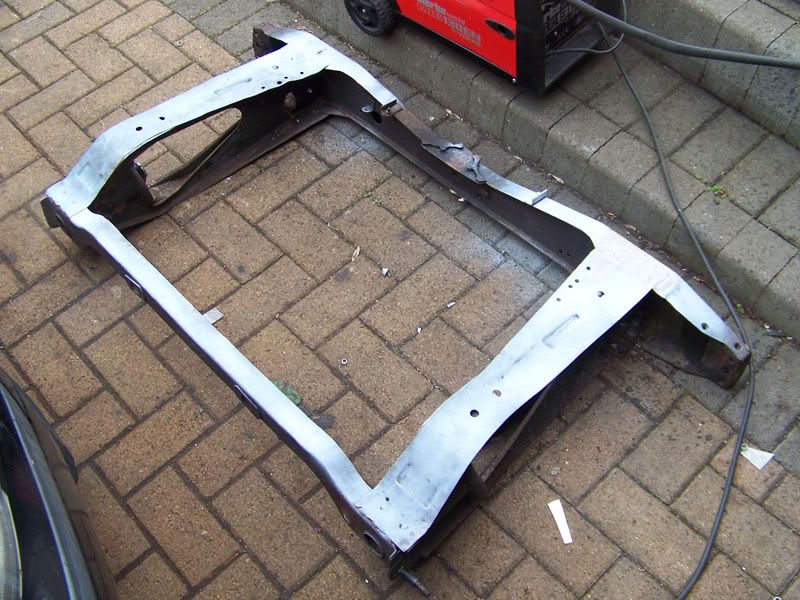
Top of the frame much tidier now. I was pleased to note the letters "MOWOG" on the rails, which I believe means this is a genuine subframe, happy days.
I shall do the patch on the other frame rail next and then I can flip it over and do the same process with the other side before I move my attention to wire brushing the webs clean. After that the whole thing will get covered with kurust, lightly sanded back, red oxided, light sanding again and then it will be comprehensively painted with black Rustoleoum (lovely stuff). Then I will move my attention to refurbing the mountings and installing them with my new hardened rubber bushes.
Thats all I need to do with it for now as I need it with the mounts back on for when I come to drill the new holes in my boot floor, I wanted the new rubber bushes in place for that so I know the holes I drill are in the proper locations.
Thanks for looking guys and I'm really happy to hear people are enjoying reading my thread. Belive me, we are a LONG way from the end yet as the end of the project will not be when the car is back on the road. I've so many ideas and little tweaks I want to do here and there to make her a little different. All things to look forward to.
Thanks again
Edited by Deathrow, 29 August 2009 - 06:03 PM.
#554

Posted 29 August 2009 - 07:57 PM
#555

Posted 29 August 2009 - 07:58 PM
Also tagged with one or more of these keywords: roundnose
Projects →
Mini Saloons →
Mini Cooper Project - Finally StartsStarted by piphatch , 08 Jan 2025 |
|
|
||
Projects →
Mini Saloons →
1965 Austin Mini Restoration - Canadian Mk1Started by DoubleEh , 14 Nov 2022 |
|
|
||
Projects →
Mini Saloons →
Project Joe - 1991 Mini Mayfair 998Started by Eggers , 02 Jun 2022 |
|

|
||
Projects →
Mini Saloons →
Mpi Dashboad ProblemStarted by mikeprez , 22 Dec 2021 |
|

|
||
Projects →
Mini Saloons →
1978 Oew - Willy The MiniStarted by smalltreegrower , 11 Nov 2021 |
|

|
1 user(s) are reading this topic
0 members, 1 guests, 0 anonymous users


