Jump to content


Photo
- - - - -

Elliot - The Second Attempt

roundnose

  • Please log in to reply
1658 replies to this topic

#496 deemo

deemo

    Mini Mad

  • Members
  • PipPipPipPip
  • 185 posts
  • Local Club: LCMOC

Posted 12 August 2009 - 12:37 AM

Looking good good good :o
God you do a lot. There are that many updates every time I come on here I spend have of the night reading your thread. Tis a good thing though.
Keep it up

(Go for VW brilliant orange :D )

#497 Deathrow

Deathrow

    Have you tried turning it off and on again?

  • TMF IT Specialist
  • PipPipPipPipPipPipPipPipPipPip
  • 5,734 posts
  • Name: Adam
  • Location: Manchester, UK

Posted 12 August 2009 - 09:57 AM

I tried not to post some of the pictures because they came out really bright.

I'm glad I give you guys something to read :D.

Weather is looking ok today so I'll probably get back to the garage and try and get those seat frames finished.

#498 Deathrow

Deathrow

    Have you tried turning it off and on again?

  • TMF IT Specialist
  • PipPipPipPipPipPipPipPipPipPip
  • 5,734 posts
  • Name: Adam
  • Location: Manchester, UK

Posted 12 August 2009 - 06:09 PM
Quick update as my tea is ready but I want to get this online >_<.

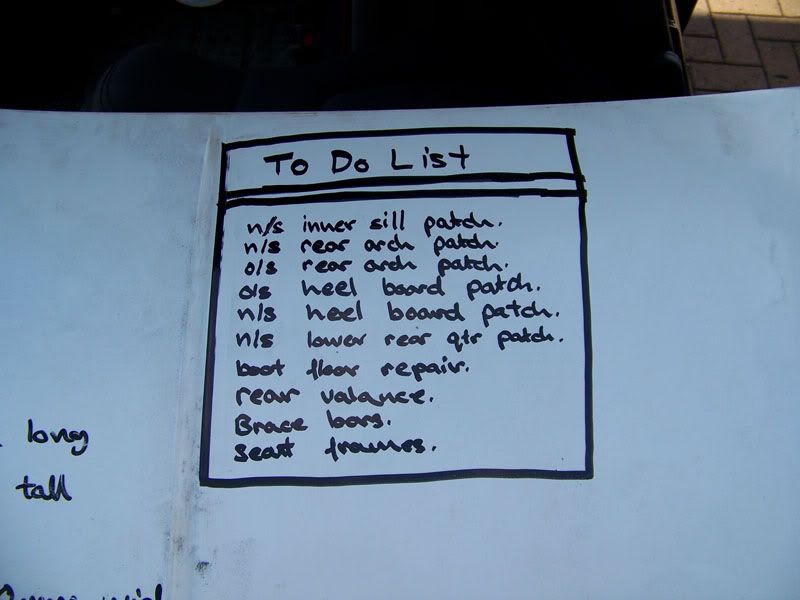
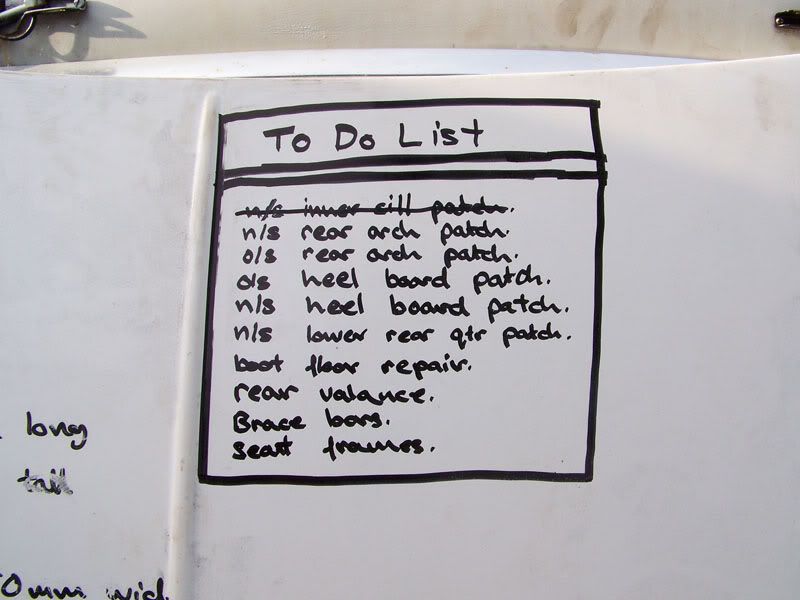
Posted Image
Started by making a to do list on my bonnet, where else?!

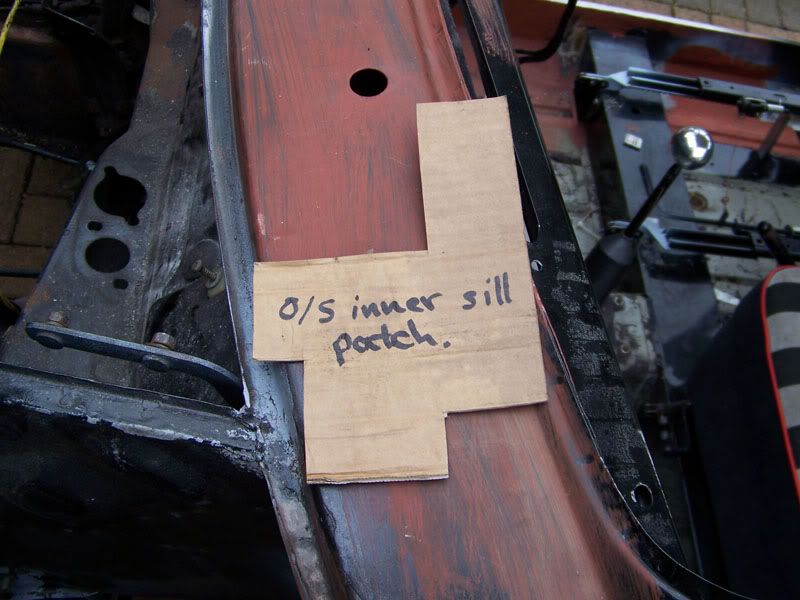
Posted Image
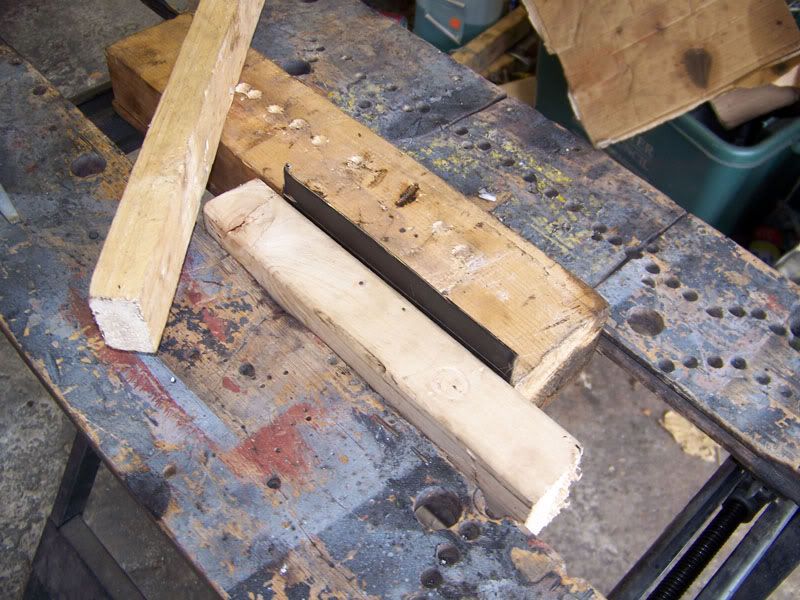
Cut a template for the sill patch on the near side (yes I know I've labeled it wrong because I'm a lemon!).

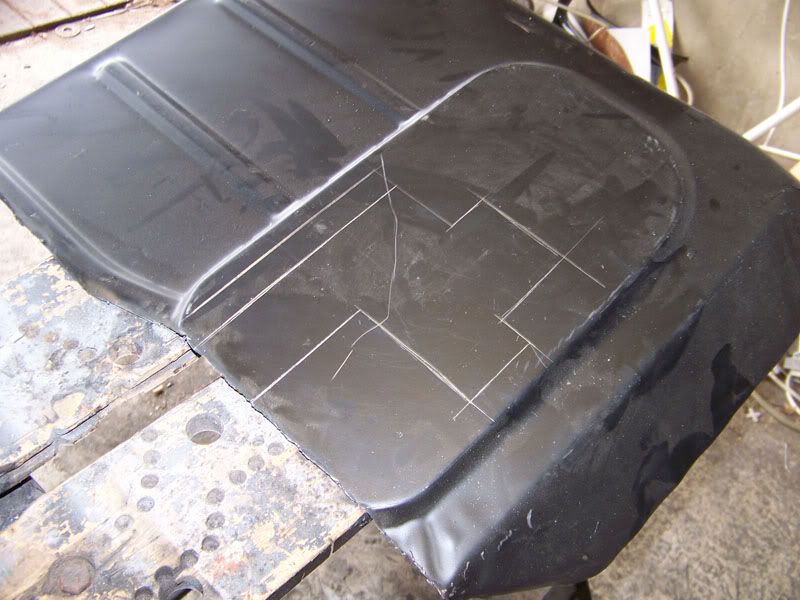
Posted Image
Transferred to the remains of my front passenger floor pan section.

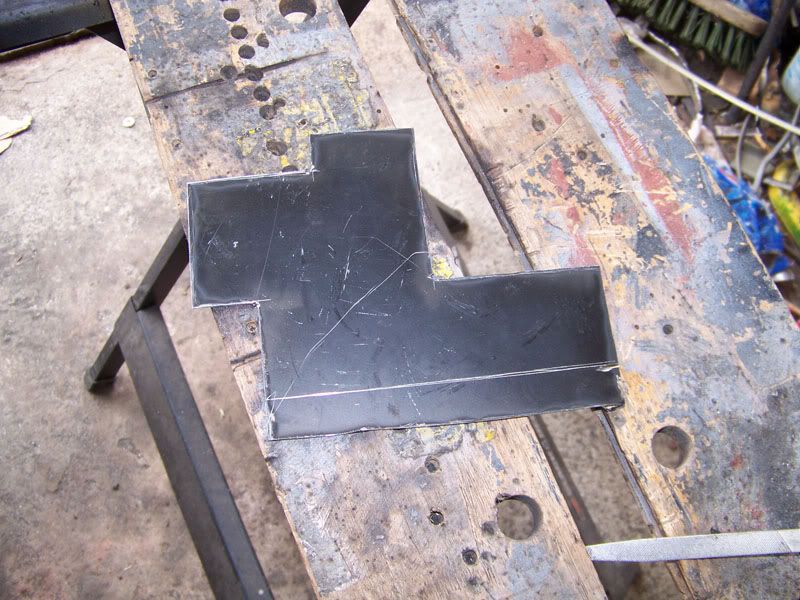
Posted Image
Cut out.

Posted Image
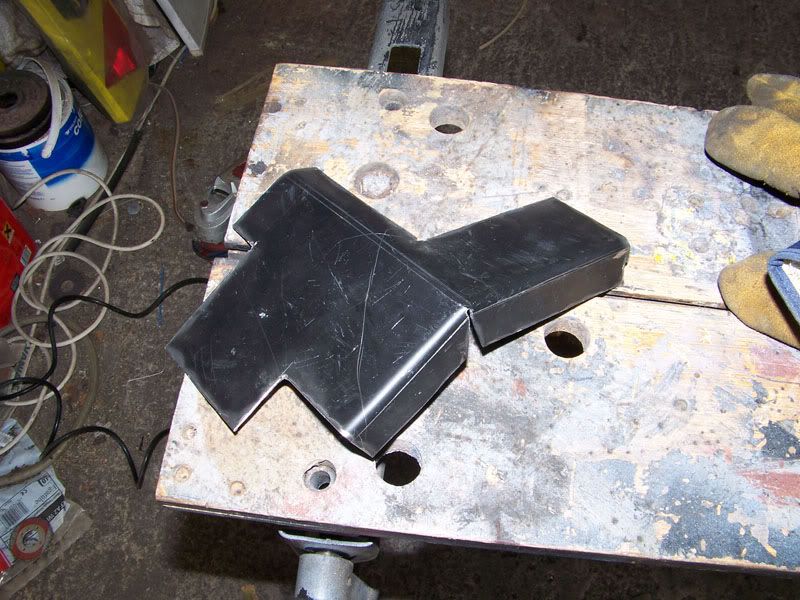
Bending.

Posted Image
Left with this lovely piece of metal art! Which I later had to chop up because the tab at the rear wasn't required.

Posted Image
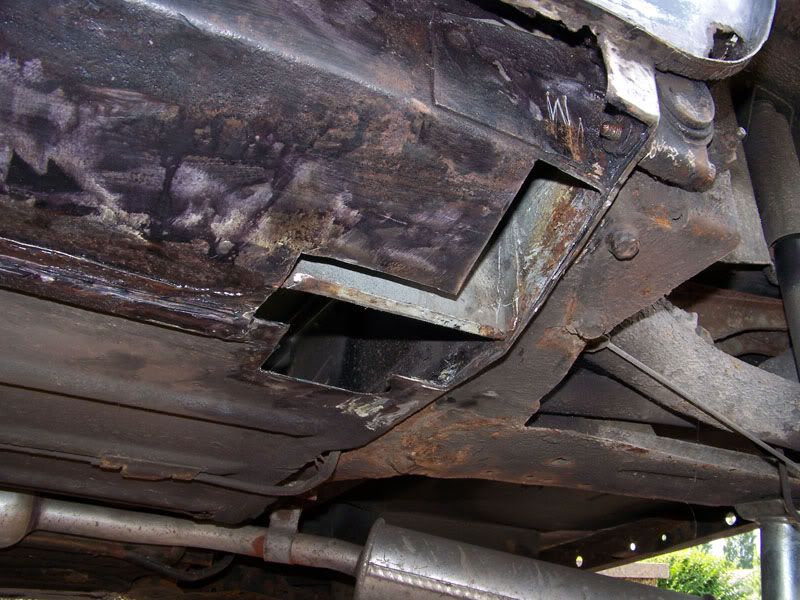
Nasty metal.

Posted Image
Gone.

Posted Image
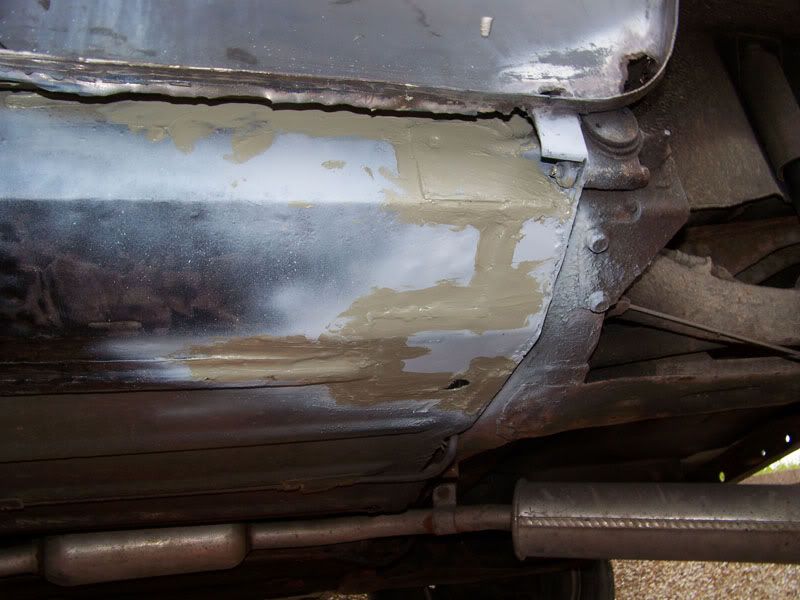
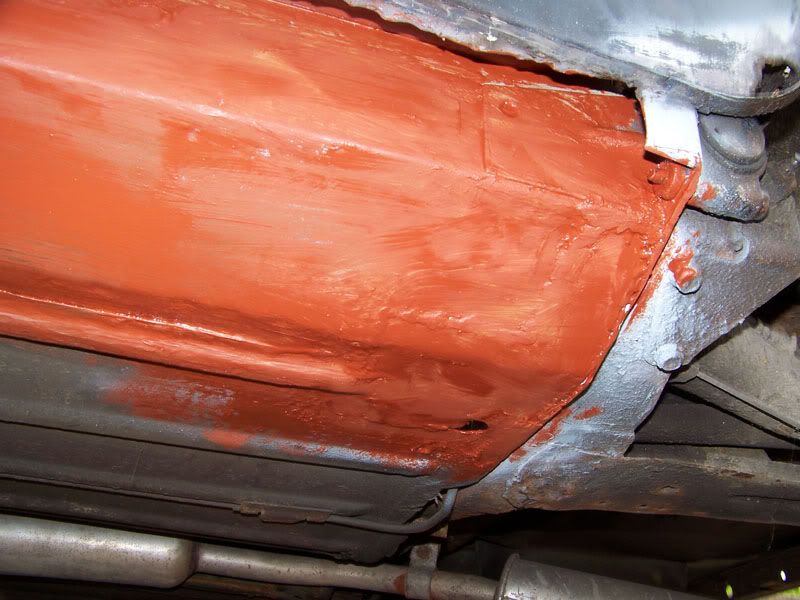
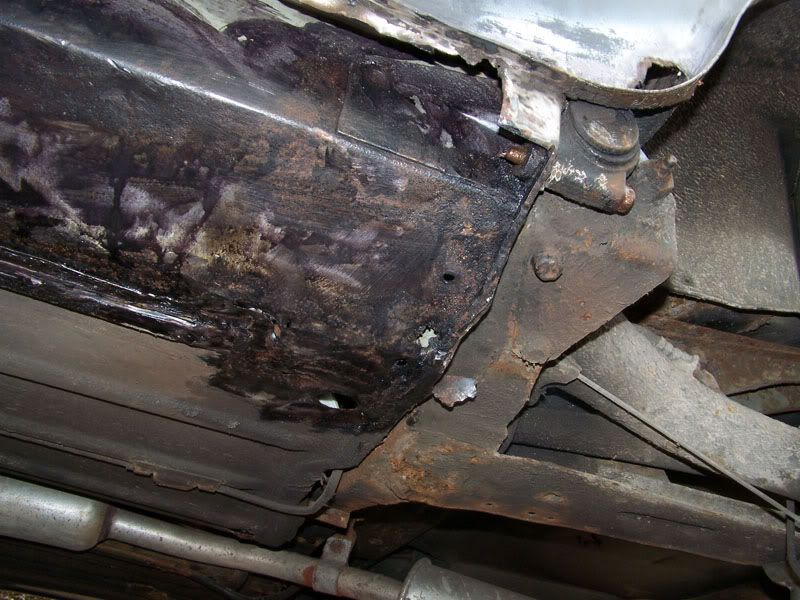
Replaced, etched and seam sealed.

Posted Image
Red oxided.

Posted Image
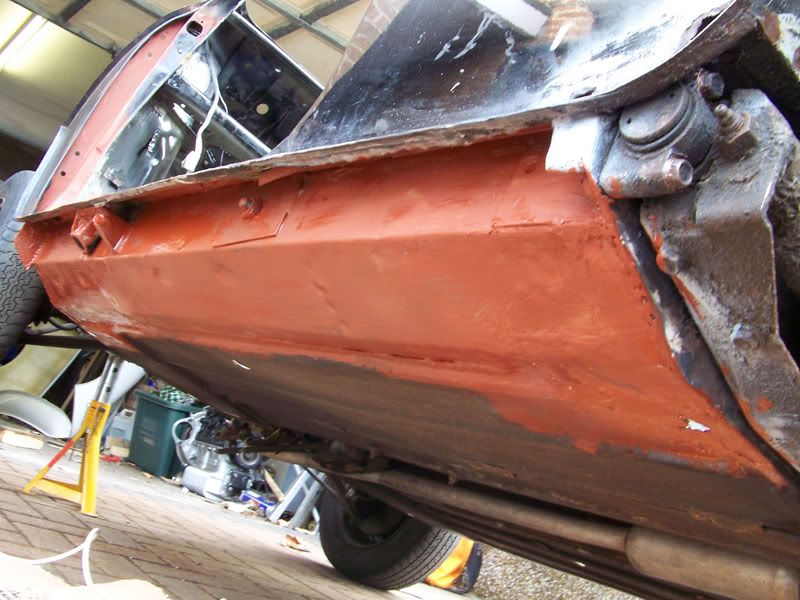
And the rest of the inner sill.

Posted Image
Updated the to do list.

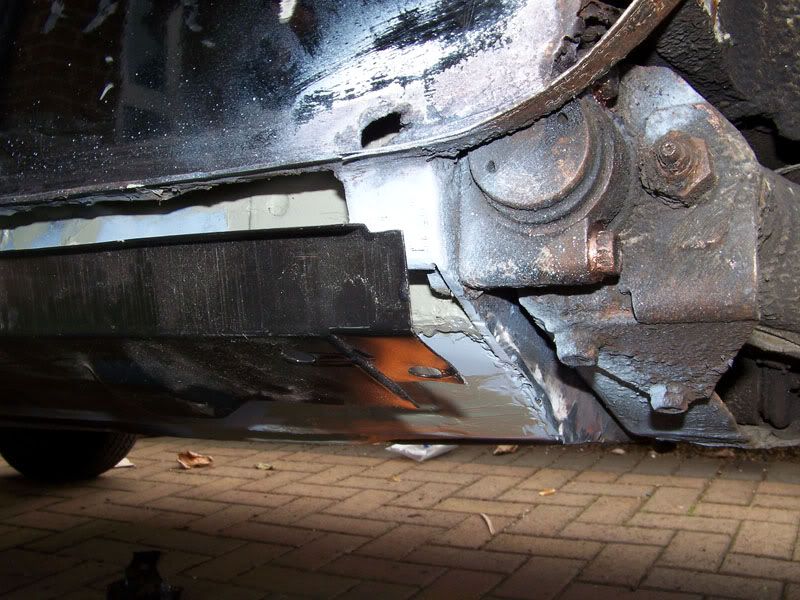
Now I have a question about how the outer sill fits to the car:

Posted Image
Does the recessed area at the end go under the lip of the heal board? Does someone have a picture of how this is supposed to go together as I want to get it right when the time comes.

Thanks for looking :P.

#499 Deathrow

Deathrow

    Have you tried turning it off and on again?

  • TMF IT Specialist
  • PipPipPipPipPipPipPipPipPipPip
  • 5,734 posts
  • Name: Adam
  • Location: Manchester, UK

Posted 13 August 2009 - 12:24 PM
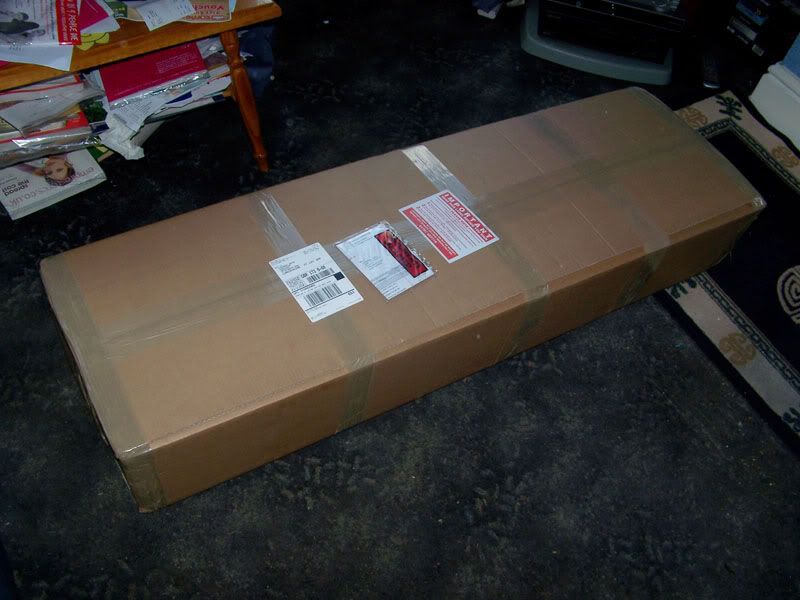
Well this post has significantly more goodies in it for you guys to look at O_O.

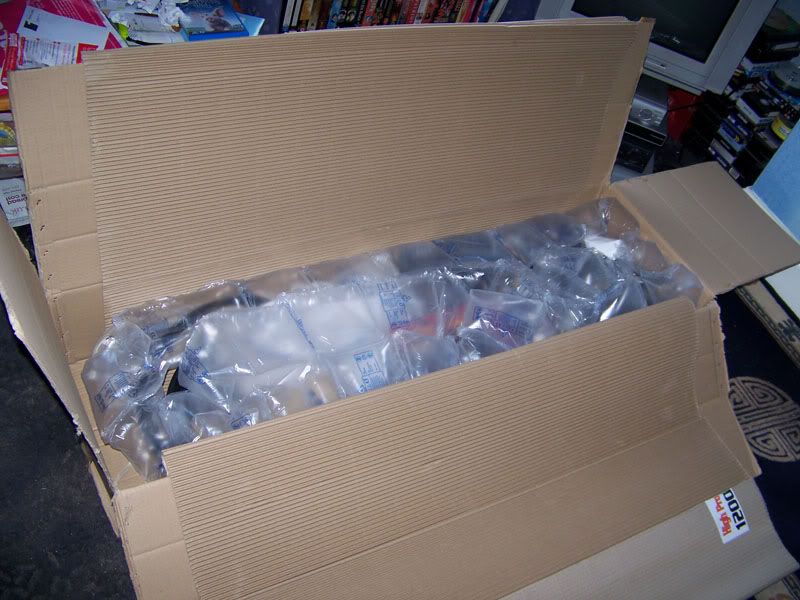
Posted Image
Nice big box.

Posted Image
Packed well by MiniSpares as always.

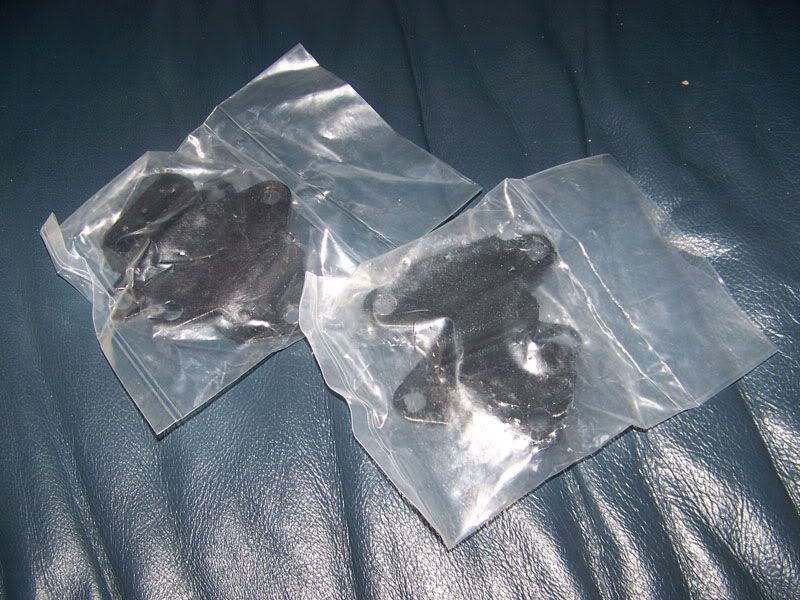
Posted Image
New engine mounts.

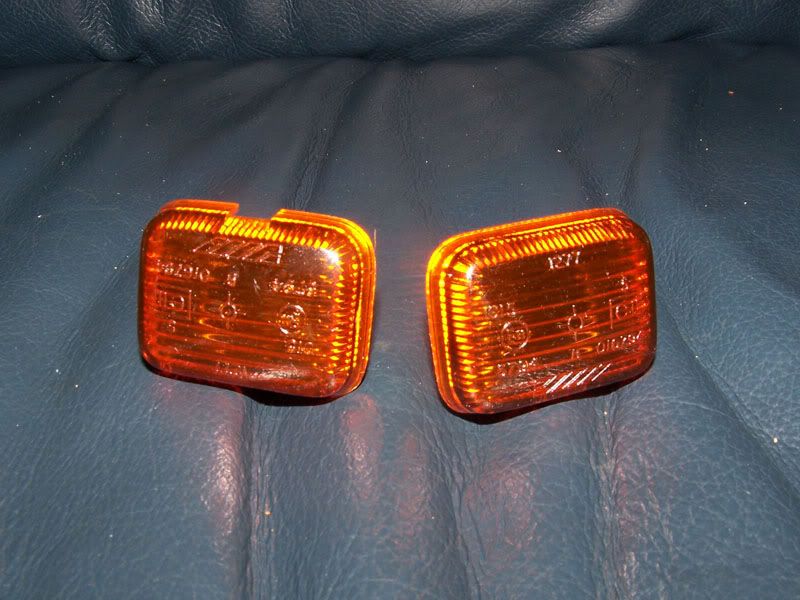
Posted Image
New side repeaters.

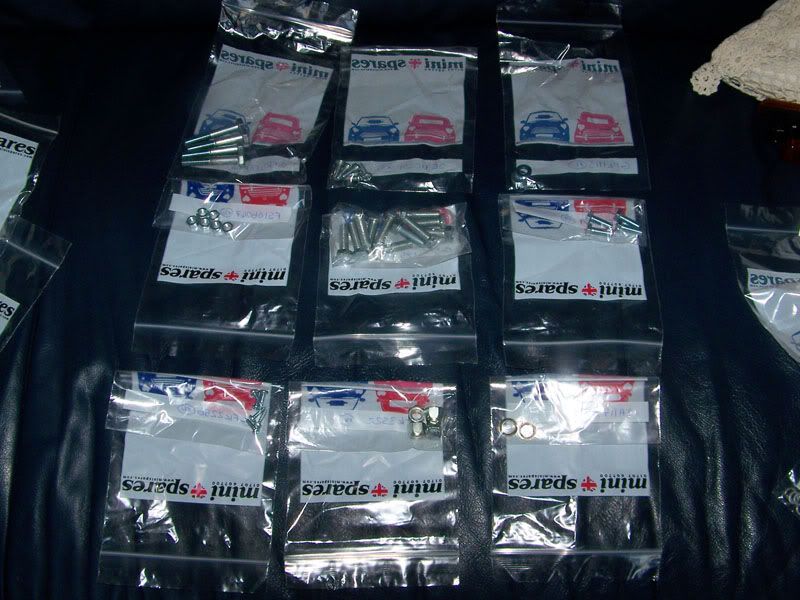
Posted Image
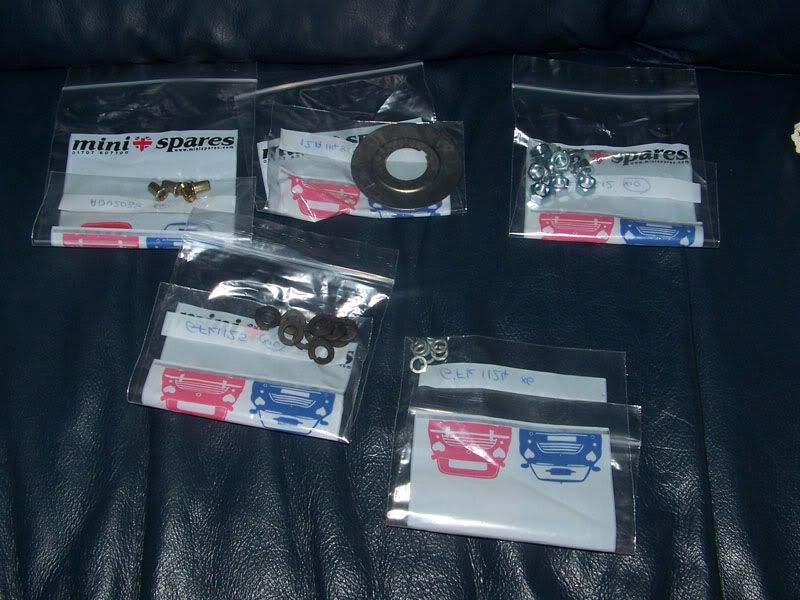
Various bits of hardware that was needed.

Posted Image
More various hardware.

Posted Image
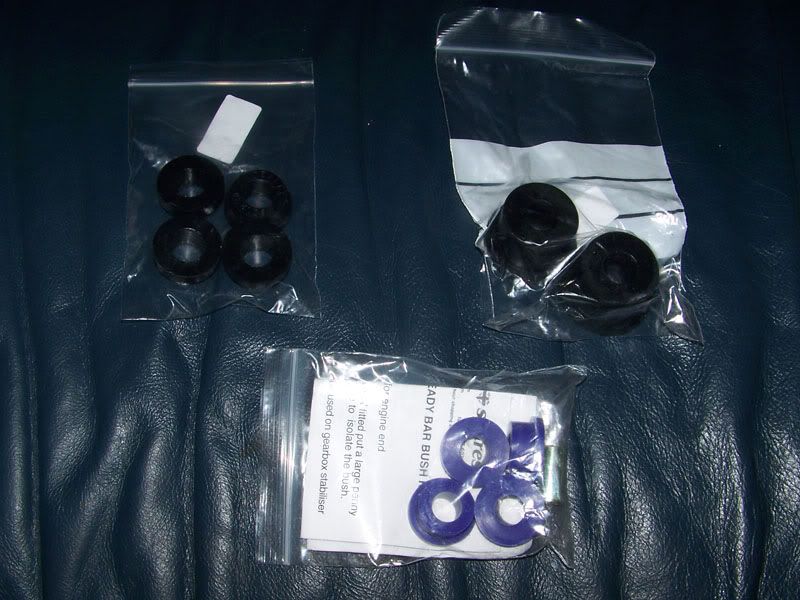
Harder compound rear subframe mounts for the front and rear mounting points and a poly engine steady kit.

Posted Image
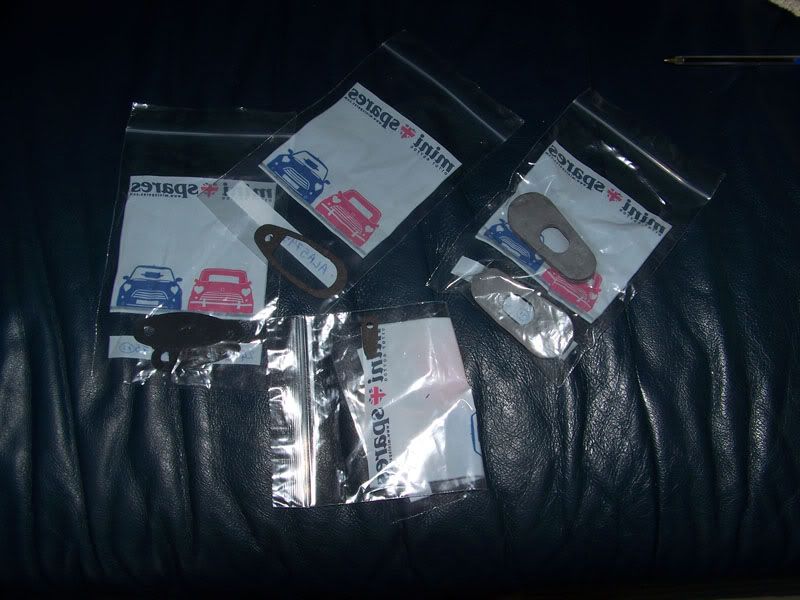
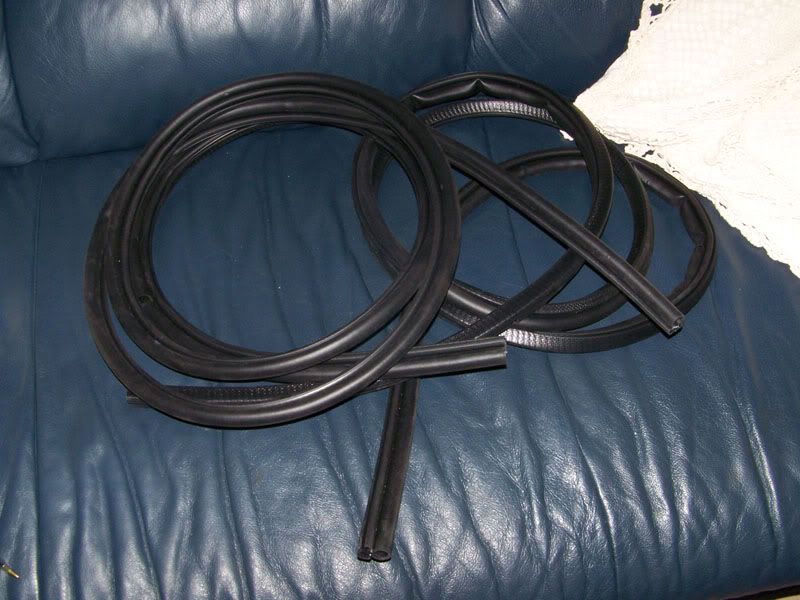
Door handle gaskets, boot hinge gaskets and rubber seal for the check strap arm. I got the MK3 seal because I wasn't paying twice as much for the MK4 one.

Posted Image
Two new rear quarterlight seals.

Posted Image
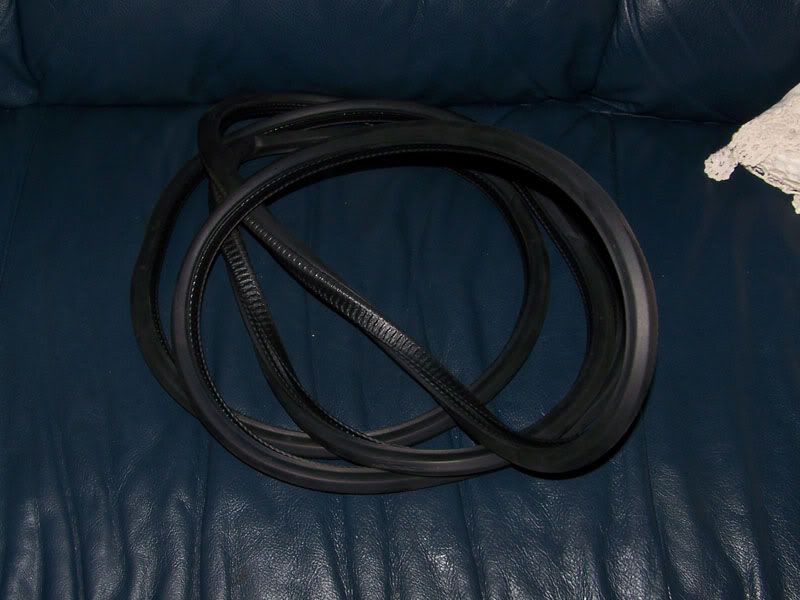
Two new door seals.

Posted Image
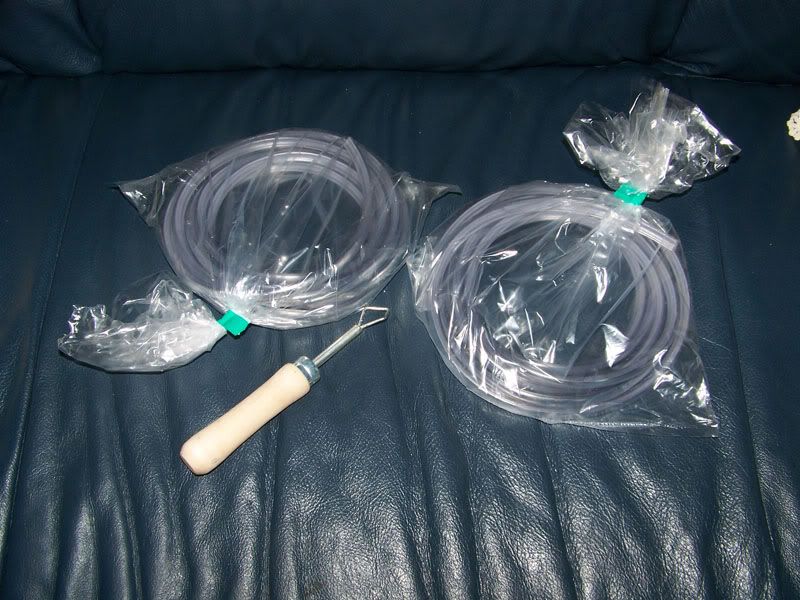
Chrome windscreen fillets for front and back and a fillet tool to install them.

Posted Image
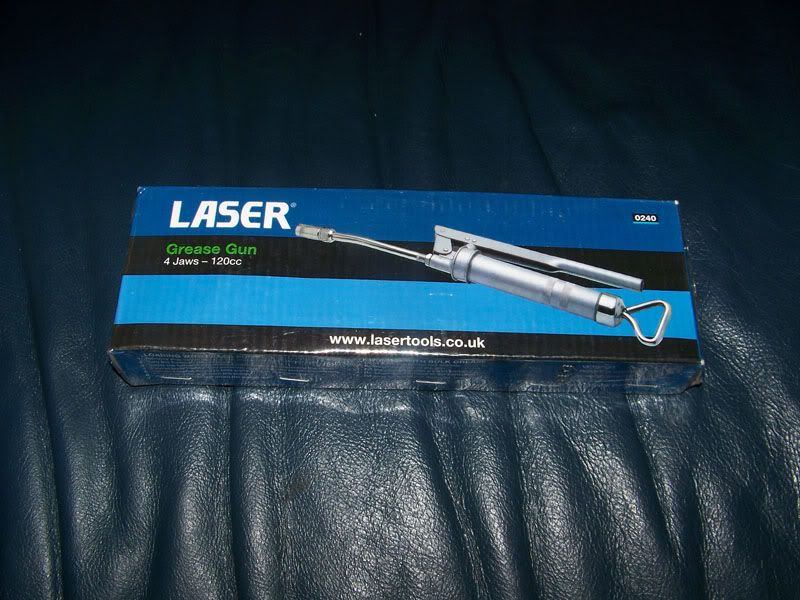
The all important grease gun.

Posted Image
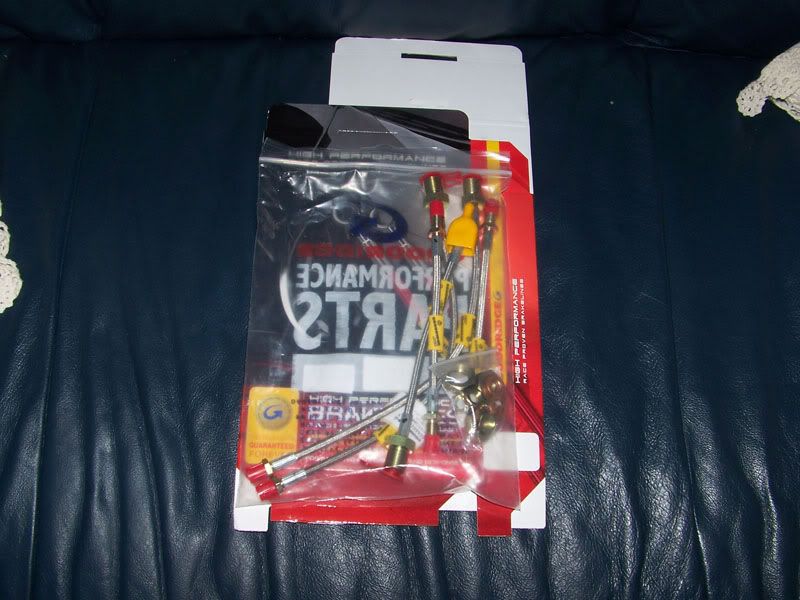
Braided brake hoses kit for all 4 corners as well as the clutch hose.

Posted Image
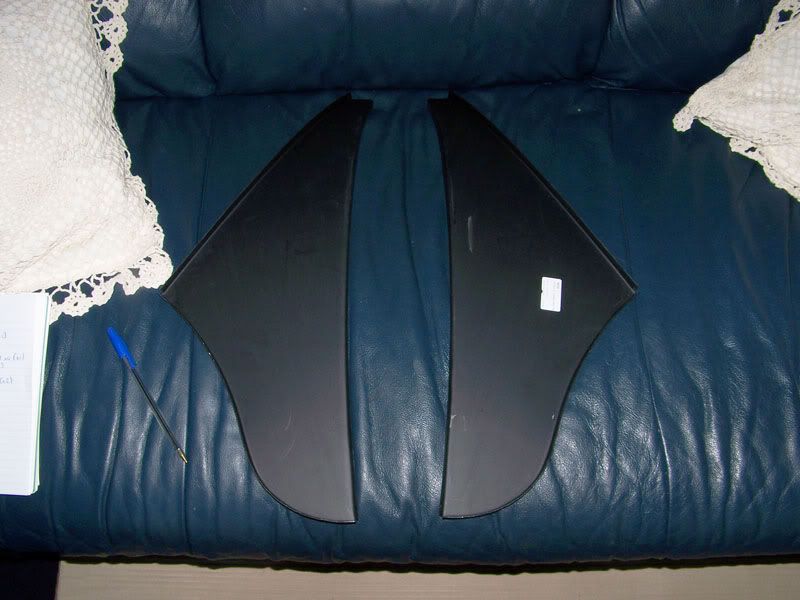
Pair of new a-panels which I will take my time with this time round.

Posted Image
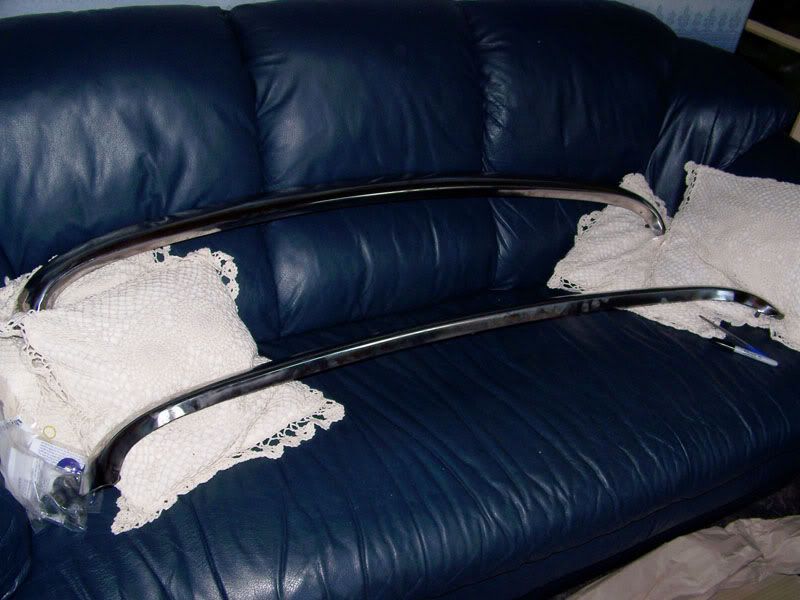
Pair of stainless steel non-genuine bumpers.

Posted Image
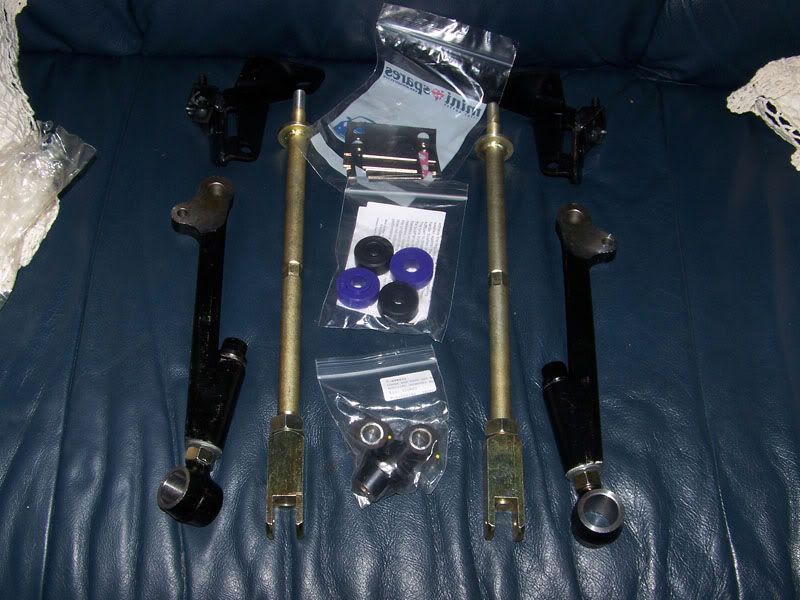
Fully adjustable suspension kit. I got the kit with the shims for altering tracking on the rear as I feel more comfortable with that setup on a road car.

I've still no idea who I am going to take the car to in order to have the suspension set up but I'm sure I'll be able to find someone to do it. To start with I might see about having a go myself to get it in the right ball park.

I'm going to sort myself out now and head to the garage. Hopefully I'll be able to strike another thing off my to do list, every little helps.

Thanks for looking :proud:.

#500 analogue_radio

analogue_radio

    Up Into Fourth

  • TMF+ Member
  • PipPipPipPipPipPipPipPipPip
  • 4,897 posts
  • Location: Melton Mowbray, UK.

Posted 13 August 2009 - 05:29 PM

Very nice pick ups O_O can you link me to the adjustable suspension set up? think I've been looking at the same one.

#501 GreaseMonkey

GreaseMonkey

    Has Ratchet, Will Make Noises

  • Members
  • PipPipPipPipPipPipPipPipPip
  • 3,663 posts

Posted 13 August 2009 - 05:33 PM

I've been looking at these kits as well

Was wondering why you went with the one with the shims for the rear brackets and not the ones which adjust without shims?

#502 Jobu

Jobu

    Super Mini Mad

  • Members
  • PipPipPipPipPipPip
  • 508 posts
  • Local Club: 16vminiclub

Posted 13 August 2009 - 05:35 PM

I will take a picture of how the outer sill should go tonight for you, part of the heal board should bend around then the recessed part of the seal sits underneath.

Work looks great!

#503 GreaseMonkey

GreaseMonkey

    Has Ratchet, Will Make Noises

  • Members
  • PipPipPipPipPipPipPipPipPip
  • 3,663 posts

Posted 13 August 2009 - 05:35 PM

One with shim rear brackets

Linky.

One with fully adjustable rear brackets

Linky.

#504 Jobu

Jobu

    Super Mini Mad

  • Members
  • PipPipPipPipPipPip
  • 508 posts
  • Local Club: 16vminiclub

Posted 13 August 2009 - 06:02 PM

Here you are this is how they should go:


#505 Deathrow

Deathrow

    Have you tried turning it off and on again?

  • TMF IT Specialist
  • PipPipPipPipPipPipPipPipPipPip
  • 5,734 posts
  • Name: Adam
  • Location: Manchester, UK

Posted 13 August 2009 - 06:07 PM

Very nice pick ups :lol: can you link me to the adjustable suspension set up? think I've been looking at the same one.

It's this kit Luke:

http://www.minispare...ty=pb&pid=38488

It was out of stock for months and months so I bought one as soon as they came back in. Looks to be good quality, can't wait to fit it all to the car O_O.

I've been looking at these kits as well

Was wondering why you went with the one with the shims for the rear brackets and not the ones which adjust without shims?

Basically GreaseMonkey, looking at the rear camber bracket, where this one has camber adjustment on the end of the radius arm and tracking on the bracket itself the other had camber and tracking on the end of the radius arm and I don't like the idea, seems like it has too much chance to move. Since this is a road car I want to set it and forget it pretty much and I want it to stay that way, this was the best way to get the best of both worlds for me personally.


I will take a picture of how the outer sill should go tonight for you, part of the heal board should bend around then the recessed part of the seal sits underneath.

Work looks great!

Cheers Jobu, it'd be a great help! I'm just looking at it and it's like, I'm sure that goes under there but then this bits in the way, it's like a rubix cube!

I've got an update to write up, check back in a few mins :proud:.

#506 Deathrow

Deathrow

    Have you tried turning it off and on again?

  • TMF IT Specialist
  • PipPipPipPipPipPipPipPipPipPip
  • 5,734 posts
  • Name: Adam
  • Location: Manchester, UK

Posted 13 August 2009 - 06:09 PM

Here you are this is how they should go:

You beat me to repying O_O.

Ok, tried that in mine, but the bit that folds round from the hinge panel is seam welded to the lip on the bottom of the rear quater, do I need to make a cut here so that the new outer sill can slide through, then seam weld it all back up?

Your car looks really clean in that corner, very neat indeed.

#507 Deathrow

Deathrow

    Have you tried turning it off and on again?

  • TMF IT Specialist
  • PipPipPipPipPipPipPipPipPipPip
  • 5,734 posts
  • Name: Adam
  • Location: Manchester, UK

Posted 13 August 2009 - 06:16 PM
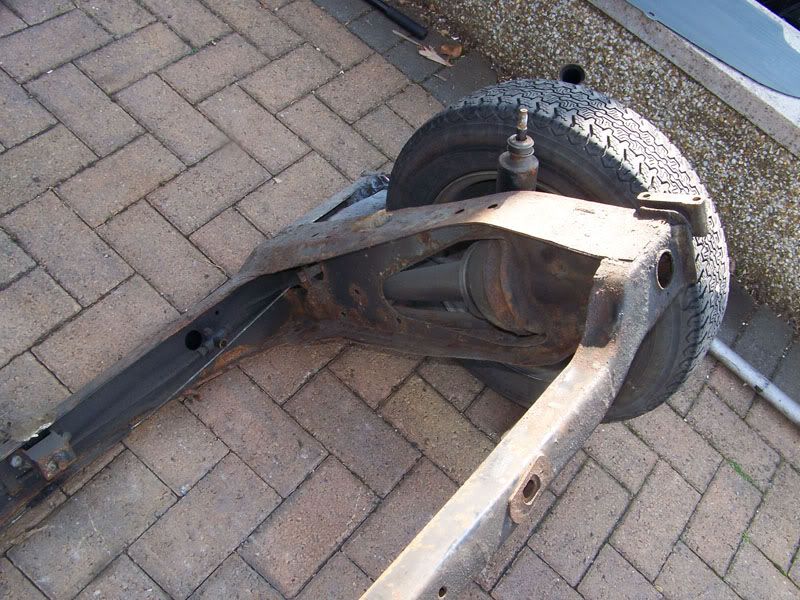
Right, here is todays work, not much done really but it'll make future progress easier with any luck.

Posted Image
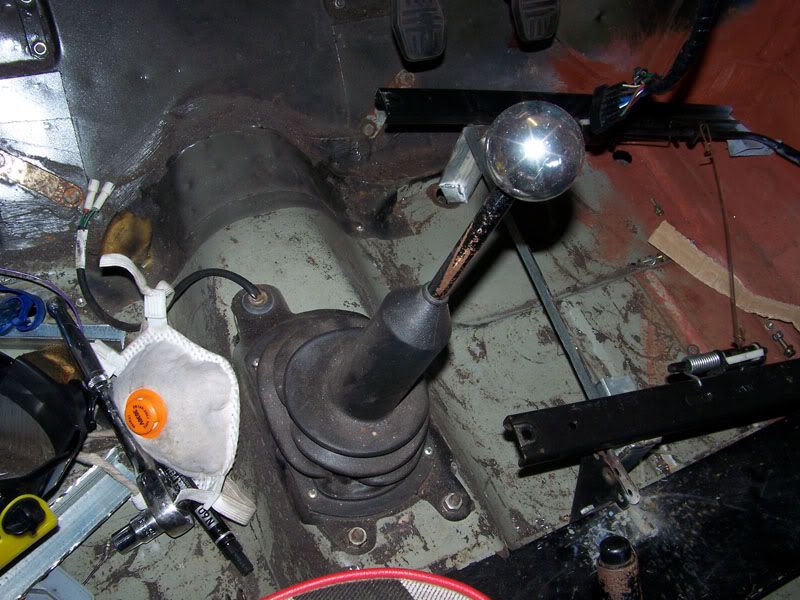
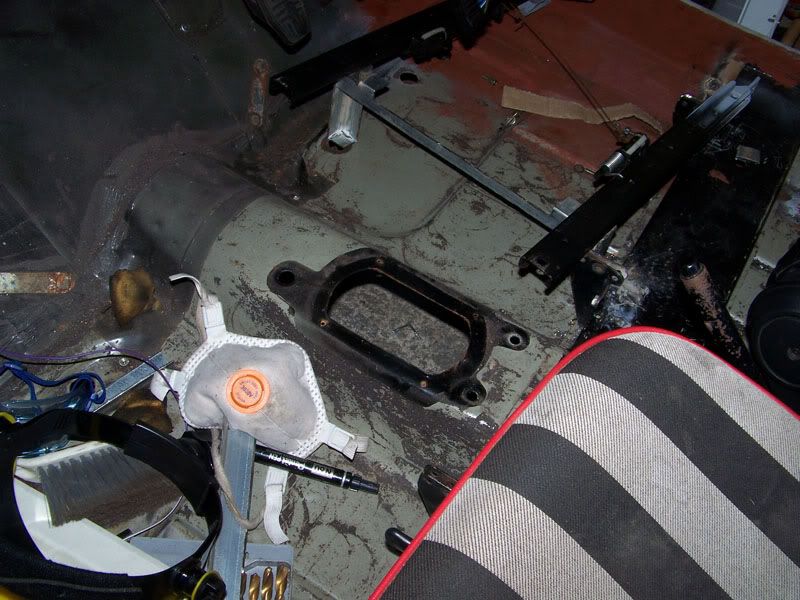
Gear selector assembley needs refurbing and making all nice to go back on the car.

Posted Image
So off it came.

Posted Image
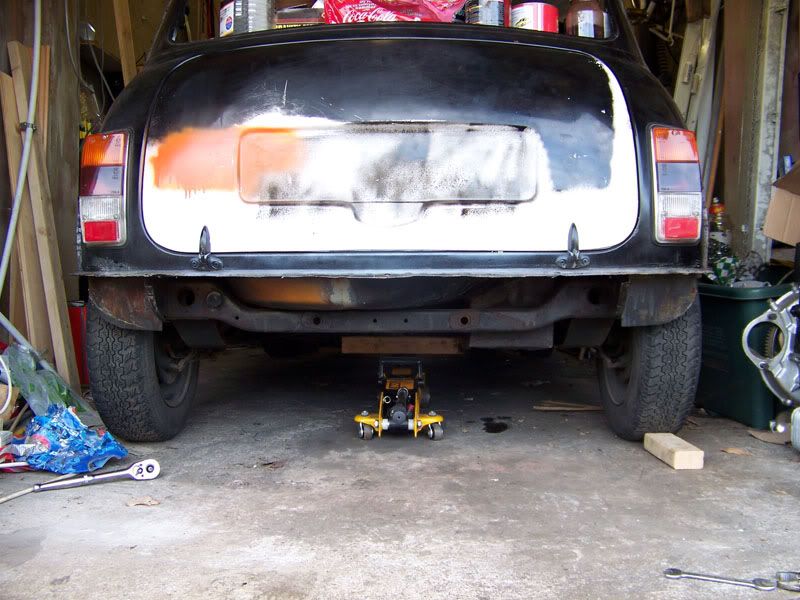
Supported the body with the jack and undid all the subframe bolts before raising the body up off the subframe.

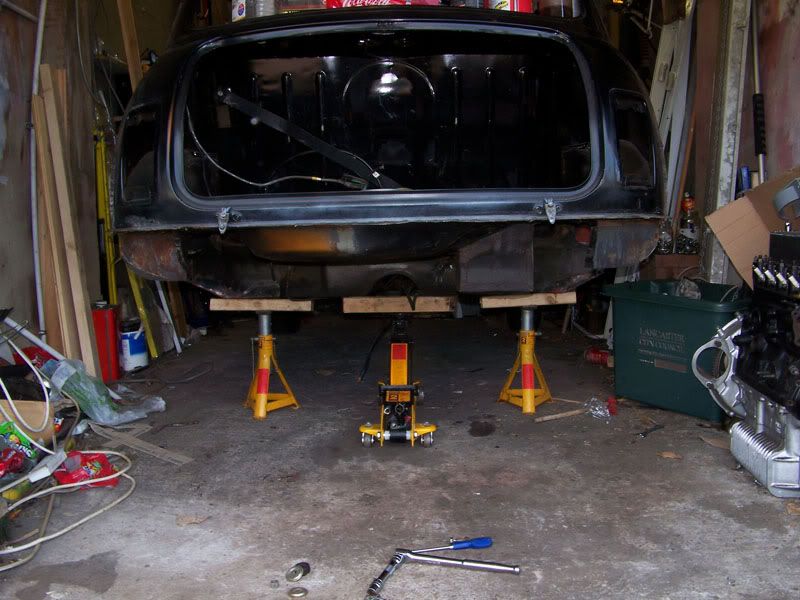
Posted Image
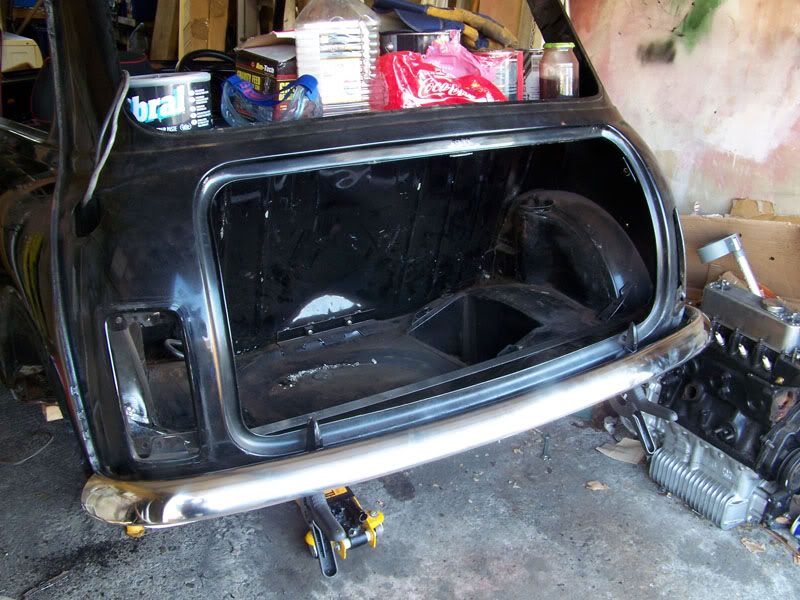
And then giving it proper support. At this point I also emptied the boot and stripped the rear end bare.

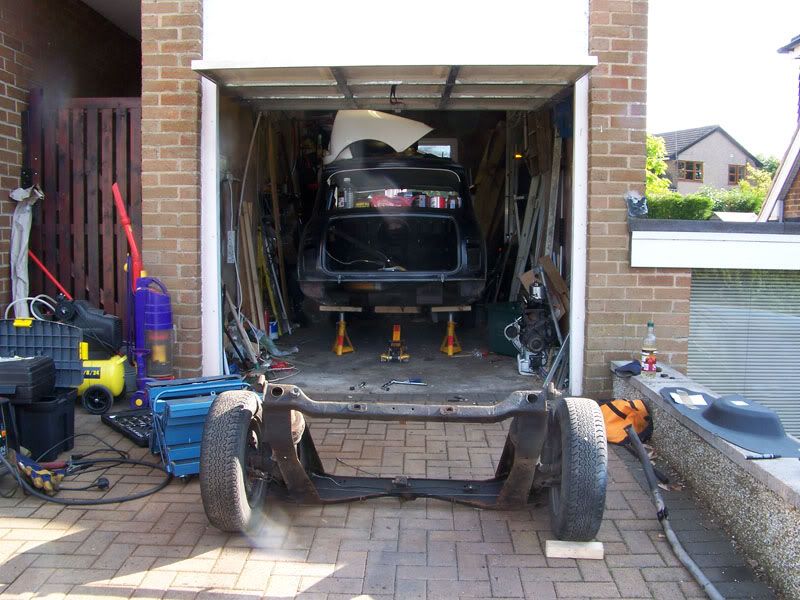
Posted Image
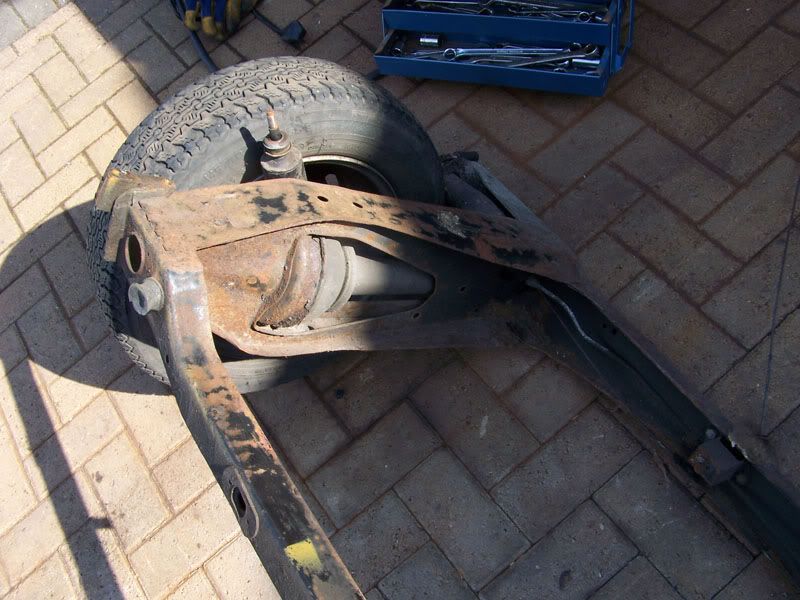
Subframe wheeled outside.

Posted Image
The subframe isn't as bad as it looks, yes it needs some TLC but it will be getting stripped down to nothing, cleaned, painted and then built back up as close to new as it can be.

Posted Image
Other side.

Posted Image
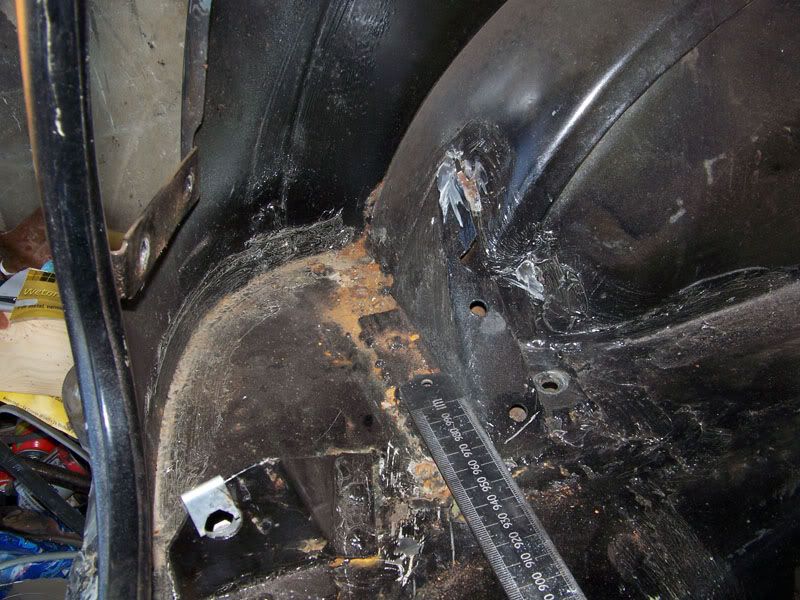
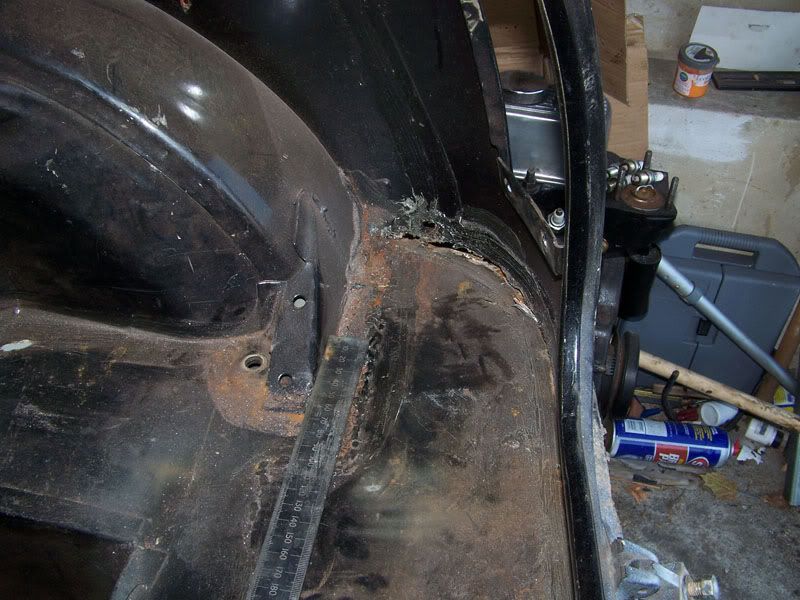
Boot floor, the ruler indicates the bare minimum that will be coming out.

Posted Image
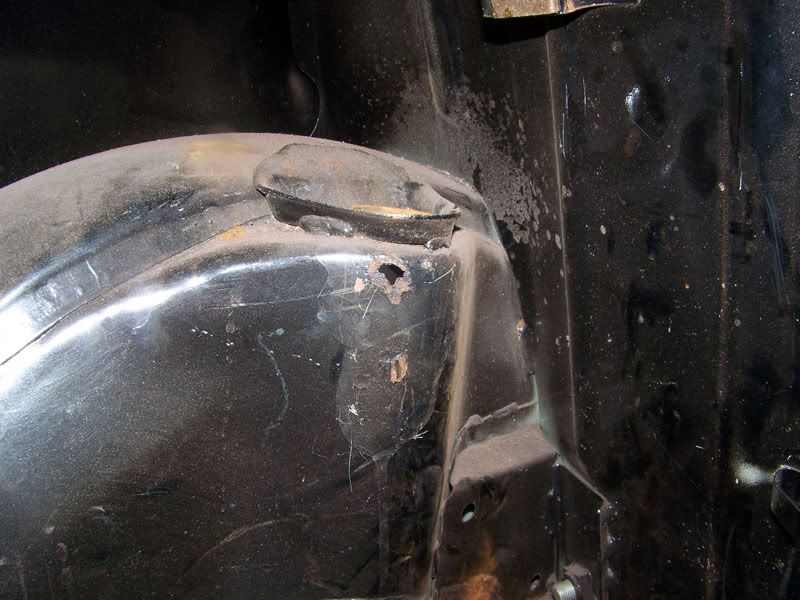
Passenger side arch needs some work.

Posted Image
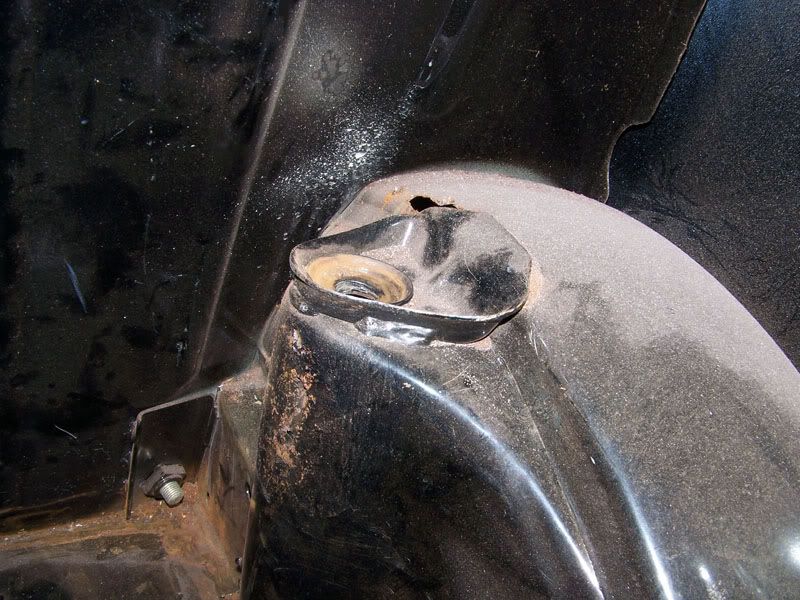
As does the driver side arch.

Posted Image
Driver side of boot floor.

Posted Image
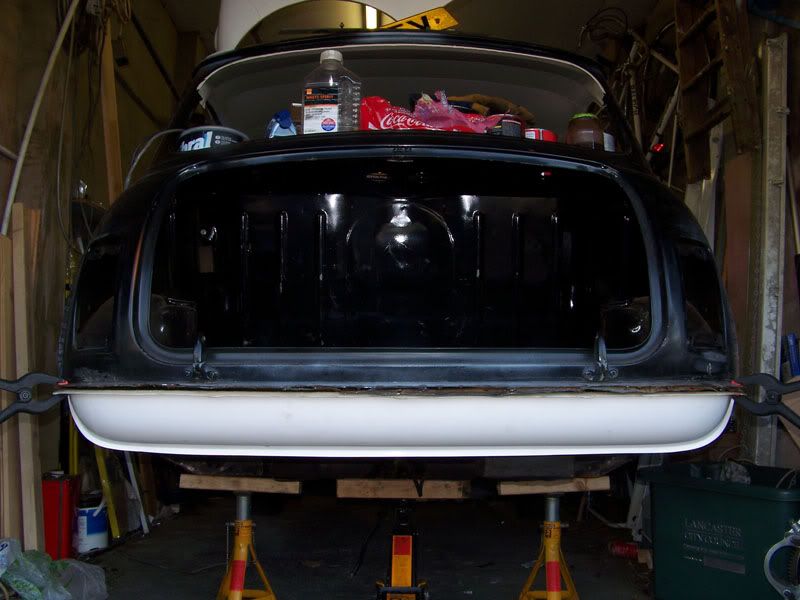
Rear valance offered up for a bit of a feel good.

Posted Image
New bumper offered up again, for a feel good.

Thats all for today. I'll be going back tomorrow if the weather holds up and then I can start striking things off my to do list with any luck, especially now I have a slightly better understanding of how my heelboard should be looking.

Thanks for looking O_O.

#508 carboy001

carboy001

    One Carb Or Two?

  • TMF+ Member
  • PipPipPipPipPipPipPip
  • 1,065 posts

Posted 13 August 2009 - 06:29 PM

Theres not a greater feeling in the world when the postie brings a massive parcel with Minispares sticker on it :proud:

Good update, look forward to tomorrows O_O

#509 tedmcedd

tedmcedd

    Up Into Fourth

  • Traders
  • PipPipPipPipPipPipPipPipPip
  • 2,751 posts
  • Location: Huddersfield

Posted 13 August 2009 - 06:44 PM

nice purchases! however you should have bought the engine mounts with the captive nuts, much easier!!

is that a fibreglass rear valance?

#510 Deathrow

Deathrow

    Have you tried turning it off and on again?

  • TMF IT Specialist
  • PipPipPipPipPipPipPipPipPipPip
  • 5,734 posts
  • Name: Adam
  • Location: Manchester, UK

Posted 13 August 2009 - 06:47 PM

nice purchases! however you should have bought the engine mounts with the captive nuts, much easier!!

is that a fibreglass rear valance?

It's not so much of a worry when the front end comes off O_O.

Yes it is a fiberglass rear valance, it will be bonded on to the rear end, no more rust!


Also tagged with one or more of these keywords: roundnose

1 user(s) are reading this topic

0 members, 1 guests, 0 anonymous users