#466

Posted 03 August 2009 - 04:39 PM
im liking the seats muchly! nice work sir!
#467

Posted 03 August 2009 - 05:43 PM
Yeah I did notice the wheel wasn't straight, but I guess that's minis for you haha. If they had universal joints in the steering I bet they wouldn't have been in production for as long because of the tiny profit margins they were making on them at one point.
Cheers for the comments guys, I've not been round to the garage today because I had a dentist appointment in the morning and decided I deserved a rest. Oh and I need a filling too, bummer.
I should get some work done tomorrow.
#468

Posted 04 August 2009 - 08:30 PM
Anyway, after I'd had tea I did some work on one of my wheels, after almost buying a set of 10x5 Minilights I put some work in to the Exactons and fell in love with them again so it's all good.
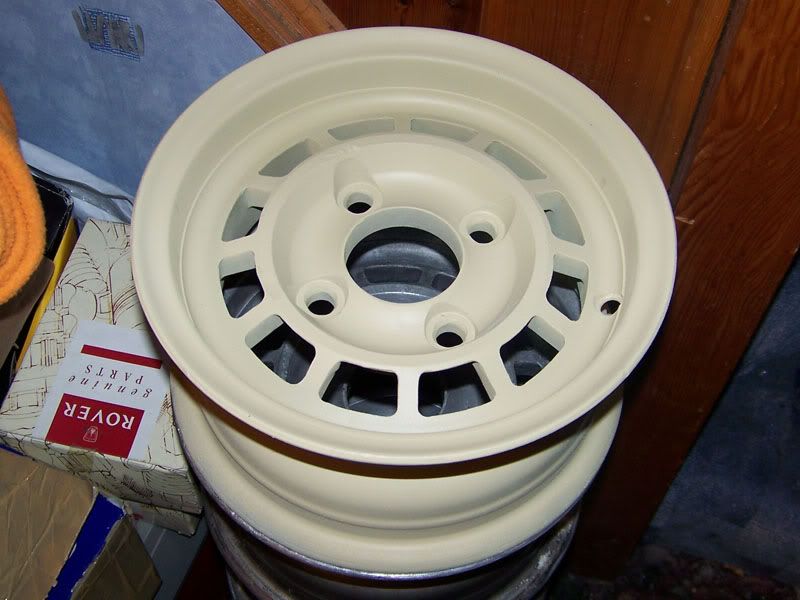
I used the wire wheel on my drill and then the wire wheel on my dremel to get to the tight bits, wiped down with meths to get them clean, etch primed and high build primed them.
I didn't get any more done becuase we had a power cut for about an hour and it's gone dark now. Still, one done is better than none done! I shall continue with them tomorrow most likely.
Thanks for looking
#469

Posted 05 August 2009 - 12:50 AM
Haha, i had a powercut yesterday for a record 8 and a half hours! I almost died.I didn't get any more done becuase we had a power cut for about an hour and it's gone dark now. Still, one done is better than none done! I shall continue with them tomorrow most likely.
Thanks for looking.
Nice progress mate.
#470

Posted 06 August 2009 - 11:03 AM
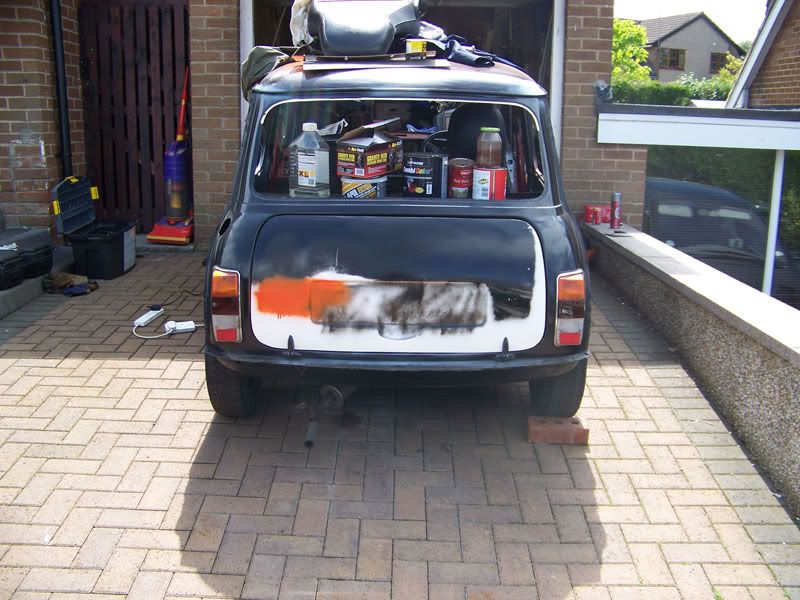
I fancied a bit of destruction so out came the grinder.
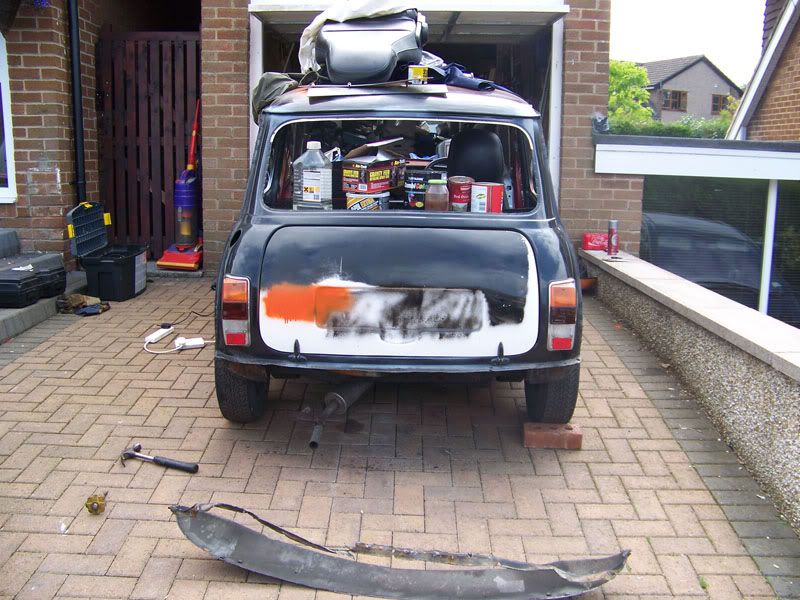
After cutting the full length of the valance I managed to remove the entire lip with a bolster chisel, I guess thats the beneftit of the fact I was rubbish at welding when I first put this valance on.
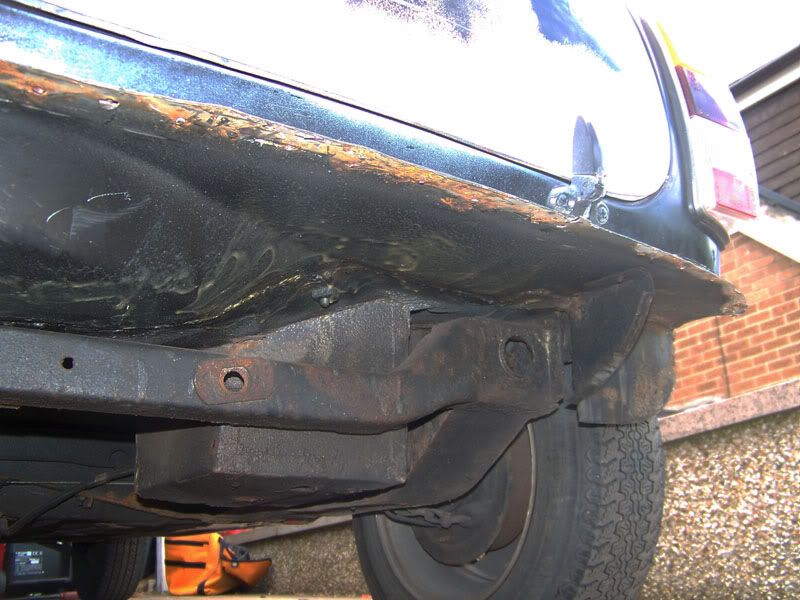
Waxoyl seems to have done it's job, mostly.
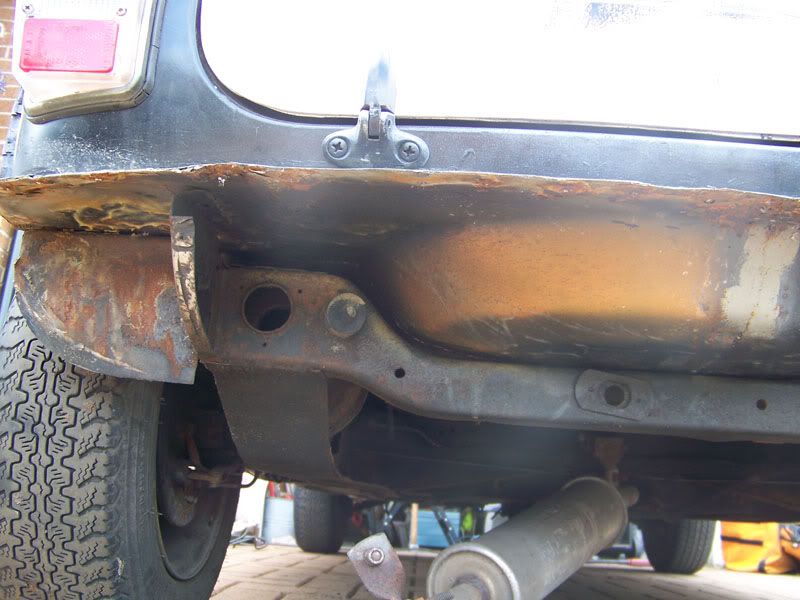
Boot floor will be repaired again to a much better standard.
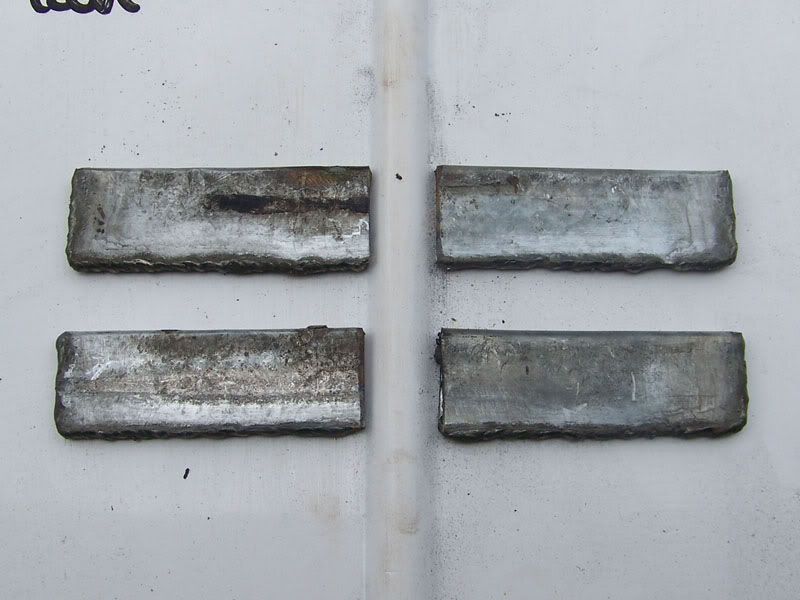
I made these as legs for my new seat frames.
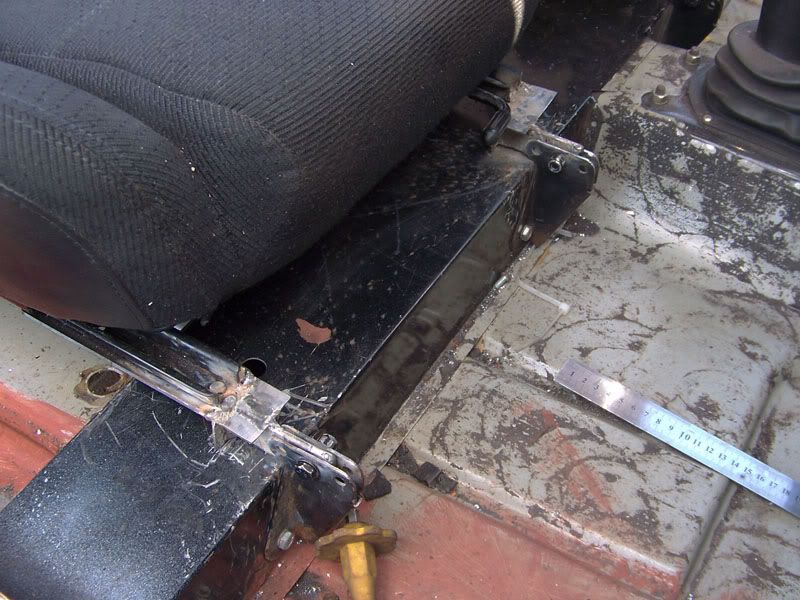
Front brackets together.
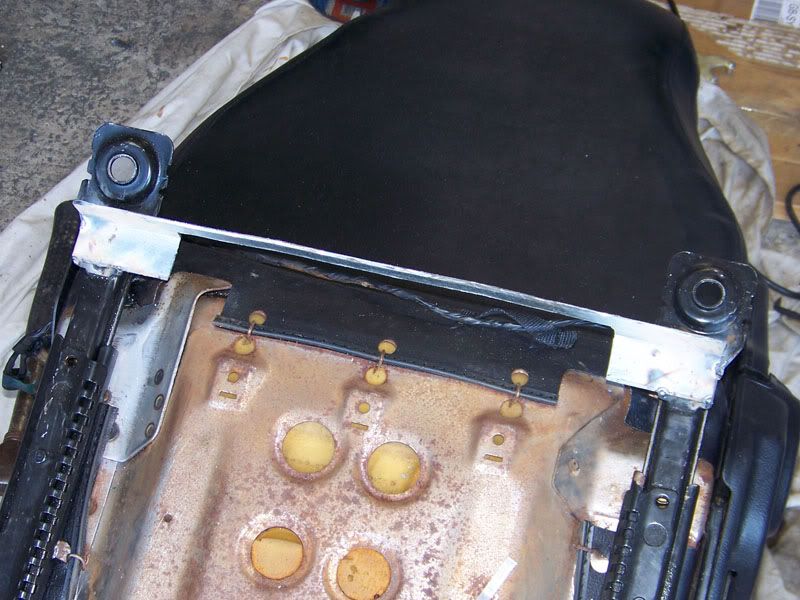
Start of rear bracket, I had to cut a recess for the seat base.
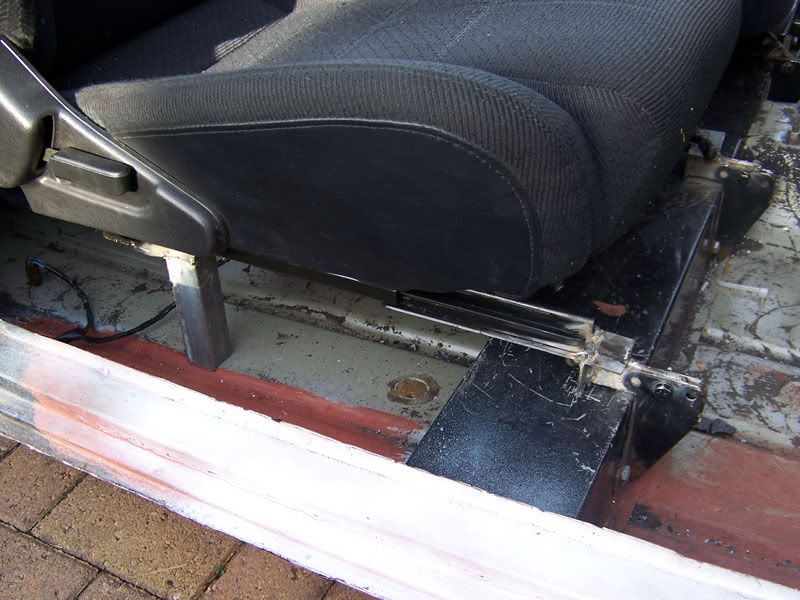
Rear brackets tacked up.
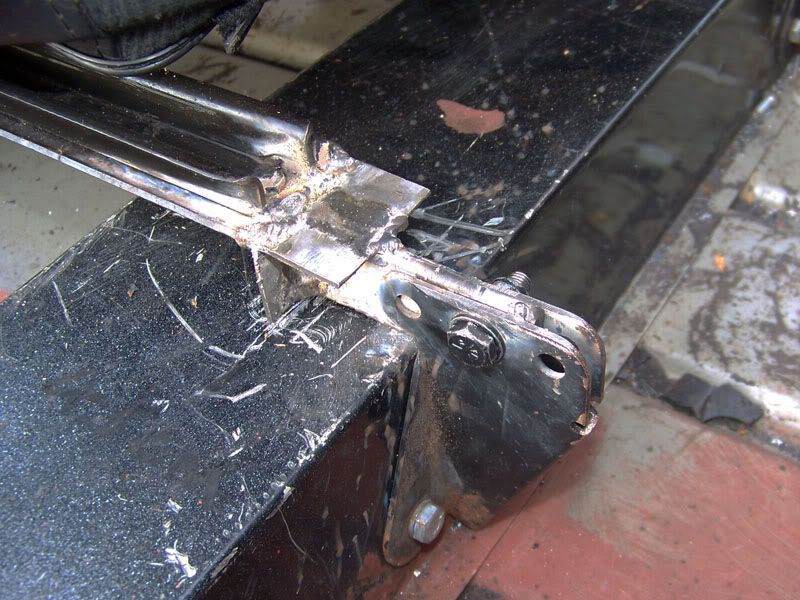
Close up of front bracket nearest door.
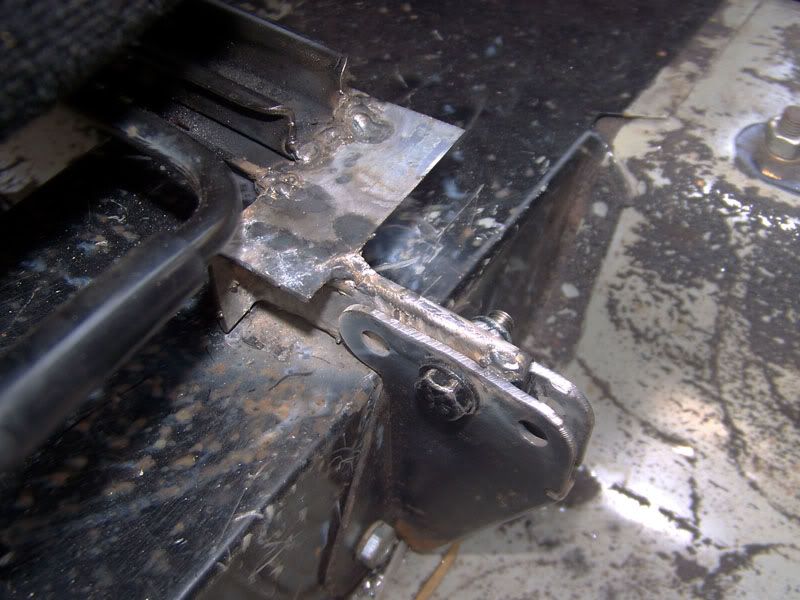
Close up of bracket nearest the gear stick. I'm going to add a small bit of triangulation to this one due to the angle at which it sits, just to be safe.
Todays work is to add that triangulation, finish off the rear brackets and add a threaded part so that they can be secured to the floor with 2 bolts. Once thats done I'll take the subframe off the seat, seam weld it all properly, clean up the welds, prime, paint and regrease the runners. I'll also paint the metal seat bottom. Thena fter that it's time to repeat the same affair with the passenger seat, luckily I have most of the cutting done for that one already
Keep watching
Edited by Deathrow, 06 August 2009 - 11:04 AM.
#471

Posted 06 August 2009 - 08:50 PM
I hung about at home until 11 while the guy came to collect my half block to be delivered to its new owner so it can be made in to something scary. After that I went to EK Brakes and got some cutting discs as well as some more hand wash. After that I came home, got in my scruffs and headed to the garage, got there,
unpacked, started work and came to take a picture...oh, no camera, woops. So that explains the awful quality of the pictures below.
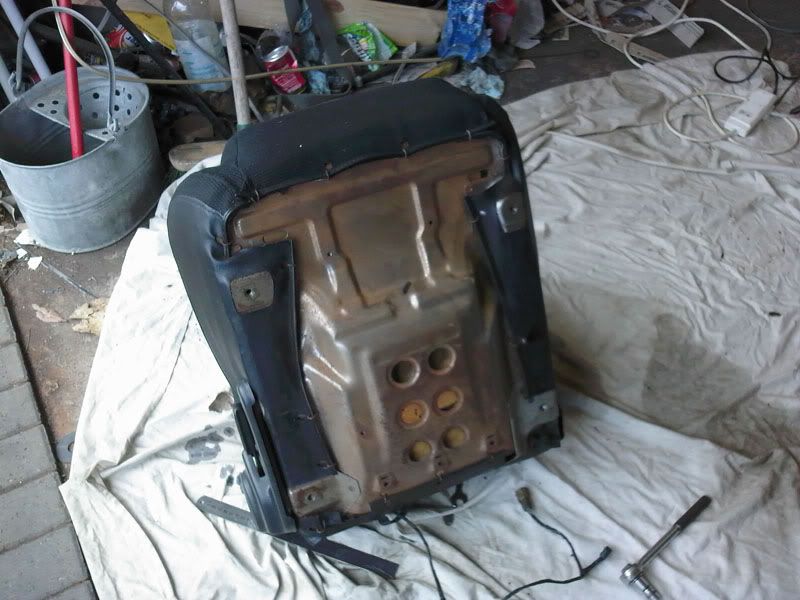
Subframe removed from seat.
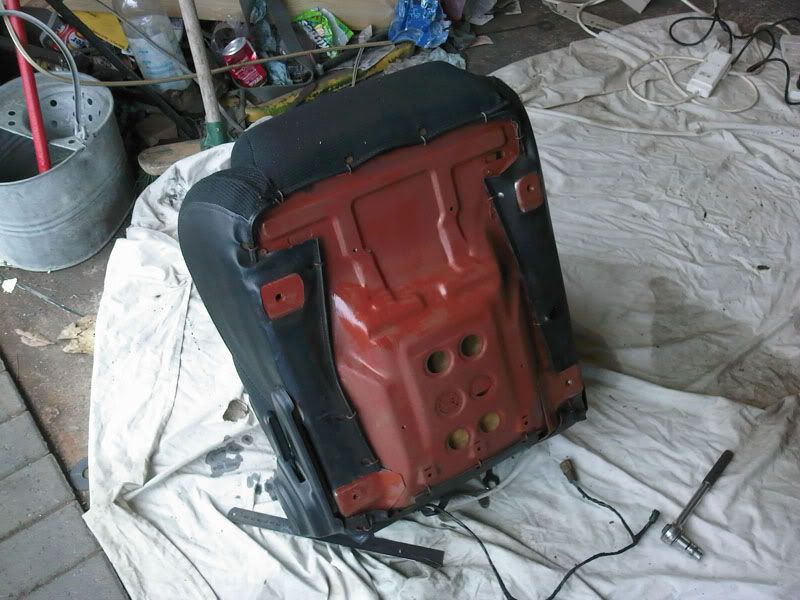
Red oxided.
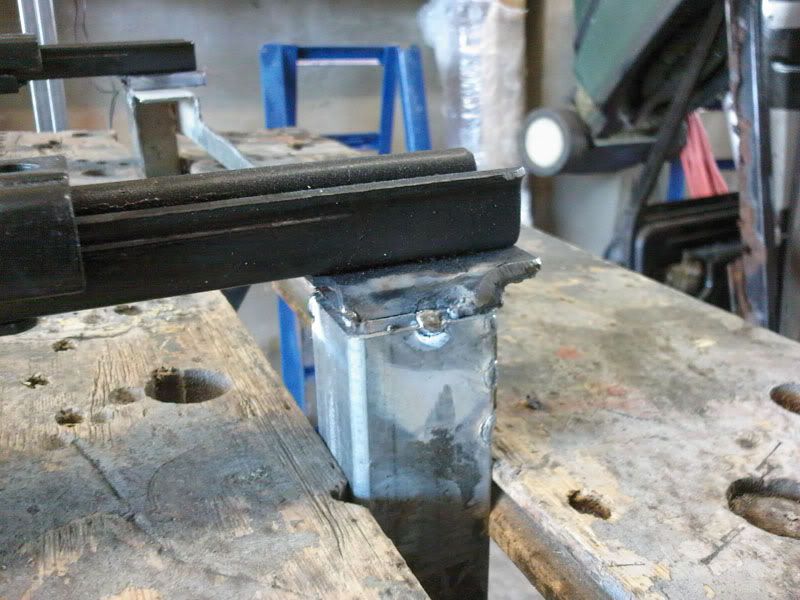
Areas that need seam welding properly now the frame is the right shape and size.
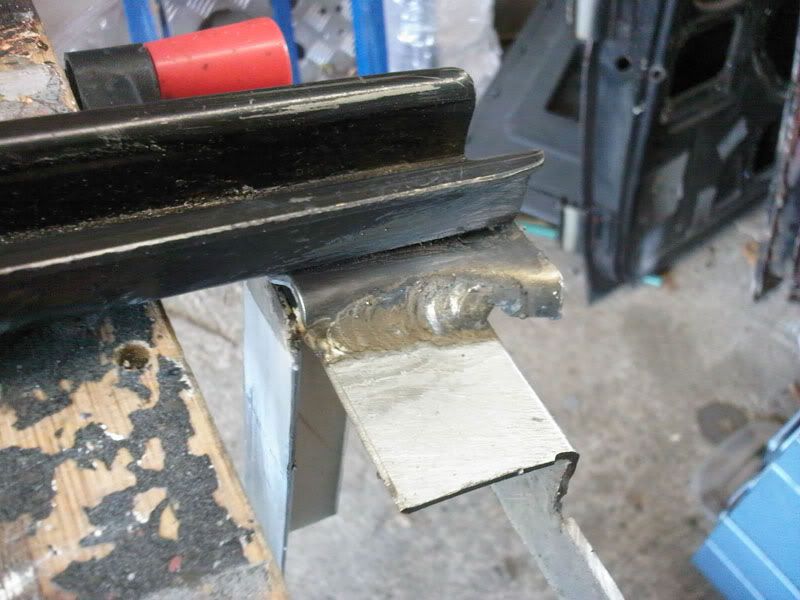
Pretty weld, easy on higher settings with thicker metal. At this point, I ran out of welding wire, well done me so that was any fabrication work for the day finished.
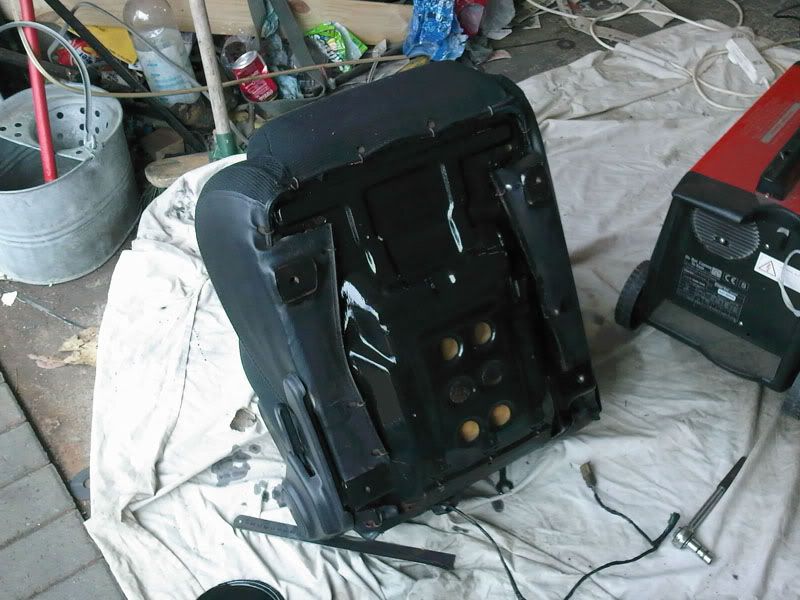
Painted the seat bottom with rustoleum.
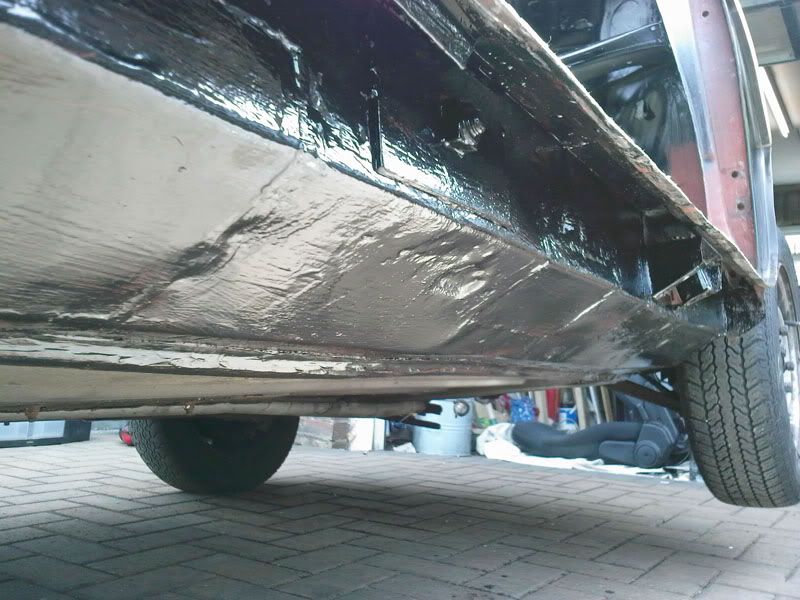
I gave the driver inner sill another coat but forgot to take a picture after.
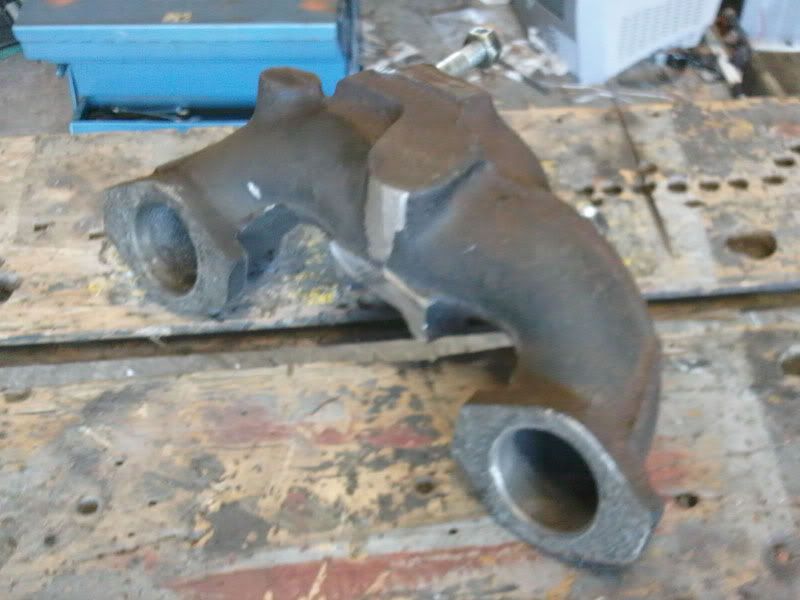
Since I had no welding wire I started working on seperating the cast inlet manifold from the exhaust since I don't need the exhaust part anymore.
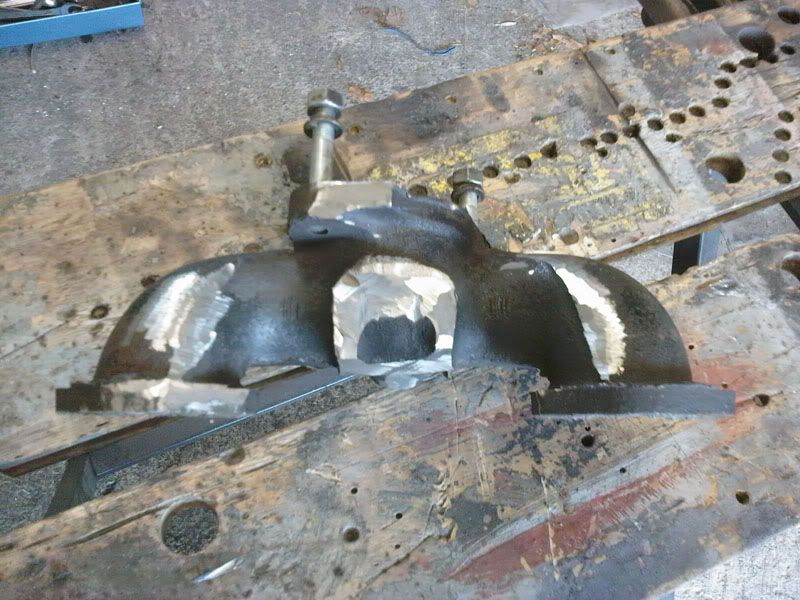
It's more fiddly than it looks, still much more work to do on this before I'll be happy with it.
At this point I headed home with the intention of spending some time on my wheels but I got home and got a call from my mum with some urgent errands, so in the end I didn't get anything done on the wheels at all.
I've ordered 2 more reels of welding wire but they won't get here until Monday now I expect, I'll be very lucky if they arrive saturday but the guy I get my wire from is very very fast! We'll see. Either way, there'll be work on my wheels tomorrow and possibly on some engine bits. I might even finish stripping and rebuilding my heater shortly.
Thanks for looking guys and girls
#472

Posted 06 August 2009 - 09:00 PM
Looks like some fiddly fabrication skills & welding for the seat sub-frames!
Underside of the boot is in really good nick!
#473

Posted 06 August 2009 - 09:05 PM
What a difference spraying the seat makes
#474

Posted 06 August 2009 - 09:12 PM
Haha, you know how it goes:Good work, as always
Looks like some fiddly fabrication skills & welding for the seat sub-frames!
Underside of the boot is in really good nick!
Measure, measure, mark, cut, get metal in eye, sit in A&E for 4 hours, repeat tomorrow! The seats should be worth it though.
I did replace that boot last year though, badly. I'll be doing it again, but I'm really happy with how that waxoyl is still there, I shall be investing in more of that and using it all over Elliots underside when she's all together. I think I'll get the black stuff though if I can.
#475

Posted 06 August 2009 - 10:51 PM
Hey, that seat was brushedGood work all the same if you didnt get all what you wanted.
What a difference spraying the seat makes
#476

Posted 08 August 2009 - 09:19 PM
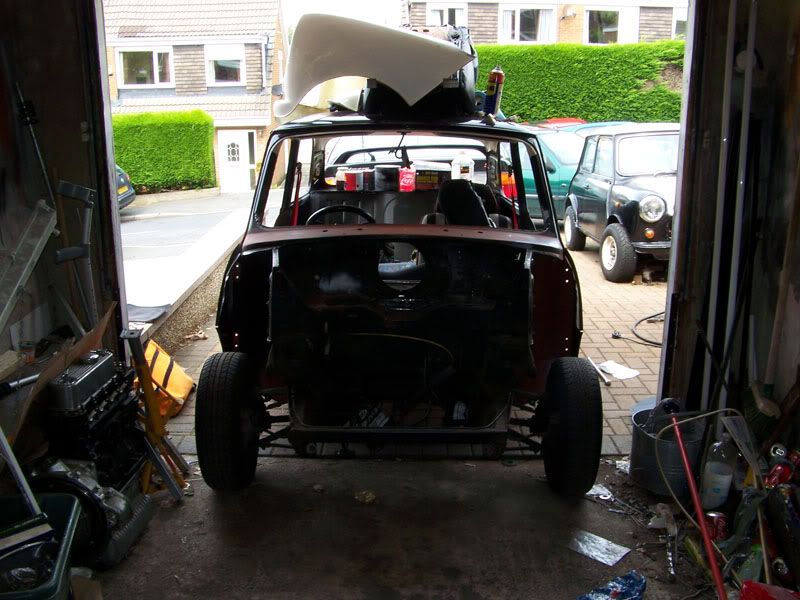
In the shadows, she lurks, waiting.
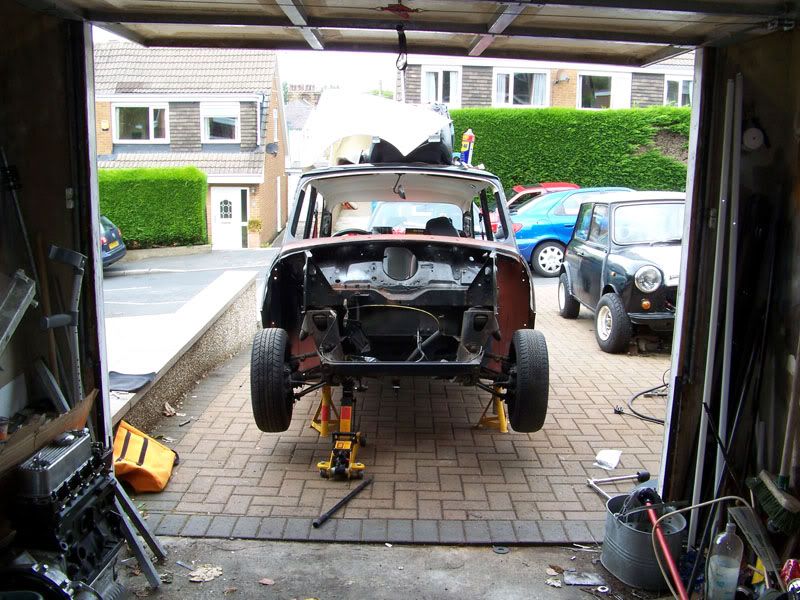
Then she came out in the sun to play! First job on the list was to fit solid subframe mounts to the tower bolts. You may ask why because the subframe will be coming off again so I'll clear this up now. I'm going to be fabricating my brace bars before the subframe comes out and I wanted to be sure it was in the position in which it will be staying with the solid mounts.
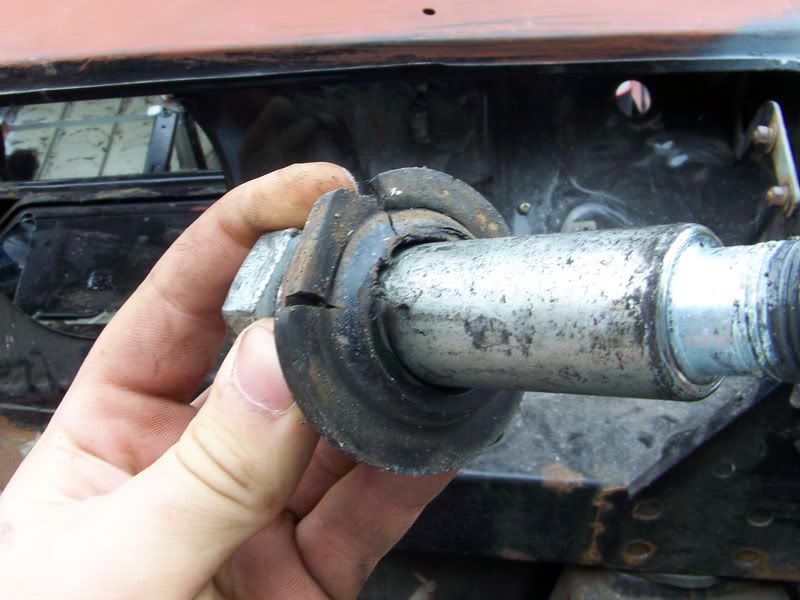
Old mounts have not done so well.
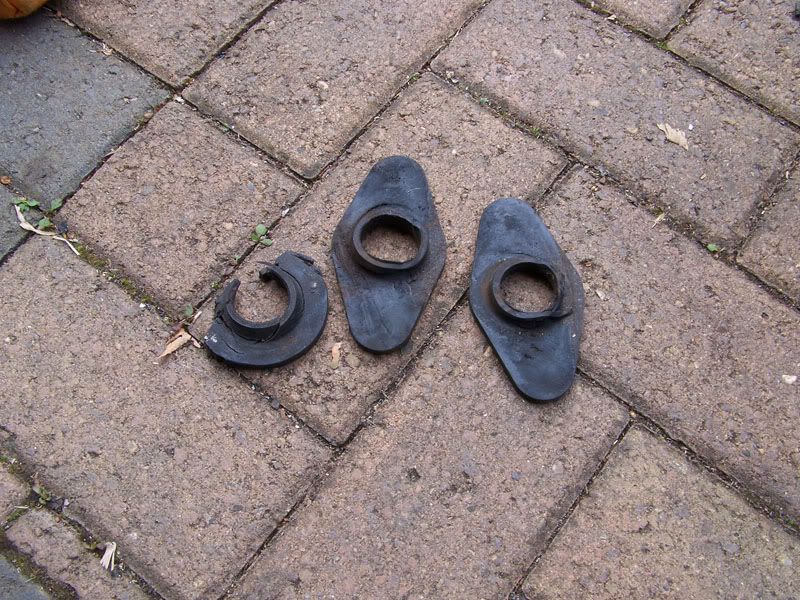
Ughr.
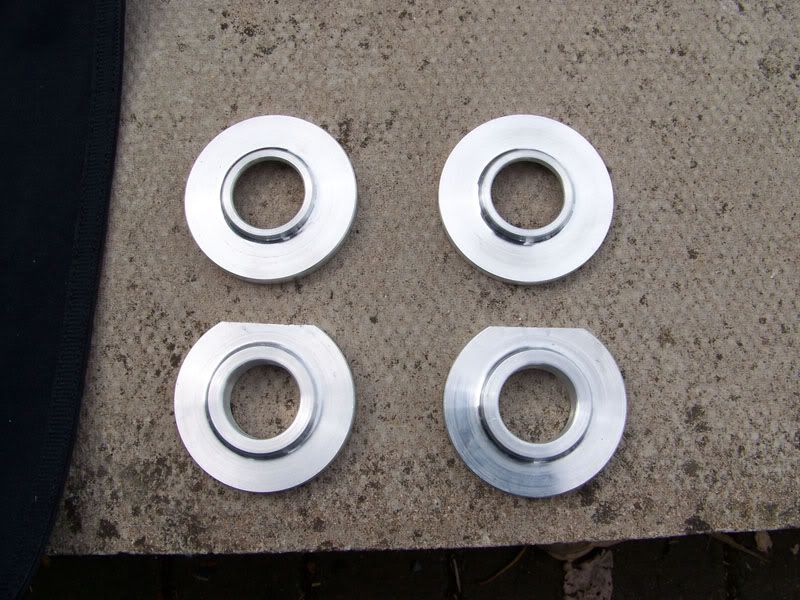
Mmmm, shiny.
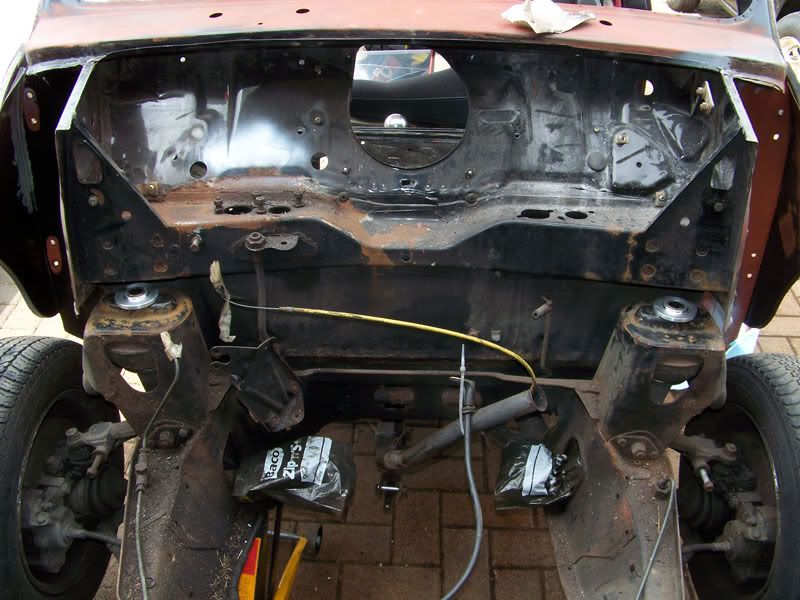
I had to do some filing on the inside of the mounts as they were way too small, but they fit nice and snuggly now.
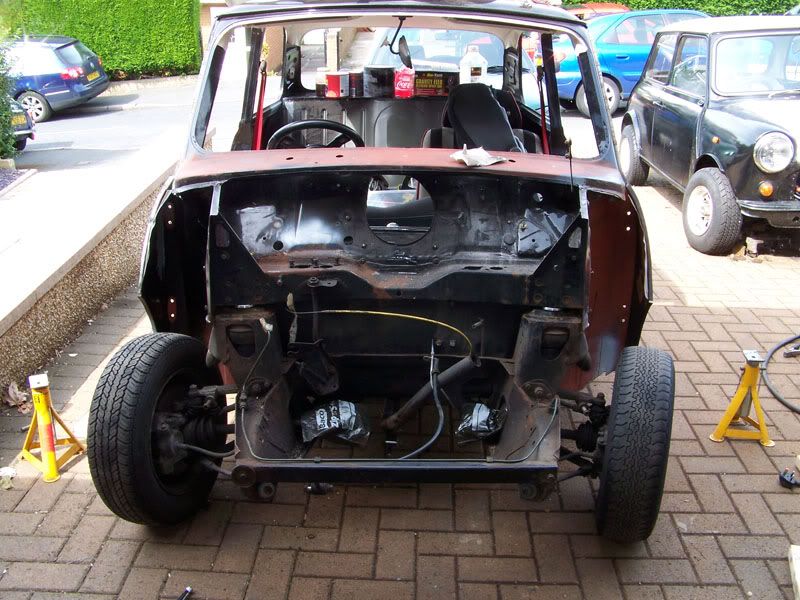
Dropped back on her wheels.
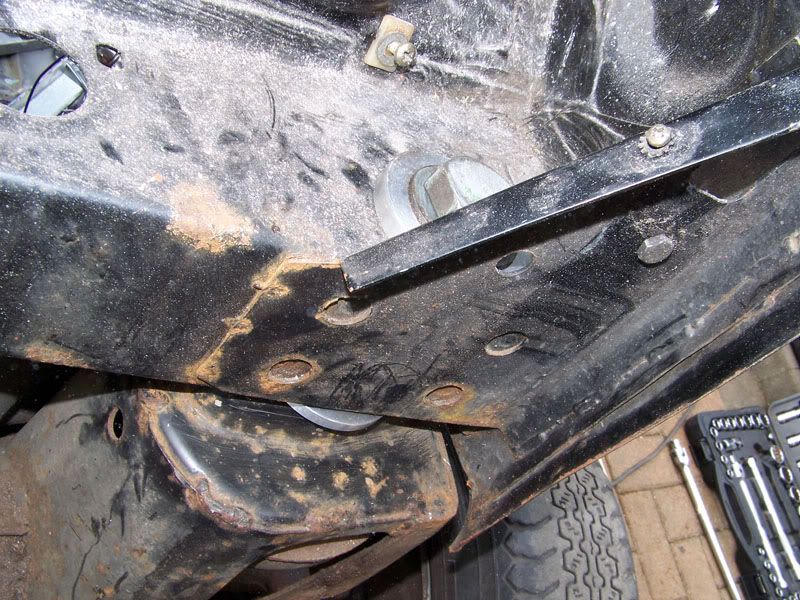
Mounts installed.
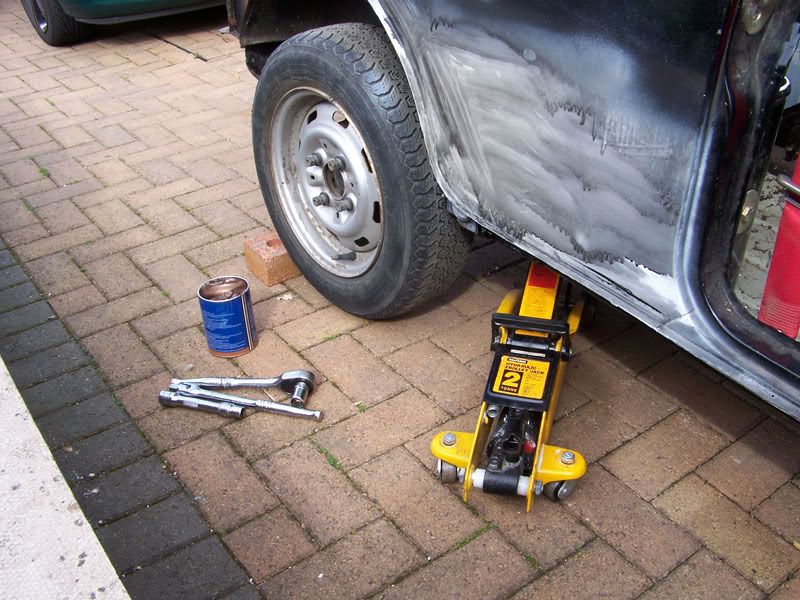
My next port of call was the rear subframe hinge panel bolts, I wanted to make sure they were going to continue to come out after I'd welded the outer sill on.
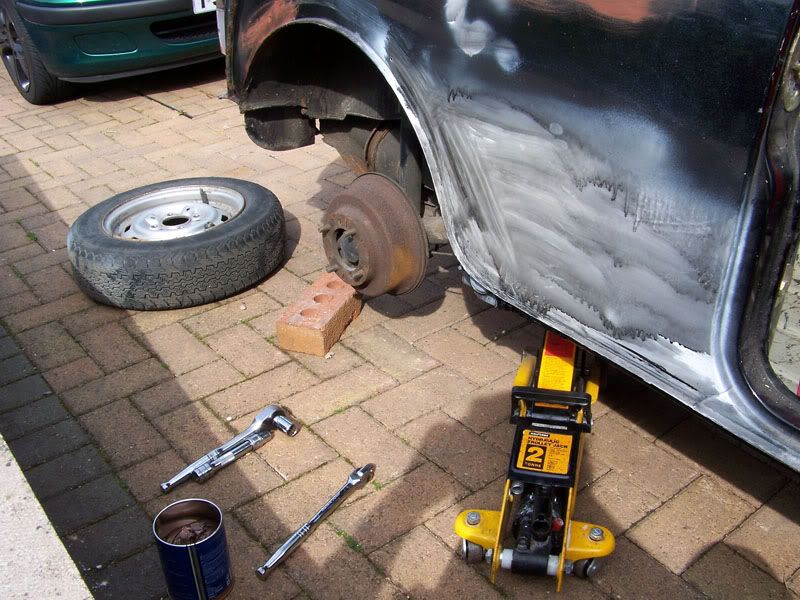
Jacked up, wheel off.
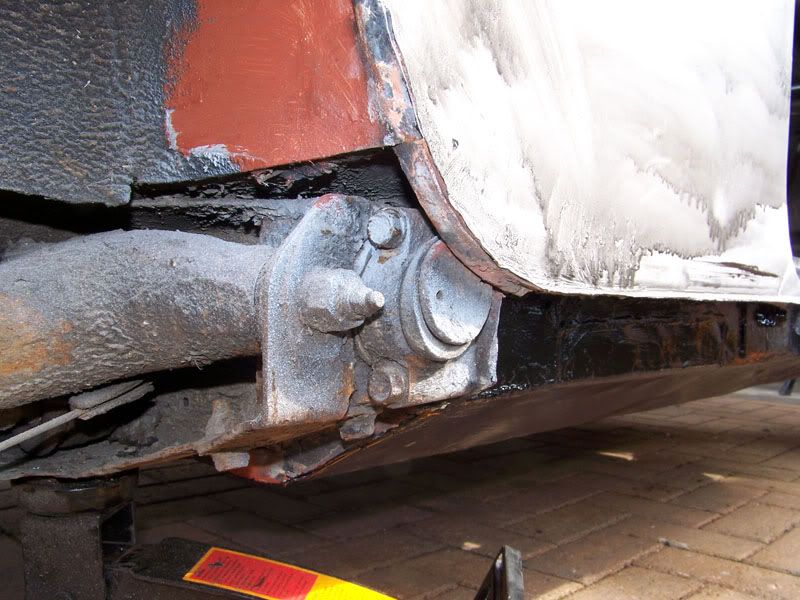
Bolts in question. I undid them both a little and tightened one back up and removed the other before replacing it and doing the same again.
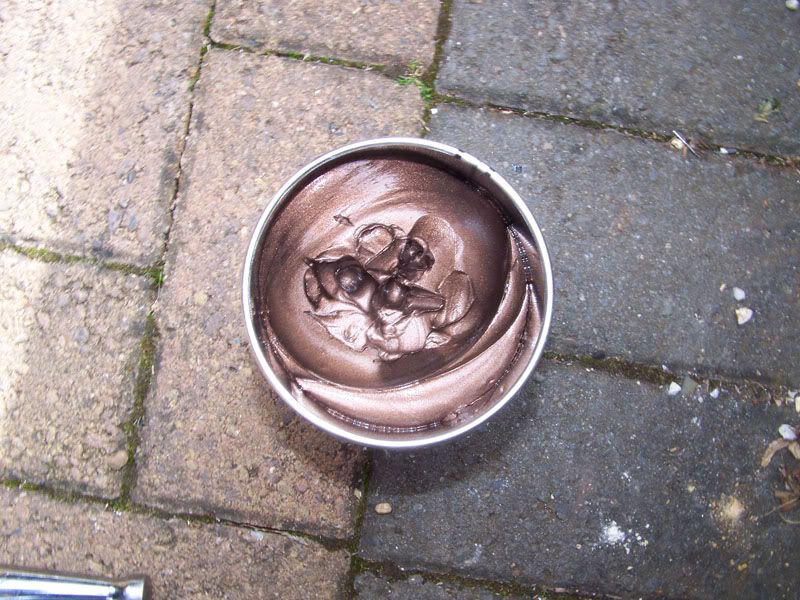
This stuff smells so good I actually want to eat it.
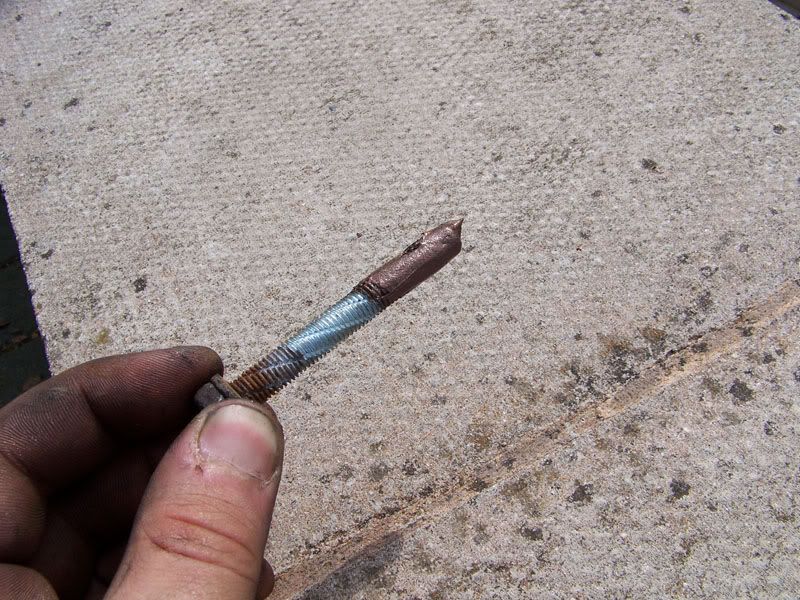
Nice blob on the threads.
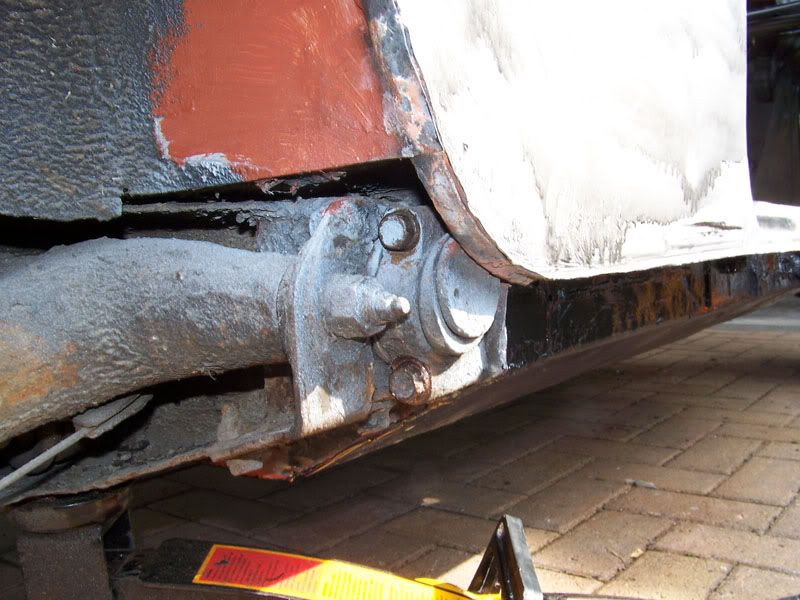
I worked both bolts in and out a few times to make sure the copper grease was evenly applied on the threads of the bolt and nut.
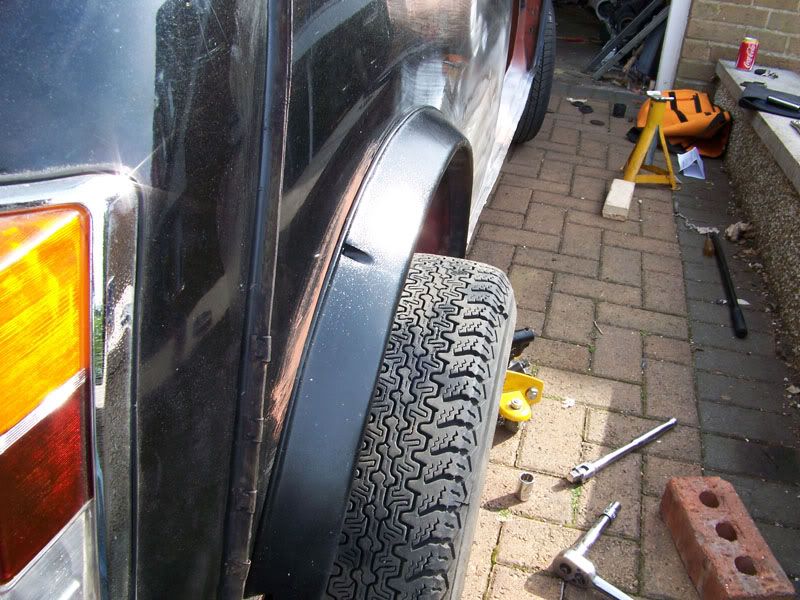
If only this was legal.
At this point I headed home to do a few things.
#477

Posted 08 August 2009 - 09:20 PM
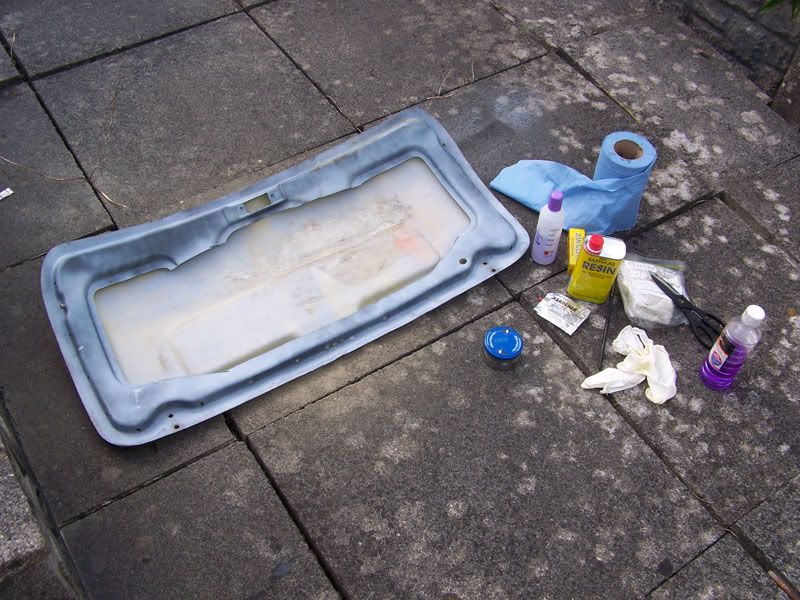
Everything you need to do some fiberglass work.
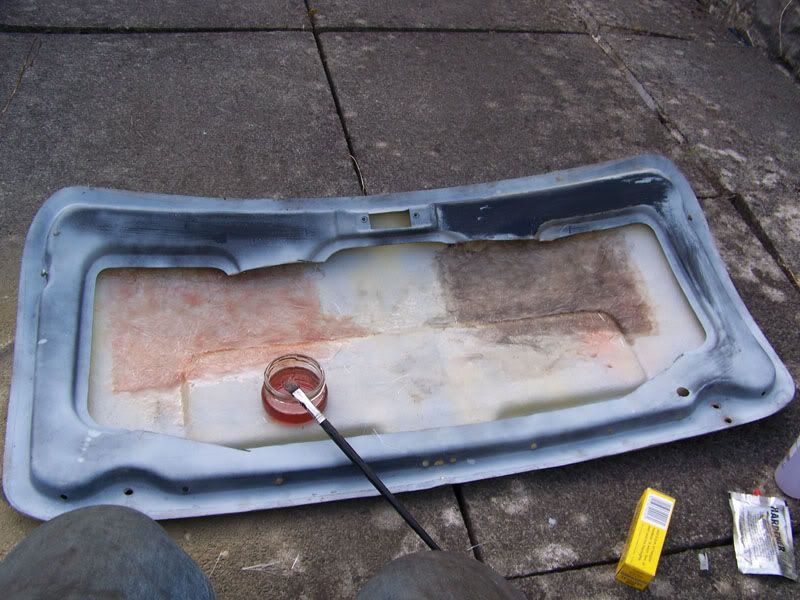
Part way through.
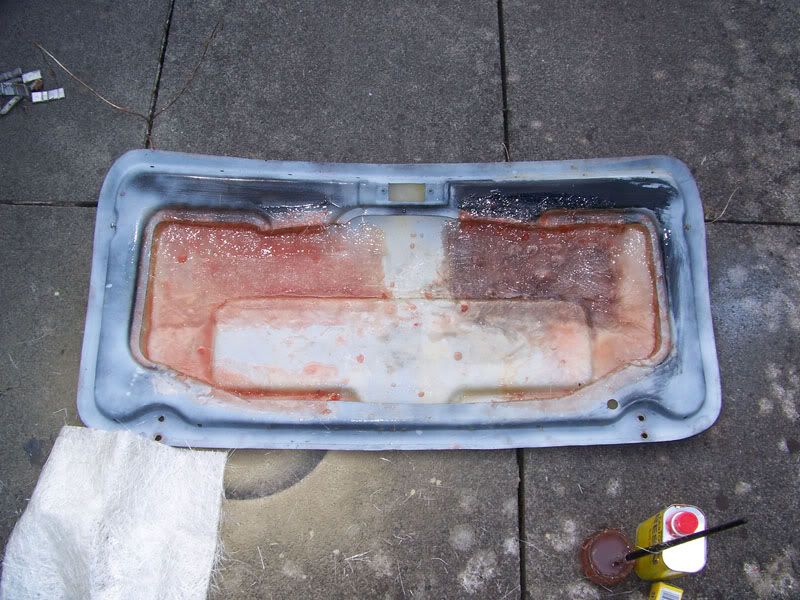
Finished article. I wanted to add a bit more strength to the fiberglass skin as it was a bit thin in places.
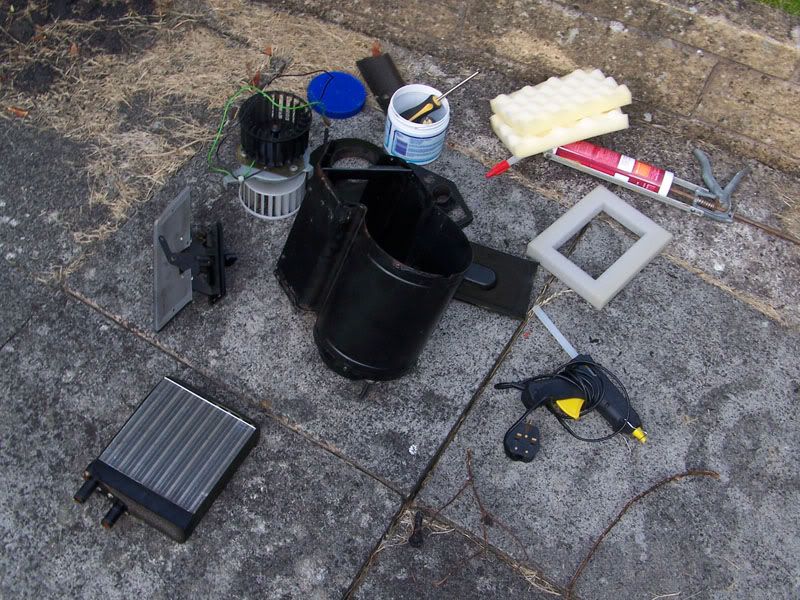
Time to sort my heater out.
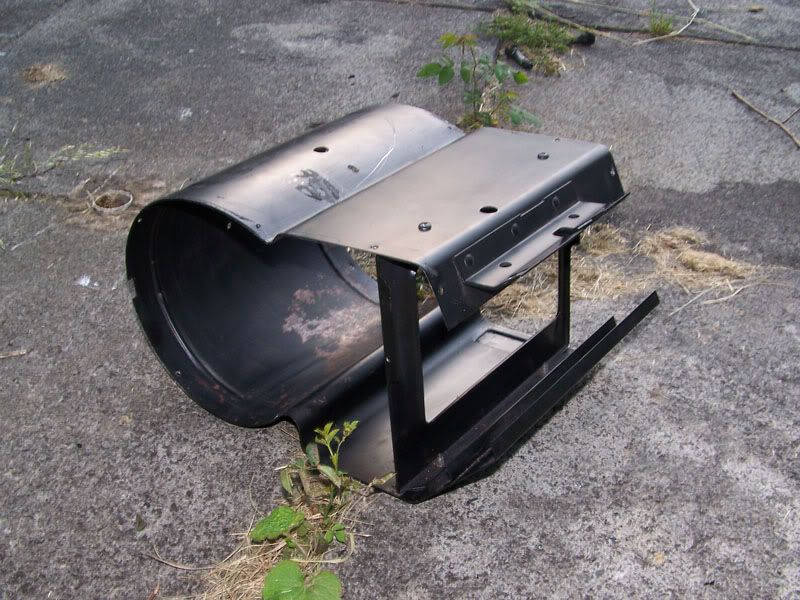
Stripped to a basic frame.
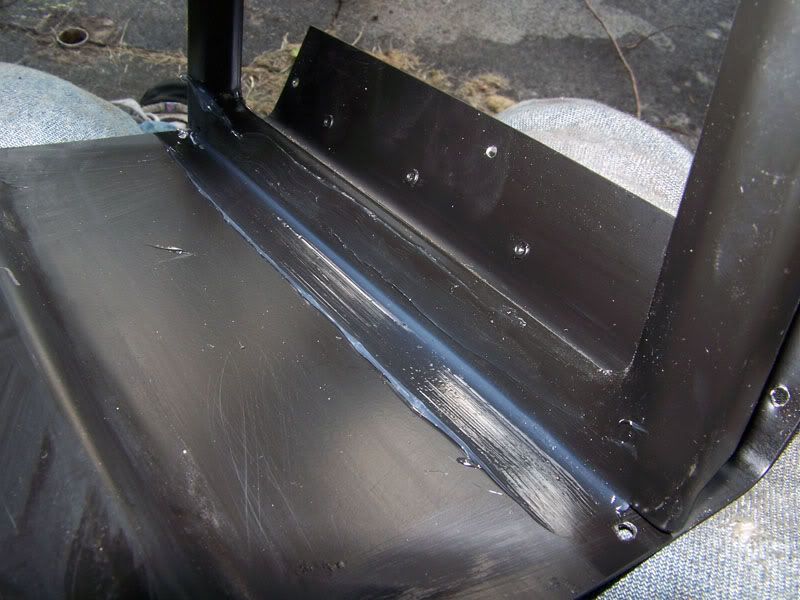
All joints were sealed with silicone sealer in order to keep it all as air tight as possible.
At this point my camera batteries died so the rest of the pictures are off my phone, apologies for the quality (lack of).
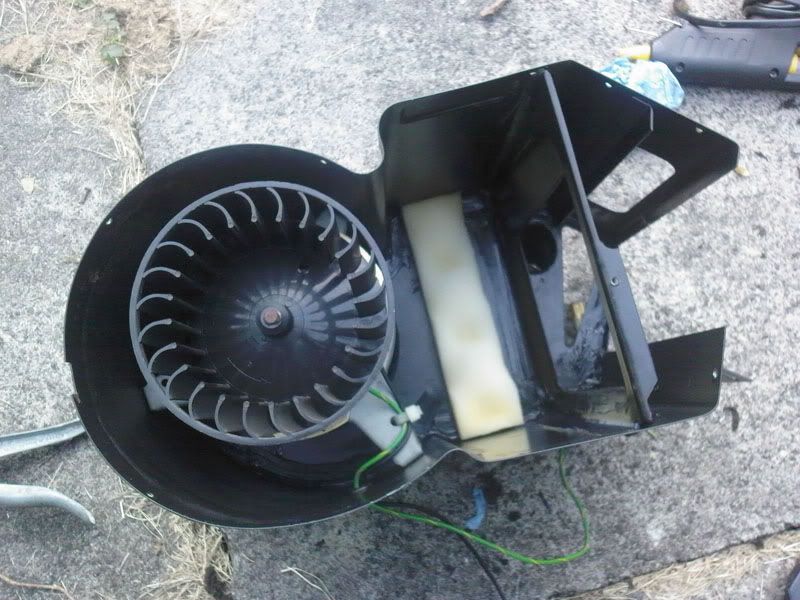
Motor back in and seal for heater matrix in place.
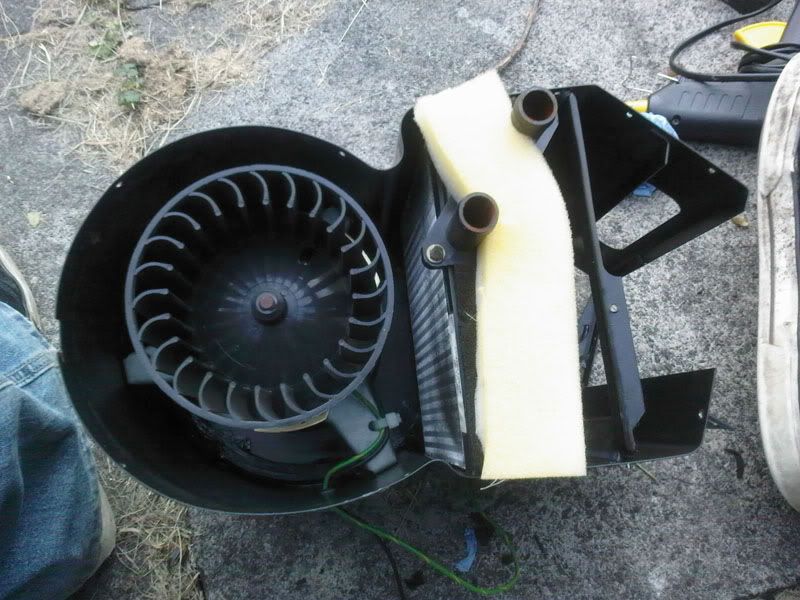
Heater matrix installed and top seal in place.
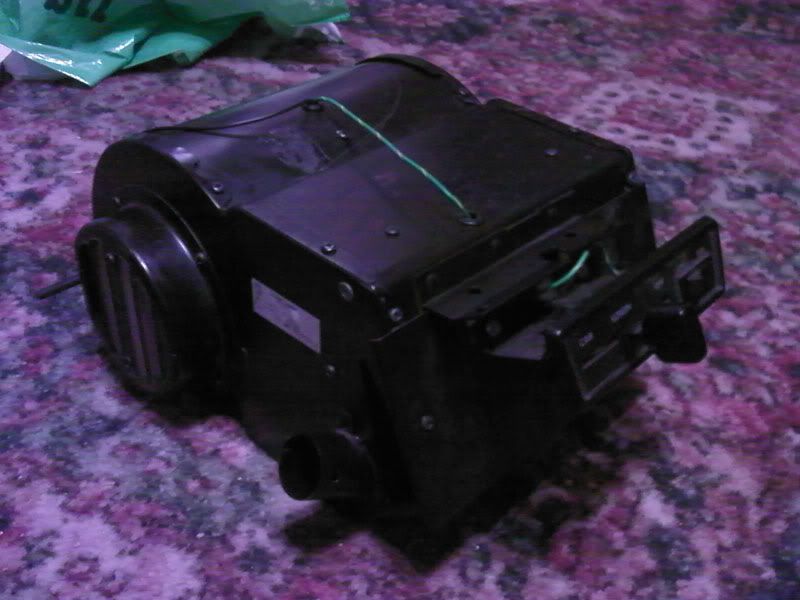
Finished article, seams to be well sealed now so should work a little better.
Thats all for today, but just to add, I drove past this van a few days ago and couldn't help but fall in love with the colour in the sun. I believe it's VW Brilliant Orange so that's my decision made:
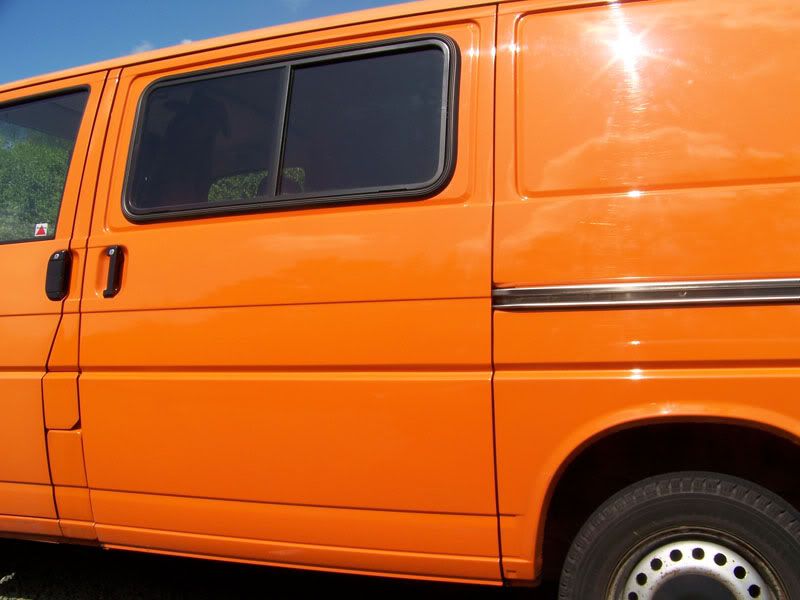
So vibrant yet not in your face.
Thanks for looking
#478

Posted 08 August 2009 - 09:50 PM
#479

Posted 09 August 2009 - 01:12 AM
Cheers mateLooks good Adam, keep it up
.
Got another one to write up now actually.
#480

Posted 09 August 2009 - 01:20 AM
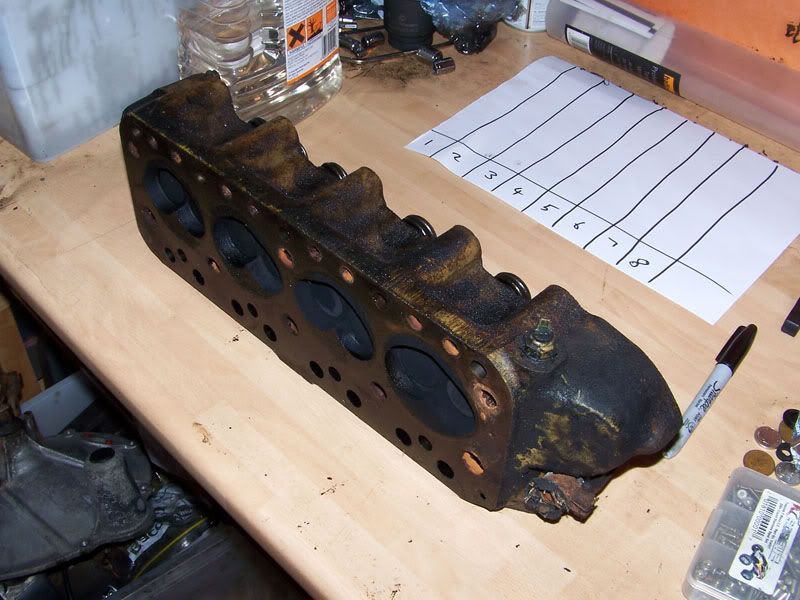
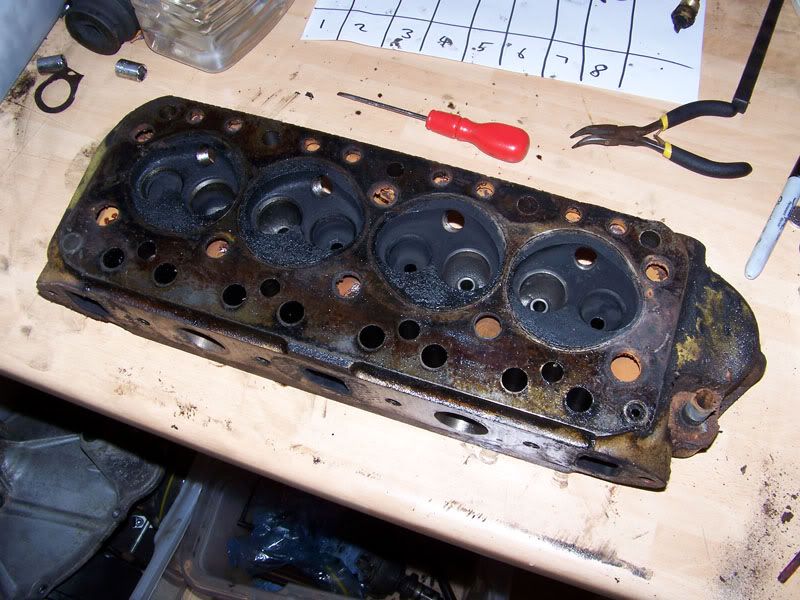
Dirty, oily, rank.
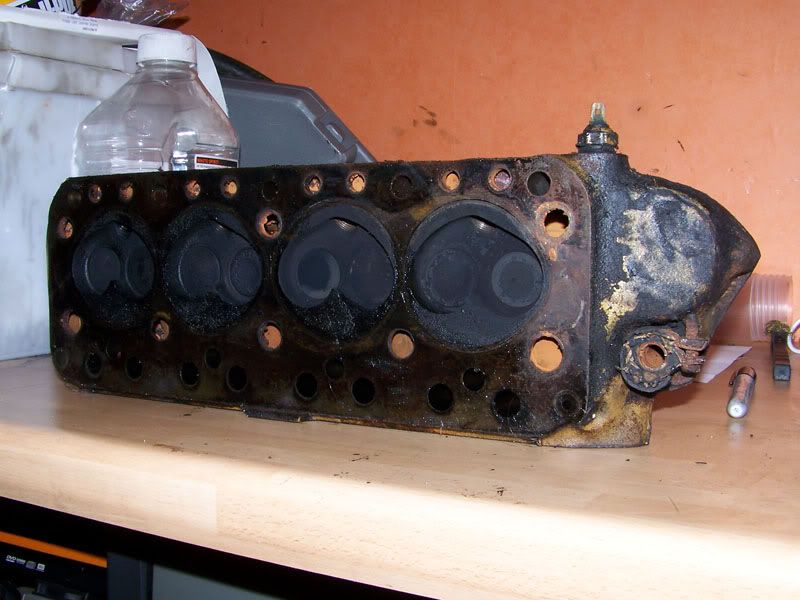
Combustion chambers.
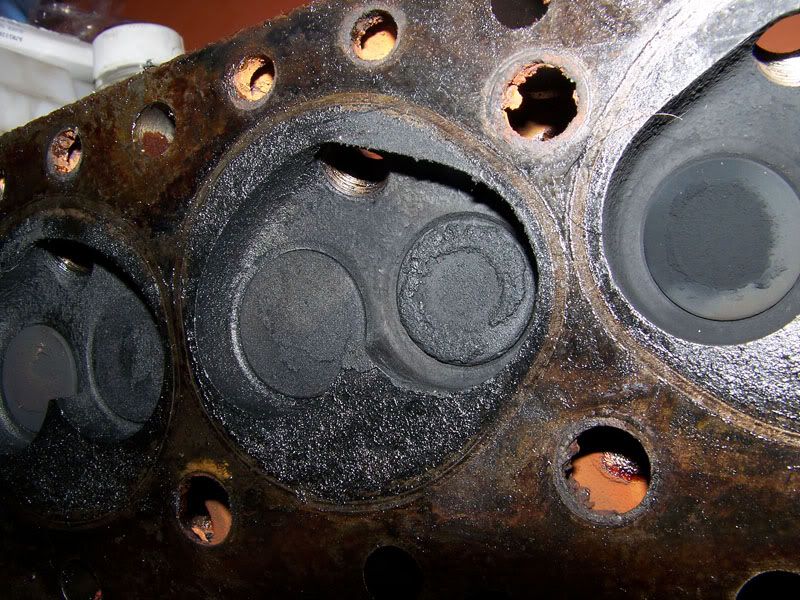
Shall I phone Coca Cola?
Valves out.
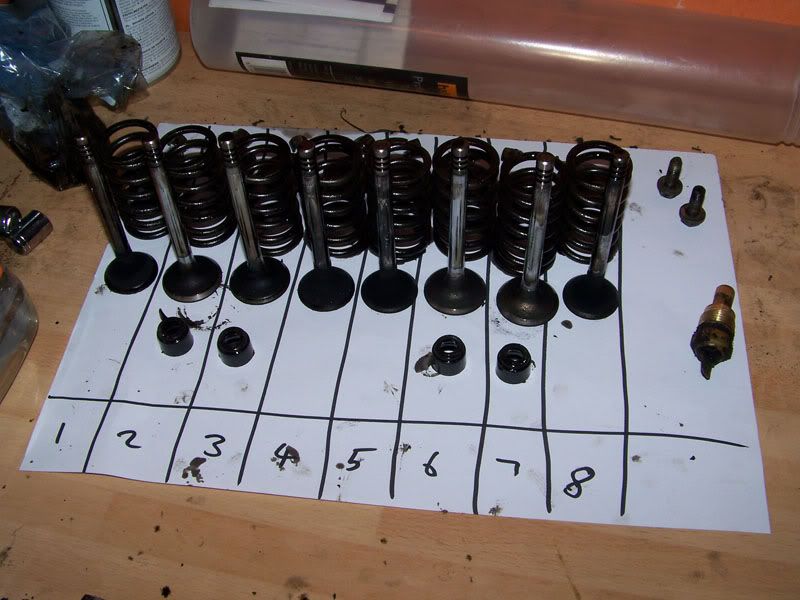
And parts grouped together for installing back where they came from.
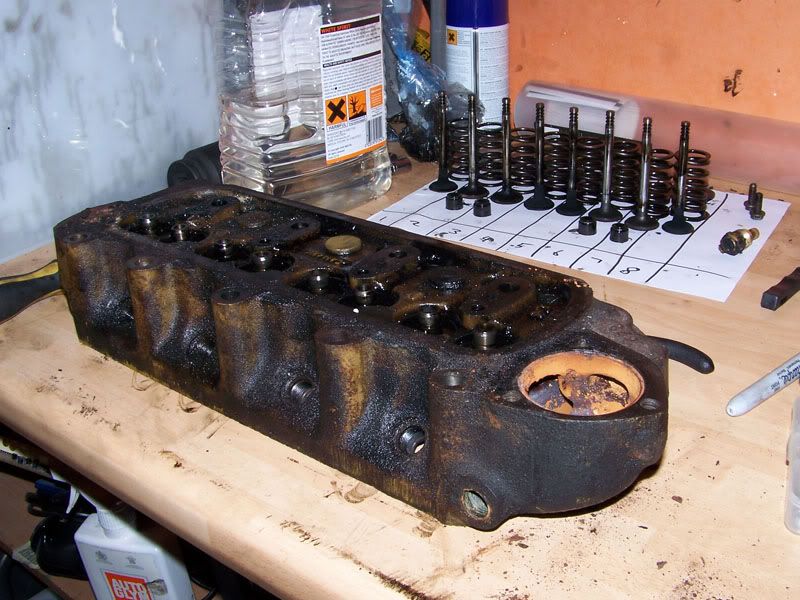
Dirty and valveless.
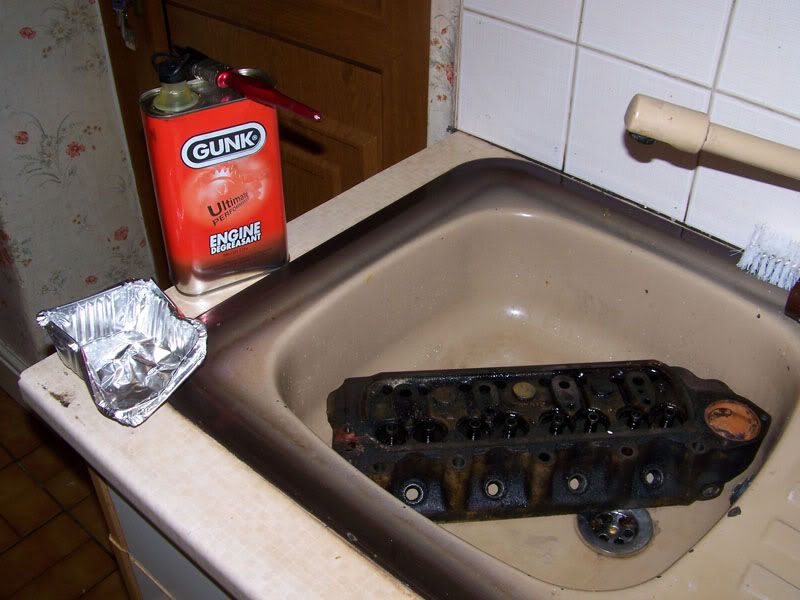
In to the sink.
I didn't take any pictures of it in the sink because of the sheer amount of mess I made, if the picture ever crossed my mothers path...lets just say I wouldn't be able to have kids (haha, nah she's lovely really, lovely but loud).
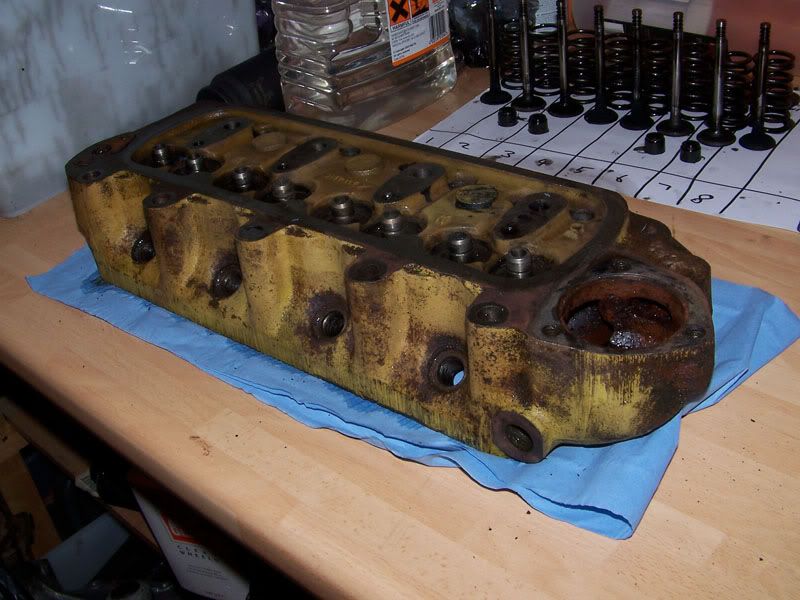
Back on the desk.
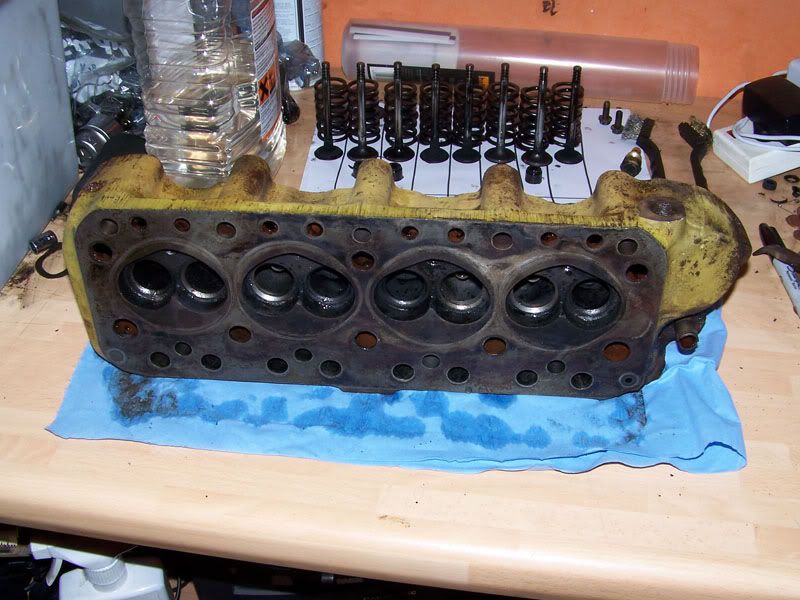
Much cleaner.
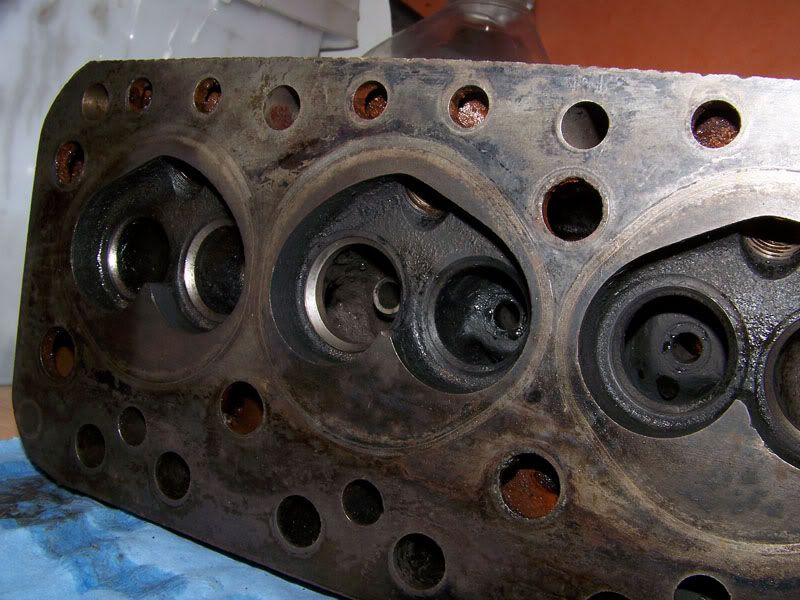
Might have to get the wire wheel on the dremel in here to get all the coke out.
It needs a bit more cleaning before I give it a coat of black engine lacquer to match the block. I'm going to pop to halfords and buy a valve grinding stick and some paste tomorrow so I can lap the valves in. If it's worth doing, it's worth doing properly. Aside from that there isn't alot in the way.
Thanks for looking
Also tagged with one or more of these keywords: roundnose
Projects →
Mini Saloons →
Mini Cooper Project - Finally StartsStarted by piphatch , 08 Jan 2025 |
|
|
||
Projects →
Mini Saloons →
1965 Austin Mini Restoration - Canadian Mk1Started by DoubleEh , 14 Nov 2022 |
|
|
||
Projects →
Mini Saloons →
Project Joe - 1991 Mini Mayfair 998Started by Eggers , 02 Jun 2022 |
|

|
||
Projects →
Mini Saloons →
Mpi Dashboad ProblemStarted by mikeprez , 22 Dec 2021 |
|

|
||
Projects →
Mini Saloons →
1978 Oew - Willy The MiniStarted by smalltreegrower , 11 Nov 2021 |
|

|
1 user(s) are reading this topic
0 members, 1 guests, 0 anonymous users


