#211

Posted 16 April 2009 - 10:06 PM
For the price of a new one, it's something that's worth replacing when an engine rebuild is concerned!
by the way, your a panel welding = fantastic! You're really getting the hang of the metal glue!
#212

Posted 16 April 2009 - 10:18 PM
Sheesh! How did that happen?!My old one was rougly the same (distance) before the old owner had the misfortune of a transfer gear finding its way into the gearbox!
For the price of a new one, it's something that's worth replacing when an engine rebuild is concerned!
by the way, your a panel welding = fantastic! You're really getting the hang of the metal glue!
Well the new one is sat there now so it might as well go on during the build, seems stupid not to. I'll attempt to make the old one in to a clock or something haha.
Thanks for the welding comments, I wasn't sure how well I'd managed it so all the comments really help my confidence with it
#213

Posted 16 April 2009 - 10:28 PM
However, the gearbox he had below it was an old type, and basically couldn't handle the power. The transfer game went inwards, into the gearbox, hit off 1st gear and took a huge amount of casing with it!
Also why in my build i've got a second hand newer gearbox, and had it completely rebuilt, with Straight Cuts and a Cross Pin Diff, eliminating the weaknesses of the old box!
Edited by dezshearer, 16 April 2009 - 10:29 PM.
#214

Posted 16 April 2009 - 10:34 PM
Bit of a scary story too!
My gearbox is from my '88 so shouldn't be a weakness once it's rebuilt, with any luck anyway. I'll rebuild the diff too if it needs it.
I can understand why yours would need uprating though if you're intending on S/Cing it!
Edited by Deathrow, 16 April 2009 - 10:35 PM.
#215

Posted 16 April 2009 - 11:06 PM
Baked beans are pretty cheap!
#216

Posted 17 April 2009 - 11:42 AM
Its threads like this that make my think my project is easy. Just need to get my welding up to scratch, gues thats 80% of the progres really.
Cheers mate, really enjoyed reading it!!
#217

Posted 17 April 2009 - 11:47 AM
#218

Posted 17 April 2009 - 11:51 AM
#219

Posted 17 April 2009 - 08:57 PM
Glad you enjoyed it chapjust read this through from the start. . . good work!
Its threads like this that make my think my project is easy. Just need to get my welding up to scratch, gues thats 80% of the progres really.
Cheers mate, really enjoyed reading it!!
Haha, I tell you whats not jealous of them, my debit card! Hoping it'll make it a nice fun drive though, not over the top unreliable mentalness, just something that will be a good blast on the lanesI've become quite jealous at your recent purchases
!
Thanks matecome leaps and bounds since i last looked ! good work
Anyway, on with an update I think! It's a big one today, 26 pictures in all.
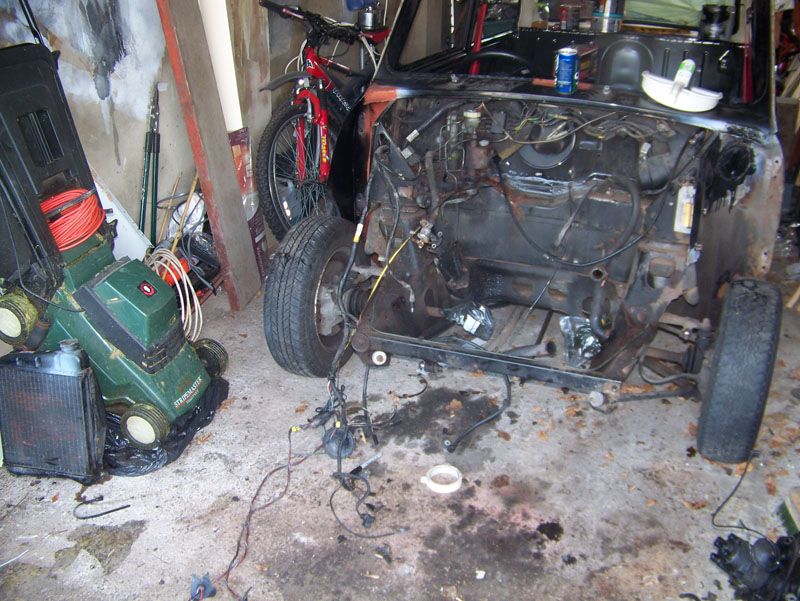
My friends Dad had left the drive blocked so I couldn't get the car out but I figured since I was there I'd do something that would need doing later anyway then it's not a wasted day. So I set off organising the wiring and stripping the bulk head.
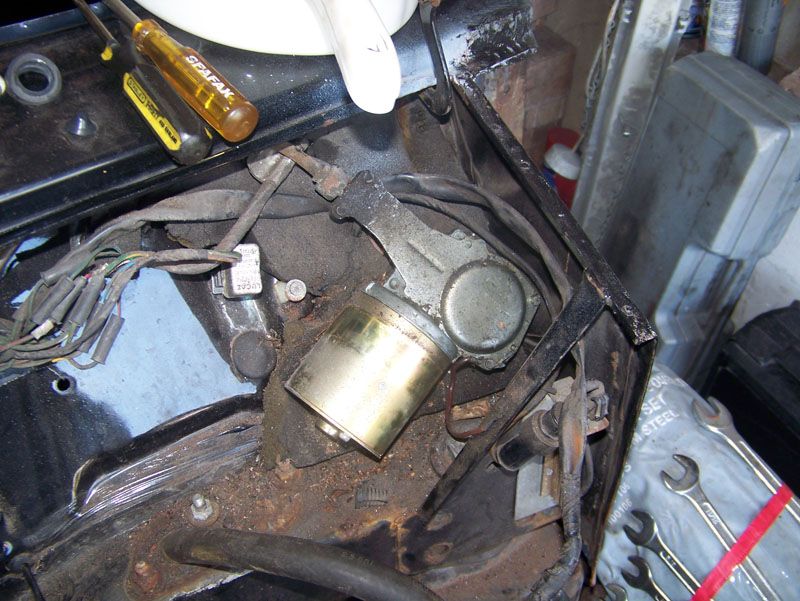
Wiper motor on its way to being removed.
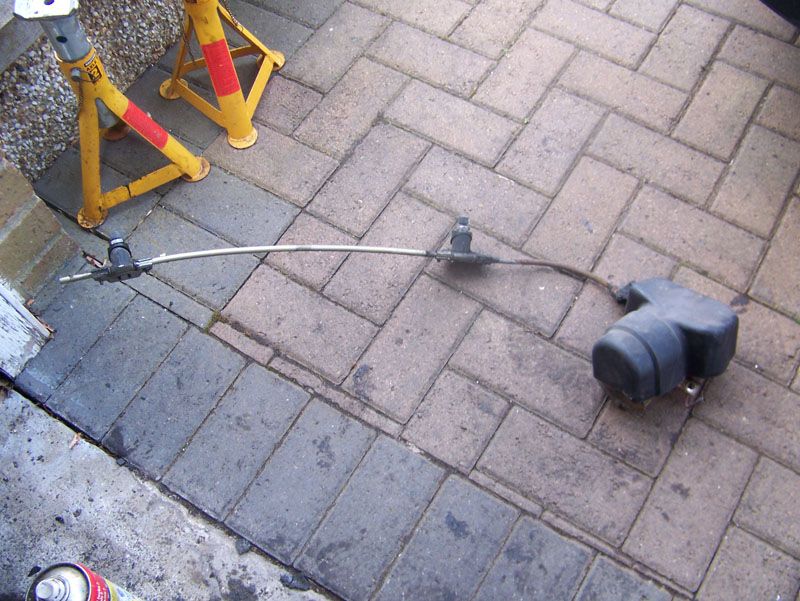
And out.
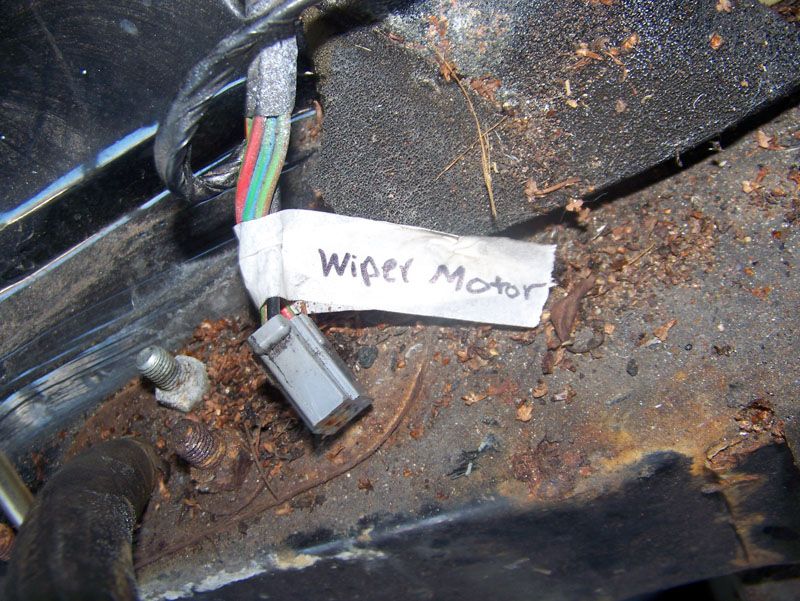
Wiring labeled appropriately.
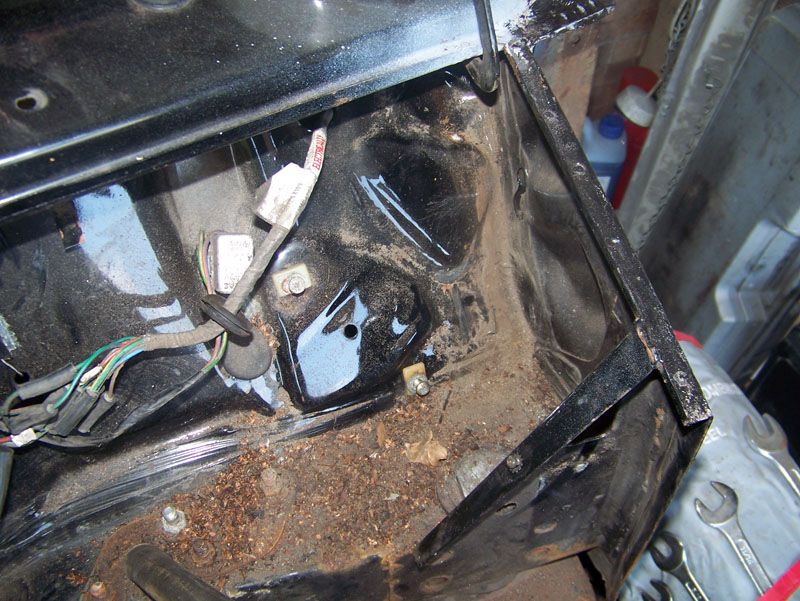
Passenger side of bulk head, what a mess!
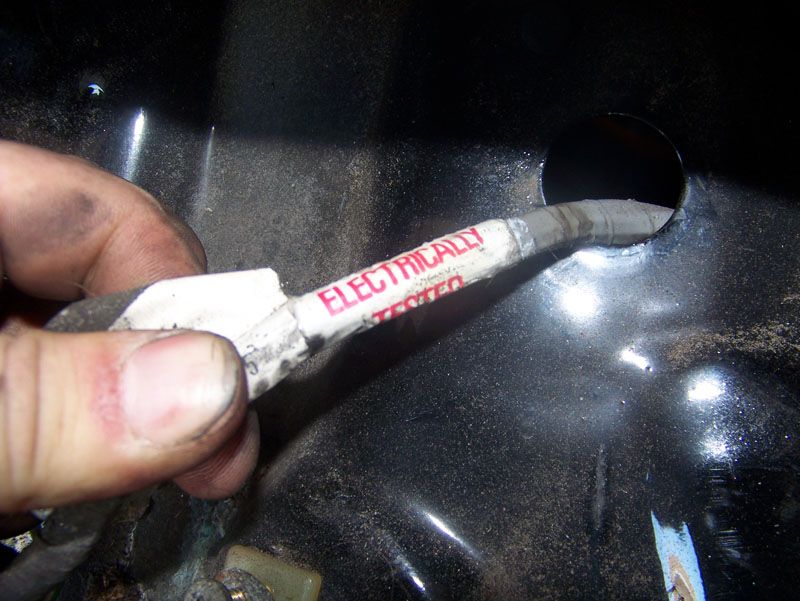
Lets face it, where British Leyland are concerned this could mean anything!
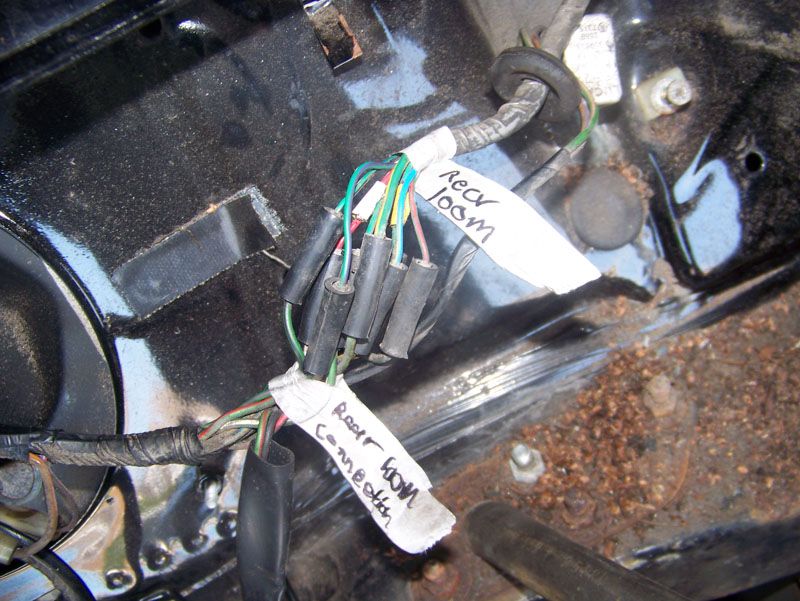
Front and rear loom connections labeled ready to be split.
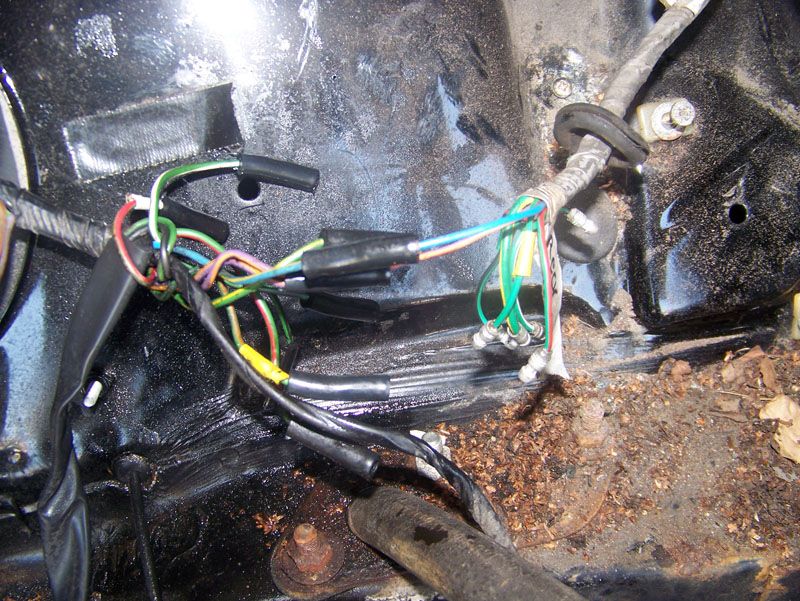
Bullets were corroded, some came undone after some WD40 and tugging and others broke. In the end I cut the remaining ones. I intend to get a weather proof connector to replace the 9 bullet connectors BL used, seems stupid when it could be put in to one waterproof plug.
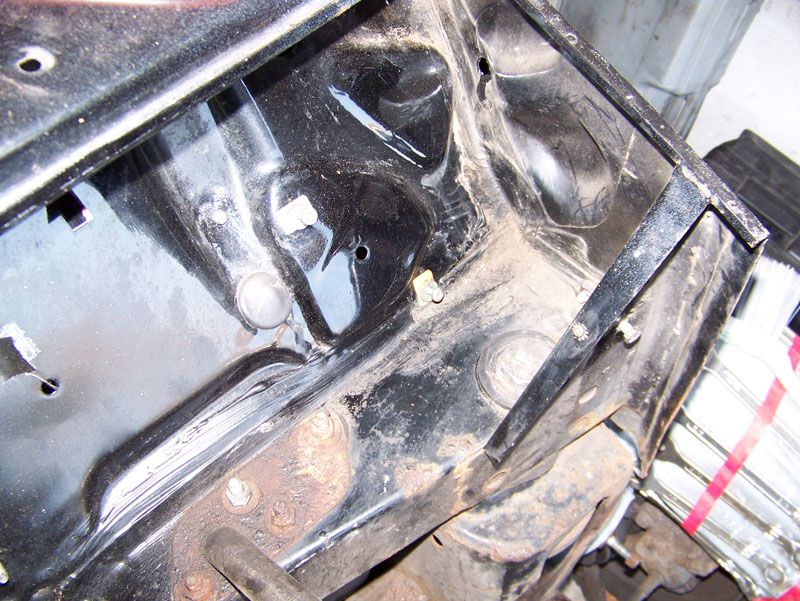
Bulkhead brushed down, seems I had half a bush on there
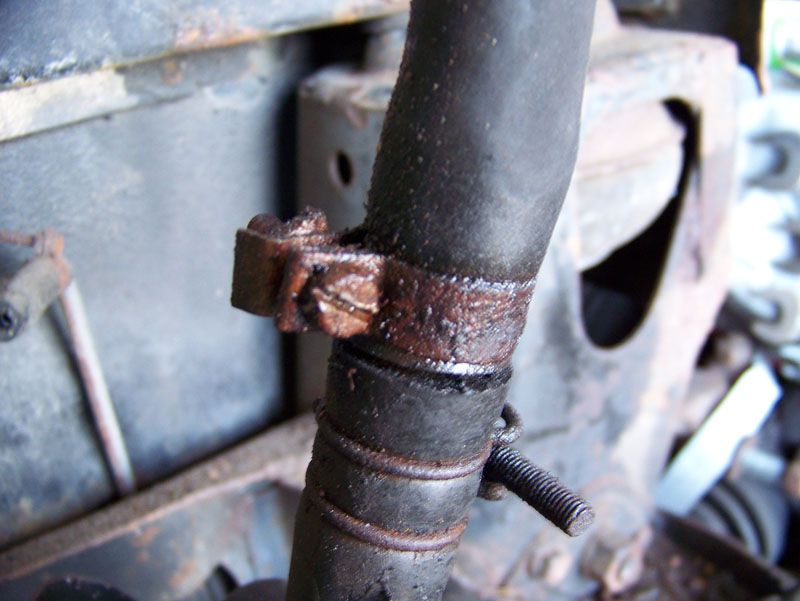
Every single one of these clips I've come across so far have been rusted solid. I've stopped bothering to try a screw driver on them...
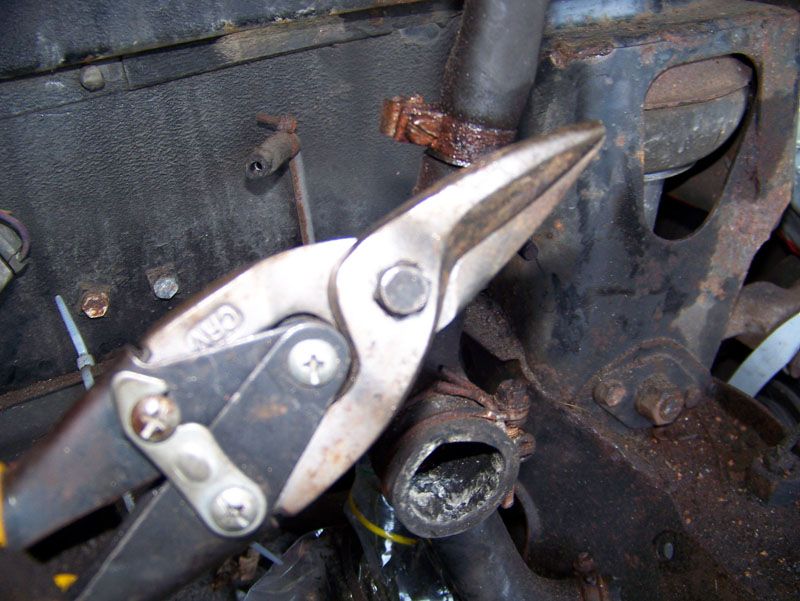
...I'm using these instead. All the clips will be replaced with jubilee clips anyway as my friends Dad can get me a bunch from his work
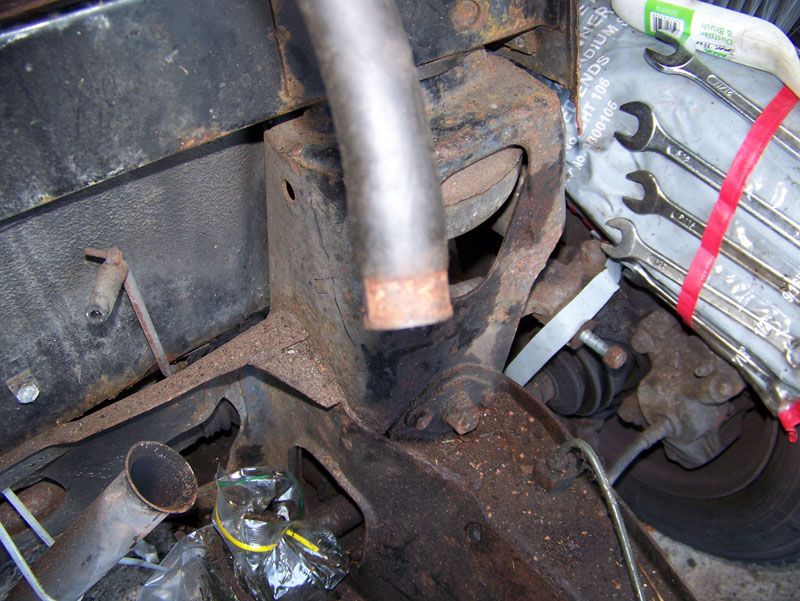
Like magic!
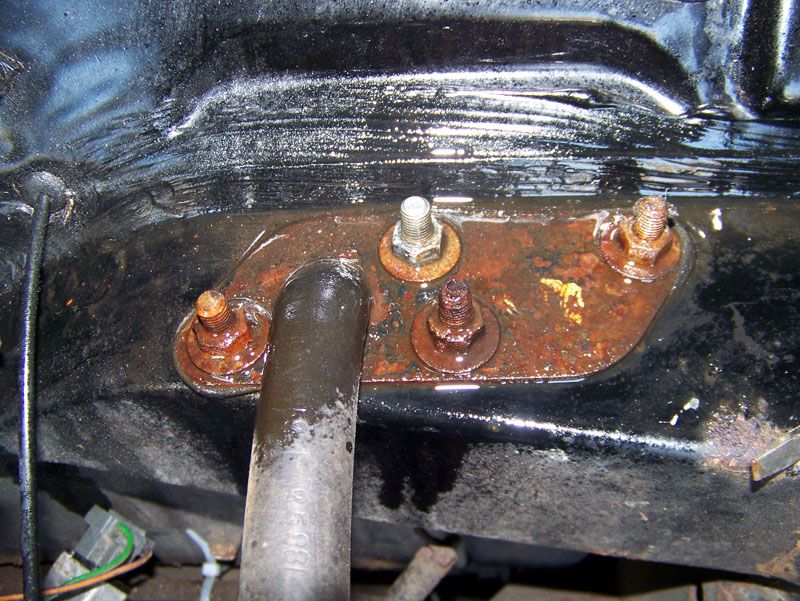
Soaked these in WD40 before I even considered going near them, the result, 3 came off and one sheared, not bad.
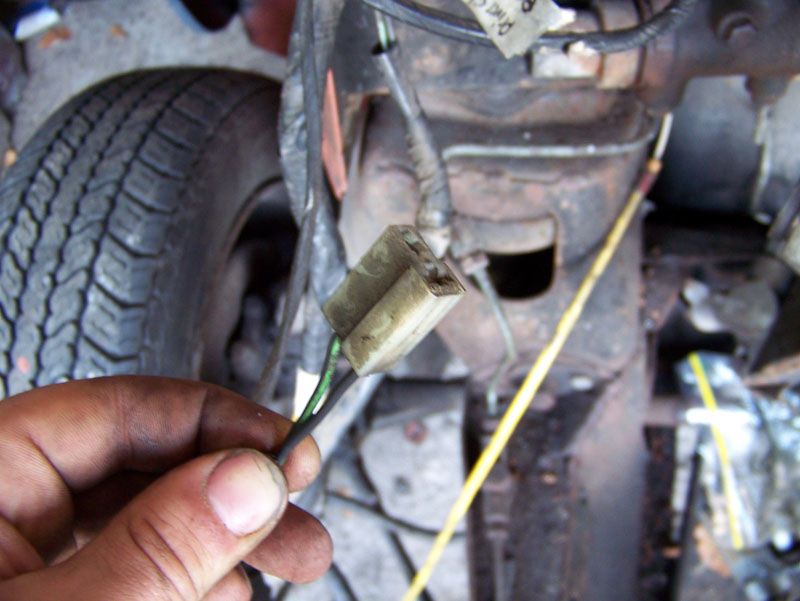
The only part of the loom I have failed to identify, I'm not sure its ever been connected to anything. Does anyone have any ideas?
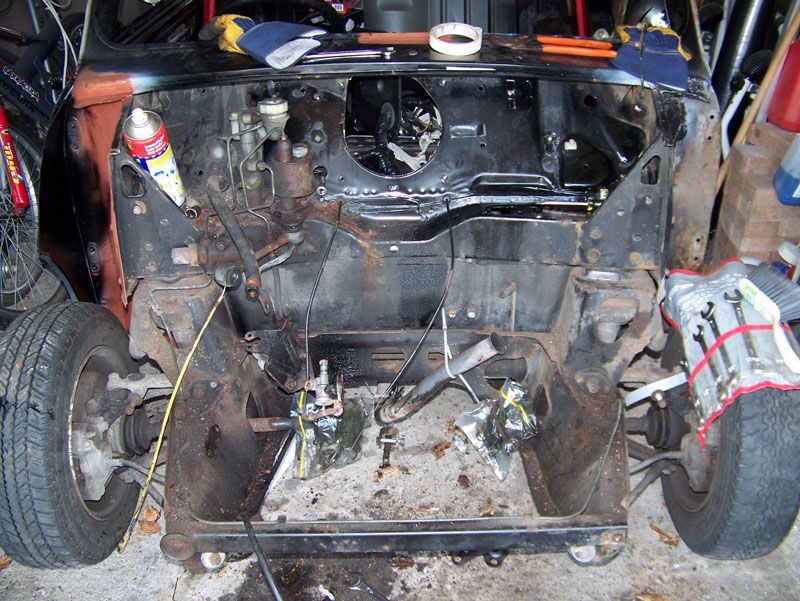
All wiring passed through the bulkhead hole...
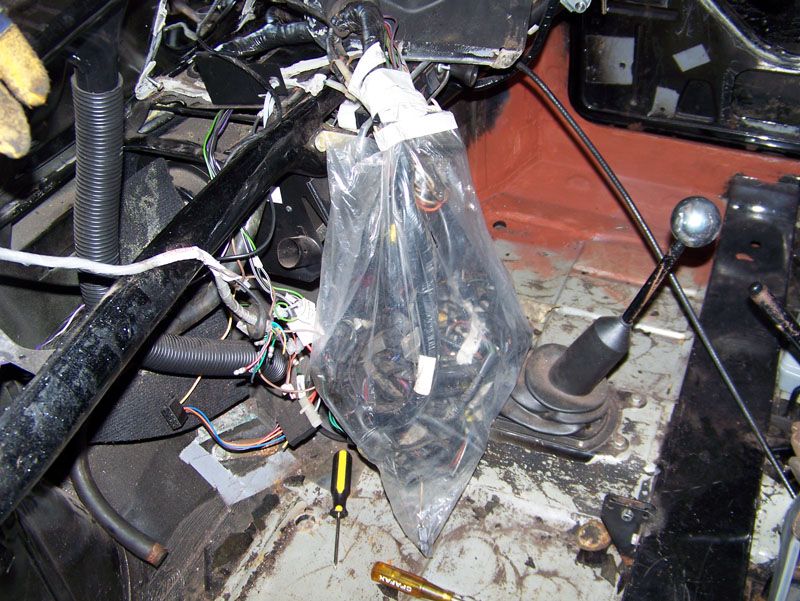
...and secured in a big bag so its out of the way.
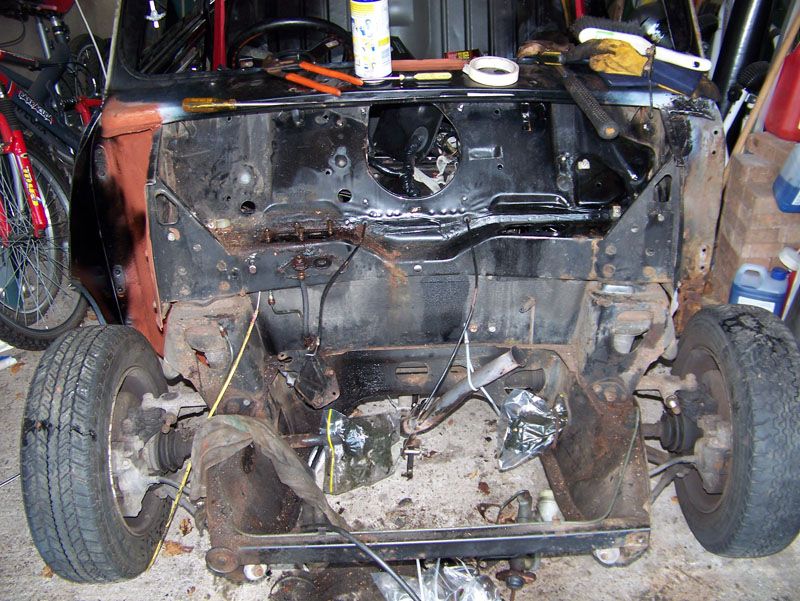
Brake and clutch master cylinders removed along with the bias valve off the bulkhead. Anyone who's removed a master cylinder before will now understand my unconditional hate for split pins.
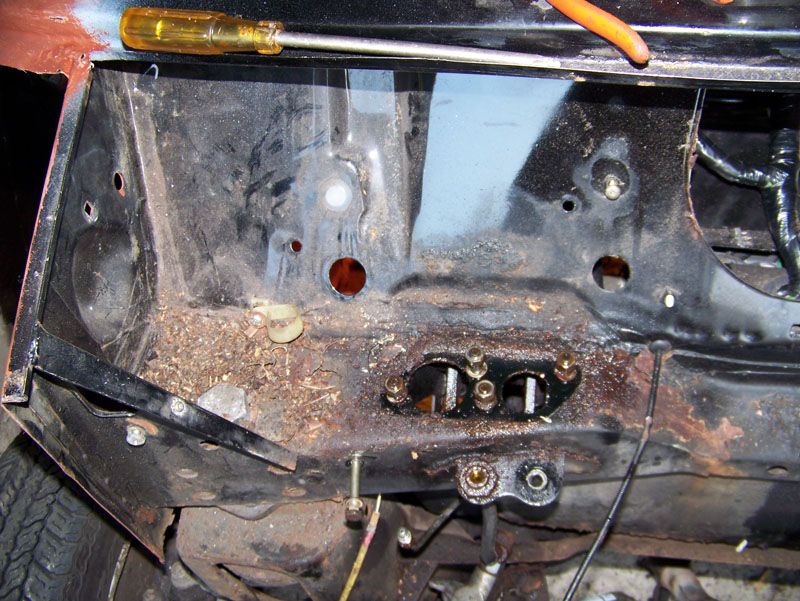
Doesn't look good does it
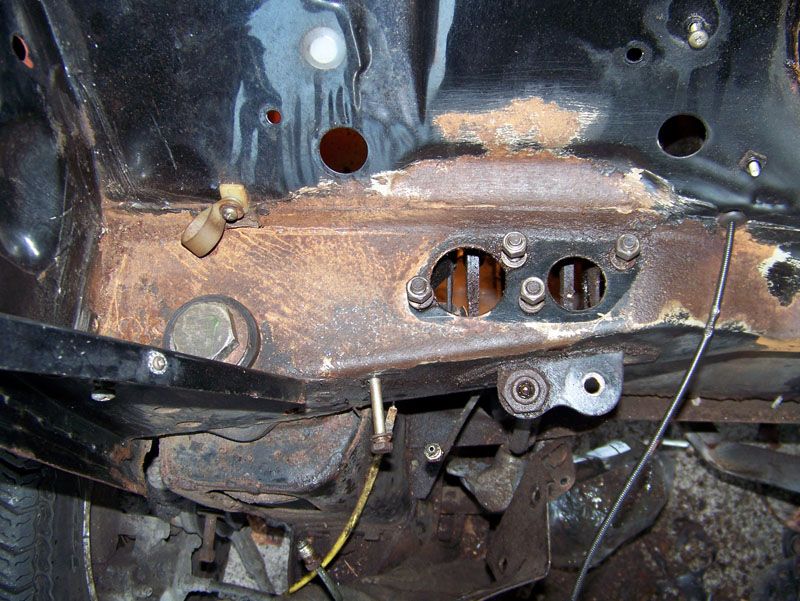
Wire brushed up, although the metal is pitted, it is very solid. It will be treated and prepped properly before it gets a nice coat of paint.
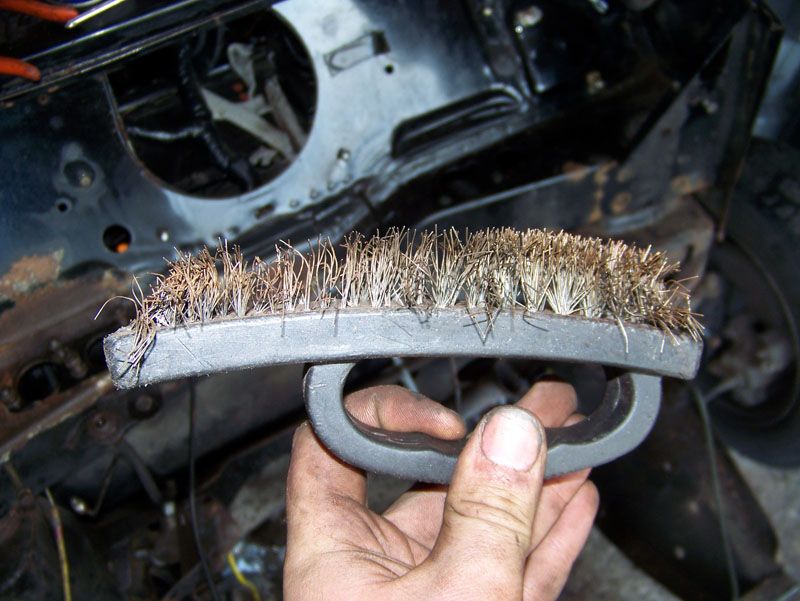
I think my wire brush has had it.
Then it was time to come home and get something to eat, but afterwards I still felt like I could get a little bit more done but there was no point heading back to the garage.
#220

Posted 17 April 2009 - 08:57 PM
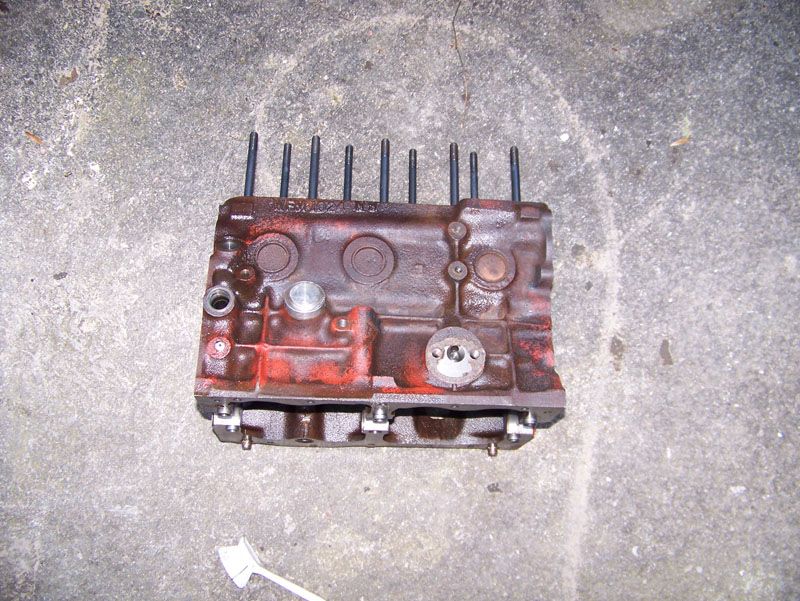
Lugged my engine block outside.
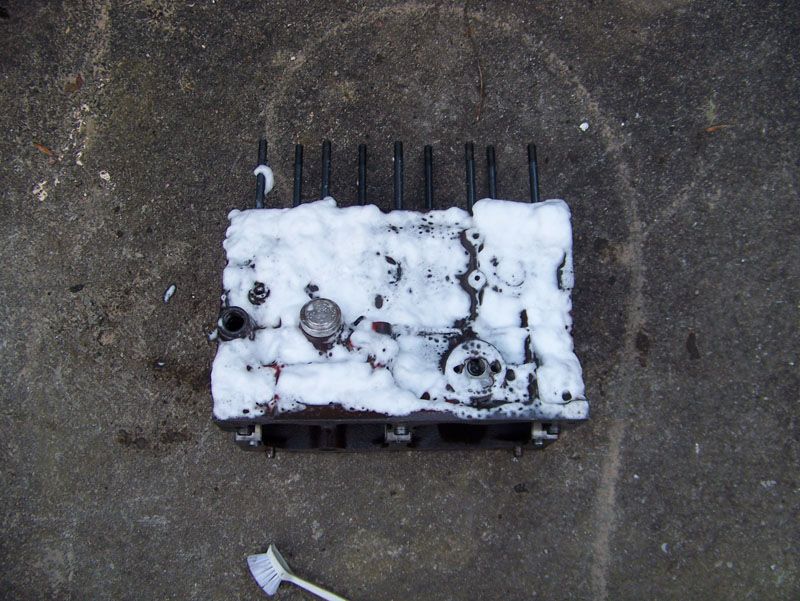
Covered in degreaser.
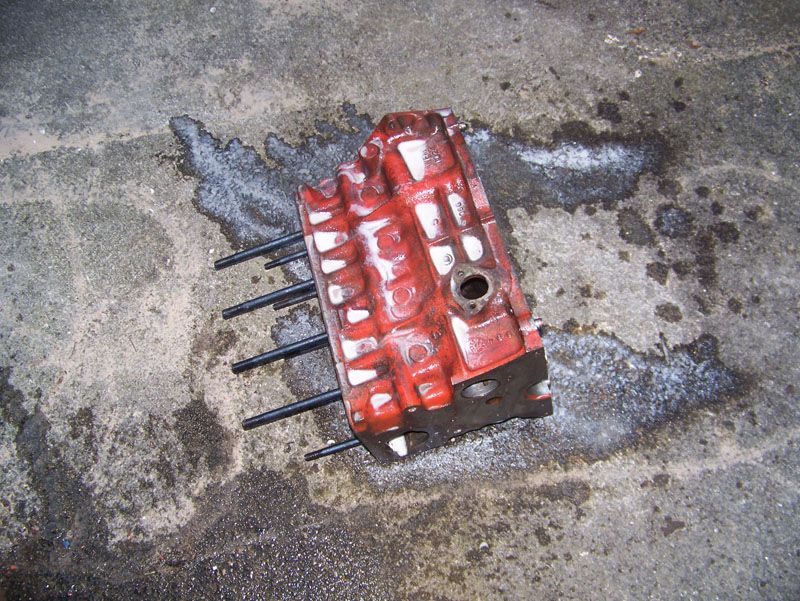
Degreaser did its work and I scrubbed the block.
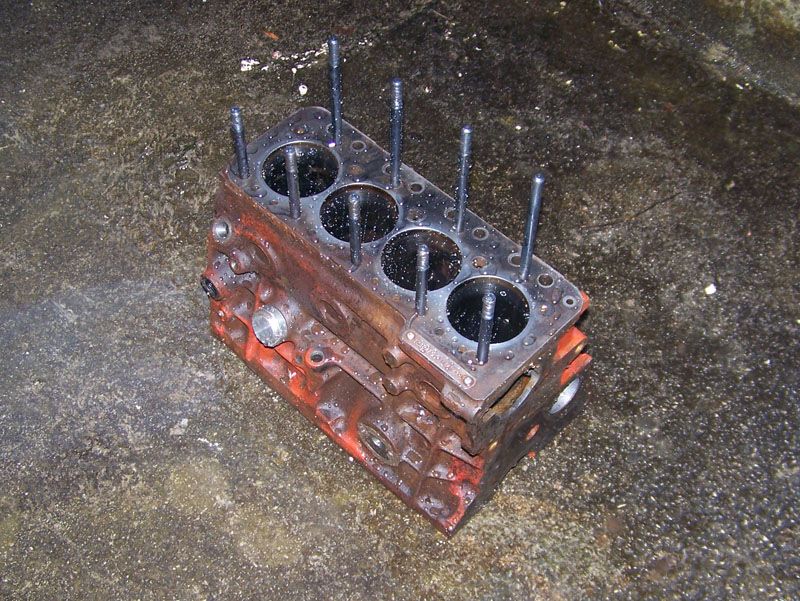
Then rinsed the lot off.
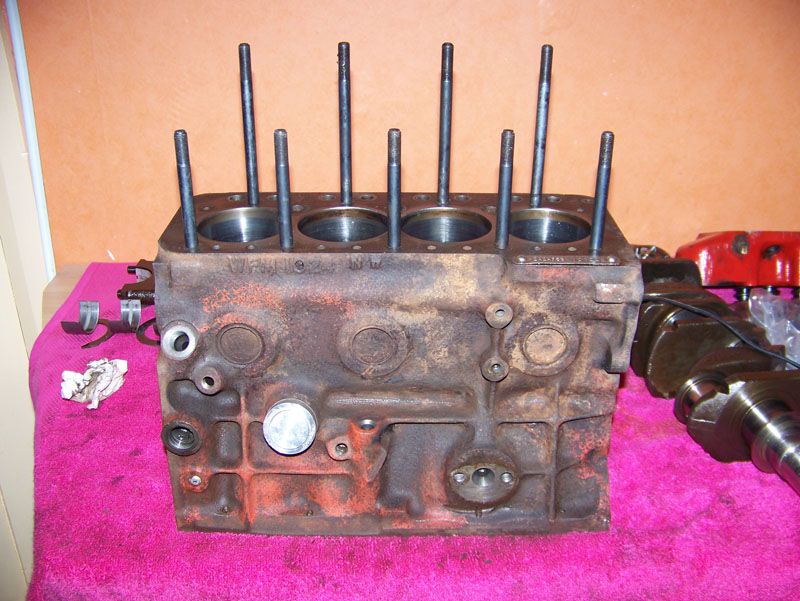
Dried with compressed air, all holes blown out and then moved back to the work bench.
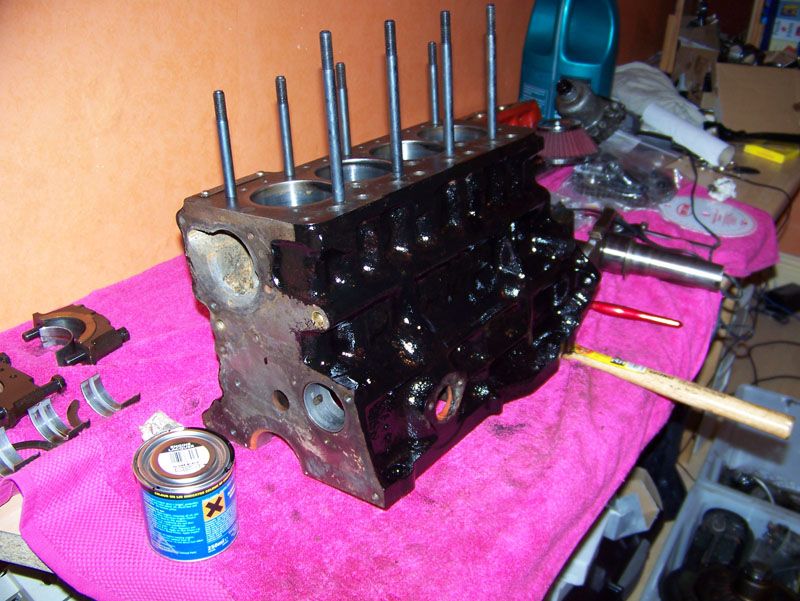
First coat of black applied to both sides.
I'll be applying a second coat later tonight and then using a stanley knife to clean the paint off of any mating surfaces, once thats done I might even get as far as installing the crankshaft, pistons and cam tonight. If I do I'll probably update this thread again later.
Thanks for looking guys, I know this one was a bit of a long one, but that might be a good thing, you tell me
EDIT: Had to split it in two! That is long!
#221

Posted 19 April 2009 - 10:39 AM
#222

Posted 19 April 2009 - 11:06 AM
Brake and clutch master cylinders removed along with the bias valve off the bulkhead. Anyone who's removed a master cylinder before will now understand my unconditional hate for split pins.
Oh yes they were an absolute *woman of ill repute* to get out
The engine block looks tasty
Good progress, keep it up..... till you go back to uni anyway
Edited by carboy001, 19 April 2009 - 11:08 AM.
#223

Posted 19 April 2009 - 11:08 AM
#224

Posted 19 April 2009 - 05:20 PM
Same, I went dizzy when I stood upOh yes they were an absolute *woman of ill repute* to get out
I had to lie down backwards with head wedged against floorpan to see and mess about with a pair of pliers, it hurts with all the blood going to your head
Sorry to confuse, the wiring is only in there temporarily while the bulk head gets work done to it then all the wiring will be sorted, resleeved and reorganized for in the engine bayReally nice updates, missed the last couple of days on this! so you're planning on putting all your wiring inside the cabin ay?
Well back at Uni now so work will slow but I'll do what I can when I can.
#225

Posted 21 April 2009 - 07:55 PM
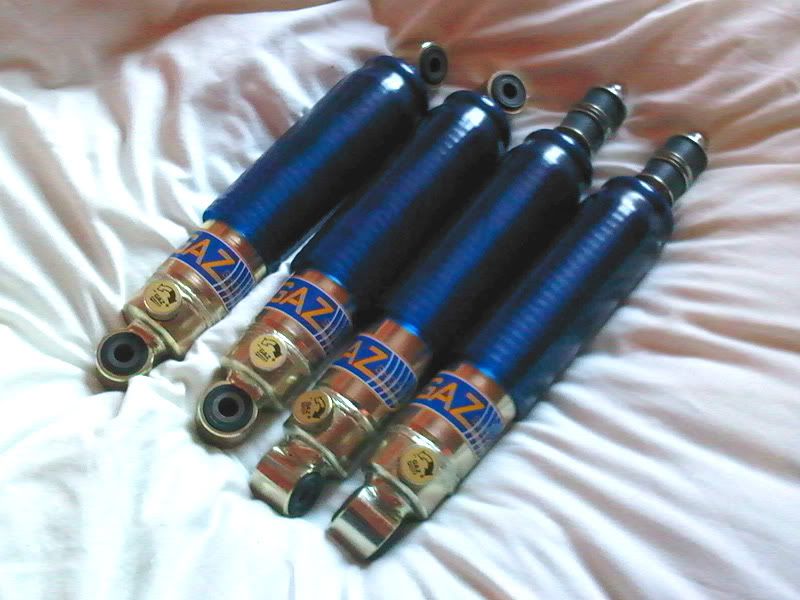
Full set of adjustable GAZ lowered dampers.
Sorry about the quality of the picture but I guess most will know what they look like anyway
Might be able to get some garage time tomorrow with a bit of luck, we shall see.
Also tagged with one or more of these keywords: roundnose
Projects →
Mini Saloons →
Mini Cooper Project - Finally StartsStarted by piphatch , 08 Jan 2025 |
|
|
||
Projects →
Mini Saloons →
1965 Austin Mini Restoration - Canadian Mk1Started by DoubleEh , 14 Nov 2022 |
|
|
||
Projects →
Mini Saloons →
Project Joe - 1991 Mini Mayfair 998Started by Eggers , 02 Jun 2022 |
|

|
||
Projects →
Mini Saloons →
Mpi Dashboad ProblemStarted by mikeprez , 22 Dec 2021 |
|

|
||
Projects →
Mini Saloons →
1978 Oew - Willy The MiniStarted by smalltreegrower , 11 Nov 2021 |
|

|
2 user(s) are reading this topic
0 members, 2 guests, 0 anonymous users


