#196
Posted 13 April 2009 - 08:31 PM
How Elliots standard engine looked at the start of the day.
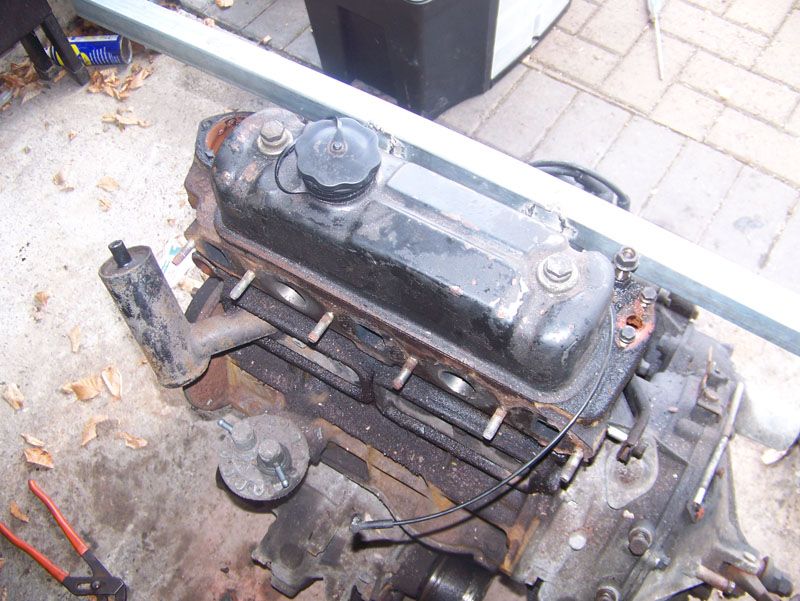
Carb, exhaust and inlet manifolds removed as one big unit.
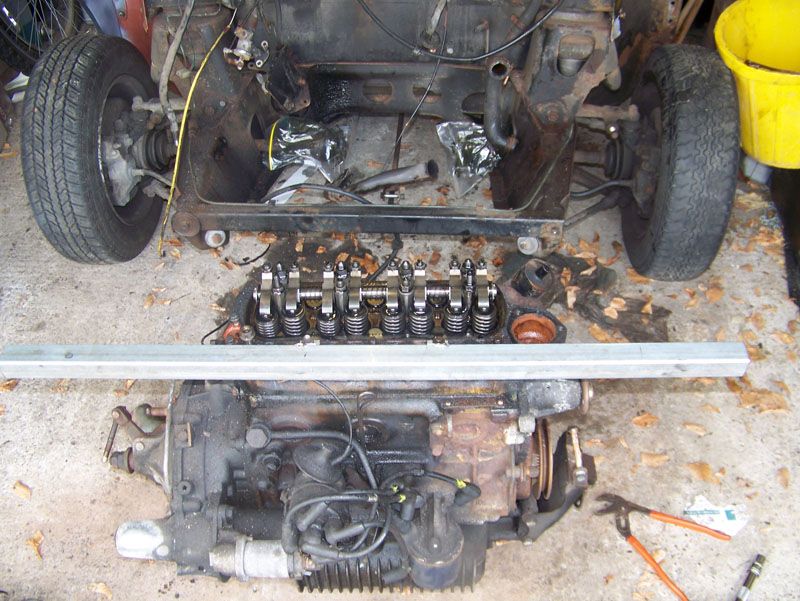
Rocker cover off.
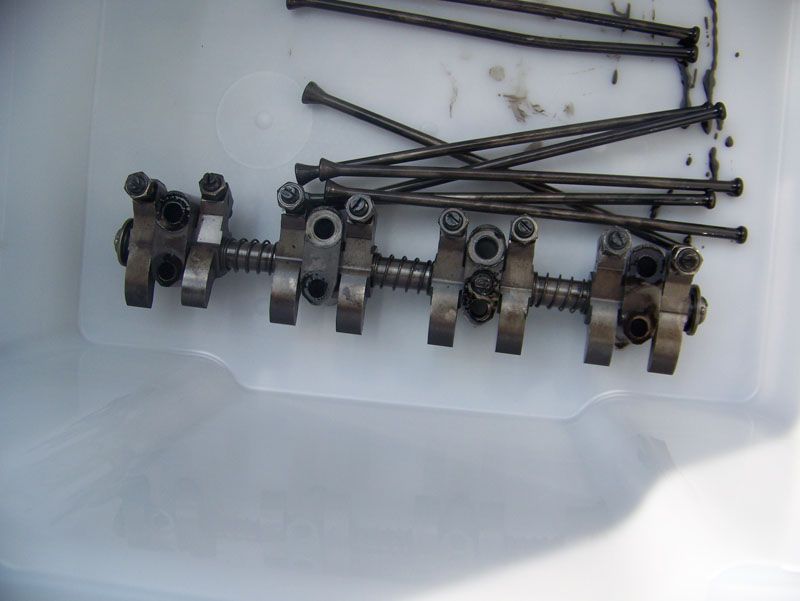
Rocker gear removed and stored for later.
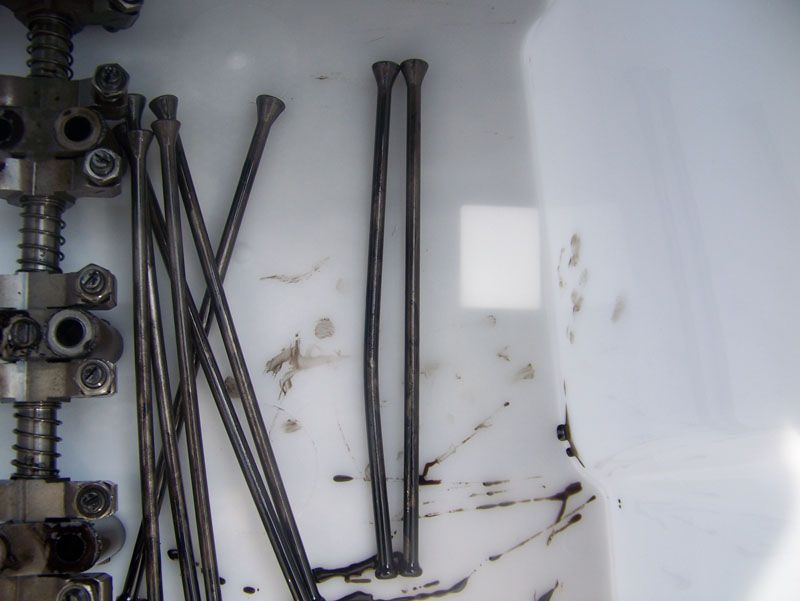
Poor Elliot, I've no idea when this happened but she was running perfect before I took her to bits. Bless her, she's been a trooper, she's highly deserving of this new engine I feel.
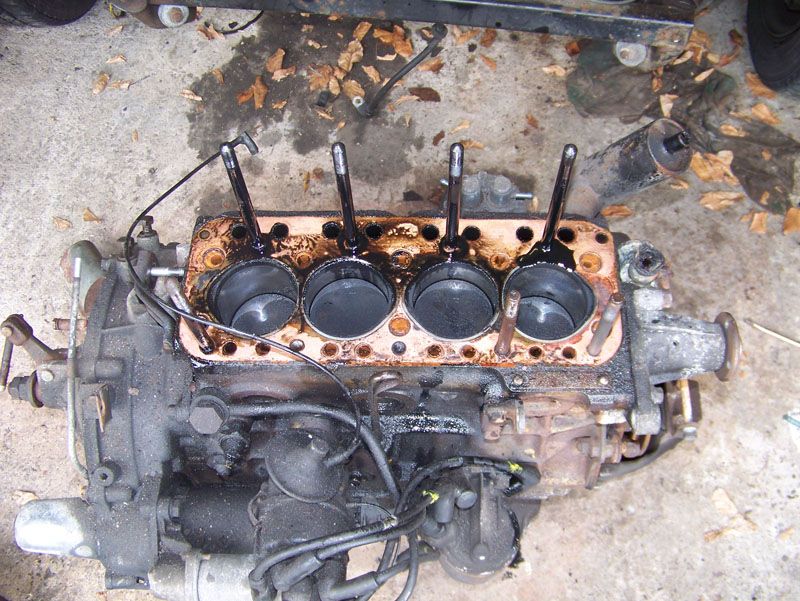
Head off.
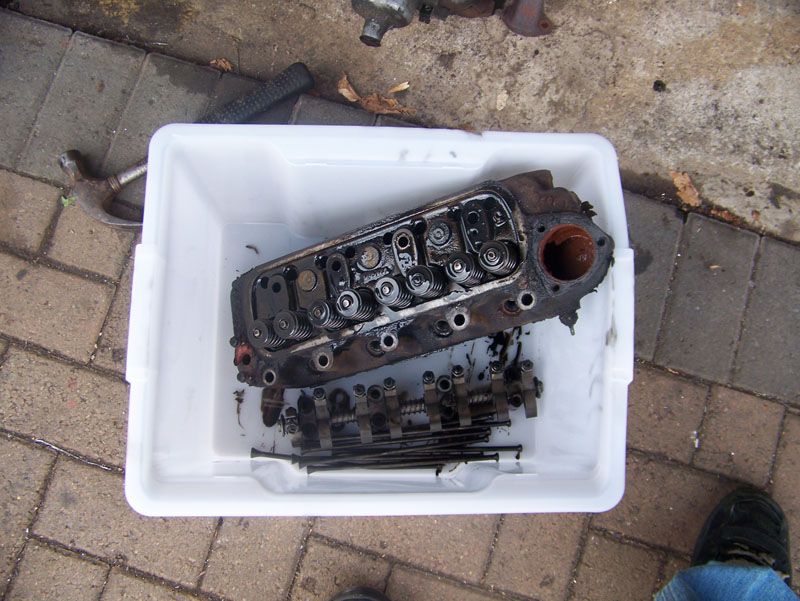
Bunged in a box to save getting oil everywhere.
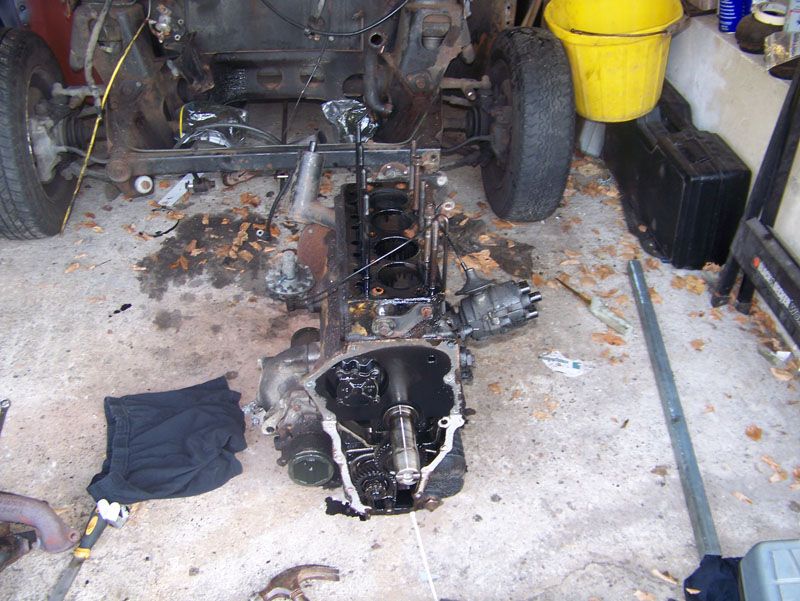
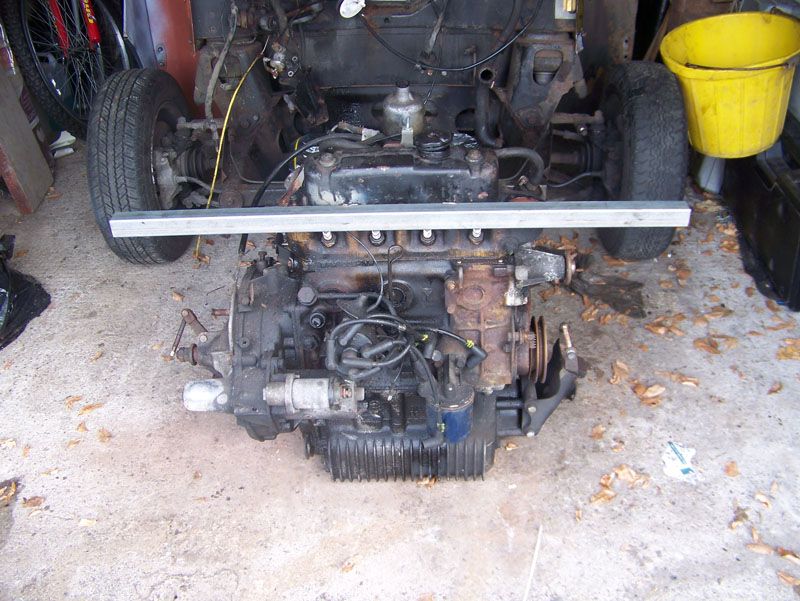
Bell housing, clutch, flywheel and transfer case removed.
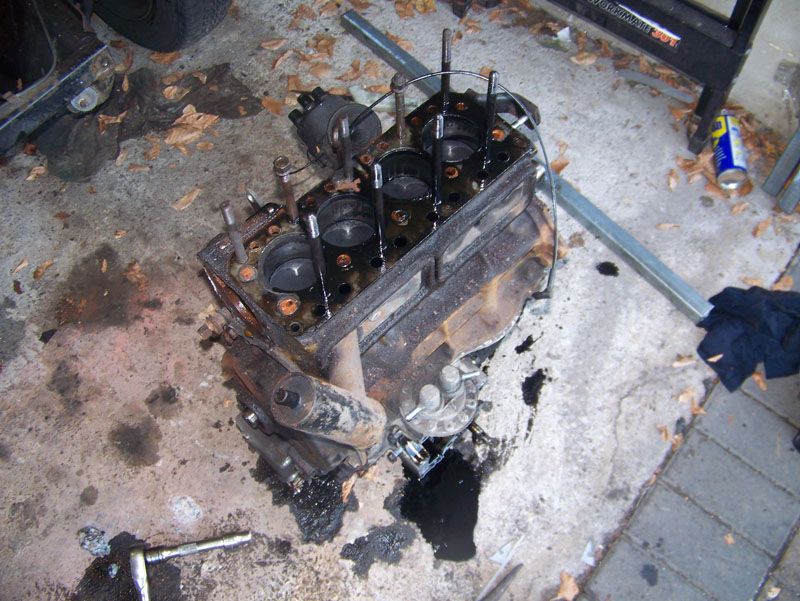
Diff removed.
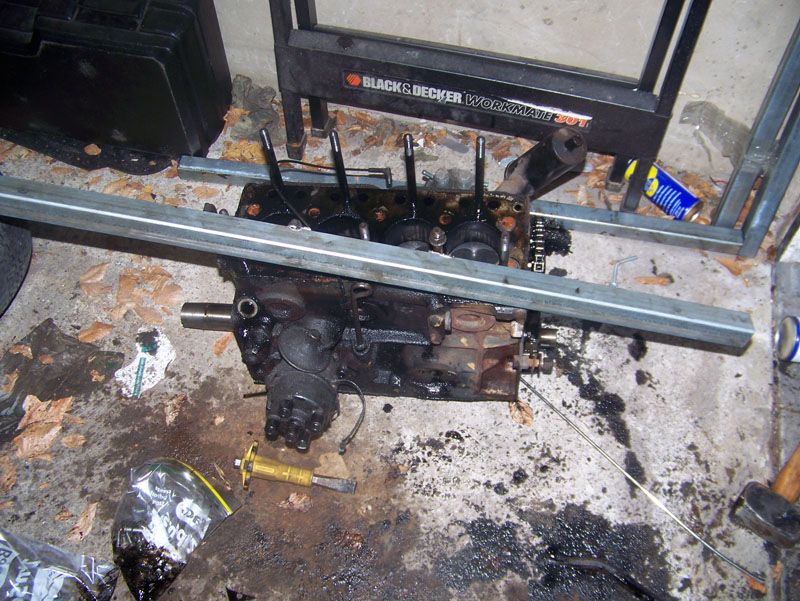
Gearbox and block split.
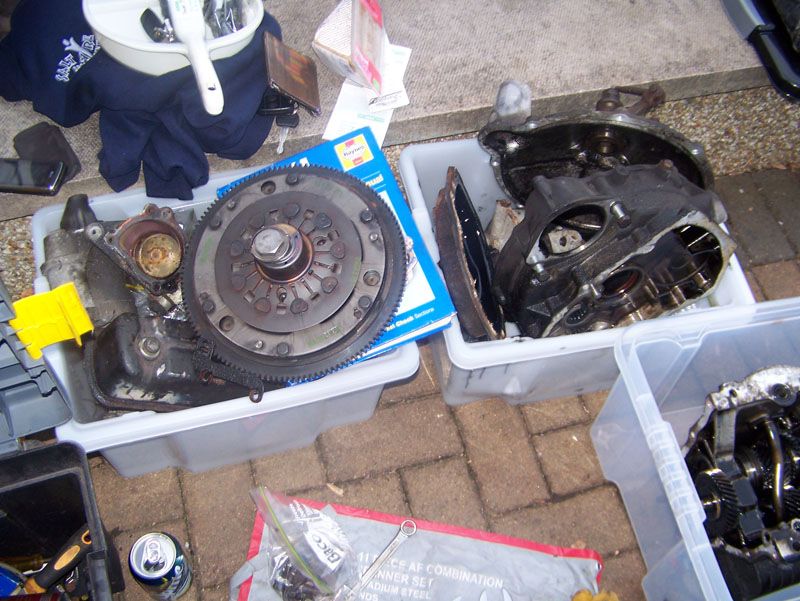
Parts that need sorting and refurbing accordingly.
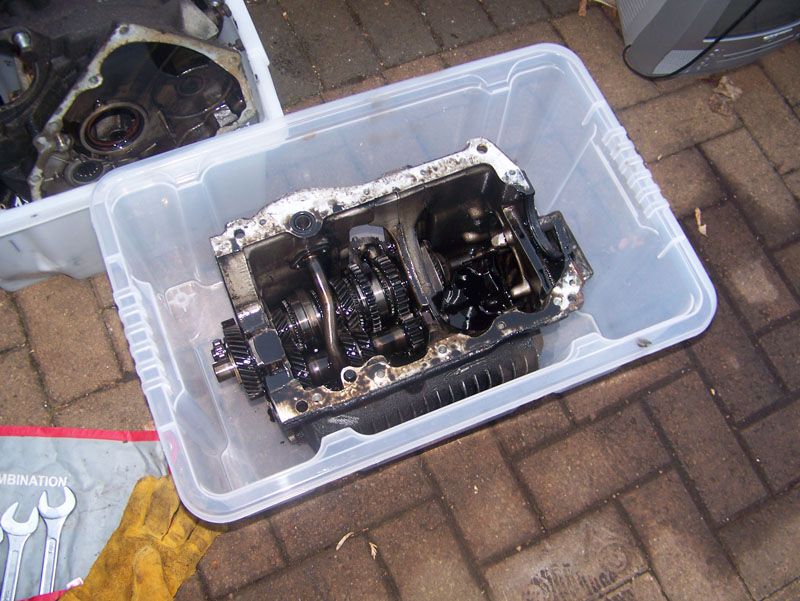
Gearbox, all looks good. Will be stripped down and checked over. Baulk rings definitly need replacing as I've got the classic crunch from 3rd to 2nd.
I'm going to tidy my room throughly now. I have a nice big workbench in my room which will be turned in to the clean area of operations where I can strip and rebuild the gearbox and other bits and bobs before they are all assembled together as a nice shiny 1275 . My room is a right state at the moment so wish me luck.
Thanks for looking .
#197
Posted 13 April 2009 - 09:24 PM
#198
Posted 13 April 2009 - 09:48 PM
Don't worry, everyone is welcome in my thread .Hey, I'm new to this thread but have read it from the beginning and it looks like great work. keep going
I appreciate your comments and I hope I can keep updating nice and frequently.
Thanks again .
#199
Posted 13 April 2009 - 09:56 PM
Edited by theIMAGE, 13 April 2009 - 09:56 PM.
#200
Posted 13 April 2009 - 09:58 PM
Easy peasy isnt it. Now just remember where all them bolts go when you build the 1275
#201
Posted 14 April 2009 - 09:02 AM
Yeah not too bad really.There you go lad.
Easy peasy isnt it. Now just remember where all them bolts go when you build the 1275
Should be ok on the bolts side of things. They're all grouped together and in zip lock bags with where they are from written on the outside . I'm going to take some bits in to the back yard today and pressure wash them off. See how they come up.
I'll probably do the same with the gearbox and then blast it with compressed air to dry it out.
#202
Posted 14 April 2009 - 10:18 AM
#203
Posted 14 April 2009 - 11:34 AM
Turn it upside and left it to dry.
#204
Posted 14 April 2009 - 03:06 PM
You steam cleaned the block thats in my shed now didn't you? Thats all fine and dandy. Might just go for it.Ive pressure washed/steam cleaned my gearboxs in the past. never had a problem.
Turn it upside and left it to dry.
Its not even like I'm going to let it drip dry, I'm going to use the air compressor to dry it out. Plus then it'll be stripped down so I can replace the baulk rings. Hmmm.
#205
Posted 14 April 2009 - 03:14 PM
#206
Posted 14 April 2009 - 04:08 PM
Thanks alot chap, I appreciate the comments.Just been reading through from the start,you can definitely see you welding improving from what it was at the beginning.Just keep at it,the more you do the easier it becomes.
Well there's enough welding left to do to make sure I'm a welding master by the end of it haha.
I'm affraid progress is going to slow down a bit now becuase I'll be moving back to Uni on Sunday so I won't be able to spend anywhere near as much time on Elliot as I have been doing. But when I do, expect updates!
#207
Posted 16 April 2009 - 08:50 PM
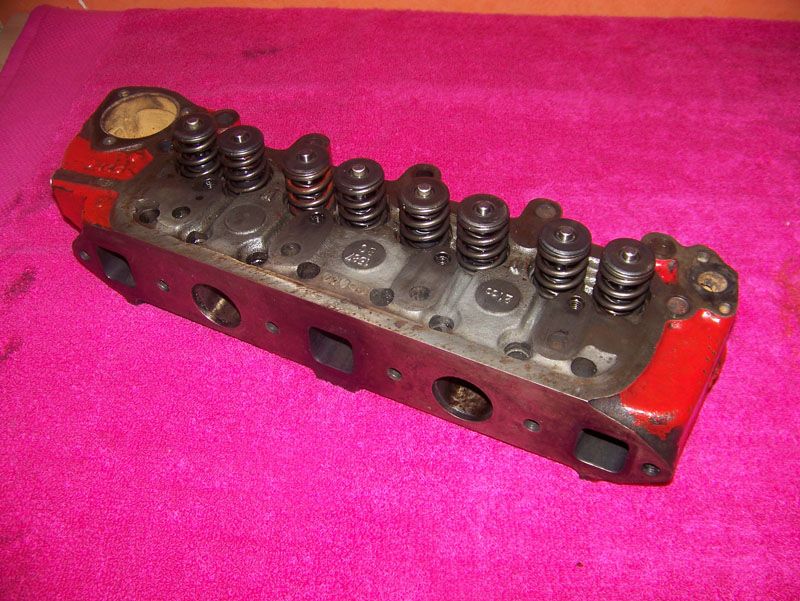
MED stage 2 cylinder head.
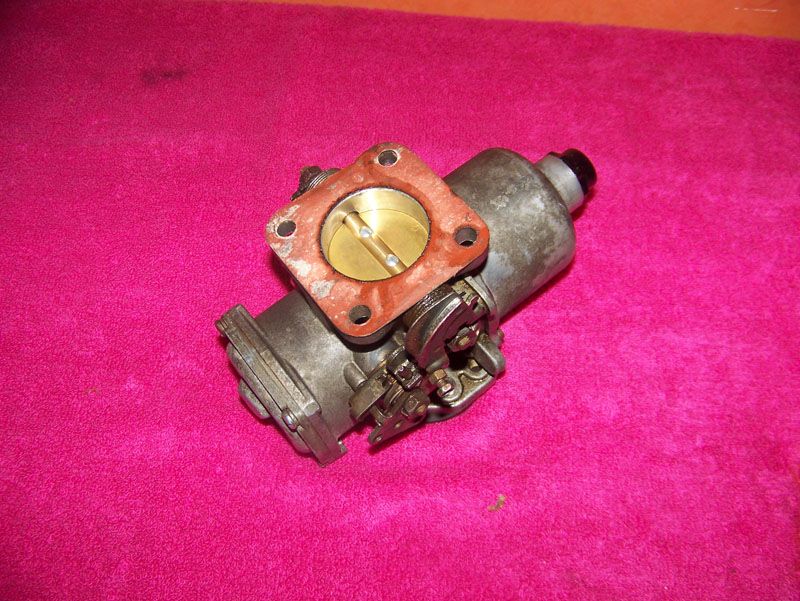
HIF44 carb.
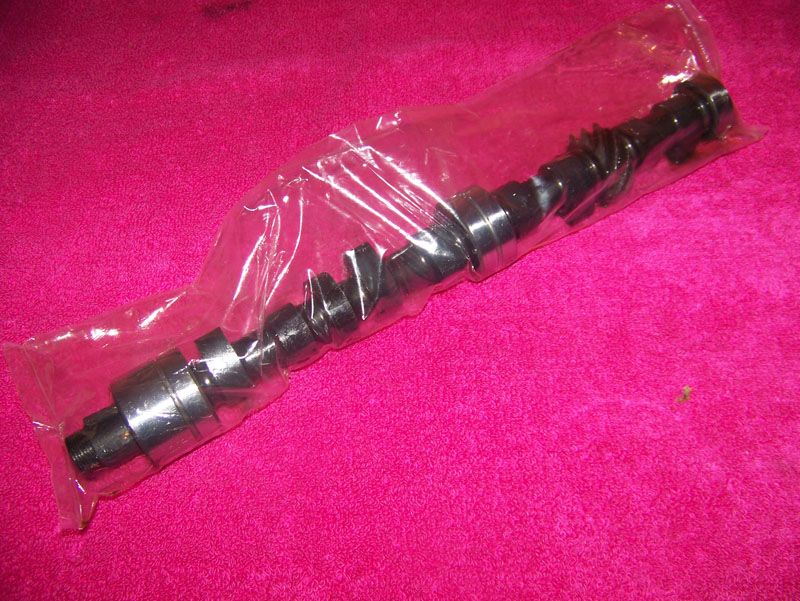
Swiftune SW5-07 camshaft.
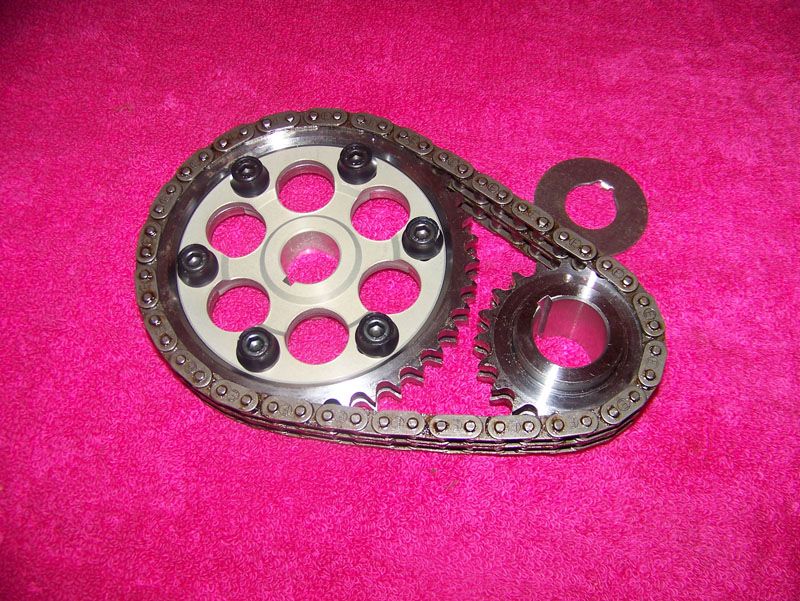
Swiftune adjustable vernier duplex timing chain.
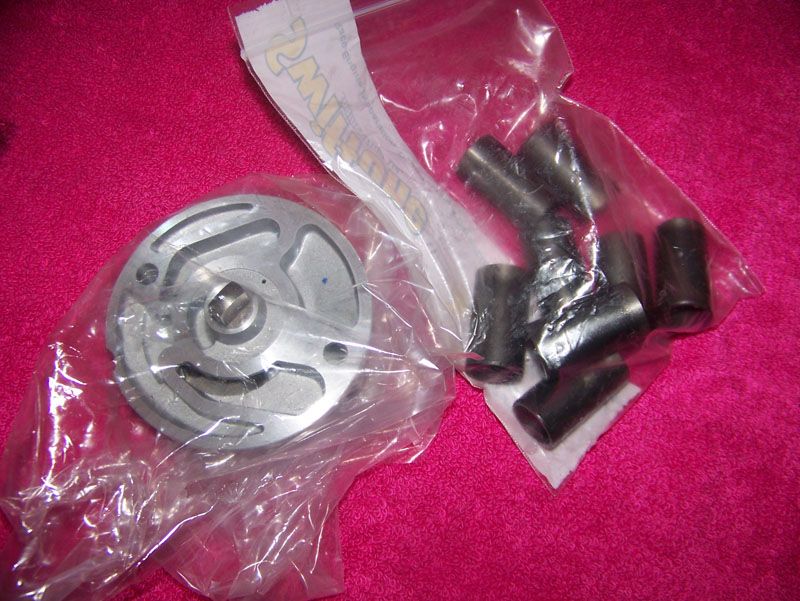
New oil pump, not needed but came in the kit and new cam followers.
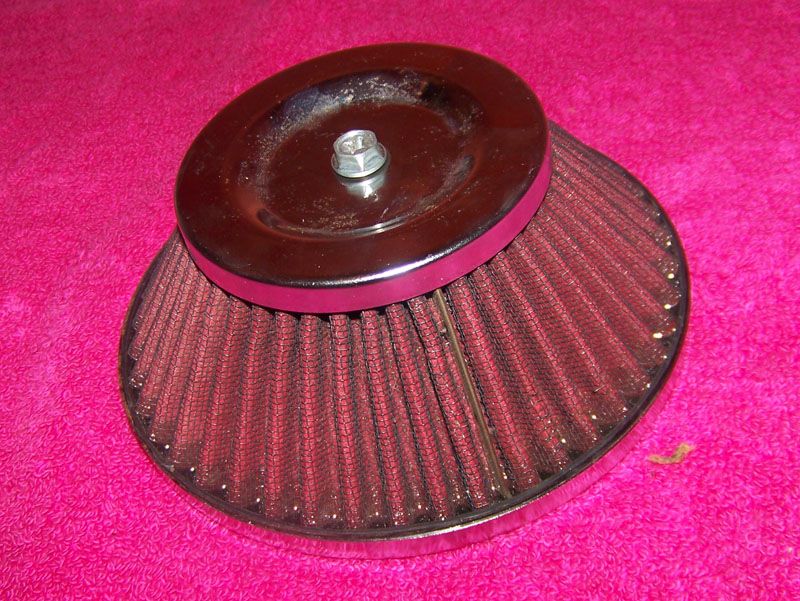
Air filter that came with the HIF44.
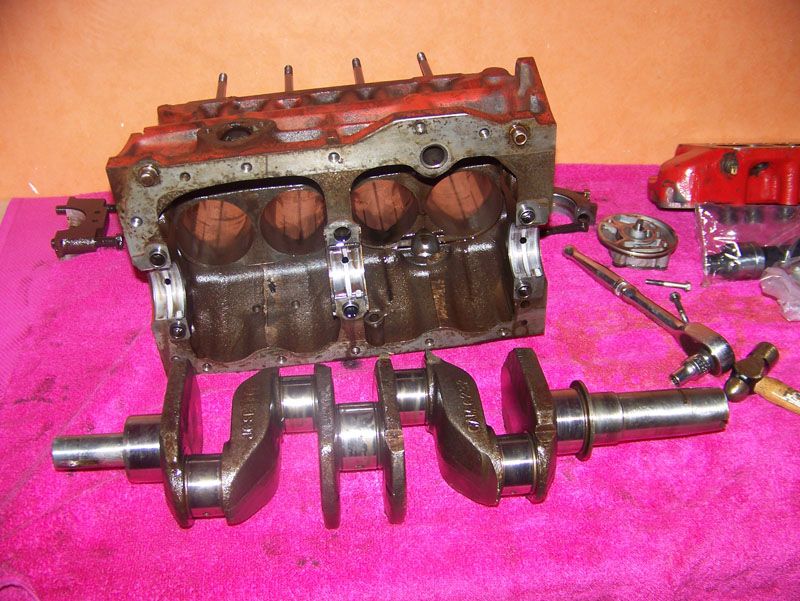
Pistons and crank removed for checking over and so the block can be cleaned and degreased tomorrow. Hopefully my engine paint will arrive too so I can get the block and head painted up in black and then I can start the real work, putting it all together properly.
Thanks for looking. I'd appreciate any comments, after spending just over £500 this last week I'm feeling a bit concerned that I'm just wasting it .
#208
Posted 16 April 2009 - 09:14 PM
And i think i read that you're already doing this, but label or screw back in every bolt you take you out.
I bought my block from a guy and he had taken it apart, and lost most of the bolts, PITA!
#209
Posted 16 April 2009 - 10:01 PM
#210
Posted 16 April 2009 - 10:02 PM
The old pump has only done maybe 200 miles according to the previous owner of the block. But for the sake of £10 that I could get back selling the new pump, I'll use the new one anyway.Why is the new oil pump not needed? Did you already have a new one? If not, use the new one, it's the heart of the engine after all!! No point in using the old one. Scrap the old one. Good paper weight!!
And i think i read that you're already doing this, but label or screw back in every bolt you take you out.
I bought my block from a guy and he had taken it apart, and lost most of the bolts, PITA!
Yeah, bolts are being bagged up in zip locked freezer bags and labled. Should make the reassembley process much easier .
Also tagged with one or more of these keywords: roundnose
Projects →
Mini Saloons →
1965 Austin Mini Restoration - Canadian Mk1Started by DoubleEh , 14 Nov 2022 roundnose |
|
|
||
Projects →
Mini Saloons →
Project Joe - 1991 Mini Mayfair 998Started by Eggers , 02 Jun 2022 roundnose |
|
|
||
Projects →
Mini Saloons →
Mpi Dashboad ProblemStarted by mikeprez , 22 Dec 2021 roundnose |
|
|
||
Projects →
Mini Saloons →
1978 Oew - Willy The MiniStarted by smalltreegrower , 11 Nov 2021 roundnose |
|
|
||
Projects →
Mini Saloons →
1968 Mk2 Cooper BuildStarted by Minime998 , 15 Sep 2021 roundnose |
|
|
1 user(s) are reading this topic
0 members, 1 guests, 0 anonymous users