Good work on the repairs matey

#166

Posted 01 April 2009 - 12:58 AM
Good work on the repairs matey
#167

Posted 01 April 2009 - 10:27 AM
#168

Posted 01 April 2009 - 11:25 AM
I've a few stops to make today, got to nip to EK Brakes and get some more discs for the angle grinder, running low on cutting discs and the grinding discs I have are all off balance and keep giving me hand ache :/. Then I'm going to get some fiber filler from Halfrauds for the finishing on my boot lid.
Then after that if my friend rememberd to move his Dads car I shall be heading round to the garage to do some more. If he hasn't moved the car I'm going to come back and do some more work on my wheels.
Either way, watch this space
#169

Posted 02 April 2009 - 10:59 AM
It's from TDK Racing.looking good! who is the front from?? you have done well trimming it,, super good fit!!
Haha, that's the thing sir, I've not trimmed it! This is exactly as it came from him, well except for a few oily finger marks I've added.
wow! thats amazing! super good fit!
all coming along nicely!
#170

Posted 03 April 2009 - 06:41 PM
I asked my friend to move his dads car off the drive so I could work on Elliot, he did. His dad got up for work, put the car back. I arranged to get the house keys from my friend on his break, missed him.
So anyway, this all resulted in not being able to get Elliot out of the garage on Wednesday. However! Today was a different matter so lets have us an update:
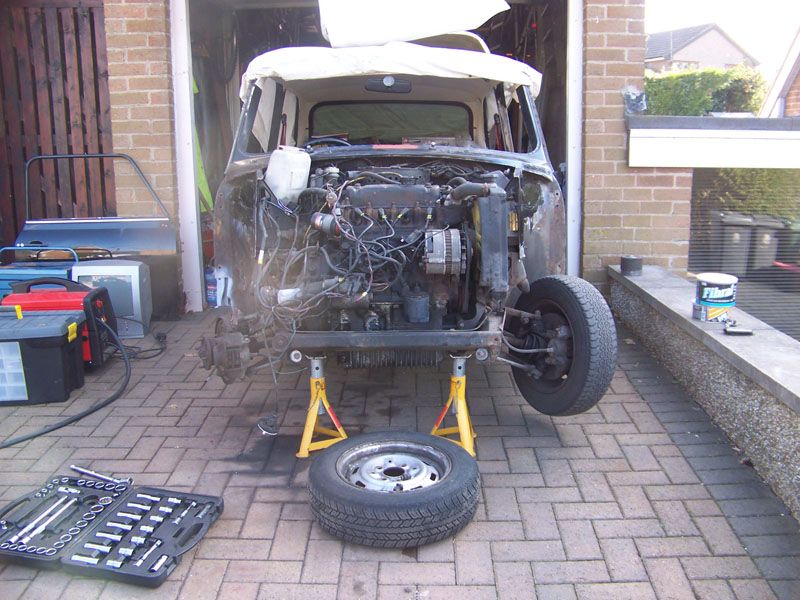
Jacked up and supported on axle stands so I could remove the driver side wheel to gain better access to the flitch panel.
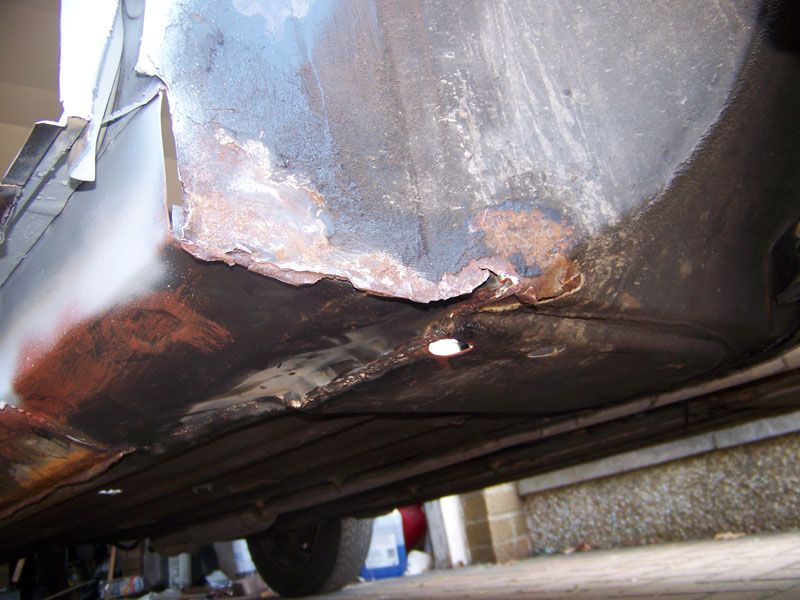
Which looked like this.
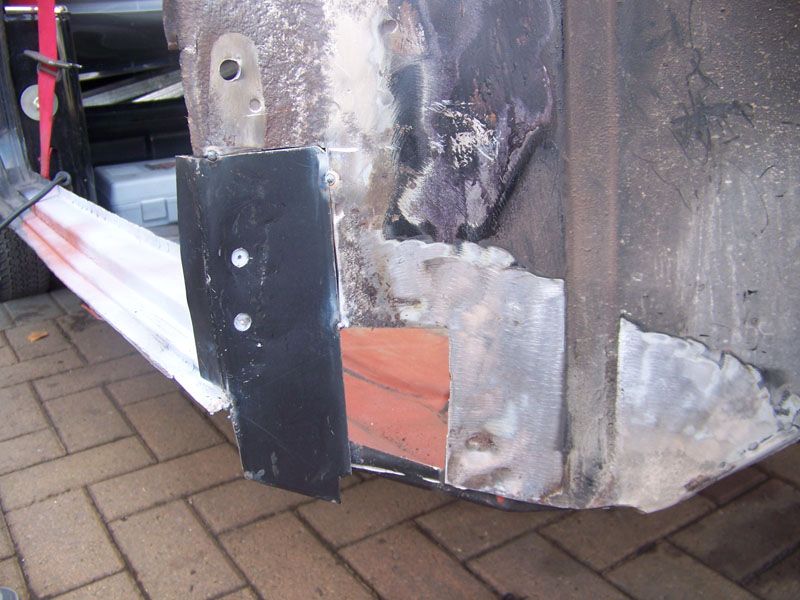
First repair section tacked in place.
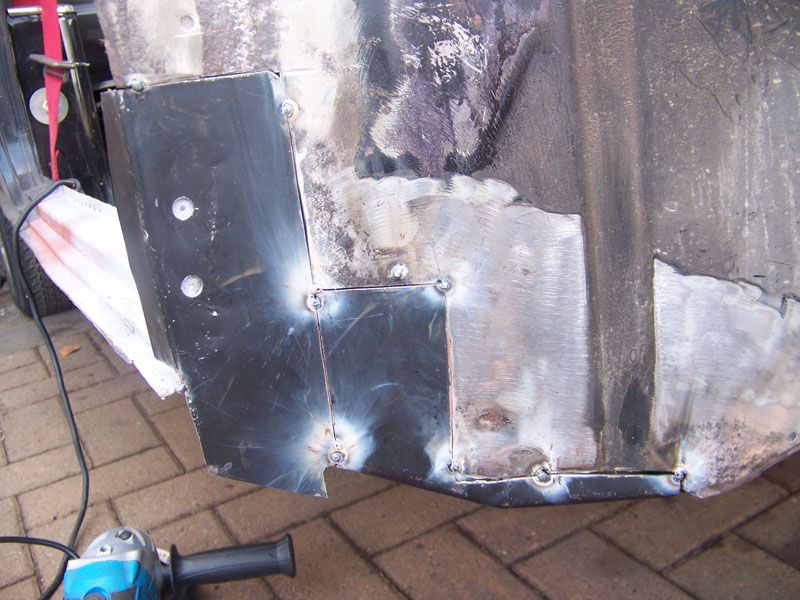
Second repair joined it shortly after.
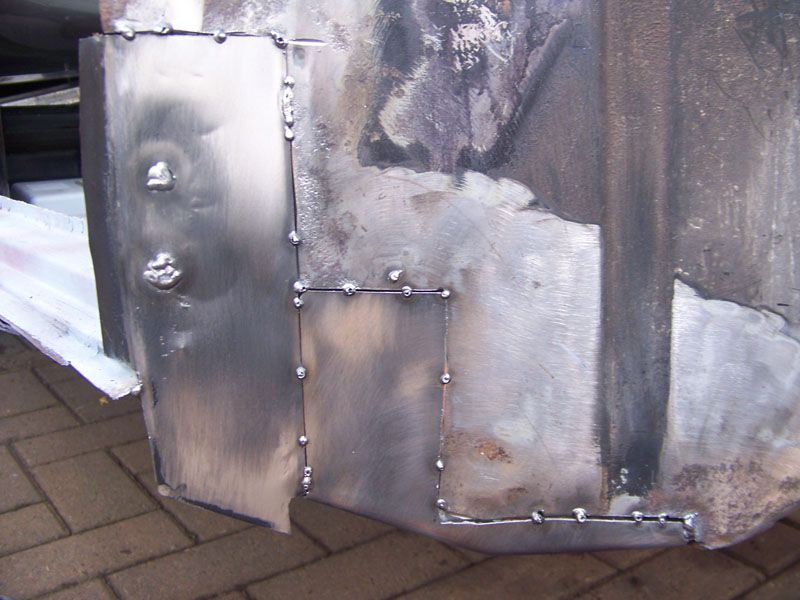
More tacks added and cleaned up ready for seam welding.
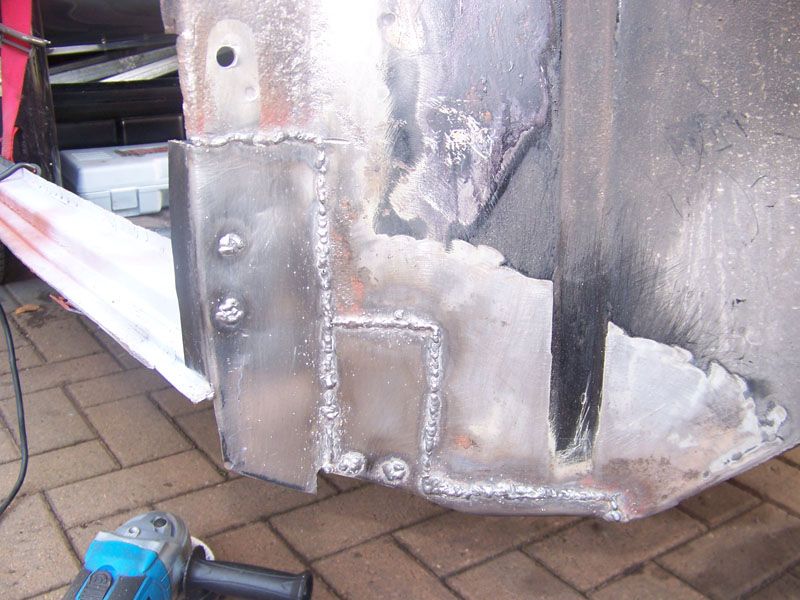
Seam welded and two plug welds added to the bottom.
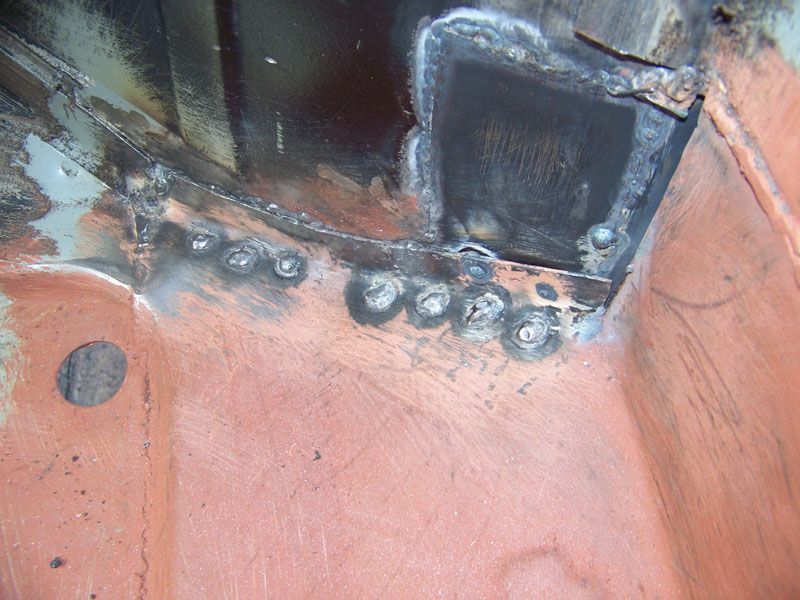
Plug welded to floor pan.
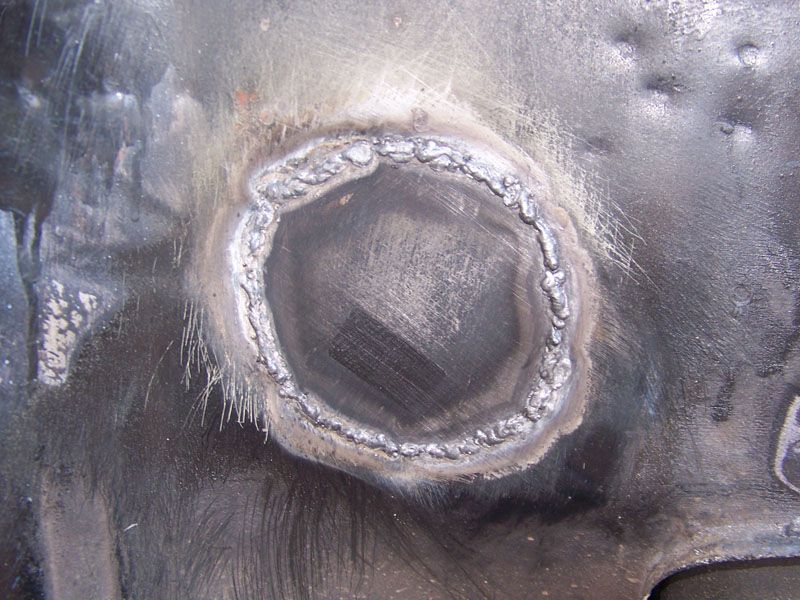
Cut a circle out of sheet metal and welded it over the fresh air feed for the heater. It won't be used so it would have just been a place for water to get in.
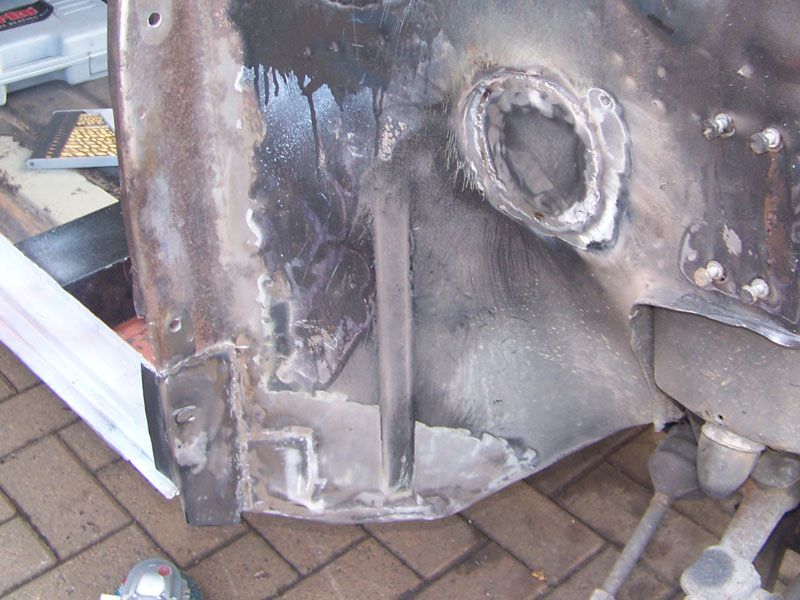
Welds neatened up with a flap disc.
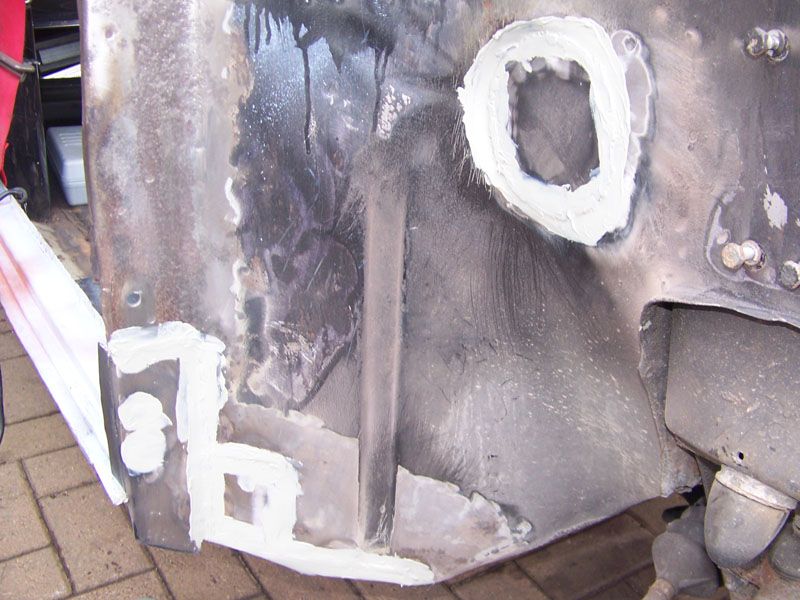
Seam sealer applied.
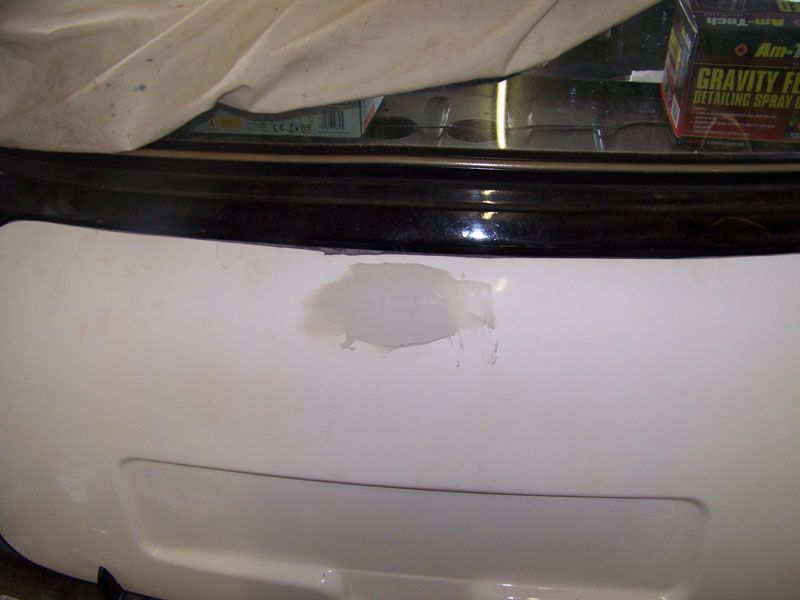
Applied a bit of filler to my boot lid where the handle would have gone if I was having one.
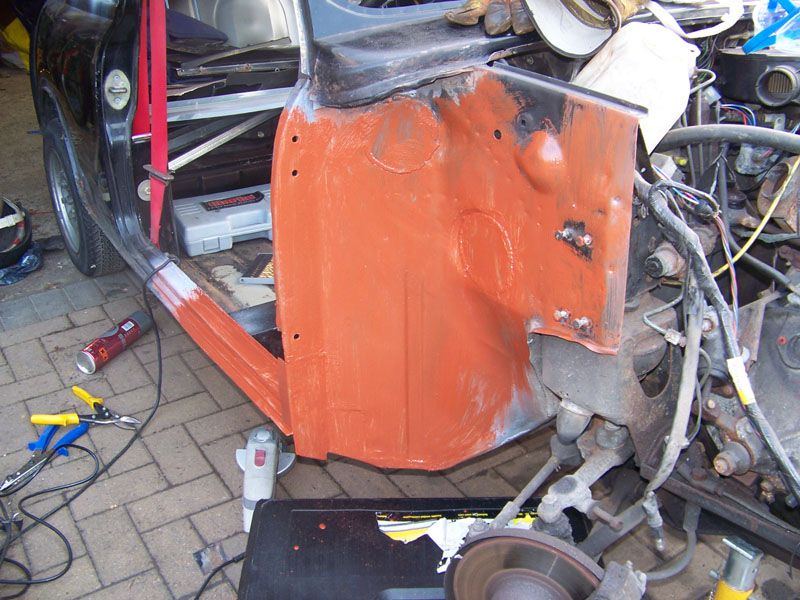
Etch primed and red oxided inner wing.
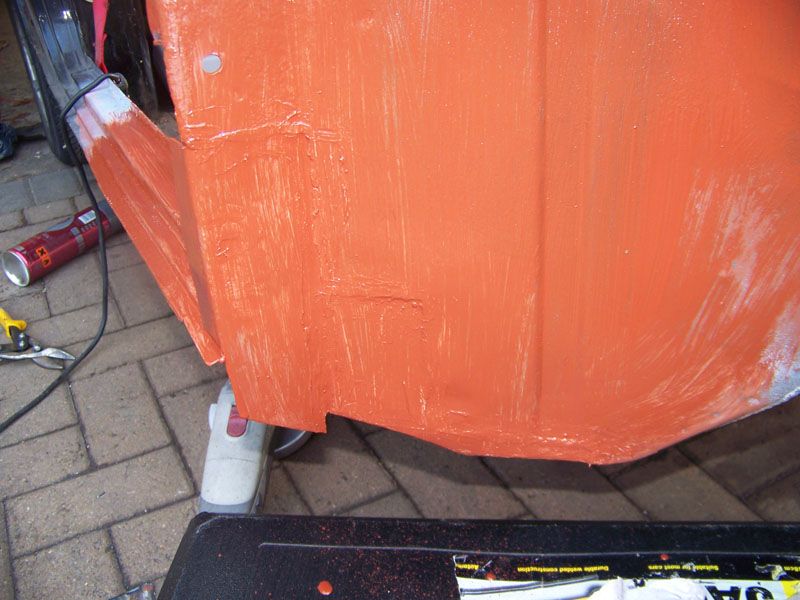
Close up.
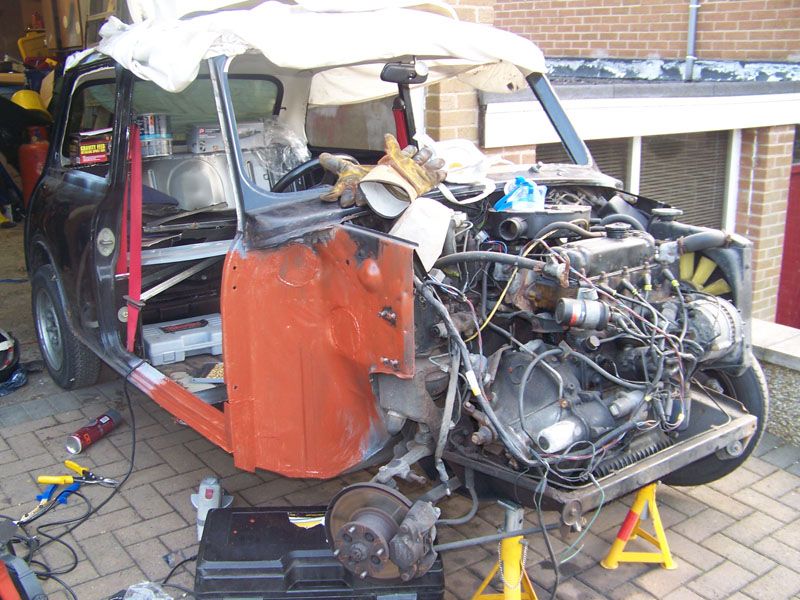
Overall look at the car out of the garage. She's coming along.
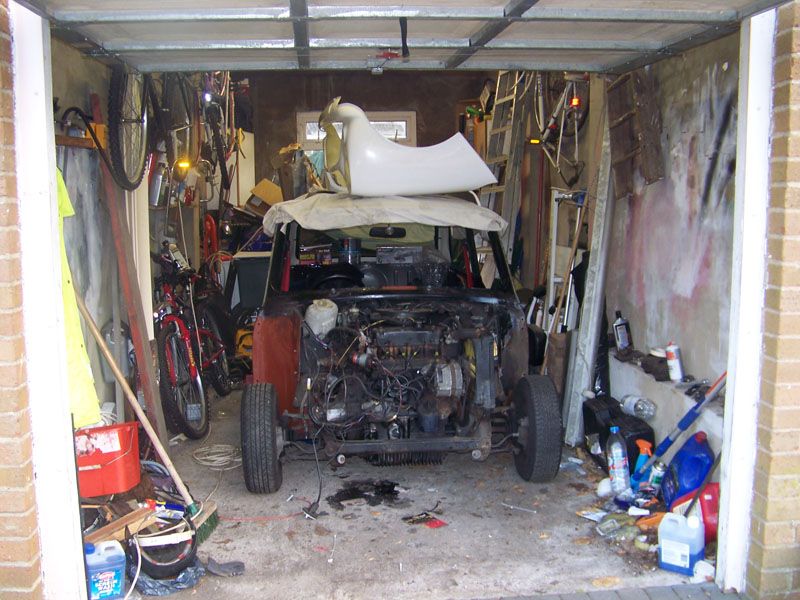
Finally, all tucked away for the night.
I'm quite pleased I managed to get all that done in a day. I feel alot more confident with making my repairs now which I think is why I'm getting more done in a day.
Anyway, I have red oxide in my hair so I'm going to go jump in the shower and get washed up. I'll be back on Elliot tomorrow if the weather is alright (which it is forecast to be). Got a few bits to do to finish off the front corner then I'll move on to the rust in front of the rear wheel arch.
Thanks for looking and please comment, I enjoy reading what people have to say about what I've done
#171

Posted 03 April 2009 - 07:00 PM
Look at my thread and you'll see the seam sealer used in the same way, its fantastic stuff, use as much of it as possible, and on both sides of the welds!
Keep it up!
#172

Posted 03 April 2009 - 07:04 PM
#173

Posted 03 April 2009 - 07:27 PM
I'm going to use it on both sides of welds where they aren't going to be on displayMate, fantastic.
Look at my thread and you'll see the seam sealer used in the same way, its fantastic stuff, use as much of it as possible, and on both sides of the welds!
Keep it up!
Just looked through your project, really good stuff, shame you didn't go for the flip front in the end though
Thanks for looking
#174

Posted 03 April 2009 - 08:23 PM
#175

Posted 03 April 2009 - 08:31 PM
Neither will mine when I've finished with itThat solid steel front won't be rattling about!
#176

Posted 06 April 2009 - 06:01 PM
Finished tidying up the garage and started on chipping the sound deadening off the floor as I didn't fancy doing any welding or anything today but wanted to get on with something. At least this way I get jobs done that I would only have had to do later anyway.
Anyhoo, after getting started doing that it started to rain, fortunatly I chose the night before to charge Elliot's battery, turned the key and she fired straight up (not been started in at least 3 months), backed her in to the garage and pulled the door down and continued chipping sound deadening. Pictures:
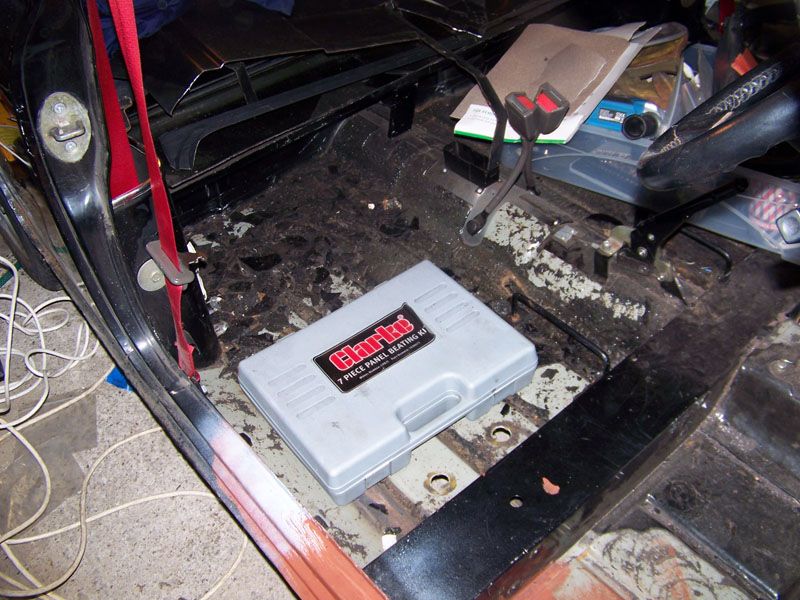
That Clarke box acted as the driver seat when I backed her back in to the garage.
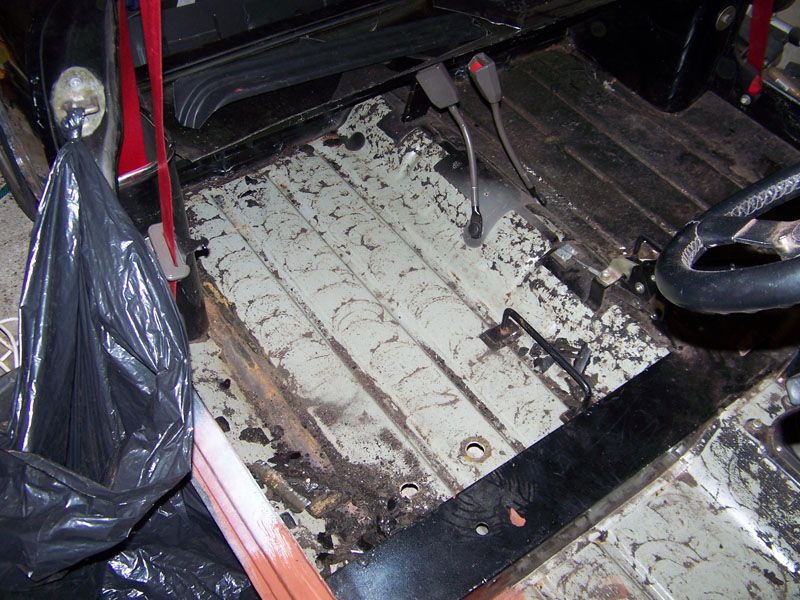
Driver side rear done.
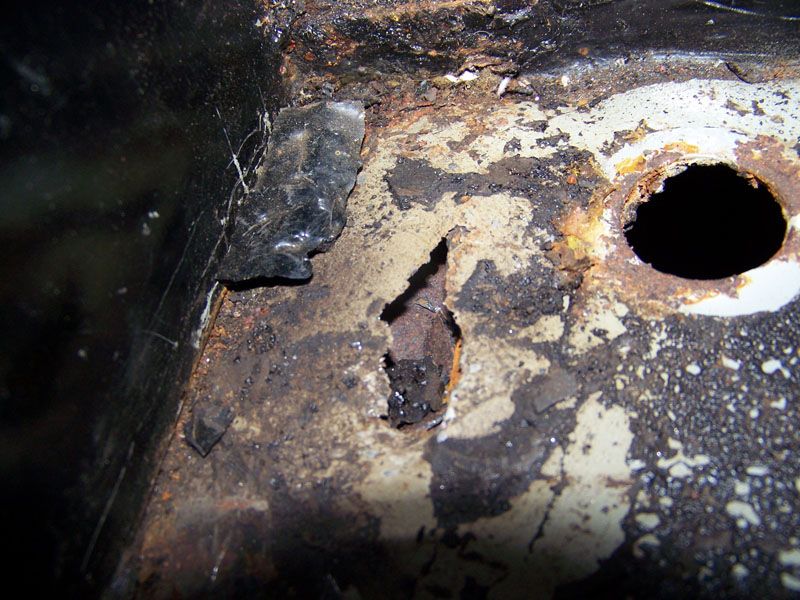
Found a new hole back up near the heal board.
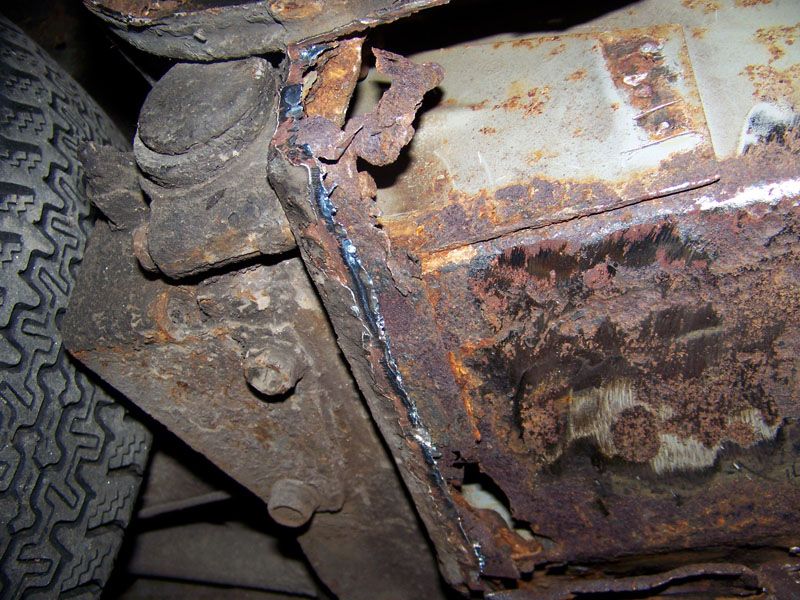
Inner sill needs work anyway so it'll get taken care of at the same time.
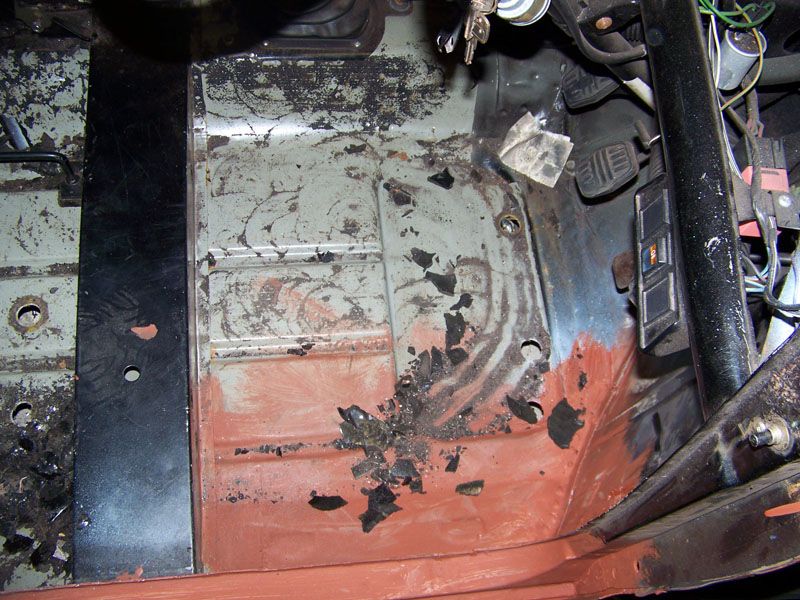
Driver side front done.
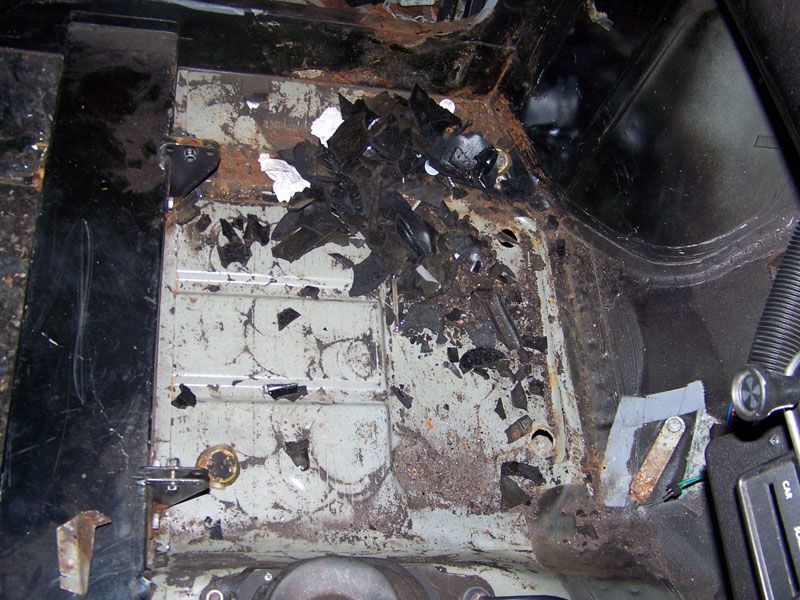
Passenger front done, leaving just the passenger rear to do.
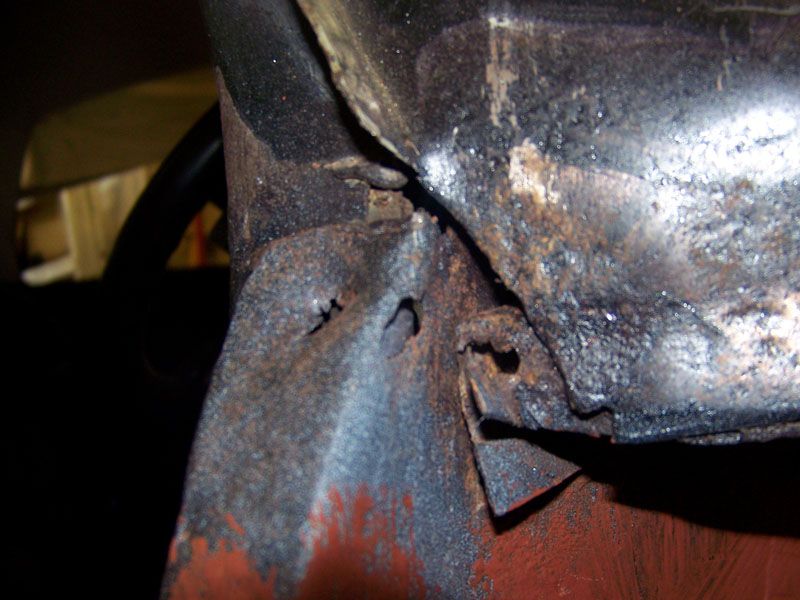
Sure I pictured this earlier in the thread but the time had come to investigate it a little further.
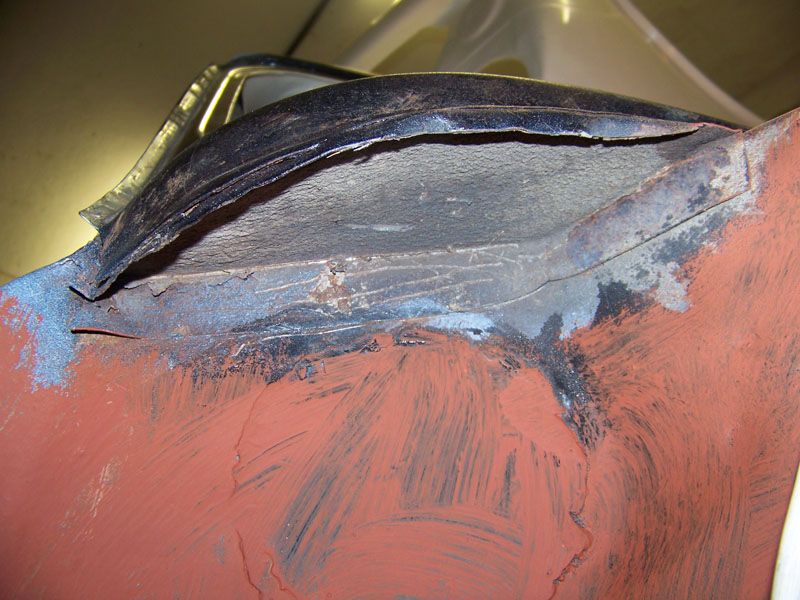
Closing plate looked solid.
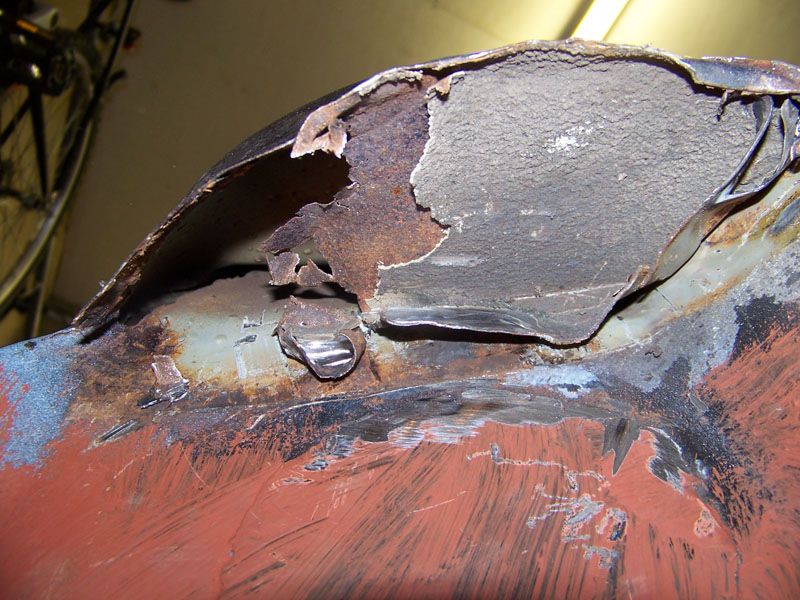
But you peel back its stonechip disguise and what do you find!
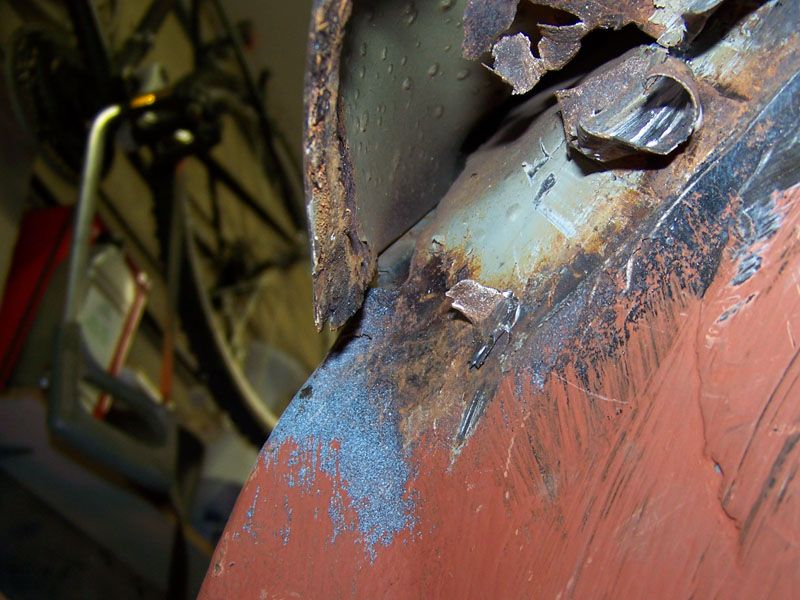
Flitch has some very minor rust, it's not worth me damaging the scuttle to get to this at the moment so it'll be ground or wire brushed back, treated with Kurust and protected as best it can.
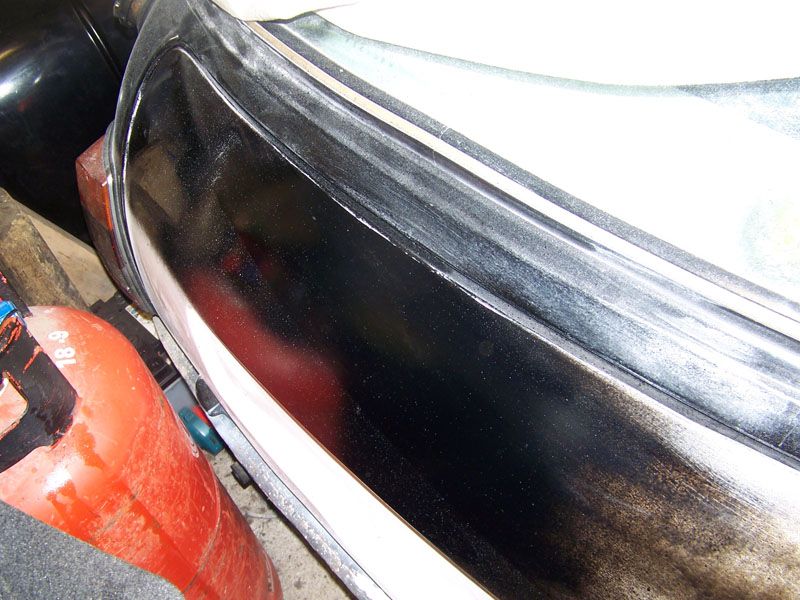
Finally, worked a bit more on the boot lid, got the handle indent filled. Needs a little more attention but that will come with preping it anyway.
Thanks for looking
#177

Posted 07 April 2009 - 07:06 PM
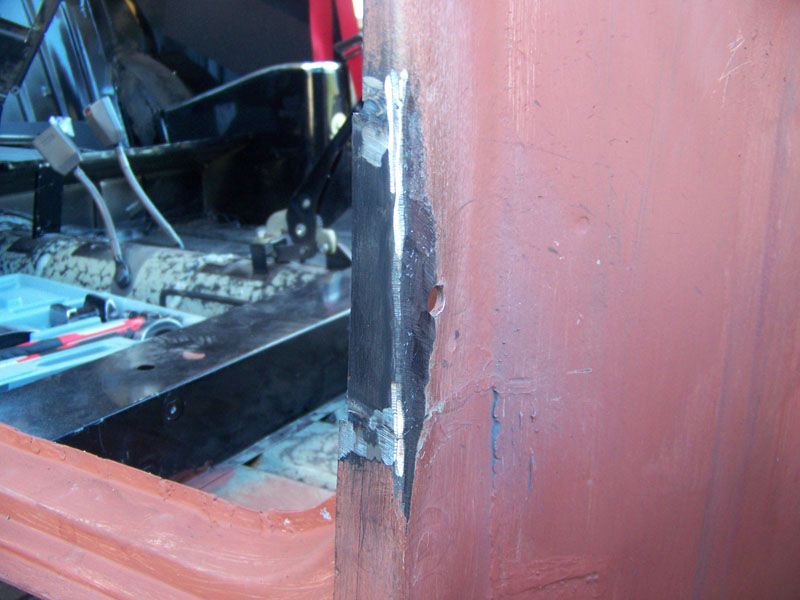
Finished repairing the lip that the a-panel folds round.
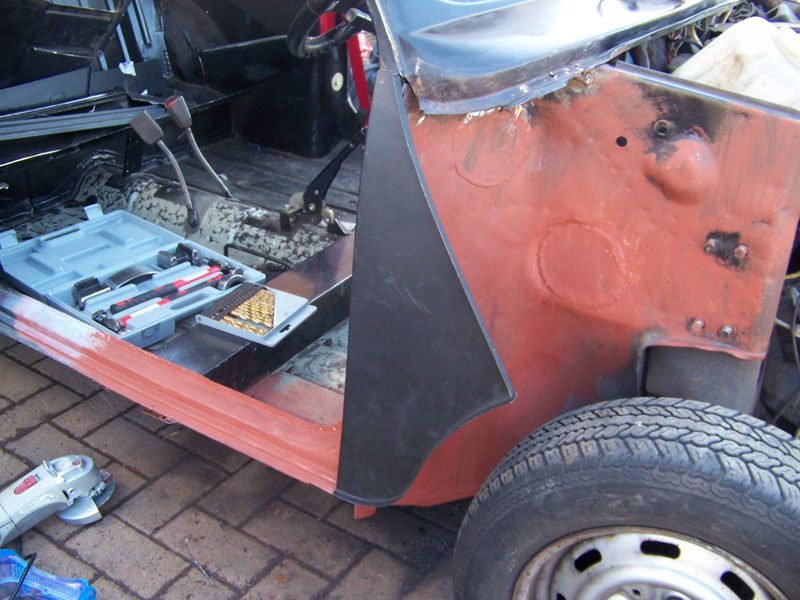
A-panel rougly resting in place.
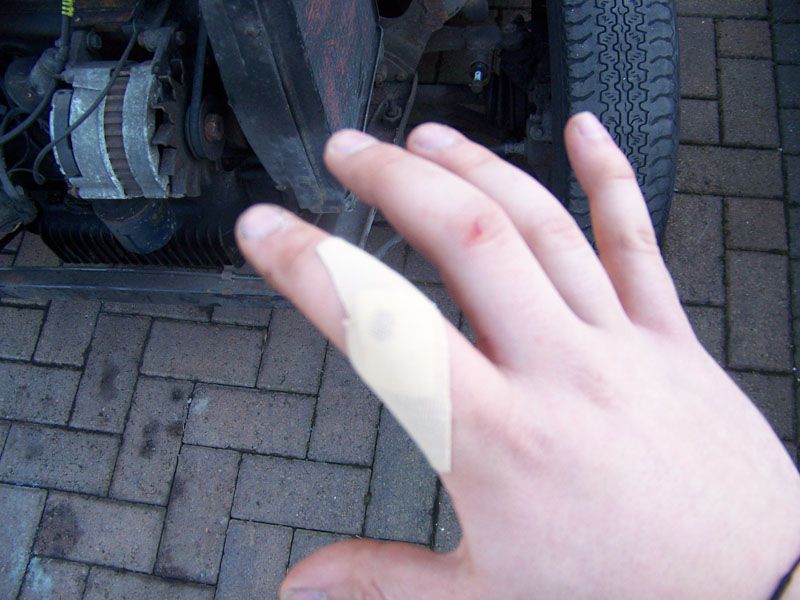
Then, like an idiot, I tried to adjust a small part of the flitch with my bare hand, slipped and sliced my knuckle wide open. No before plaster shots I'm affraid!
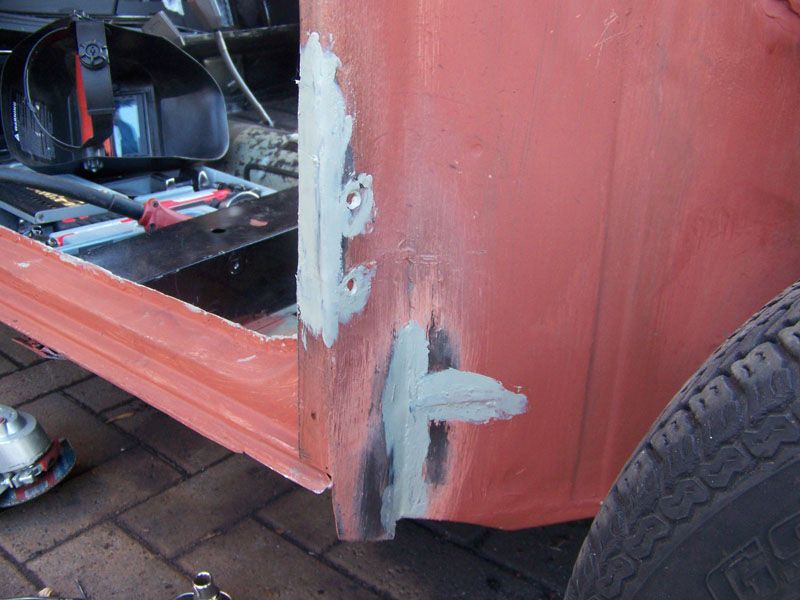
Seam sealer applied.
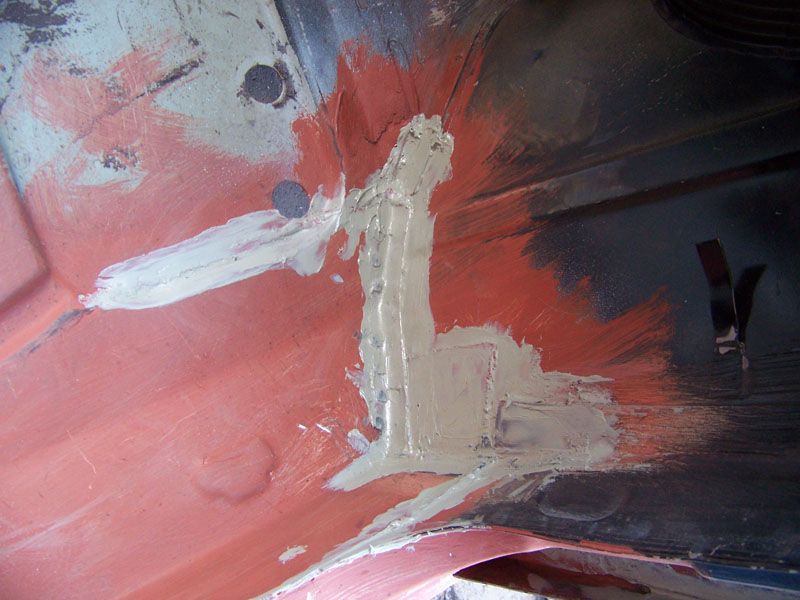
More seam sealer on the inside.
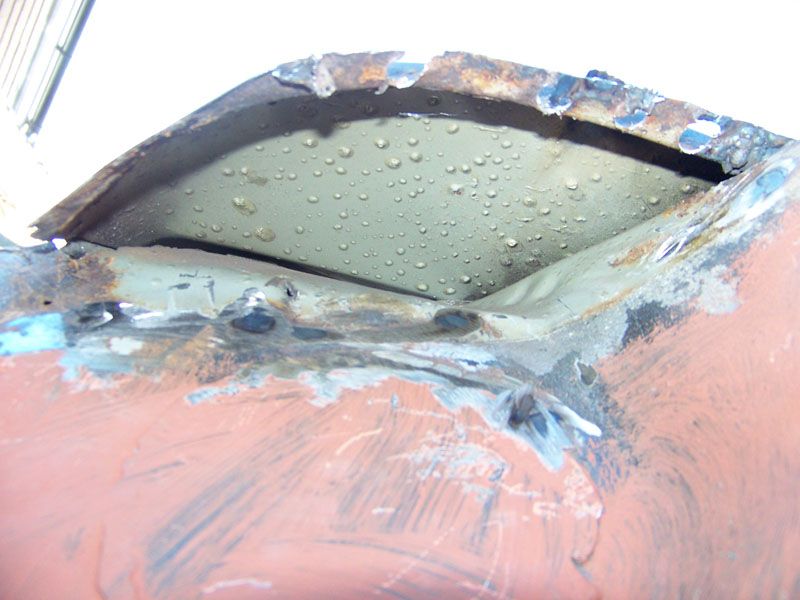
Scuttle closing plate removed.
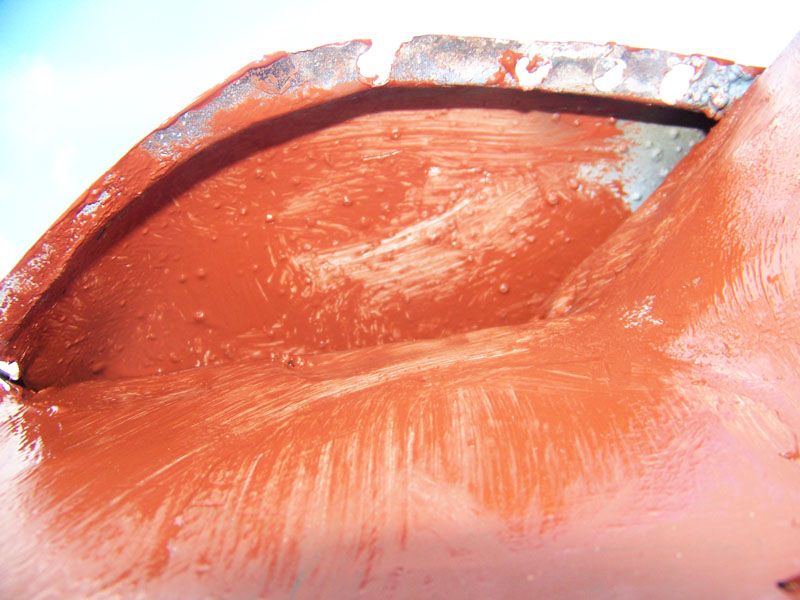
Top of flitch and underside of scuttle etched and red oxide applied.
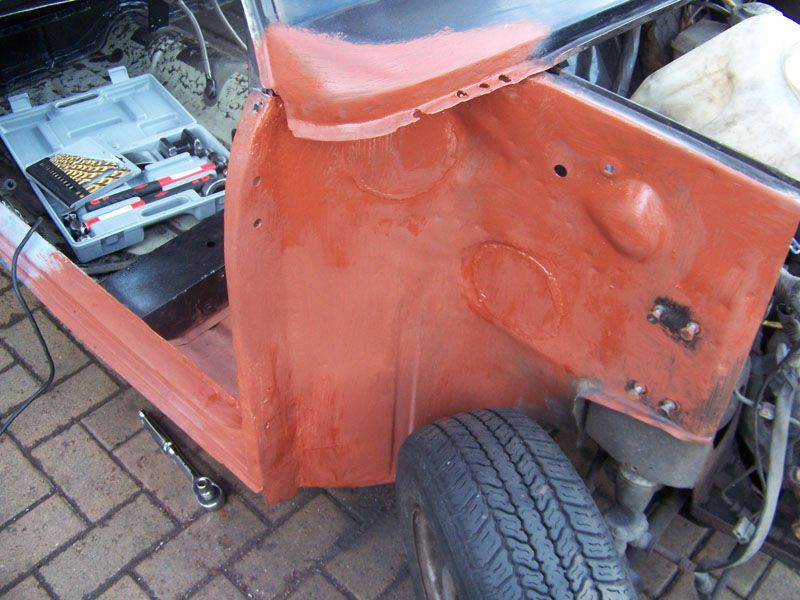
Flitch pretty much finished.
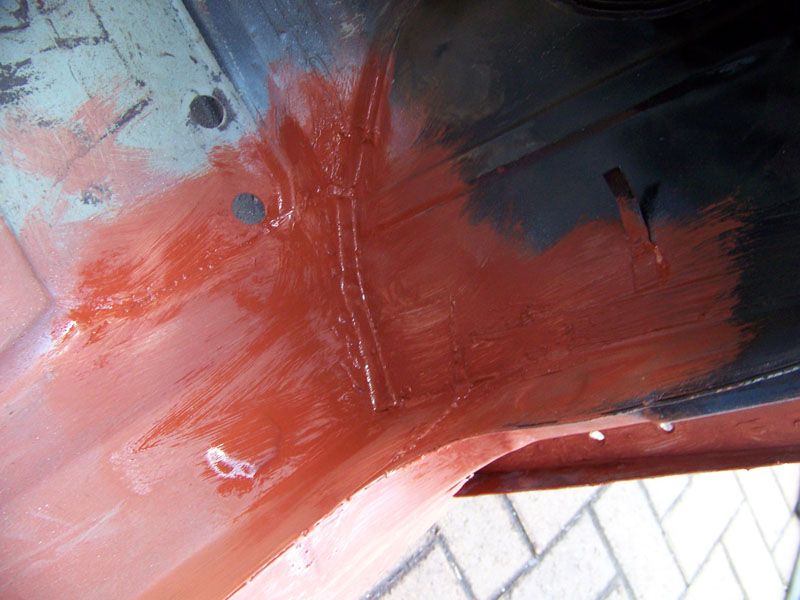
More red oxide on the floor.
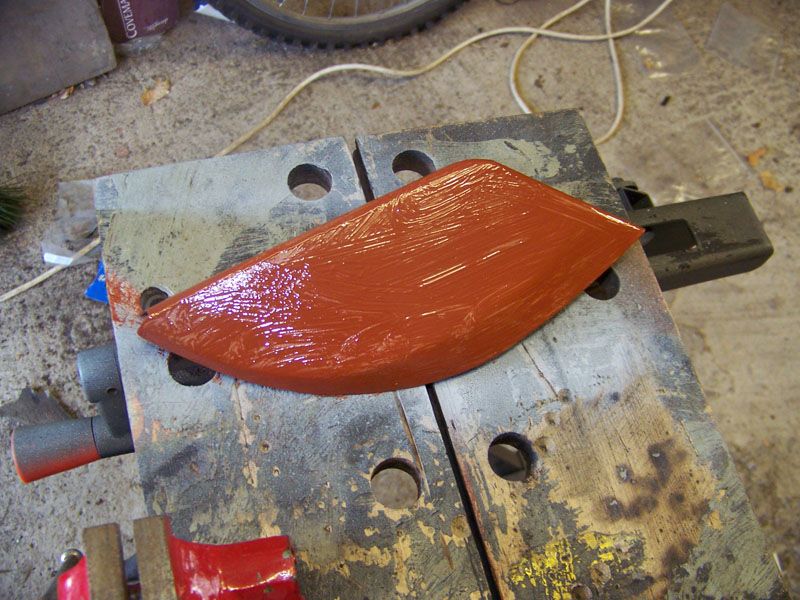
New scuttle closing plate sanded, etched and red oxide applied ready to be welded in.
Thats all for today guys and girls!
#178

Posted 07 April 2009 - 10:40 PM
but what a hour well spent! aperfect combination of writting and pictures to back it up!
and it tought me what a flitch is! ahah.
also, did you teach yourself to weld straight off the bat? or did you attend a little evening course or something?
John.
#179

Posted 08 April 2009 - 12:04 PM
Thanks for looking John! I'm glad you didn't get to the end and feel you'd wasted your timeWhat a project page! i just read this one all the way through. took me hour!
but what a hour well spent! aperfect combination of writting and pictures to back it up!
and it tought me what a flitch is! ahah.
also, did you teach yourself to weld straight off the bat? or did you attend a little evening course or something?
John.
I appreciate your comments about my write up, it used to make me wonder if anyone actually read it but now I know someone does I know my efforts aren't going to waste and I'll continue the same quality of description with my pictures throughout my project.
I didn't take any classes in welding, I've not had any tution what so ever. I bought a welder and played with scraps of steel in my cellar until I was comfortable with it. I read through www.mig-welding.co.uk and it was a massive help.
Thanks again John and please, keep watching
#180

Posted 08 April 2009 - 07:22 PM
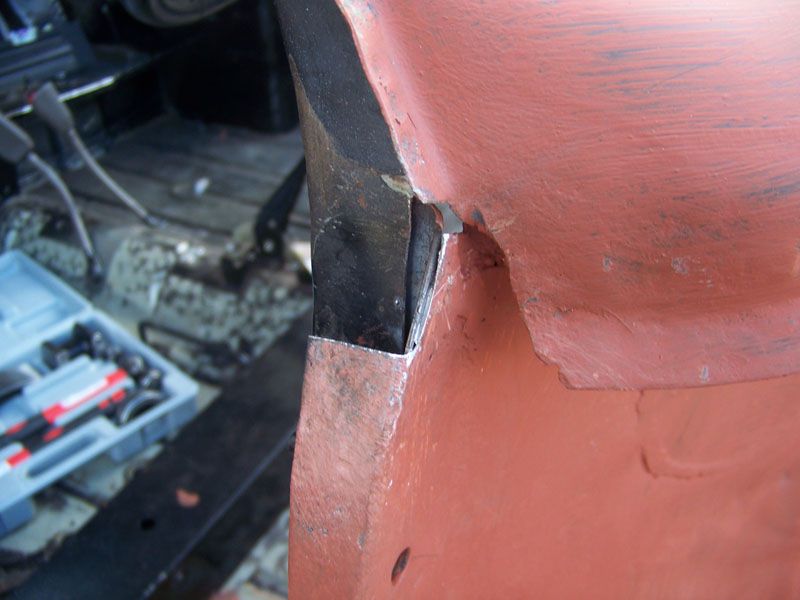
Final bit of rot cut out of the a-panel lip.
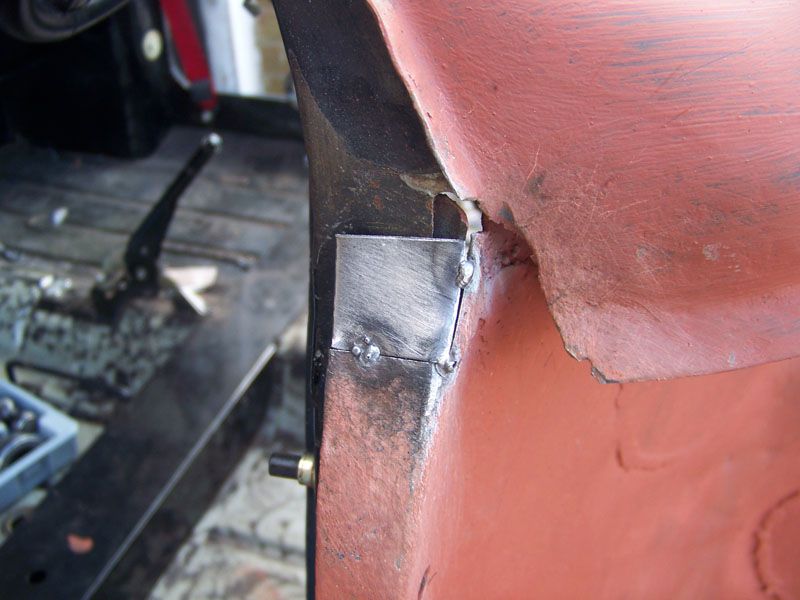
Repair tacked in place.
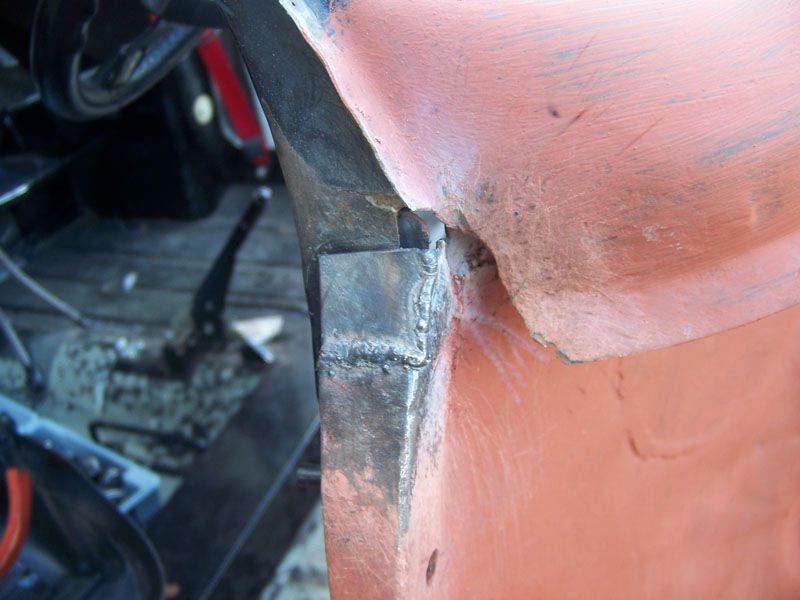
All welded up.
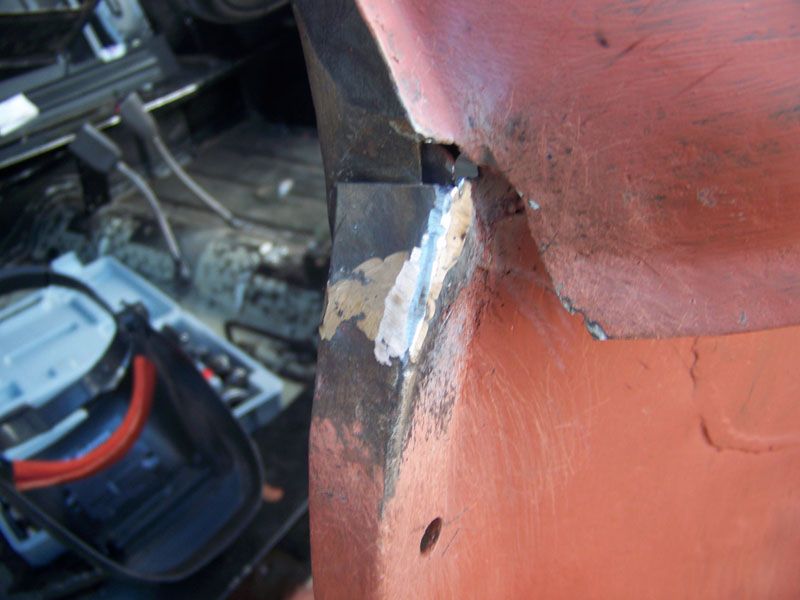
Ground back.
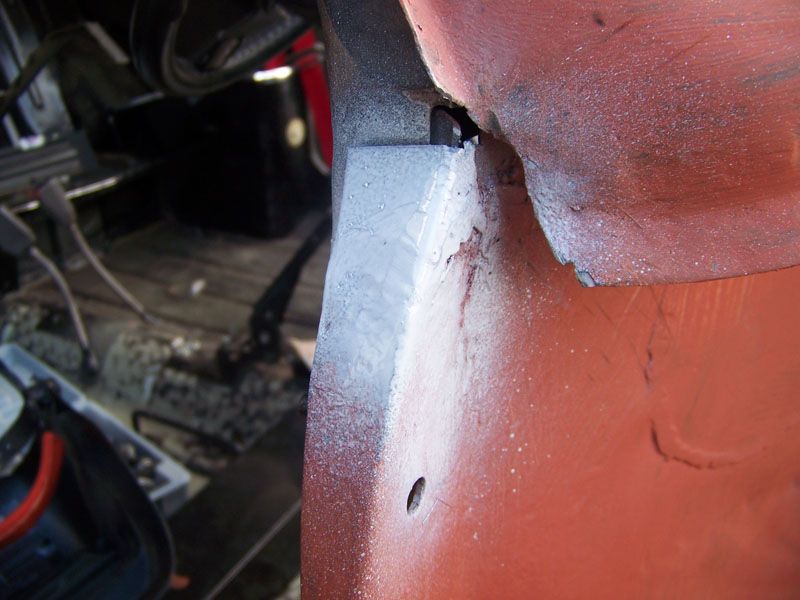
Finally, etched.
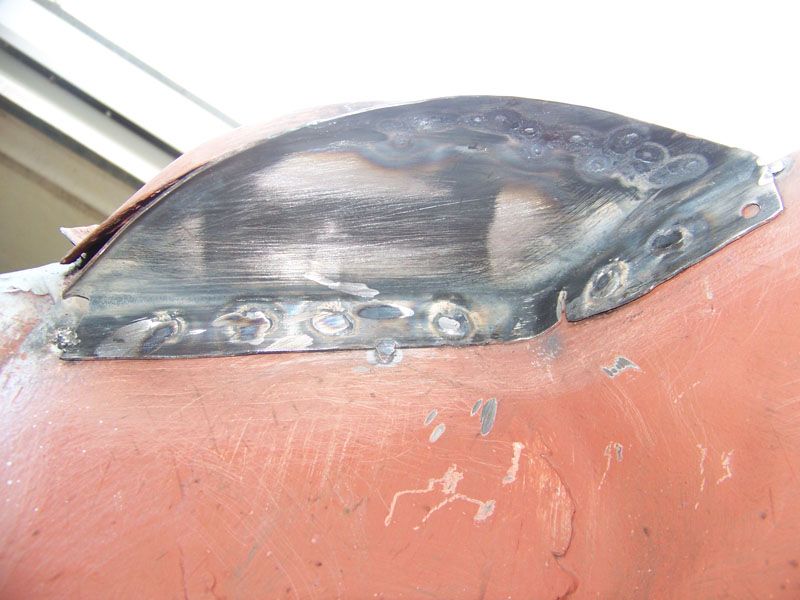
Got my new scuttle closing plate welded in.
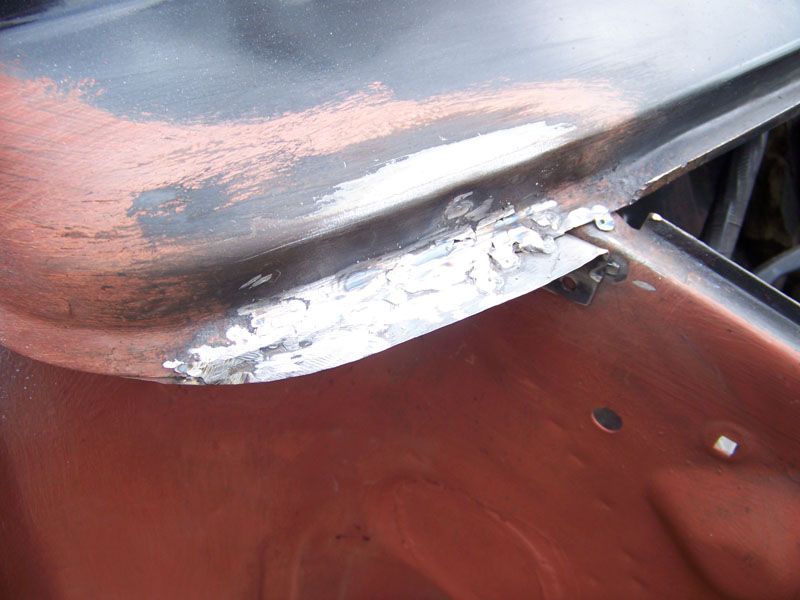
And on the top, already ground back.
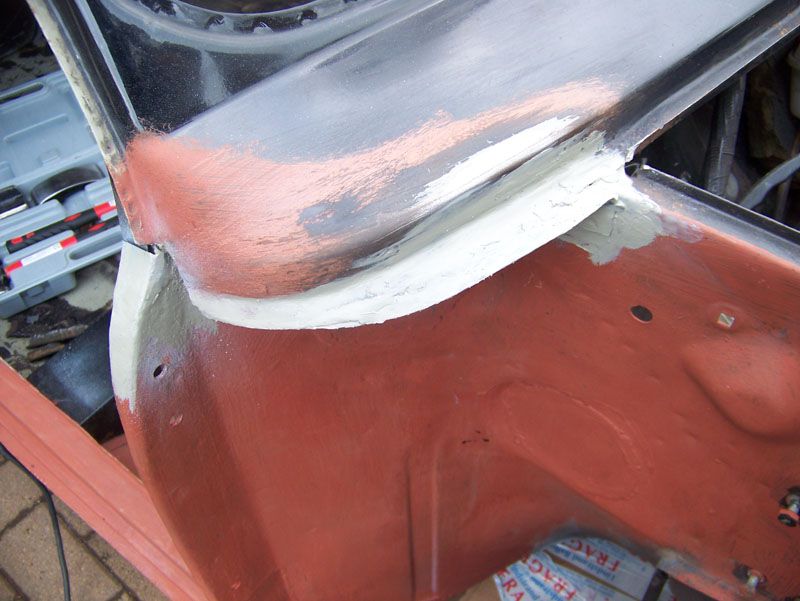
Seam sealed top and underneath.
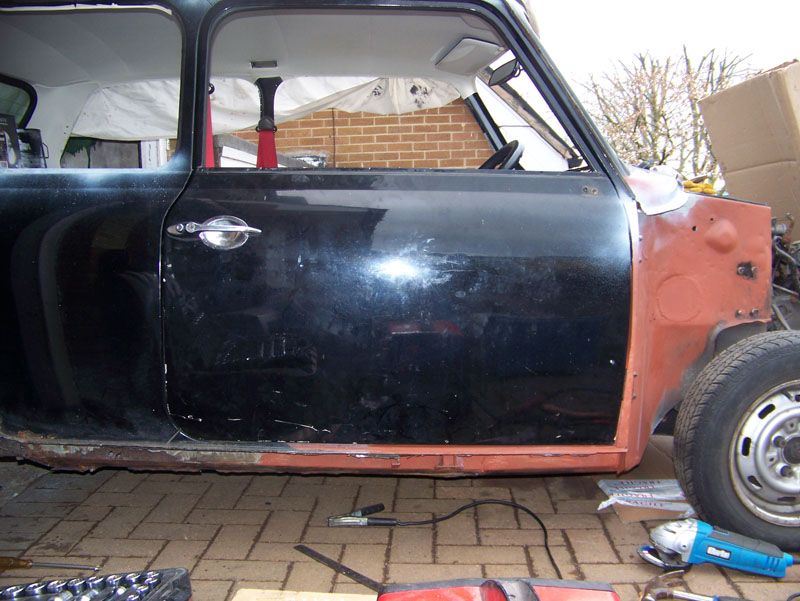
Popped my new door on to find it was miles out, I've had to remove the 2 shims off the bottom hinge and have a good old faff with the fit. Got it sitting pretty now though.
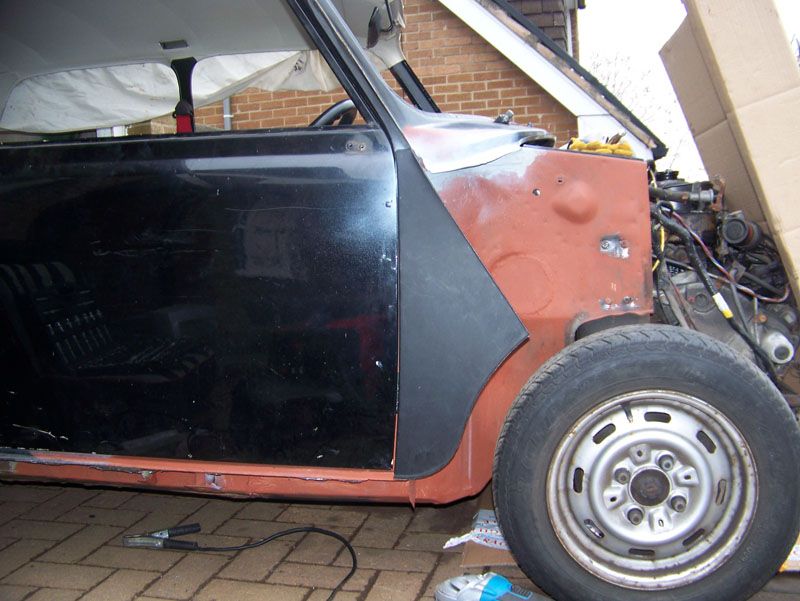
Positioned my a-panel to see how the gap was and if I needed to do any adjustments to get the a-panel to sit level with the door, needed a few but got it sitting nice. I need to weld some tabs to the back of the a-panels for catching the flip front edges before I weld them in place.
Thanks for looking
Also tagged with one or more of these keywords: roundnose
Projects →
Mini Saloons →
Mini Cooper Project - Finally StartsStarted by piphatch , 08 Jan 2025 |
|
|
||
Projects →
Mini Saloons →
1965 Austin Mini Restoration - Canadian Mk1Started by DoubleEh , 14 Nov 2022 |
|
|
||
Projects →
Mini Saloons →
Project Joe - 1991 Mini Mayfair 998Started by Eggers , 02 Jun 2022 |
|

|
||
Projects →
Mini Saloons →
Mpi Dashboad ProblemStarted by mikeprez , 22 Dec 2021 |
|

|
||
Projects →
Mini Saloons →
1978 Oew - Willy The MiniStarted by smalltreegrower , 11 Nov 2021 |
|

|
1 user(s) are reading this topic
0 members, 1 guests, 0 anonymous users


