Engine Bay Styling!
#271

Posted 26 April 2011 - 01:58 AM

#272

Posted 26 April 2011 - 01:46 PM
but how much of it is down to tidying a standard bay and how much relies on just buying flashy parts?
Cheers, Harrison
#273

Posted 26 April 2011 - 06:21 PM
#274

Posted 26 April 2011 - 07:27 PM
Sweet, would anyone happen to know if the halfords aerosol degreaser is any good ?
GUNK is not as good as it use to be bk before it had to be friendly so its all much the same now. I cover up the electrics and gave it a quick pressure wash and it had no problems starting and looked very clean.
I considered that, mates got a pressure washer, how did you cover up the electrics and how careful were you ?
I did it and had no problem I'm NOT telling you to do it I don't want you to do and have problems, its up to you. I used some shopping bags and bands on the dizzy and coil then used a air line to dry it of before i started the engine and ran it till it got warm.
#275

Posted 26 April 2011 - 07:40 PM
Sweet, would anyone happen to know if the halfords aerosol degreaser is any good ?
GUNK is not as good as it use to be bk before it had to be friendly so its all much the same now. I cover up the electrics and gave it a quick pressure wash and it had no problems starting and looked very clean.
I considered that, mates got a pressure washer, how did you cover up the electrics and how careful were you ?
I did it and had no problem I'm NOT telling you to do it I don't want you to do and have problems, its up to you. I used some shopping bags and bands on the dizzy and coil then used a air line to dry it of before i started the engine and ran it till it got warm.
when i do it, i get the eng hot and then keep it running as i wash it.
this is just one more way to skin the cat.
#276

Posted 13 May 2011 - 09:54 AM
#277

Posted 18 May 2011 - 04:26 PM
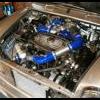
A couple that I have done

was just wounder in how have you got a carb and a masive air filter like that looks nice blue
#278

Posted 21 May 2011 - 03:28 PM
was just wounder in how have you got a carb and a masive air filter like that looks nice blue
whats thta thing called that on the carb sorry if sounds daft :L
Hi,
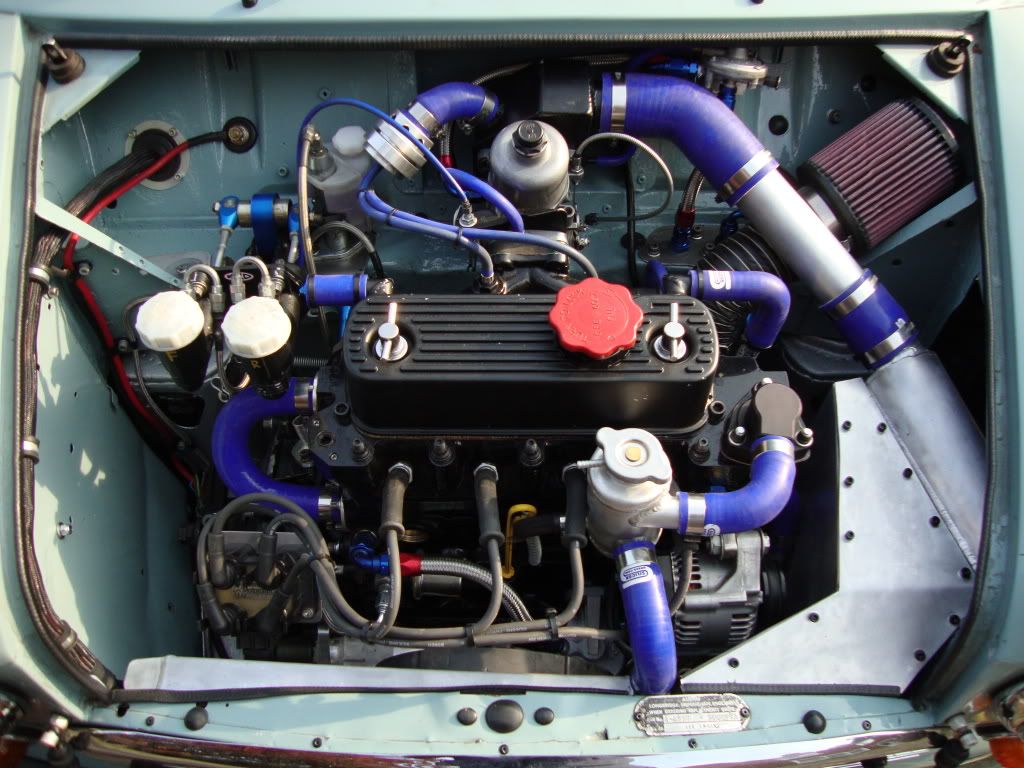
The filter is just a cheapie ebay jobbie for around a tenner, the chrome pipe is actually just a polished alloy boost pipe from the bay at about £5.
The boost pipe connector was about £4 and the jubilee clips were pence from Wico's.
The inlet section attached to the carb is an air intake from another austin that has been cut and re welded (alloy tig) back together in the angles and position needed to make the kit work.
The inlet was an ebay jobbie and cost £15. and then another £20 to have welded once I had everything where I wanted it.
I was asked to make a run of kits but did not get enough people to make the kit cost effective.
The inlet would have been made out of fibreglass or similar and in limited numbers the kit would have cost £90 without a penny of proffit.
I would have needed 100 poeple to get the cost down to around £60+post with no proffit.
I did paint the inlet to show how it would look in fibreglass.


#279

Posted 21 May 2011 - 04:25 PM
was just wounder in how have you got a carb and a masive air filter like that looks nice blue
whats thta thing called that on the carb sorry if sounds daft :L
Hi,
The filter is just a cheapie ebay jobbie for around a tenner, the chrome pipe is actually just a polished alloy boost pipe from the bay at about £5.
The boost pipe connector was about £4 and the jubilee clips were pence from Wico's.
The inlet section attached to the carb is an air intake from another austin that has been cut and re welded (alloy tig) back together in the angles and position needed to make the kit work.
The inlet was an ebay jobbie and cost £15. and then another £20 to have welded once I had everything where I wanted it.
I was asked to make a run of kits but did not get enough people to make the kit cost effective.
The inlet would have been made out of fibreglass or similar and in limited numbers the kit would have cost £90 without a penny of proffit.
I would have needed 100 poeple to get the cost down to around £60+post with no proffit.
I did paint the inlet to show how it would look in fibreglass.
#280

Posted 25 May 2011 - 03:14 PM

#282

Posted 25 May 2011 - 05:15 PM
#283

Posted 25 May 2011 - 05:46 PM
#284

Posted 25 May 2011 - 10:01 PM
New bits:
Clutch master cylinder, slave cylinder, clevis pin and braided hose
Smiffys bits various
Earth strap
Poly steady bushes
New Rocker Cap
Various gaskets
Spent a small fortune on primers, black paint and lacquer!


Oh and a pic of my gorgeous MED LD Roller Rockers

#285

Posted 25 May 2011 - 10:19 PM
2 user(s) are reading this topic
0 members, 2 guests, 0 anonymous users


