Jump to content


Photo
- - - - -

New Project Mini


  • Please log in to reply
145 replies to this topic

#136 jonb_5

jonb_5

    Super Mini Mad

  • Members
  • PipPipPipPipPipPip
  • 575 posts

Posted 23 August 2009 - 05:27 PM

Hi

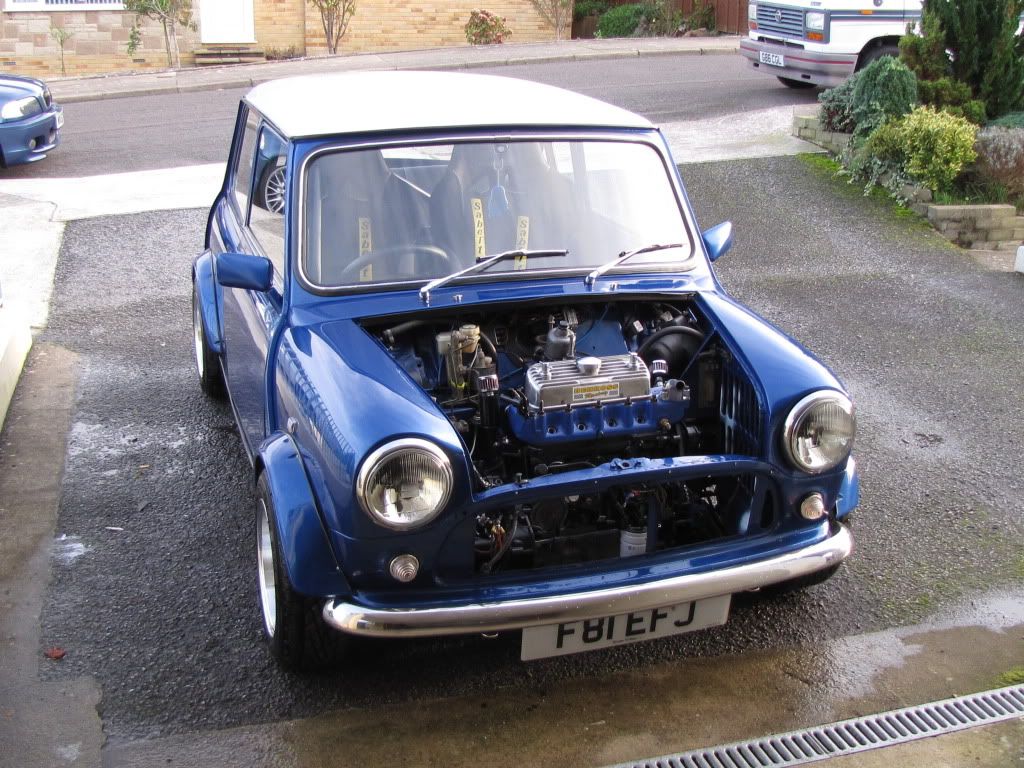
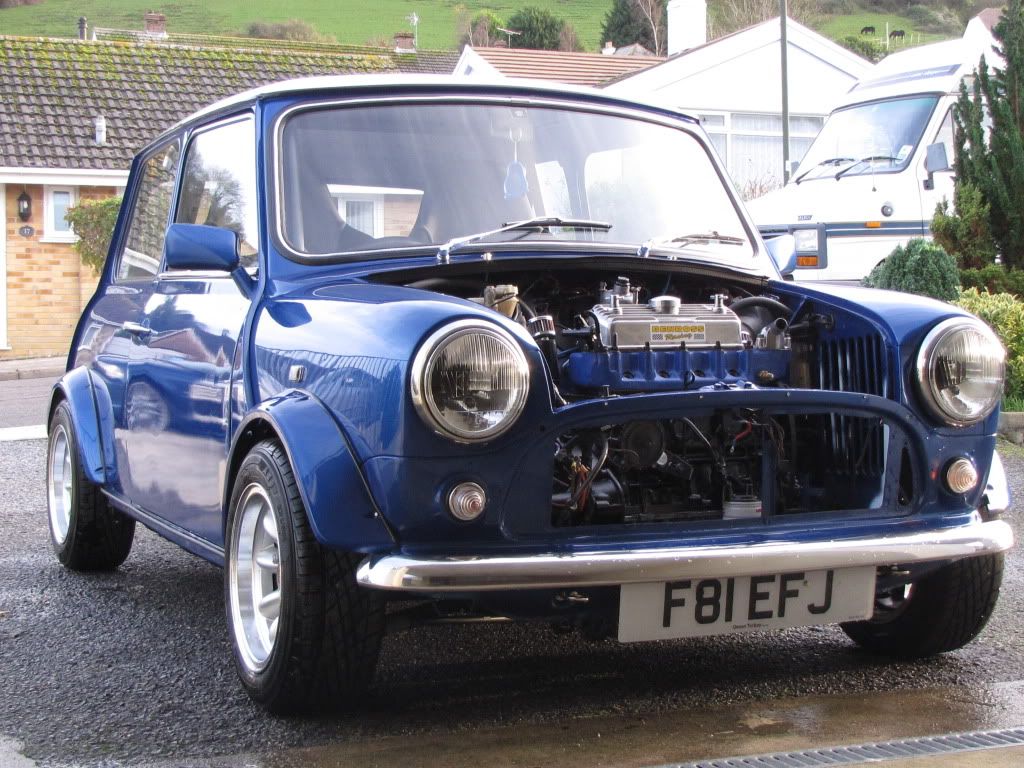
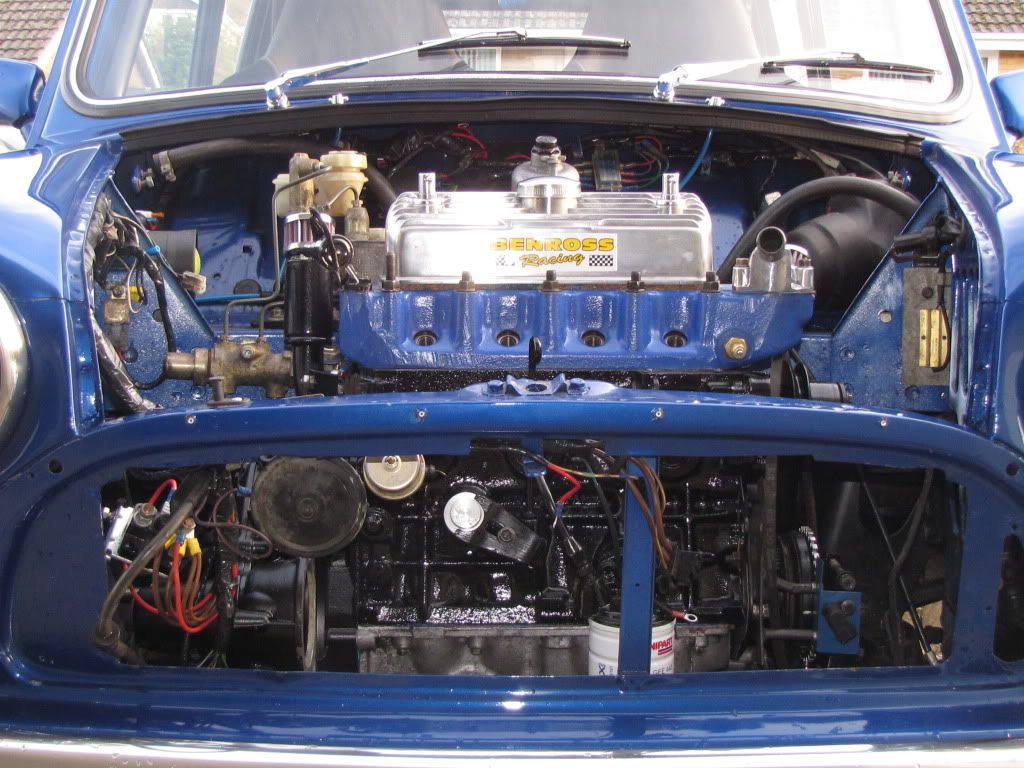
Havnt had the post updated for a while but there has been a bit of a major update.

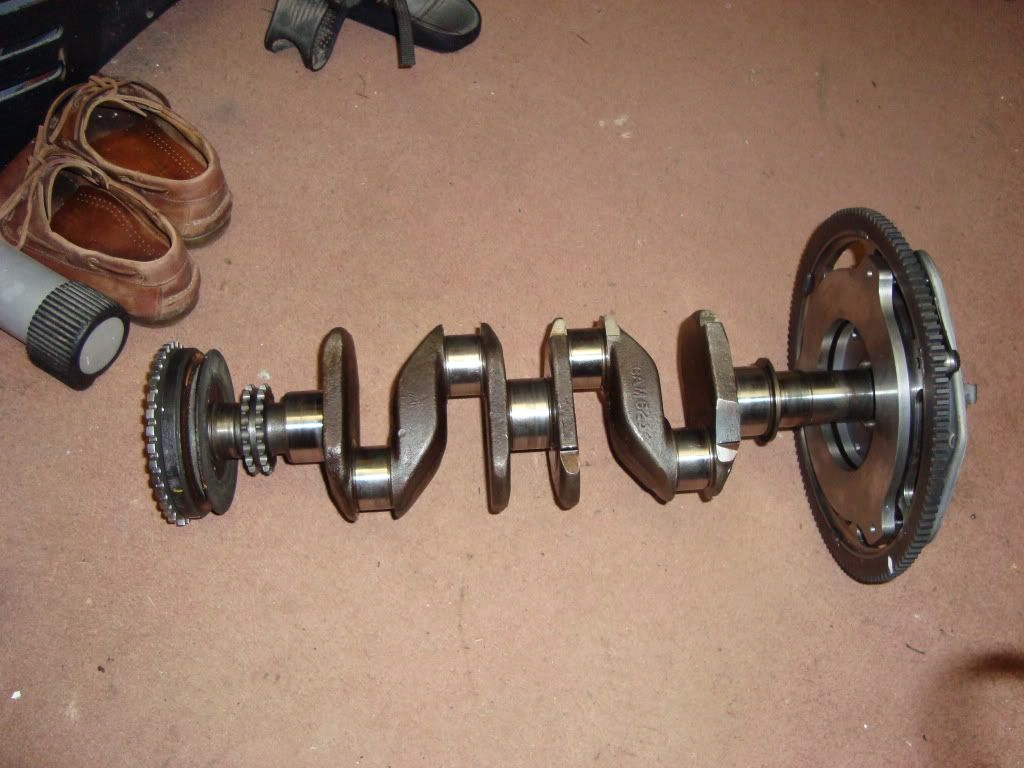
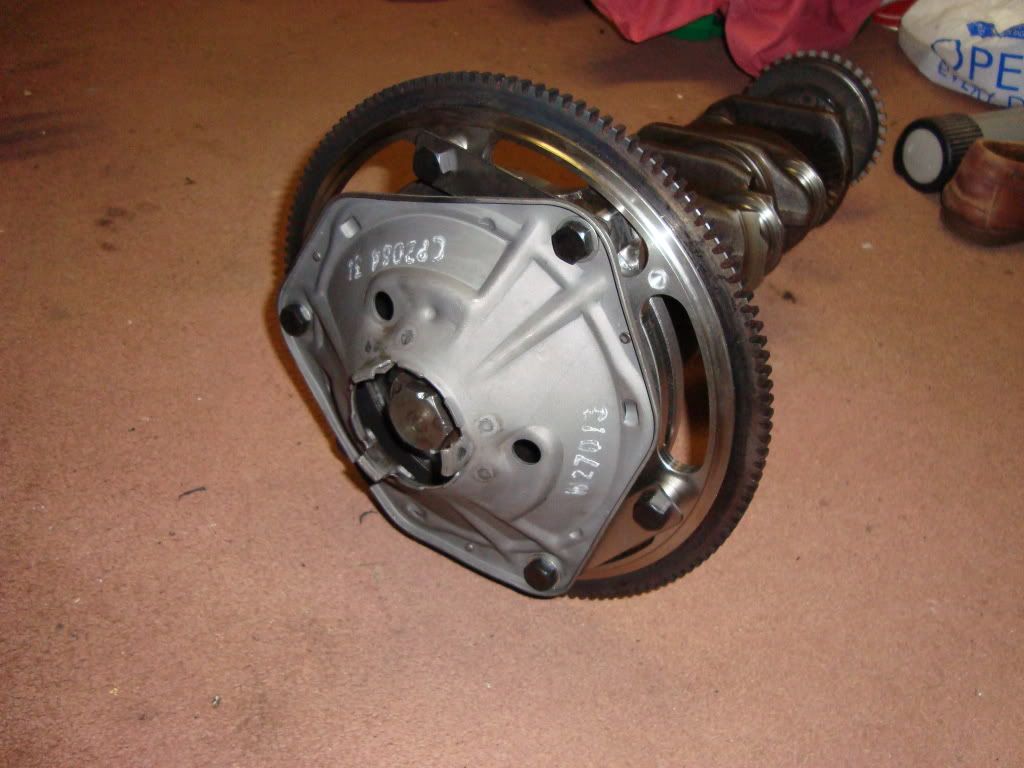
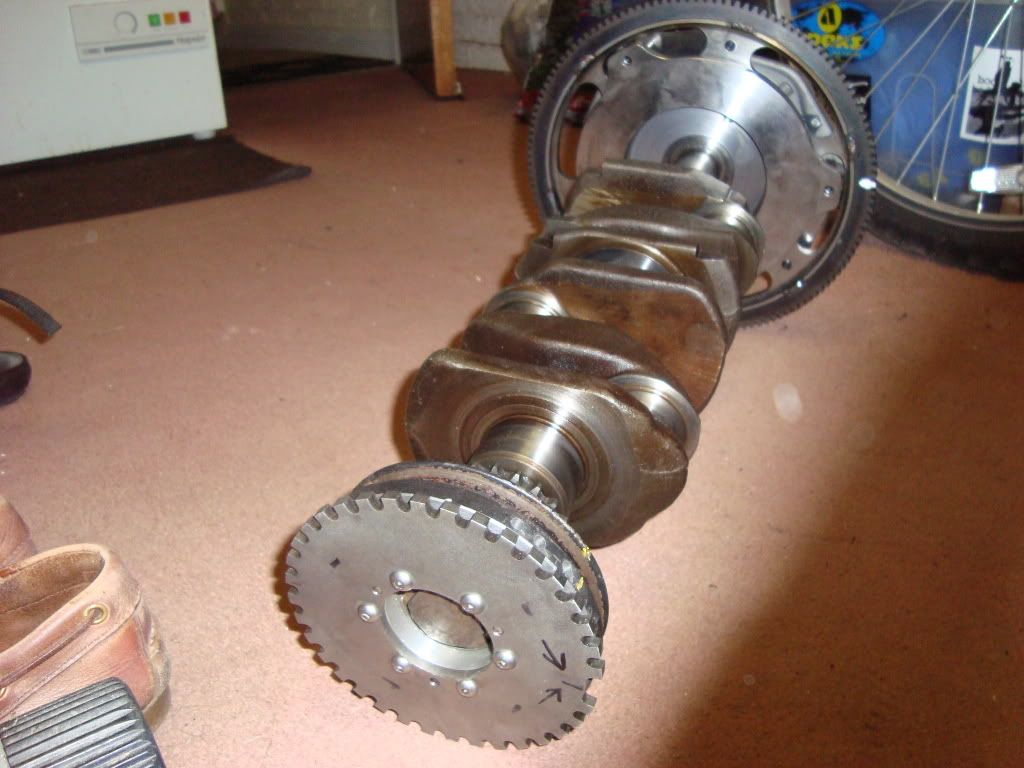
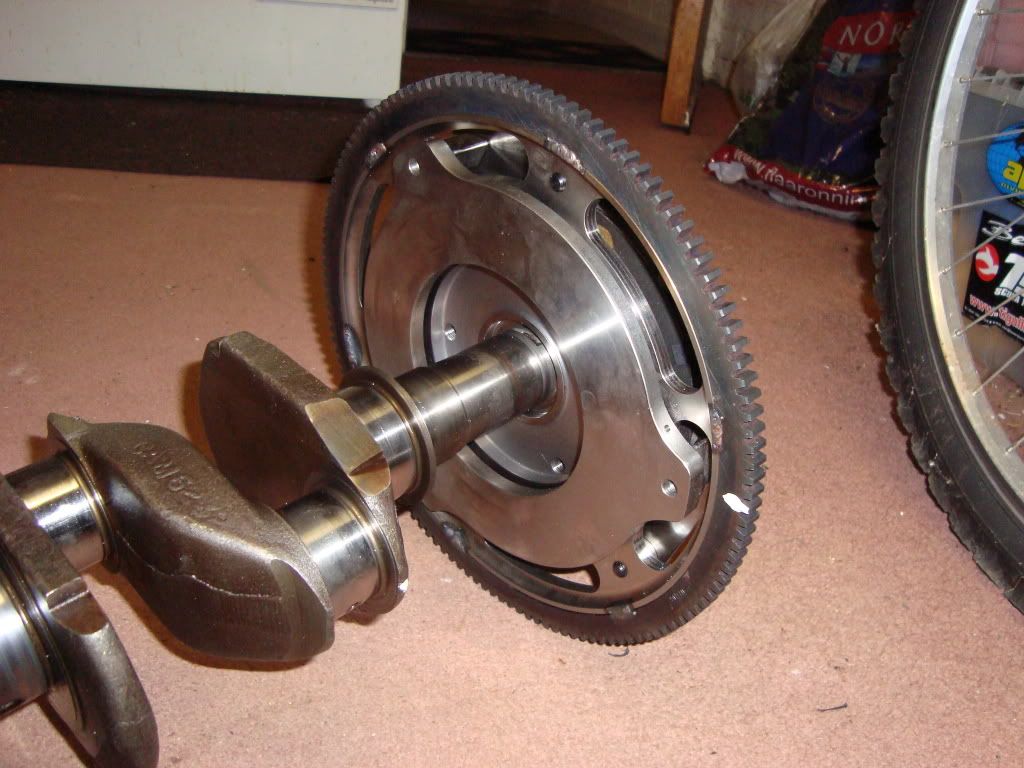
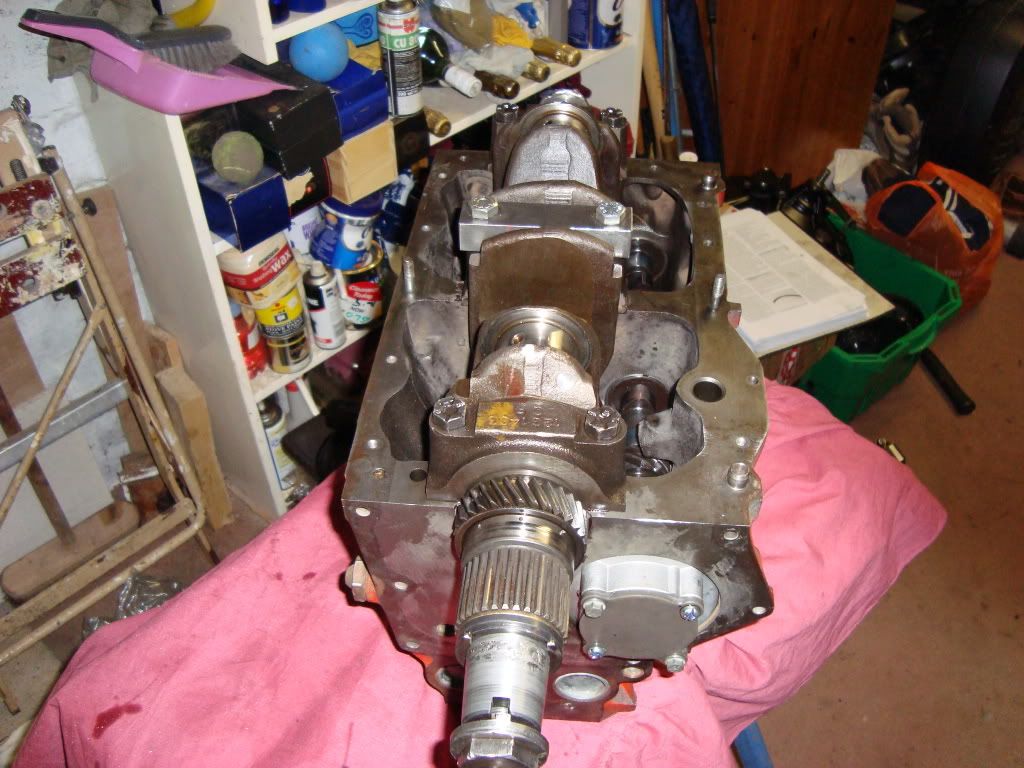
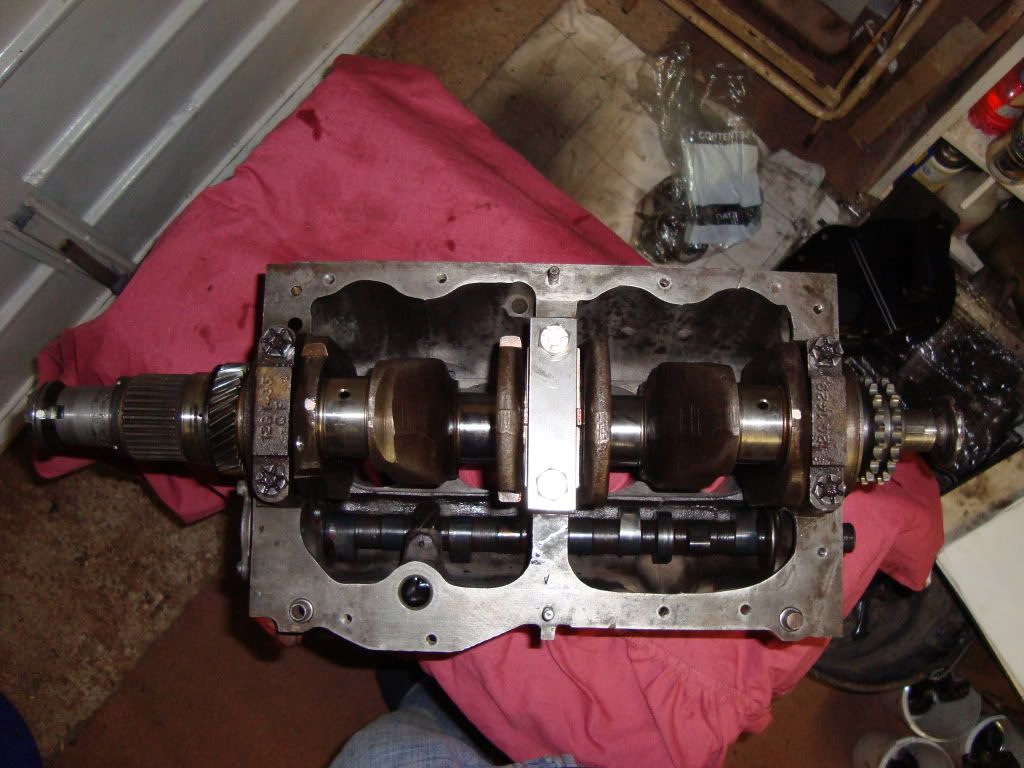
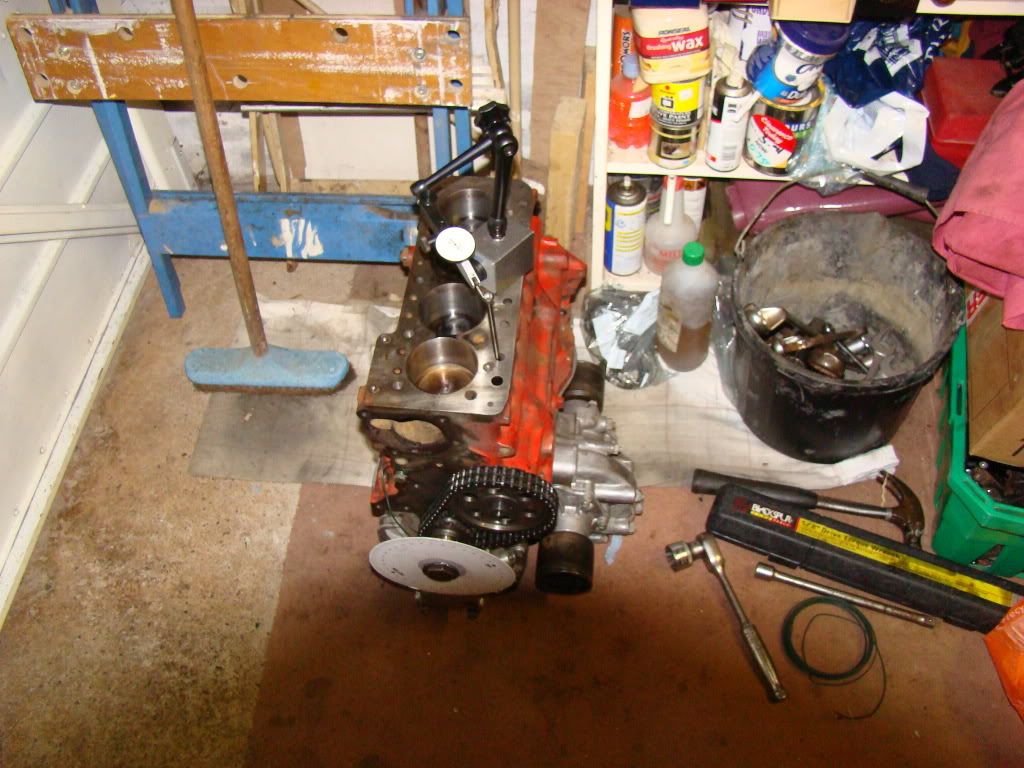
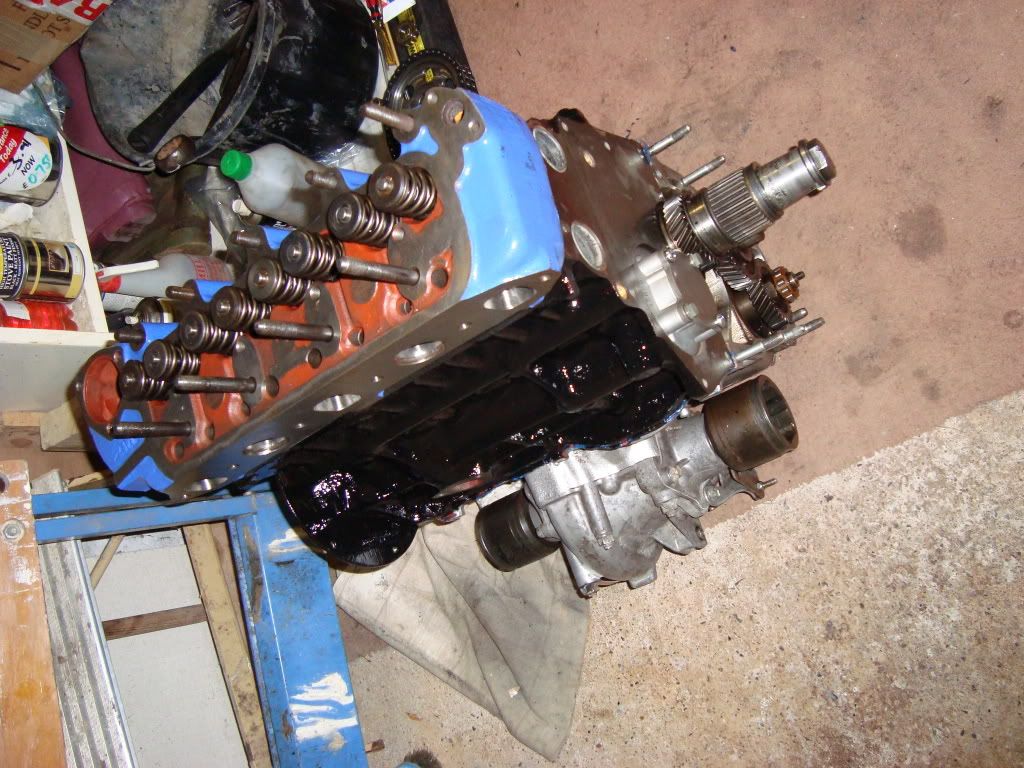
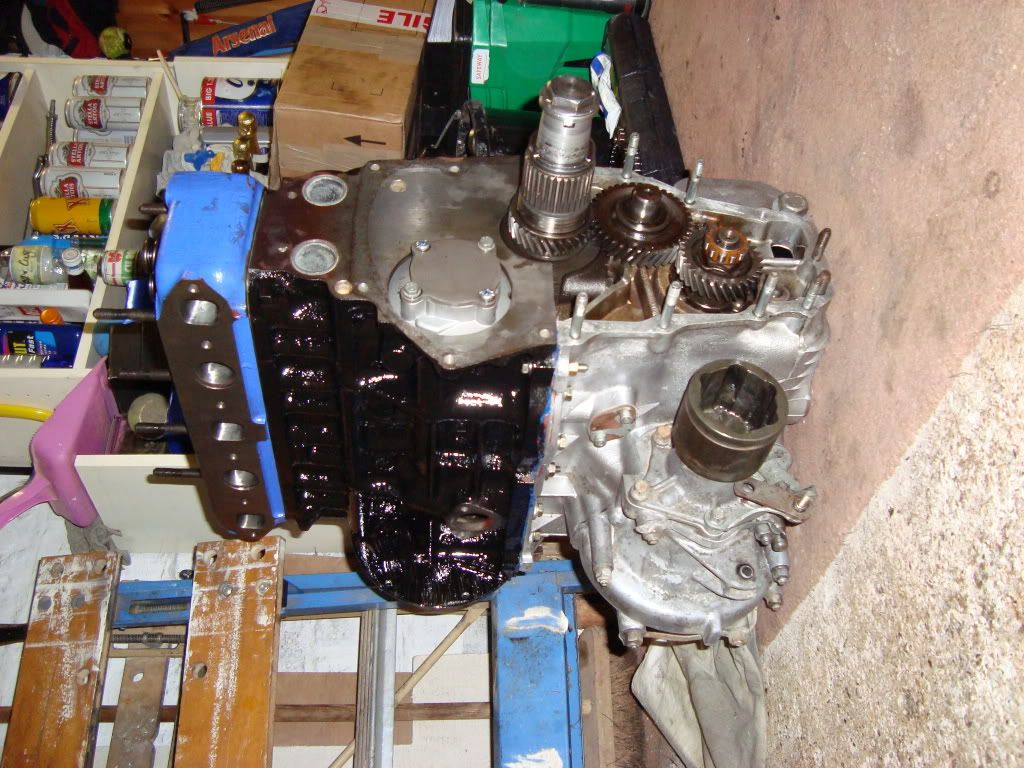
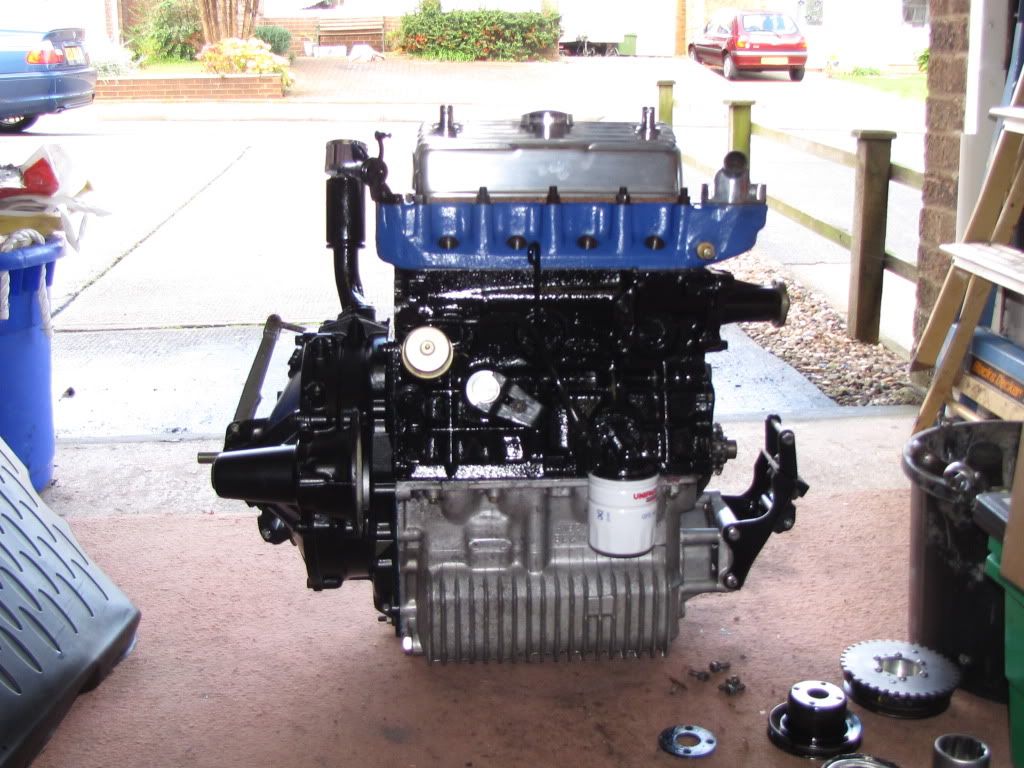
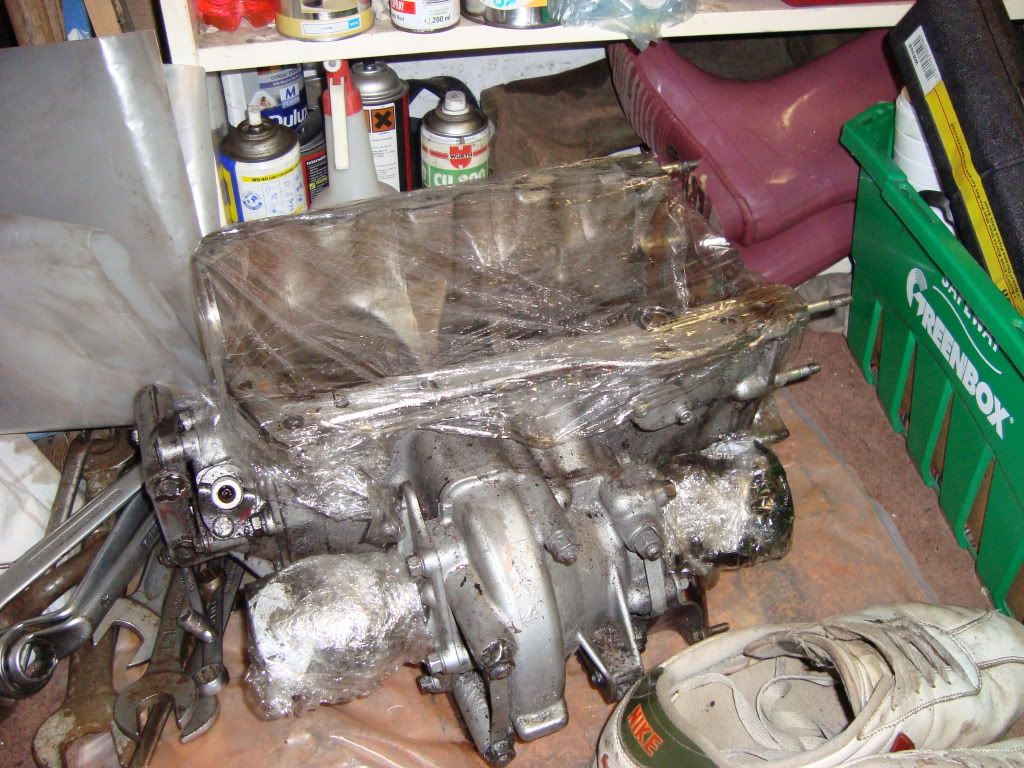
After being down on power, burning huge amounts of oil and consuming water i decided enough was enough and ripped the engine out.

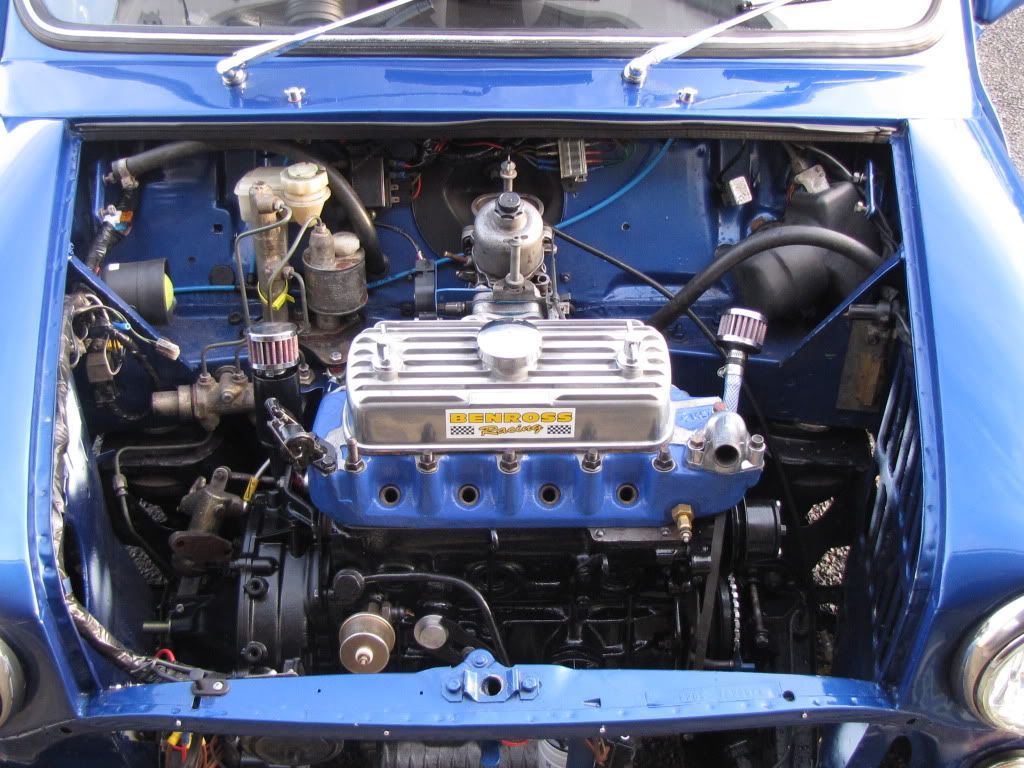
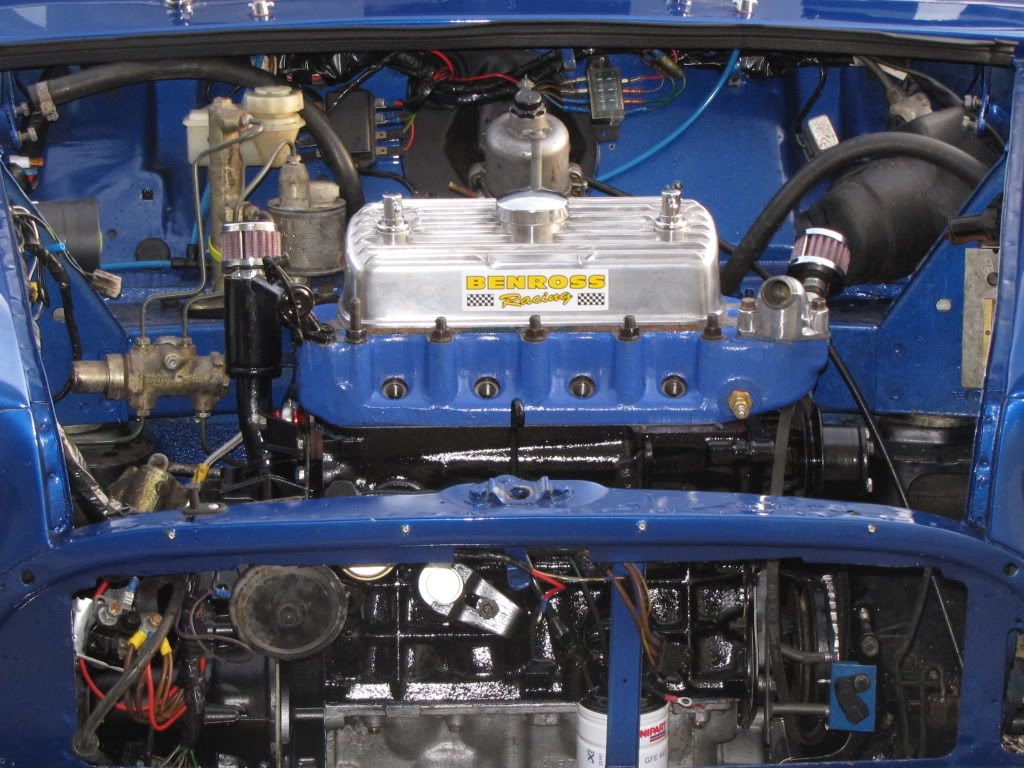
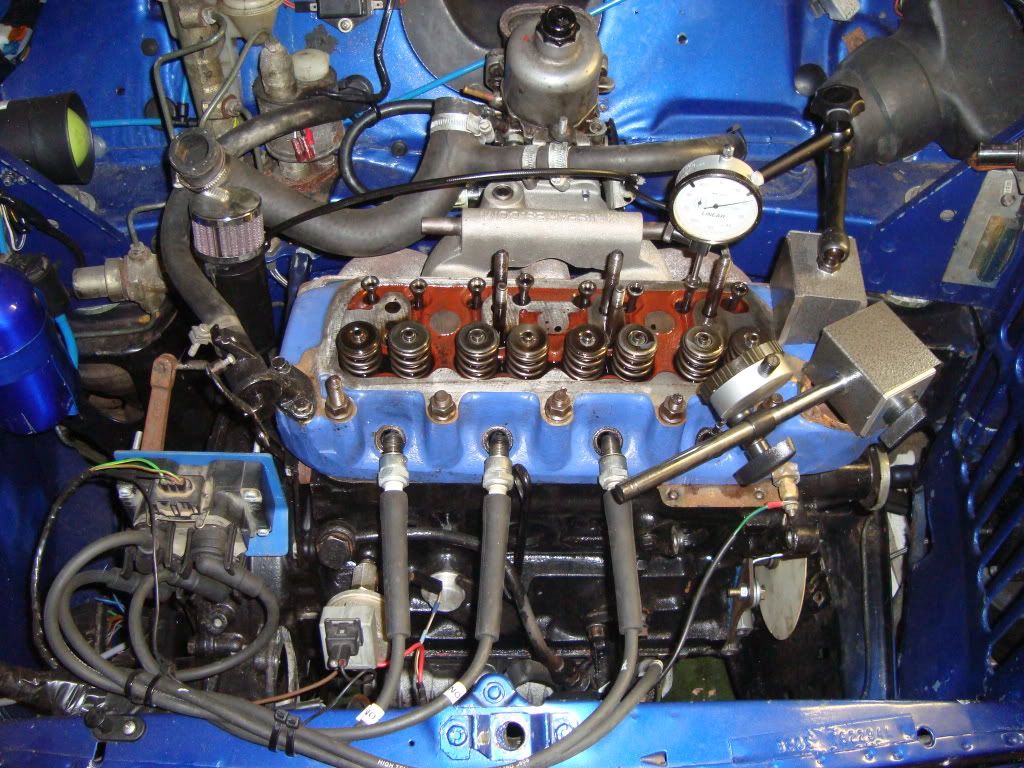
So the past week i stripped it down and lifted it out of the car and here it is as of this afternoon:

Posted Image
Posted Image
Posted Image

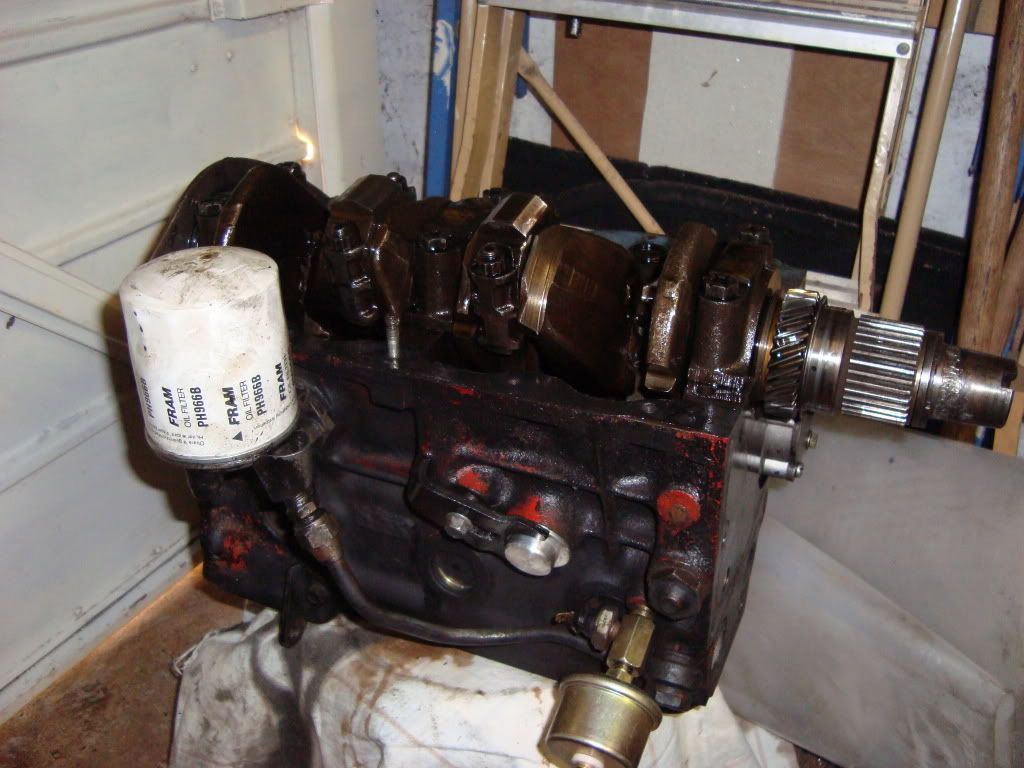
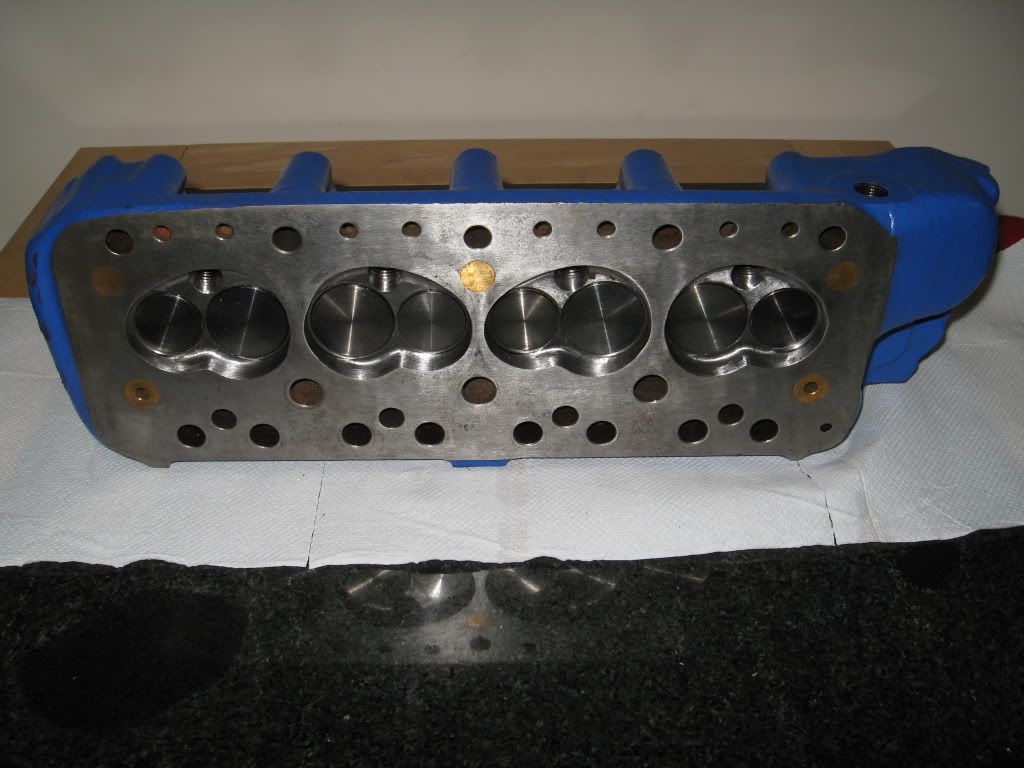
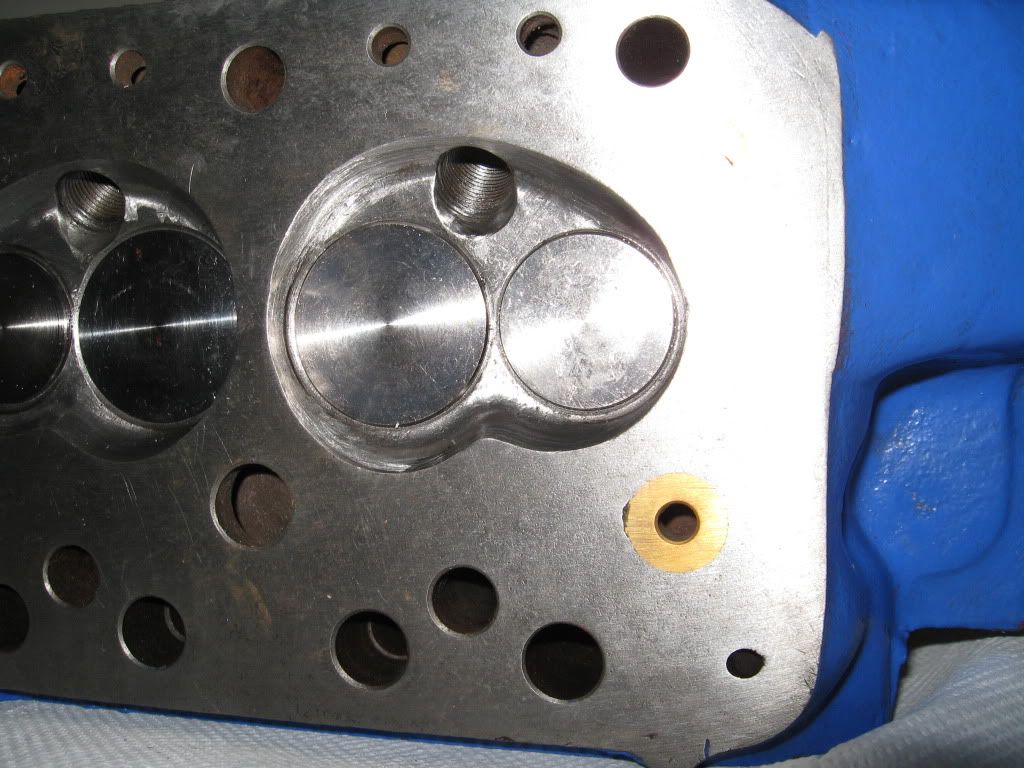
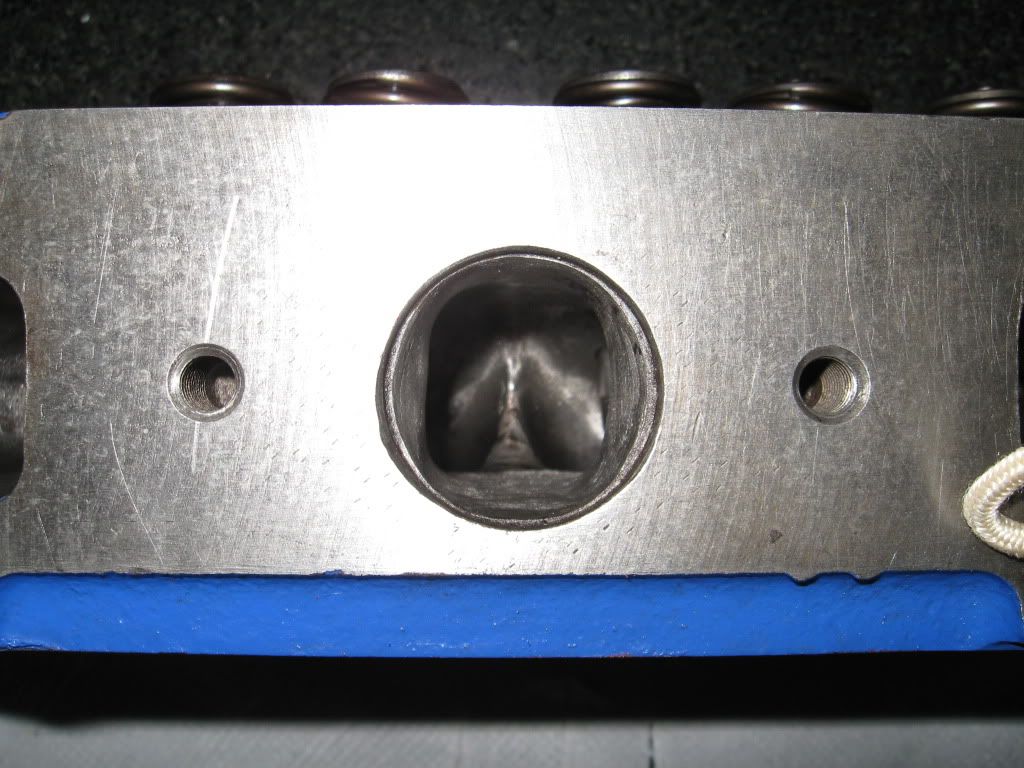
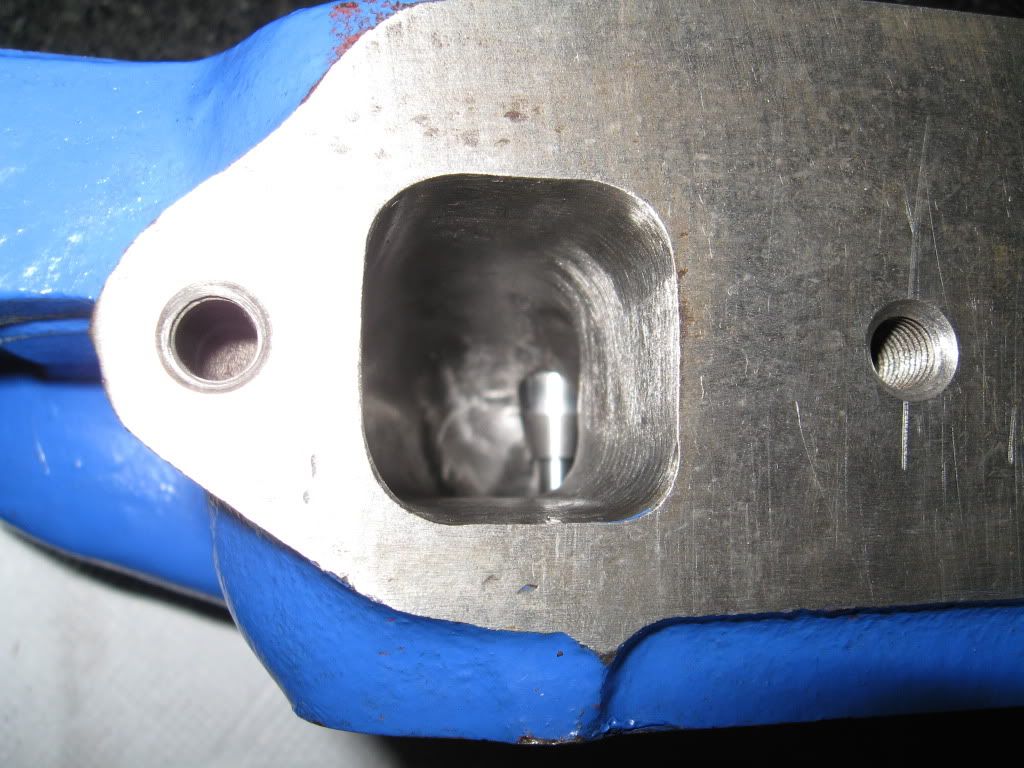
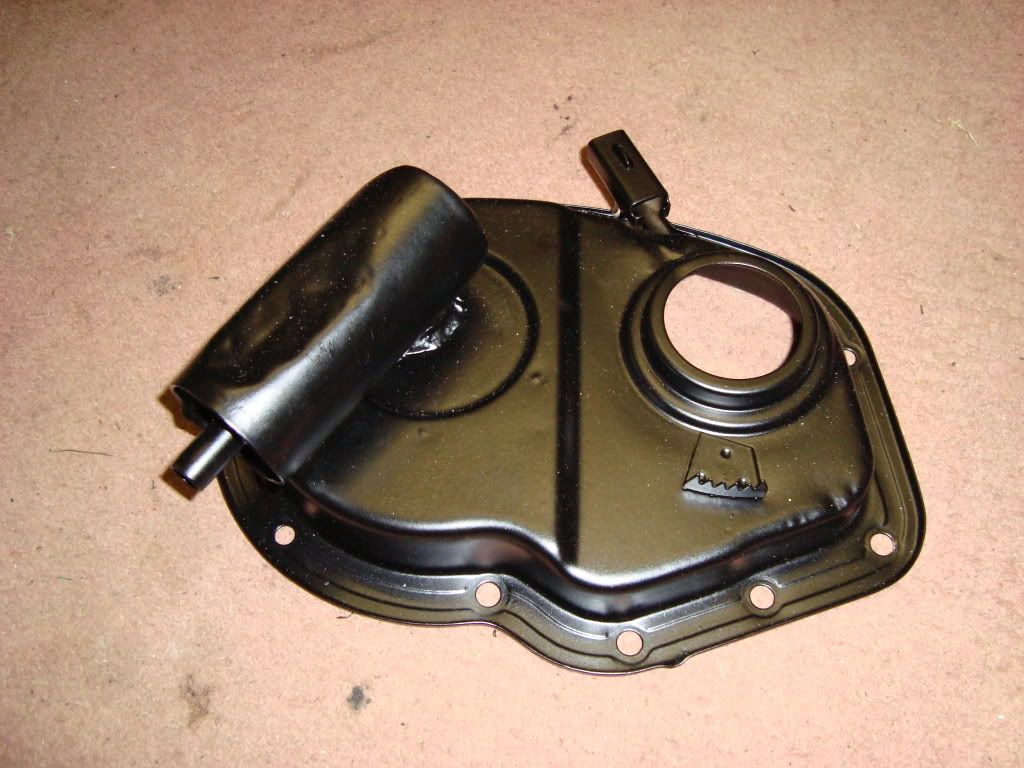
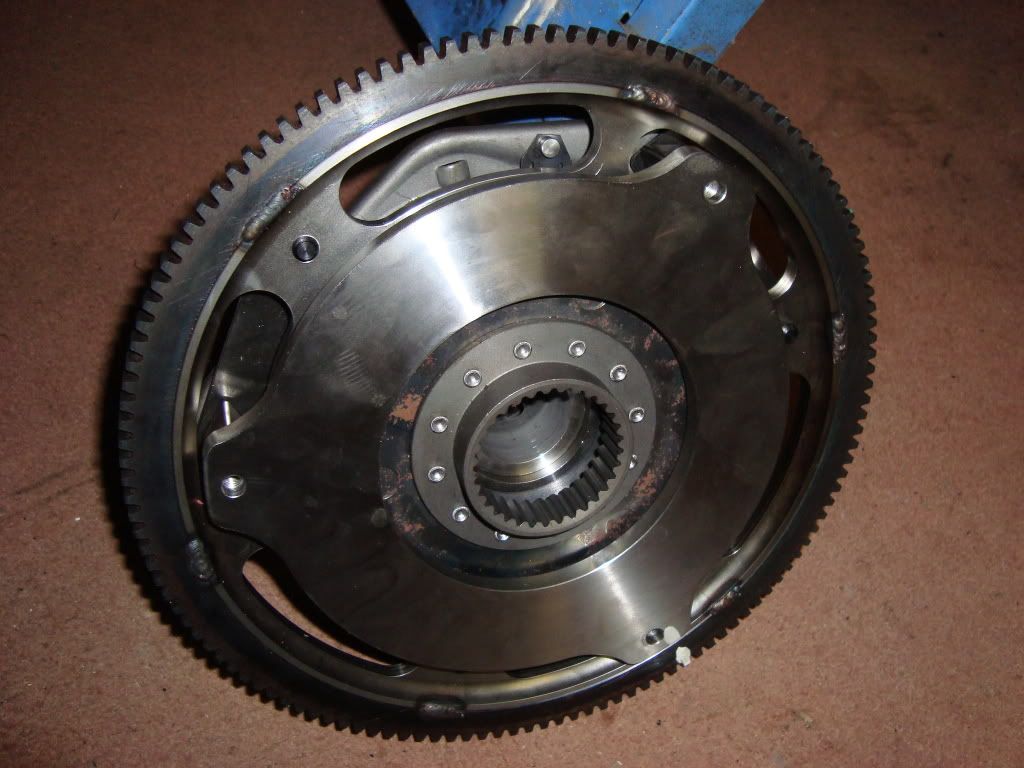
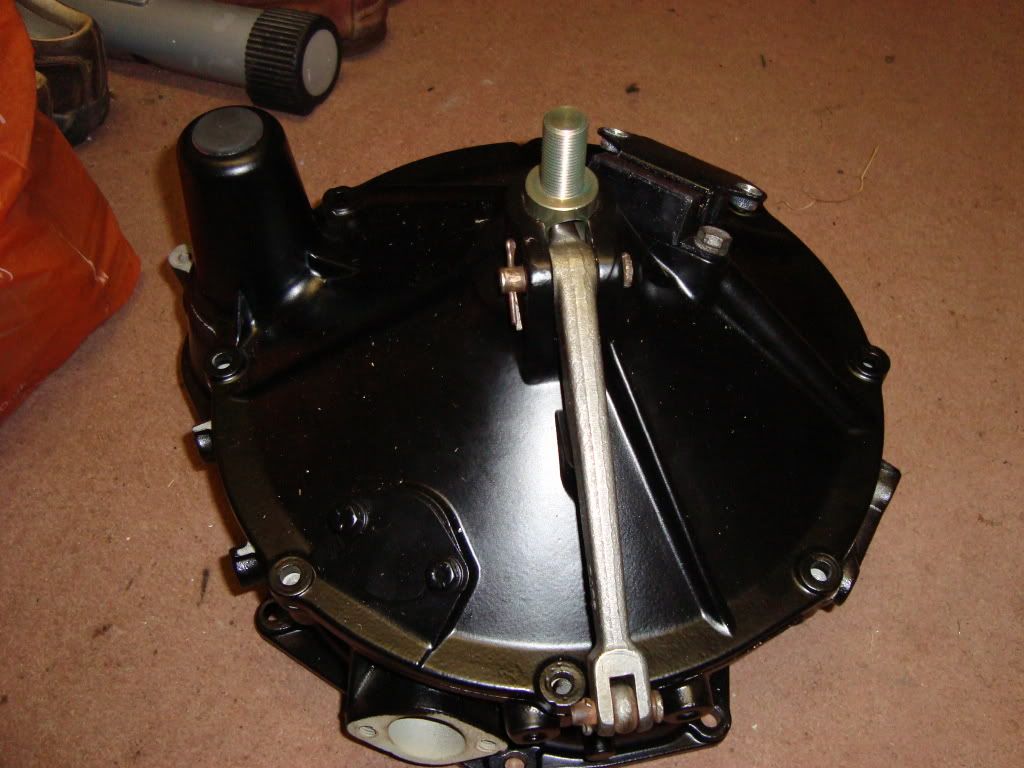
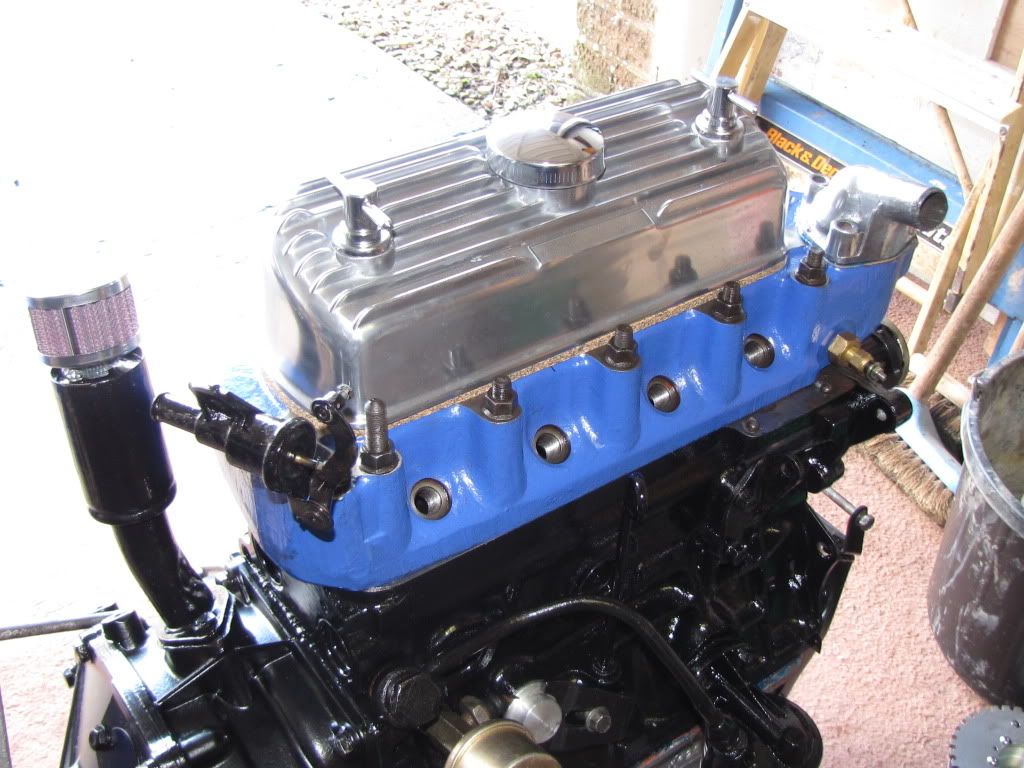
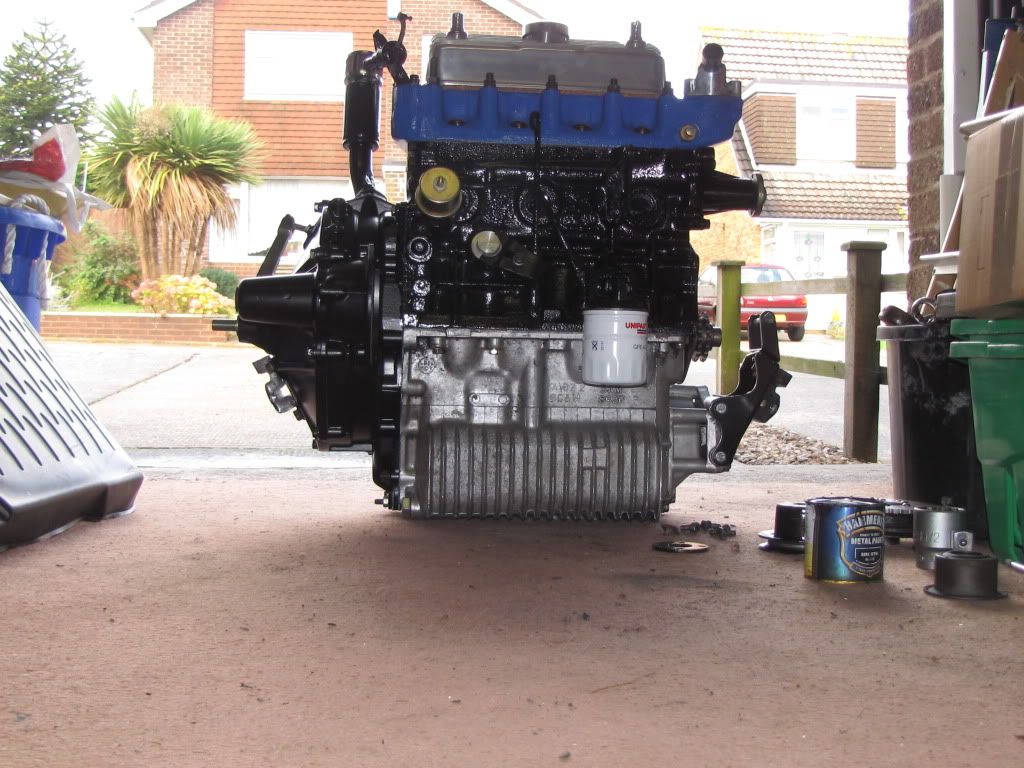
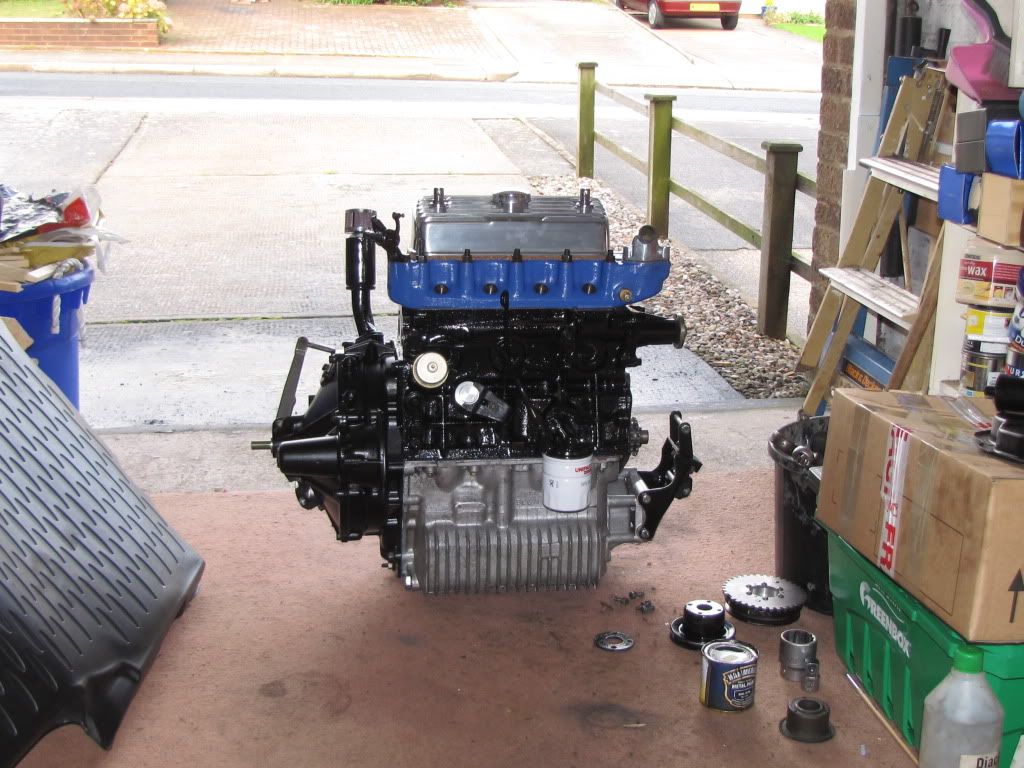
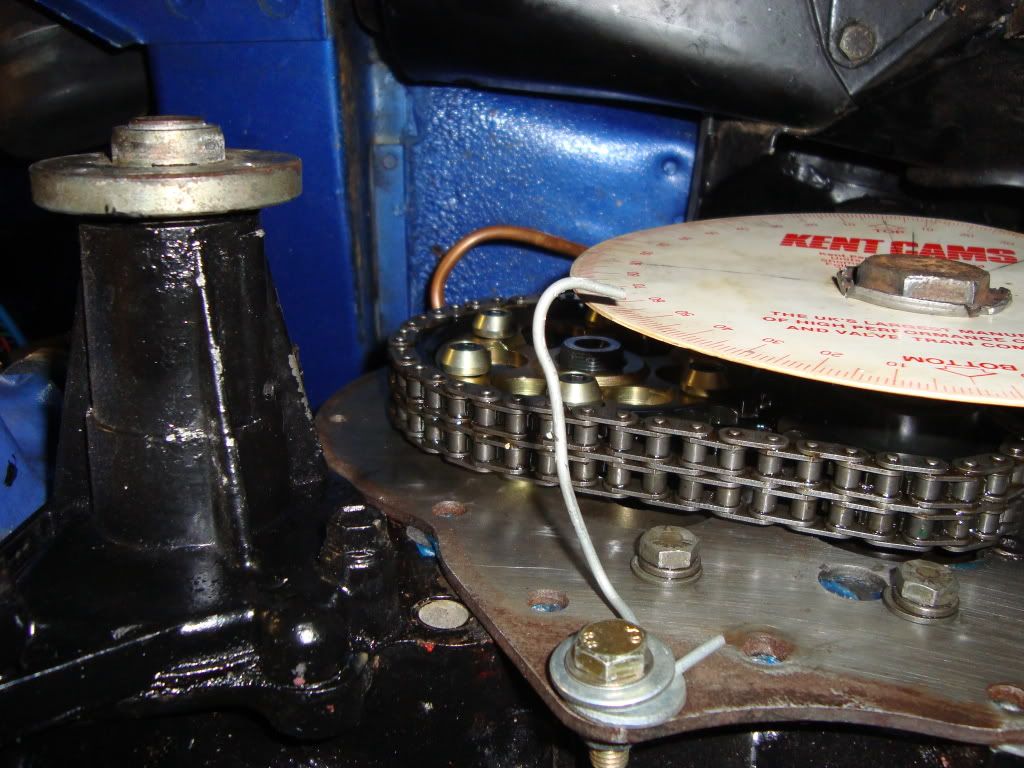
Soon to have head worked on (valves, seals, polishing) new piston rings, crank shells, vernier timing gear and after picking up the flywheel, a lightened version and not forgetting a nice new paint job.

Let me know what you think

Cheers

Jon

#137 jonb_5

jonb_5

    Super Mini Mad

  • Members
  • PipPipPipPipPipPip
  • 575 posts

Posted 28 September 2009 - 04:54 PM

More update:

I went to Castle Combe on Sat which really inspired me to get the mini running again.

So - the crank has been fully balance with new MED lightened flywheel to under 1gram each end so should feel really nice. When we started in was 8 and 11 grams so you can imagine what a difference it will be.

Also had the pistons and conrods balanced.

I have changed from verto to pre-verto setup as well and all clutch housing, timing cover is getting powder coated as we speak.

Finally bought myself a head as well, saw this one, this morning and knew it was for me so should be getting it soon i hope.

Posted Image
Posted Image
Posted Image
Posted Image
Posted Image


Block is going to be hones and then I can start to put it all back together.

Will try and put up more updates as i go, i am really impressed with some of the parts, the flywheel looks like a work of art.

Thanks

Jon

#138 jonb_5

jonb_5

    Super Mini Mad

  • Members
  • PipPipPipPipPipPip
  • 575 posts

Posted 28 September 2009 - 06:13 PM

Just a few more of the crank/flywheel assembly before it goes in the engine.

Posted Image
Posted Image
Posted Image
Posted Image
Posted Image

Cheers

Jon

#139 1275 SPRITE

1275 SPRITE

    One Carb Or Two?

  • Members
  • PipPipPipPipPipPipPip
  • 1,188 posts
  • Local Club: Wreake Mini Wanderers

Posted 28 September 2009 - 09:40 PM

Looks like some really nice engine bits to go in there!
Did Slark's set up your MJ to the best setup, or was that all your work?

I was looking at that head earlier in the for sale section, looks like a real work of art, I've heard only brilliant things about Benross's work.

James

#140 jonb_5

jonb_5

    Super Mini Mad

  • Members
  • PipPipPipPipPipPip
  • 575 posts

Posted 29 September 2009 - 05:17 PM

Hi

I installed all of the megajolt etc, slarks just rolling roaded it and wrote a custom map to suit.

Going to need that doing again when the engine goes back in, never mind its all a learning curve.

Cheers

Jon

#141 jonb_5

jonb_5

    Super Mini Mad

  • Members
  • PipPipPipPipPipPip
  • 575 posts

Posted 12 October 2009 - 07:07 PM

Some more progress on the engine build:

Honed the block, washed is, cleaned it and now ready to paint.

The crank is back in with all new bearing etc and as you can see looks great.

I have also had the timing cover and clutch housing powder coated and looks fantastic.

I have installed the pre-verto setup as i have changed from verto and am waiting on getting some new bearings before putting the flywheel on.

Another picture of the flywheel just because I love how it looks, wish there was some way of making a perspex clutch housing. LOL!

Let me know what you think

Cheers

Jon

Posted Image
Posted Image
Posted Image
Posted Image
Posted Image
Posted Image

#142 jonb_5

jonb_5

    Super Mini Mad

  • Members
  • PipPipPipPipPipPip
  • 575 posts

Posted 17 October 2009 - 04:52 PM

Hi

I have checked the cam timing and it seems spot on.

Just a couple of pictures showing what the set up was.

The engine is fully degreased ready for a fresh coat of paint.

Posted Image
Posted Image

Cheers

Jon

#143 jonb_5

jonb_5

    Super Mini Mad

  • Members
  • PipPipPipPipPipPip
  • 575 posts

Posted 19 October 2009 - 07:29 PM

Engine is coming together nicely now-

In the next couple of days I need to put the flywheel housing and flywheel on aswell as get the head bolted on.

The cam can then be timed in and in the engine goes!

Posted Image
Posted Image
Posted Image

Cheers

Jon

#144 jonb_5

jonb_5

    Super Mini Mad

  • Members
  • PipPipPipPipPipPip
  • 575 posts

Posted 24 October 2009 - 11:14 AM

Update:

The engine will be going back in next weekend, I have a few finishing touches to complete and thats it:

Posted Image
Posted Image
Posted Image
Posted Image

Thanks

Jon

#145 jonb_5

jonb_5

    Super Mini Mad

  • Members
  • PipPipPipPipPipPip
  • 575 posts

Posted 01 November 2009 - 04:15 PM

Hi

A bit of a productive weekend with the freshly rebuilt engine being dropped in and started to sort all the other bits.

The exhaust and carb is all fixed on.

When putting the hub back on, I stripped the thread on one of the ball joint studs, so going to have to get a new ball joint.

Heres some pictures anyway to show my progress:

Thanks

Jon

Posted Image
Posted Image
Posted Image
Posted Image
Posted Image

#146 jonb_5

jonb_5

    Super Mini Mad

  • Members
  • PipPipPipPipPipPip
  • 575 posts

Posted 08 August 2011 - 05:05 PM

Hi,

It has been a while but there has been some progress - the mini was featured in mini world which I was really happy about.

I also had it rolling roaded at 86 bhp, which was a bit down on what I would have liked and S.R.E told me to check the cam timing.

I have now almost done that and put in a set of vernier timing gears just because the look cool!

Anyway here is some pics, I am hoping it will be closer to or a little over the 100 bhp mark, and as long as all is well will be taking him to Castle Combe action day.

I have been thinking about selling for a while and have put it up but when anyone comes with an offer I never have the heart to see it through.

If I keep it I will be re-wiring the dash etc and just having a digital dash and removing the blue one I have, just to make it a bit simpler.

Anyway, here's the pictures - all comments welcome.

Posted Image
Posted Image
Posted Image
Posted Image
Posted Image
Posted Image
Posted Image
Posted Image


1 user(s) are reading this topic

0 members, 1 guests, 0 anonymous users