1977 Clubman Estate Rebuild
#16

Posted 21 December 2007 - 02:46 PM
what are others different between clubman 850cc and clubman 1275GT
one different i got is capacity of engine...
how about their front grille ? or body..
i really confuse about this..
thanks for help
#17

Posted 30 December 2007 - 06:22 PM
I have decided to make a start on removing the rear subframe so can fully get rid of the rust in the bot floor area. Initial inspections seem good but better to be safe than sorry!
So after id spent an hour tidying the garage, i spent the next 2 taking the exhaust off! Since most of the bolts were either rusted, seized or really hard to get too, it was a hell of a mission! After shifting the last bracket and shaking the car about, the whole exhaust fell off with a reassuring thud! And most impressively it seems to be in really good nick! So i shall be putting it back on the car once its finished.
Pictures to follow hopefully with a subframe removed too.
One question - how easy is it to lift the back end of a mini up and move it around once the rear subframe and its associated components are removed? Bearing in mind te engine is still in and the rest is stripped? Im planning on building a wooden frame to support it off the floor so i can work under it but will need to shift it occasionally before returning the subframe to the shell once i have restored it. Any help would be appreciated!
#18

Posted 30 December 2007 - 06:39 PM
my wife once drove a mini van with me and my mate acting as the back wheels
#19

Posted 04 January 2008 - 06:42 PM
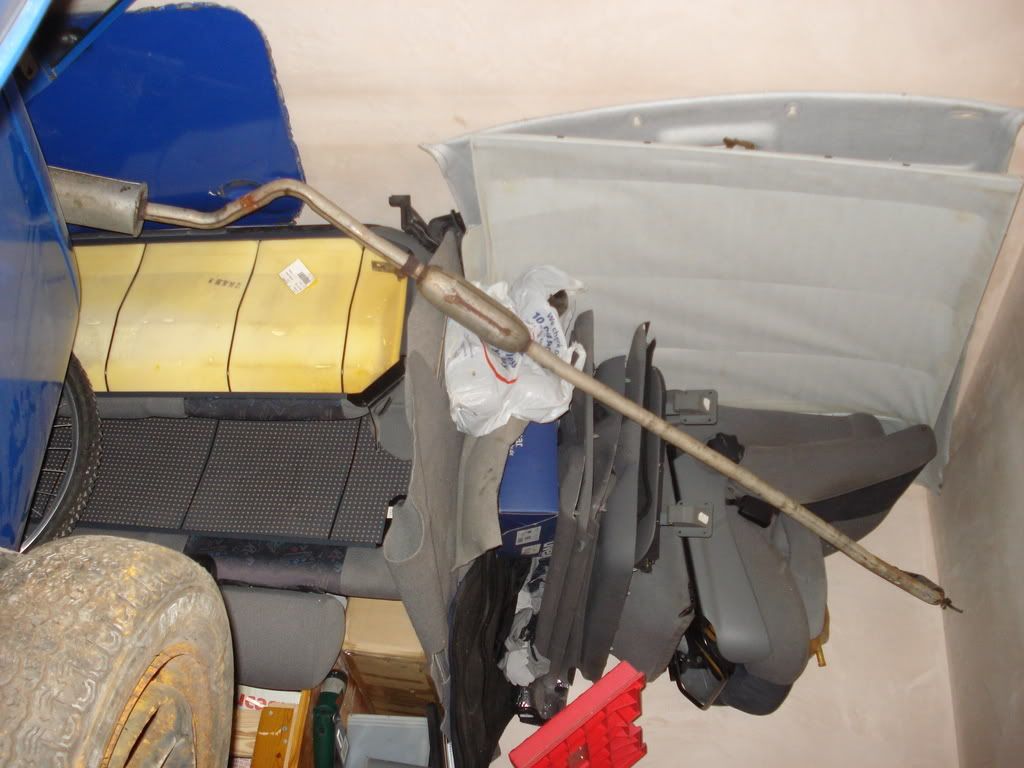
Exhaust propped against housemates collection of astra/skoda and scirocco interiors. Seems to be in great condition:
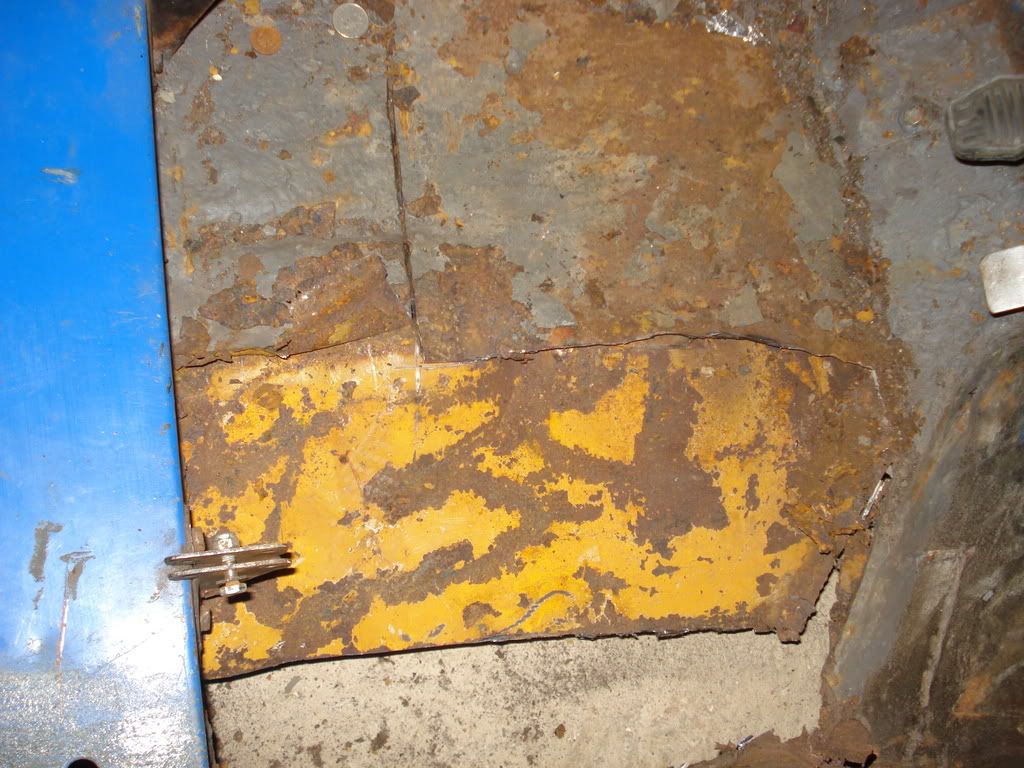
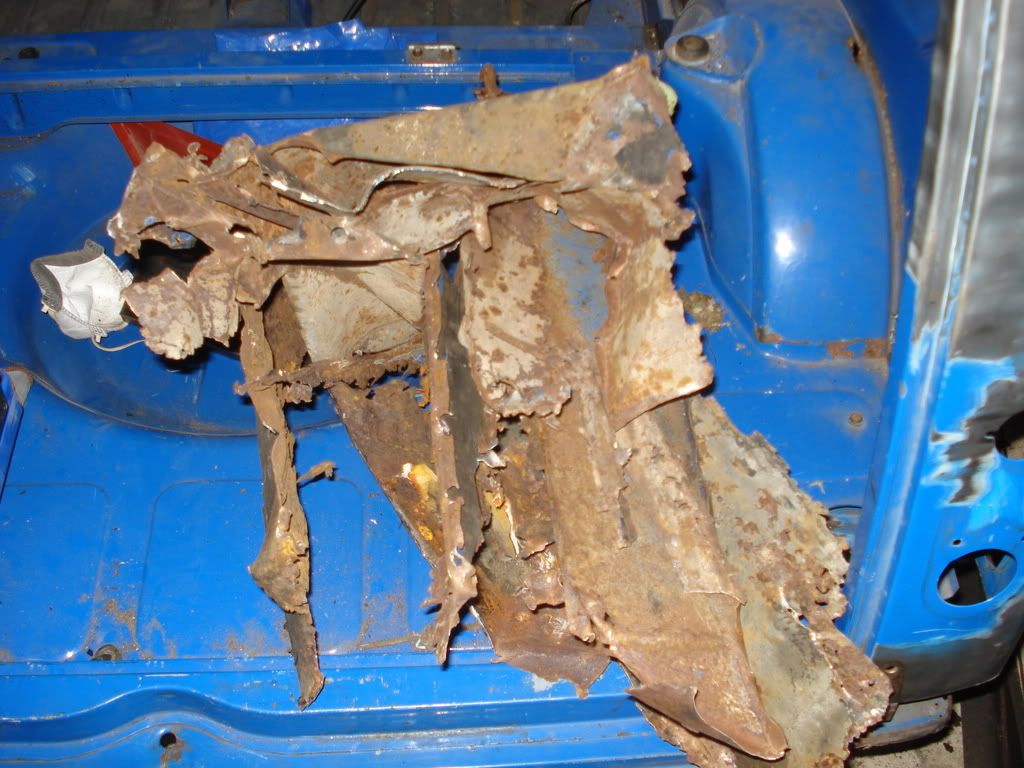
Before i could get the subframe out i cut the rest of the rotten sill off on the drivers side. This was a dodgy oversill that had been welded over the top of a previous rusting sill. In order to get it off, i had to cut away some of the floor pan - seems someone has employed the double-skinned floorpan approach with filler to glue it together! Poor:
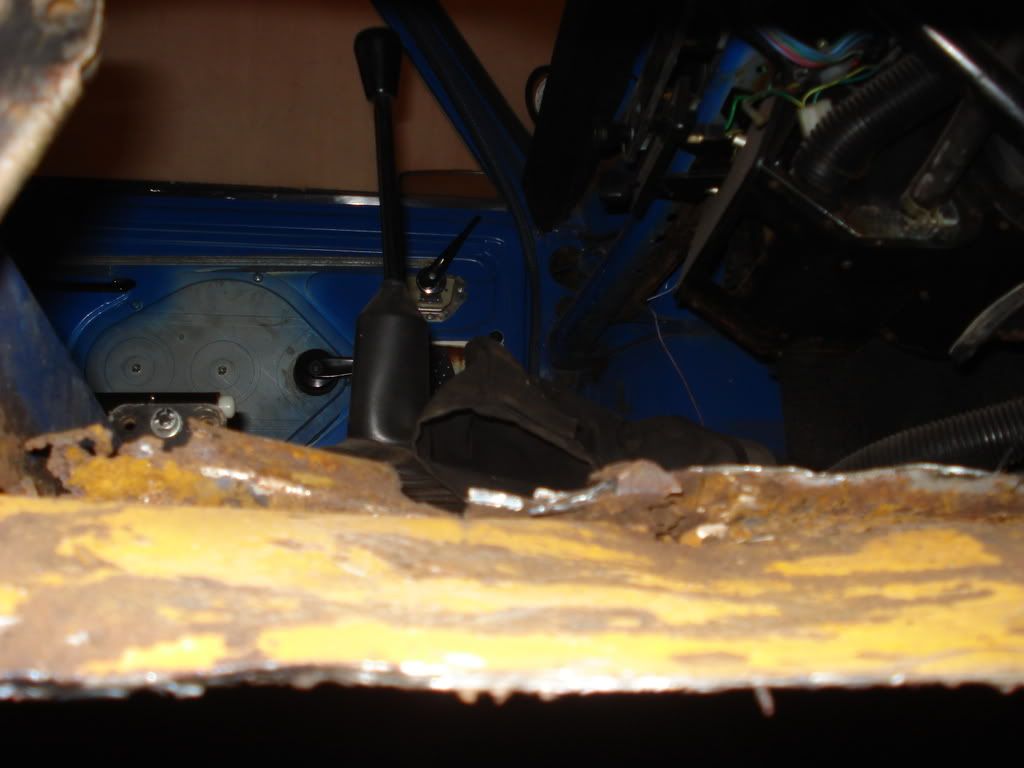
Scrap metal is building!
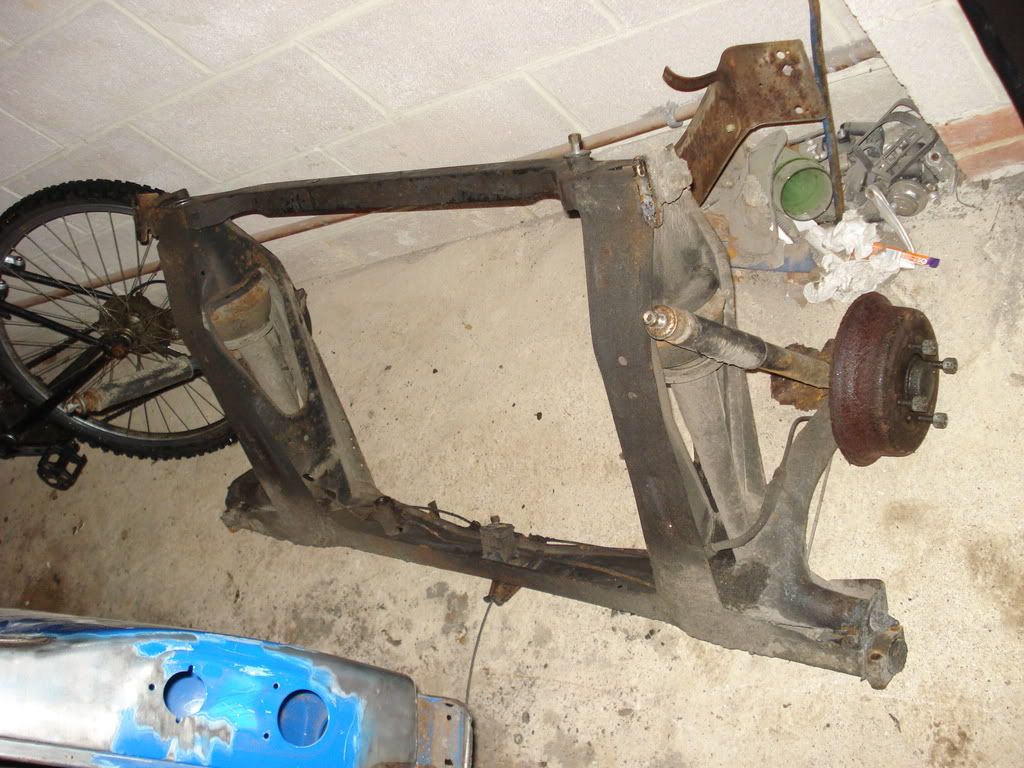
Subframe came out extremely easily - no trouble at all! As was expected it is in great condition, if a little muddy:
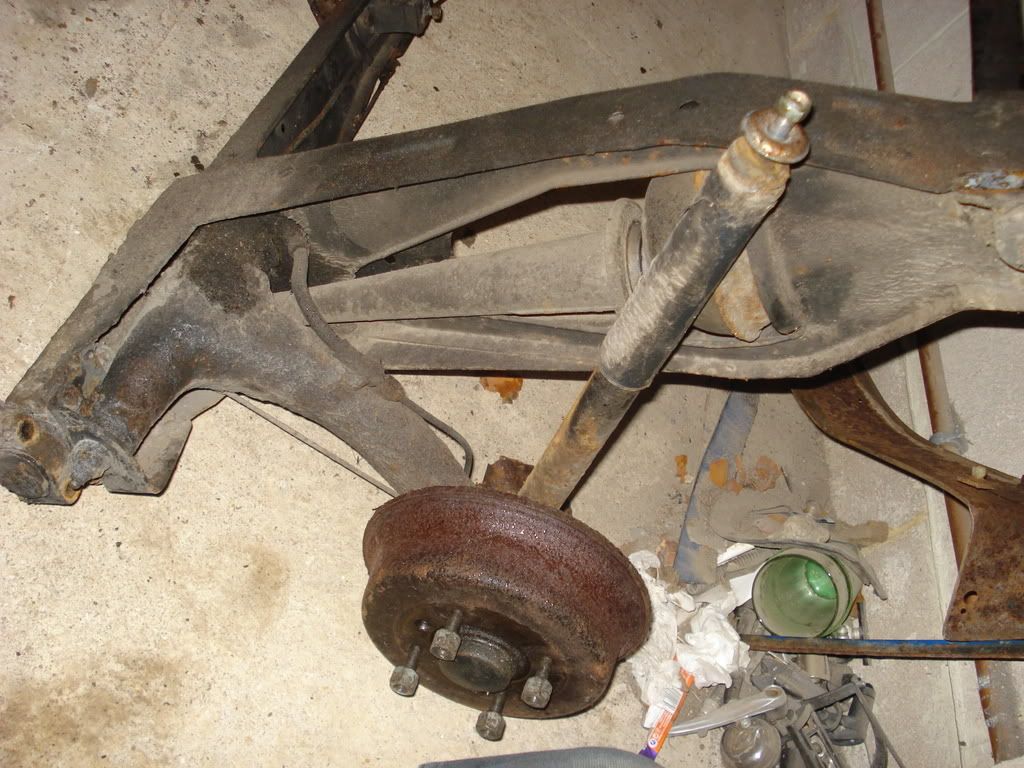
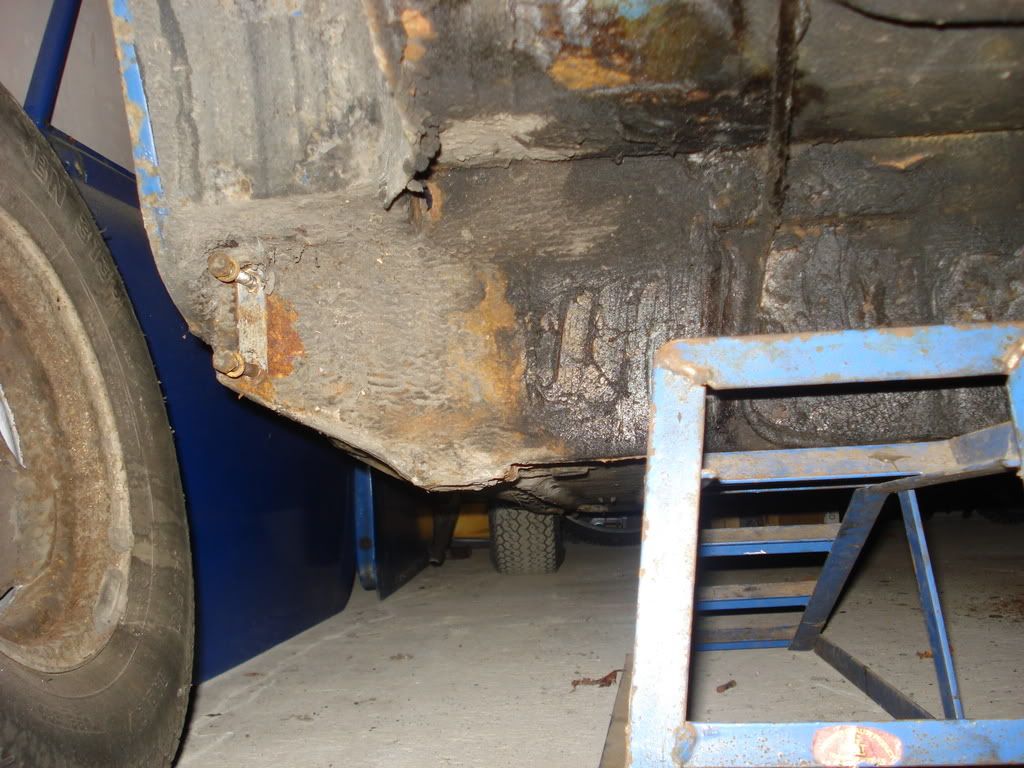
Underside has a little bit of surface rust but is solid - will be stripping this down in future:
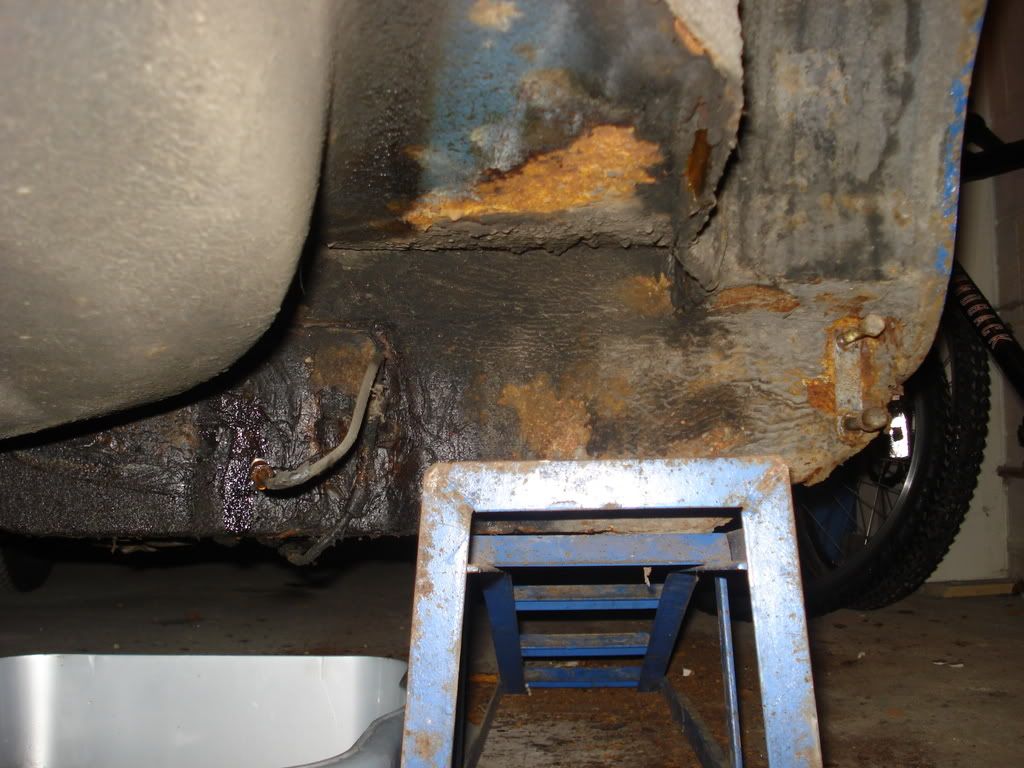
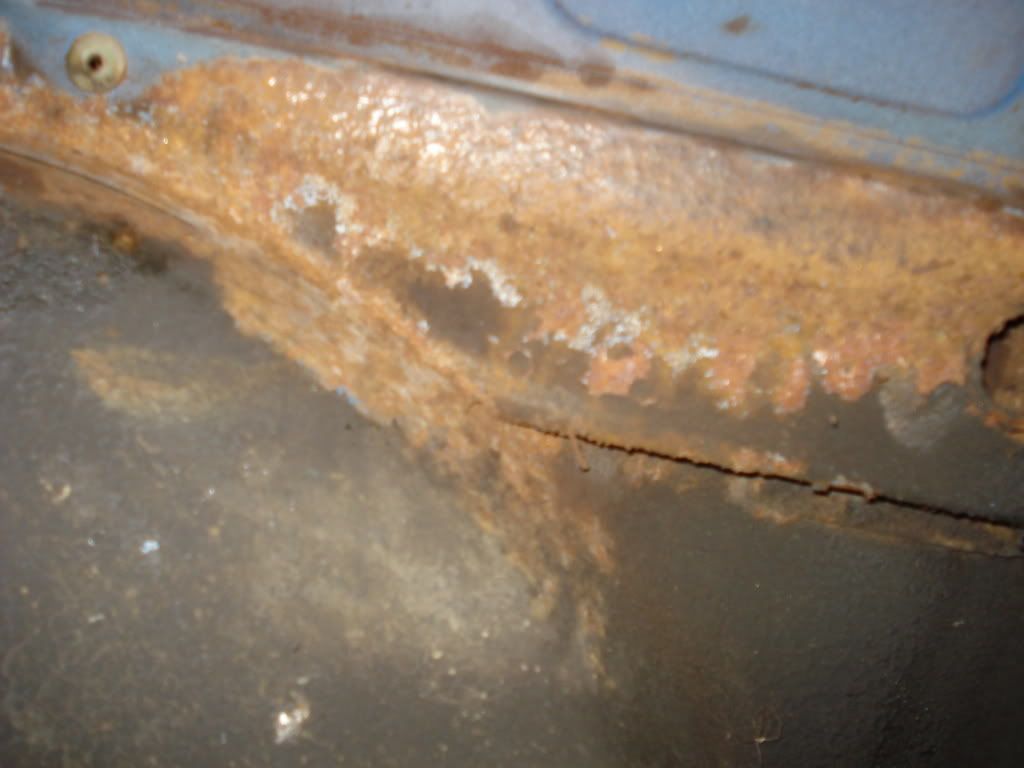
Also got a new rear valance and trial fitted it as well:
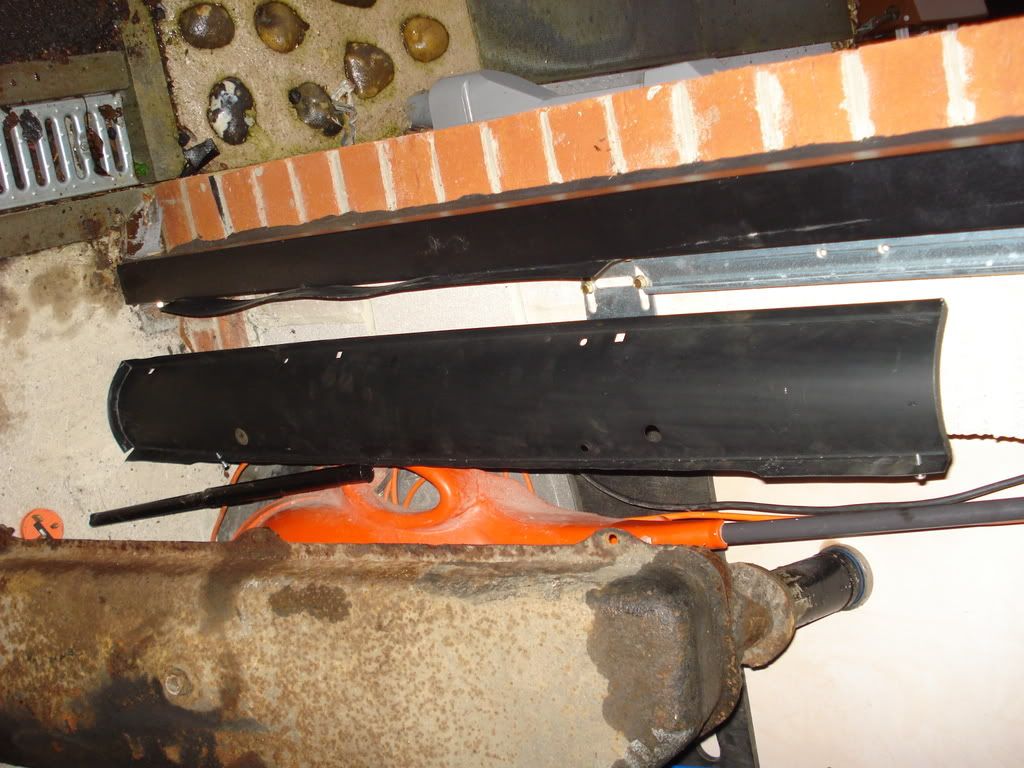
So next step now is to move forward with stripping subframe down and restoring it! As bungle said its actually pretty light at the back end so manouevring it is pretty simple.
#20

Posted 14 September 2008 - 07:02 PM
Following on from removing the rear subframe, the whole rear floor was stripped back to bare metal and any rust removed. I have recently bought a MIG welder and have patched any holes as necesarry. Once complete again, the whole lot was covered in POR 15 and that is where work stopped for a while as i got annoyed with the car - see below...
I had noticed the heel board had new metal in it around the subframe mounting points and thought this was a good thing. However on examining this from inside the companion box, i noticed that the old heal board had actually been hammered in and left to rust whilst a new plate was welded over the top! With the impending money this was going to cost, i left the car for a while.
However work started again in earnest a few months back with the purchase of a new heelboard, right hand floor, door step and crossmember (all from Somerford - can highly recommend, great to work with).
So the first step was to cut off the old door step which was rusty for around the first few inches:
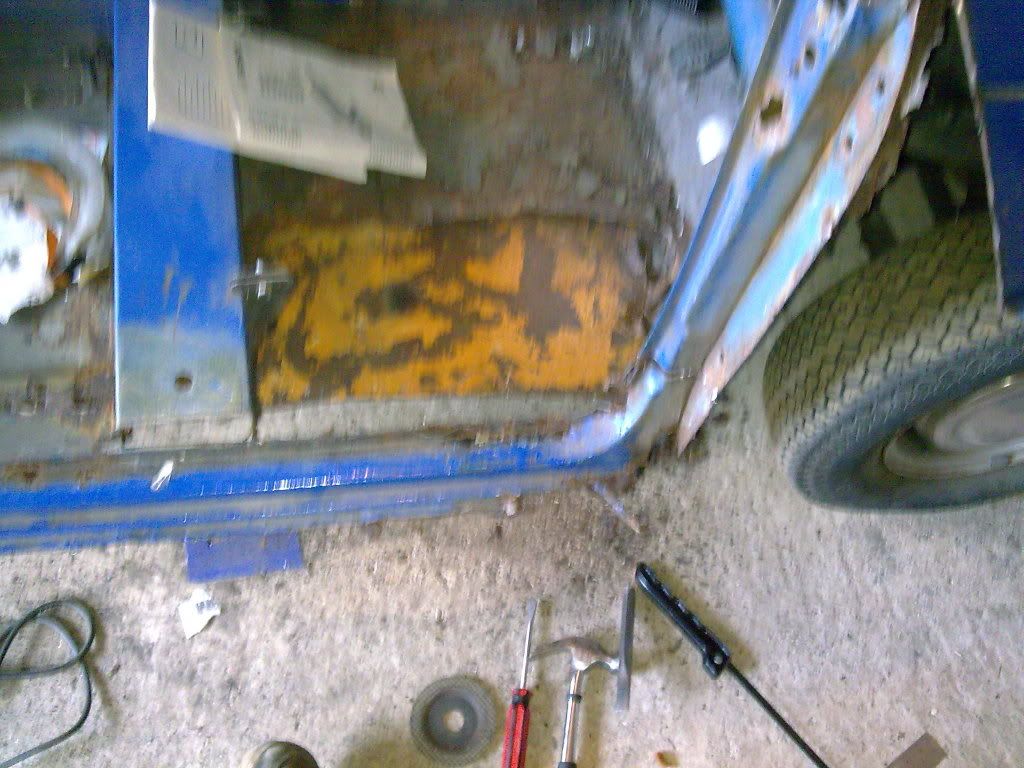
I had already removed the sill previously as this was also rubbish and rusted.
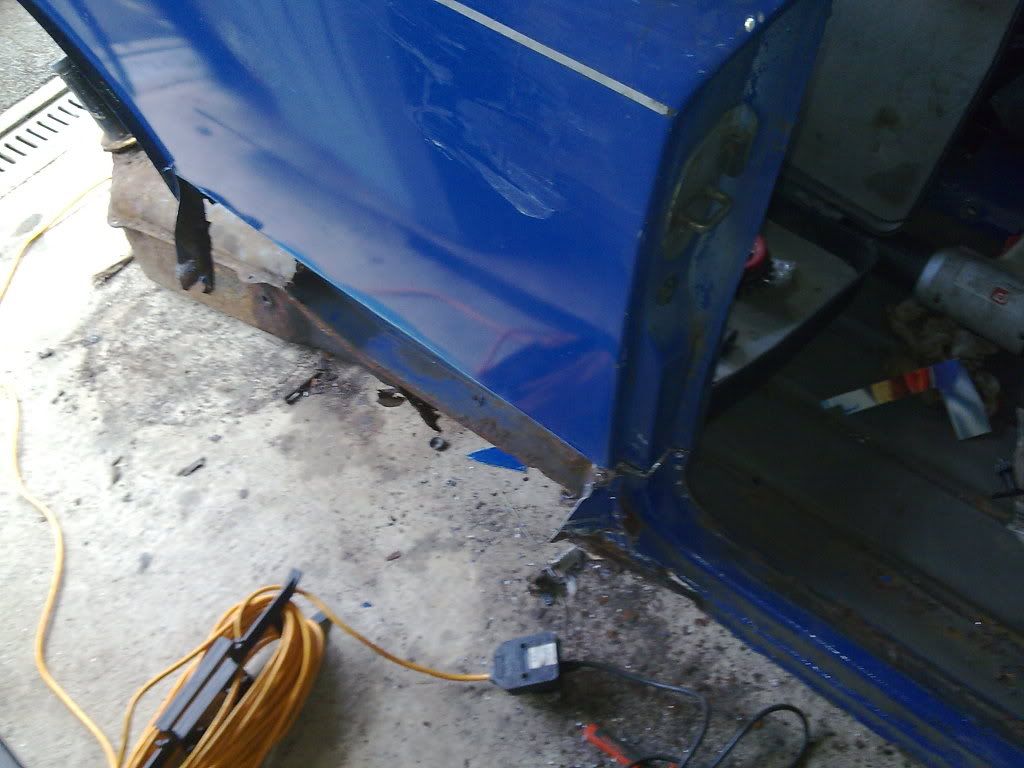
All gone!
The edge of the new item - will get more pics soon
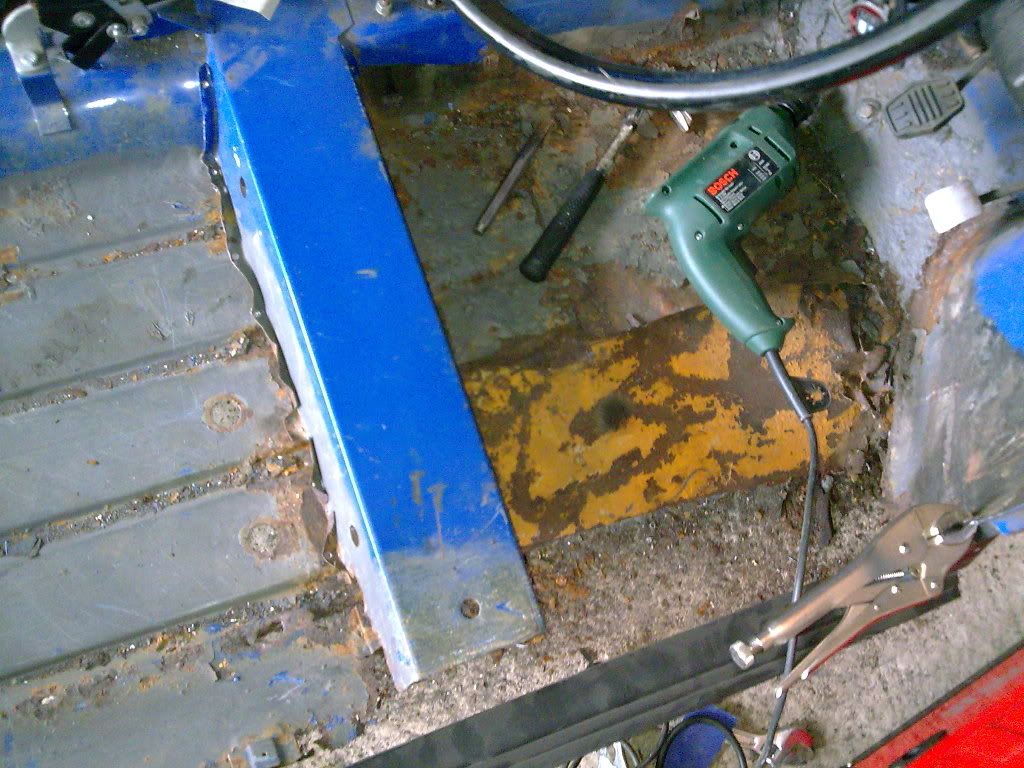
As mentioned above the heel board was knackered so i cut off the repair panel, removed what was left of the original beneath and cut back to good metal - this was the only shot i got at the time:
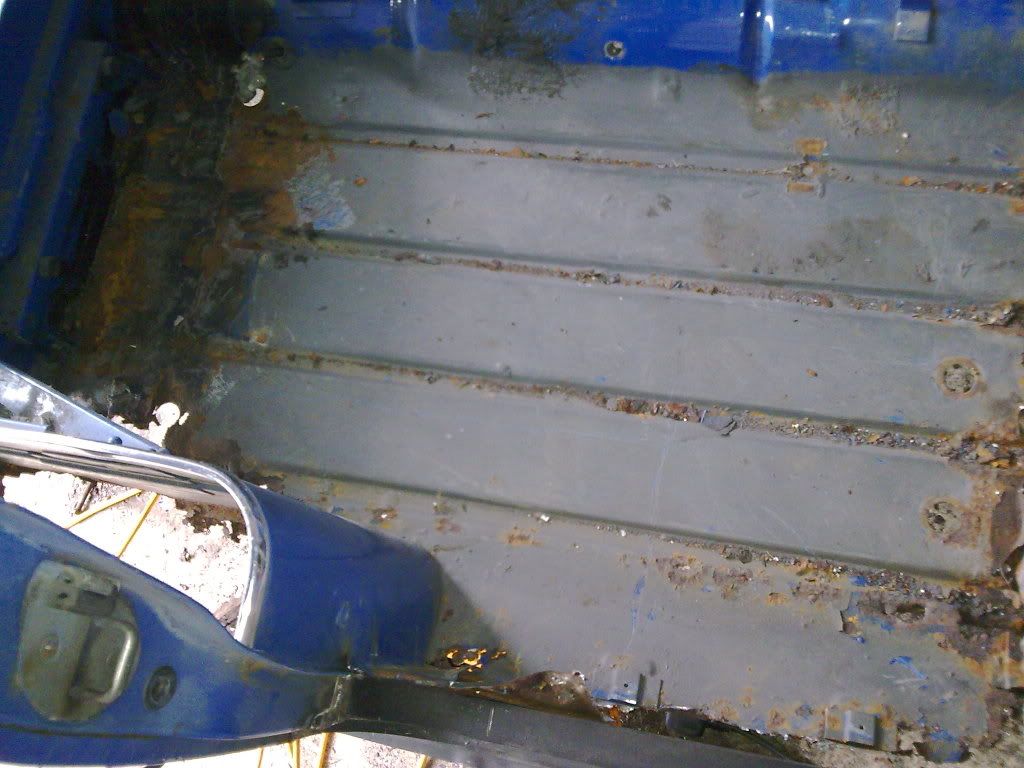
Then the next stage was to cut the whole floor out ready to start the big repair:
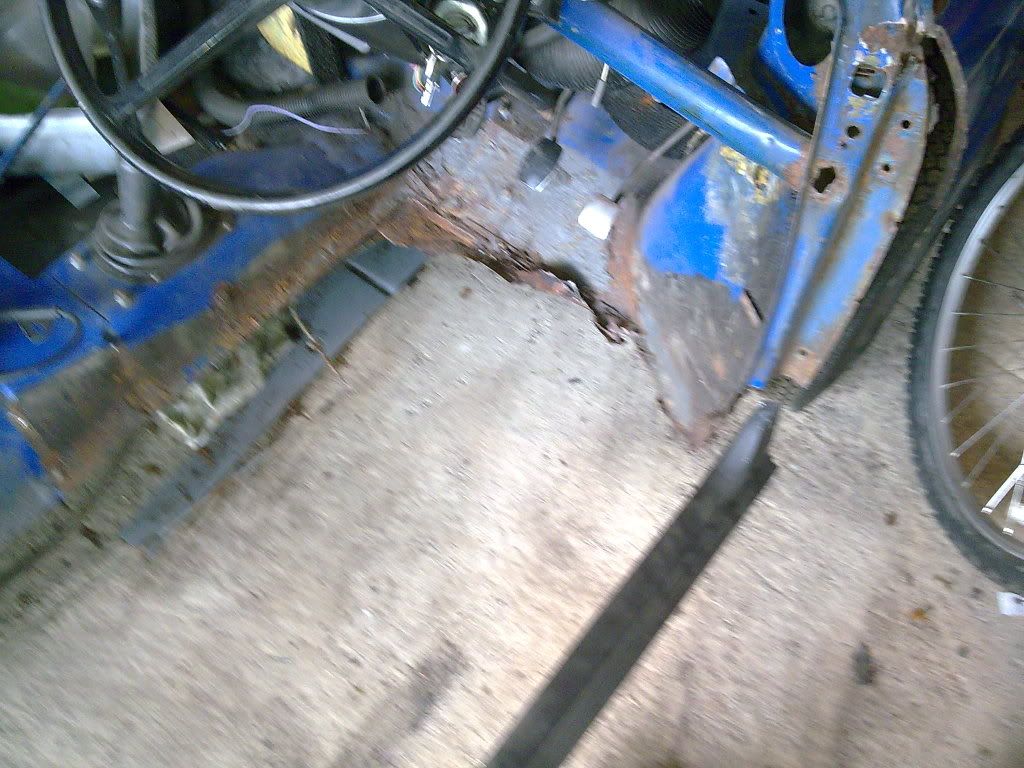
All gone!
I am about to go and take some more pics of the rebuild of the heelboard section ready for welding - will upload shortly.
#21

Posted 14 September 2008 - 07:46 PM
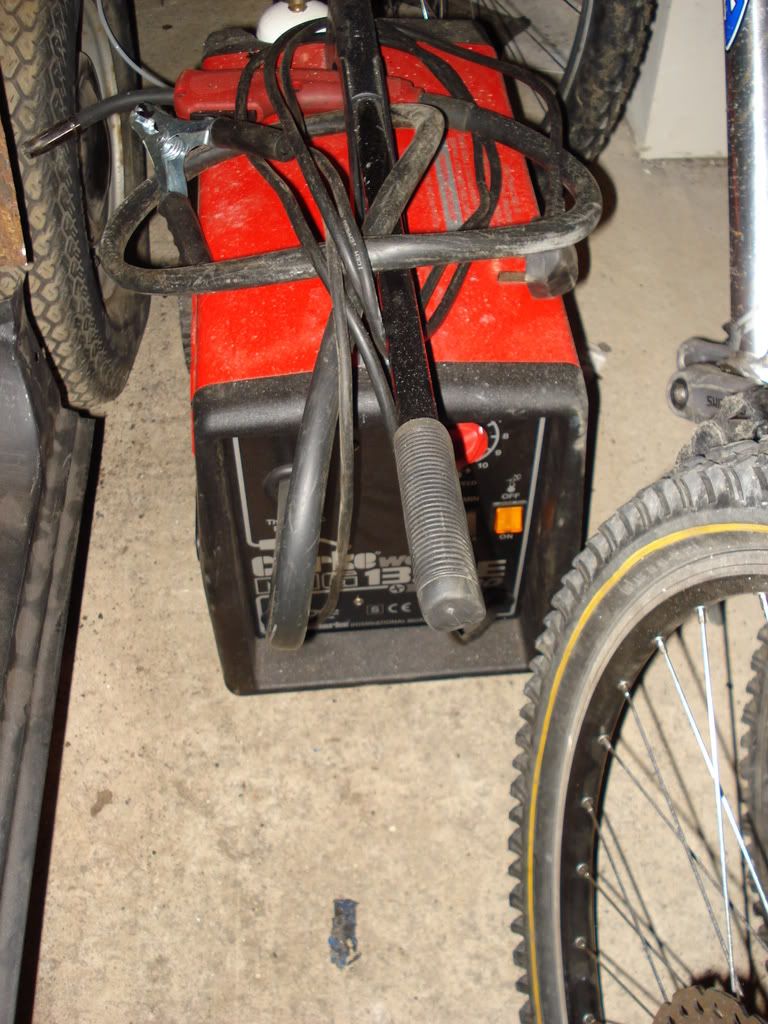
New welder - very impressed with this and would definately recommend it.
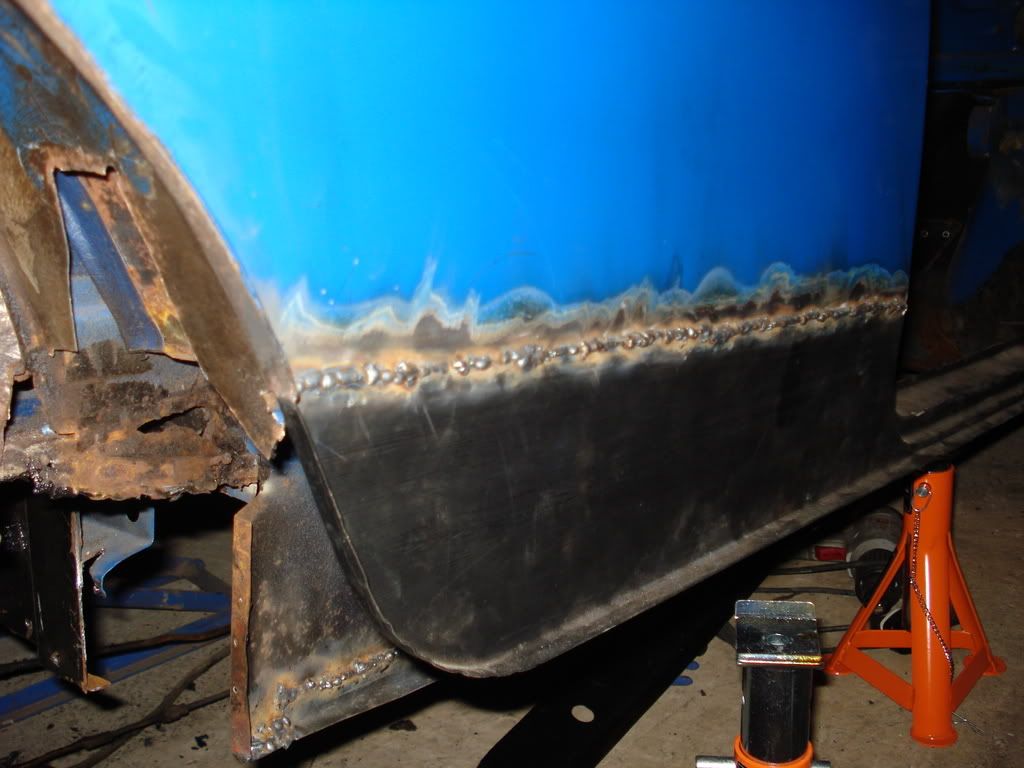
The rest of the door step panel welded on.
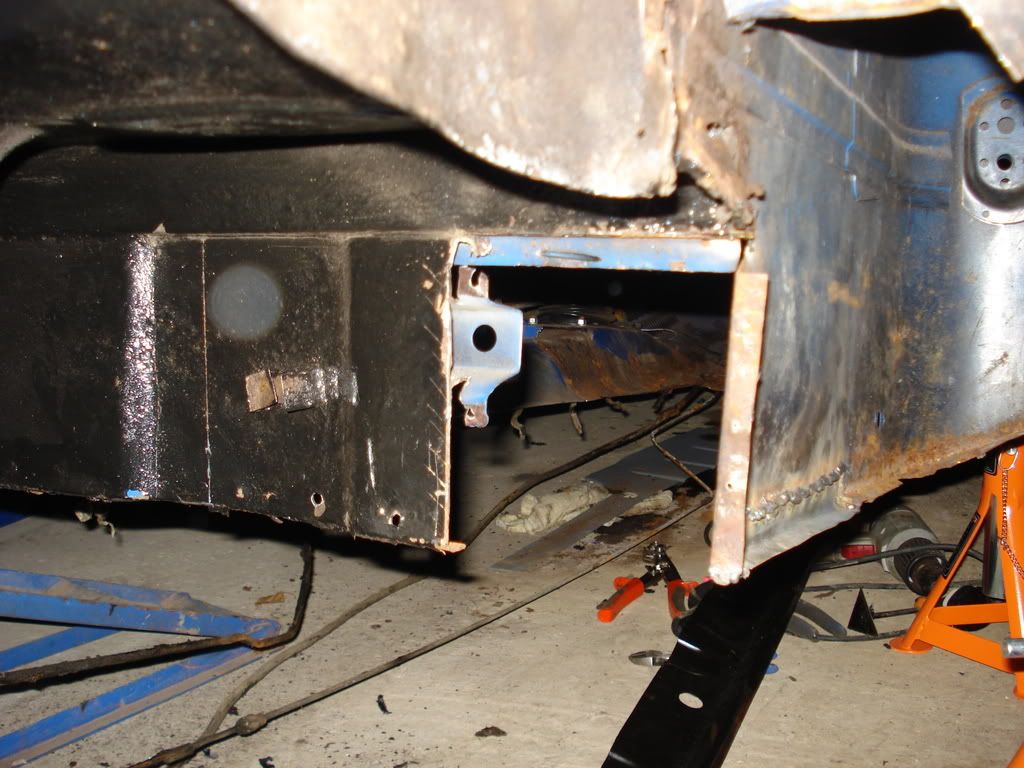
Heel board area removed and now a lot tidier - was really messy here before!
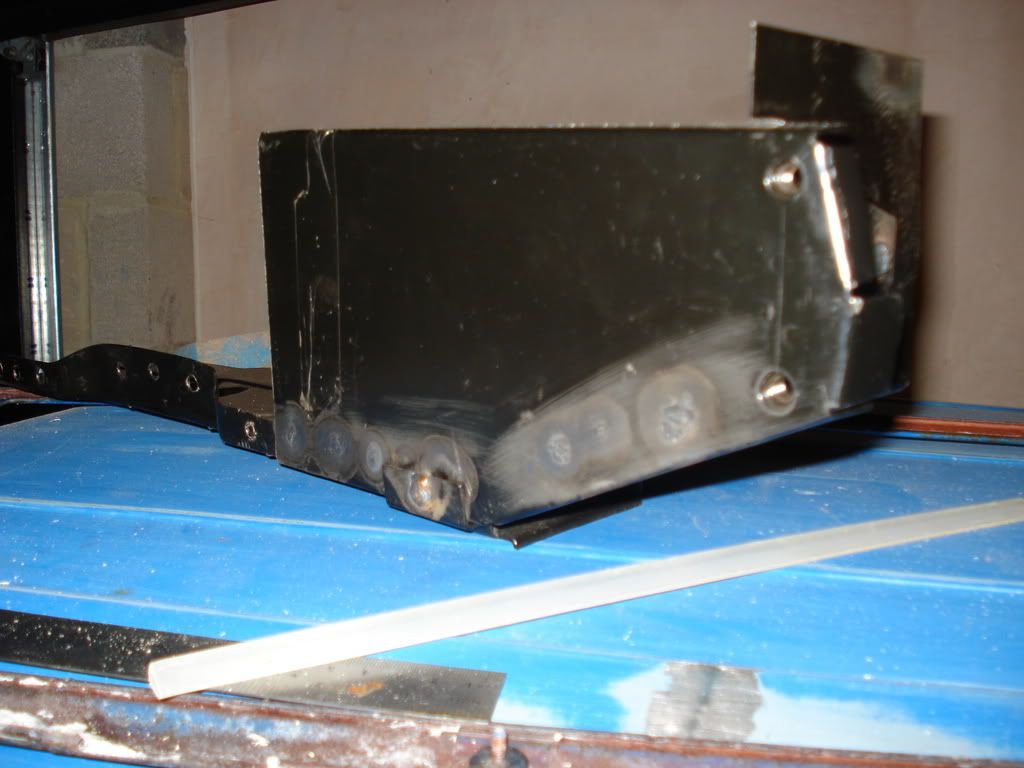
The new heel board section and floor extension piece welded together
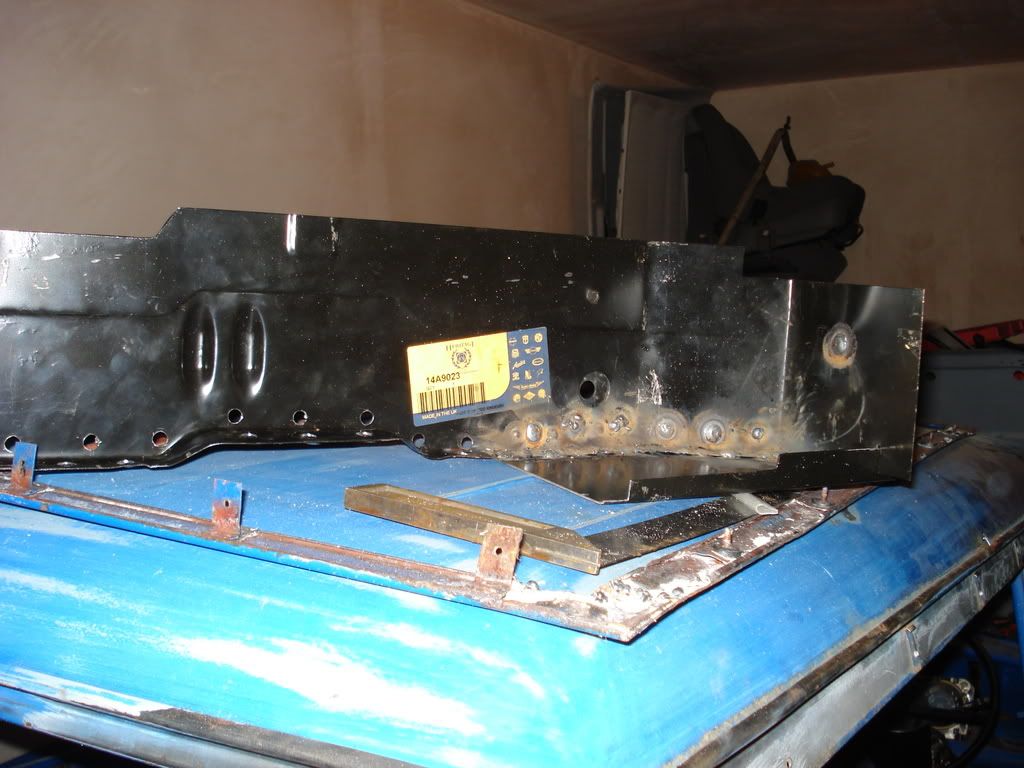
From a different angle.
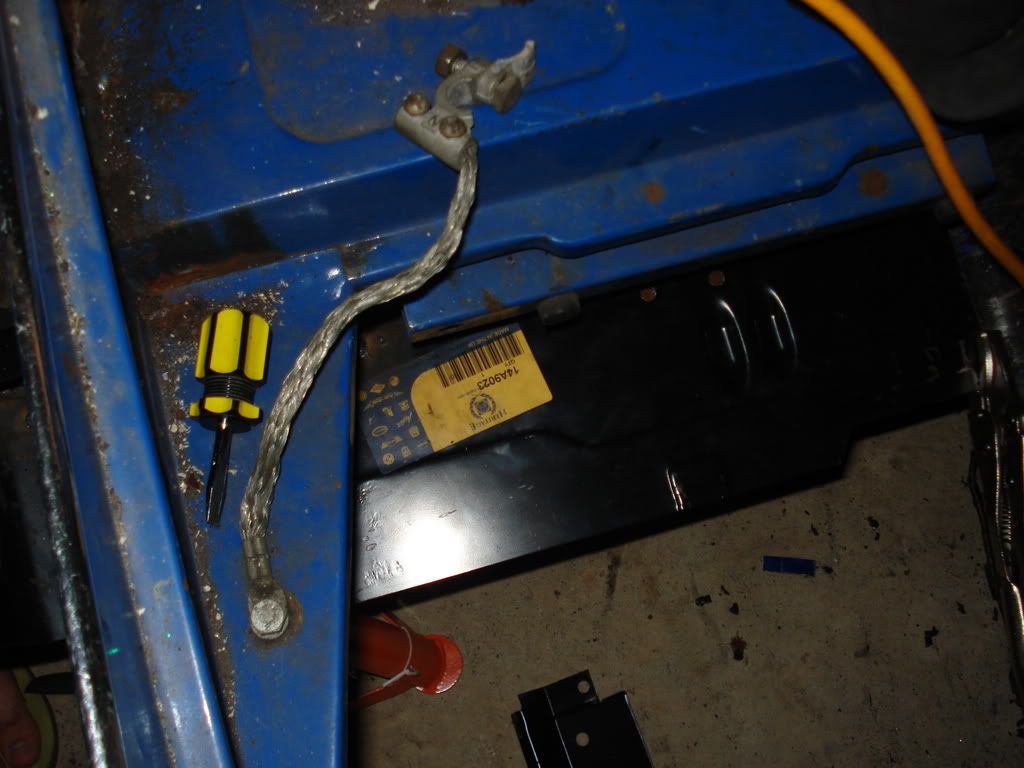
Clamped in place ready for welding.
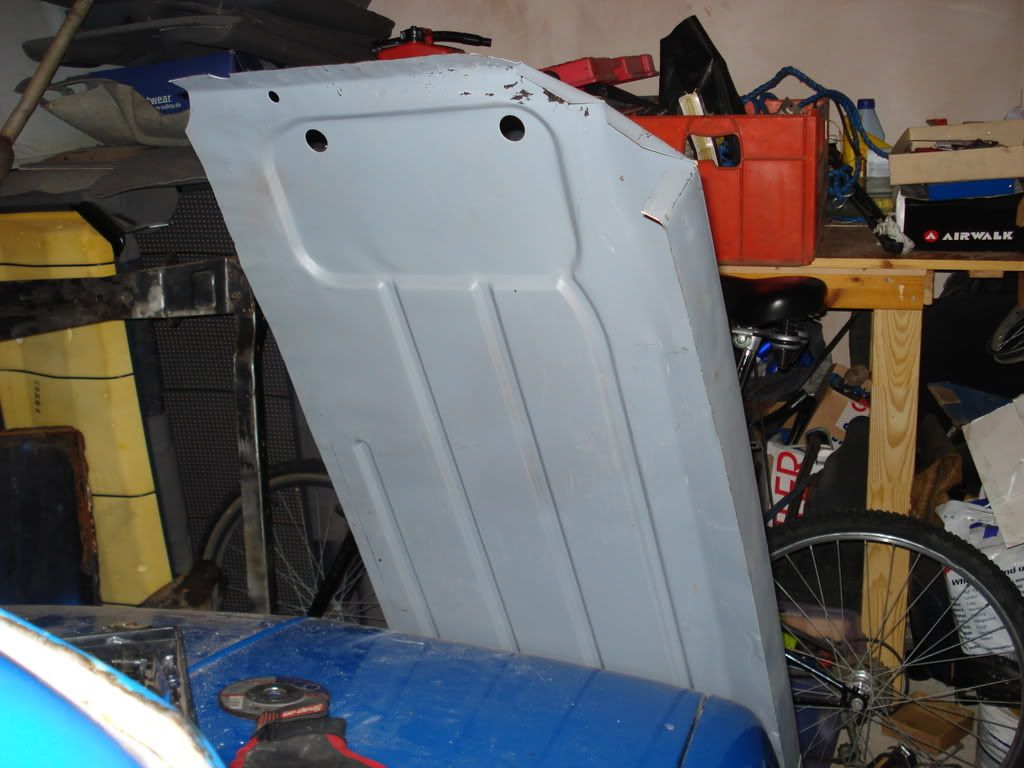
The new floor panel that will go in!
Overall progress is good - planning on spending all of Sunday on it next week when i hope to get the heelboard and back piece welded in and start sizing up the floor...
Of course once all this is done i expect to have to do all the same on the LHS so watch this space!
#22

Posted 14 September 2008 - 08:34 PM
this estate is for sale due to old lady passing away £3000 ONO................

PM me if interested..................
#23

Posted 15 September 2008 - 06:08 PM
Thats comming on a real treat keep up the good work..............................

this estate is for sale due to old lady passing away £3000 ONO................
PM me if interested..................
That is a shame about her passing away. As i said before, its a beautiful car and hopefully a sign of things to come with my one.
Unfortunately ill have to decline - the money is not an issue its the space! As you can see the garage is rammed with this estate and i need the drive for my daily drive. Good luck finding a seller though!
#24

Posted 15 September 2008 - 06:20 PM
#25

Posted 15 September 2008 - 06:20 PM
Good luck with the build though buddy, looks promising so far!
Final plans?
#26

Posted 15 September 2008 - 07:36 PM
£100! that's not fair
I wish I had that kinda luck in my area.
Good luck with the build though buddy, looks promising so far!
Final plans?
Indeed £100 was a great deal, to be fair it should have probably been more liek £300ish but i put the offer down and it was accepted. If you dont ask you dont get!
Cheers for all the kind words. Final plans will be exactly as standard - i really like the look of the standard mini so it should look exactly as the first pics in this thread (but with less filler and rust!)
Although i'm not ruling out a VTEC at some point in the very very very distant future...
#27

Posted 11 October 2008 - 01:30 PM
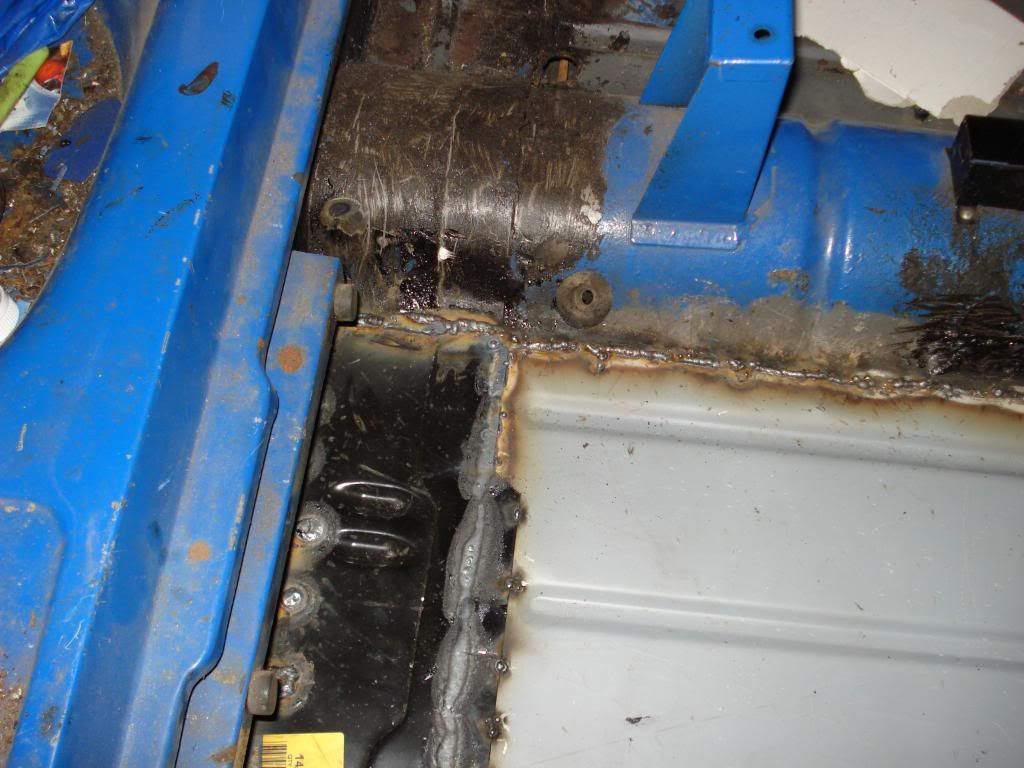
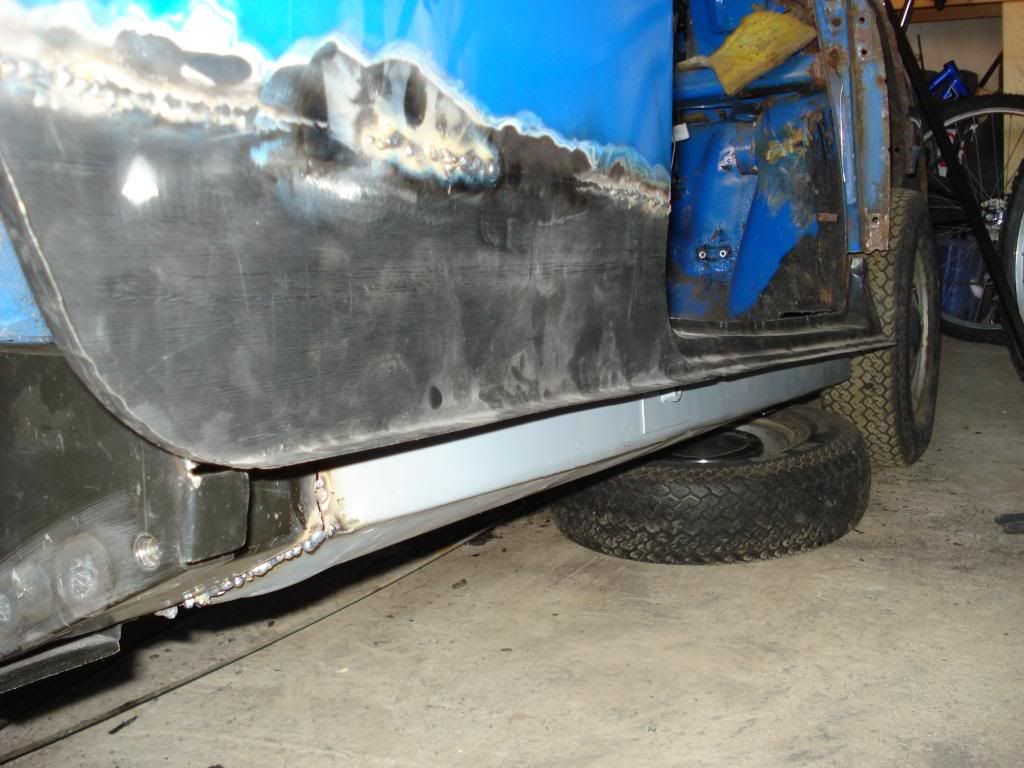
Anyway here's some pics - trial fitted the sill and it fits great - next stage will be to finsih welding then fit the cross member and sill (with some generous rustproofing in between) before moving on to the other side!
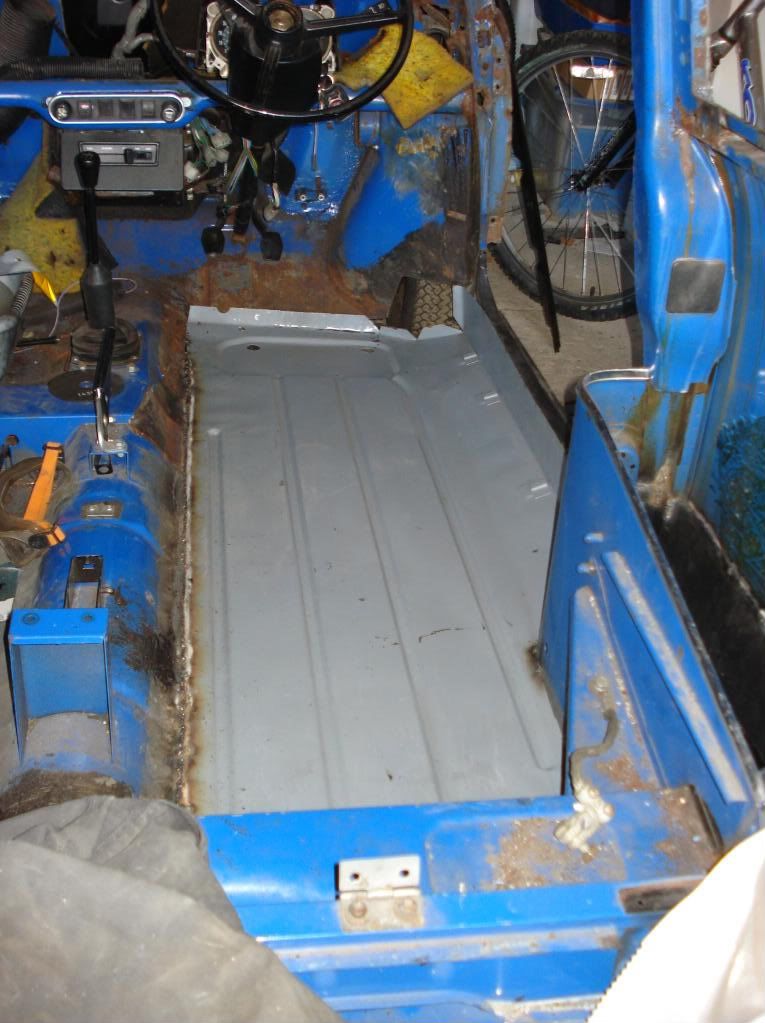
Heal board fitted and feeling mighty sturdy - just need to tidy up welds:
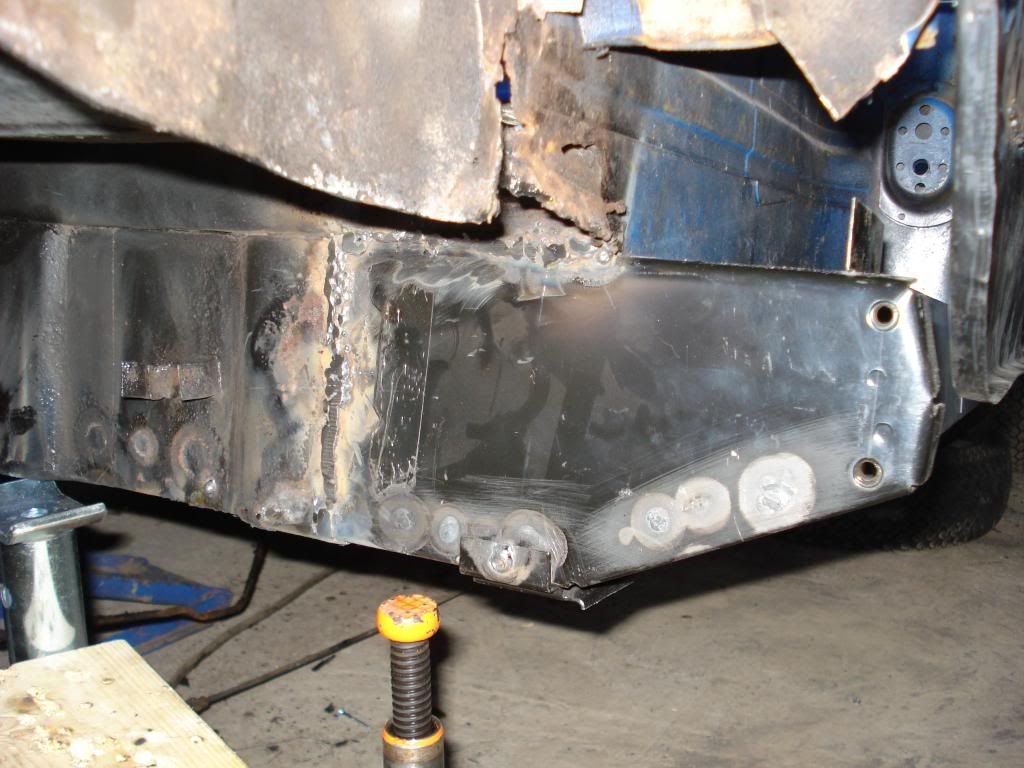
Where the floor meets the extension:
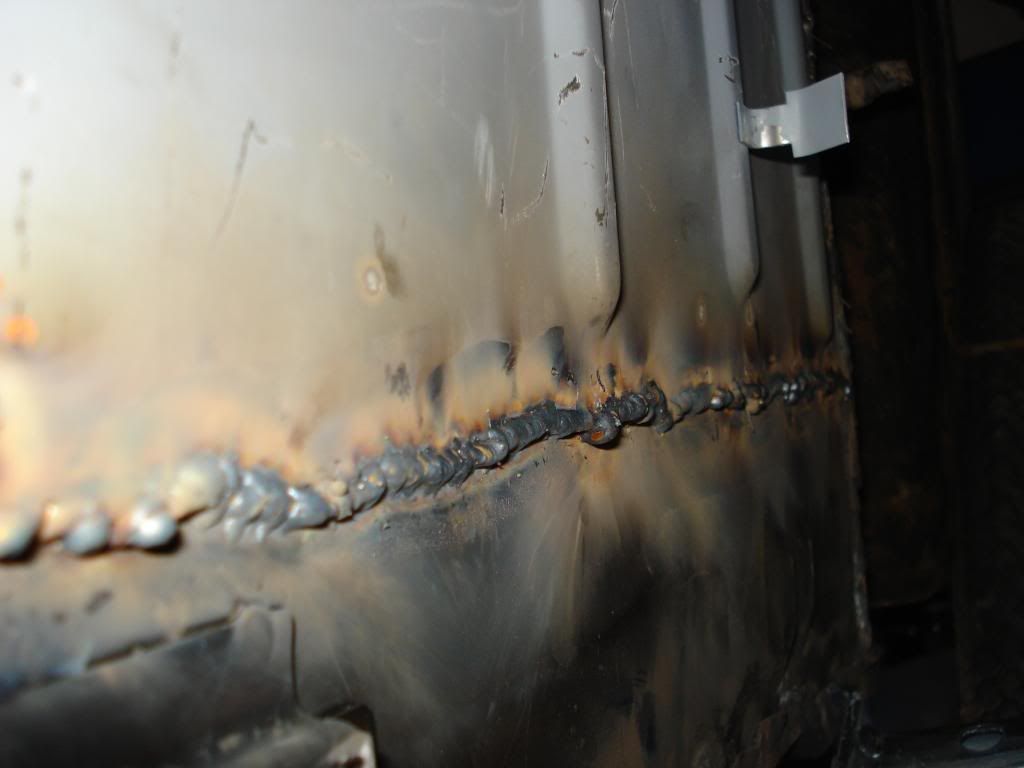
Floor and extension from teh inside:
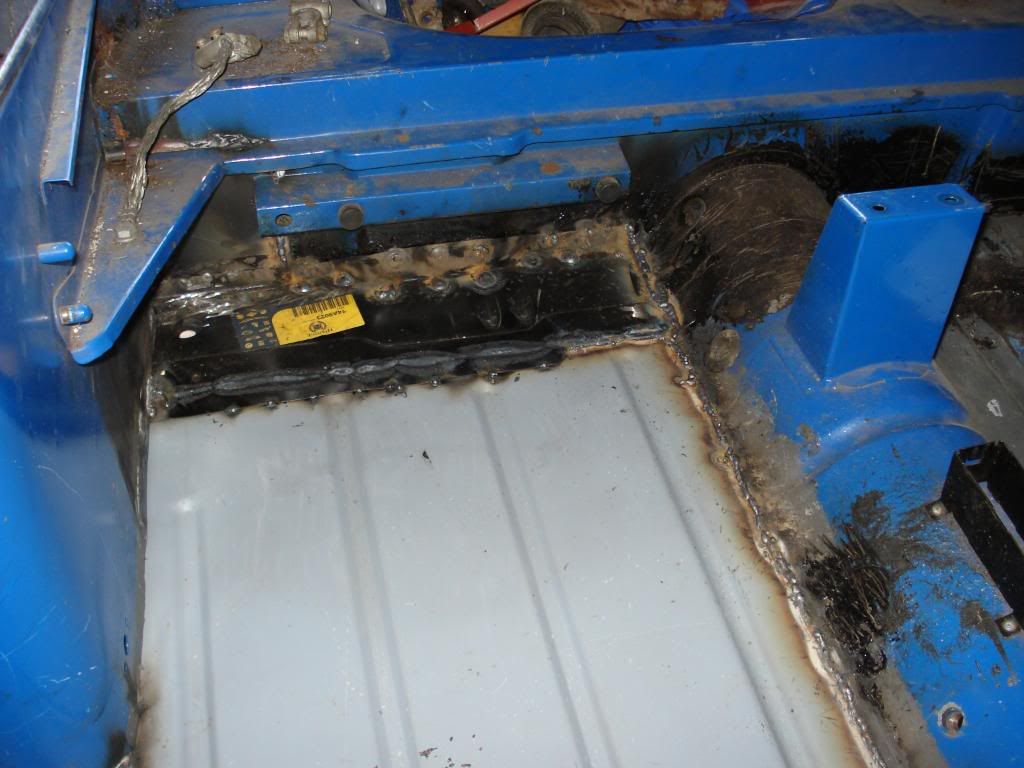
where the old meets the new:
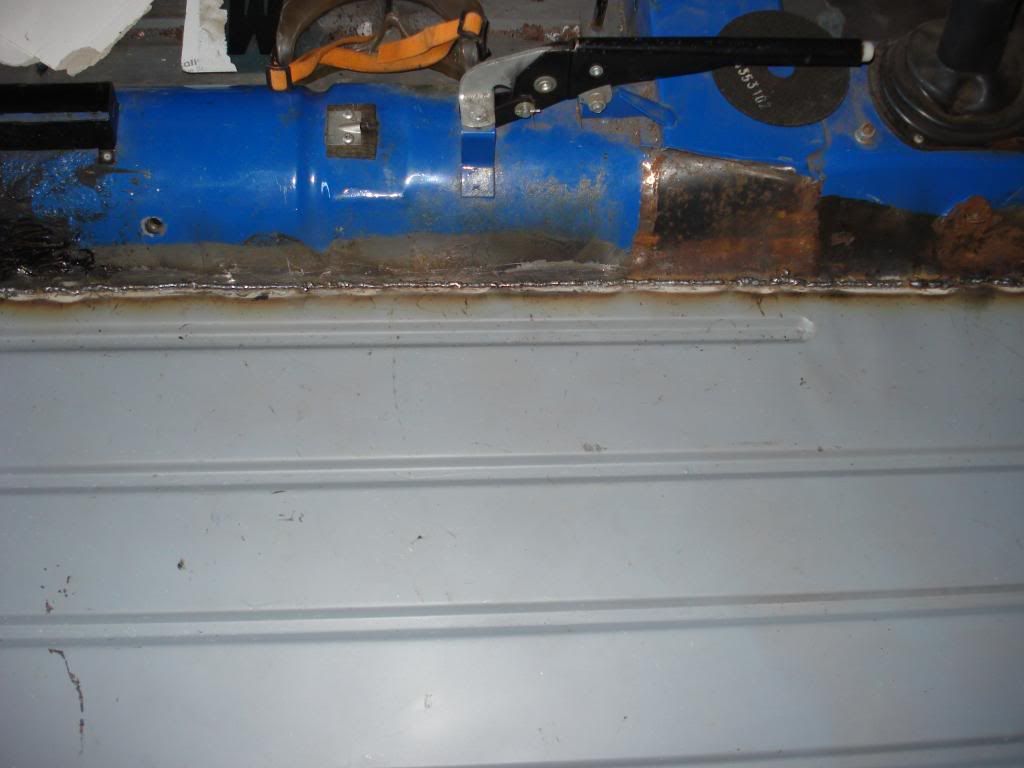
Outside waiting for a sill
As always - all thoughts and comments welcome
Dave
#28

Posted 17 October 2008 - 01:32 PM
#29

Posted 17 October 2008 - 04:30 PM
awesome! nice work! check out my CE thread. I am cutting away pretty much the same as you did. Now I am just waiting to earn some money to buy my Christmas list of panels
Indeed i was chuffed with the progress. Actually just picked up 3 x 5kg spools of welding wire so can finish it off - am planning on a welding session on Sunday so there will be more progress to follow...
Had a butchers at your thread earlier, yours looks even rustier than mine which i thought was impossible! Always good to see a similar project though so will keep an eye on it.
Money is an issue with pretty much all projects - mine seems to be having the time to do it and space is an issue here hence why im only working on one side at a time - once the drivers side is done i shall be shifting it out of the garage and turning it so i can do the other side. Not looking forward to that job!
#30

Posted 17 October 2008 - 04:56 PM
1 user(s) are reading this topic
0 members, 1 guests, 0 anonymous users


