Jump to content


Photo
- - - - -

The Ginger One


  • Please log in to reply
694 replies to this topic

#631 Sleepy Stu

Sleepy Stu

    formerly Stewart_GT

  • TMF+ Member
  • PipPipPipPipPipPipPipPipPip
  • 2,564 posts
  • Location: Worcestershire

Posted 26 February 2011 - 07:02 PM

No worries. There are a few options you can go down. I used a P28 ecu chipped with a B18c4 base map on it. I never got it running quite right but it did a year of driving so was almost there, never got it on a rolling road. Then I went the whole hog and got an OMEX 600 ecu from HERE It all cost me about £800 - £900 for all the stuff you need and that's without the rolling road. If you want my old ecu then you can have free dibs as it's going on sale soon.


Thanks monkey thats awesome. Actually looking at the Omex site it says they can do a kit for almost any car. Im wondering now if I might do away with skunk 2 idea and go for one of their full kits. Who knows with a bit of luck it might even fit without bulkhead mods? :thumbsup:

#632 ginger_monkey

ginger_monkey

    One Carb Or Two?

  • Members
  • PipPipPipPipPipPipPip
  • 1,080 posts

Posted 02 March 2011 - 10:13 PM

cool mate, well keep us updated as to how it goes.

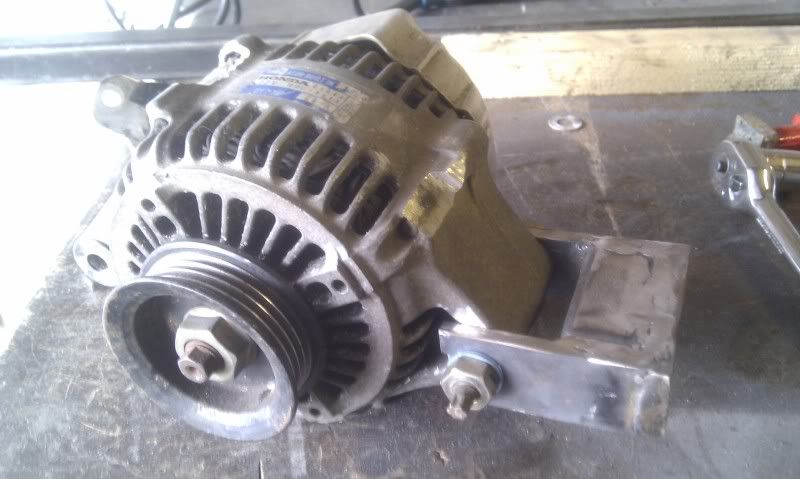
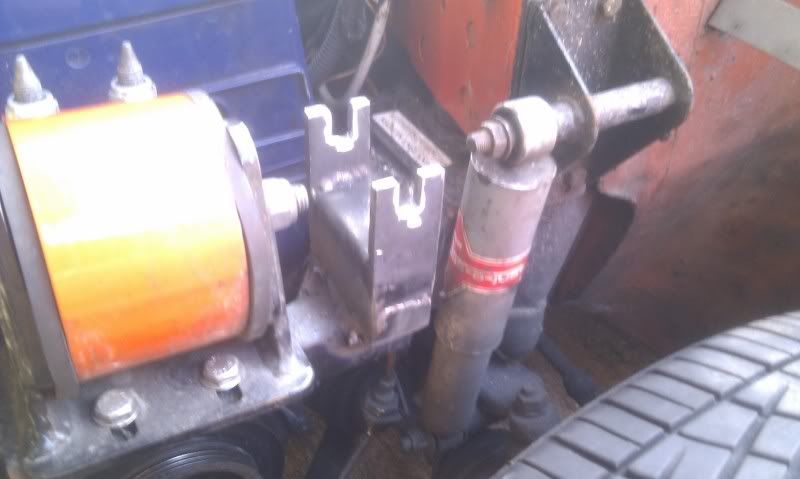
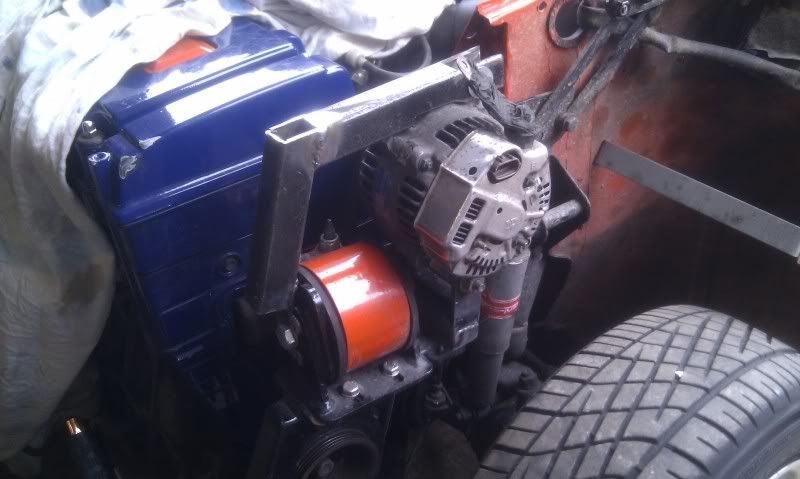
Been working my alternator bracket today. I wasn't that happy with the turn out of the old bracket. It was nearly there but thought I'd start a fresh. The alt is gonna be in near enough the same place but slightly moved for more clearance. The old bracket will be getting sold on for a few quid if anyone is wanting it. Did me a year of driving so works just needs some mods.

I got some box section and some thick steel from my local metal merchant. Made up the bottom mount.

Posted Image

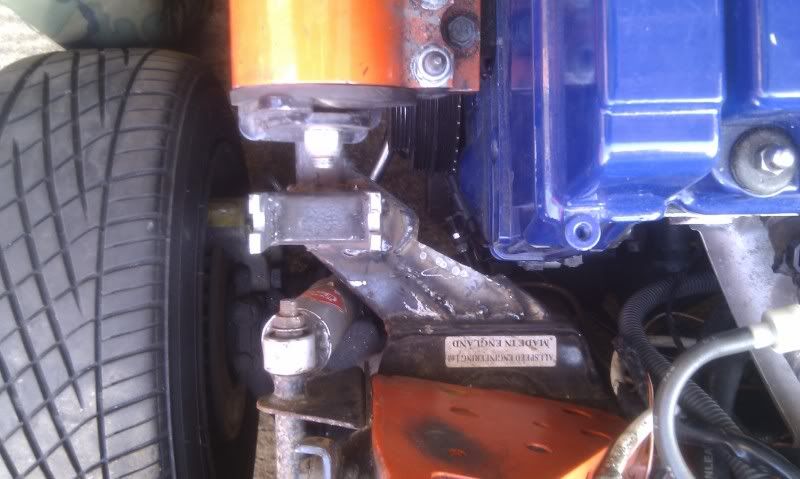
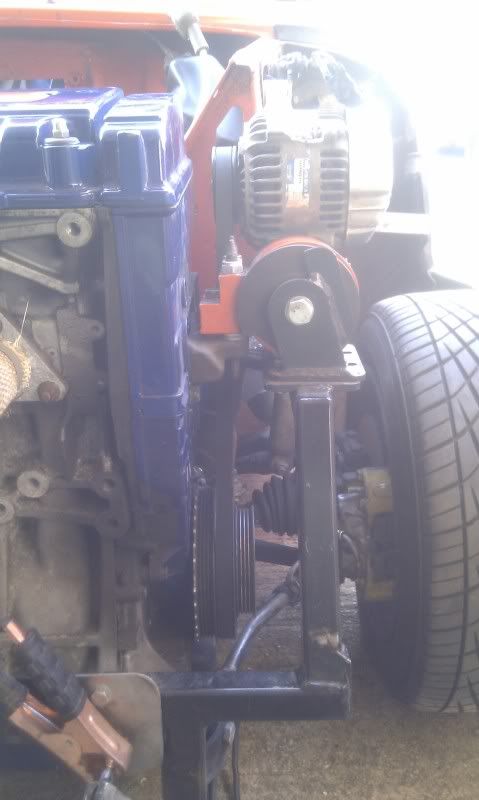
I am mounting it to the frame rather than the engine for ease of access. Will be using a spring tensioner which should come through the post tomorrow to take up the slack on the belt. This will mean that when the engine rocks in the frame with power, the belt will always be under tension. That's the plan any way >_< Here it is in the postion I want. Clear from both the top damper mount, the flip front bracket and the engine mount.

Posted Image

I cut away a bit of the frame gusset thingy as the belt was just touching. Then welded in a bit of support to it to be safe.

Posted Image

Here it is tacked on. I didn't put holes in it I used slots for ease of removing the alt.

Posted Image

The belt sits nice
Posted Image

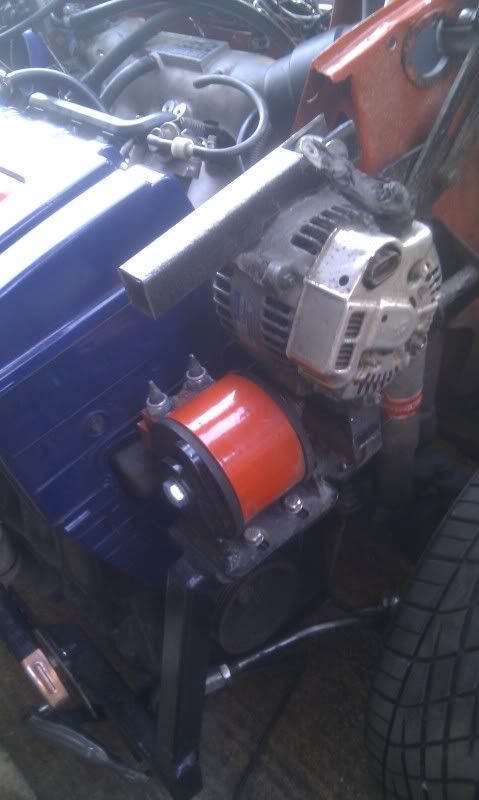
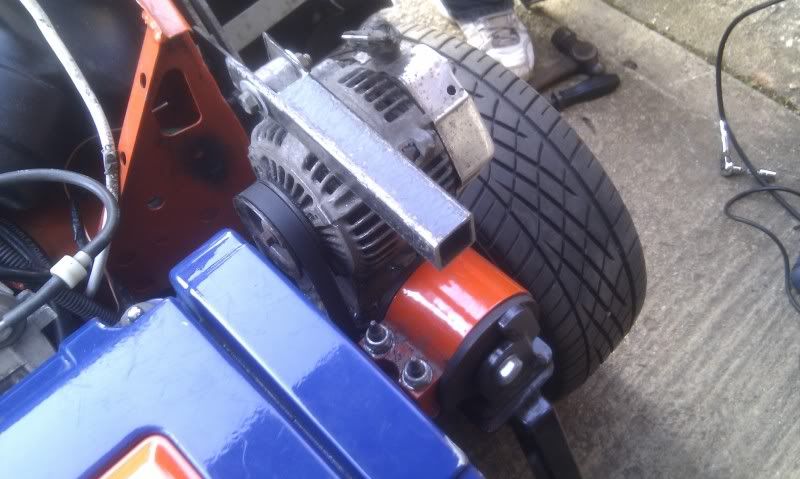
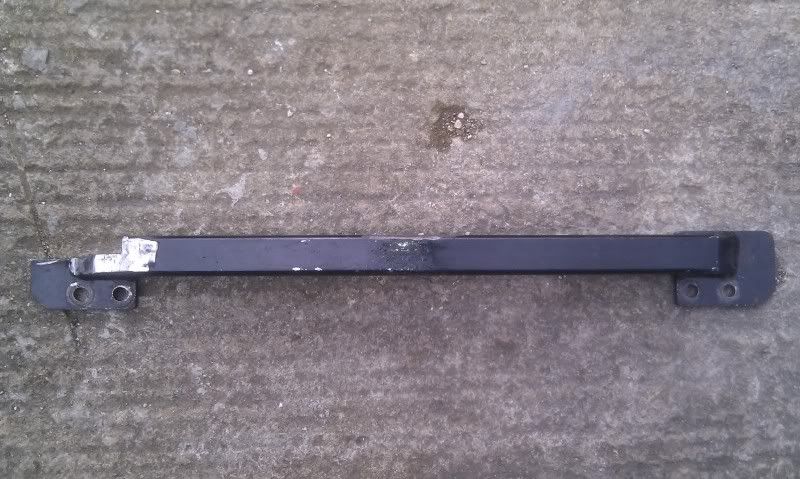
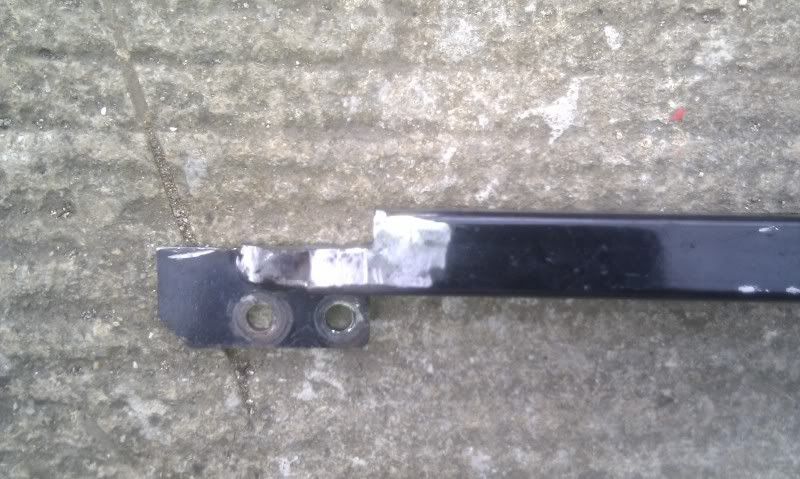
Now onto the top support. I thought of a few different ideas but what I'm gonna try is some box section coming forward from the top mount. Then bring another bit down from that and have it linked onto the bolt for the engine mount. Hard to explain right now but all will become clear tomorrow. Here is how far I got to.

Posted Image
Posted Image

#633 Kam

Kam

    Straight to the Point

  • TMF+ Member
  • PipPipPipPipPipPipPipPipPip
  • 4,140 posts
  • Location: Hampshire
  • Local Club: 16vMini club

Posted 03 March 2011 - 12:16 AM

New alternator bracket looks good Mr M ;D I would have the old one off you but I've decided to be brave and 'try' something with mine after seeing your one! >_<

I take it the new bit your gonna add will be to allow tension adjustment and the spring just keeps tension?

#634 ginger_monkey

ginger_monkey

    One Carb Or Two?

  • Members
  • PipPipPipPipPipPipPip
  • 1,080 posts

Posted 03 March 2011 - 06:36 PM

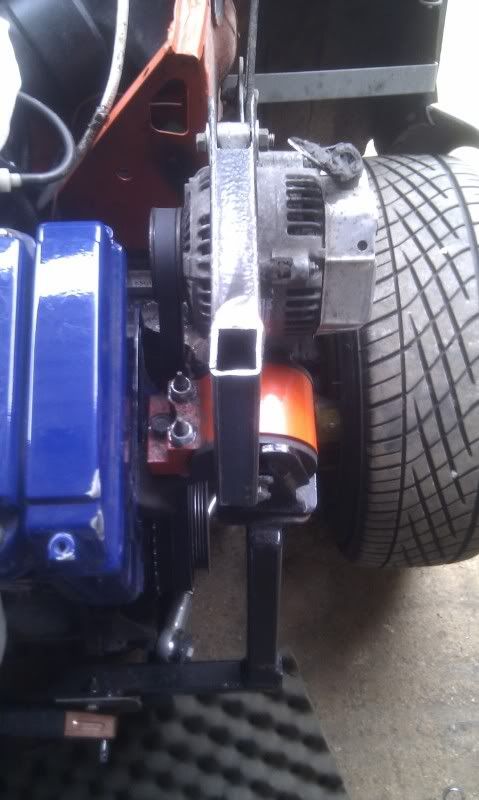
Cheers KAM. The next bit is just for support. The belt is quite tight with it all fitted and the spring tensioner is just for the last bit. All easily removable to change belts and stuff. Here is the pic of it on. Have welded up the ends so it's all sealed but forgot to take a pic.

Posted Image
Posted Image

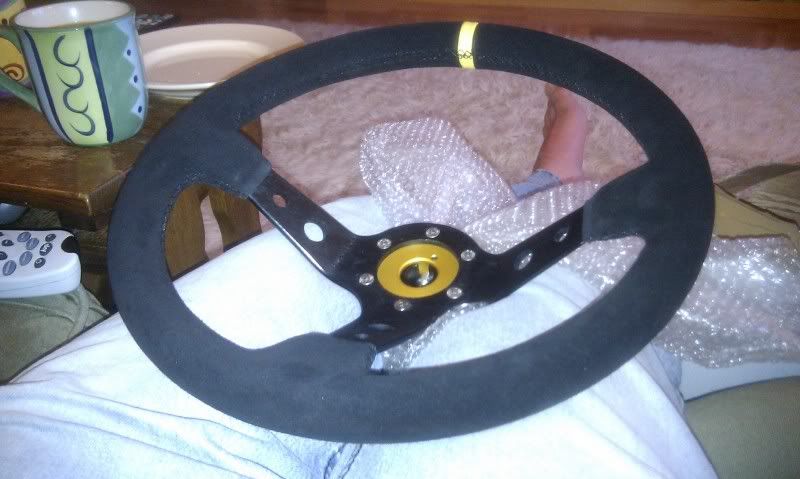
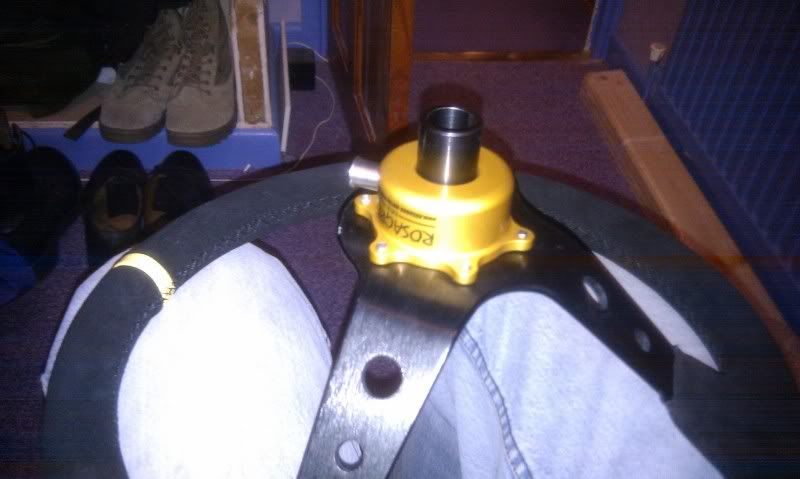
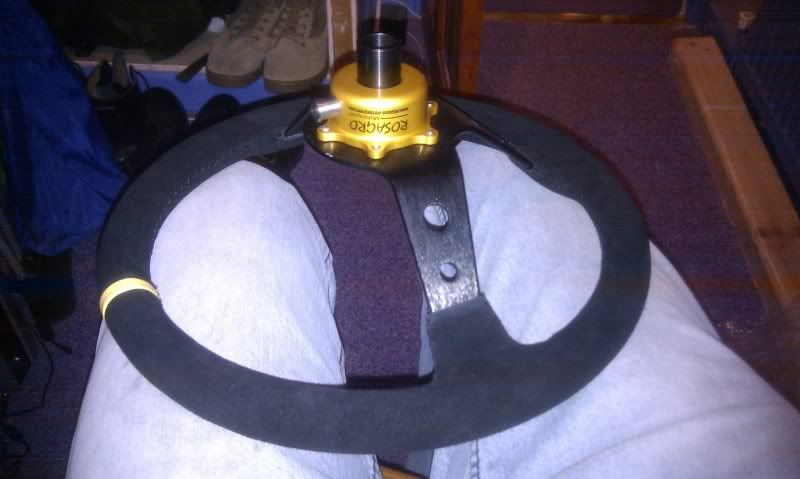
Also been getting stuff through the post and thought I'd show you my new steering wheel and quick release bracket. looking forward to fitting it but will be one of the last things so it don't get dirty ;) I will be getting the spacer too so I can fit the horn just for looks as I don't really use the centre horn button. It's deep dish so the stalks will be a bit out of reach but I'm sure I'll manage.

Posted Image
Posted Image
Posted Image
Posted Image

#635 ginger_monkey

ginger_monkey

    One Carb Or Two?

  • Members
  • PipPipPipPipPipPipPip
  • 1,080 posts

Posted 09 March 2011 - 07:45 PM

Been out in the garage for a few hours today. Feeling rubbish with a crap cold again. Thank you work people :)

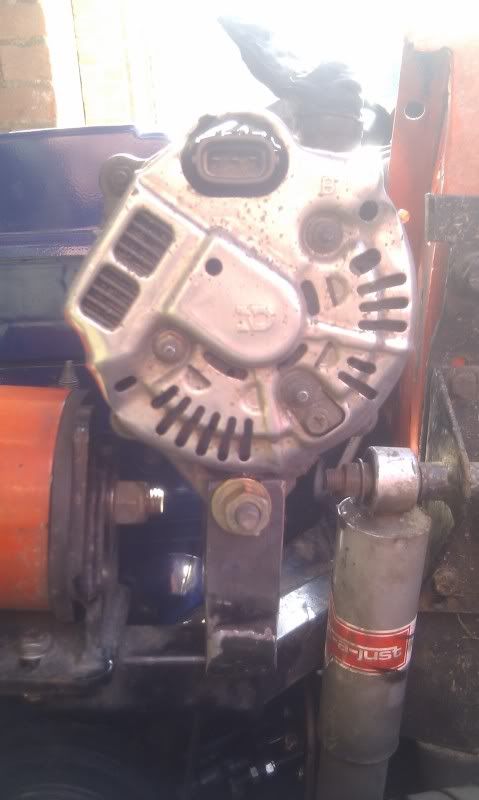
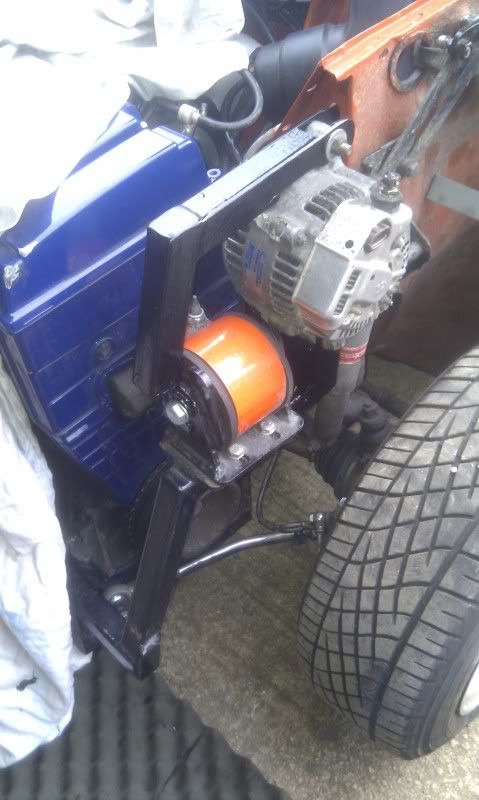
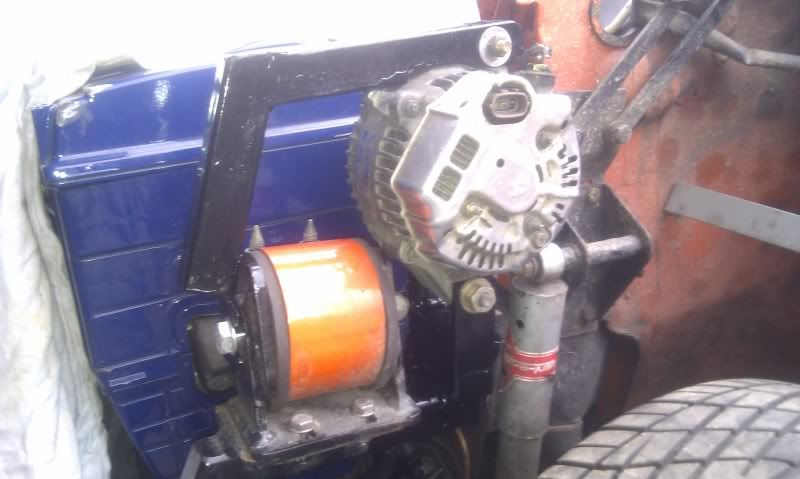
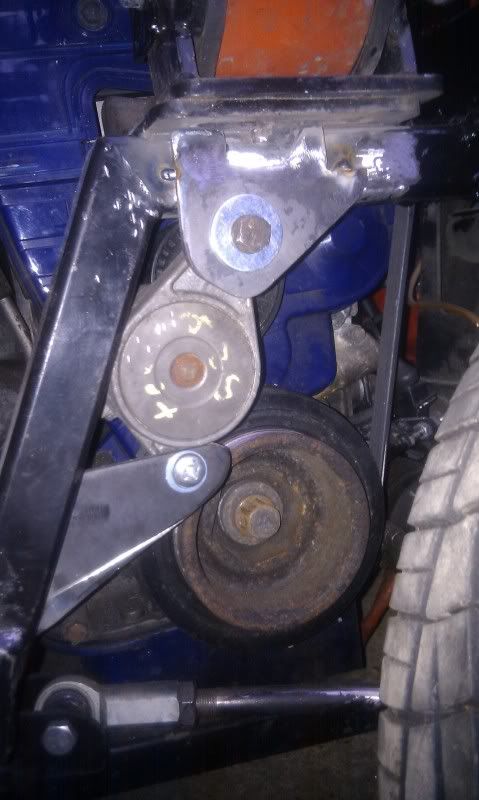
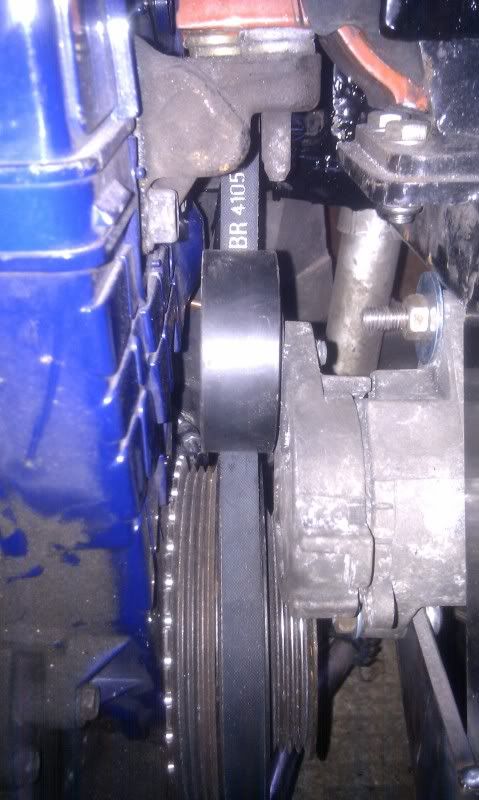
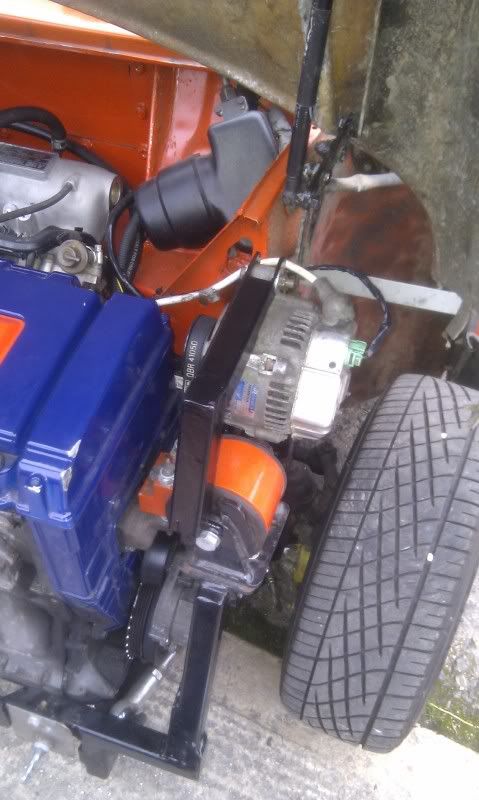
Have painted up the Alt bracket and got it all back fitted. Loads of room and quite tidy I think so am happy with it.
Posted Image
Posted Image

Then started measuring up the tensioner. It is off a BMW528i E39. Off ebay for a tenner. It's got a wicked tension on it as I can't move it by hand I have to use a welding clamp around it for extra leverage. Should do the job nicely. Made some plates to house it and got it tacked on.
Posted Image
Posted Image

Lines up good so will get it all welded up tomorrow after I run the engine to make sure it works.

#636 Kam

Kam

    Straight to the Point

  • TMF+ Member
  • PipPipPipPipPipPipPipPipPip
  • 4,140 posts
  • Location: Hampshire
  • Local Club: 16vMini club

Posted 09 March 2011 - 08:48 PM

Looking good there Chris, nice work :)

Make sure you give it some hard blips of the throttle to check engine movement, or if its not warm enough just get a bar and lever the engine backwards a bit on idle to replicate it, just to make sure the tensioner works

#637 ginger_monkey

ginger_monkey

    One Carb Or Two?

  • Members
  • PipPipPipPipPipPipPip
  • 1,080 posts

Posted 09 March 2011 - 09:30 PM

yes mate will do. i think it moves most when going down the road so the driving will be the real test. I have confidence though :dontgetit:

#638 ginger_monkey

ginger_monkey

    One Carb Or Two?

  • Members
  • PipPipPipPipPipPipPip
  • 1,080 posts

Posted 11 March 2011 - 07:15 PM

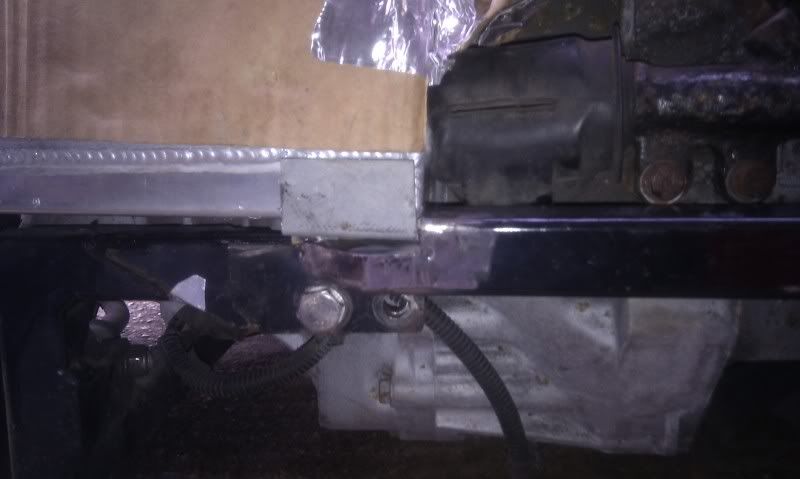
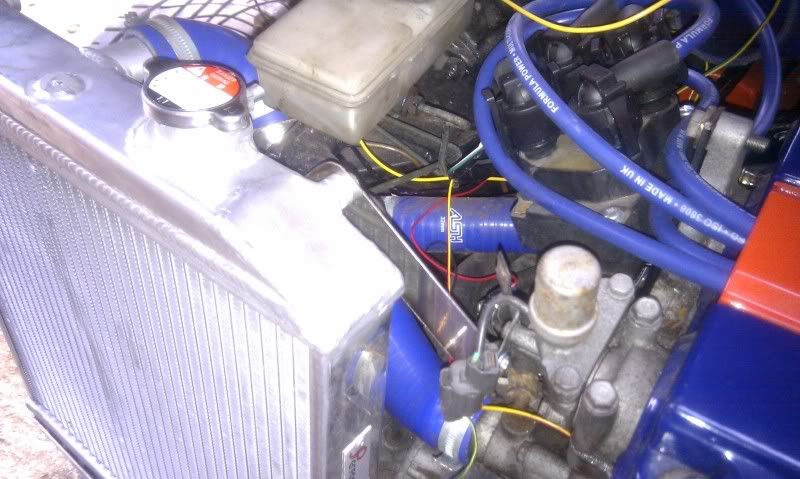
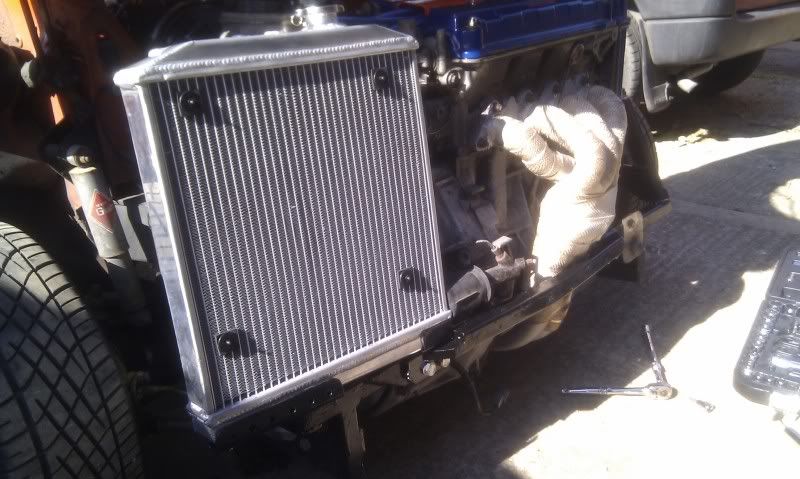
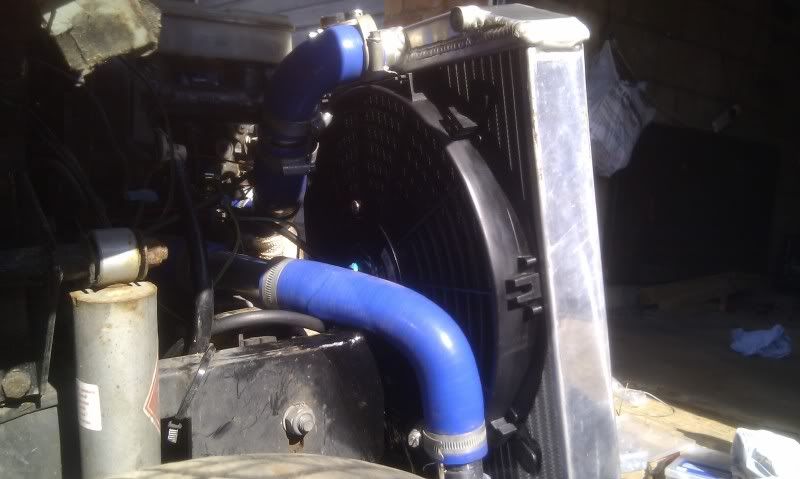
Had a few good hours out in the garage today. Got the rad mounted which was a bit of a struggle. It's still very tight in there. Still need to trim the front a little but the front does close. I can't fit the full size fan I have as clearance is not quite big enough but the smaller one should do the job. Had the front cross bar turned upside down to try and air the rad fitment but found that it fouled the front when closed so had to mod it to go around the brackets I made.

Posted Image
Posted Image

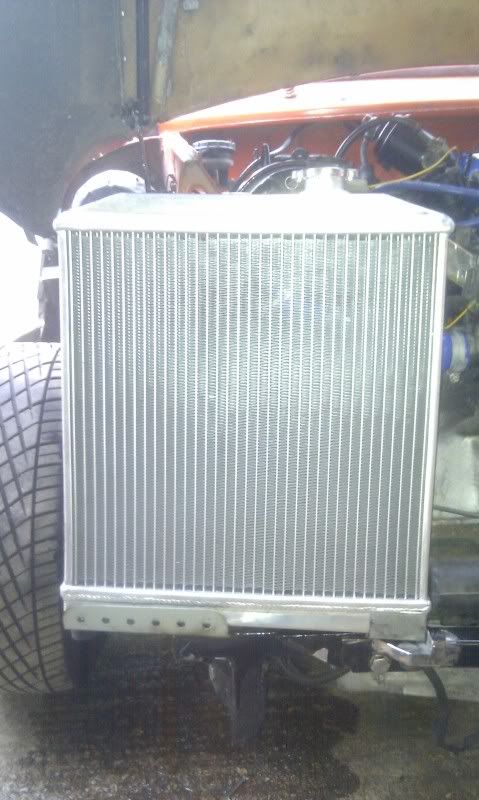
Here it is fitted.

Posted Image

Also mad a top mount just to secure things a bit more

Posted Image

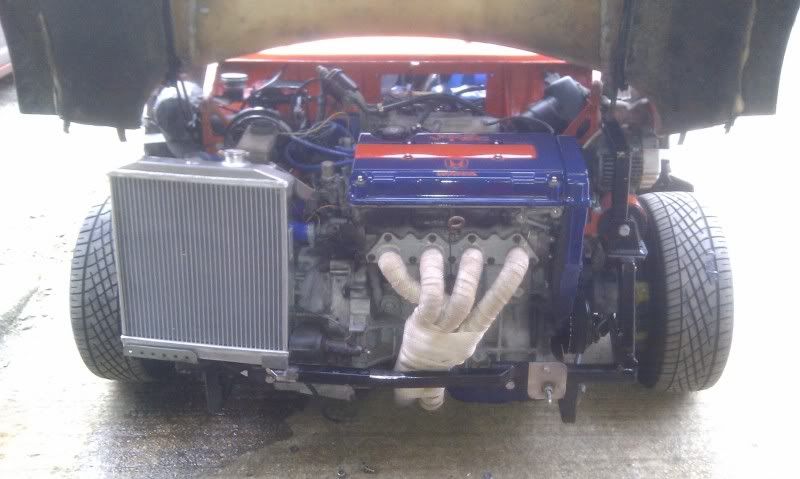
This is how it looks now. Much nicer than the old rad and should work so much better.

Posted Image
Posted Image

It's all back off now so i can give it all a coat of paint then tomorrow I hope to get it all fitted and get the coolant back in and run it up see how if anything leaks.

#639 ginger_monkey

ginger_monkey

    One Carb Or Two?

  • Members
  • PipPipPipPipPipPipPip
  • 1,080 posts

Posted 22 March 2011 - 06:23 PM

Got a few things done the past few days. The brackets for the rad have been painted. The coolant system has been drained, flushed and re-filled with Honda approved coolant. Managed to get the big fan to fit, just, so am happy with that. Just need to move a few things slightly for clearance and it'll be sweet.

Posted Image

Posted Image

Had some electrical gremlins to deal with which took me a while. The light for the battery wasn't coming on at all and the light for the open boot warning was on all the time. Though they must be connected so spent ages checking everything. The boot light ended up being a crushed cable under my seat. God knows how it got there but had worn through. With that fixed I traced the Alternator wiring and after ages found out that one of the wires going to the plug didn't have power supply any more. Strange as they were all checked. Well I thought they all were. Ran a new feed and boom the light came on. Started the engine and light goes off straight away. Happy days. Here is the alt all connected and nice. might fit a guard to stop all the road grime from getting to it.

Posted Image

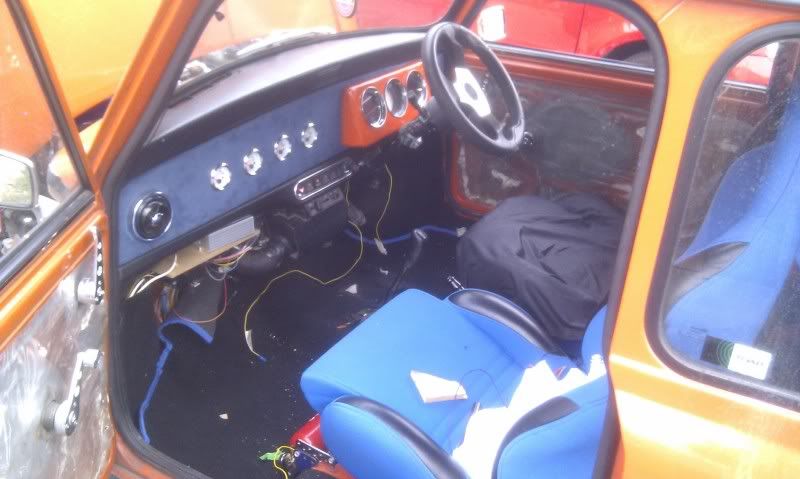
Though whilst i was at it and the wiring was behaving I'd fit the dash and see how the new clocks look. So dash in

Posted Image

and a trial run and this is how they look.

Ignition on

Engine running

So I'm happy as they look nice. Car booked in for Rolling road on the 31st and MOT on the 2nd April so not long now.

#640 Kam

Kam

    Straight to the Point

  • TMF+ Member
  • PipPipPipPipPipPipPipPipPip
  • 4,140 posts
  • Location: Hampshire
  • Local Club: 16vMini club

Posted 22 March 2011 - 08:20 PM

Nice to see it light up, good work on the troubleshooting fella, that kind of stuff would drive me mad!

Good luck on the rollers :)

#641 ginger_monkey

ginger_monkey

    One Carb Or Two?

  • Members
  • PipPipPipPipPipPipPip
  • 1,080 posts

Posted 23 March 2011 - 08:43 PM

cheers mate. Forgot to say I also fitted the pin back in the gear linkage and also fitted the uprated bushes. Wow it feels like a new gearbox now. Can't wait to try it on the road.

#642 Kam

Kam

    Straight to the Point

  • TMF+ Member
  • PipPipPipPipPipPipPipPipPip
  • 4,140 posts
  • Location: Hampshire
  • Local Club: 16vMini club

Posted 23 March 2011 - 10:39 PM

The roll pin over the nut n bolt approach is like night and day! :thumbsup: much more positive gear changes, did you give it a good coating of copper grease aswell?

Posted Image

Makes its sooooo much easier to punch out aswell, if you got limited access then get a 5/16 shortened drift punch - job done

Posted Image

I can't actually wait until you get this mapped! It'll be a zillion times better just being able to plant your foot and hear some 'tec kicking in than pushing any buttons like before???? :thumbsup:

#643 ginger_monkey

ginger_monkey

    One Carb Or Two?

  • Members
  • PipPipPipPipPipPipPip
  • 1,080 posts

Posted 26 March 2011 - 05:00 PM

Yes mate did put a load of copper grease on the pin so it should come out ok in the future.

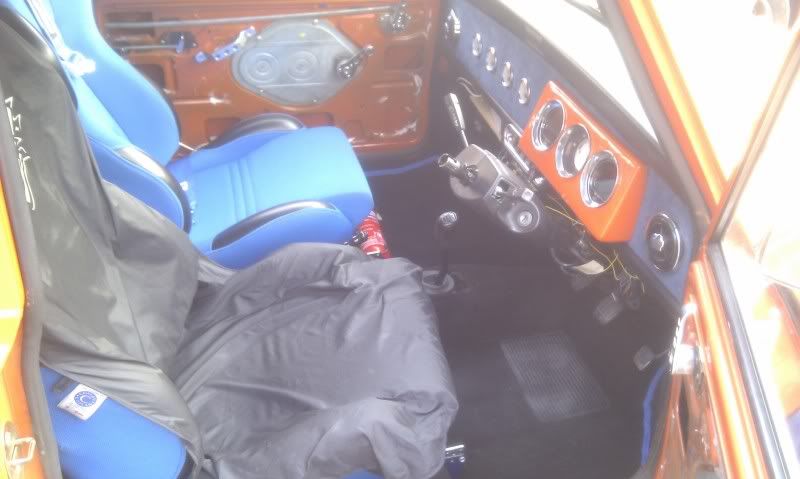
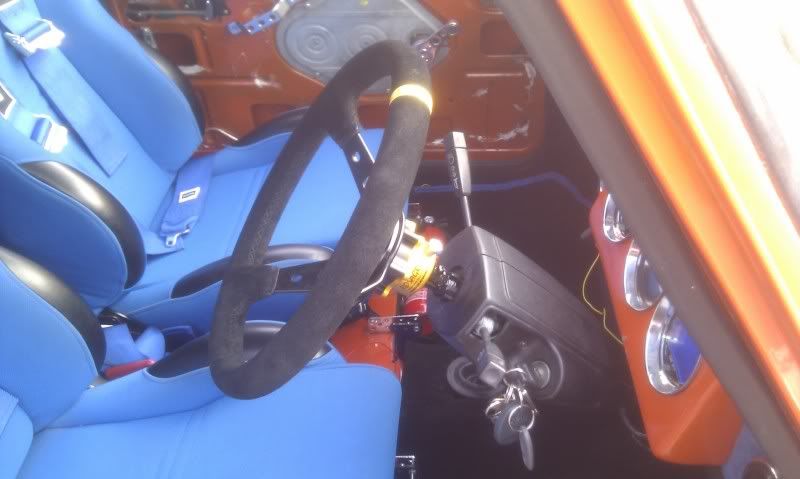
Today I played around with the steering wheel. Took the steering column off and fitted new bushes top and bottom as the top one had snapped. Much tighter now :) so then removed my old wheel and fitted the end locking fittment. i think I got it straight :) welded it on and gave it a coat of paint. Sorry didn't take any pics as I was doing it. Then refitted all the stalks and fitted it back into the car with a drop bracket. Here is what it looks like without the wheel on.

Posted Image

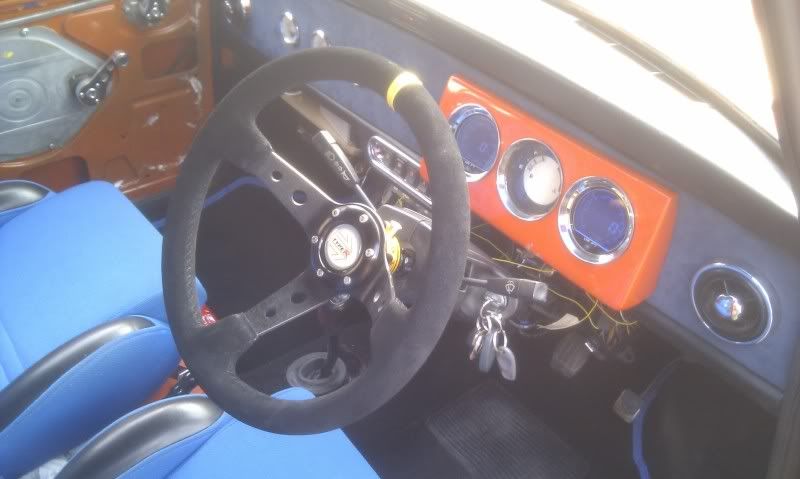
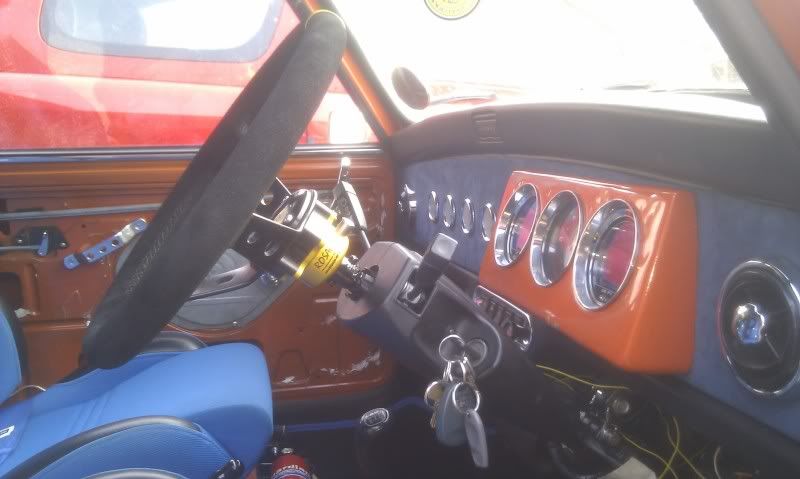
and some pics with the wheel fitted.

Posted Image
Posted Image
Posted Image

and now it can see all my dials ;)

Posted Image

Yes the wheel is very far away from the stalks now but will get used to it quick enough I'm sure

Edited by ginger_monkey, 26 March 2011 - 05:02 PM.


#644 ginger_monkey

ginger_monkey

    One Carb Or Two?

  • Members
  • PipPipPipPipPipPipPip
  • 1,080 posts

Posted 01 April 2011 - 12:13 PM

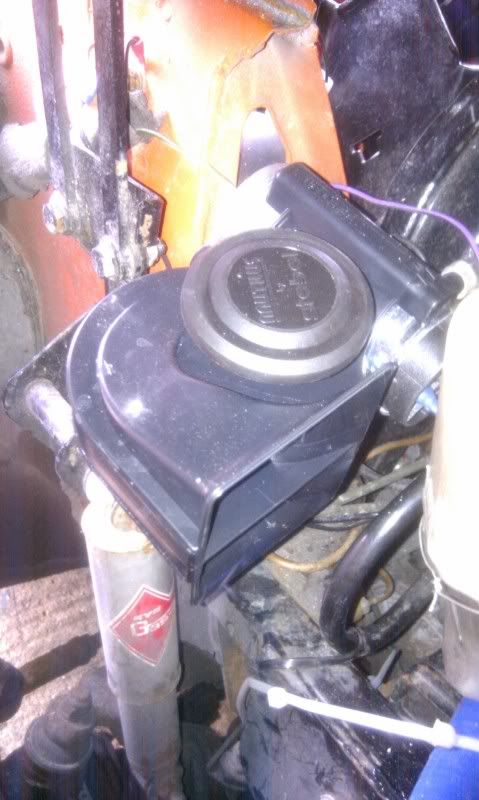
Finished off a few things ready for the MOT on saturday. Got a new horn fitted, not a musical one this time but a 12v Nautilus horn like THIS. I like it as it's nice and loud so people should hear it quite well or jump out of their skin when I blast it near them.
Posted Image

I've also done a few bits and bobs but one thing I wanted was a new intake air feed so I went a bought this pipe.
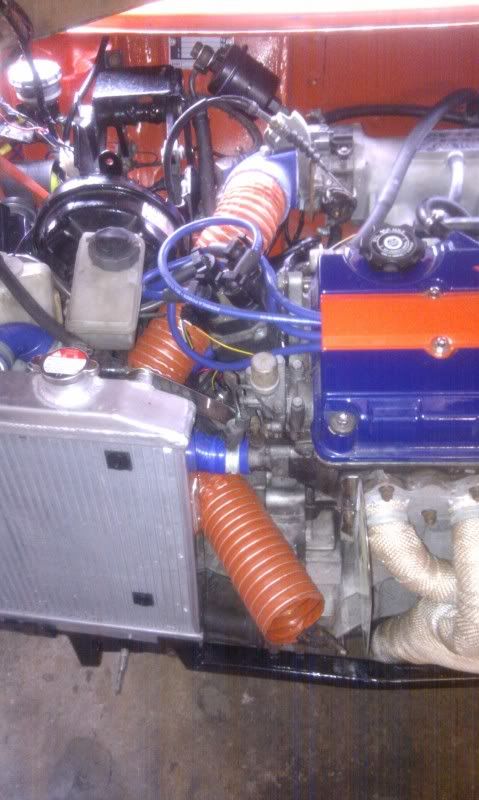
Posted Image
I have put a shield on between it and the exhaust manifold to help keep the heat away but the filter that I ordered is taking ages to come so it's just like this for now.

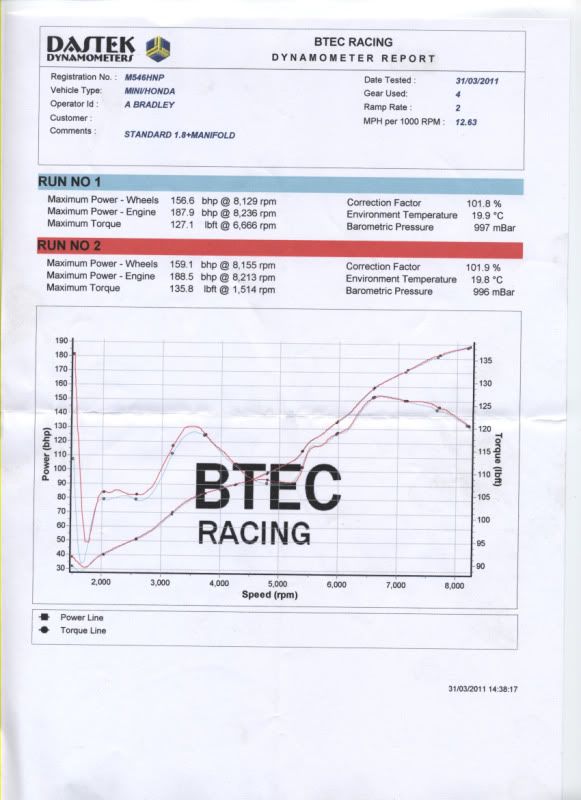
Well the day came. Yesterday was rolling road day :P I got a trailer sorted from my good mate Spenner and got the car up to Btec racing which is only half hour drive from me. Gave them the car and explained the troubles I've been having with the old ECU and left them too it as we had to go scrap a mates car as the trailer was out. I was real nervous with it going on the rollers as I was expecting a call half hour later saying "mate, what have you done. This is all totally wrong. Come and collect the car and sort it all out" but lucky enough the call never came.
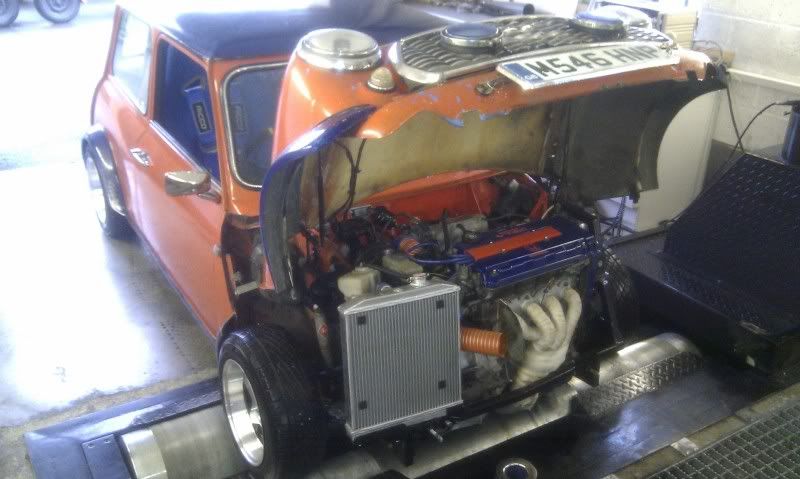
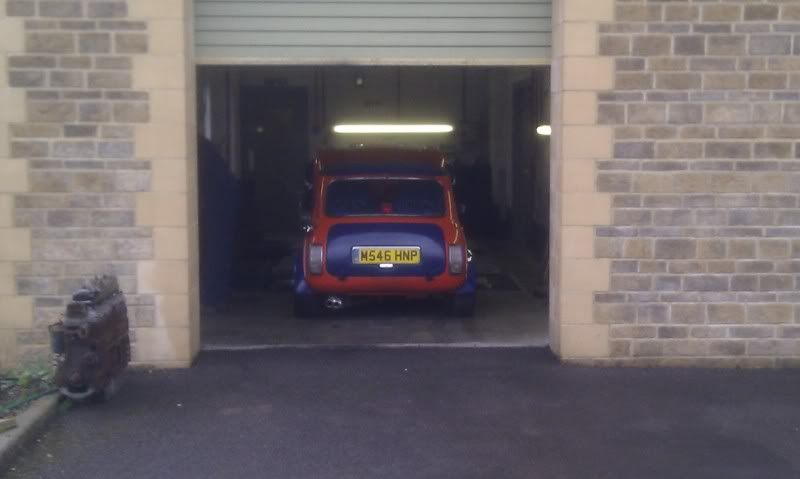
Posted Image
Posted Image

About six hours later I got the call I wanted. Come and collect the mini she's all done :genius: :D :D :D :mrcool: So went and collected. They had a little bit of trouble with the idle as it was doing some strange hunting when first started. I need to call omex on that one and also the pipe I fitted to the intake was using my old filter. But the filter was moving about and causing the pipe to loose suction and then cavitate the pipe. So that was all taken off as it was loosing about 20hp doing so. I need to get some aluminium pipe work to run it like this. But when they got past all that they got the power runs done and the figures came out like this.

With the VTEC running sweet she got 188.5 hp and 135.8 lbft of torque :genius: happy days

Posted Image

Sorry no real video as I ask them to do it but the guy that did had a real nasty phone and the vids didn't come out very well and only in 5 second intervals. never mind but I would have liked to have been there to do a vid. Just for you guys honest :P

So MOT tomorrow and then maybe I'll get to have a good go out on the road and see what 188.5 hp really feels like.

#645 paul190181

paul190181

    Mini Mad

  • Members
  • PipPipPipPip
  • 193 posts

Posted 01 April 2011 - 01:14 PM

Top job should go like hell with that power , i realy need to get on with mine , left it for a few weeks and not been near it .


4 user(s) are reading this topic

0 members, 4 guests, 0 anonymous users