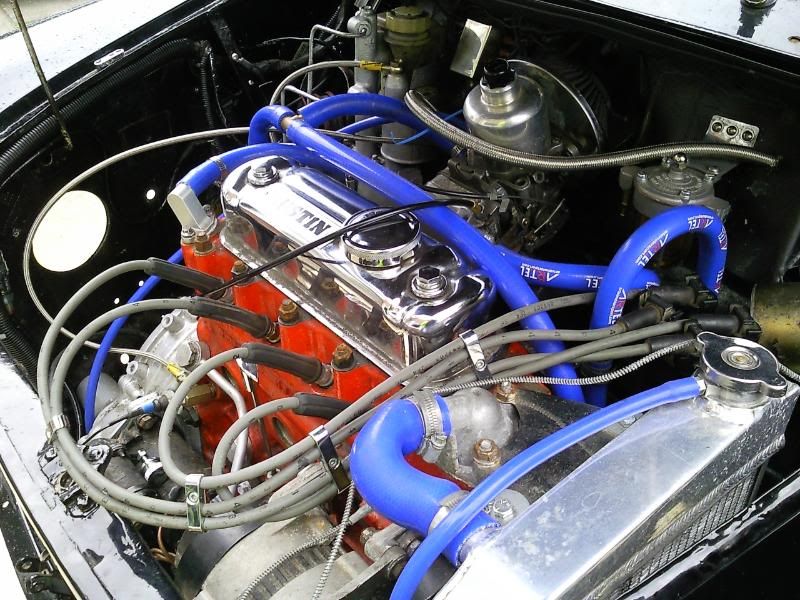
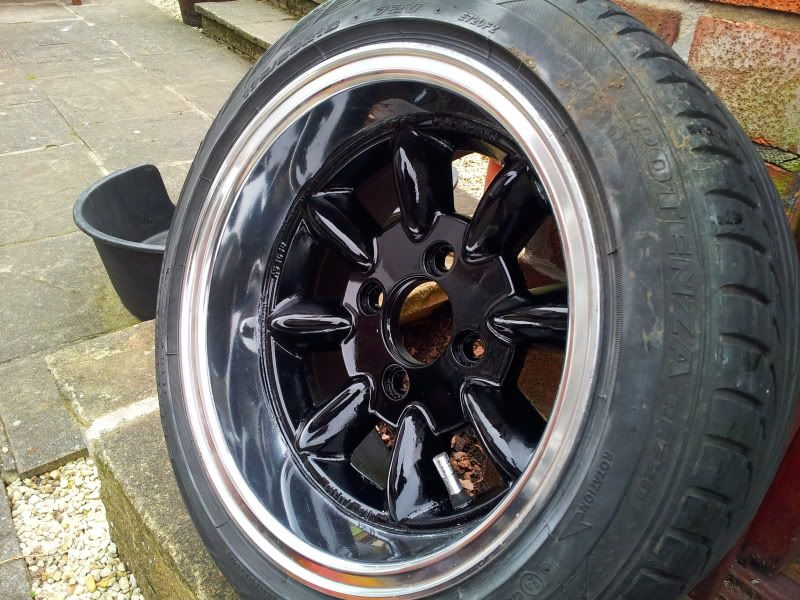
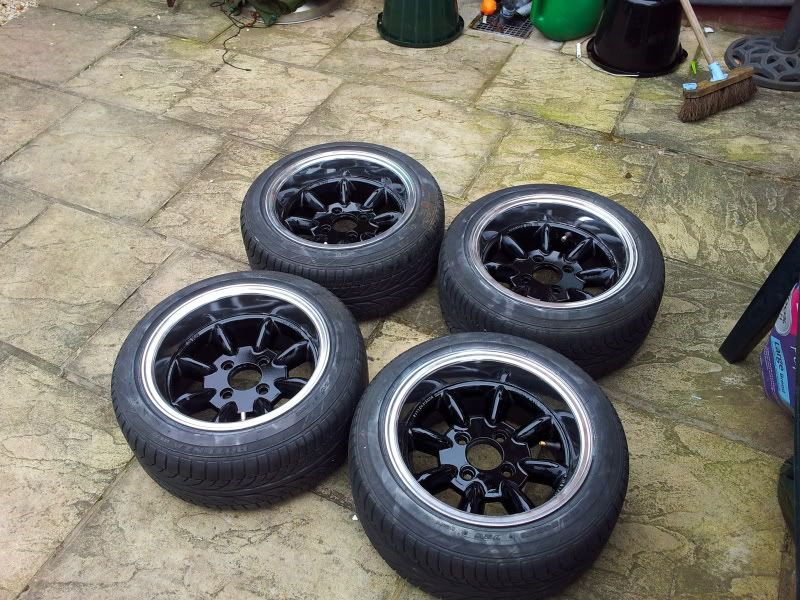
Thought i'd update this a bit with some of the photos i've been taking along the way. Since i've had the engine running, work on the car has been going pretty sweet, no real problems and the jobs I done i've not broken anything in the process or discovered another horror I need to fix; so yeah not too bad and feeling pretty motivated with it at the moment.
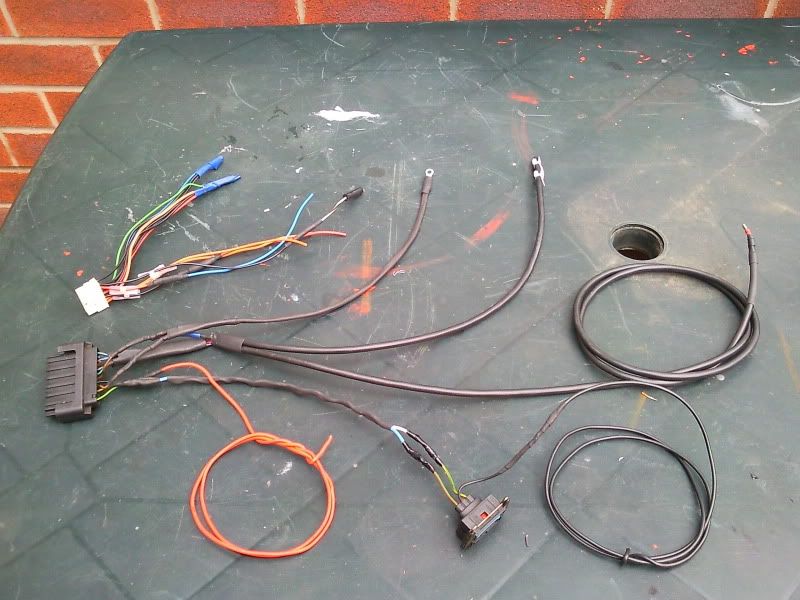
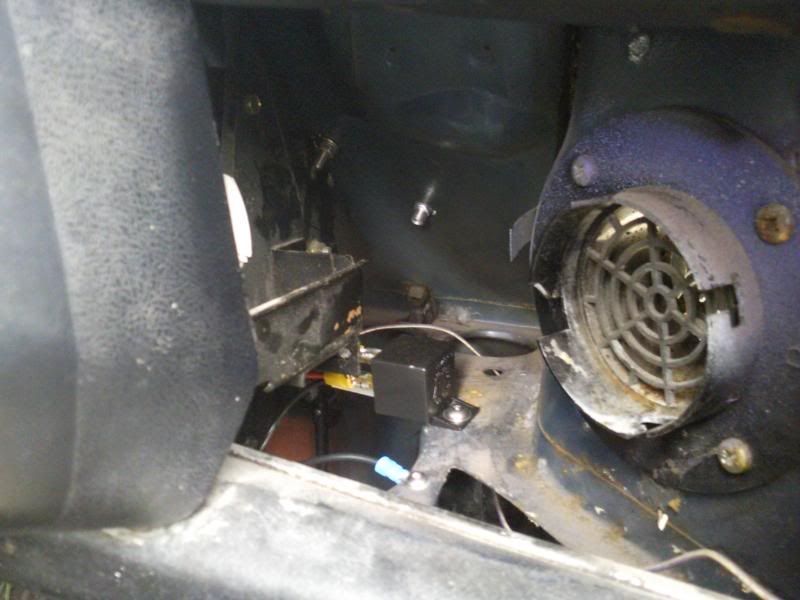
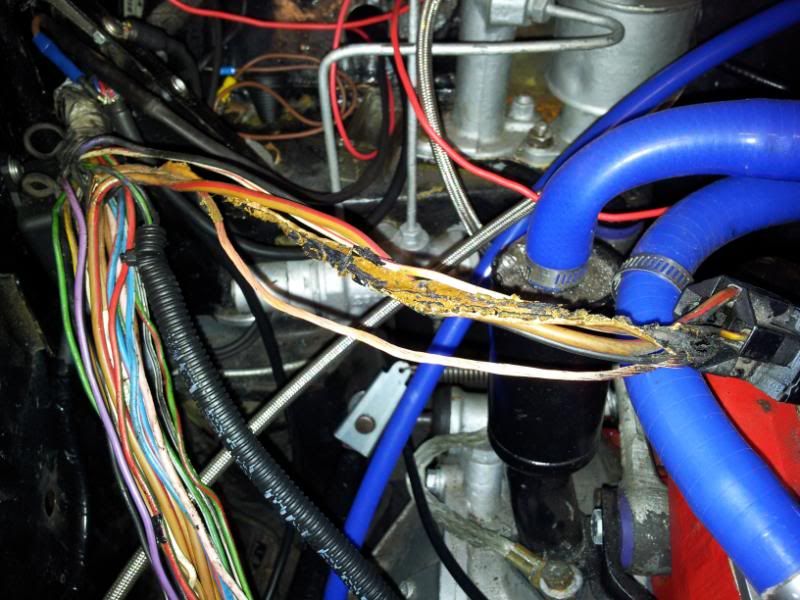
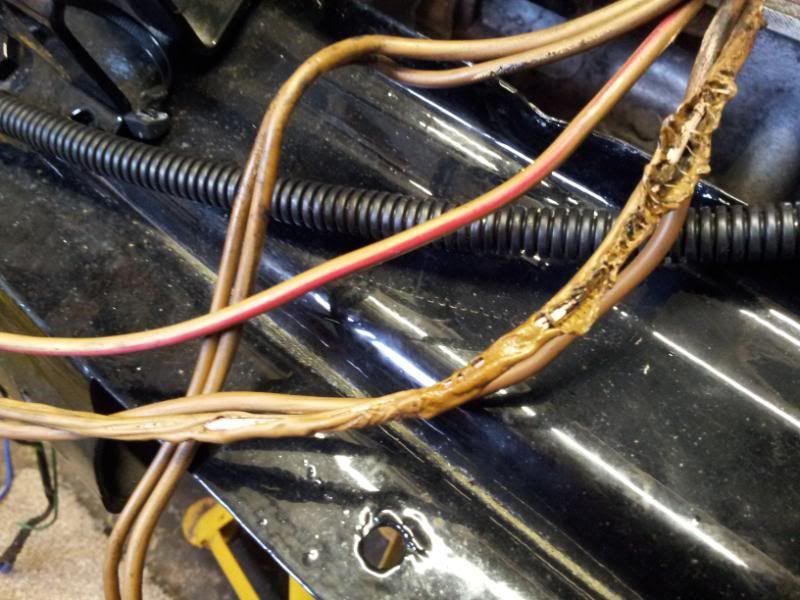
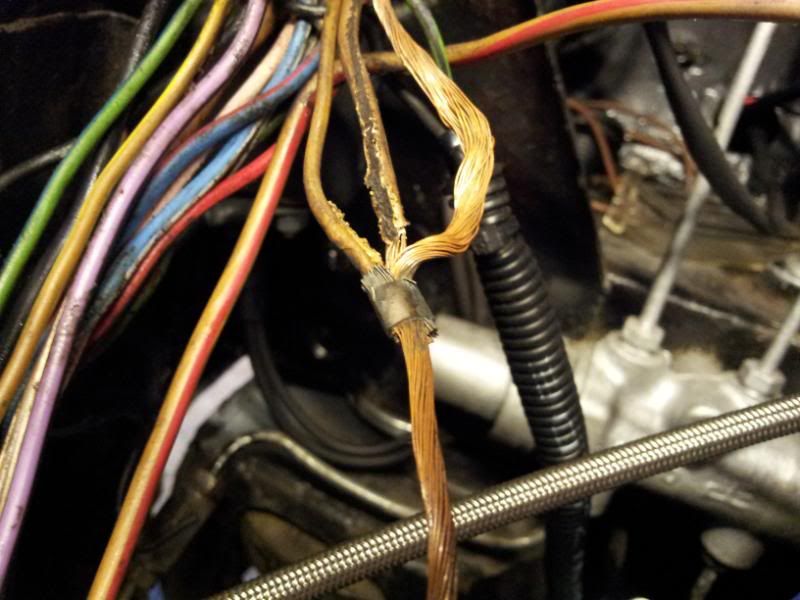
Going back a fair few weeks after all the wiring melted itself and the ignition relay as shown in the post above, new relay and plug was fitted:
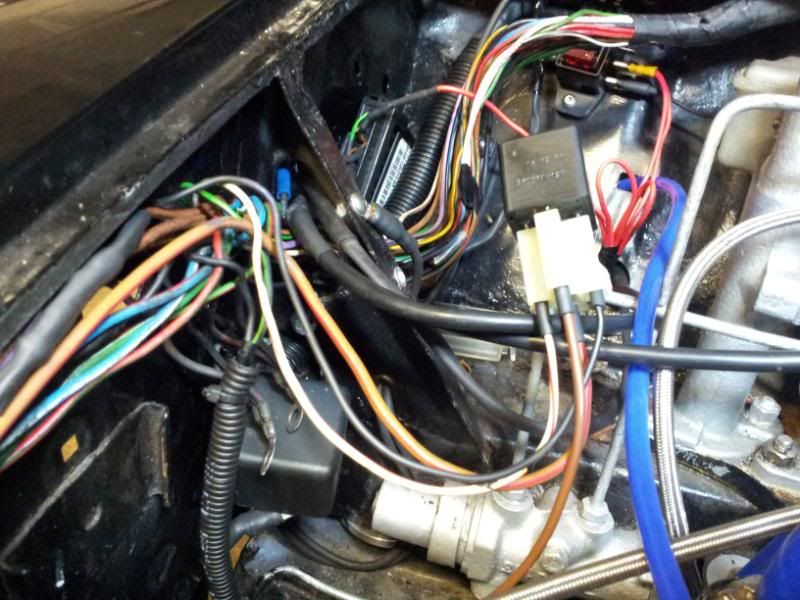
That, along with its new wiring had the car turning over again on its start without smoke/fire this time... So checked all the other nearby wires and things for any damage from the heat but all was good.
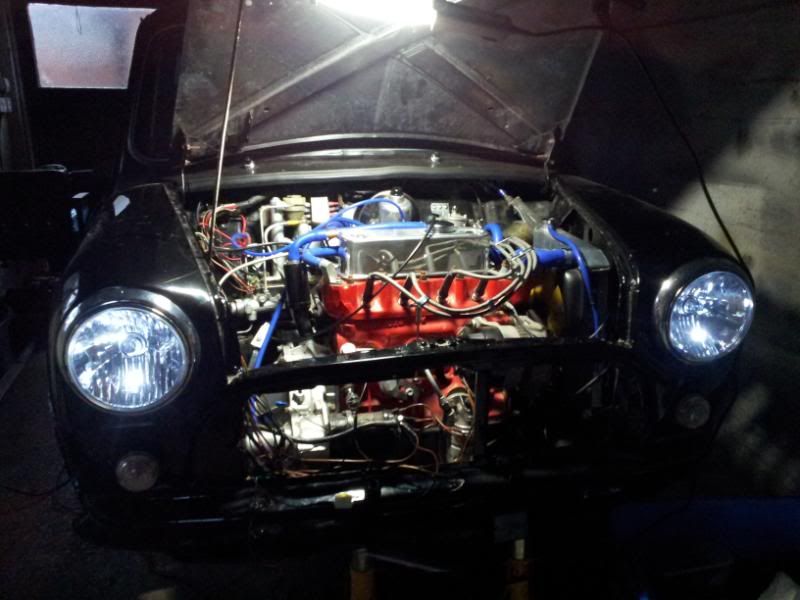
Random cool photo showing my LED sidelights, they're not as blue as they look in the photo, just bright white:
Next was sorting out the MJ. I couldn't get it started even on my new wiring loom so was a case of tracking down the problem. I spent ages with my multimetre testing my wiring over and over until I was sure my wiring was correct and making all the right connections. Then decided it must of been the dodgy trigger wheel/sensor mount i'd been supplied with. So I took all that off and refitted the specialist components set up I also had.
First attempt wasn't great, fouled the fan belt badly:
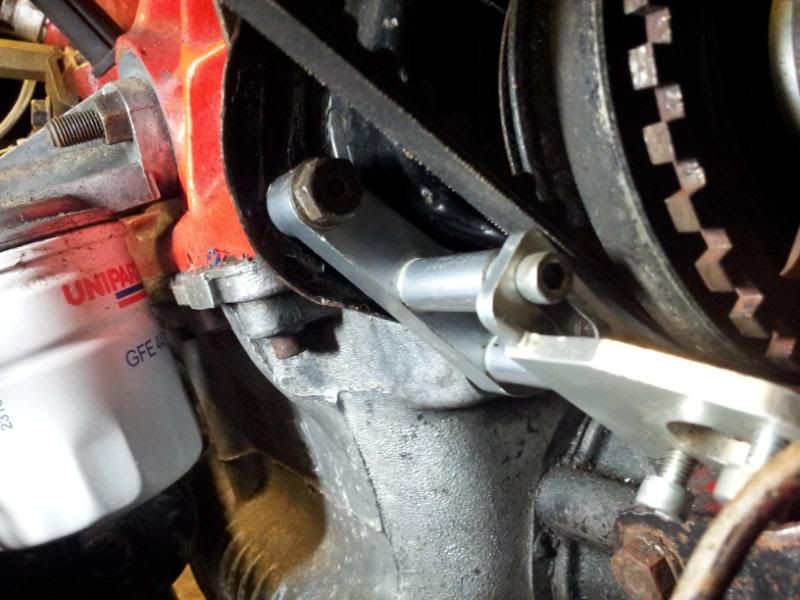
That came off and got adjusted with the dremel:
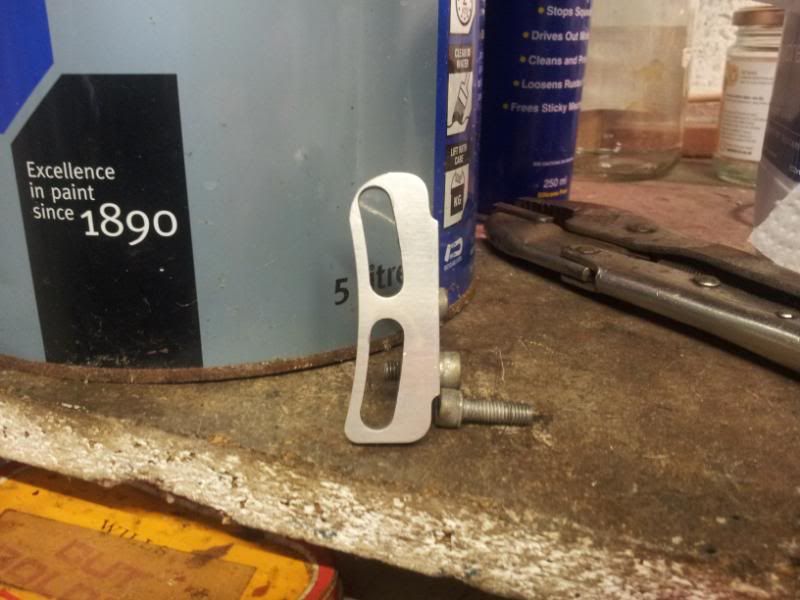
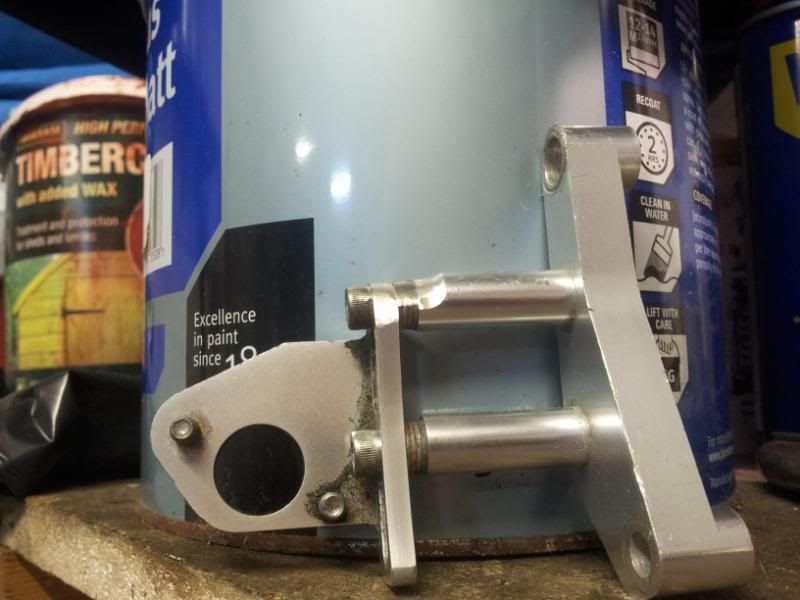
That gave enough clearance, just about anyway, about 2-3mm. Then when I came to put the rad and everything back in, the rad cowling fouled the trigger wheel lock ring

So that also had to be adjusted (hacked away at) with the grinder to remove a small piece from the rad cowl bottom mount. Then at last I got it all fitted with no fouling issues:
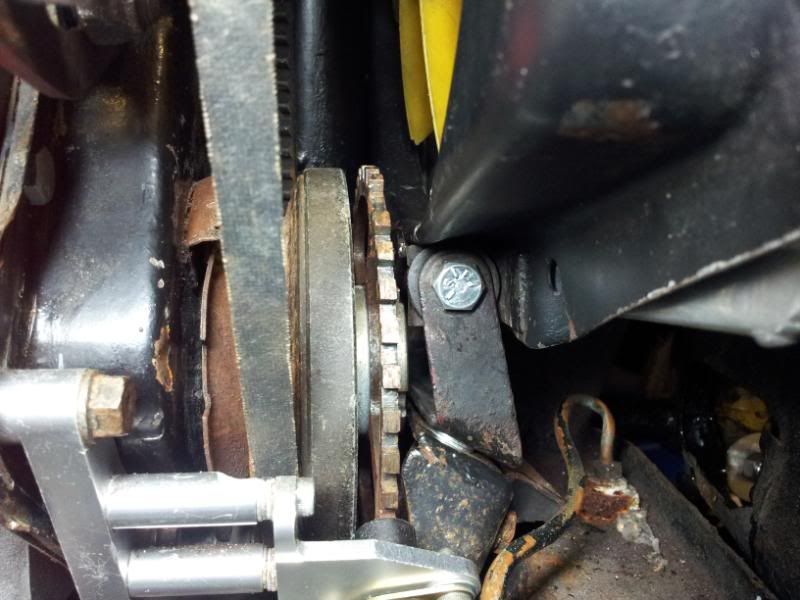
The clearance between that lockring and the rad cowl is small, I don't even know how close it is, can't really tell...
After that, I still couldn't get the engine running on the MJ

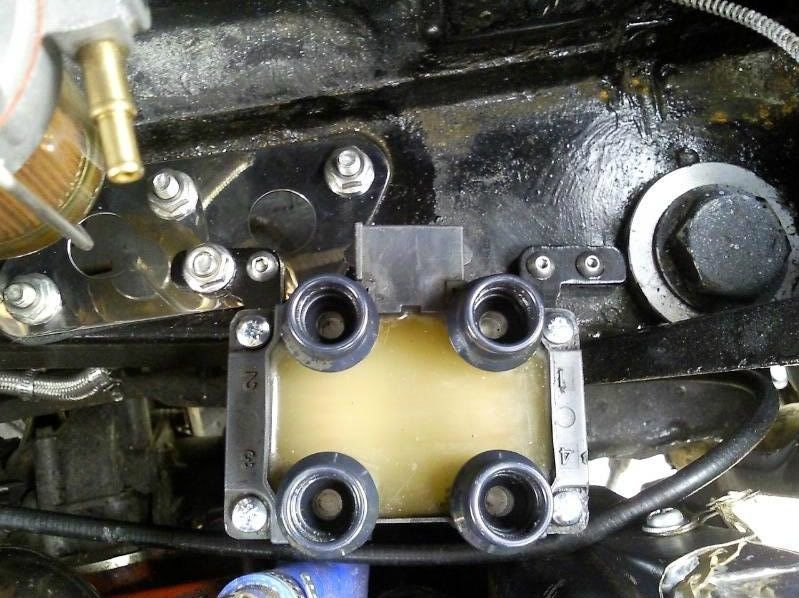
More time was spent with the multimetre, writing tech threads on here for help and studying the wiring diagrams on the auto sport labs site. Since I couldn't even get the engine running in 'limp home' mode on just the ford EDIS parts, it was either the coilpack or the EDIS module that was at fault, and since a new coilpack was about £28 and a new EDIS module was more like £130, I picked up a new coilpack from a motorfactors - Plugged it in and it fired straight up! That was mixed emotions there, mainly relief at finally finding the problem, but a lot of frustration at the amount of time I wasted trying to get it working, only for it to be a faulty coil pack I bought off here

Next little problem was, once the engine was running, it didn't want to turn off!!

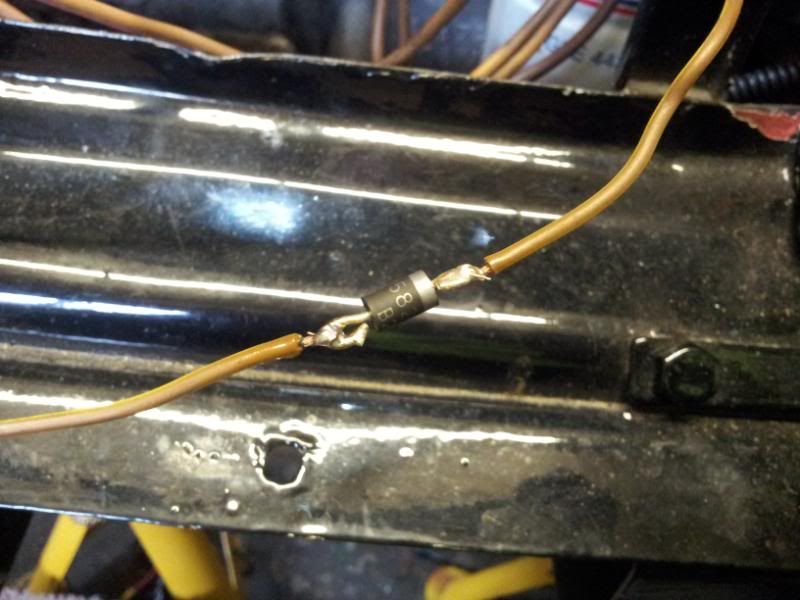
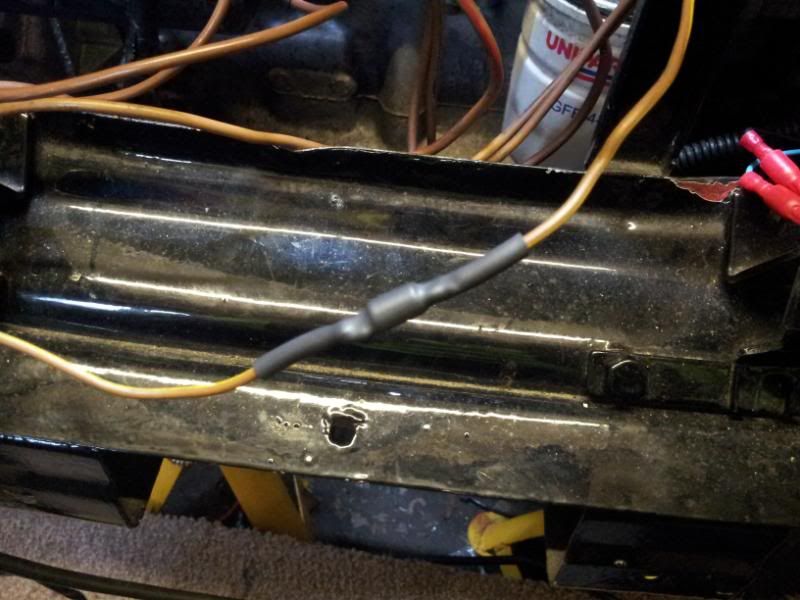
After more head scratching and problem searching, I found a thread on here that explained the same symptoms as mine. Turns out that once the engine was running, there is a little run around path that keeps the relay i'm powering my second fusebox off connected, even when the key was out. So basically, the alternator powers the relay through the little red ignition light on the dashboard! The fix was thankfully simple. A little diode wired into the ignition light wire:
Sorted!
Very glad I found the info I did here on TMF. From what I gather this is not a known issues and so I doubt many people would of been able to work out what the hell was going on there.
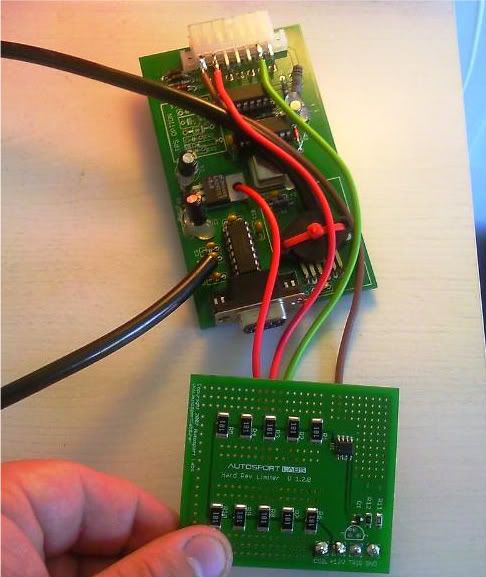
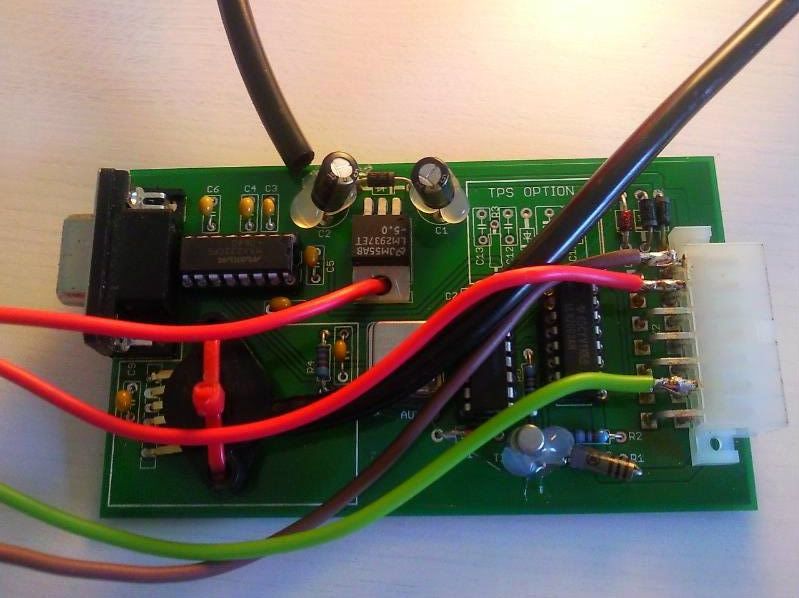
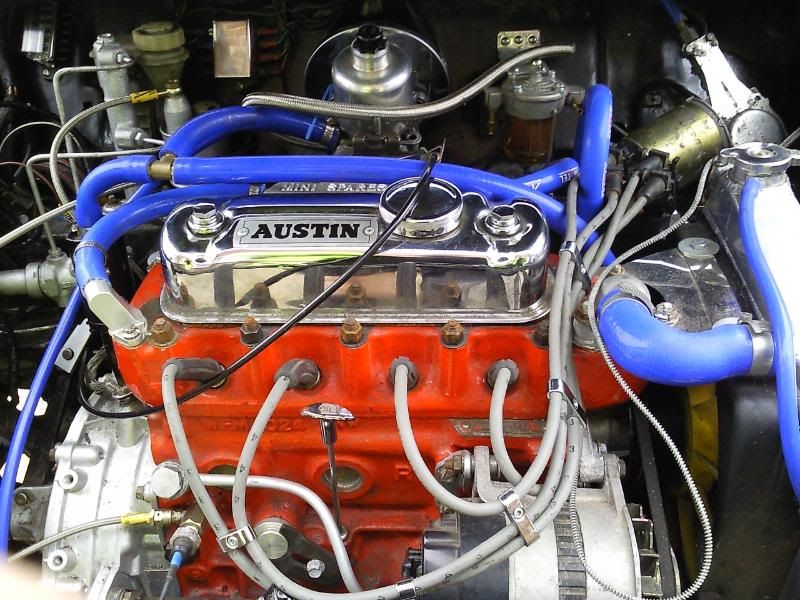
After that I had my engine running and stopping on the MJ as it should. The hard rev limiter isn't working, I think it may have been damaged but at the moment I don't even care about that. My next job was to re-wrap all my wiring loom

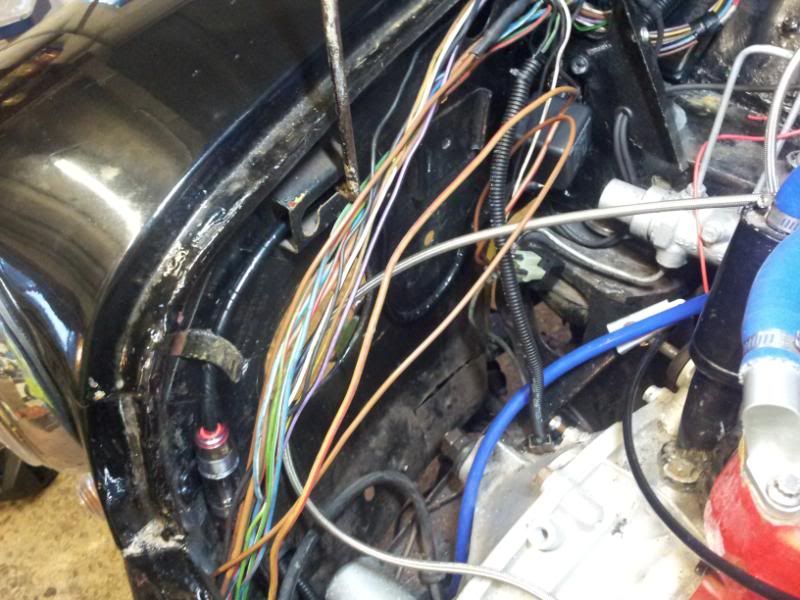
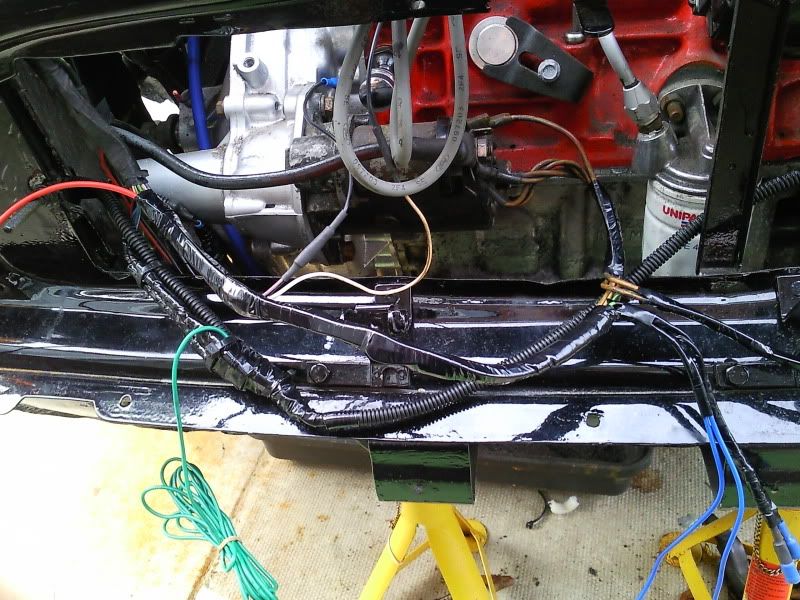
Started with just tape every couple of inches:
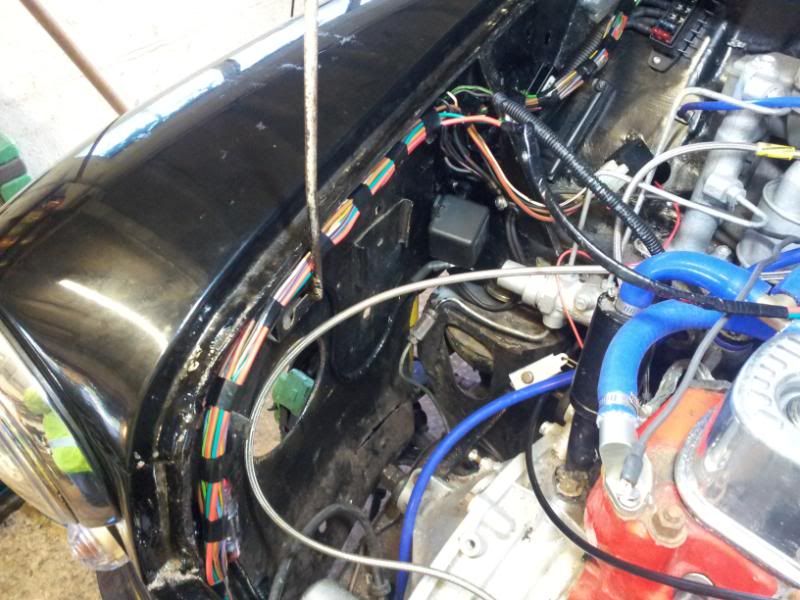
Then decided to wrap it in spiral wrap this time rather than conduit, because the conduit seems to have moisture in it when I took it off so may have been causing condensation issues!
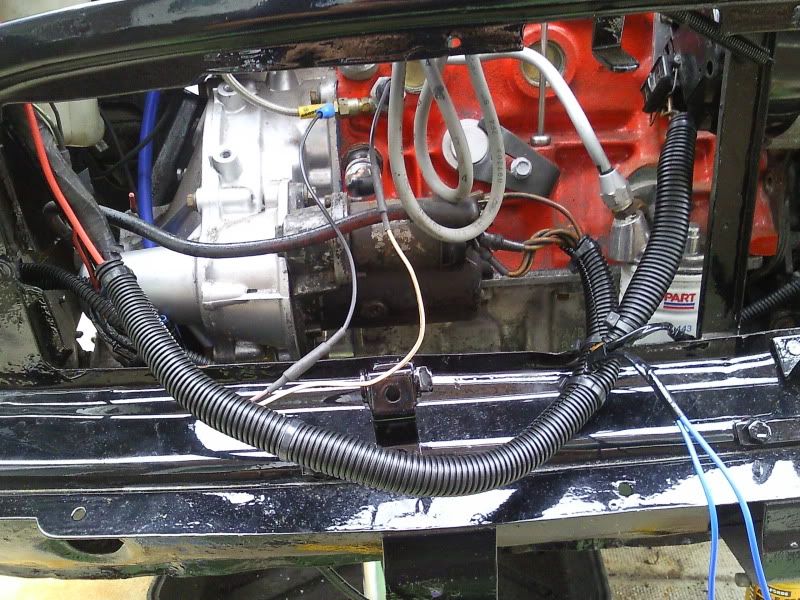
The spiral wrap is a better choice anyway really, easy to put on, looks neat, easy to remove if I need to and generally does a good job of holding the wires and protecting them:
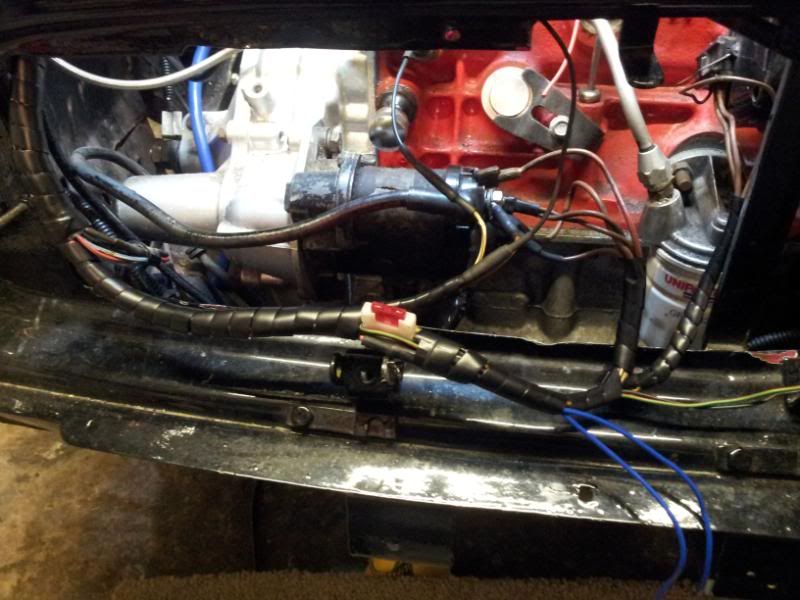
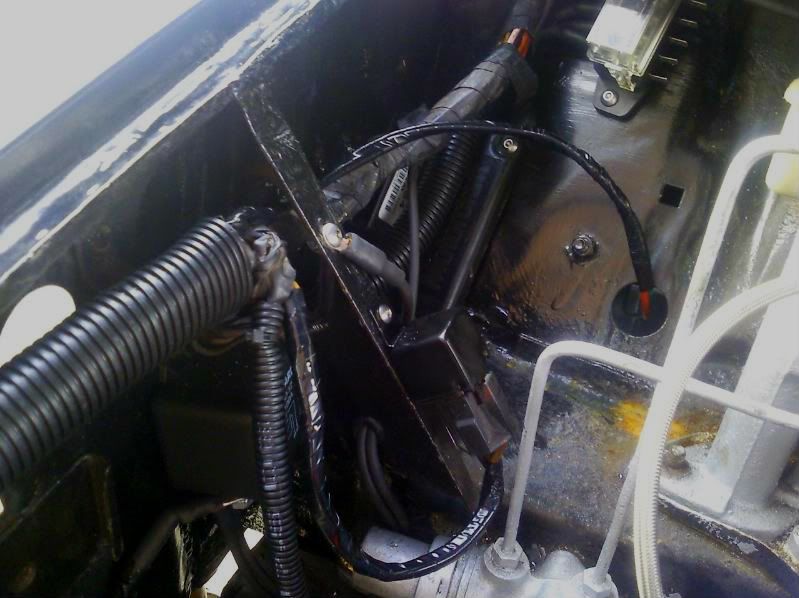
You can see the in-line fuse holder I put in to avoid future problems with the starter relay. This will be wrapped up too soon
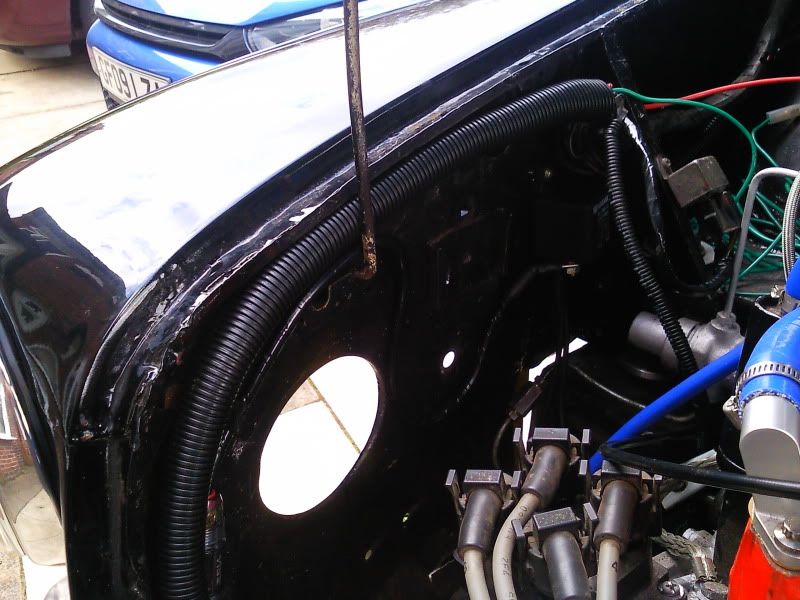
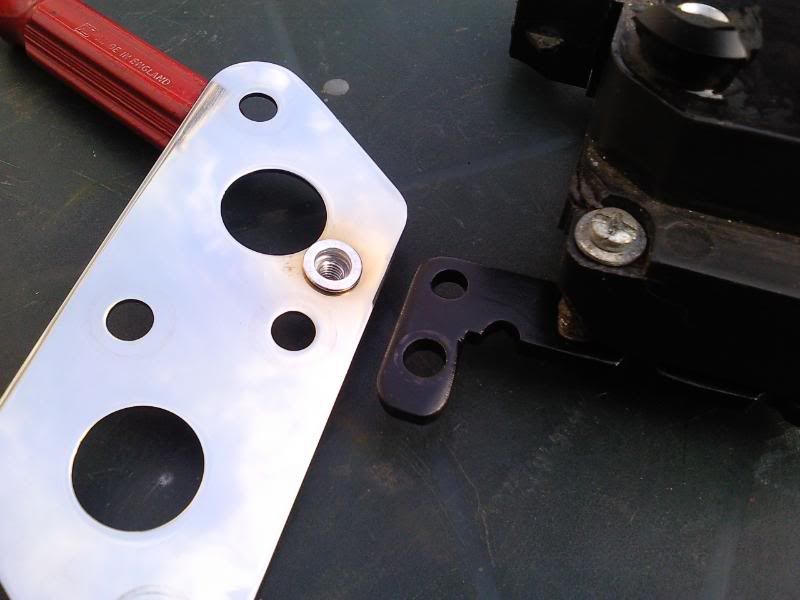
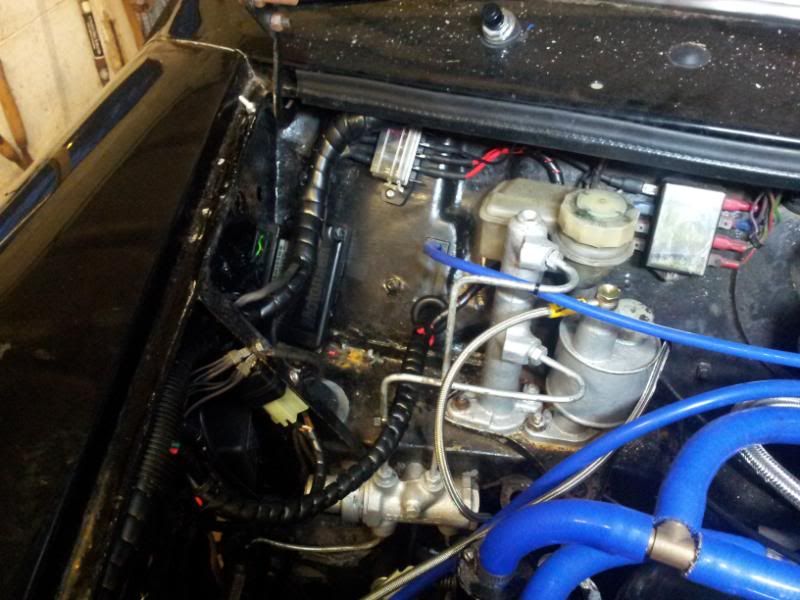
I also had to incorporate the MJ wiring, the second fusebox wiring and my spotlight wiring into the loom in the neatest was I could. It was a PITA really as a lot of wires were going in/out of the car, popping out in all directions at different places in the loom, but eventually got it wrapped up and through a grommet. The wiring isn't exactly as stealth as i'd first imagined but it's good enough for now. Maybe next time the engine is out i'll mount if all in the car and hide the wiring better. You can also see I routed the vacuum tube for the MJ through a modified wiper motor captive nut through one of the holes in the bulkhead which worked nice:
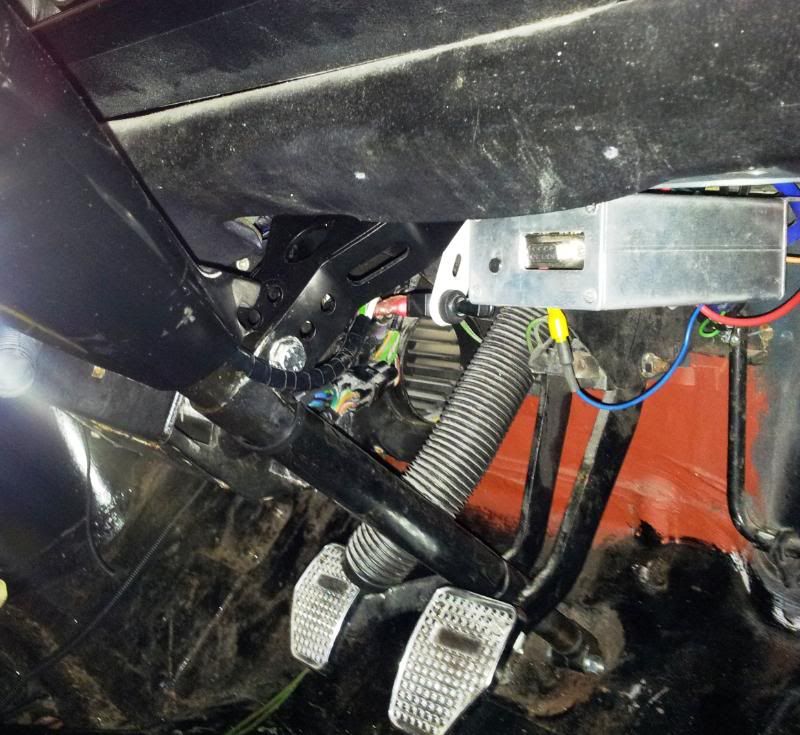
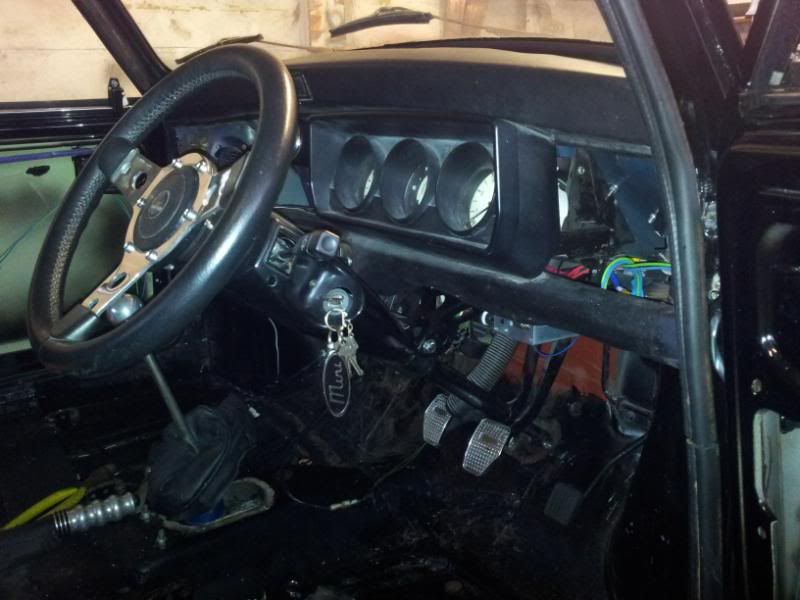
The MJ was mounted under the dash so it's right behind where all the wiring passes through to it, and still easy to connect to with the laptop:
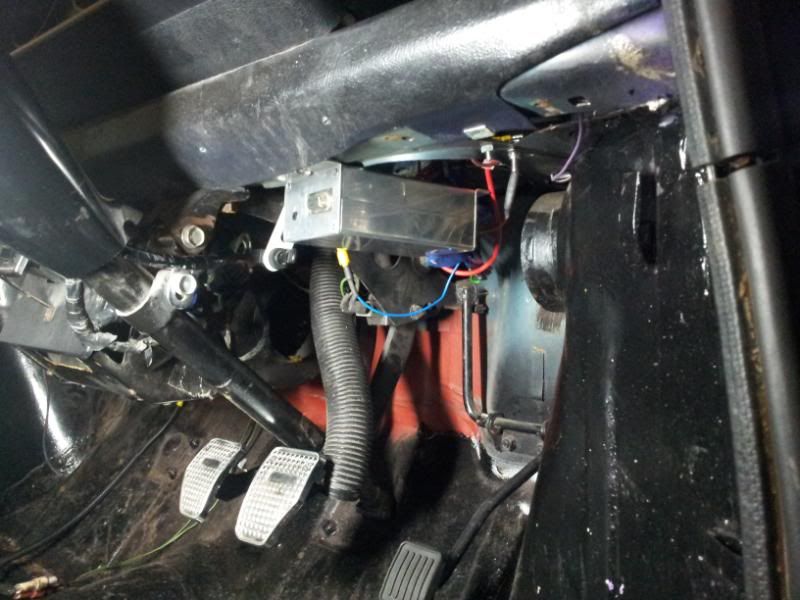
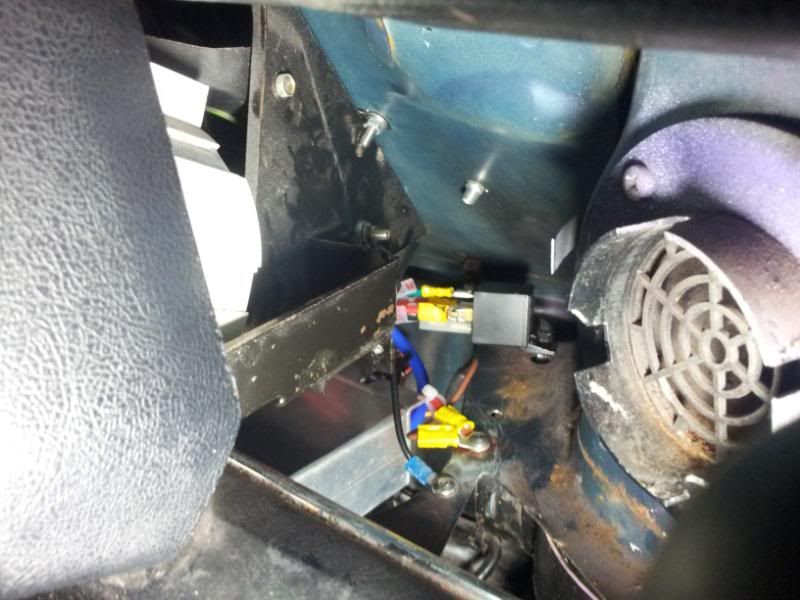
I'm yet to see if the heater pipe will still fit with that there! Didn't think about that until it was all mounted, but fingers crossed. The earth points for it all and the spotlight relay are mounted at the side of the clocks out of the way and keeping nice and dry and reliable hopefully

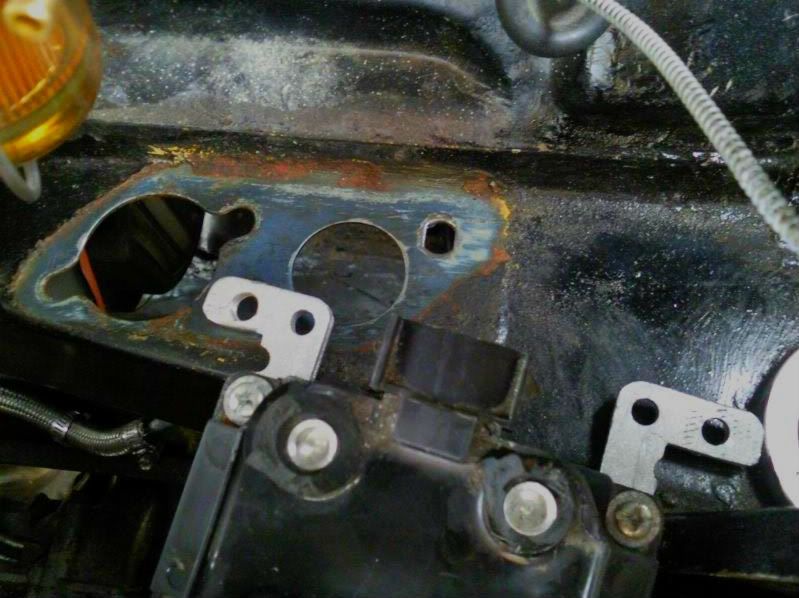
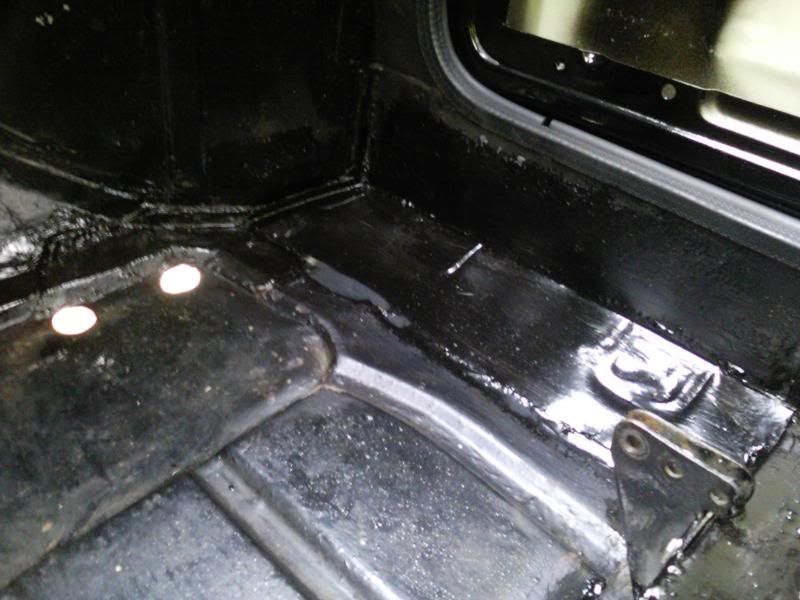
Next job in the quest for making the car reliable, was keeping the engine bay dry. It used to leak pretty badly and fill up the bulkhead crossmember after heavy rain. I think it was mainly because the drip tray round the engine bay was a mess and didn't really direct the way at all:
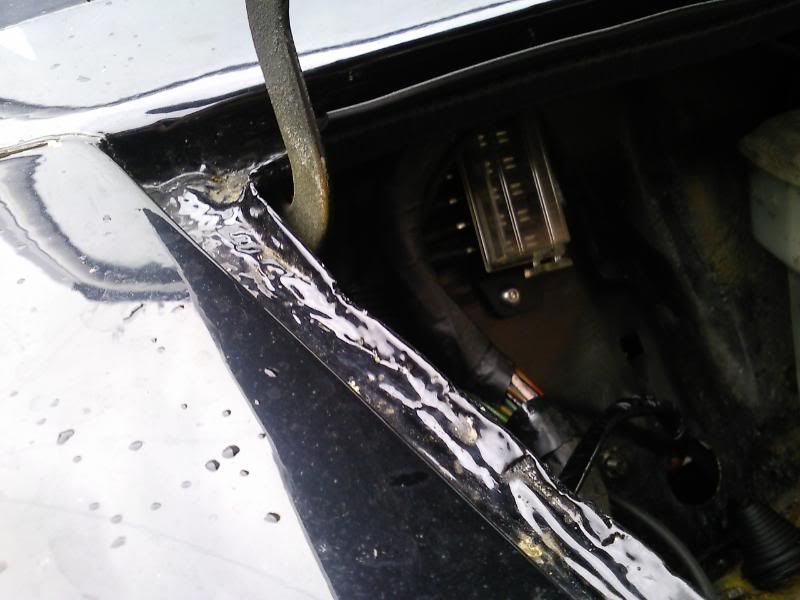
and i'd gone and mounted my EDIS module right underneath that!

Needed to make sure water didn't drip straight into the back of it. So I removed all the paint and fibreglass that was making a lip and found there wasn't much left of the original gutter on both sides:
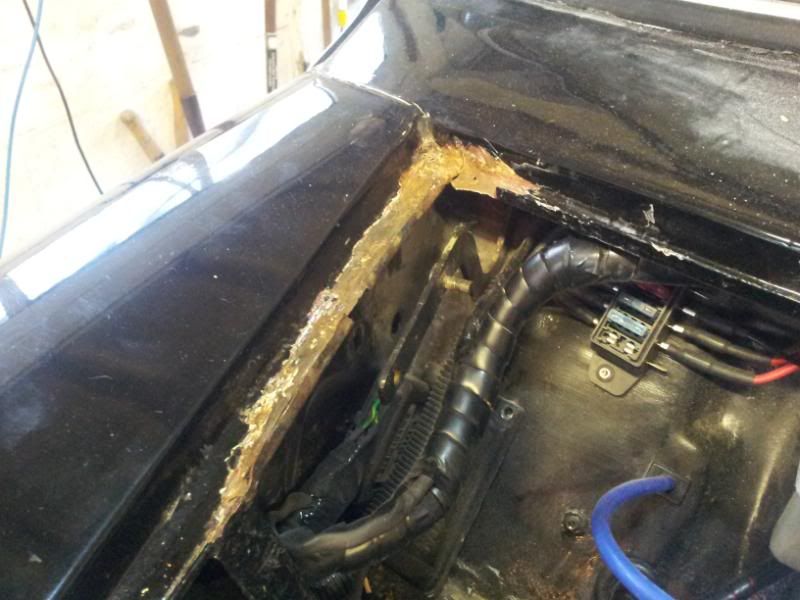
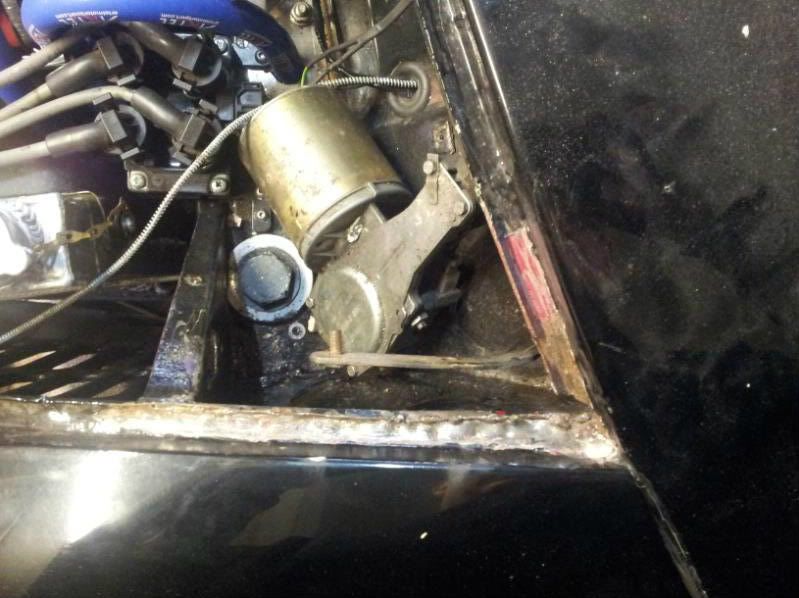
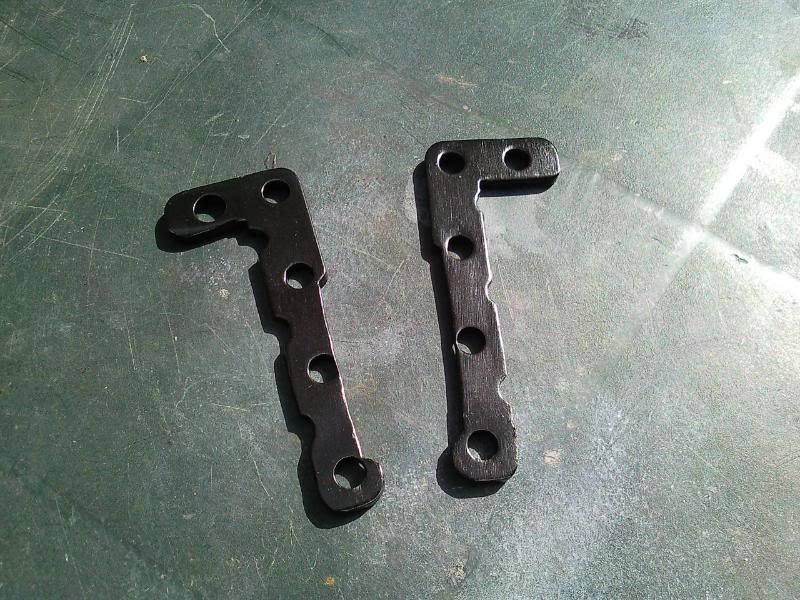
Set about making a new lip for that from some 1.2mm steel:
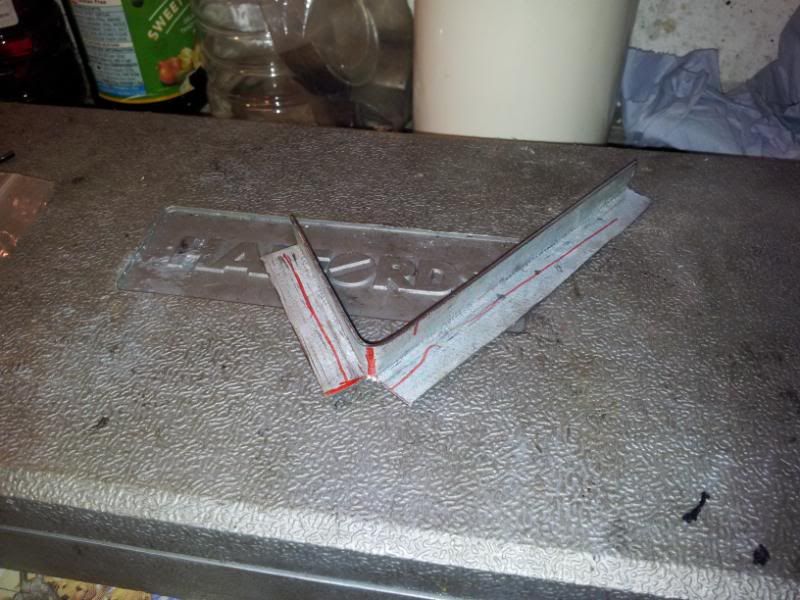
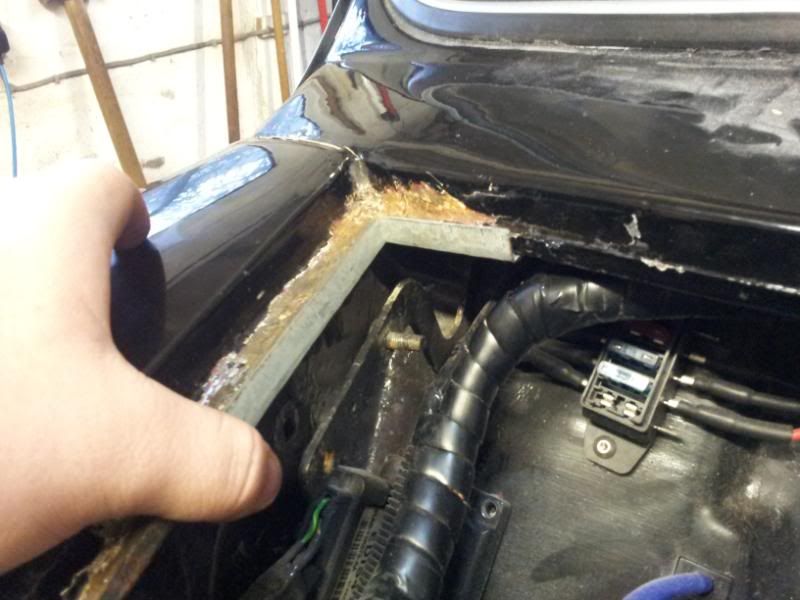
If i could weld I could of made a pretty professional job of this, but what I ended up doing would be considered as a bodge by some. But for me i'll be happy with it if it doesn't leak.
Drilled the car and the new lip to be riveted in, sprayed them up and painted any holes i'd made:
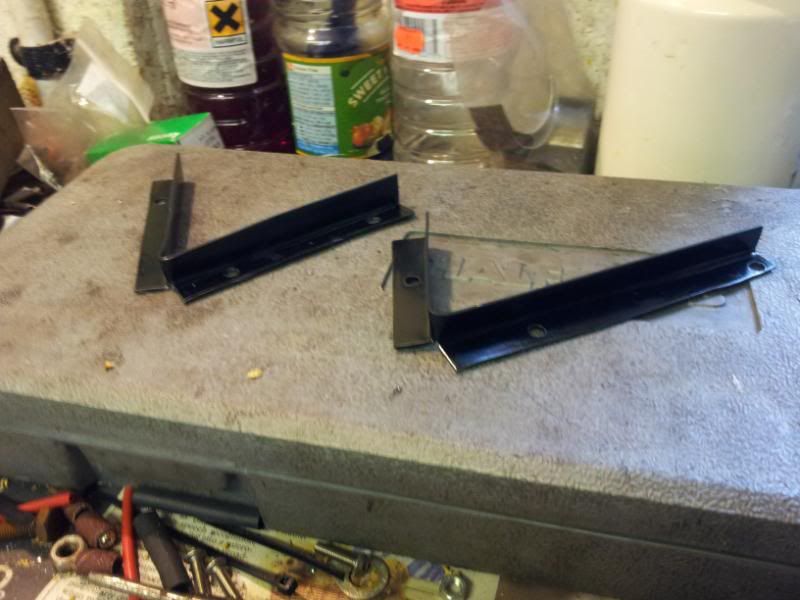
They were then riveted inplace with a bead of tiger seal between then and the car and also tiger seal on and underneath the rivet heads to seal them and prevent any corrosion between the 2 metals:
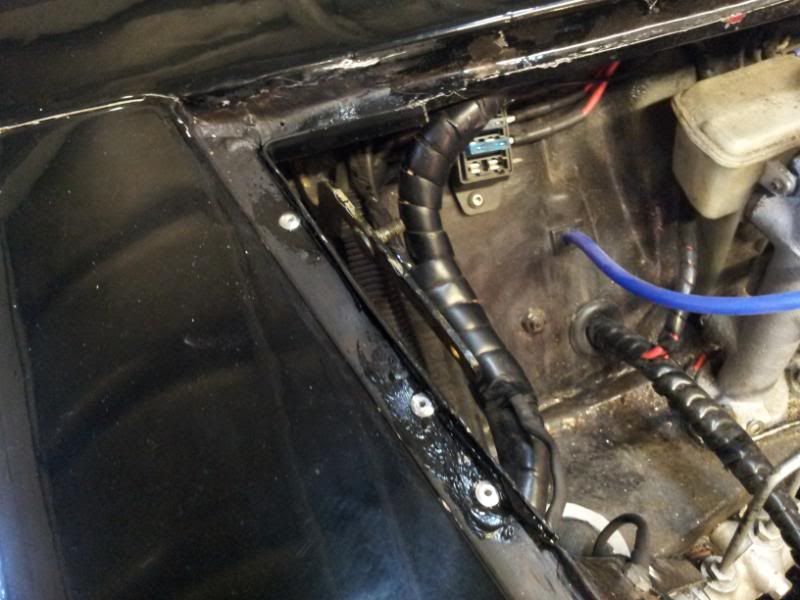
Then tiger sealed all the drip tray up followed by a coat of paint:
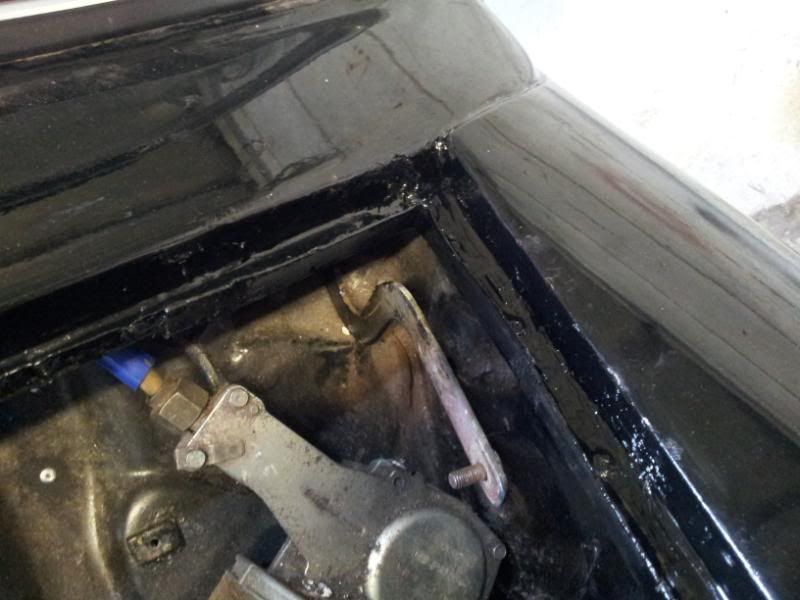
Its worked quite well I think, but time will tell and we'll see if it leaks.....
After that, I moved onto my doors - Fitting cental locking too them. The locking motors are controlled by the alarm, but may leave that till a later date, just wanted to get these in so I don't have to mess about taking the door cards off to wire the alarm in.
Thankfully this job was straightforward with these street fighter doors. No fancy hinges or anything are needed, just the motors themselves which cost me a fiver for the pair of them off ebay. I started by drilling the locking bar and putting the central locking control bar through it:
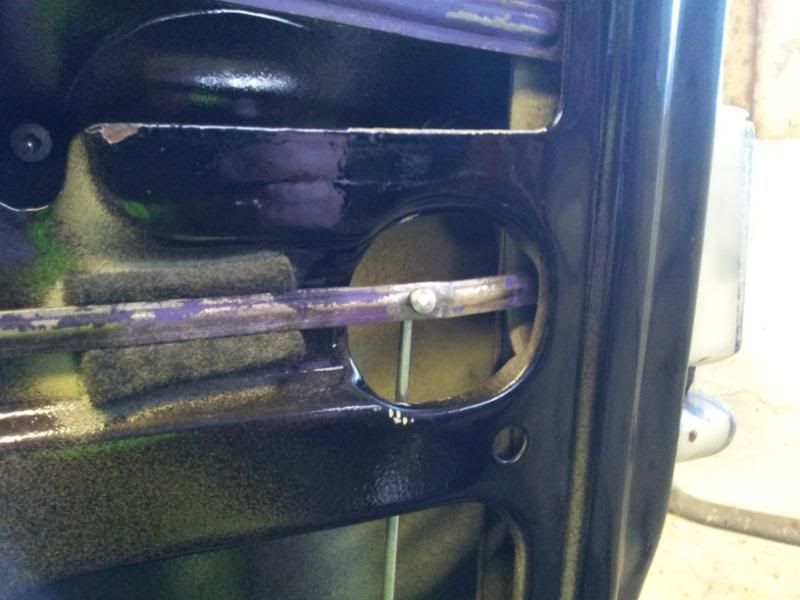
Then this is where the motors are mounted - But inside the door obviously, was just checking the direction of the locking bar here:
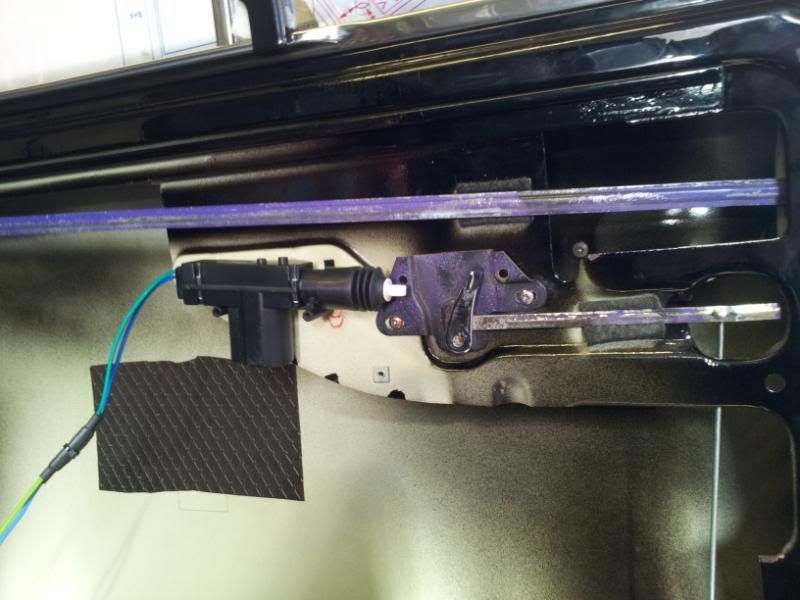
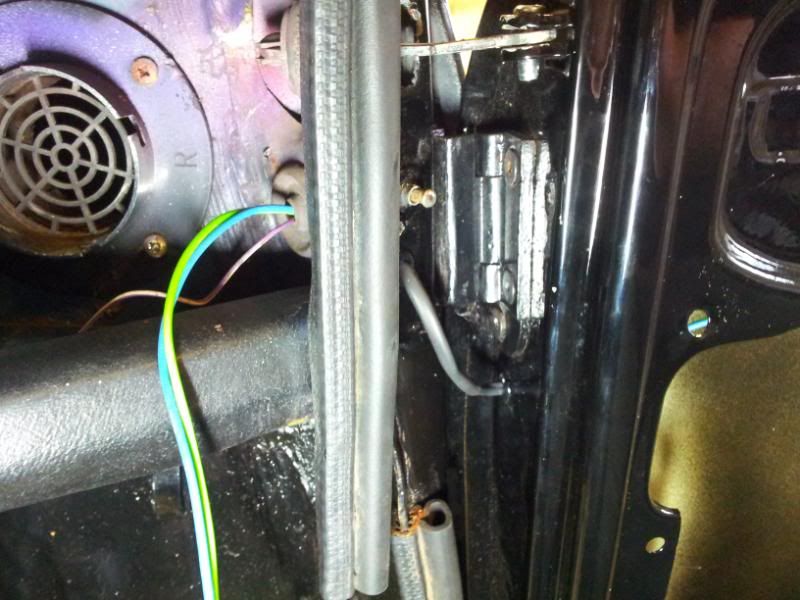
Then the locking bars were fitted to the motors and the motors mounted in the door. The wiring was extended and the door and door post drilled to route the wiring through. I riveted a P clip to the door where the door opening handle goes to support the wiring and help route it without it dangling around inside the door or dropping down into any water that'll be draining into the bottom of the door:
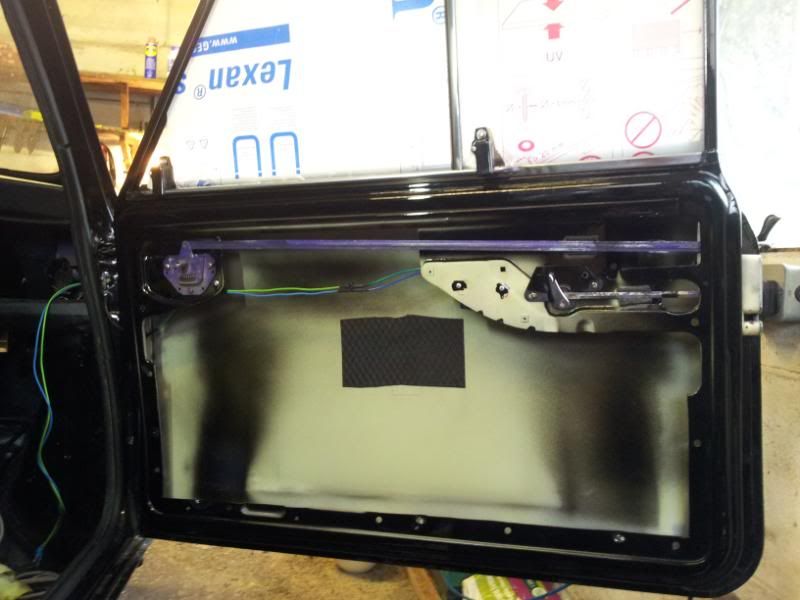
All in and tested. Locks and unlocked the door nicely - Pretty powerful little motors there for their size:
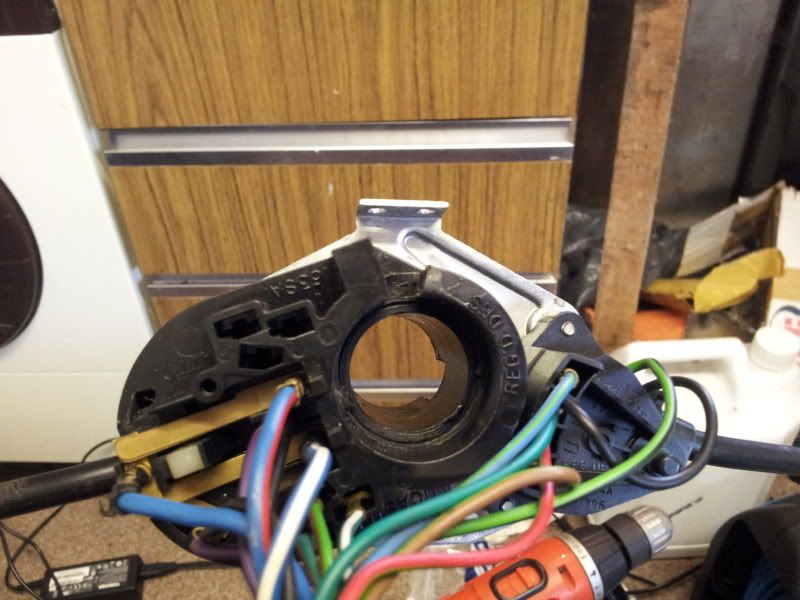
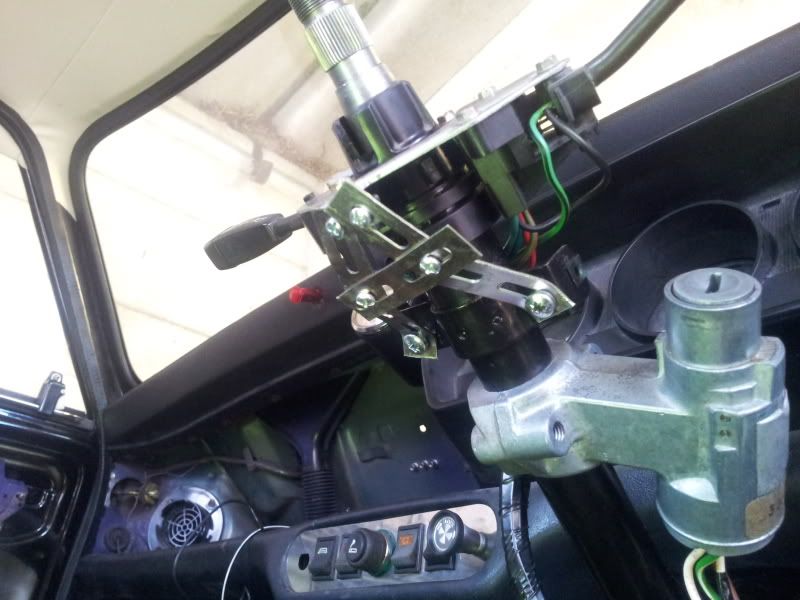
Today i've been sorted the steering column out. It had a fair bit of play in it and movement from the chrome drop bracket. I thought it was because the drop bracket had loosened over time, but I tightened it up and the play was still there. So today i've been taking the steering rack out to replace the bushes in that and get rid of the nasty chrome drop bracket.
When I fitted the drop bracket, I didn't loosen the U bolts so was half expecting to see the splines of the rack chewed up and useless, but there fine which is a relief!
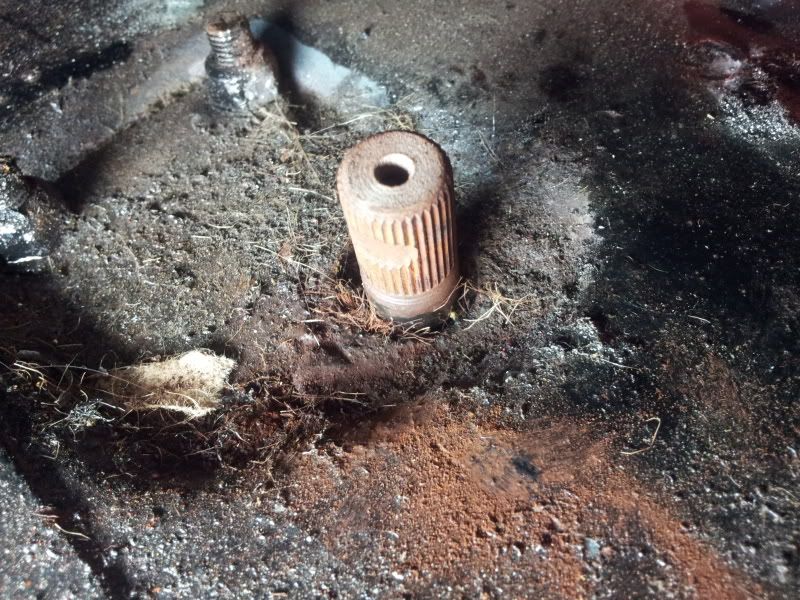
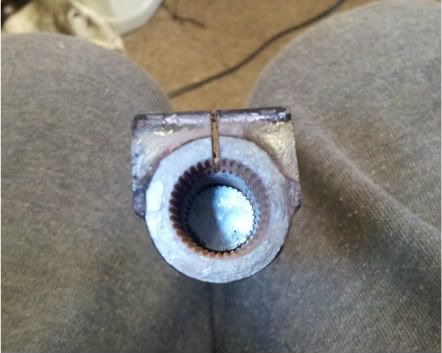
The pinch bolt has seen better days though, so will be getting a new once of those and i've got a beefy steering drop bracket on order from Jon betts on here - AKA JB Fab. Gona be glad to remove that chrome drop bracket, the whole thing was bent and twisted when I took it off!
Just got to deal with the nasty shear bolts to remove the standard column mount! I thought i'd got lucky as both the heads were still on the bolts, but as I tried to undo them, they sheared off

So i'll be going at them with molegrips, stud extractors and the dremel next to get them out - Wish me luck!
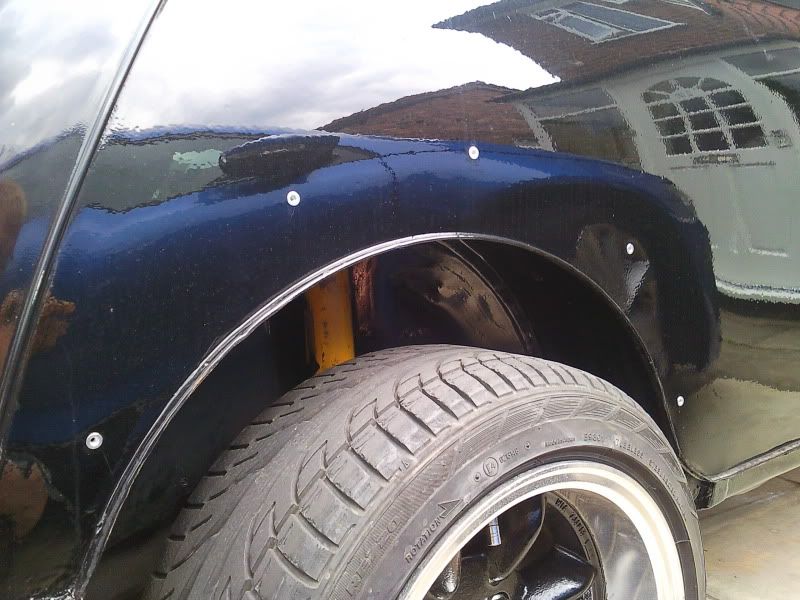
I've done a few other odd jobs too, but nothing exciting really. Adjusting the handbrakes, fitted the front arches etc.
I can see the light at the end of the tunnel now


