'86 City Refurb
#121

Posted 08 March 2009 - 08:23 PM
Will be good to see what the power differences between our engines would be!
#122

Posted 08 March 2009 - 09:08 PM
If your cam choice is similar to mine i guess any power differences will be down to the head and tuning really. What cam are you choosing?
I think a standard gearbox would still be alrite with a 1380. Standard gearboxes are said to be fine with 100bhp as long as they're in good order. I'm hoping to make about 90bhp with that engine and i doubt a few extra CC's will give anything over a 10bhp increase. I think if i was going to do anything with the box i'd just fit a centre oil pick up and a better diff/diif pin which won't cost too much.
My spec is all down to how much money i have and how much overtime i can get at work over the summer. If i can work a couple more days in the week i think i'll go for 1330 or something with some lightening and balancing on the crank on rods and maybe get the box checked over and refurbed by guess works. I was pricing up some +60 pistons and was pretty pleased to see there about £200 for a set with rings.....
Also i emailed guessworks and he says that damage i pictured in the gearbox is down to a previous owner tightening the engine/rad mount too tight. He said its nothing serious and i'd be best to just saw that end off so it doesn't fall into the gearbox at a later date.
#123

Posted 12 March 2009 - 04:04 PM
I rang minisport and was getting quotes for some machining. £75 to supply/fit new cam bearings, machine the main cap to take a centre main strap and acid dip the block seemed resonable to me. I'm also taking the crank and rods down there for inspection. Them im having the rotating assembly balanced for £60. So im still looking out for a resonably priced ultralight preverto flywheel set up but thats not going to well so suspect i may be forking out £200+ for one of those. Then once i've got that, i'll be taking the block to minisport.
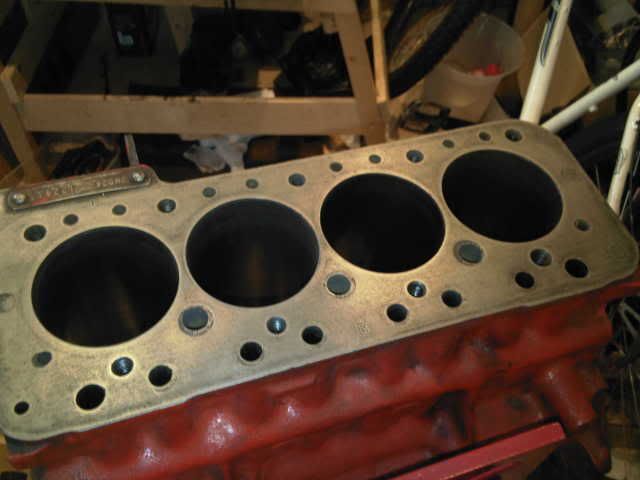
Since i'll be getting the block acid dipped, i felt confident enough to use a wirebrush/sand paper to the block to get all the mating surfaces perfectly clean and remove all traces of old gaskets, because i'm hoping to have no oil leaks at all with this engine. The acid dip should clear out any swarf i got anywhere.
So it all came out looking great:
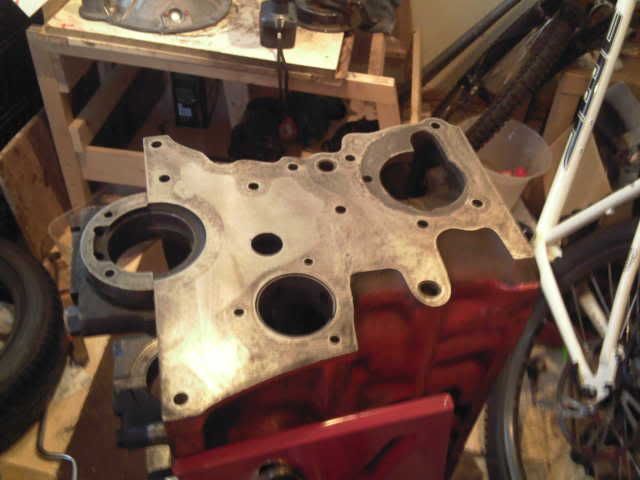
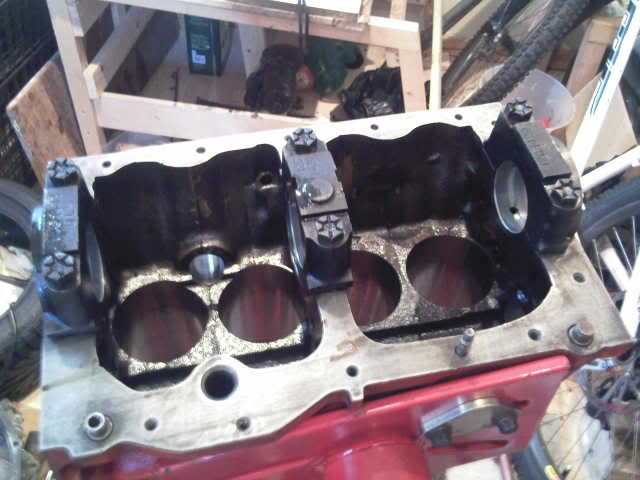
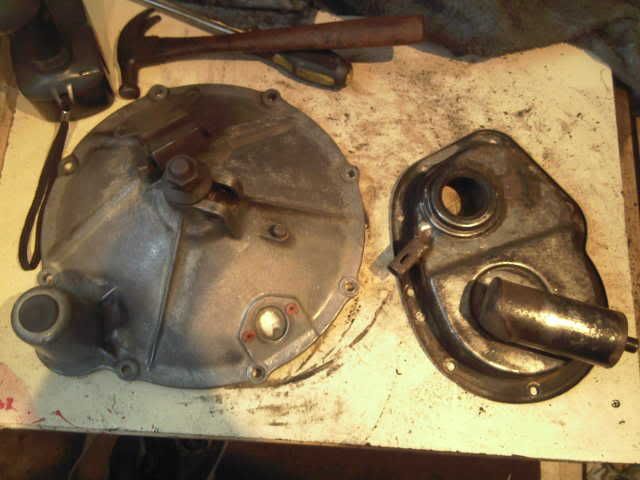
Also been using the wire brush drill attachedment to clean all the crud and corrosion off the timing cover and bell housing. Still got the transfer case to tackle and a few other engine bits to clean up. Then they'll be ready for primer and paint:
Edited by minimadmike, 12 March 2009 - 04:08 PM.
#124

Posted 12 March 2009 - 04:28 PM
gives me a bit of a boost seeing the results you are getting, i'll be following this very closely!
what colour you planning on painting the engine?
i'll get some pics up of my cleaning process soon, it involves the cheapest new bathtub ever, £1.25 lol!
#125

Posted 12 March 2009 - 05:26 PM
I've just been out again and finished cleaning the timing cover. Just need to remove the inner ring bit to allow for duplex then thats ready for primer.
The transfer case is going to take a fair bit of cleaning, clutch seal had gone on last engine and there was a fair bit of oil in there and the outside is pretty crusty and white with corrosion.
Good look with your engine
#126

Posted 01 April 2009 - 09:41 AM
Yeah thats an idea. I wouldn't need to mess about too much re-routing the wiring then too.
Thinking about it the amp isn't that big, i could mount it on the bulkhead in the passenger footwell. It wouldn't be in the way there either i don't think.
Can anybody find the section of the Denon website that has the car audio? I want to research this Denon amp i'v got and fine out how many watts it is to see if i'll need somthing bigger.
I'v tryed searching but there doesn't seem to be any car audio on the denon website at all.
Ive got a denon DCA-800 amp and ive fitted it to the back of the rear seats.

Its a good place, because you can run all the wires down the gap to the side and its only a short distance to the battery.
As for the denon website, they dont seem to have any info at all on car amps.
just search google for the model number of your amp.
#127

Posted 08 April 2009 - 07:24 PM
Anyway Update...
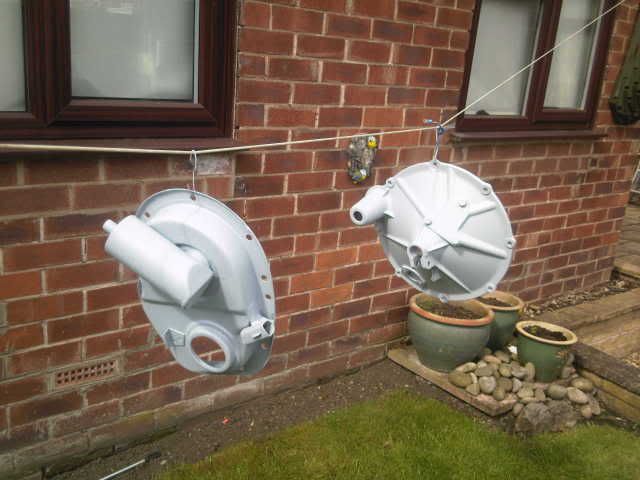
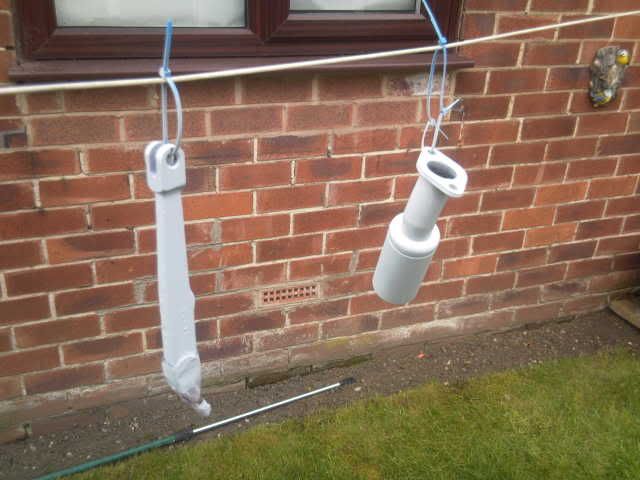
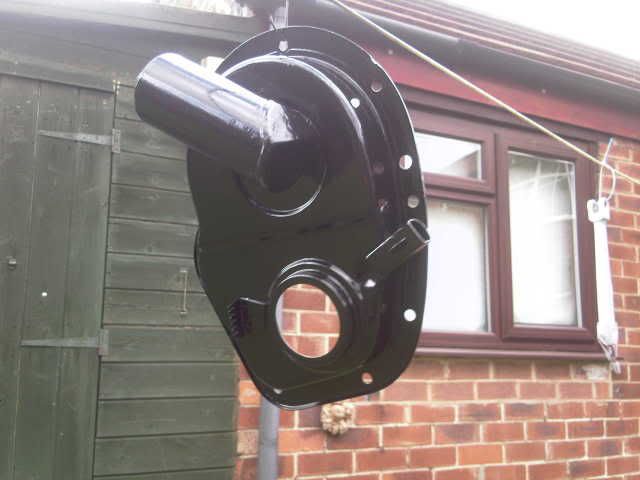
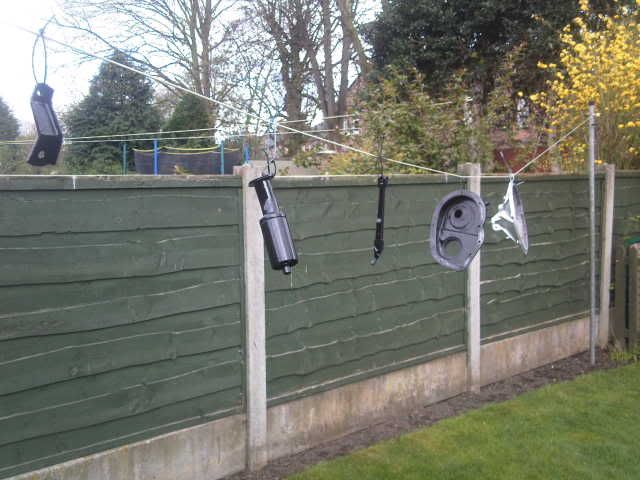
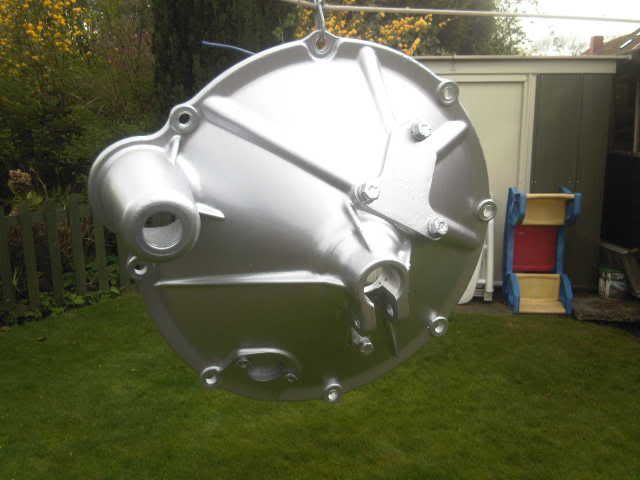
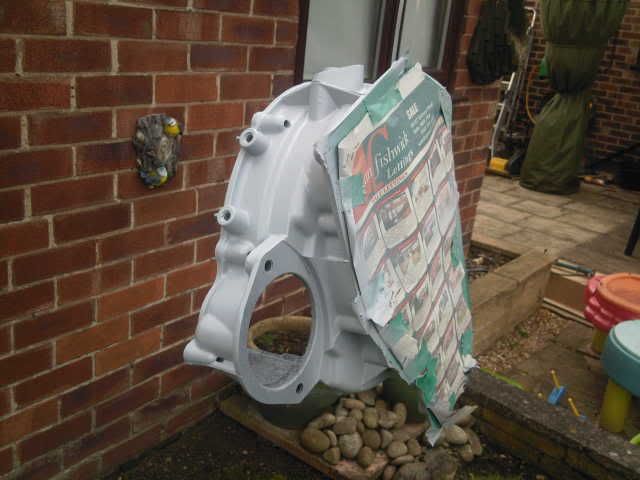
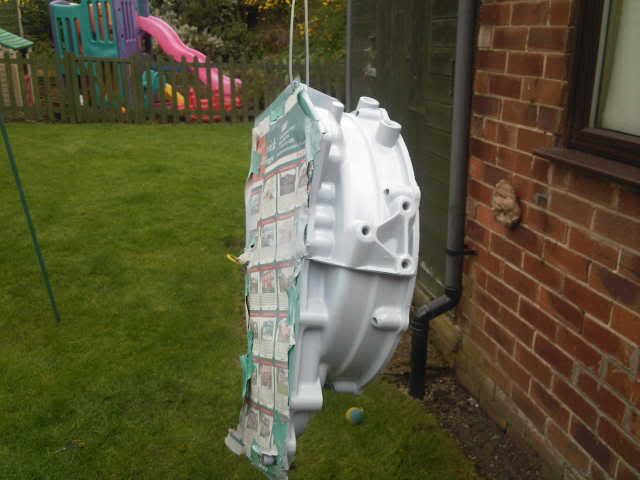
I've spent ages today refurbing aload of engine bits. The timing cover and clutch cover were pretty much ready for paint, but the transfer case was still a right mess. It was still covered in oil/grime and all white and fluffy with alloy corrosion. So i attacked that with the wire brush drill attachment and got that ready for paint along with the clutch arm, engine steady bracket and transfer case breather.
So i hung everything on the washing line and etch primered it all, only took one tin to do them all. Then sprayed them in either gloss black or silver/aluminium paint.
#128

Posted 08 April 2009 - 08:25 PM
I was just cleaning my clutch wok and flywheel case this weekend, like you say damn hard to clean in some of the nooks and crannys, with the colour they were coming up tough i am tempted to leave them as they are...but then seeing yours here....you might have changed my mind!
Edit:
how are you cleaning it?
Edited by LankyJames, 08 April 2009 - 08:30 PM.
#129

Posted 08 April 2009 - 09:30 PM
#130

Posted 08 April 2009 - 11:18 PM
The transfer case came up looking pretty polished, i was also tempted to just polish all the visible areas and leave it as. But then thouht paint will probably last longer and stop corrosion. I've been impressed with the paint so far. Used Upol etch primer which took really well and covered great, it only took one can to put 2-3 coats on every part. It drys quick too, it was touch dry in a couple of mins on the washing line
The silver paint looks great, really bright finish like non reflective chrome. That was aluminium paint from halfords and again took one can.
Aaron: I'm just going to use high temp paint on the block and head. Everything else i'm using the primer/paint method. The clutch and timing covers don't get hot at all really.
The next stage is a £450+ trip to minispares!! Bit scary once i'd added all i needed to the basket! That includes a new exhaust system, gaskets, pumps, filters, loads of little studs and nuts, oil gauge pipes and adapters, orange clutch cover, bonded rally plate, new flywheel straps, bolts and a new clutch slave. As well as offside inner/outer sill assembly, battery box and rear valance.
That on the same outing, im going to stop by minisport and drop off my block/crank/rods/pistons and new clutch and purchase an ultralight steel flywheel and get them to balance everything up for me as well as fit new cam bearings, machine for centre main strap and acid dip block. I've also got my name down for a morspeed phase 3 cam.
Then once i get that back its full speed ahead for the rebuild!
#131

Posted 17 April 2009 - 10:01 PM
I went on a bit of a trip on tuesday and rinsed my bank account.
Drove up to minispares north. Unfoutunatly got half way there to find i'd forgot my list of stuff to buy! luckily remembered most of the stuff.
I bought:
Head, block and gearbox gaskets
New clutch slave, 9x flywheel drivestraps, flywheel bolts, clutch release bearing
Spring and ball oil pressure valve
Engine mounts, engine steady bushes
Manifold studs and brass nuts
Timing cover and clutch oil seals and pressing tool
Centre oil pick up pipe, uprated diff pin
Mild steel twin box centre exit RC40 system with large bore tail pipe (forgot the fitting kit!)
Inner sill, battery box, rear valance
K&N cone filter
Blue silicon hose set
Oil pressure gauge fittings
Plus a few other bits like oil filter, thermostat etc
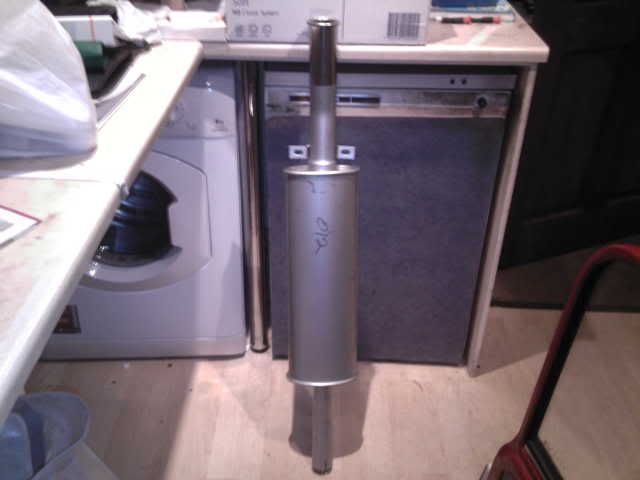
They didn't have the clutch or outer sills in stock, so left those.
Then went over to some guys houser to pick up a door i won on ebay. It looks in really good nick, but looks like there may be some bubbling; a quick rub down shall reveal all...
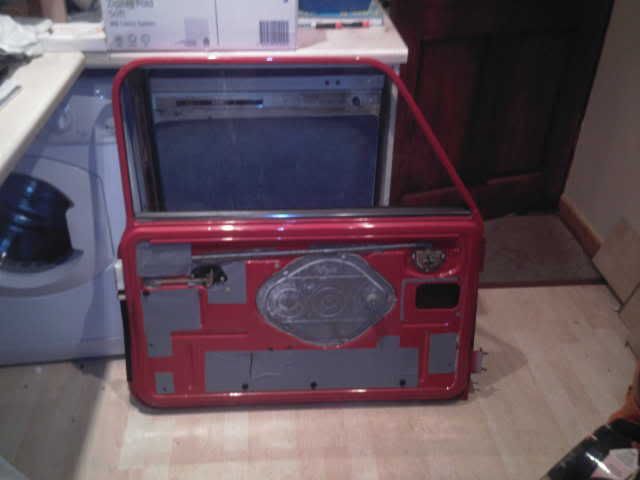
Then nipped across to minisport to drop off my block/crank/rods etc for the machining. Only thing i was gutted about was that becuase minispares didn't have the clutch diaphragm and plate in, i decided to get one from minisport. MISTAKE! The clutch cover was £20 more and the bonded plate was £45 more expencive than minispares! But i needed to buy one so i could have it all balanced together...
However they're waiting for ring gears for the flywheels before they can balance the clutch assembly up, so might order the stuff from minispares and take it to them rather than buy from them because the priced difference is just unreal!!
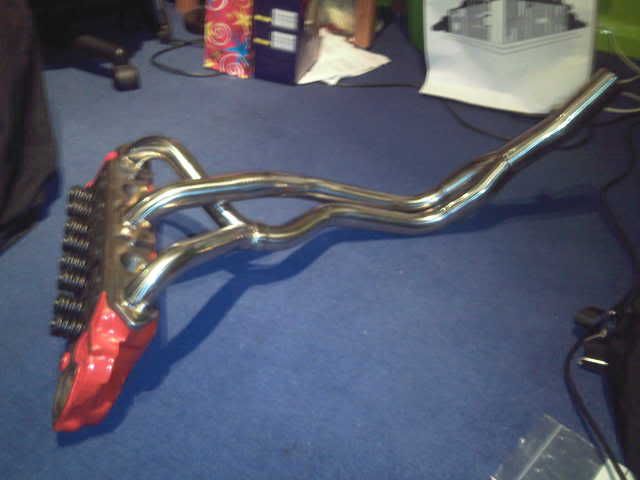
So since i've got my manifold nuts/studs i decided to test fit the exhaust manifold. Since it doesn't look like the best fit, i thought i'd rather find out if it fits now rather than once the engine in the car.
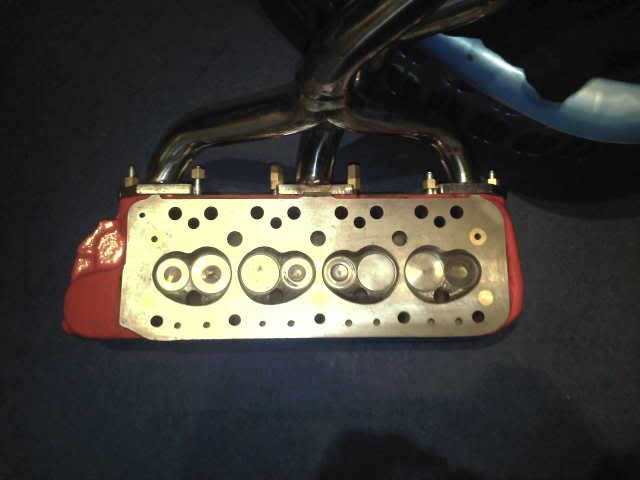
So i bolted that on and it went on, but not well at all. I had to put all my weight on the centre branch to bend it enough to get anywhere near the studs, or if i bolted that on first, the Y piece had no chance of fitting on the ends. So its on now, but the threads are damaged slightly by literally dragging the manifold down them with the nuts; but its the only way it'd go on.
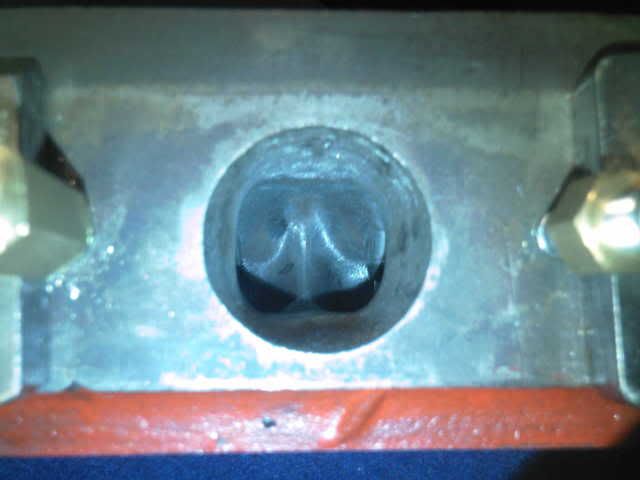
So what i'm hoping is that it'll stay in the right shape now after unbolting it, so won't be so hard to fit once its in the car. Looks good though, took some pics of the head too:
So i've got a few bits to fit now, the gearbox bits and to rub down the door and things so i'll get on with that next week. Then a couple of weeks after that the engine should be done at minisport and its all go for the rebuild!
#132

Posted 24 April 2009 - 07:24 PM
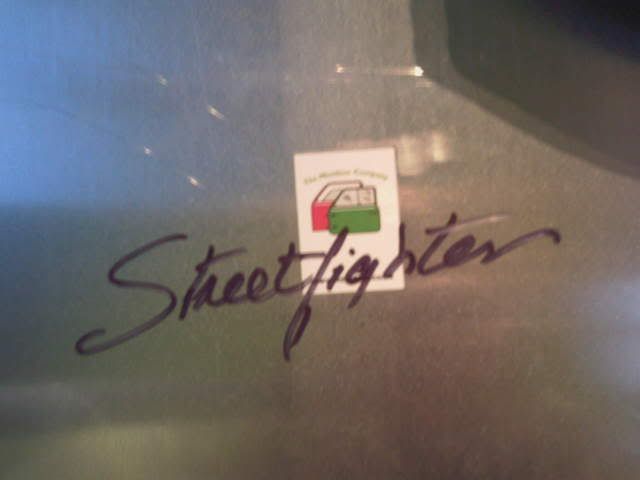
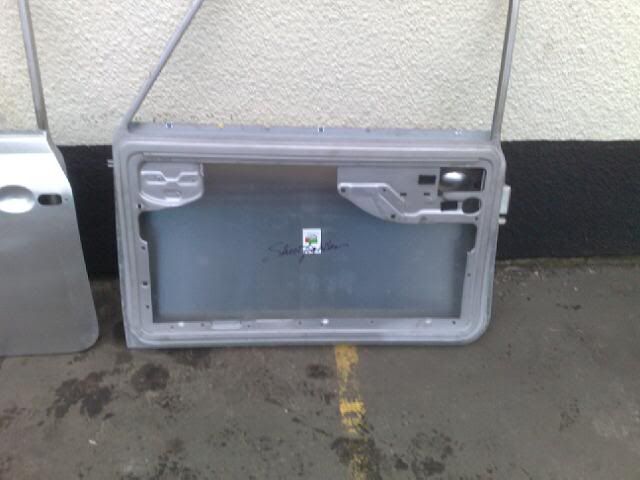
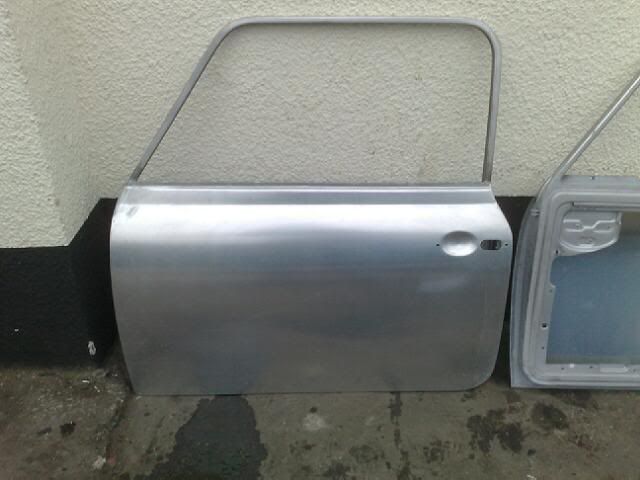
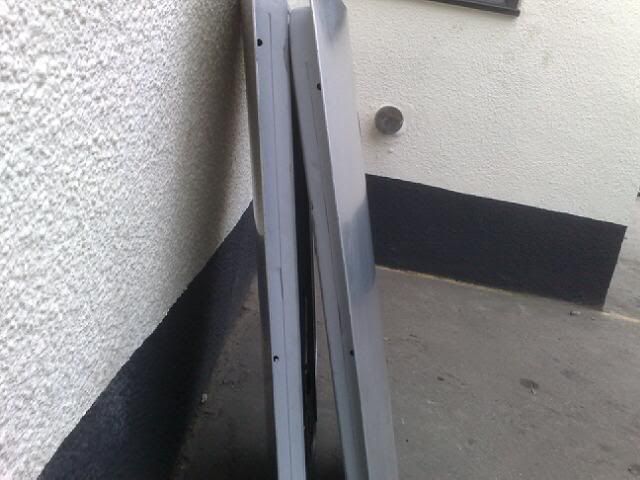
Just picked them up, Street Fighter doors. Refurbed doors with galvanised bottoms, aluminium skins and the winder mechanism cut out. 5.5kg instead of 19kg! They're sooo light and no more rust
#133

Posted 24 April 2009 - 08:50 PM
#134

Posted 25 April 2009 - 12:13 AM
So thats essentially saved 29kg compared to the old doors.I suppose i've still got the polycarb to fit but that can't weigh much. They're really light you can lift then with a finger. I'm really happy with them.
Edited by minimadmike, 25 April 2009 - 12:13 AM.
#135

Posted 25 April 2009 - 08:01 AM
Out of interest how much do a pair of these cost?
I recently bought some '98 doors for my mini before the re-spray as they have a metal 1" tube in them for better side-impact safety
I need to get out and clean up my engine today and tomorrow, maybe i will have some progress to show soon!
1 user(s) are reading this topic
0 members, 1 guests, 0 anonymous users


