'86 City Refurb
#61
Posted 24 July 2008 - 09:25 PM
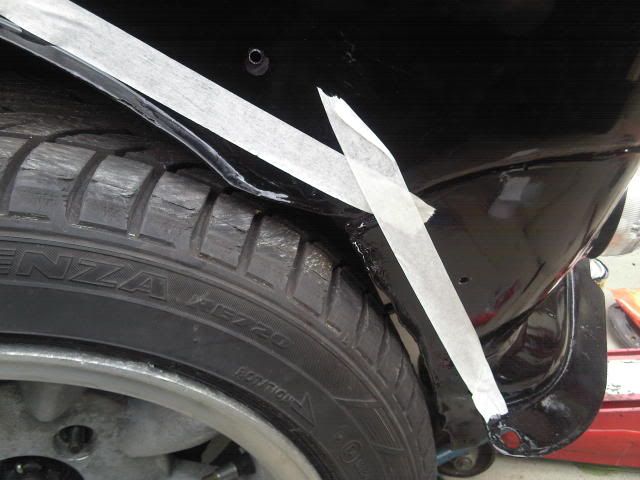
I cut the slot in the arch to get a better idea of the fit - The top of the arch does sit flush with the wing, but the rear of the arch behind the seam has a 5mm+ gap and the curved part of the front has to be phisically forced into shape to get anywhere near the front panel and required alot of material removing from the front edge to get it to even get remotely close to the curvature of the bodywork.
So on sunday i'm just going to be sitting on a stool with my sander sanding and reshaping the arches and constantly trying them against the car to get the right shape. I'm just hoping that once the brackets are riveted on the bolts holding them to the wing will help pull parts of the arch into shape.
So yeah not too happy with those to be honest.
There is some good news though, i cut the rusty moustach extensions off the grill surround:
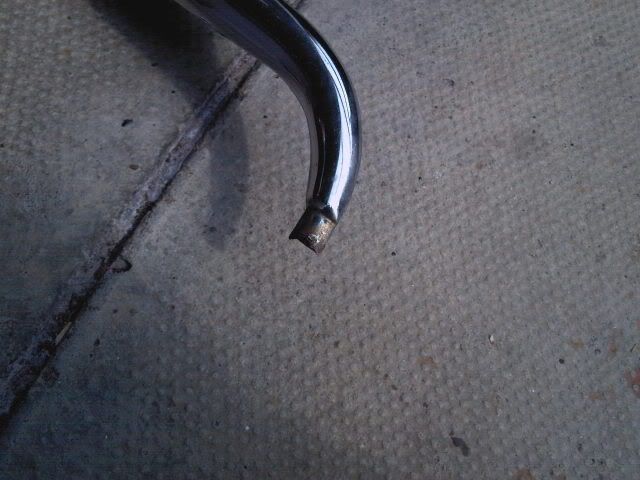
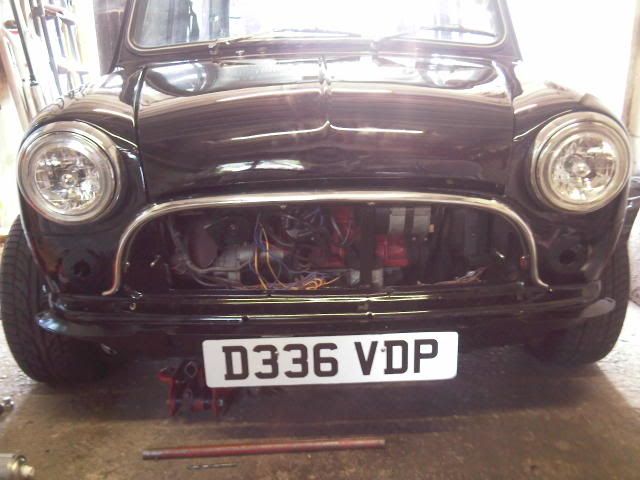
Then got that screwed in place:
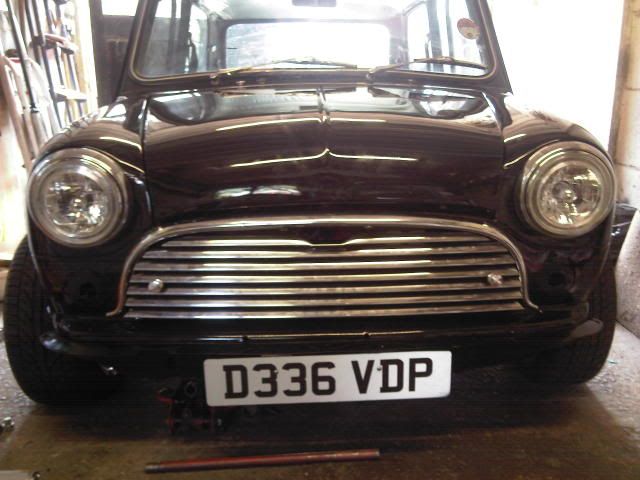
I then marked up and drilled holes through the new grill to mount that with the grill buttons - It looks great, much nicer than the later style grill. Definatly worth all the effort of removing the bonnet lip and things:
I also cleaned up the indicator wiring so i can wire in the new units i've bought once i get some more bullet connectors. I tryed to adjust the bonnet but couldn't get it any better. I then realised that because the bonnet i bought has both mk1 an later type hinge mounts the earlier type hinge mounts were hitting the scuttle as the bonnet was closed! So i've got to cut back the offending areas to allow the bonnet the close nicely.
#62
Posted 24 July 2008 - 09:35 PM
Looks great!!
#63
Posted 24 July 2008 - 10:22 PM
#64
Posted 27 July 2008 - 07:37 PM
The other 6 hours of my time was spend sanding these miglia arches i'm fitting. The fit of these arches is terrible they're nothing like the shape of the car in the slightest. I've had to sand nearly 10mm off in some places just to get them to sit nearly flush with the car body, and some of the gaps i can't get rid of without sanding about 5mm off the whole arch!
The front arches aren't too bad now, i'm happy with the fit but the rear we had real problems with. We couldn't work out what was happening with them. Then we realised there not the same at all. One rear arch is about 5mm longer than the other! So we've had to do some dodgy uneven sanding to get them to fit. I'm really starting to regret buying them now and wish i'd gone for group 7's or something similar with easy mounting holes because tommorow i'm going to have strip a few bits out of the car to mount the rear ones.
For example where the front bolts of the rear arches go through is behind the door cards, so i'll have to move my amp from the rear bin them remove the door cards. I'll also have to move the fuel tank to get behind the quater panel to bolt the nearside rear arch on - Going to be a right ballache!
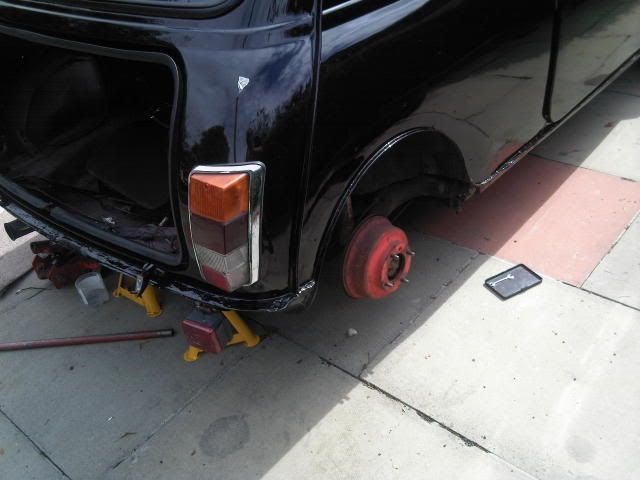
Another i've found today is that my cars rear suspension is jacked up! Because my old group 2 arches were mounted as low as possible and because they sloped down from where they were mounted it made them sit less than an inh from the tyre. But these miglia arches sit much higher up and so theres about a 2 1/2" gap between the arch and tyre - It looks like a mini monster truck!! So may have to adjust my hi los....
#65
Posted 27 July 2008 - 07:58 PM
#66
Posted 28 July 2008 - 08:39 PM
I thought i'd got the hard part over with after like 6 hours of sanding but no - The brackets are now causing problems.
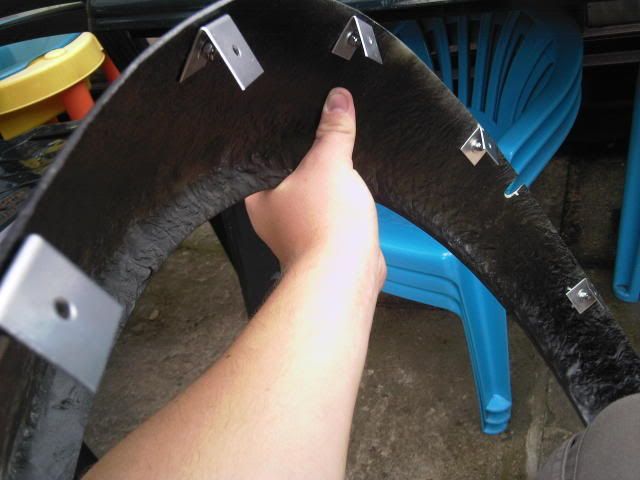
I drilled the holes in one of the arches ready for the brackets to be riveted on. I got one on but noticed that the rivet was sitting amost flush with the bracket - i.e. the rivets were not long enough. I went to put the second bracket on and because the brackets are made from super cheapo stainless steel the rivet stretched the metal of the bracket and as soon as the rivet popped the bracket fell off! Leaving me with a rivet through the arch with no bracket!!
So i thought - dam - mustn't of pushed the bracket on enough when i riveted it. So i spend 20mins carefully grinding the back off the rivet before forcing it back through the hole in the arch which caused the top gelcoat and paint to crack around the hole! So i try again, use a different bracket and make sure the bracket is pushed onto the arch properly using molegrips. So i pop the rivet, have a look and think great its worked!! I then released the grips and the bracket fell off!
ARGGHHHHHHHHHHH!!!! The bracket kit is such *rubbish* quality! ahh!! I'm so annoyed. I paid £30 for this bracket kit and what do i get? Thin, weak, soft wrongly angled brackets, rivets that aren't long enough and just the right amount of rivets too. So now i've wasted 2 rivets and have none to replace them with. So now i'm going to have to use the allen cap bolts and nuts to bolt the bracets to the arch and buy some more screws to screw the bracket to the body - Which i shouldn't have to do! Its absolutely outrageously bad quality - Which i would probably expect and put up with if i'd of paid a fiver for the kit but when i've be completly ripped off paying £30 for a kit which must cost them under a pound to make is just wrong!
I'm ringing minispeed up in the morning to see what they have to say because i feel like i've been conned!
#67
Posted 28 July 2008 - 08:46 PM
Car looks good by the way!
#68
Posted 28 July 2008 - 09:12 PM
oh well - I just want the car back on the road now...
#69
Posted 30 July 2008 - 03:05 PM
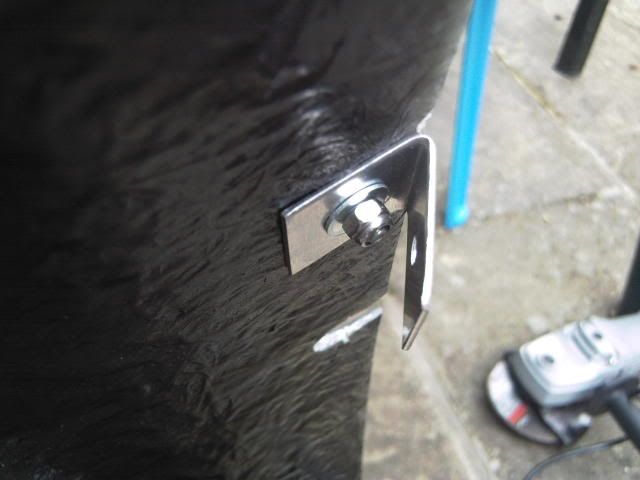
Mounted the brackets with the bolts and bent the brackets to the right angle - This now leaves no room for a fixing to the body:
I rang minispeed and they said they've had no complaints before blah blah and they'll send me some longer rivets for the brackets...
I might try these but the only other thing i can think of is put a screw through the bracket, then bolt the bracket to the arch. This way the nut won't stop the screw being put through the bracket. But then i don't see how i'm going to get a screwdriver in there to screw it into the body - My only chance of that is using a small angled screwdriver i think...
#70
Posted 01 August 2008 - 02:17 AM
If you want to make life even easier for you, drop some rivnuts into the brackets so you only have to bolt the arches onto the bracket opposed to nut an bolt
#71
Posted 01 August 2008 - 08:01 AM
I was gutted when i got there and started flicking through the catalog because i found i could buy stainless rivets, bolts, lock nuts and L brackets in bulk really cheap - i.e. 1000 alloy long grip rivets for about a fiver and 50 bolts for £1.50 etc - So basically if i had of known i could have made my own kit for under a tenner and had enough spares to mae another 2 kits!
Anyway i bought some long 12mm rivets and riveted all the brackets to the arch. These longer rivets pull down loads and make for a secure fixing for the bracets so i'm resonably happy with them. So i'm going to try and mount the front arches today and see how it goes....
By the way - Where can i buy rivnuts? and do you use a normal poprivet gun to put them in?
Edited by minimadmike, 01 August 2008 - 08:03 AM.
#72
Posted 01 August 2008 - 08:39 AM
#73
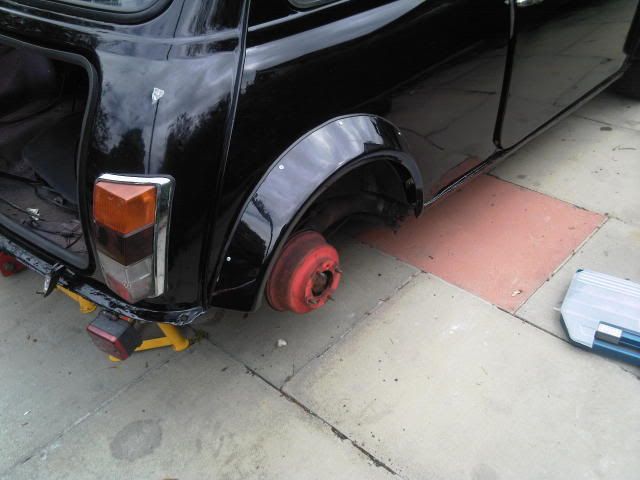
Posted 04 August 2008 - 10:36 PM
Tada!!
Looking good right?!
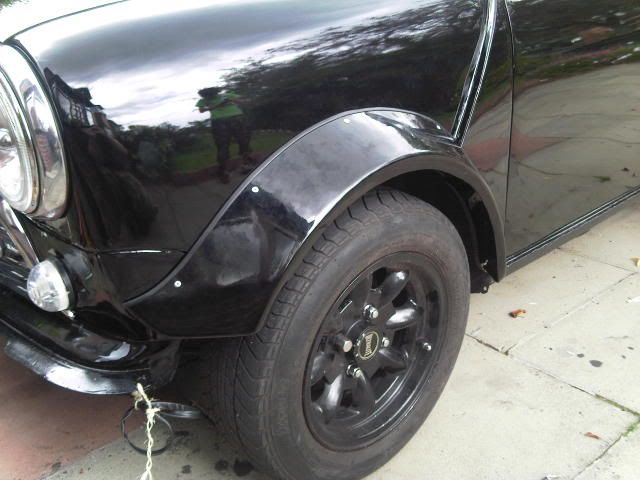
Little teaser of the front arches:
Test fitting my new wheels - They rub and the wing needs quite abit of material removing:
So ye once i've got that done i've got one more front arch to re-mount because i mounted it too low
Then i need to put the numberplate light back on, seal and insert the chrome strip in the back window, refit bumpers, refit spotlights and shorten the front indicator wiring. Then i think i'm pretty much done.
I've not really done anymore on my wheels, i just want the car back on the road now so they can wait!
#74
Posted 04 August 2008 - 10:49 PM
I've not really done anymore on my wheels, i just want the car back on the road now so they can wait!
We can tell by the last photo!
What colour are the wheels going to be mate?
I like where this is going the paint job looks spot on, though i did think you were keeping the colour and stripe, it was original! But i do have to admit, i love gloss black!
Good luck with cutting the wings, ive just done it on my flippy and almost shat myself thinking id cut too much off!
Keep us updated mate and good luck
#75
Posted 04 August 2008 - 11:00 PM
1 user(s) are reading this topic
0 members, 1 guests, 0 anonymous users