I'm interested to see how your alloy refurb goes as my 13x7's are looking the same! Ive tried a bit of paint stripper but for the effort required i have a friend that'll sandblast for £8 each! So I think i'll do that
'86 City Refurb
#46

Posted 01 July 2008 - 11:36 PM
I'm interested to see how your alloy refurb goes as my 13x7's are looking the same! Ive tried a bit of paint stripper but for the effort required i have a friend that'll sandblast for £8 each! So I think i'll do that
#47

Posted 02 July 2008 - 08:22 AM
Yeah it was a right PITA stripping the paint off them. However if you get them sandblasted you'll have to put alot more time into polishing the rim up again. The sandblasting will remove the shine completly.
Depends if your paint the whole wheel or not though.
#48

Posted 02 July 2008 - 08:29 PM
Firstly i took a screwdiver and hammer to the parcel shelf:
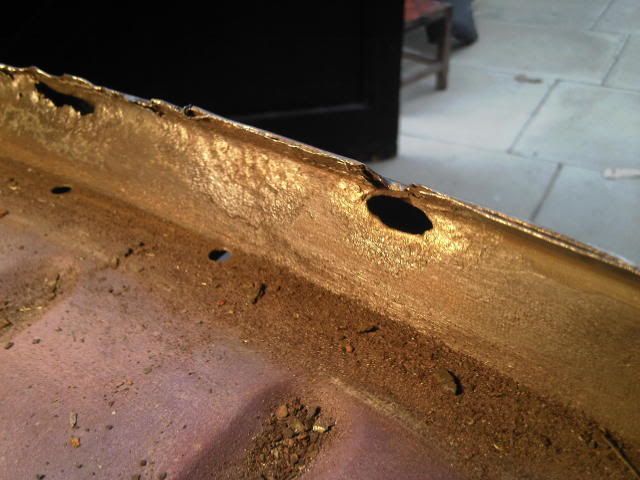
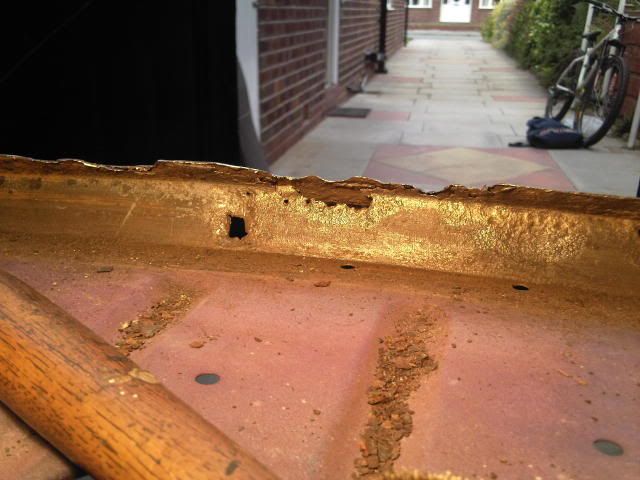
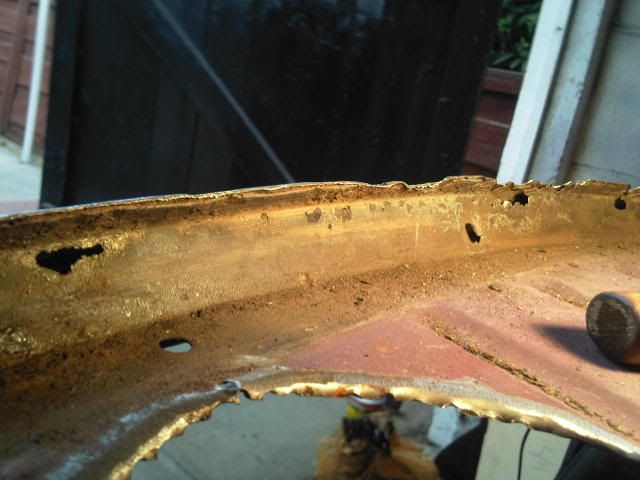
hmmm not too great.
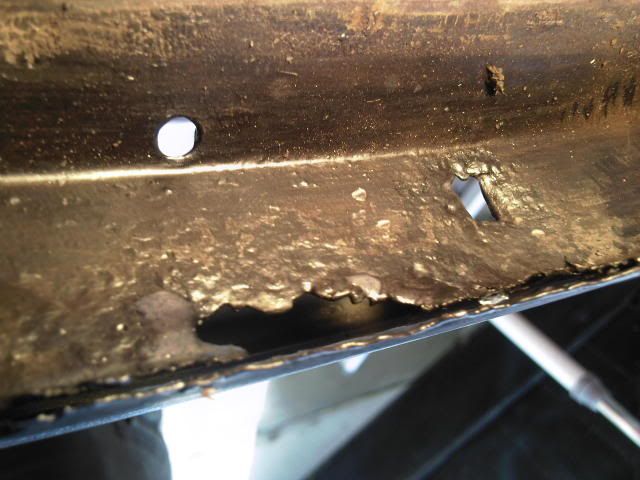
Then sanded down the area under the rear window, found a couple of small holes:
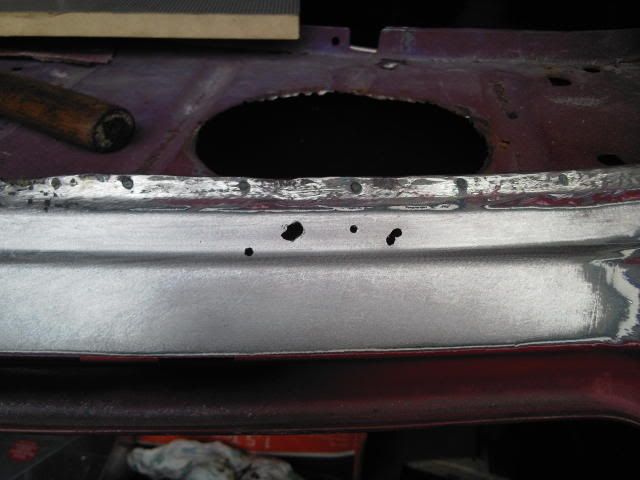
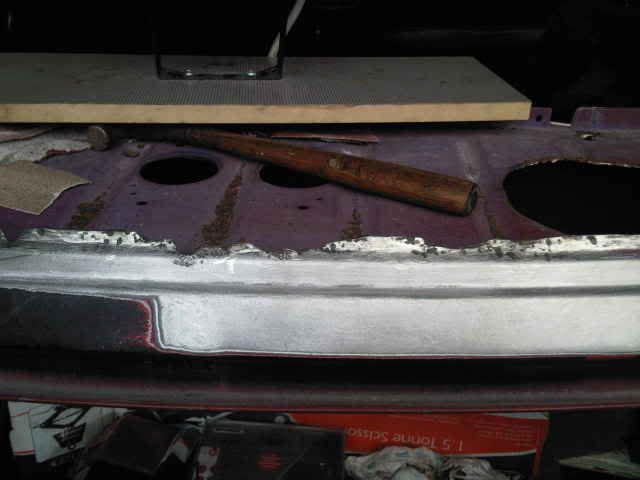
I also removed any remaining rot from the window lip with a grinder, so what left now is all good metal:
So then I spent a while wire brushing inside the boot to see how it all cleaned up. Didn't turn out too bad, the metals still more solid that i thought:
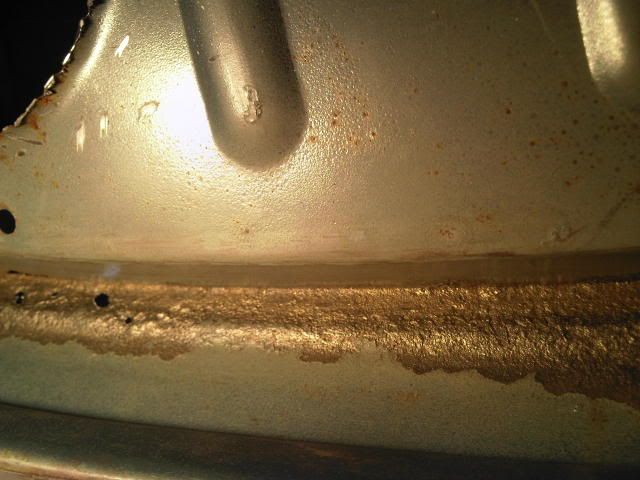
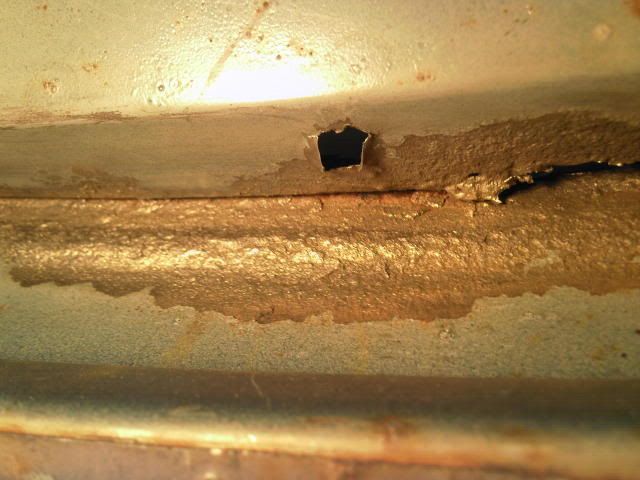
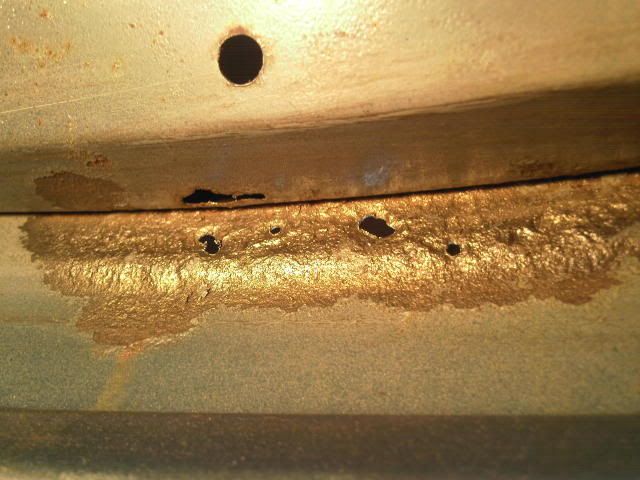
Next i sanded, grinded and wire brushed around the bumper lip/lower panel seam. Found a couple of holes that i definatly didn't expect!
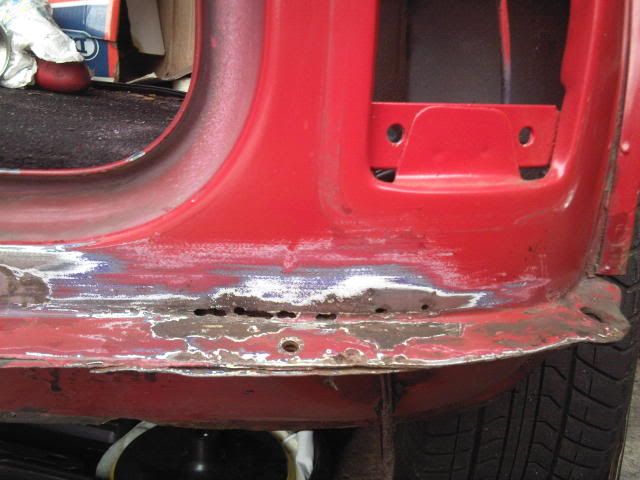
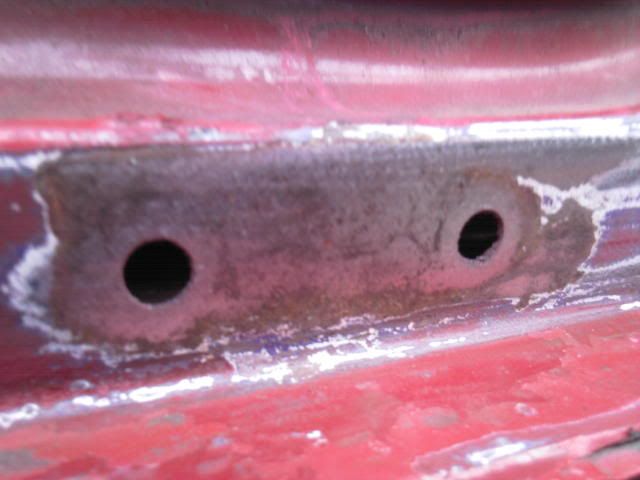
After that i thought i better take the boot hinges off to see if there was anything left of the metal around them. Turns out they're in perfect nick though:
Now for the rear valance. I already knew this would be shot as i saw the rust inside it a while ago when i was undersealing. So i sanded a few bits down and found a few pin pricks but once i took a screwdriver to it, the holes just spread:
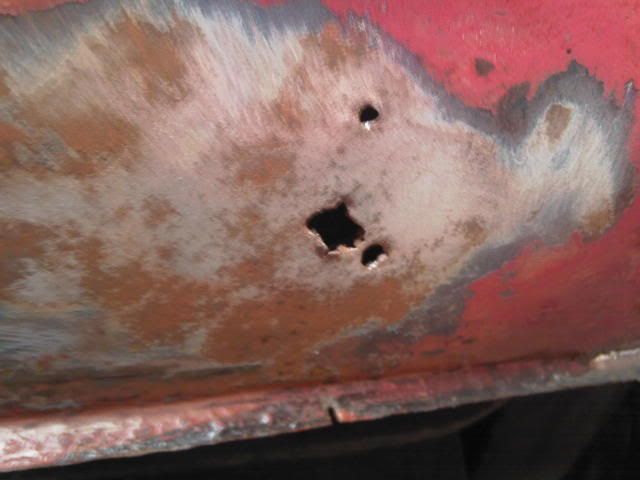
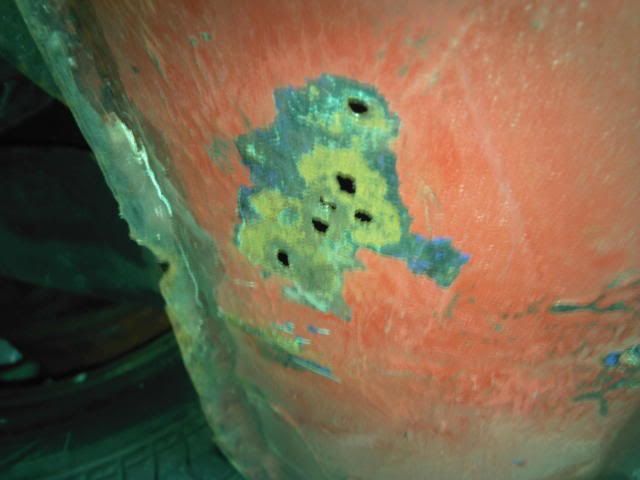
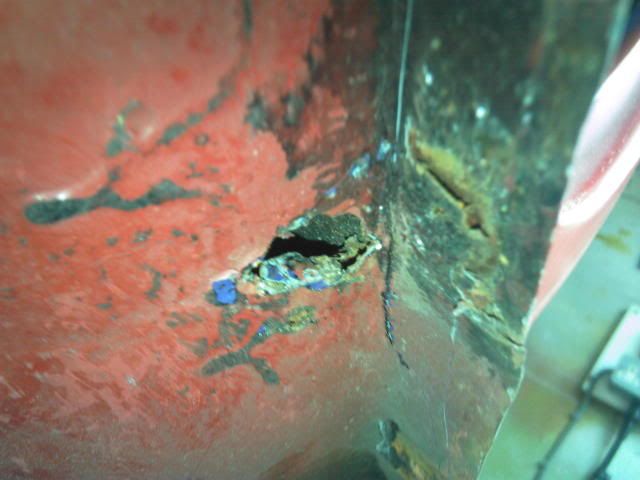
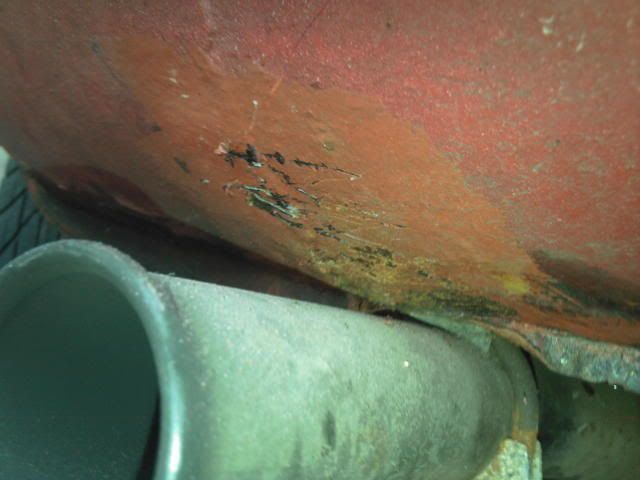
In an ideal world i'd cut the whole lower rear panel off, buy one of these: http://www.minispare....aspx?pid=37519 and a new rear valance, then have it all welded up fine and dandy. Unfoutunatly thats not going to happen. At least not for another few years anyway!
So here how i left the car today:
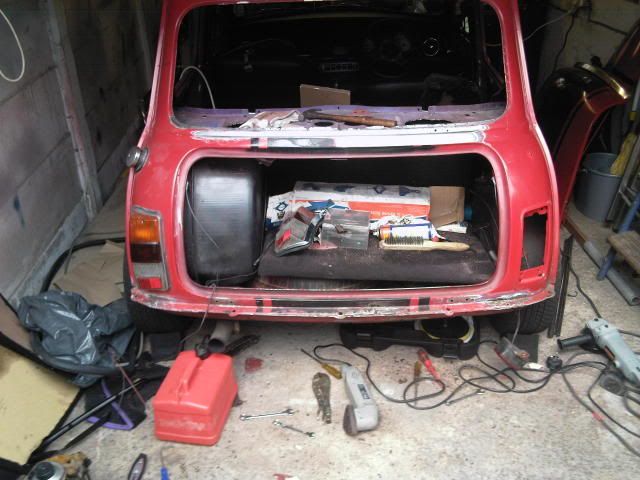
Looking sorry for itself...
Got aload of filler and fibreglass from work so tommorow i'll be up early and straight to it all day bodging up the holes and 'fabricating' a rear window lip.
#49

Posted 03 July 2008 - 09:23 PM
Started by cleaning all the rusty metal and sweeping any dust away from the areas so i could apply some bilthamber rust treatment. As you can see it leaves a much better finish than similar rust treatments like kurust and it drys into a tough sandable layer that i think will offer much better protection that others.
Anyway after this the rust looks like this:
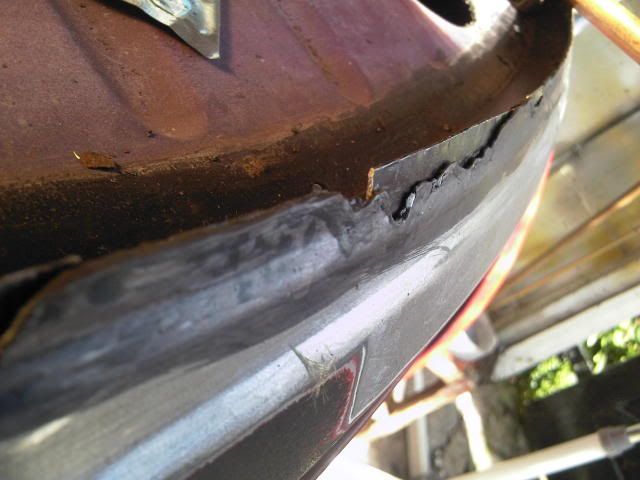
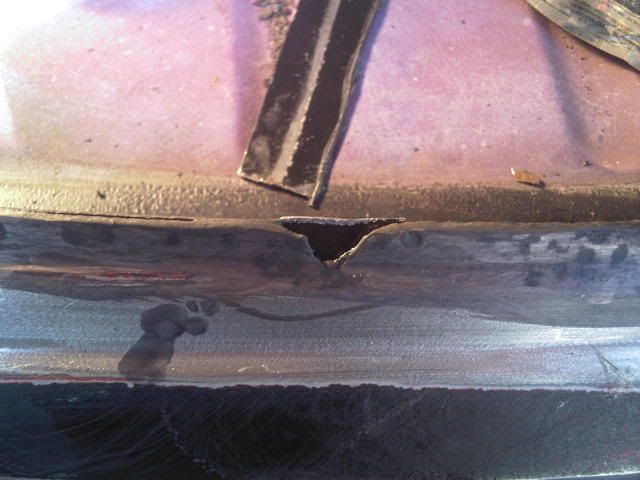
I then prised open the parcel shelf/window lip seam so i could apply further rust treatment to the inside of it. I then cut out some metal strips to construct a new window lip from. I cut them so they filled the open seam as much as possible; looked like this:
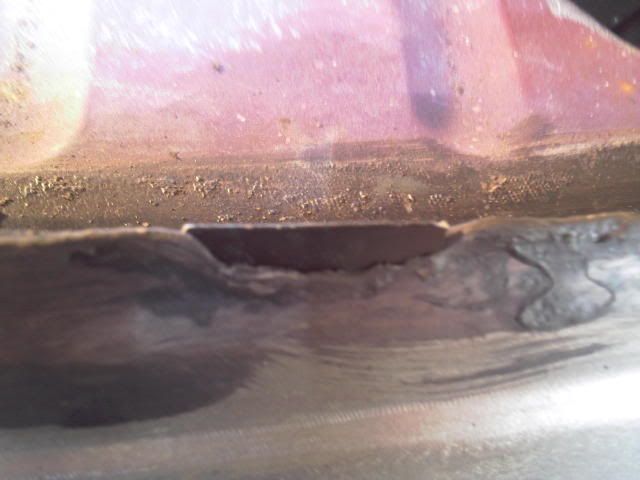
Once i was happy with the fit of the pieces i took them out and used mole grips and a hammer to close the seam up again so the gap wasn't as big and so it was a tight fit . Then i hammered the pieces back into place and further hammered/crimped the seam around them so they were held firmly at the right height:
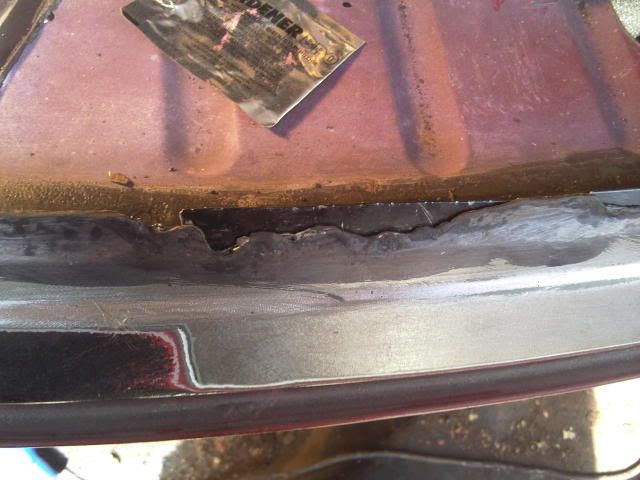
I then mixed up some of the isopon fibreglass and applied a good amount all over the pieces, the holes in the parcel shelf and around it all to create a new seam. Looked pretty messy once i'd done:
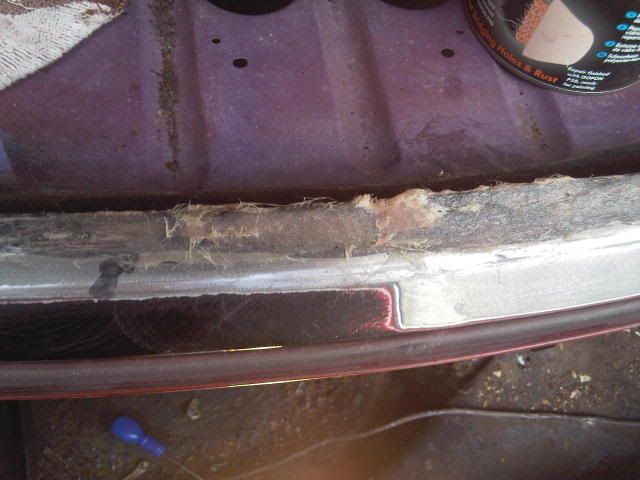
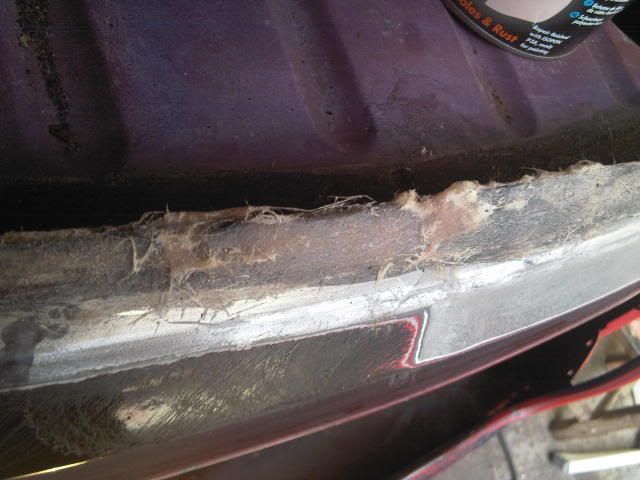
Underneath the repair looked like this:
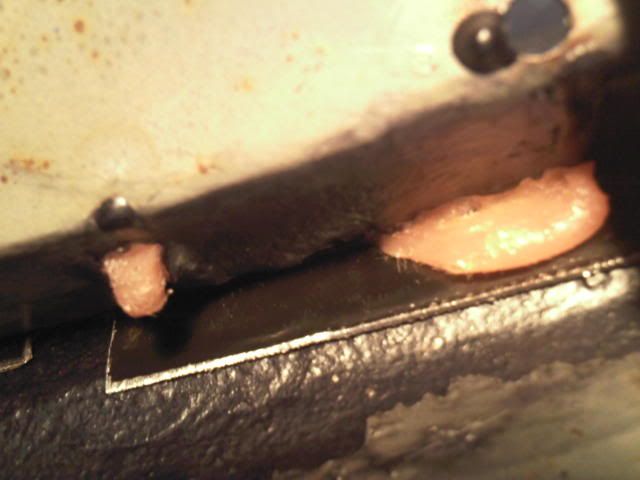
While i was waiting for that to set i cleaned up the area behind the tiny holes in the rear panel so i could reinforce them:
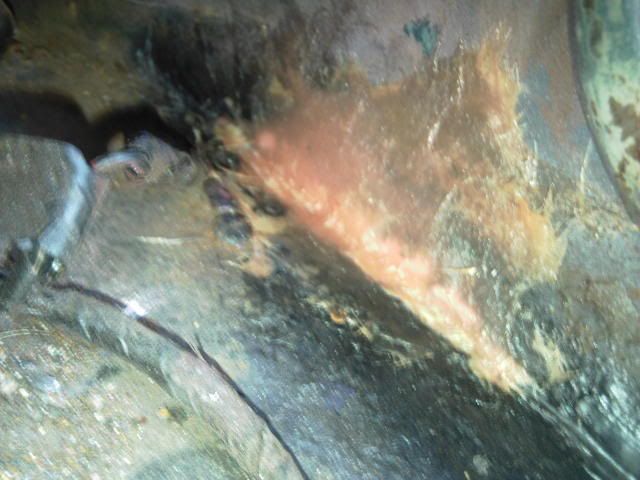
Next i started on the roof repair. I couldn't get access behind the holes to fibreglass them from behind so i bonded some wire mesh to reinforce the holes then added a thicker layer of fibreglass over the top of that. Once that had set and i'd sanded it smooth it looked like this:
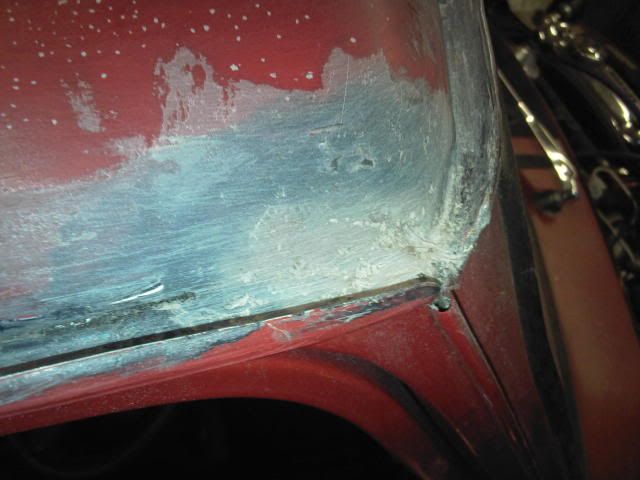
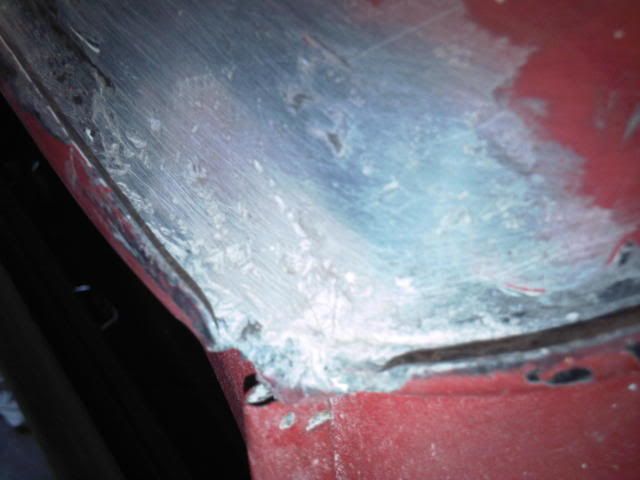
Tommorow that just needs a quick skim of filler to smooth over the fibreglass and bring the shape back to the roof corner.
I then sanded down the fibreglass on the holes in the rear panel, so they're alot stronger now. Again they just need a thin skim of filler to make sure they're smooth:
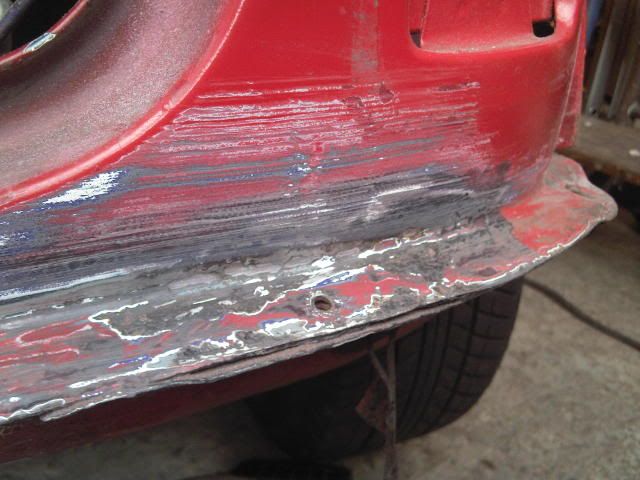
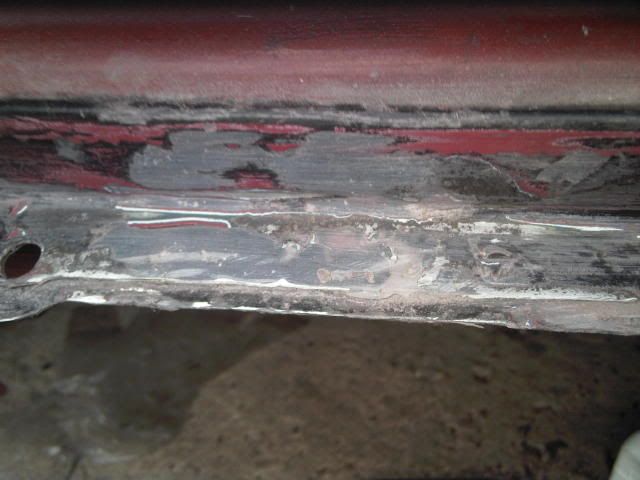
Then i sanded the new lip down. I really over did it with the fibreglass so it took me ages to sand back down to size and into shape. However i'm pretty happy with the result:
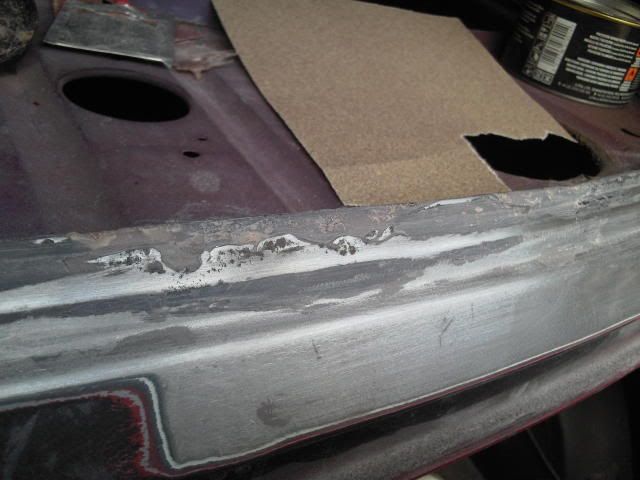
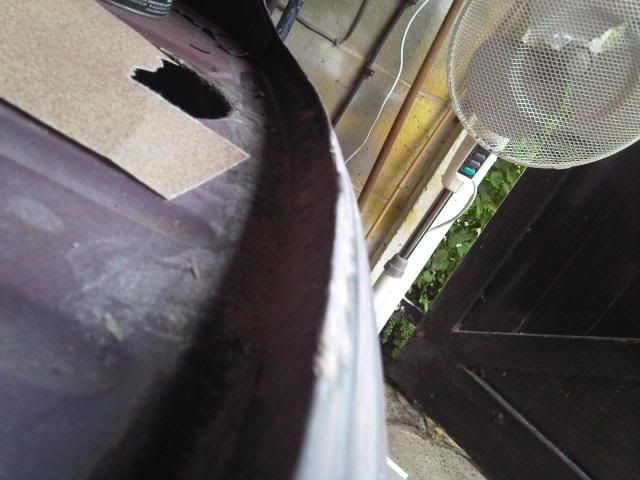
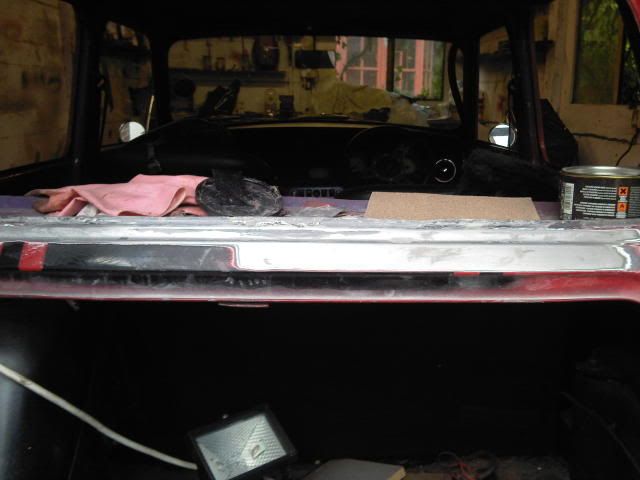
It turned out pretty well. I test fitted the seal and its goes on nice and easy just like around the rest of the lip. So now i just need to primer/paint that to keep water out and make sure when i put the screen back it its all sealed up properly.
So the jobs i've got to do tommorow are to add a skim of filler over any exterior fibreglassing i've done and get that sanded down. I'm also going to fibreglass up any unneeded holes from the old arches and grill and remove the headlamp bowls so i can rub around them and rust treat/underseal around them.
Then it'll be a case of quickly spraying a couple of coats of paint over the repairs, to protect them should it decide to rain when i'm driving to the bodyshop. I'll also have to bolt on the bare minimum amount of parts back on just to get me to the bodyshop.
#50

Posted 03 July 2008 - 09:46 PM
#51

Posted 03 July 2008 - 10:29 PM
Wish i had the time/money to get it done properly but can't really.
#52

Posted 06 July 2008 - 08:37 PM
Didn't take a massive amount of pics because i was dead busy.
I started by applying filler to any exterior holes which i had previously filled with fibreglass from behind, such as the ones under the rear screen and under the off side rear lamp. I also applied some filler to the roof over the fibreglass.
I find filler pretty hard to work with so as you can see i just slapped a slab of it on and smoothed over it as best as i could. I reckon its better putting too much on and having more sanding work than too little and have to start again/apply another layer.
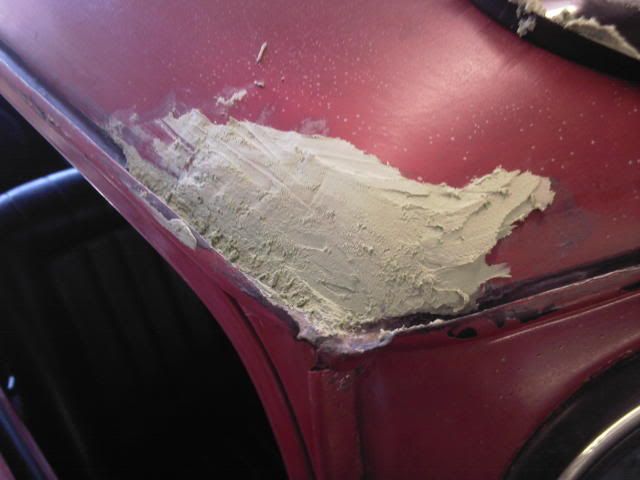
Looked pretty bad but its ok lol
I was wondering if i should remove the headlamp bowls or not to sand round them and rust treat etc because they had been riveted in... In the end i decided to remove them because i'd seen some bubbling of the paint around the headlamp a few months ago. So i had to grind the top of the rivets flat and used my nanas ancient electric drill to drill them out - which was a right PITA since the drill only works when held at a 45 degree angle due to a loose connection!
So finally got those out and started sanding round them. I was expecting to find some serious surface rust but there was nothing there at all really
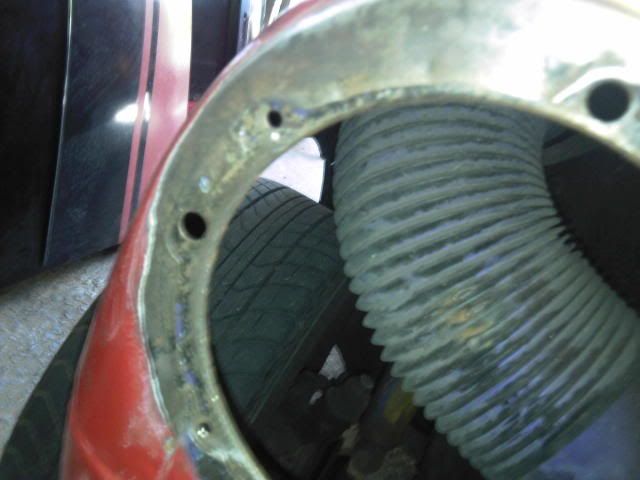
So i rust treated around the sanded areas:
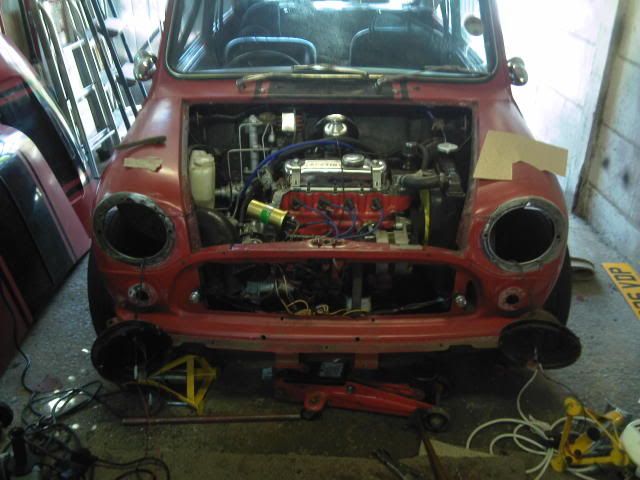
Mini looked like it had black eyes
I then sanded down any filler work i'd done, the upol easy sand stuff i used sanded like a dream!! Really easy to sculpt and sand (does what it says on the tin i guess) So once that was done i busted out the hammerite and paint over all the parts which wouldn't be getting sprayed. So i painted the parcel shelf and and the rear valance and in the bonnet gutter.
Next i decided to remove the nearside rear lamp to rub around that. I hadn't done that before because i couldn't be bothered moving the tank. But i decided i better do it incase there was any rust that needed sorting. So i moved the tank into the centre of the boot and the lamp and started sanding away and generally carrying on with stuff. I could smell petrol but thought it was just because i'd removed the the filler cap breifly but when i could still smell it really strongly 5 minutes later i got abit worried.
Looked in the boot and noticed there was a puddle of petrol in the spare wheel recess!! So lifted up the tank to see where it was coming from and it started pouring out and filling the spare wheel recess rapidly!!
This is when panic struck and i reaised it could go bad so i quickly grabbed a spanner and remove the battery and turned off the electricity supply to the garage. Everytime i lifted the tank to see where it was coming out of i just seemed to get worse. By this point i was soaked in petrol right up my arms and hands i was really starting to sweat!
Luckily because it was right near the end of the hose i was able to just cut 10mm off the hose and re-use it. Panic over and the tank went back in fine later on - Phew!!
By this point time was getting on and i had loads to do. So i drafted in a mate to help. He spent some time sanding around the screw holes for the grill and arches and sanding inside the bonnet gutters and grinding down some dodgy welds that had been made in there. While he was at that i mixed up some more fibreglass to fill the un-needed with.
I filled the arch holes and also grill holes:
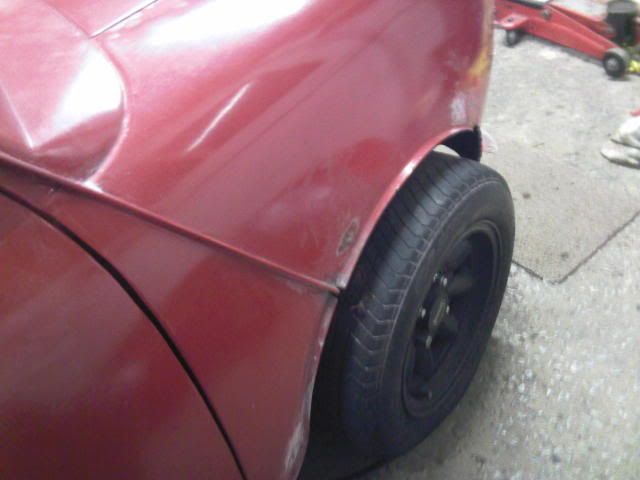
No pics of the grill holes but they turned out alrite.
I can't remember what i else it did but i did loads of little jobs which took about 4 hours and before i knew it i was tired, starving hungrey, thirsty and generally ready to stop work. But the car had to be ready and i still had loads to do. So i carried on and finaly got everything finished.
Worse part was putting the new boot on. I put the hinges back on the body nice and tight, went to put the bootlid on, got one hinge bolted down, went to do the other - DOH! Who said hinges were sided! So they had to come off again and redone.
Anyway then i quickly went over the car giving any vunerable repairs a spray of paint. The grill and arch fibreglassing and the roof repair etc:
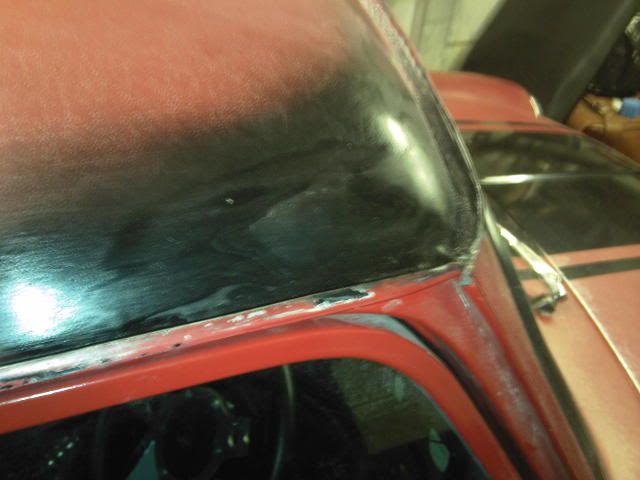
Filler work looks abit dodgy on the roof but the bodyshop guy will sort it.
We then put the windows back in and masked up the rear window for driving down there the next day.
After everything the car looked like this:
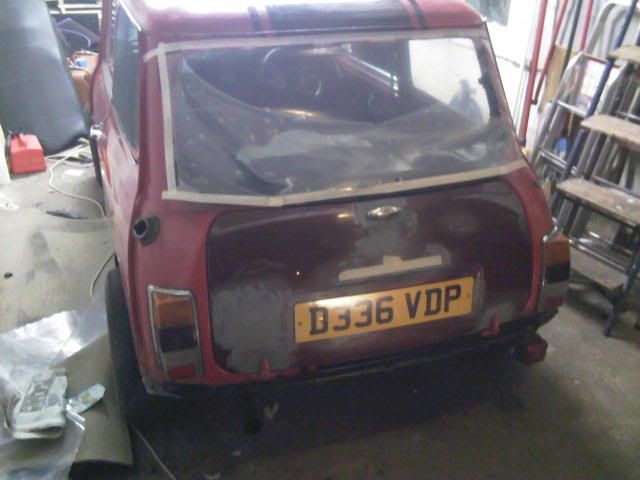
We did manage to get the car to the shop by friday and the guy seems like a nice guy, i'm confident he'll do a good job
#53

Posted 11 July 2008 - 11:20 PM
Jake
#54

Posted 14 July 2008 - 11:34 PM
I've already sourced some new wheels anyway but if your intrested my 12x6 ultralights will be up for sale soon. PM me.
Anyway only news i've heard from the bodyshop is that it'll take 2 weeks not one... However the car is all stripped and about halfway through prep. Not bothered about waiting anyway as i know he'll do a good job.
#55

Posted 23 July 2008 - 09:18 PM
Got the car back today and i'm really pleased. The finish is great, just what i wanted - A really deep gloss black. My repairs turned out well, can't notice them at all.
The guys fixed the door skin problem with abit of welding (doorskin was coming away from the frame at the top and let water down the seal) Hes filled the old mirror holes up for me. He's also given me another litre of paint to do any touching up in the future.
Anyway here a few pics:
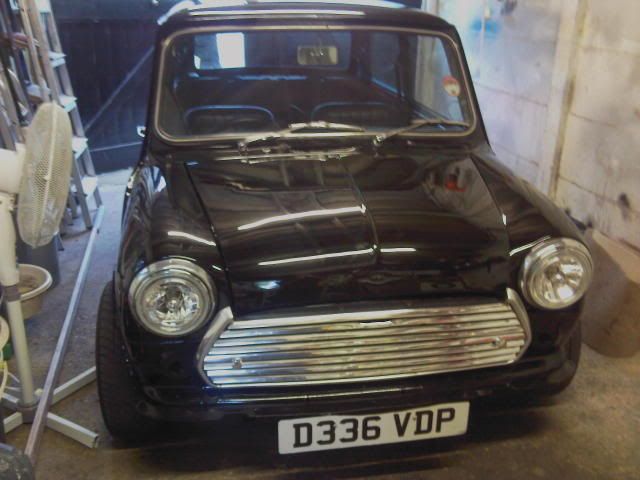
Bonnet needs some more adjustment
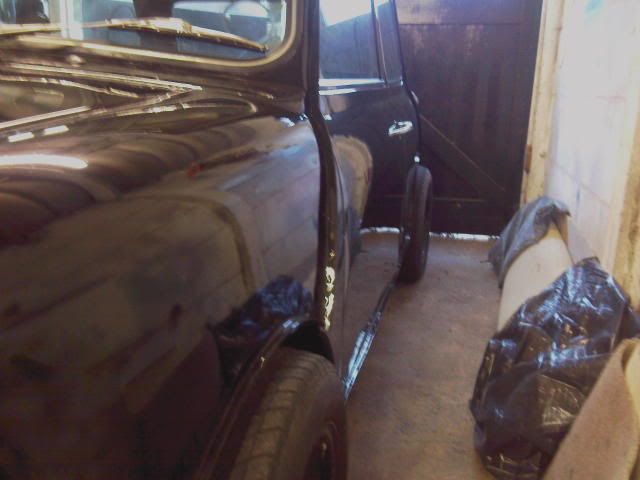
Arch holes worked well bridged with fibreglass
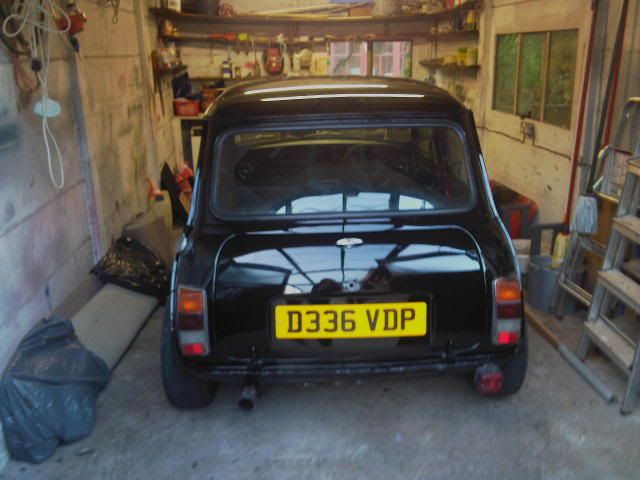
There are a few dodgy bits of paint but i'm not too bothered considering it was a cheap respray. He said he sanded to near enough bare metal, gave it 2 coats of high build primer and 3 coats of black.
It felt sooo good driving it home, i've not driven it at all in about 5 weeks!
I've also ordered the arch fitting kit from minispeed which came the other day - Looking at what came with it and then the reciept for £40 i think - What have i bought - What a rip off!!
But still wayy easier than making my own brackets and everything in the kit is stainless so i suppose it'll be money well spent in the future. I've also got to finally make a decision on which mirrors to buy - I think i'm going for SPA F1 mirrors but still not sure on them.
So the job list now is:
Fit miglia arches (probably going to be a few hours work getting them perfect!)
Fit new grill and moustach
Adjust bonnet
Fit new indicator units
Fit new mirrors (once i've ordered/recieved them)
Finish polishing up outer rim on the new alloys
Prep, primer and respray the wheel centres in ford solar gold
Orer and fit new centre caps on new wheels.
Then i'll just give everything a good clean and get a couple of layers of wax and polish on the paint and give the interior a good clean.
#56

Posted 23 July 2008 - 10:50 PM
#57

Posted 23 July 2008 - 10:56 PM
#58

Posted 23 July 2008 - 11:02 PM
Yeah i love miglia arches, but for some reason i'm really not looking forward to fitting them i reckon there going to be a right pain...
#59

Posted 23 July 2008 - 11:06 PM
when you reckon you will have it finished by?
#60

Posted 23 July 2008 - 11:09 PM
I'll do the wheels on sunday i think - Its just such a boring job i've not been bothered to do anymore sanding/polishing on them before now.
One more thing i need to do is put the chrome strip back in the rear window seal - Oh what fun thats going to be!
1 user(s) are reading this topic
0 members, 1 guests, 0 anonymous users


