'86 City Refurb
#286

Posted 01 September 2010 - 08:38 PM
#287

Posted 01 September 2010 - 09:47 PM
I'll try tomorrow and see if I can get it to work. If not one of these will do it: Link
That I could fit and bend the bracket round to fit on the hanger.
Apart from that, are RC40s held on by anything else?
#288

Posted 02 September 2010 - 05:48 PM
So I got it all on for the final time hopefully, gave the valance cut out a file and some paint, did all the clamps up and put some firegum around the outside of the exhaust joints. Got the car running and the paste has hardened up nicely but think i've put abit too much on really so it'll probably end up falling off. But its sealed for now I think, didn't sound like it was blowing but didn't want to cover the exhaust incase it blew the sealant out before it had hardened fully, so i'll try again tomorrow. I took a video of the car running and revving but it didn't come out on my phone!
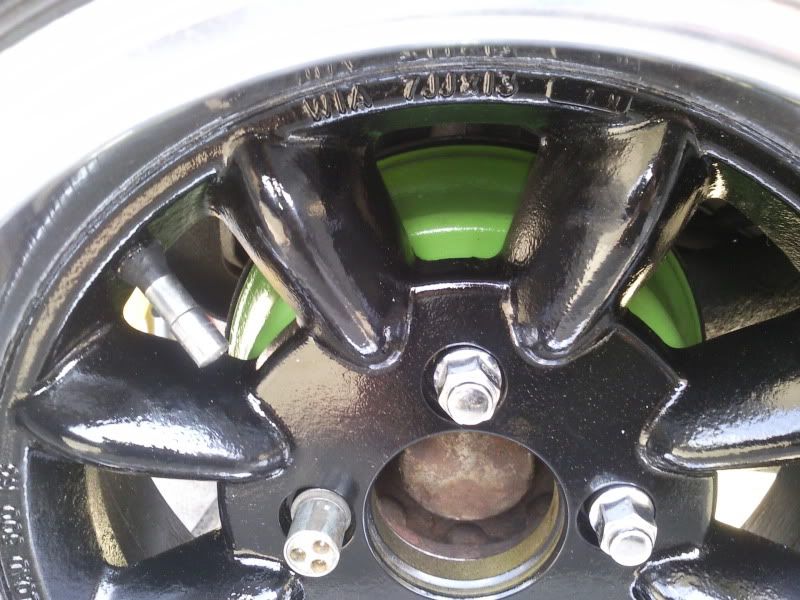
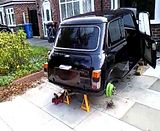
Then I put the drums on and test fitted a wheel to see what it'll look like. Pretty happy with how its going to look (car still on stands)
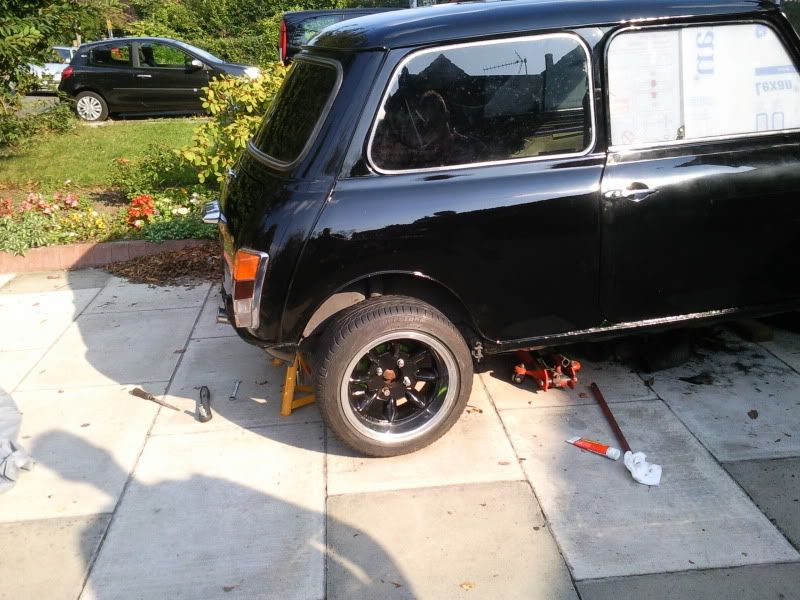
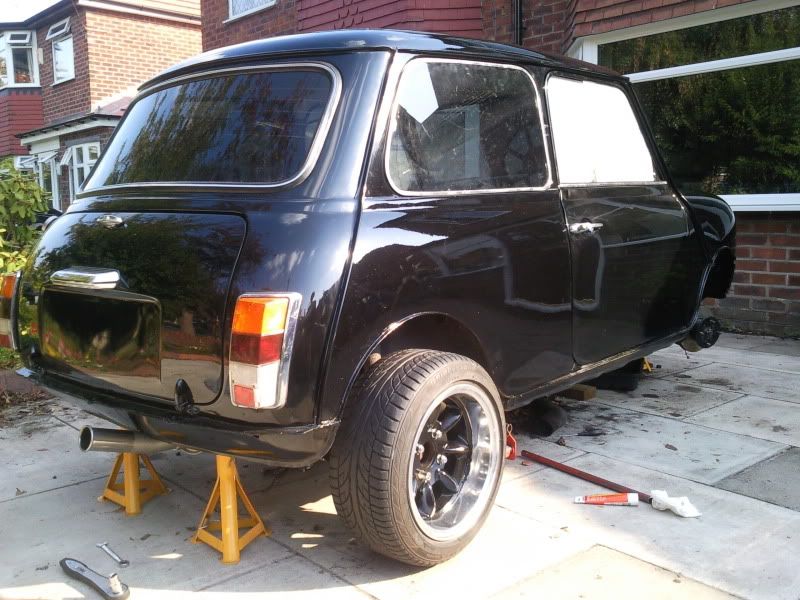
Then got the front brakes on connected and torqued up. They look good too, although the hose on the passenger side rubs the tie bar, so i'll have to see about that:
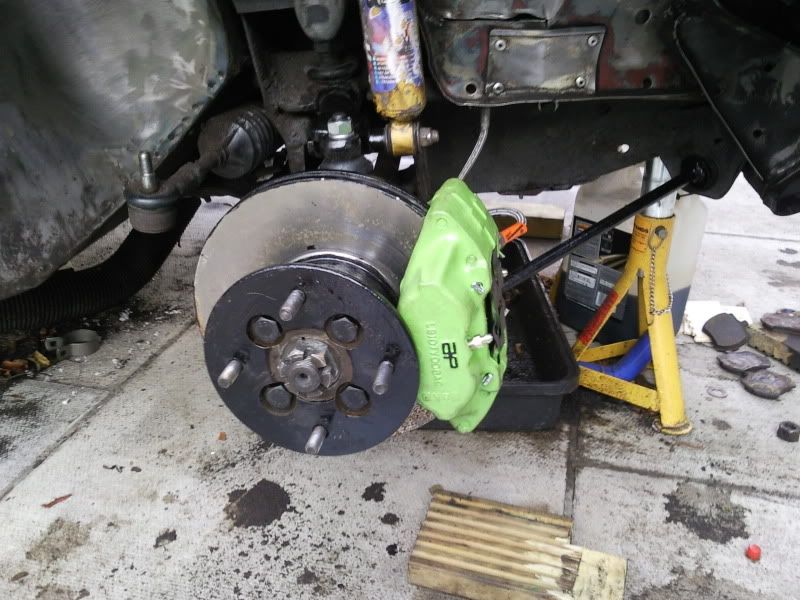
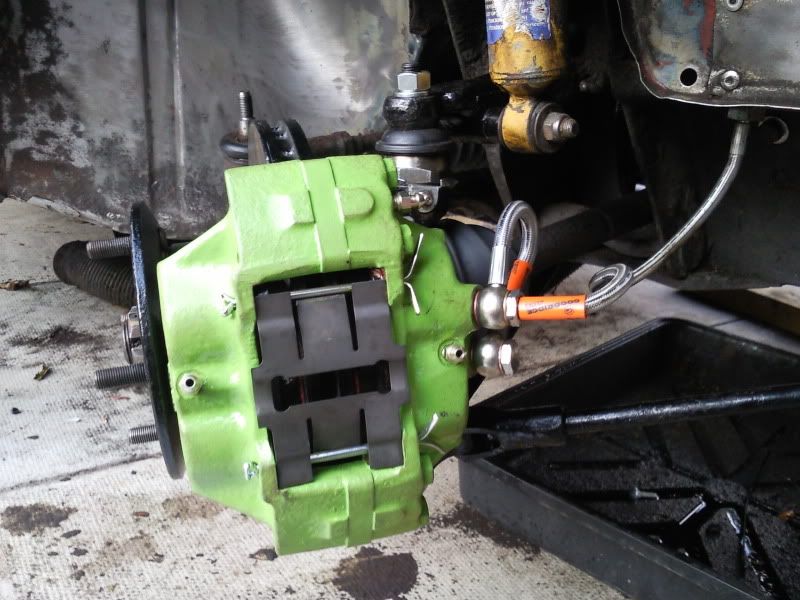
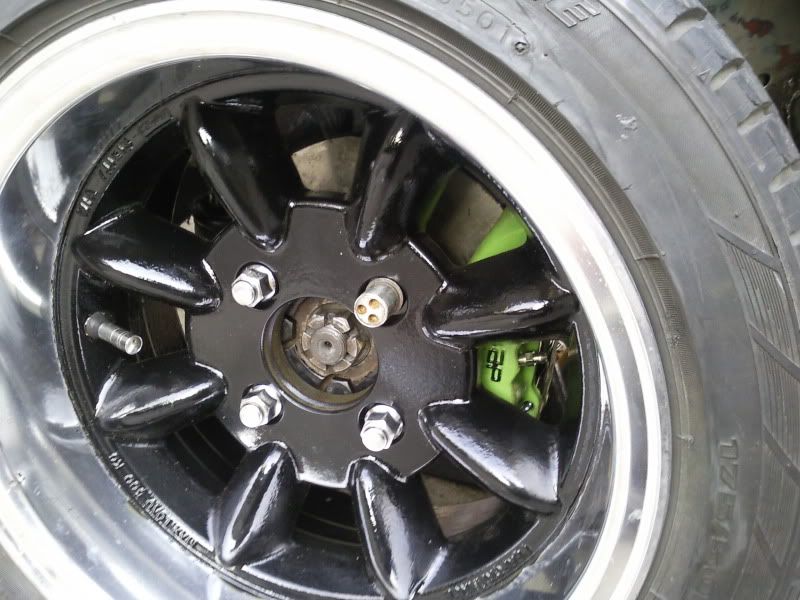
Got some other stuff to do tomorrow but hopefully will have some time to get the brakes bled...
#289

Posted 02 September 2010 - 11:07 PM
#290

Posted 02 September 2010 - 11:22 PM
#291

Posted 03 September 2010 - 02:31 PM
Can I not reuse brake fluid thats been bled through the system before?
Anyway heres a video of the car running. It messes up abit at the start sounds like i'm revving it when its idling but apart from that sounds ok quality:
Edited by mike., 03 September 2010 - 02:32 PM.
#292

Posted 05 September 2010 - 09:37 AM
#293

Posted 05 September 2010 - 08:03 PM
I finished bleeding the brakes yesterday. They're working ok now, got a firm pedal - although its quite abit lower down than it was with standard brakes fitted; i'm guessing its just because the 4 pots take more fluid before they move the pads. Just need to adjust the handbrake and the brakes are fully finished.
Main job now is to get the underside rubbed down properly and repainted. Also still need to get these KAD steering rack limiters fitted. They're a pain in the arse because the cable ties provided snap before they tighten up enough on the rack. I've bought a cable tie gun which can get them tighter than by hand and also i've got some metal cable ties to try aswell. Im determined to get them to work because I really cannot be bother with my wheels scrubbing on full lock and i'm not cutting the wings anymore either.
Apart from that the other jobs are to refit the lights and rewire them, check over all the electrics, fit the wipers and other bits and bobs like that. Also need to polish and paint the other 2 wheels....
I've just ordered an alloy radiator aswell because the inside of my standard one looks badly rusted and its got quite alot of bent fins and is generally in a bad way.
#294

Posted 05 September 2010 - 08:26 PM
#295

Posted 05 September 2010 - 08:28 PM
#296

Posted 08 September 2010 - 06:24 PM
This had taken sooo many hours to do and has blown my drill and disintegrated all my wire brush attachments and flap wheels etc. My grinder also started vibrating so badly it hurt to hold so I thought the bearings/bushes must have gone or something, so I bought another one and it was the same! Turned out my twisted wire brush tool had kinked and gone out of balance! So pretty annoyed about that because the new grinder cost me £25...
Anyway I've rubbed down all under the back arches, under the of front floor pans, along the inner sills up to the first ridge of the floor and underneath all the front end, wings and flitch panel. I got most of it all down to bare metal, the bits that were hard to get to that didn't really need it - Like round the radiator vent on the inner wing I just removed the underseal and left the bottom layer of paint there as it was all solid under there.
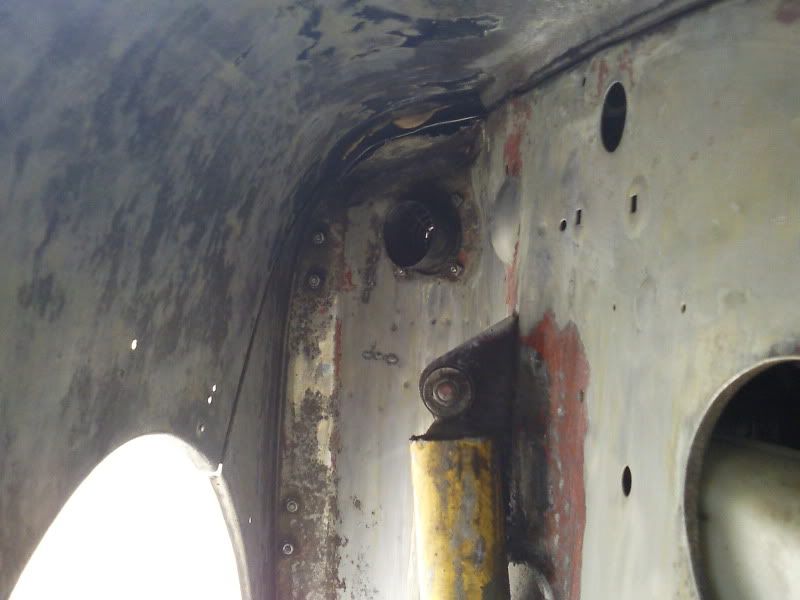
I have uncovered some rust, some I already new about, some I didn't. The scuttle closing panels have been pretty badly fitted in the past by previous owners/or a garage etc they were probably non genuine and didn't fit very well because theres alot of seam sealer up there. I got my head up there though and had a proper poke about and the rust is nothing that bad at all. I've already removed any flaking rust which there wasn't alot of and wire brushed around the edge of the hole thoroughly so i'm going to por 15 that and then probably put some fibreglass over the hole to stop water getting in and under the scuttle. It may sound like a bodge but welding in that area would damage the new paint and this hole was there when I got my car and has got no worse in 2/3 years so i'm not worried about it.
The other bits I found were round the shock mount. I was wire brushing round the edge of the mount and the metal just gave way. So the metal under the shock must be in a pretty bad way aswell. Its a pretty simple repair from what i've read but I could either bodge it up to get it through the MOT so I can drive it to somebody to weld it up. I'd probably take it back to steve and get it rolling roaded while its there. Or I could get it welded by the MOT place or by a mobile welder. So i'm going to enquire about that....
Anyway apart from that the whole front end is solid, no signs of any rust anywhere on the wings or front panel which is good and the rear arches look good too. There some bits under the subframe that look and feel abit crispy but I cant get to them and if I uncover a hole there its a subframe off job to fix. So going to clean up and underseal/waxoyl those areas well and maybe next year or a couple of years down the line i'll have the subframe off and have it all welded up.
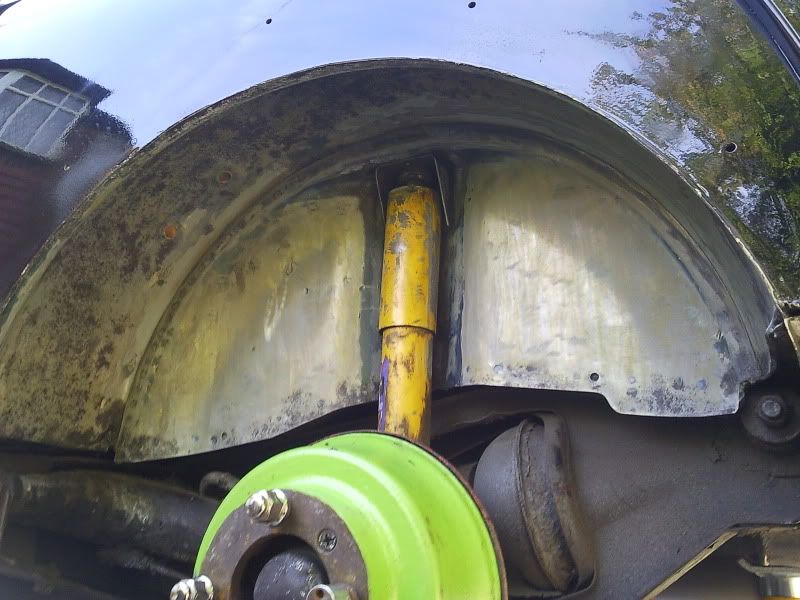
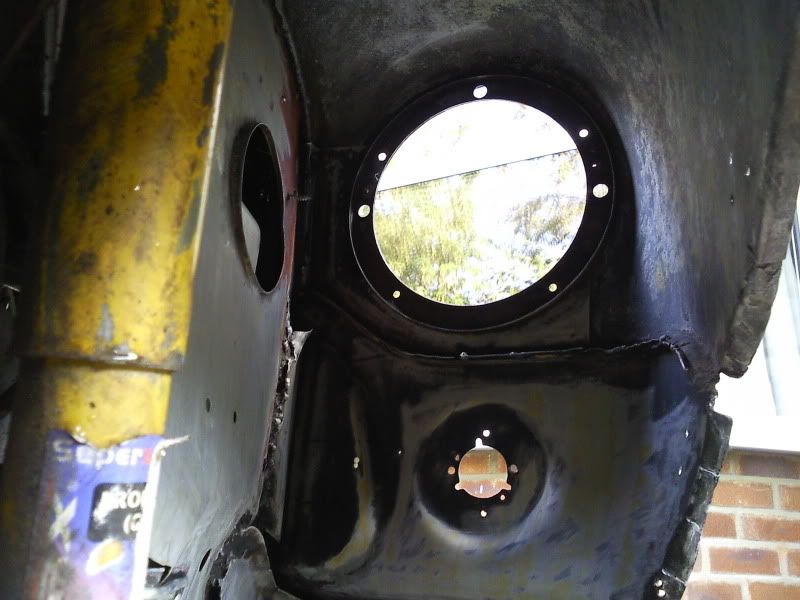
Here a few pics. This is after the bare metal was treated with por15 metal ready wash. This has left a sort of milky coating on the panels and is supposed to give the best etch for por15 paint. So tomorrow if the weather allow i'll hopefully have it all painted up nicely!
Rear arch no signs of any problems:
Front end:
Inner wings and flitch. You can see the hole in the scuttle closer aswell as its general poor fit:
Only other news is I took the pipes off my oil pressure/water temp gauge and fitted it into its pod. I then put the pipes back on only finger tight, then forgot they were finger tight and start the engine. Lucky I noticed oil leaking from the gauge pretty quickly but the damage had been done - Oil has filled up the gauge!
Edited by mike., 08 September 2010 - 06:28 PM.
#297

Posted 09 September 2010 - 01:13 PM
i'm doing the same with my underside and inner arches etc, i've got all the underseal off the inner wings and want to do the same as you.. bare metal > metal ready > por15 > then stonechip and paint and waxoyl!
but my wings and front panel are brnd new and still in the protective coating they come in, i know por15 is supposed to last forever but just abit worried about getting them down to bare metal!!
#298

Posted 09 September 2010 - 05:02 PM
It is alot of effort rubbing down underneath but after putting a coat of por15 on today i'm pretty sure it was worth it. The paint goes miles aswell, I poured it into a spray can lid and only used about a quarter of that to do the whole underside on the drivers side at the front. I'm debating whether or not to put another coat on and i'm already covered in the stuff and the first coat seems to have covered everywhere. The finish is so good i'm thinking i'll just use underseal in the seams and gaps underneath where water/dirt might get trapped and just leave the rest bare so its easy to wipe down etc.
#299

Posted 09 September 2010 - 07:44 PM
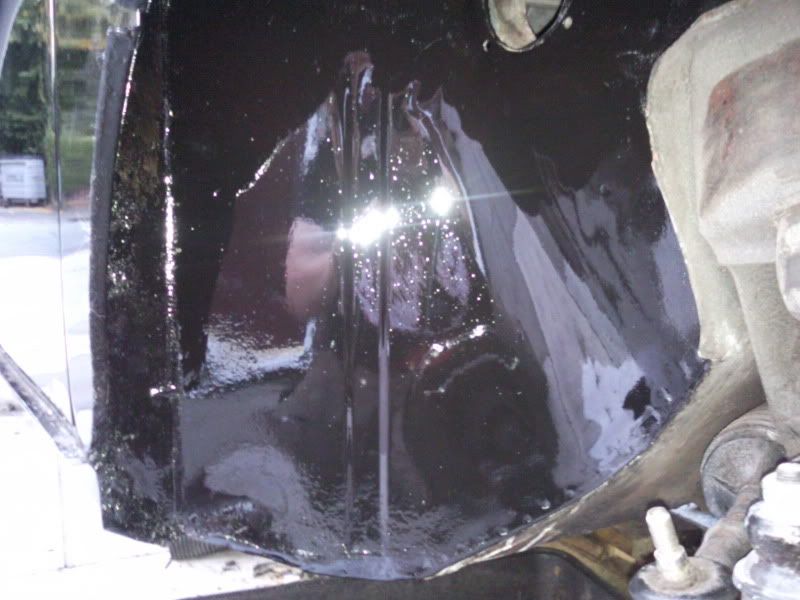
Look at the reflection of the shock absorber!
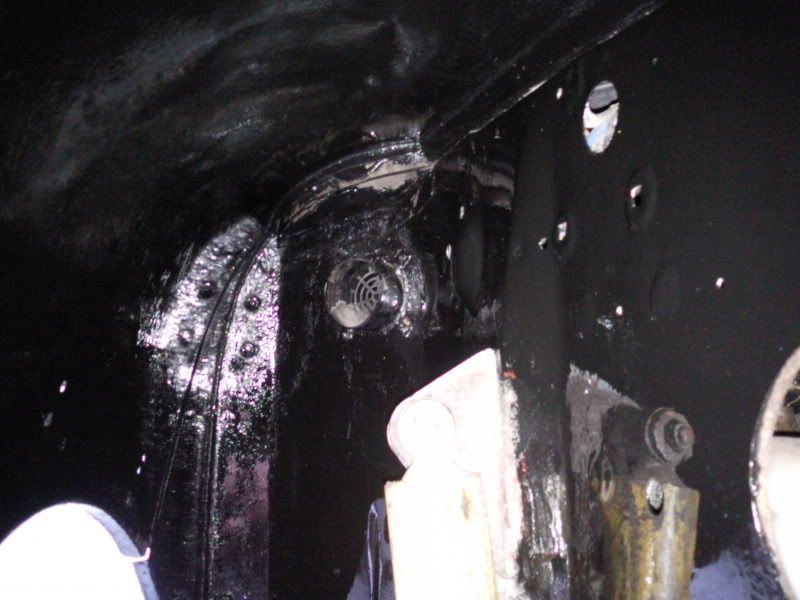
Really happy with it so far. Only problem is i've got it all over my hands and its not coming off!
#300

Posted 09 September 2010 - 08:23 PM
oh well it's glad to see someone else has braved it and bare metal a pair of new wings
how much did you use by the way mike? i might go for the 6 smaller cans as getting the lid off after reusing is a nightmare
1 user(s) are reading this topic
0 members, 1 guests, 0 anonymous users


