'86 City Refurb
#16

Posted 03 September 2007 - 09:52 AM
#17

Posted 03 September 2007 - 09:20 PM
So i had to go to halfords and buy a dremel and ended up going through about 6 cutting discs to cut the bolt off!
So now the brackets missing a bolt. I'm just assuming it won't matter if i do up the other three fairly tight, and there only holding the clocks in so they don't need to be tight anyway.
But still! Why can't anything be simple on my mini. It literally was a 2 minute job that took 2 hours.
#18

Posted 03 September 2007 - 10:18 PM
#19

Posted 03 September 2007 - 10:41 PM
#20

Posted 07 September 2007 - 11:58 AM
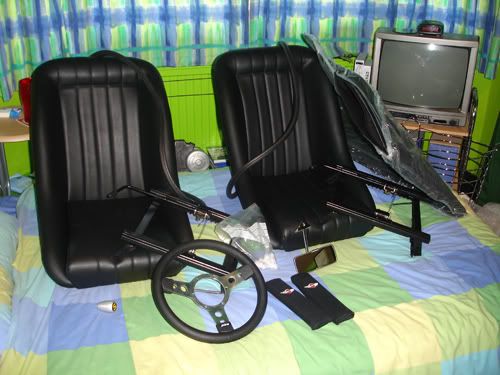
I also got a steering column drop bracket, chrome air vent trims and a magnolia dial kit for the 3 clocks. I'v just recieved my set of black seat belts too to replace the blue drivers belt, dodgy passenger belt and the original grey rear belts. My black rear seat covers on its way soon too
Heres a pic of my shopping
#21

Posted 10 September 2007 - 09:24 PM
Started by whipping the old seats out and taking the steering wheel off so we could move about easy, then took the back windows out so we could fit some new seals and get better access and ventalation while we were rubbing the headlining down with thinners. The headlinings almost ready to be painted now, just needs a final scrub with a clean rag and a spray of this sticky stuff remover, before being cleaned and painted. I'm just going to use house paint i think rather than getting the proper vinyl paint, it'll do the job i reckon.
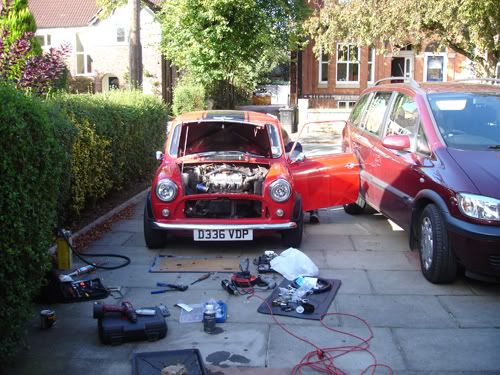
Then we started on the interior heater, which leaks pretty badly (radweld didn't help) so it needing sorting before i started putting in new carpets and seats. So we got the old one out, replaced it and used some bits from the original heater housing and some bits from a newer whole heater unit i bought from the stanford show for £10! So yeah we got that built up and gave everything a good clean.

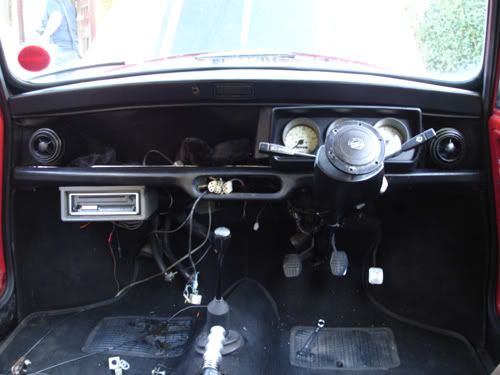
Then we set about sorting the choke and heater cables, as neither went in and out very easily or without moving them in very particular ways. So we took those out, turns out i need a new choke cable really so nes been ordered. We took the switches out of the the panel and cleaned the switches up, so they went front light grey to like new - black. I also binned the brake test switch and moved the wires over so the fog light switch can replace it, then binned the daft afterthought foglight swith panel, which just in itself gave the interior a much cleaner look.
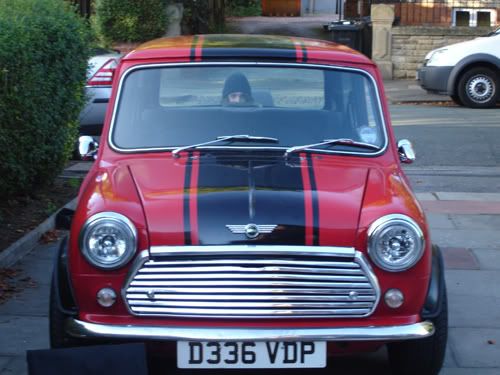
Then we set about the outside of the car and fitted my new halogen angel eye headlights, and some grille buttons. We had a couple of little probs with the alignment of the buttons at first but we got there without too much fuss. I think they give the front of the car much more character somehow and the halogen headlights are sooo much brighter than the original sealed beams!
You can see my mate behind the car sitting on the original seats polishing up the swithes which he seemed to enjoy
So on the to do list for wednesday is to finish off the headlining, fit the new swith panel, refit the heater, then give the interior a really good clean everywhere and in all the little nooks and cranies, before fitting in all my new interior bits.
#22

Posted 14 September 2007 - 10:49 AM
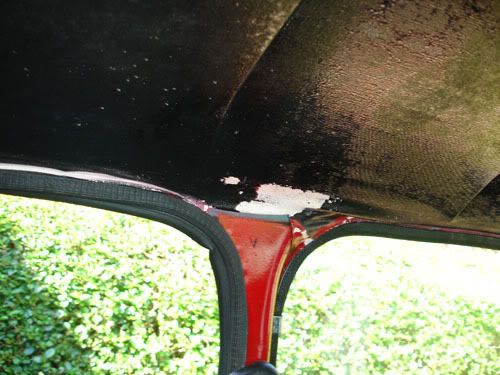
to this:
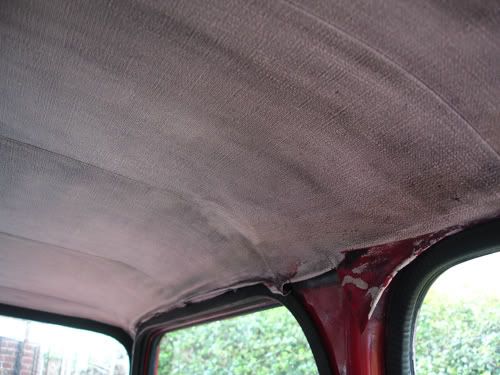
So now its ready for paint. I'm just going to use a brush and some silk emulsion rather than having to mask up the whole car and spray with vinyl paint.
I'm not expecting results that great because its always going to be tatty and bits of it will always be pulled out, as you can see in the pics but it'll look alot better than before.
So my job for today is to paint that and tidy it up.
#23

Posted 20 September 2007 - 09:03 PM

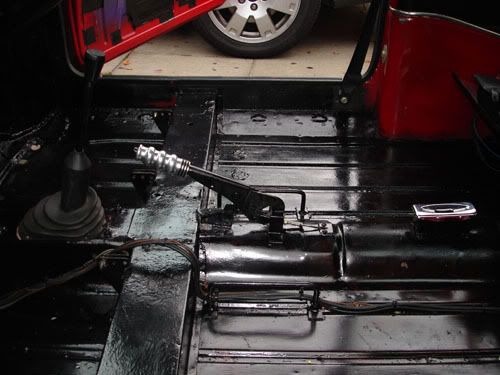
So i decided to clean them up good and proper. I started with a chisel and a mallet and chiseled away the layer of soundproofing. i then used just a chisel to get every last bit of the soundproofing up. I then used about 25 sanding pads with my new sander to smooth away any dodgy bits and clean up some of the welding that'd been done. Under the soundproofing was a few large patches of surface rust, and some rust that'd got a little further. Still none of it was structural, but it wouldn't have taken long for it to eat straight through the floorpan. So i got to work treating that with some kurust. The rust was just where i'v put the crust, the brown stuff going up the bulkhead isn't rust its just some dodgy old paint and underseal, although i reckon if i scraped that away i'd find some more surface rust.
Anyway i treated the worst bits:
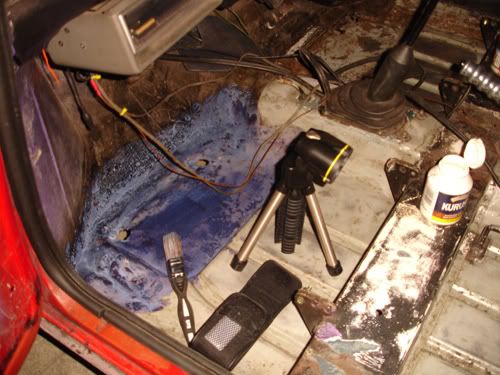
Then whilst leaving the kurust to do its stuff for a while i vacuumed round the floor to get rid of all the dust and any bits of soundproofing left over from the sanding and started painting on a layer of red oxide. Although it looks a brighter red than my car its more like dull brown! So tommorow i'll get some black hammerite, thin it down abit and give the floor a couple of coat of that:
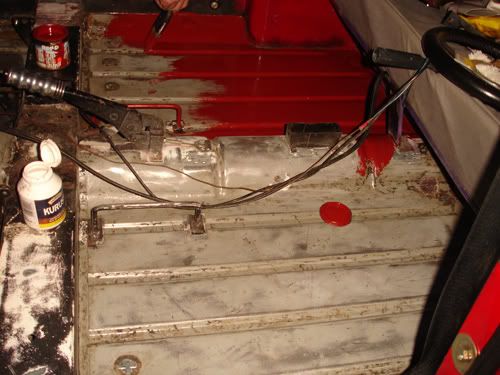
So after that the floors should look like new! I'm definatly glad i chose to lean up the floors properly, i wouldn't of found that rust otherwise and i reckon by this time next year i'd of had holes in my floor and i'd be looking at a big welding bill. So yeah i'm glad i'v got that done.
Next job is to fit my rear roll cage which i'm picking up on saturday hopefully and clean up the interior properly ready for all the new stuff to go in. So hopefully it'll all be finished by next weekend! Can't wait! I'v had no seats in the car for about 2 weeks now, i'm dying to go out in it!
#24

Posted 20 September 2007 - 09:09 PM
#25

Posted 21 September 2007 - 10:04 AM
#26

Posted 21 September 2007 - 10:49 AM

#27

Posted 21 September 2007 - 10:57 AM
#28

Posted 23 September 2007 - 07:22 PM
I picked up my roll cage from paulrockliffe. Its just a rear cage which i bought of him for £35 which i was happy with
Anybody know what brand this cage is? The previous owner says it was £200 new and it looks like it was originally painted yellow?
Heres a couple of pics after sanding:
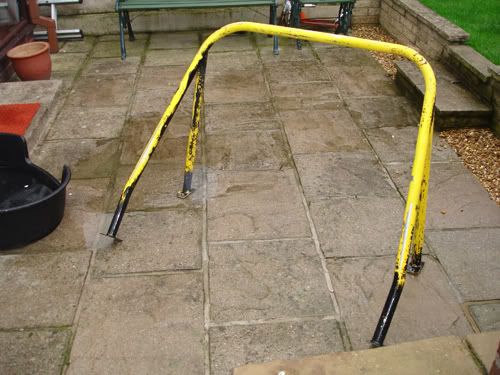
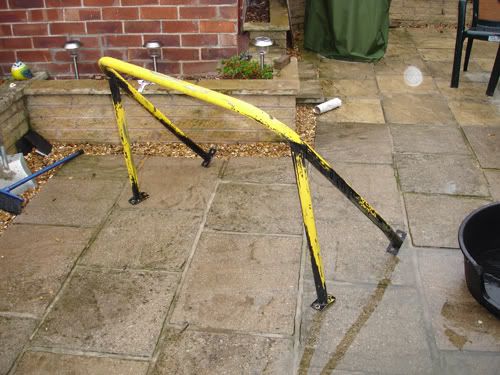
So any ideas what brand the cage is? I'd like to get some original stickers for it if possible
#29

Posted 03 October 2007 - 03:08 PM
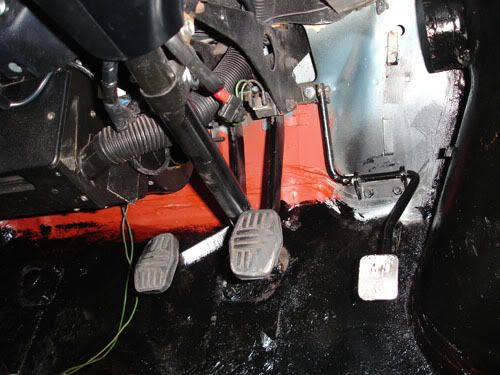
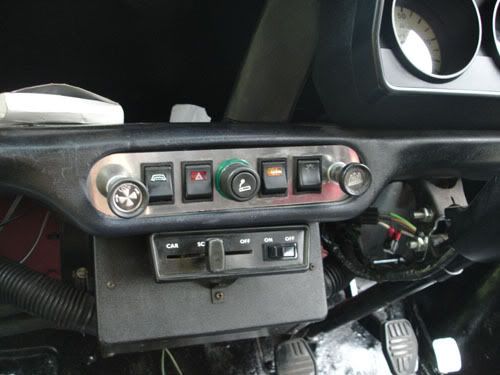
Also i'v fitted my switch new polished swith panel and the new choke cable while i was at it which look great. Also sorted the hazzards and indicators out too.
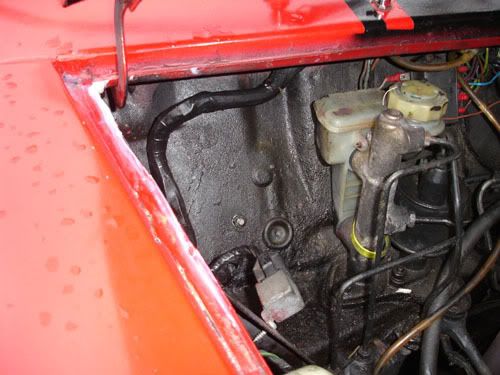
I'v also fixed all the leaks. The main ones i sorted with new window and door seals but there was some leaks coming from the pedals whih leaked down into the footwell. I found these to be water that had (rather than drain away in the gutters under the bonnet) flowed through little gaps in the corners of the gutters and along the gutters and settled in big puddles on thee bulkhead. Then it must have flowed down to the pedals and into the car through the bulkhead. So i'v sorted them by filling the gaps
and adding a bead of silicon down the gutters. This seems to have stopped the leaks completly! So anybody having similar leaks, try doing this:
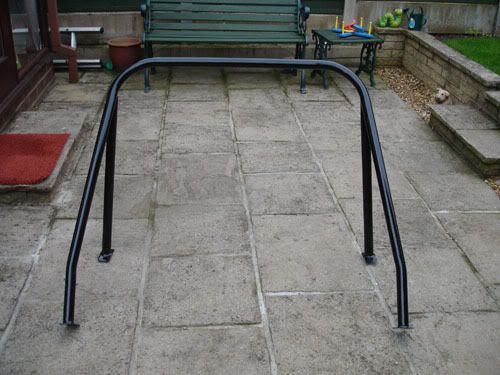
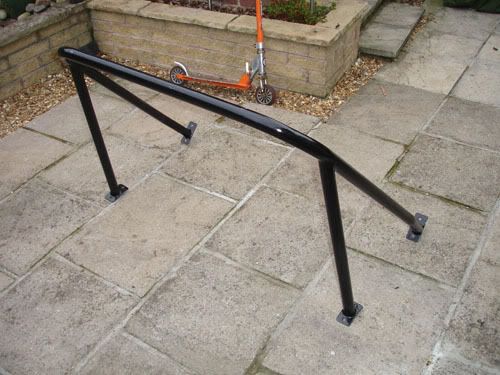
I'v also finish painting my roll cage. I tryed thinned hammerite but it didn't cover very well on bare metal. So i ended up brushing on some grey primer and my dad brush painted a coat of johnsons all weather outdoor gloss on. It worked really well and now its dry its left a great deep gloss finish!
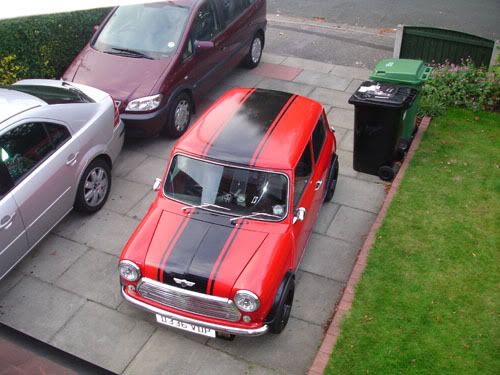
I also took a random pic of my car from my bedroom:
I'v also noticed that the paint in the roof gutter has started to flake abit and i'v got a feeling its going to get worse, so thats the next job to tackle. I'm abit wrried abit that because there obviosly filler under the paint - you can see it
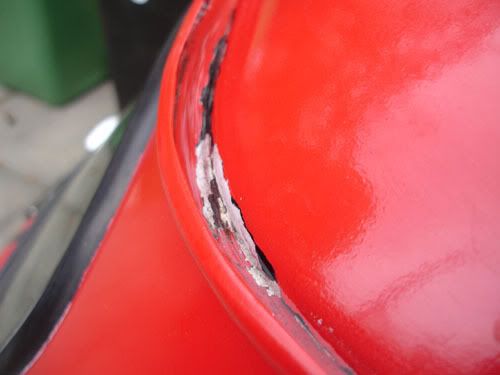
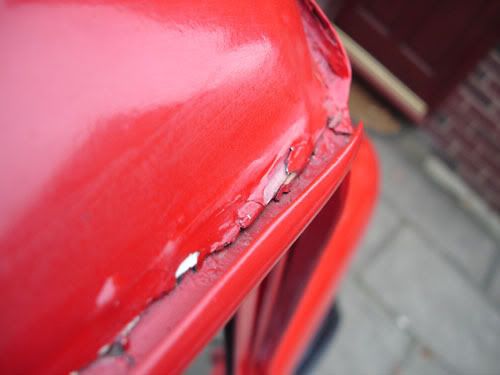
Edited by minimadmike, 03 October 2007 - 03:11 PM.
#30

Posted 03 October 2007 - 03:25 PM
1 user(s) are reading this topic
0 members, 1 guests, 0 anonymous users


