'86 City Refurb
#226

Posted 31 December 2009 - 09:37 PM
#227

Posted 12 February 2010 - 01:19 AM
#228

Posted 12 February 2010 - 02:21 AM
Theres been no more progress on the car, but there has been progress made in organising getting the car sorted.
Basically its at the stage where its obvious my 'mate' doesn't have the time/motivation to do the job, so i'm having it done elsewhere. Steve at SD minis is taking the job on instead. I'm heading down there tomorrow to get the engine bay cleaned up and painted, and if i've got time, drop the car back onto its wheels. From there on i just need to get all the bits i've got that need fitting/welding, together and inside the car if possible and steve will be coming up on saturday the 20th to pick the car up and take it off to complete the work.
SD minis have gave me decent quotes to finish off the welding, spray the car, install my engine including the new exhaust and fuel system, and set the engine up with the megajolt on a rolling road, and trailer the car back to me when its done to finish the last bits before getting it MOT'd. So really SD minis are doing the full package.
To be honest the engine and things were bits i wanted to do myself, but with my mate being so hard to get hold of and limited time to work on the car due to working at weekends and uni during the week, i'd really need to wait until summer until i could complete the car and i just can't wait any longer. Not to mention the fact that i don't have a garage (well not one i can get a car to)
This is obviously costing me alot more than i originally bargained for (about 4 times more infact
I'll probably have some pictures to upload of the engine bay tomorrow night, but from there on its all down to steve!
Edited by mike., 12 February 2010 - 02:23 AM.
#229

Posted 26 February 2010 - 08:25 PM
I've spent hours getting the engine bay ready for the engine over the last couple of days. Using wire brush attachments on a drill to get off the layer of whatever was on there before. I think the whole engine bay had been painted in stone chip judging by the texture of it. So i ended up taking most of it back to bare metal to get a smooth surface to paint on, I did the same with the subframe too as that was just generally looking grotty aswell. The prep took soooo long after the wirebrushing, when i wirebrushed the subframe it flick gritty oiley grime all over the engine bay, then there was so much dust around it was unreal and all just stuck in the oiley mess! It was a nightmare, but luckily being in the bosyshop meant i could hook up and airline and blast all the crud and dust away. I then spent a while with panel wipe and cloths to get rid of all the grease and things before masking everything up for paint. I just left the old clutch slave cylinder dangling about becuase i didn't want to disconnect it and get fluid everywhere, and i've got a whole new setup anyway so didn't matter about covering it in paint.
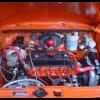
Anyway heres the pictures:
First coat was etch primer to give a decent base:
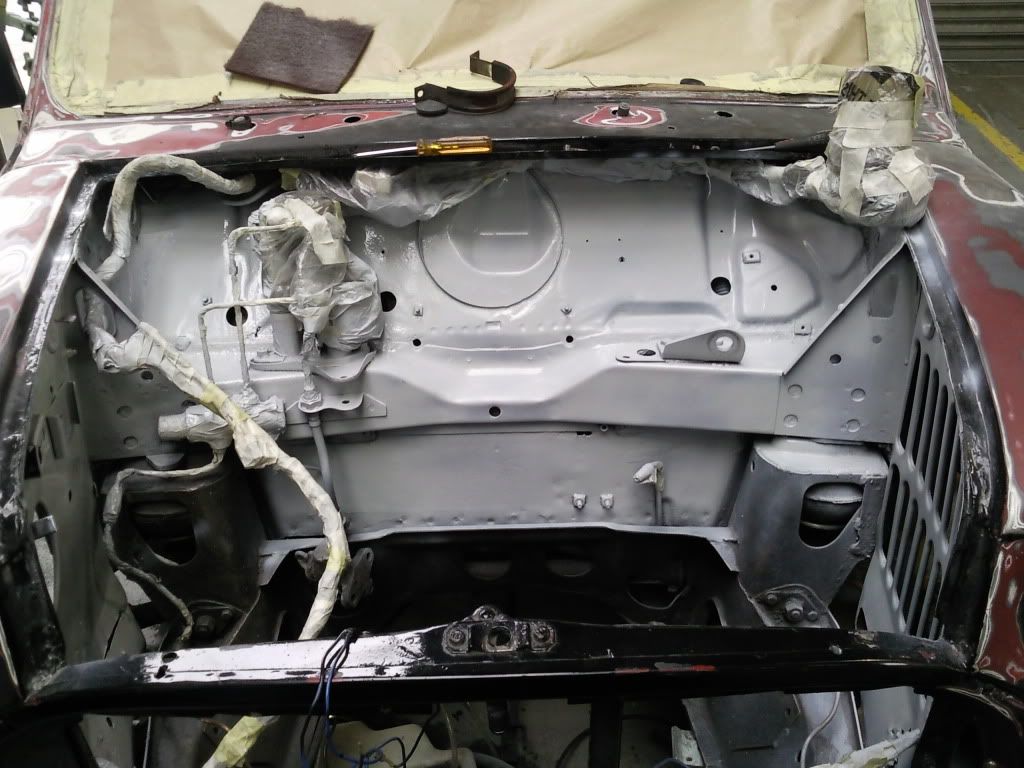
Was going to build up a few coats of filler primer but it seemed to take forever to dry so ended up just doing one good coat:
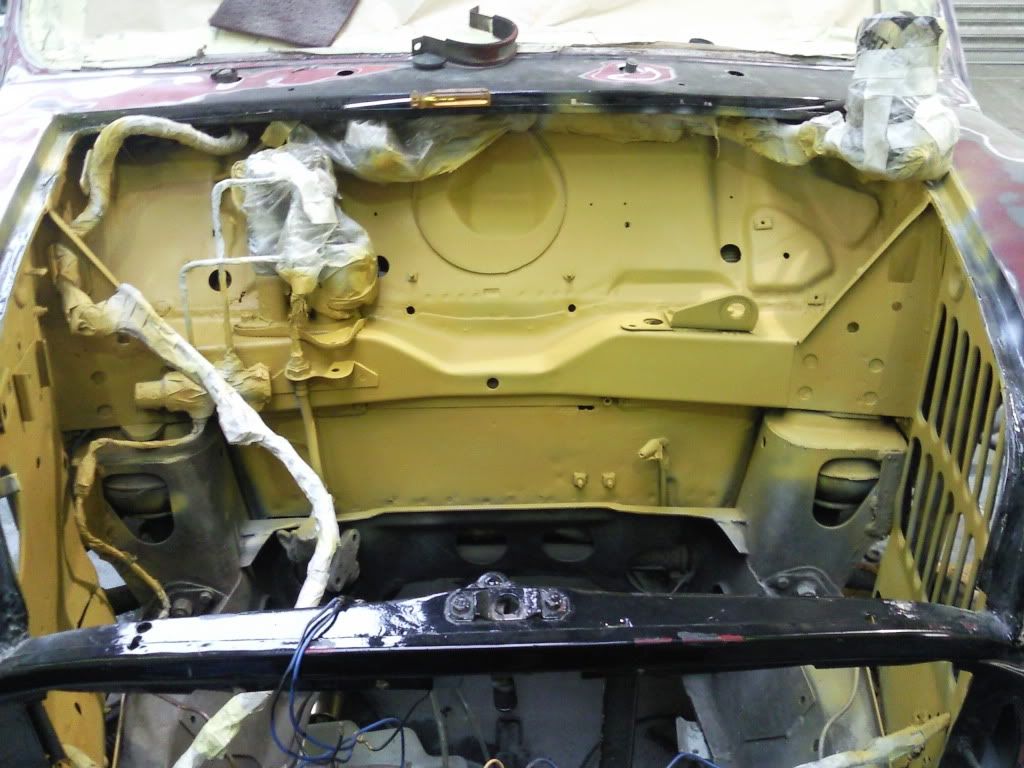
Then on with the gloss black. I just brush painted the subframe with smooth hammerite and it came out really well:
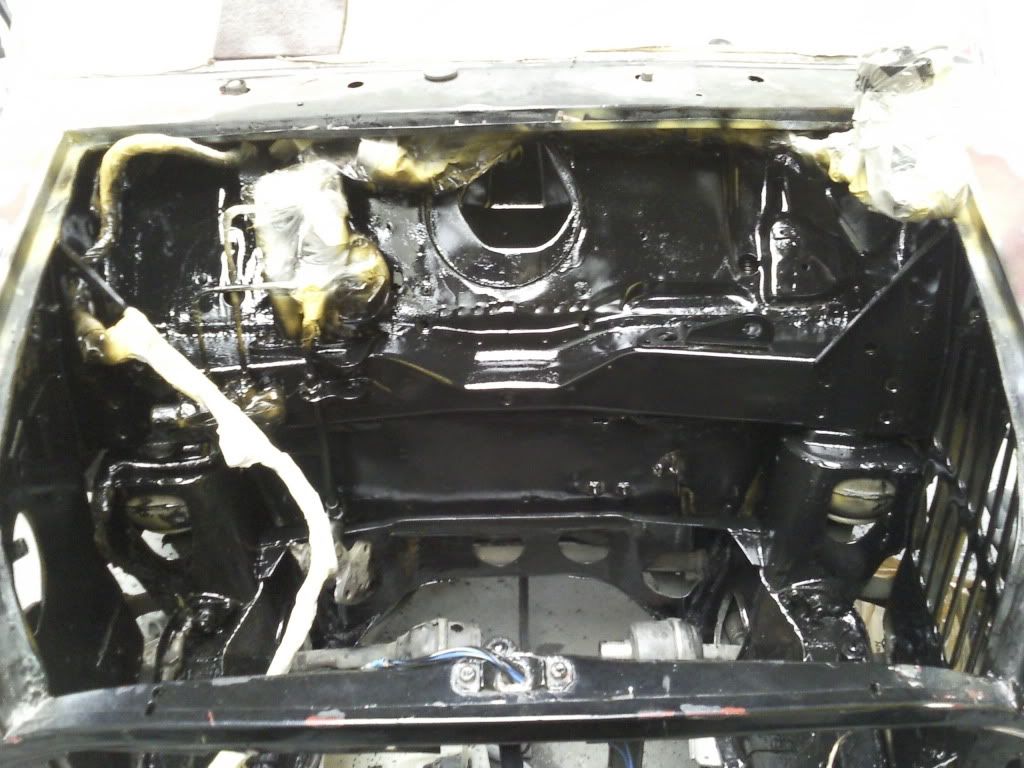
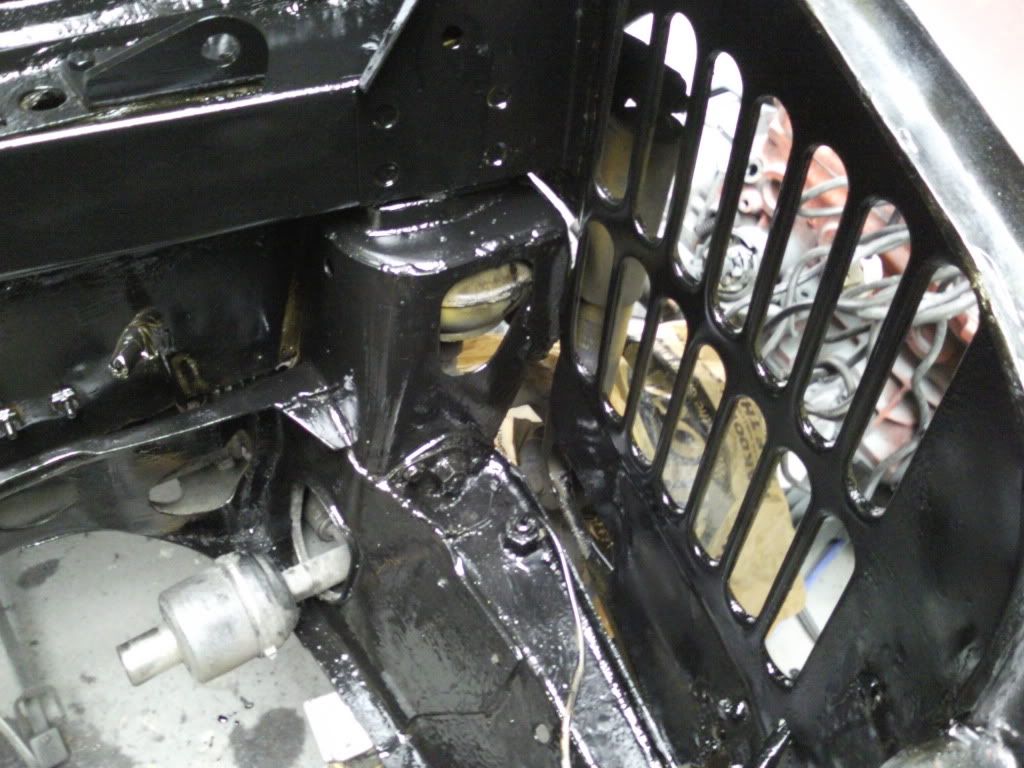
Then picked all the masking tape off and put everthing back in place. Pretty pleased with the results really. Close up the finish isn't amazing because i think just generally theres alot of dust in the air inthe bodyshop and some ended up on the paint and got the odd run too but nothing too bad at all.
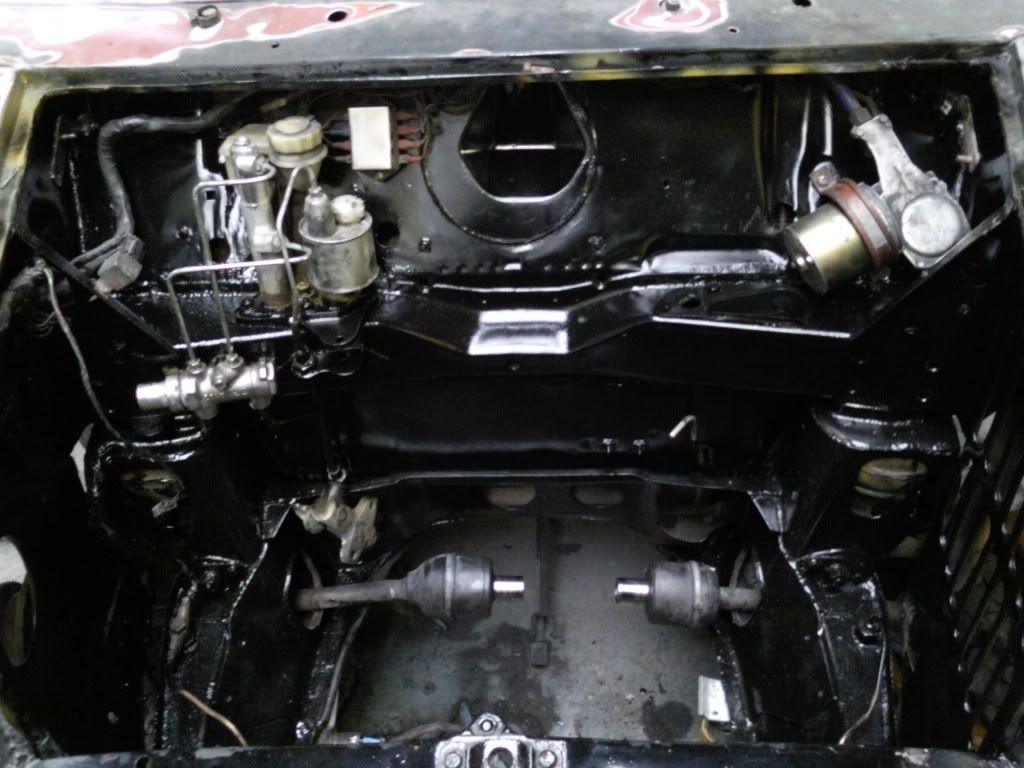
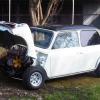
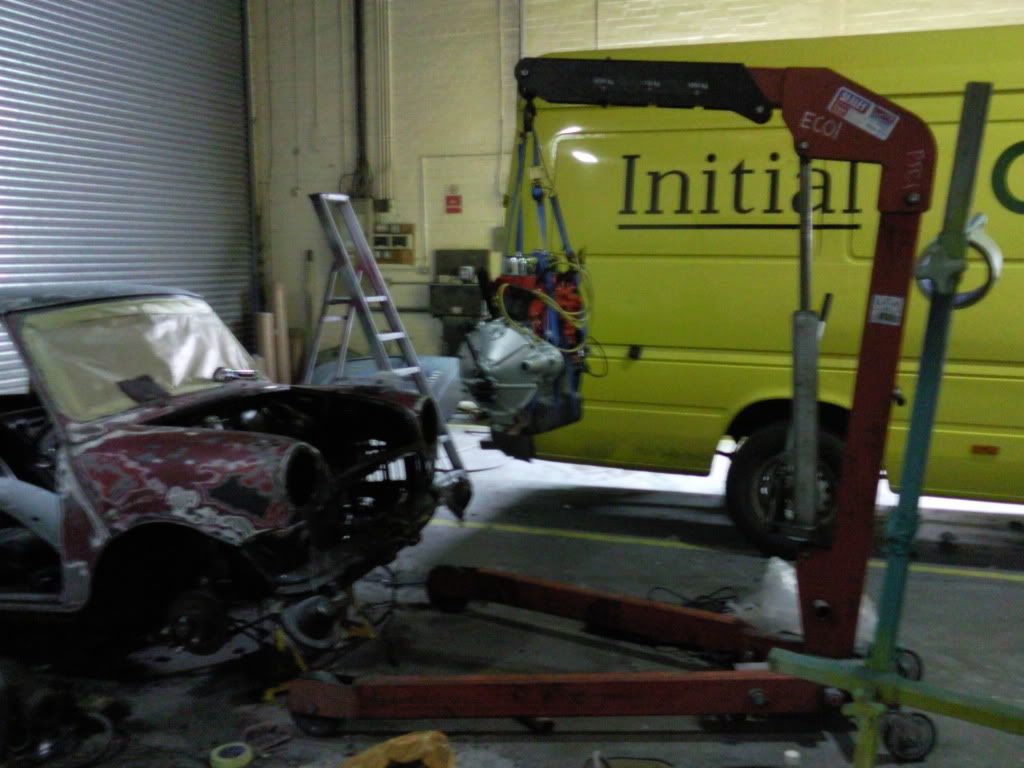
Tried to put the engine in too but ran out of time, the bottom of the gearbox fouled the axel stand too so need to move that before the engine will sit right in place. But had to get a picture of the absolute beast engine crane i'm using, a 2 tonne truck engine crane, its pretty much the size of the car and wouldn't fit under the car or between the wheels so you can only use it with the car on stands
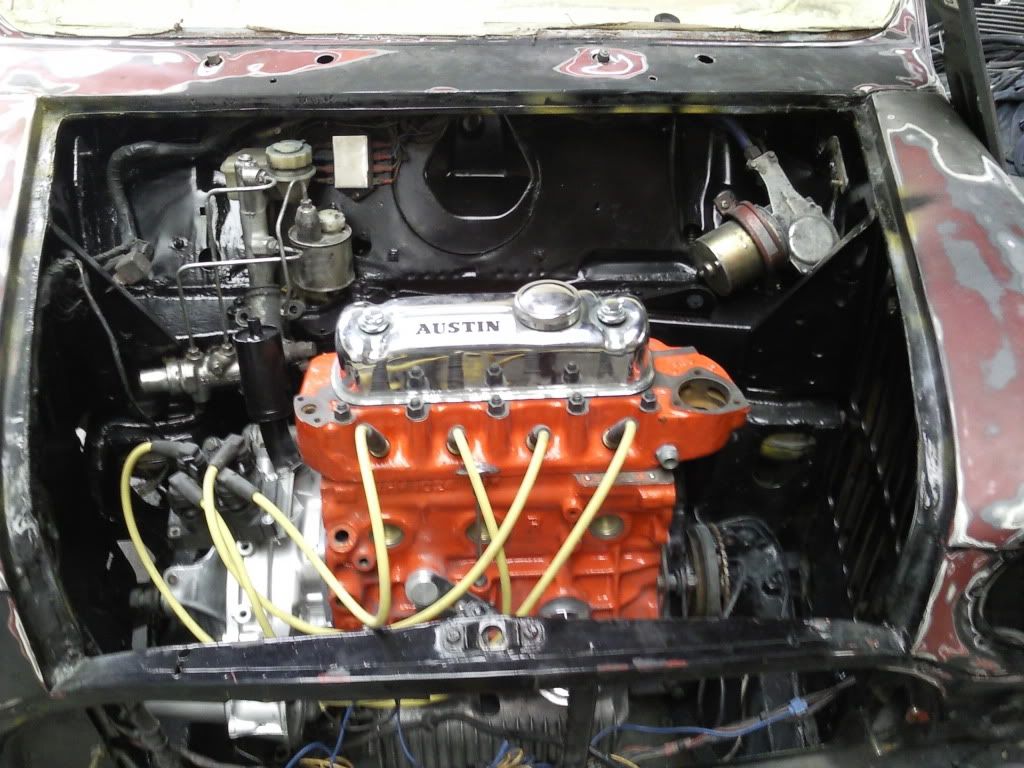
So going down there again in the morning to get the engine sat in place, i'll probably strap it down with ratchet straps for now whilst steve transports it. No point attaching all the steadies because they'd have to be taken off again for steve to fit the poly bushes anyway. Once the engines in i'll grab a photo before its taken away to be finished...
#230

Posted 26 February 2010 - 10:58 PM
#231

Posted 27 February 2010 - 03:39 PM
#232

Posted 27 February 2010 - 04:22 PM
Just been down to the place where im having mine done, nothing better than a freshly painted mini
Will will have to meet up when both of ours are done
Chris.
#233

Posted 27 February 2010 - 06:37 PM
Steve turns up at 12 just like he said he would, but said his mate with the trailer wouldn't come until it was certain we could get in the unit to get the car out. So steve went off for lunch to kill some time, and by half 1, it was obvious my mate wasn't turning up. After over 3 hours of waiting me and my dad were well and truly *drunk* off
Not really sure whats going to happen now but its obvious we'll have to get the car during the week when the place is open, so i'm supposed to be going down there in the morning to get the car ready so then steve can just come whenever it suits him to collect the car...
#234

Posted 27 February 2010 - 07:22 PM
#235

Posted 28 February 2010 - 02:55 AM
Hope you get out of there smartish.
Chris.
#236

Posted 28 February 2010 - 08:55 AM
#237

Posted 05 March 2010 - 08:29 PM
Also got all my bits together that are down there and piled them all inside the car, so steve can just put the car on a trailer and go, which will be sometime next week i hope...
#238

Posted 06 April 2010 - 10:22 PM
Best of luck from here on in, looking forward to seeing you refit that Mk1 grill and put those finishing touches on.
#239

Posted 20 April 2010 - 10:01 PM
Thanks
Alex
#240

Posted 20 April 2010 - 11:56 PM
1 user(s) are reading this topic
0 members, 1 guests, 0 anonymous users


