'86 City Refurb
#196

Posted 13 July 2009 - 08:22 PM
Maybe I should start a project thread also...
#197

Posted 13 July 2009 - 08:46 PM
the lube will have been carried out of the push rod hole and dripped down the back when u put it the right way round if that makes any sense
#198

Posted 14 July 2009 - 09:41 PM
I know what you mean about the pushrod holes, but this oil hasn't come out of there and dripped down the back of the head. It definatly come out of the gasket seal itself. It was only a small amount but still doesn't fill me with confidence...
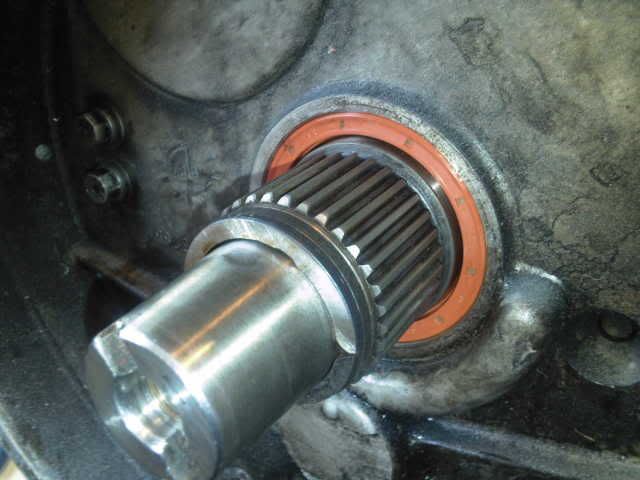
Anyway, i've made abit more progress. I've put the primary gear in and put the oil seal in. I bought the proper tool for that and although it was perfect for the job and made it really easy, its probably got the worst cost to amount of use ratio of any tool i've ever owned...
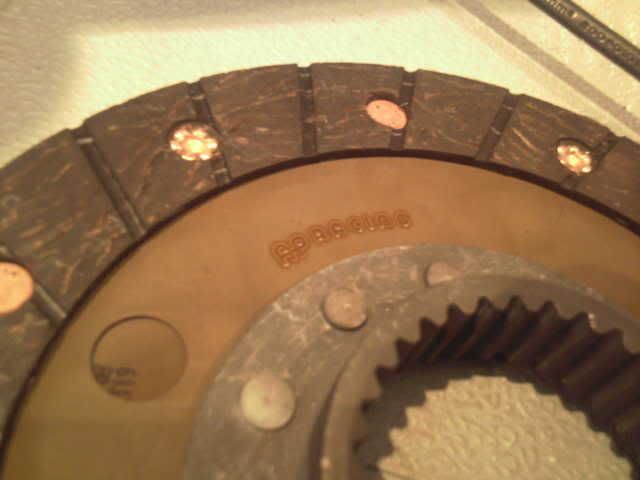
Then set about the clutch and flywheel. AP bonded rally clutch plate should be pretty sharp...
Sexy minisport ultralight flywheel:
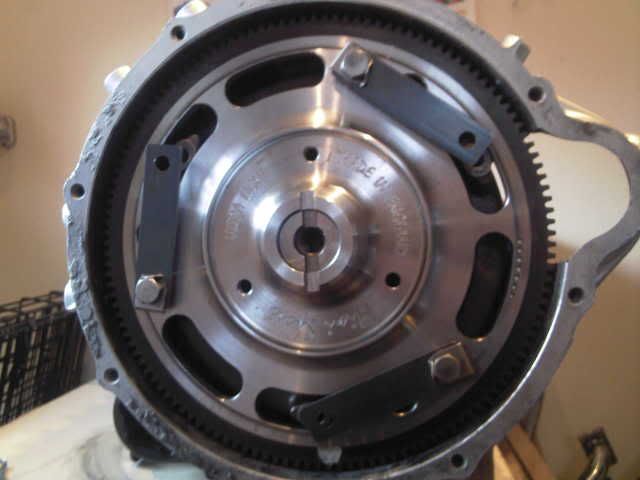
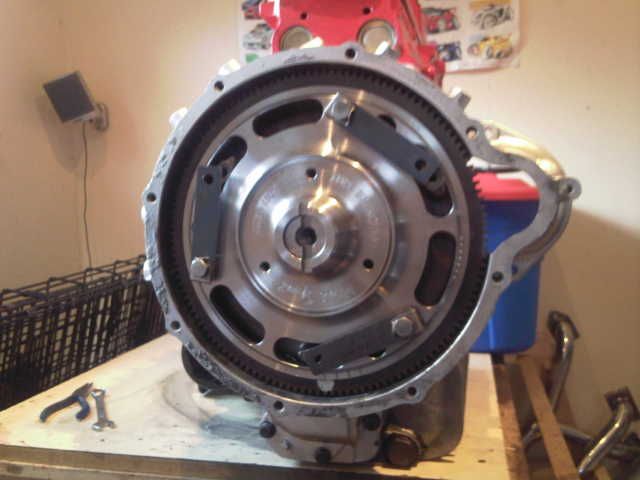
I then realised that i've not ordered a preverto flywheel bolt, locktab and allignment washer, so i've ordered those now just got to wait for those to come and then i can tighten the flywheel up (150ft/lbs!) attach the diaphragm and button up the bell housing.
So in the meantime i decided to clean up some of the ancilleries that'll be going on soon. I start by giving the oil filter mount and thermostat housing a quick clean and wirebrush but by the time i was done i'd gone the whole way and got the polishing wheels out and gave them a brief going over...
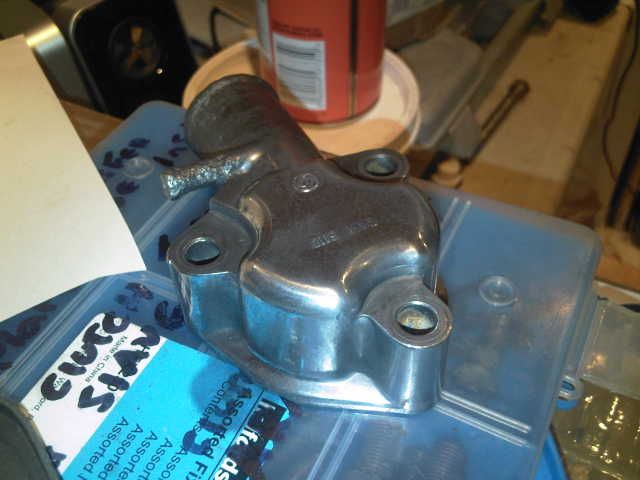
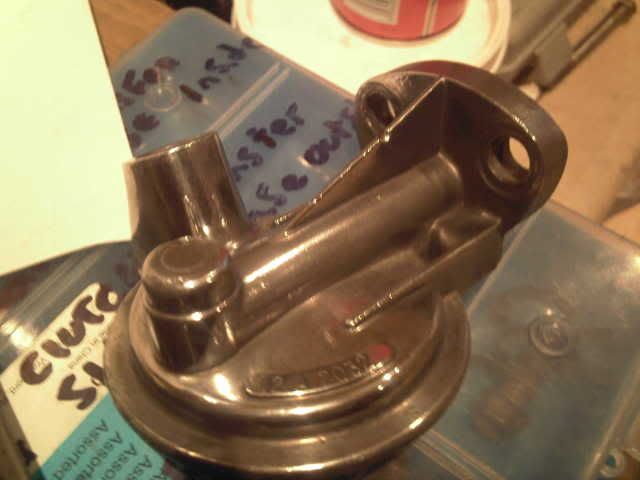
#199

Posted 16 July 2009 - 11:40 PM
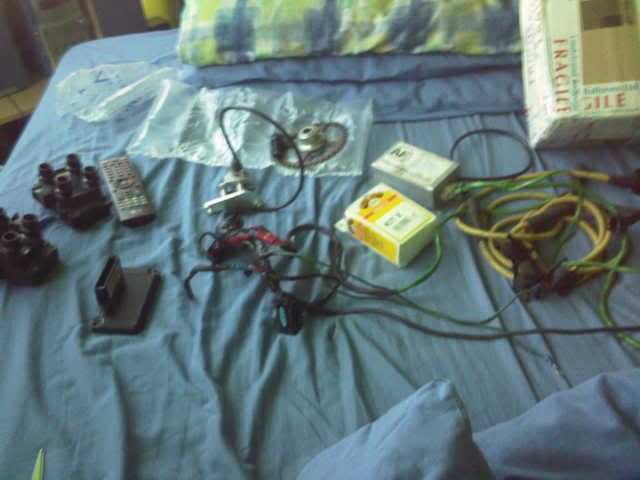
So now just got to make a decent reliable wirng loom for it all. Matt gave me a loom to work off:
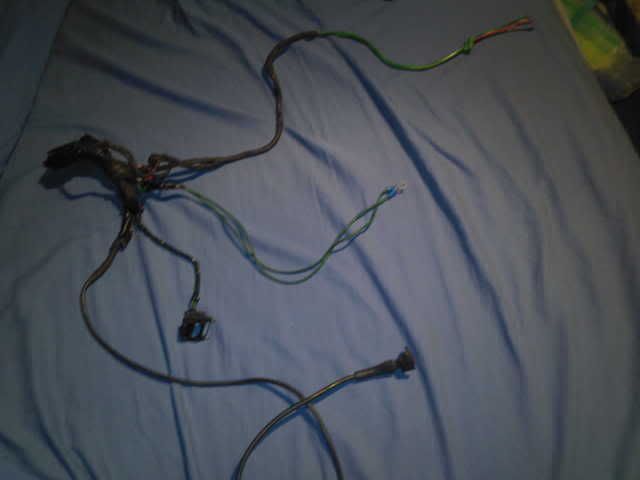
But it has some dodgy bits like this, that matt aded for fault finding purposes:
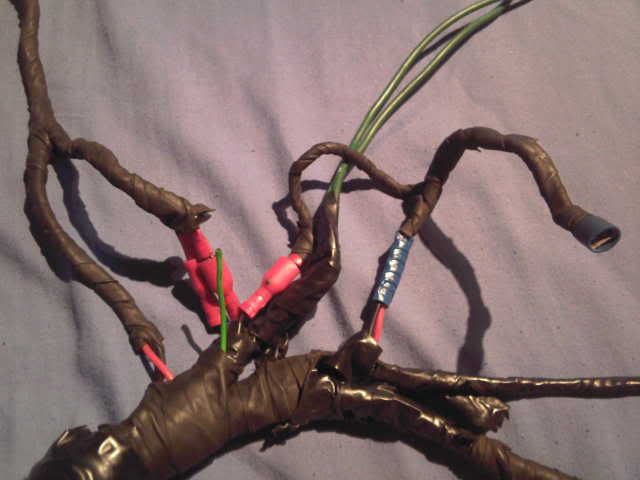
So need to sort those out. I've just ordered aload of heatshrink and wiring conduit for it all, so next week i can crack on at making a nice, neat loom for it all...
#200

Posted 18 July 2009 - 10:10 PM
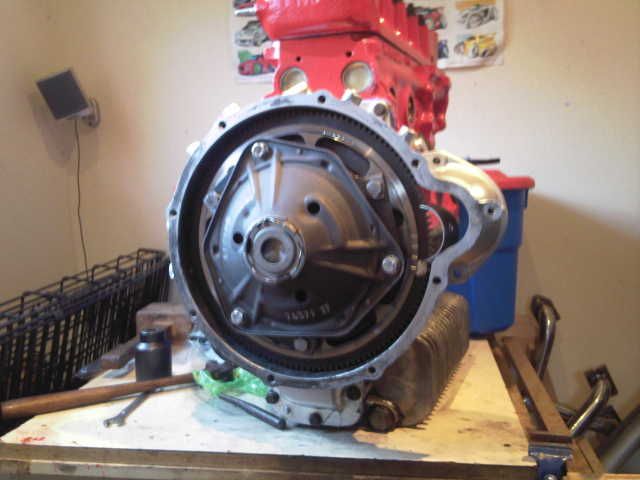
Flywheel on and torqued up, clutch all done too:
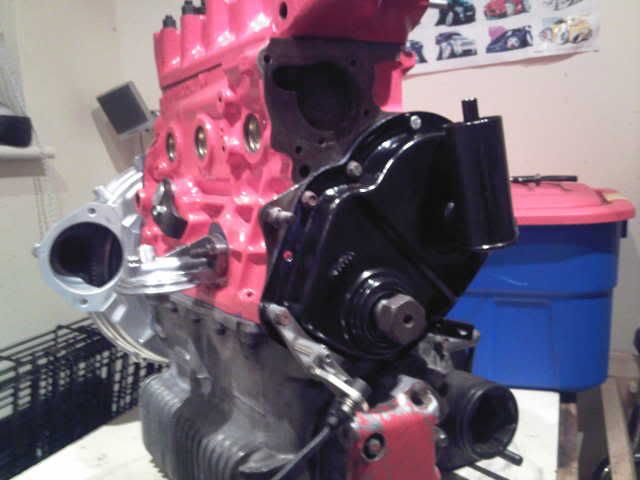
Cam nut torqued up and timing cover, you can see the dizzy blanking plate and VR sensor for the MJ:
Clutch cover on, new pre verto plunger, release bearing, engine mount, breather and clutch slave:
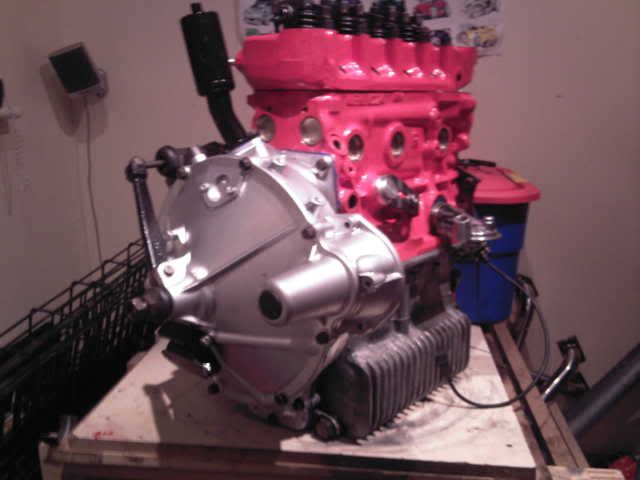
Overall, not looking too bad, i gapped the tappets too:
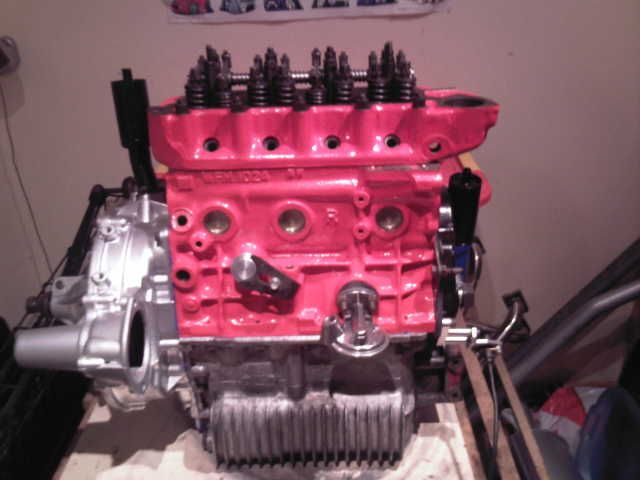
So yer, just needs a few bits to finish it off my old engine. Just things like rocker cover, oil transfer pipe etc...
#201

Posted 18 July 2009 - 11:24 PM
i like
#202

Posted 21 July 2009 - 03:25 PM
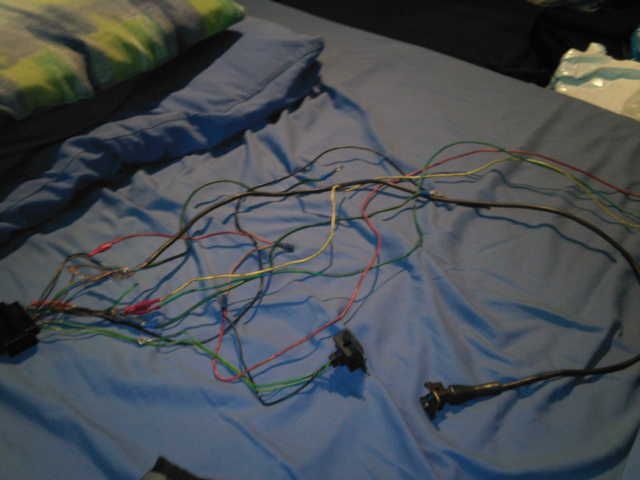
So i ordered aload of heatshrink and stuff and set at sorting it all out today.
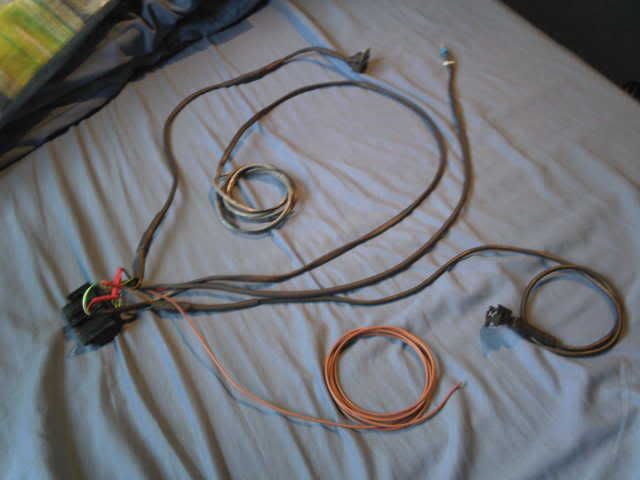
So i've took it all apart and traced everything to where it should go. I've redone all the crimps with through crimps rather than flimsy spade connectors, extended the wiring to the coil and the switched live, so i've got more mounting options and then wrapped it all in heatshrink tubing.
I've used thin heatshrink round all the wires, then some thick stuff round all the crimps. I've got some conduit protection tubing to put round it all too.
So fingers crossed its all right and it'll all work
Just need to order some big heat shrink or something to tidy up and protect all the wires going into the EDIS plug, then its done. Got to work out how to mount my coil too...
Anyway heres my new loom:
#203

Posted 21 July 2009 - 03:31 PM
#204

Posted 21 July 2009 - 05:29 PM
#205

Posted 21 July 2009 - 11:01 PM
If it does and it all works smoothly, i reckon it'll be one of the best mods for a mini...
#206

Posted 23 July 2009 - 02:57 PM
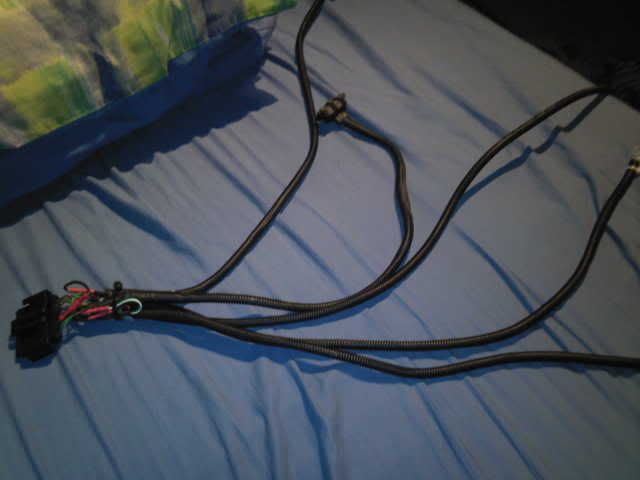
Then got some of the big heatshrink i'd ordered and slid that over everything and onto the EDIS plug, to cover the wires that hadn't been covered in heatshrink. Now thats strunk down and i'm left with a hopefully very reliable wiring loom, that shouldn't get effected by water.
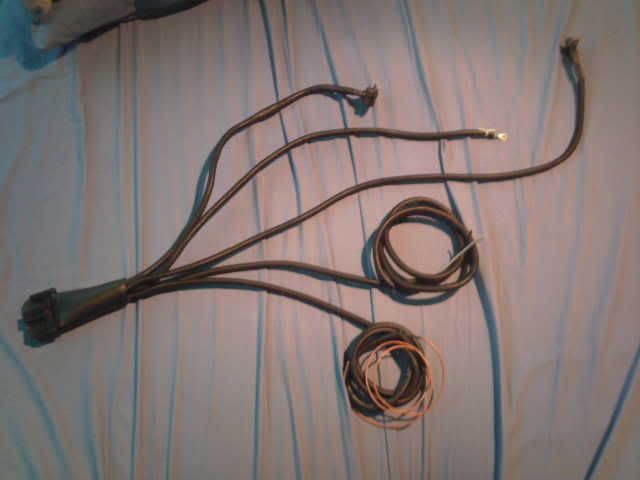
Just need to order the MJ cable to connect to the laptop so i can start fiddling with that, and also get my inlet manifold machined to take a vacuum hose...
#207

Posted 23 July 2009 - 03:07 PM
Looks extremely tidy. Anymore done on the mini body wise?
#208

Posted 23 July 2009 - 03:20 PM
looks nice mate
where did you get the conduit ?
thanks
#209

Posted 23 July 2009 - 03:50 PM
The heashrink was from: http://myworld.ebay.co.uk/kngnet/
Make sure you specify if you want it split or unsplit with the conduit.
The minis taking longer than i'd hope to get the work done. I'd say the weldings about 50% done, he just needs to put the new sills on and spray it. He dropping off another wheel for me to polish tomorrow, but next week, i'll have to give him a real push to try and get it done. Because before i know it, the summer will be gone and i won't of even used it!
#210

Posted 23 July 2009 - 09:14 PM
Just used a random bit of metal i found in an old tool box, bent it to the right angle and drilled some holes in it to bolt the coil to it, then the bracket to the clutch breather.
Its not the strongest bracket, but i've bent it so the weight of the coil is resting on the transfer case anyway so should be fine.
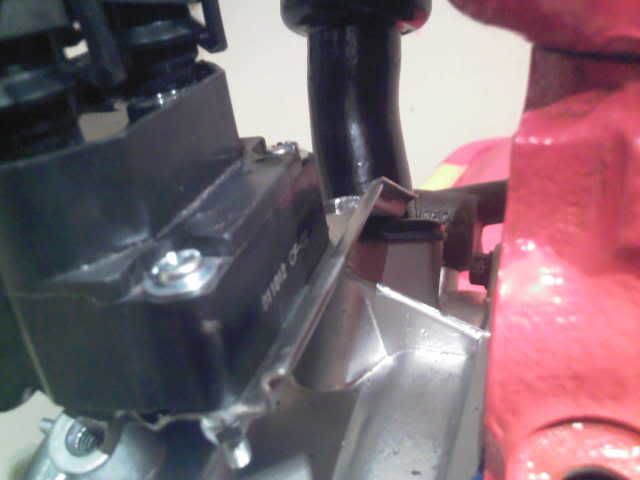
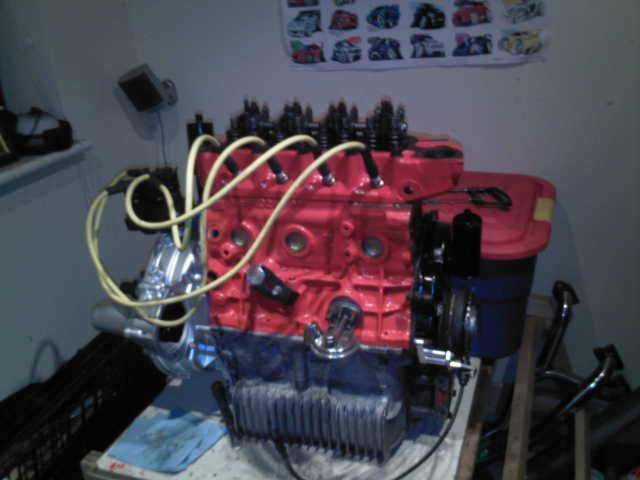
Also bolted on the trigger wheel and torqued the bottom pulley up. Put the HT leads on too. Looks pretty good, probably would prefer blue leads but i don't think my old mini ones will fit the coil or be longer enough to reach it for that matter.
1 user(s) are reading this topic
0 members, 1 guests, 0 anonymous users


