Actually, I'm outa upload space, so you'll have to make do with one pic for now until I work out how to get some more attachment space...
 Mini_parts_0565.JPG 1.89MB
147 downloads
Mini_parts_0565.JPG 1.89MB
147 downloads

Mini Mad

Posted 12 February 2008 - 02:11 PM
Mini_parts_0565.JPG 1.89MB
147 downloads
Crazy About Mini's

Posted 12 February 2008 - 02:46 PM

Learner Driver

Posted 12 February 2008 - 03:56 PM
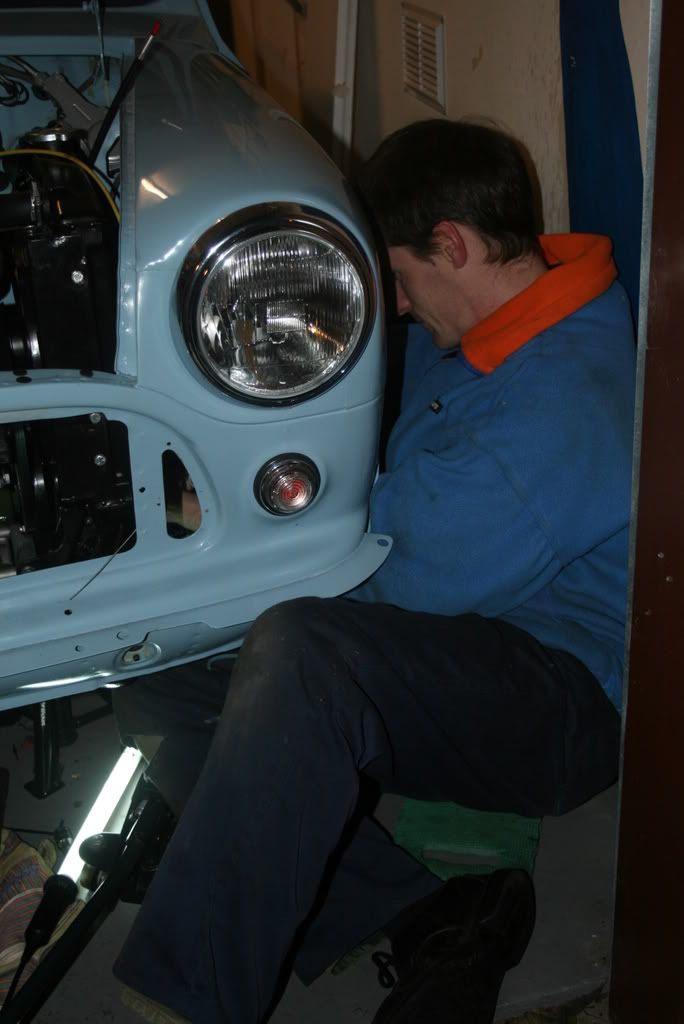
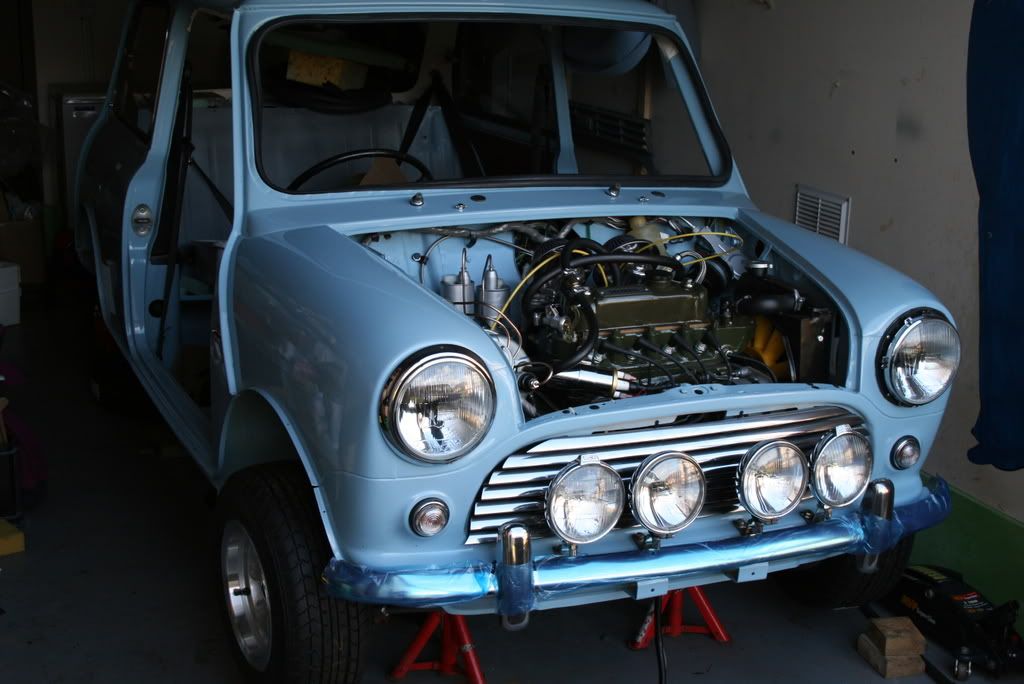
Yes, I was pretty pleased with it, though I did flat it back and polish it up with 1200, then 1500, then 2000, then t-cut. Lots of work, but worth the effort.Excellent stuff. Paint job looks good for a DIY job. What compressor/gear did you use?
I used a Sealey 2hp 50 litre compressor, 1/4" air hose, and a SIP Diamond spray gun. Paint was from www.paints4u.com.
Mini Mad
Posted 13 February 2008 - 04:25 PM
Mini Mad
Posted 19 February 2008 - 02:01 PM
Mini Mad
Posted 20 February 2008 - 02:55 PM

Crazy About Mini's

Posted 20 February 2008 - 05:52 PM

On The Road
Posted 20 February 2008 - 08:12 PM
Original Spamster

Posted 20 February 2008 - 10:23 PM

Up Into Fourth

Posted 21 February 2008 - 05:06 PM
Mini Mad
Posted 22 February 2008 - 01:19 PM
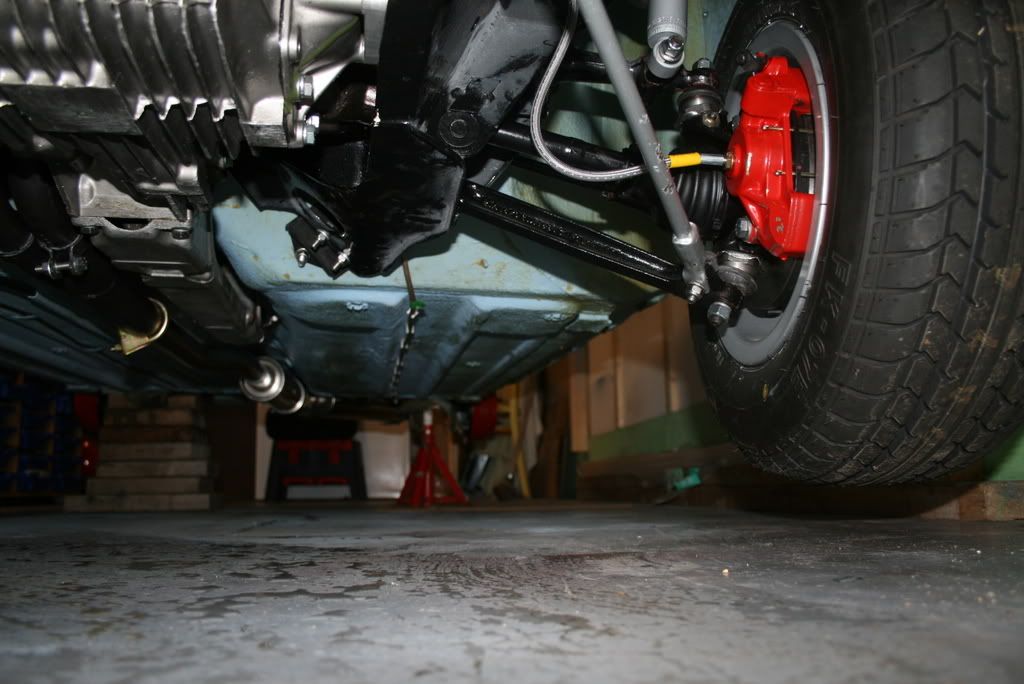
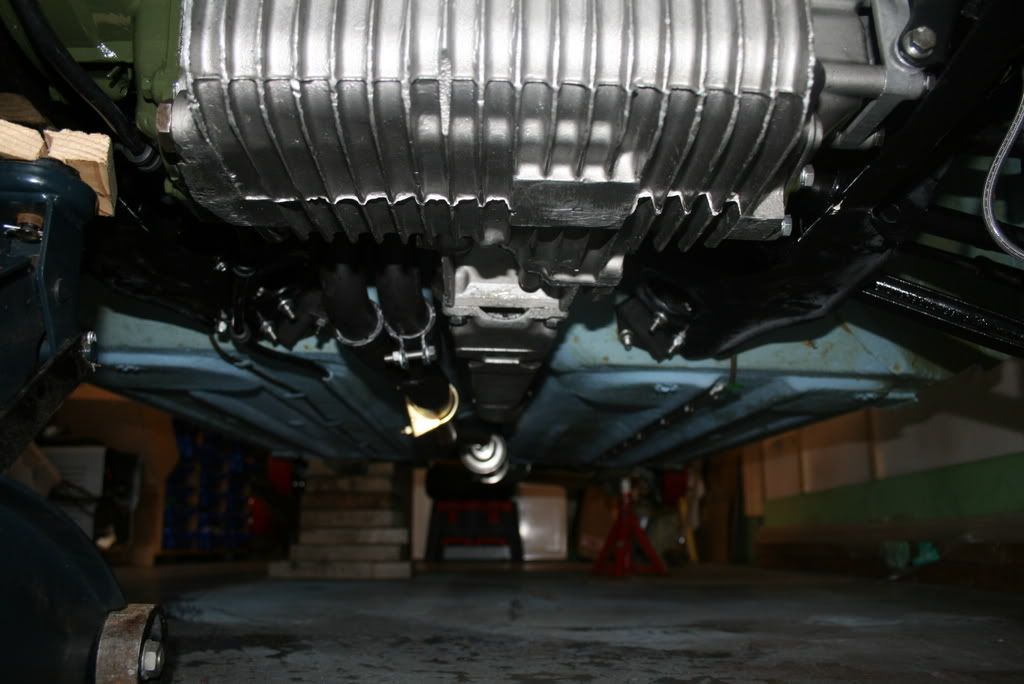
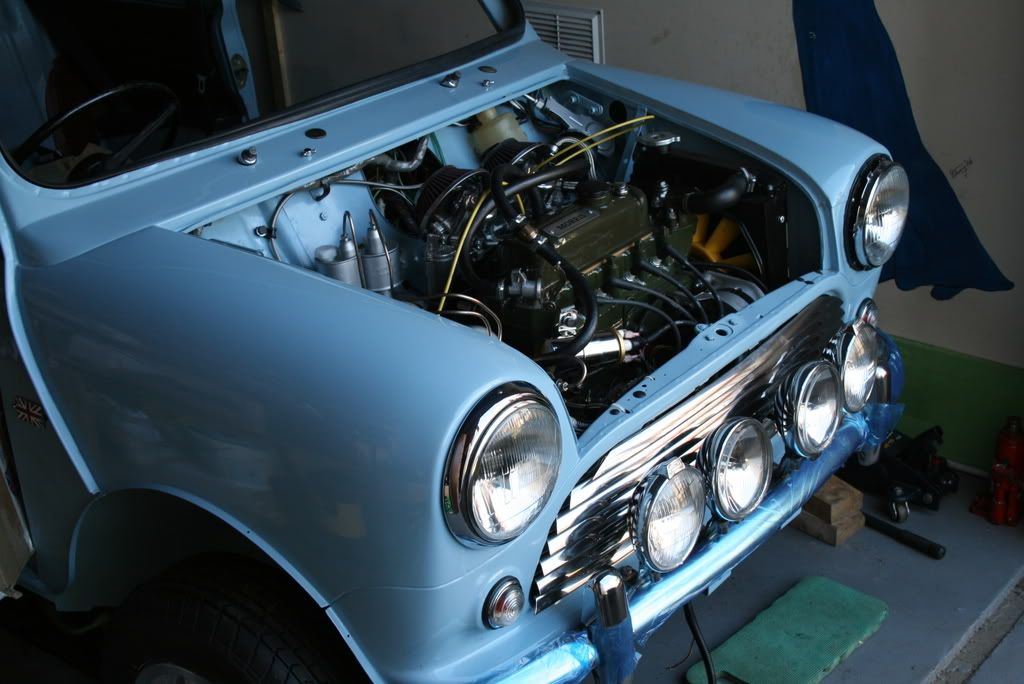
Thanks, don't worry, I've not even put the spring clips on yet, so once I find them, I'll sort the split pin...looking great..
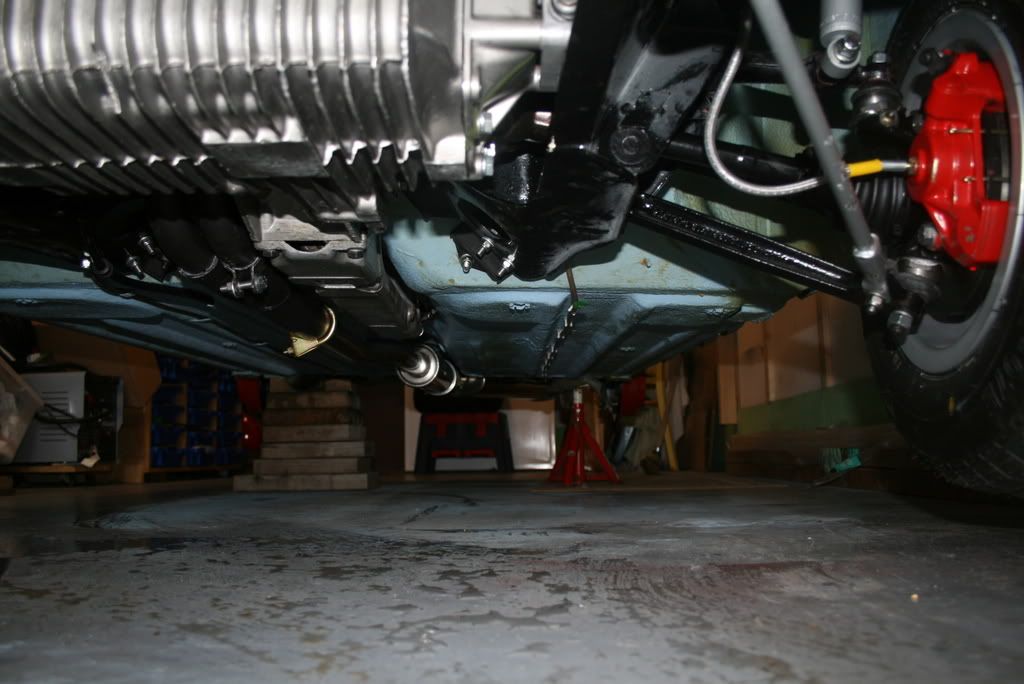
ijust wanted to mension that the passenger side brake pad pins looks like its falling out!
keep up the good work
Mini Mad
Posted 22 February 2008 - 01:42 PM
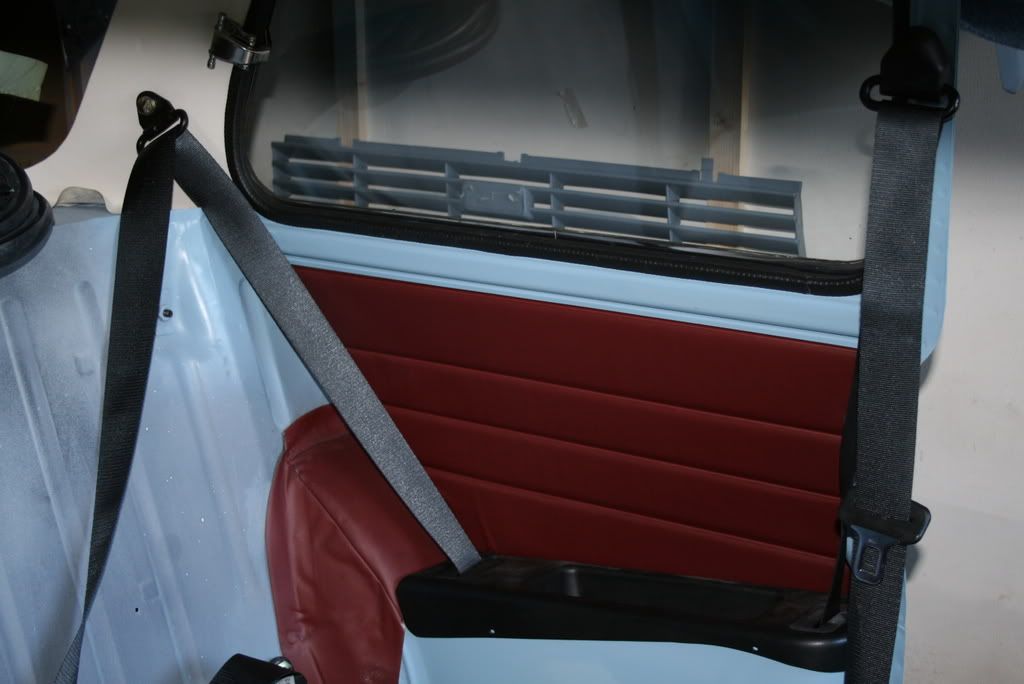
I'm glad Speedwell won the toss (it was between Surf and Speedwell), looks awesome with the silver details like the roof decal and the spotlights (will get a picture in a few days...mmmmmmm)that colour has absolutley grown on me so much i wish i sprayed mine that colour now
love the attention to detail, how long you reckon until its finished?
Up Into Fourth
Posted 22 February 2008 - 01:59 PM
Mini Mad
Posted 10 March 2008 - 01:37 PM


0 members, 1 guests, 0 anonymous users


