'91 Mayfair Restoration/upgarde
#601

Posted 01 May 2011 - 02:57 PM
#602

Posted 01 May 2011 - 03:55 PM
#603

Posted 09 May 2011 - 12:08 AM
So, got on with some quieter work.
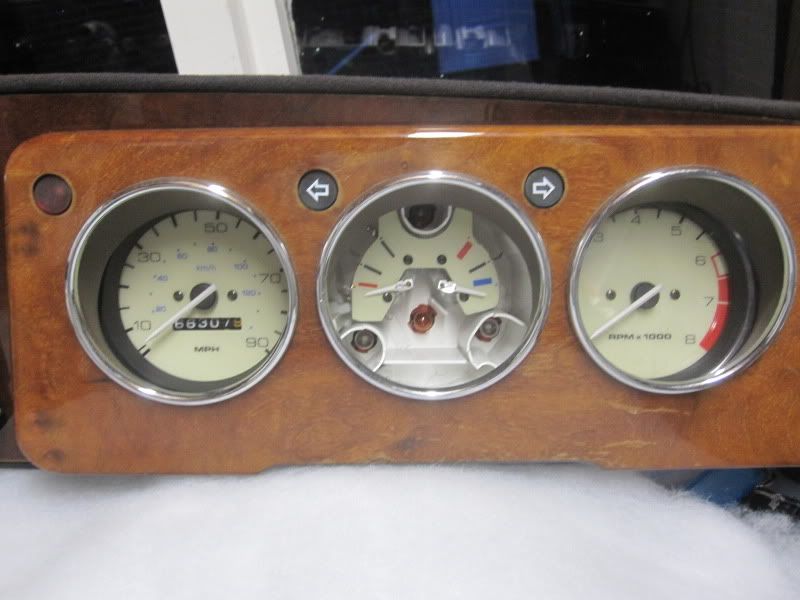
First off was to replace the damaged clocks pcb.
Years ago, part of the circuit got damaged, so these sections of wire were soldered in to bridge the fault


New PCB on

I had to take the fuel and temperature gauge out when removing and refitting the screws on the back, but, in my haste to put it back together, screwed the clocks back onto the dash and forgot about the dial being in bits, so the had to come back off the dash!

Next thing was to get the headlight levelling switch out of the dash and see how it worked.
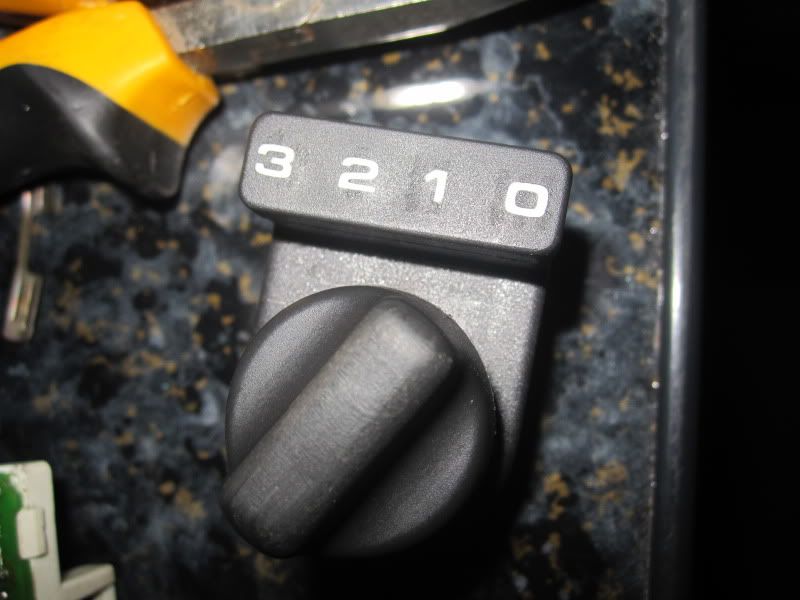
I was hoping for a nice and easy test with the multimeter for which terminal does what on continuity for the different positions, unfortunately, it wasn't that simple. It looks like the different positions go through the circuitry and through different value resistors to determine the switches position and so there wasn't a definite + in which got distributed to the 4 switch positions as 4 different output wires like I hoped.
Inside the switch was the copper contact with 3 'feelers' which made contact with the copper strips on the PCB...

(Resitors and illumination bulb removed from the PCB in the picture as no longer needed)

The 2 sets of 4 contacts are linked in pairs, so to get it to work as a 4 position switch rather than it just changing resistance, I had to cut off one of the feelers that touches one set of the 4 contacts from the switch leaving the one that touches the solid contact and one that touches the other set of the 4 contacts.
I wired the + in wire to the switch, direct onto the solid copper contact, then with the multimeter, found which of each 4 separate contact matches with which switch position. Once I found that out, It was a case of the soldering on the 3 output wires to the opposite set of contact which will connect to the resistor pack.

I added a plug& socket to the switch wiring in case I ever need to remove the dash so it will be a simple case of unplugging it at the switch instead of cutting the wiring out and rejoining it.

With that problem solved, I moved on to wiring in the resistor pack itself, luckily, Ford use the terminal arrangement for the 3 input wires on the resistor as a relay so was able to use a neat looking relay base. The single black wire is the output that powers the heater fan.

All that was left to do was a quick test before the dash goes back in, so made a temporary connection using the original blower switch wires
And, success...
CWQ4ixUWUAA
With that working, I moved on to the immobiliser, back when I had the original steering column, the immobiliser touch pad thing was under the steering column on the steering shroud, but saying as I'm not that keen on drilling holes in the new one, it's always just been tucked up by the drivers side windscreen pillar. I was getting fed up of it being there as it always looked half-arsed, plus with it being moved about so often, one of the wires had came off a few times and had to be soldered back on.

So decided to take a risk and drill a 19mm hole in the dash above the driver side vent to permanently situate it there.


It was a bit daunting at first drilling the dash, but took it steady and it worked out well, it actually needs a 20mm hole so had to file it out slightly, but it's a nice and tight fit so shouldn't get damaged or broken, plus the flashing LED when it's armed will be in sight which is no bad thing.
Tomorrow, I'm hoping to get the switch panel swapped and the new heater control fitted, then it will be ready for the MOT I hope. Really, when I come to think of it, I should have done the heater control when I had the cooling system drained last week as I need to remove the old one and fit this new one but never mind!
#604

Posted 09 May 2011 - 12:33 AM
#605

Posted 09 May 2011 - 12:43 AM
#606

Posted 09 May 2011 - 10:36 PM
Decided whilst the dash was still out to change the switch panel for the cigarette lighter one and get the new relocated heater control fitted.
So, switch panel out, awkward job to say the least as I haven't got tiny girly fingers to get at the nuts behind the dash rail holding it on

To get the switch panel out, the choke and heater cables had to come off.

I'll be glad to get rid of the horrible old heater valve, luckily this was hidden by the airbox

With the switch panel out, I could see how much the new one would need to be drilled out to accept the choke cable. For those that don't know, this new switch panel is designed for an injection car so the cigarette lighter goes in the place where the choke cable usually sits, and the hole is for the heater control which is smaller, so it was a case of drilling the hole out to accept the larger choke cable.

After much swearing and a lot of drilling later, it fits.


And in the car. (I've just noticed the wonky heated rear window switch and the faded rear fog one, might order some replacements)

So, with that sorted, I turned my attention to tidying up the wiring behind the dash, it had got pretty messy behind there also wired in the cigarette lighter, once that was done, fed through the choke cable ready to connect and also the new heater cable.
Also fitted the bulkhead soundproofing bits in an attempt to quieten the car down a bit, I've still got the lower bulkhead section to do, but that means pulling the carpets up, taking out the centre console etc, might see how much difference the top section makes first.


Megajolt unit was just pushed in behind the dash previously, so secured that a bit better, hopefully the heat from the heater pipes shouldn't affect it too much.

Heater fascia was next, unsure on the colour, I thought it would match the clocks, in two minds about it now, I'll see how it looks when the dash is all back in, worst case scenario, I'll get another made up in black.

Centre console panel fitted, the flash is quite harsh and makes it look a little cheap, but it's a good match for the grain and colour of the walnut on the dash.

Next on the list is to fit the multi plug on the heater wires, swap the heater valve and reconnect the choke cable to the carb, then it's pretty much ready for testing that everything still works then the dash can go back in. Happy day's!!!
#607

Posted 10 May 2011 - 07:50 AM
#608

Posted 10 May 2011 - 08:09 AM
When I finally added the front bulkhead soundproofing back to my car it was like heaven
#609

Posted 10 May 2011 - 11:34 AM
Can't wait to see/hear how much difference the new air-box and the extra sound proofing make, hoping it will quieten it down a fair bit.
#610

Posted 16 May 2011 - 10:29 PM
http://cgi.ebay.co.u...=item1c1bbb176f
Edited by wardyxxx, 16 May 2011 - 10:30 PM.
#611

Posted 17 May 2011 - 06:31 PM
#612

Posted 17 May 2011 - 06:34 PM
*Edit*
Almost forgot, just won a 6 month old Pioneer Ipod/CD player on Ebay, the DVD/Freeview is a novel idea, but realistically, it's too gimmicky, the DVD player will never really get used in the car, plus I was getting a little bored of it, it doesn't quite fit with the rest of the car either.
Like an idiot, when I traded in the Maserati, I forgot to take out the 4 week old head unit which has annoyed me a lot since. I basically bought it, upgraded the front speakers then sold the car 4 weeks later, D'oh!
I had forgotten exactly what model it was, but knew it by sight and as luck would have it, found an almost identical one on ebay with 5 mins left to go. Few bids later and I won it with 1 second to go. The only difference with this new one is, it doesn't have bluetooth like the one I let go with the car, no major problem though, I doubt you could hear anyone on the phone anyway in a Mini
This be it...

Also as a small update to the car, I found a way of securing the switch panel in, bit of a pikey effort, but it involved 4 cable ties
I've also changed the bulbs in the 3 extra dash gauges to amber LED's as the 5w side repeater bulbs were getting far too hot and causing the plastic on the gauges where the bulbs sit level with to melt/scorch, not something I want to risk
Edited by M44K TS, 17 May 2011 - 06:58 PM.
#613

Posted 17 May 2011 - 07:43 PM
#614

Posted 17 May 2011 - 07:55 PM

It's by far the best headunit I've had to date, I just love how simple the menus are once you get the hang of them, no doubt this new one will be the same, only thing I'm a little disappointed with, on the double din, the USB is on the back, so all I have is the ipod lead poking out the dash in the cubby hole above the radio, keeps everything neat and if I forget to unplug my phone, it's sort of hidden from view, I only wish the new h/u was the same with it on the back as I could have the ipod/phone hidden away in the glove box, suppose I'll always remember to take my phone with me if it's plugged in right in front of me
#615

Posted 19 May 2011 - 10:27 PM

Also ordered a relay box for the dipped beam, main beam, spot & fog relays which came yesterday, it's bigger than I thought it would be, the only place I can realistically mount it, is behind the slam panel, it'll have to be bolted through too so I'l have to fine some pretty bolts for that.


I was concerned about the bonnet clearance, but it all seems fine, plenty of room.

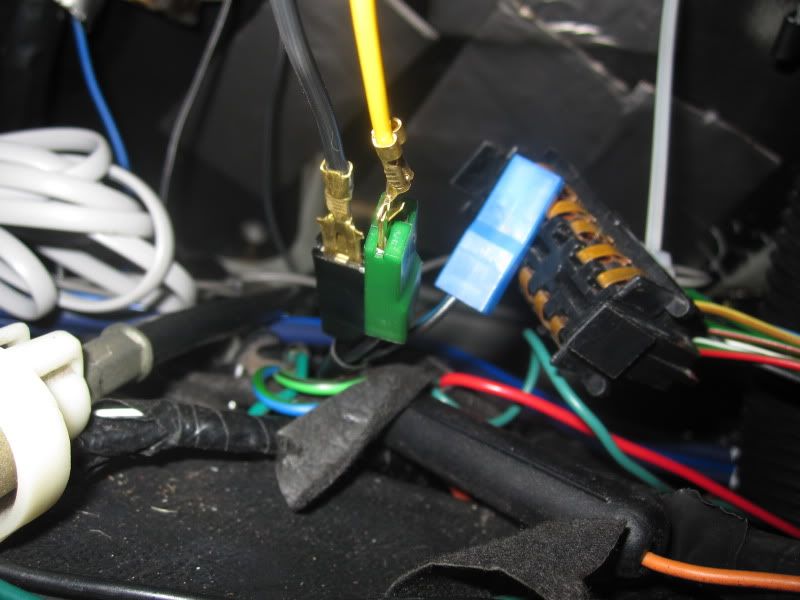
When pulling the headlight loom to bits, I found some spurious bullet connectors, how did I miss this the first time round? This might explain why the main beam sometimes flickered on bumpy roads?


I'm not keen on the solder on bullets, I've had a couple come off as they're difficult to get right. So bought some crimp on ones which should make a better connection.


Back to my OCD again, the horn & relay brackets also doubled as an earth point, there were about 6 earths connected by ring terminals and fork terminals like this...

They never looked neat and were pretty much just wedged in, I was never happy about them. So, decided to things properly with a proper 6 way earth terminal.

Once the relay box is wired and the dash back in, it should be pretty much ready for an MOT then I can actually do some miles in it this year with a bit of luck!
1 user(s) are reading this topic
0 members, 1 guests, 0 anonymous users


