I've read this project a few times, I don't know why I've never commented! That fresh paint looks great, I dream of my shell being that straight and clean! The photo with your engine bay in view at the top of this page looks cool, it won't be that empty for long though!
I had to replace quite a few rubber parts on my car recently, after they had only been on for a few months. I've made a point of only buying genuine ones now, although I did buy the last ones from a reputable supplier. It was an enormous hassle to strip down both front and rear suspension just to replace the caps over the knuckles!


Repairing the Sportspack
Started by
liam_italian
, Jan 21 2007 11:01 PM
111 replies to this topic
#91

bcjames
-

- Members
-

- 2,728 posts
Up Into Fourth
- Location: Leicestershire
Posted 19 January 2012 - 10:24 AM
#92
liam_italian
-
- Members
-
- 1,417 posts
One Carb Or Two?
- Local Club: TMF
Posted 24 January 2012 - 08:04 PM
Update
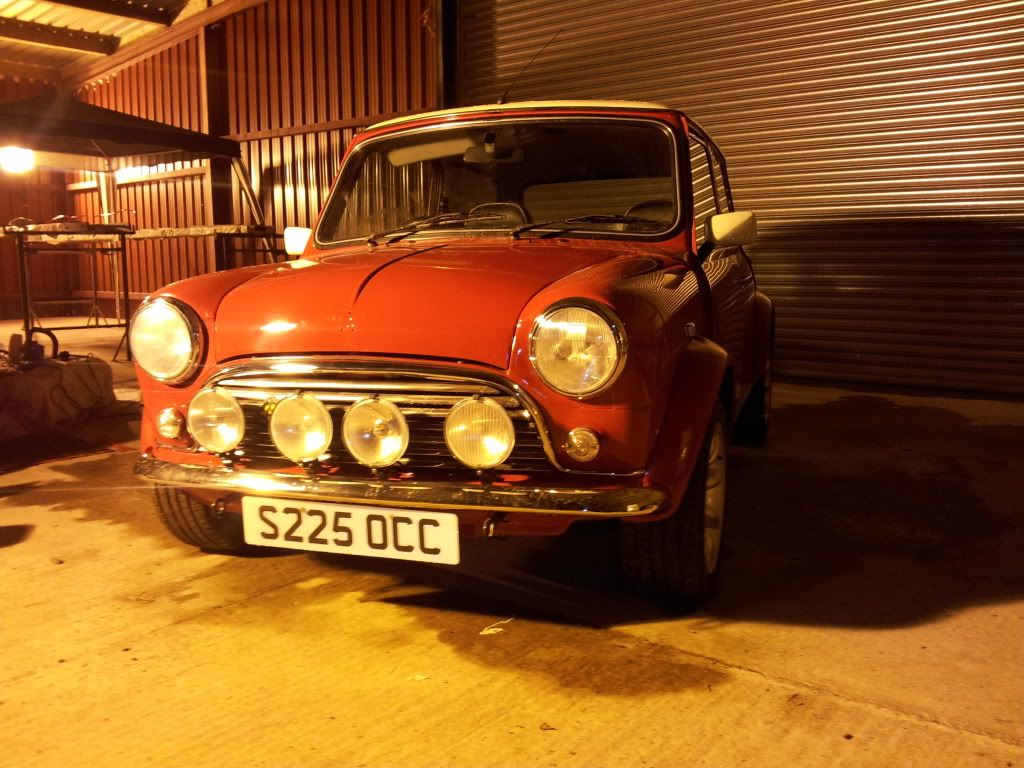
Slight set back, wet flatted the bonnet and front arches last night and discovered some massive bits of dust/debris on the bonnet that went through to the primper, so we gave them another coat of red tonight and hopefully by tomorrow night they will be laquer. We always knew spraying in a large shed that isn't perfectly sealed could cause this problem.
Still need to tackle the inner cv gaitors which I might do next Saturday or Sunday.
#93
liam_italian
-
- Members
-
- 1,417 posts
One Carb Or Two?
- Local Club: TMF
Posted 29 January 2012 - 10:08 PM
I cant believe I have reached this stage. She's ready for her MOT!!!!!!
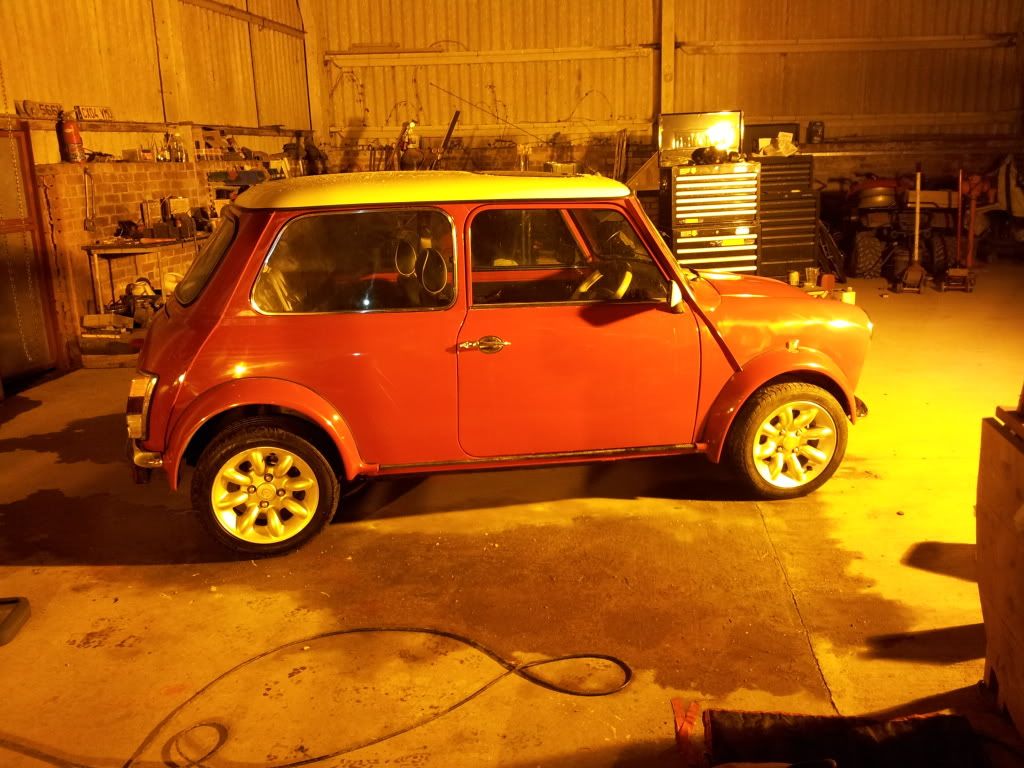
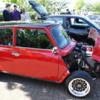
Spend all day in the workshop with the old man putting the wheel arches and bonnet on.
Old man also denibbed the paintwork and gave her a quick compounding with G3 and G10, paint coming up a treat. Just got a few tweaks etc tomorrow morning and hopefully get her fitted in a the local garage for her MOT!
#94
liam_italian
-
- Members
-
- 1,417 posts
One Carb Or Two?
- Local Club: TMF
Posted 30 January 2012 - 01:03 PM
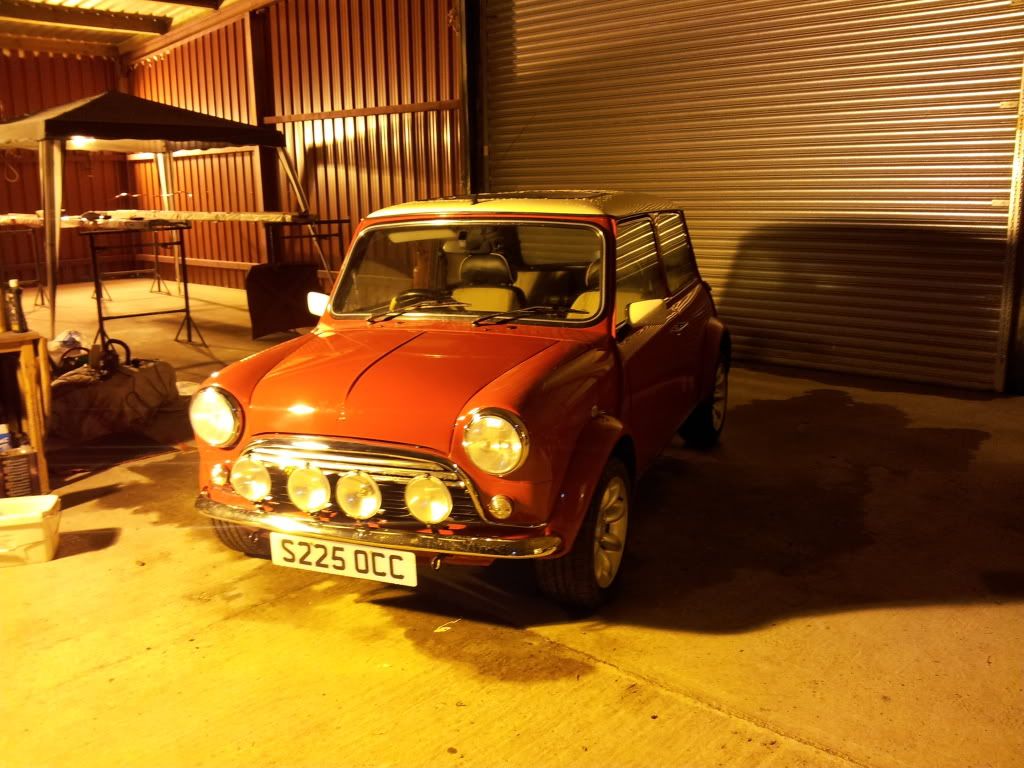
Well unfortunately I couldn't get her book for an MOT until tomorrow, but that gave me another day to do a few minor jobs.
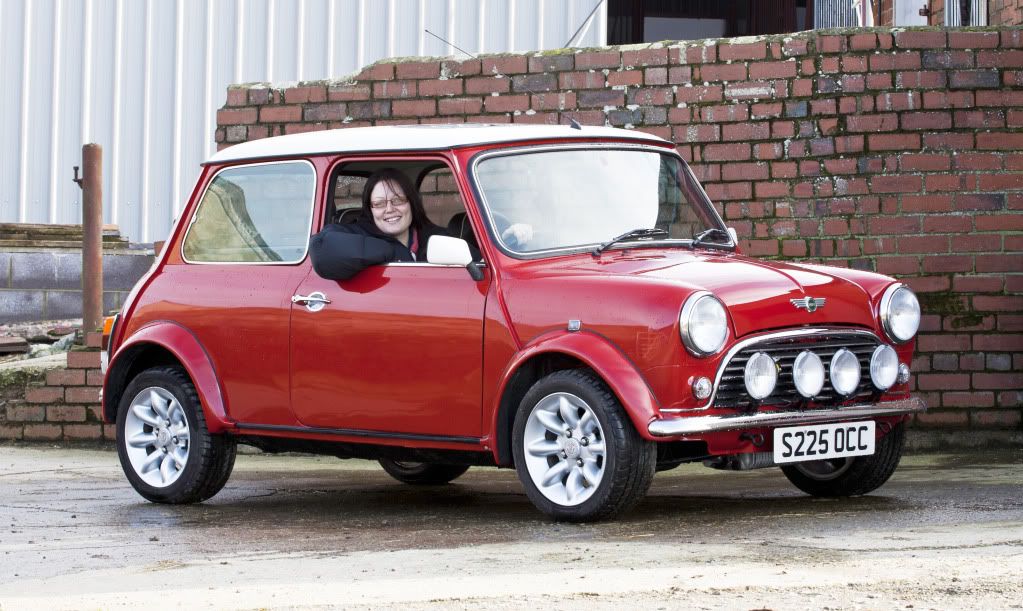
Took her outside today and gave her a quick spin up and down the drive before giving her a wash with turtle wash and wax.
No it's not me driving the car.
Took her outside today and gave her a quick spin up and down the drive before giving her a wash with turtle wash and wax.
No it's not me driving the car.
#95
bcjames
-
- Members
-
- 2,728 posts
Up Into Fourth
- Location: Leicestershire
Posted 30 January 2012 - 01:05 PM
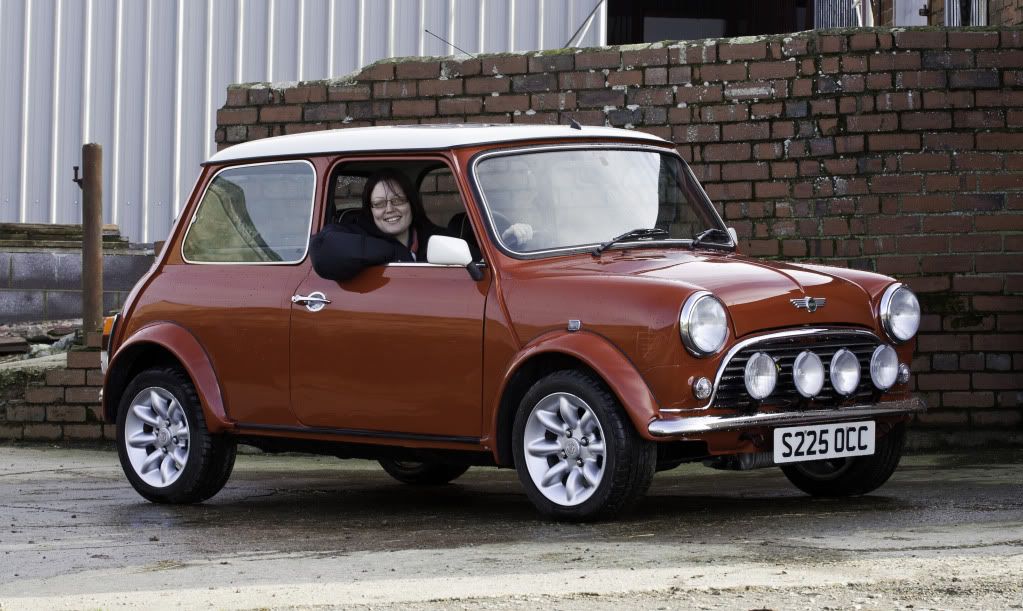
Wow the colour looks so different in that last photo, almost volcanic! All the best for the MOT tomorrow.
#96
liam_italian
-
- Members
-
- 1,417 posts
One Carb Or Two?
- Local Club: TMF
Posted 30 January 2012 - 01:10 PM
I think the colour settings are messed up in photoshop as they look better in lightroom
#97
bcjames
-
- Members
-
- 2,728 posts
Up Into Fourth
- Location: Leicestershire
Posted 30 January 2012 - 01:11 PM
Haha whatever the effect I like it, its sort of half volcanic half russet brown 
#98
liam_italian
-
- Members
-
- 1,417 posts
One Carb Or Two?
- Local Club: TMF
Posted 30 January 2012 - 01:20 PM
Fixed
#99
bcjames
-
- Members
-
- 2,728 posts
Up Into Fourth
- Location: Leicestershire
Posted 30 January 2012 - 01:22 PM
That's more like it! It's nice to see a Mini running some suspension clearance too!
#100
liam_italian
-
- Members
-
- 1,417 posts
One Carb Or Two?
- Local Club: TMF
Posted 30 January 2012 - 01:27 PM
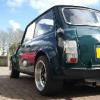
Cones are brand new so it'll take while for them to bed in properly, but until then those speedbumps can kiss my a**
#101
bcjames
-
- Members
-
- 2,728 posts
Up Into Fourth
- Location: Leicestershire
Posted 30 January 2012 - 01:32 PM
I have mine sat at a factory height on newish cones and hilos. It's great being able to get over speed bumps without worrying about my sump or cat!
#102
Jackmorton
-

- Traders
-
- 267 posts
Mini Mad
- Local Club: Cumbria mini cruisers
Posted 30 January 2012 - 01:34 PM
Wow, you have done a absolutly amazing job on that. I love the colour of it :) Is it just a standard mini colour or ?
#103
Cian 'the pain' MPI
-
- Members
-
- 163 posts
Mini Mad
- Local Club: mini-chat.co.uk
Posted 30 January 2012 - 05:02 PM
Loving the mk1 grill!!!!
#104
nev_payne
-
- Members
-
- 2,249 posts
Up Into Fourth
- Location: UK
Posted 31 January 2012 - 11:48 AM
Don't forget the coachlines ;)
Looks fantastic chap, you going to L2B? Would be great to compare....Minis *ahem*.
Looks fantastic chap, you going to L2B? Would be great to compare....Minis *ahem*.
#105
2-alex-2
-
- Members
-
- 480 posts
Speeding Along Now
- Location: wales
- Local Club: SouthWalesMini club
Posted 31 January 2012 - 08:13 PM
lokk realy nice done a good job hope those cones set in son as that far to high at the back


2 user(s) are reading this topic
0 members, 2 guests, 0 anonymous users


