

You will need:
**A mini with a steel roof
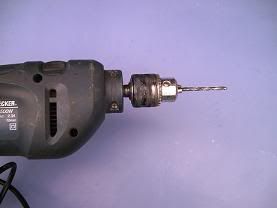
**A Drill (variable speed not a neccesity)
**Some Hammerite or similar paint and small artists brush.
**Some Silicone gasket maker in a tube! (i used auto black silicone for windscreens)
**A rat tail file (basically a round file not a flat one)
**A collection of drill bits comprimising of a large one for the hole in the roof (check the back of the ariel packing for hole diameter) and smaller bits for pilot holes.
** Tape measure
** Some masking tape
** A steady hand!
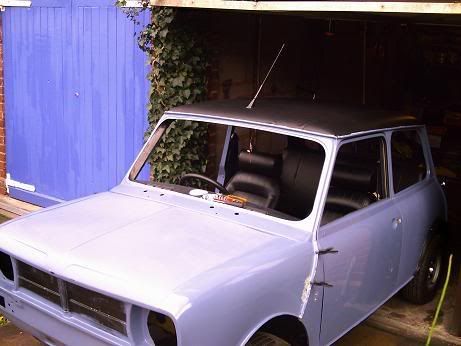
OK, Step 1, Find your car with a roof!
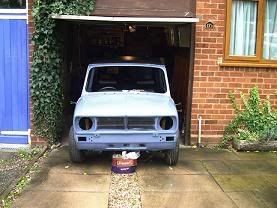
Ok we're off to a flying start well done!
Next you're definatly gonna need this...
Mark up the middle of your roof, I didn't have to do this as my roof is vinyl and has a slight crease down the middle for me to mark up on. Once you're totally happy you've found the dead centre of your roof... mark it up with a patch of masking tape with a cross in the middle to show where you're gonna drill in.
Now, Fit a small bit to the drill, this is going to be pilot hole, that will guide the next drill bit size up. drill carefully, making sure you have a steady hand
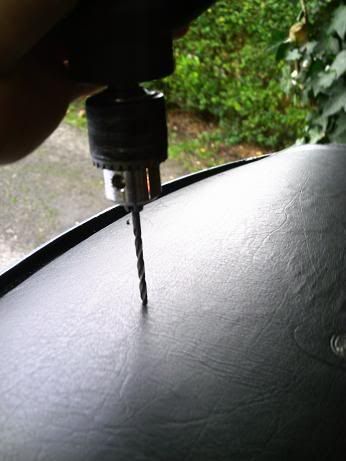
ok once you're happy with that repeat the procedure getting progressivley larger drill bits on your drill, until you end up with the correct diameter for the ariel screw thread to go through....
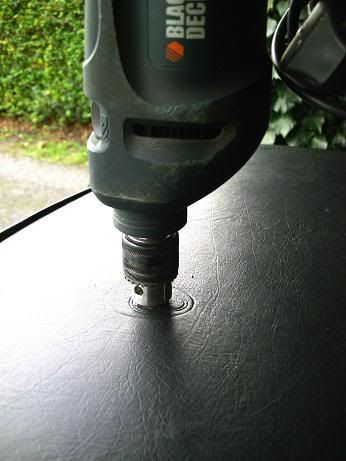
Ok you're doing great, see?... drilling your roof isn't so bad after all!
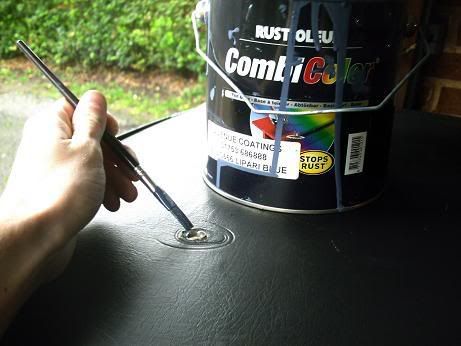
Right, Now, around the hole you will have burrs of metal from the drill, just wang round the hole with a rat tail file to make the hole nice, smooth and clean, now reach for your paint!... you want to protect it from the elements just incase, so a nice layer of hammerite or something similar will do the trick, i used rustoleum as I have some kicking around lol
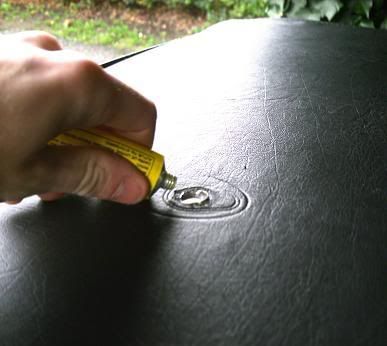
Once that paint has dried reach for the windscreen seal silicone. I put a nice blob right around the hole about 3-4mm high, this will seal act as a completely weather proof gasket when the ariel is tightened down to the roof.
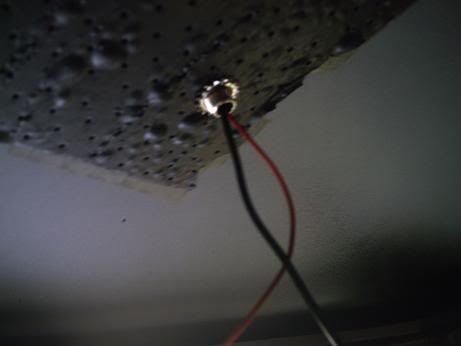
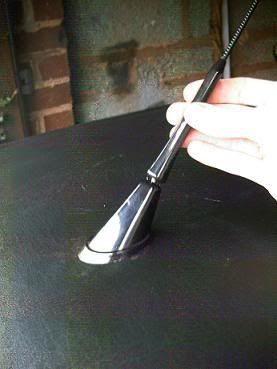
Once that has set, get the base of the Ariel (most beesting ariels have a detatchable mast) and carefully poke it thorugh the hole you made, should look like this (note, my ariel has a built in signal amplifier which is powered by the red wire you can see, some have these, some don't)
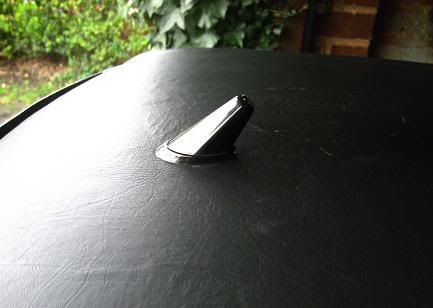
Excellent, tighten the nut from the inside of the car nice and tight, and this will pull the base down on to the roof securely. Once tight, this is what you'll have:
Now all that is left to do is screw on the mast.....
And admire your handywork!!! NOw drink beer! And eat biscuits! (or a pie!)
hope this helps someone out there!


