That'll help your engine breath more easily ![]()
Rover 111I For The Dis-Advantaged.
#16

Posted 12 December 2022 - 10:49 AM
#17

Posted 22 December 2022 - 08:34 PM
i have progress but nothing so obvious, but here is what ive been up to
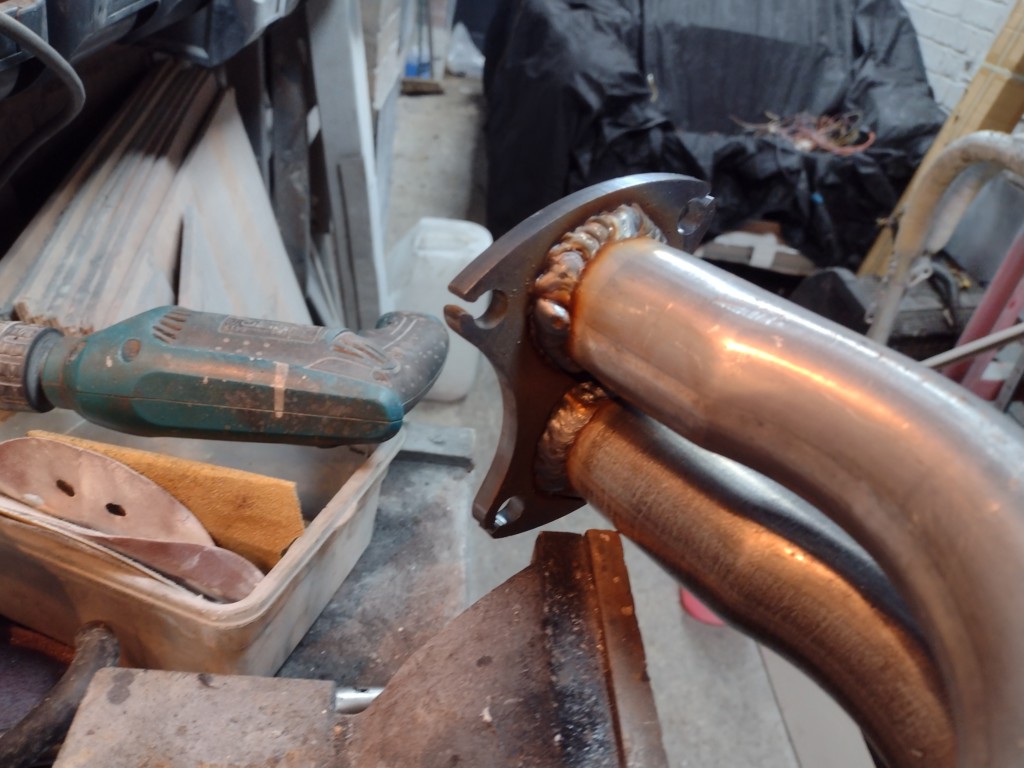
The head is the same as the 1.4, and the manifold too, so ive bought a 1.4 exhaust down pipes, and found some really restrictive welding going on so sorted that out
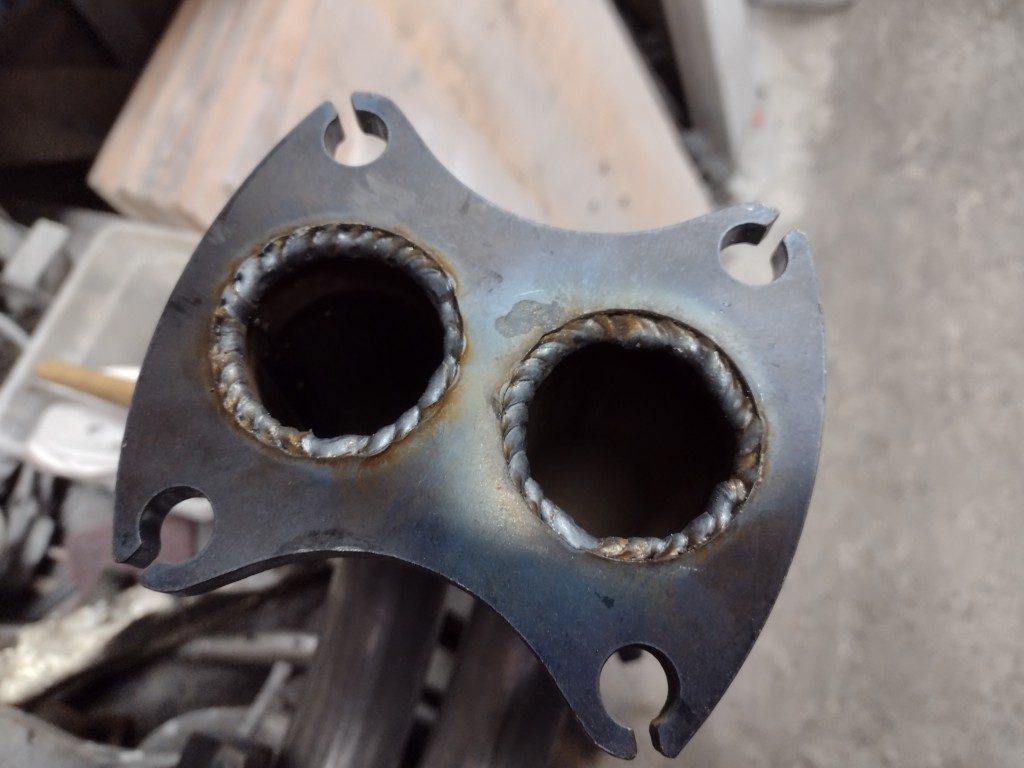
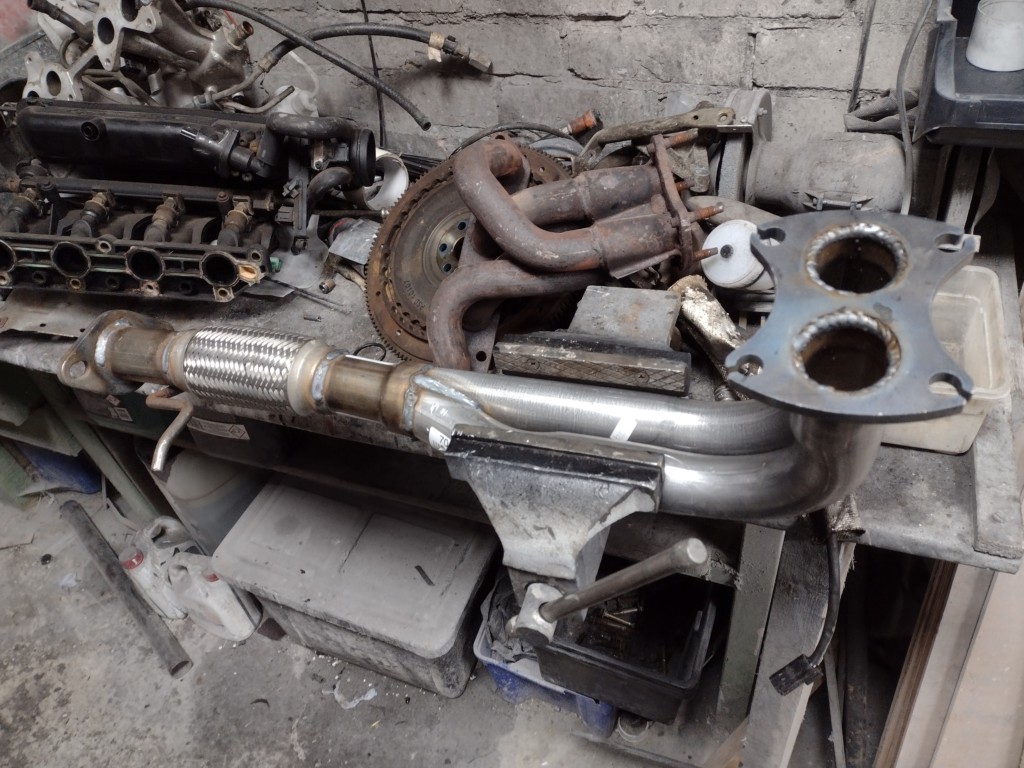
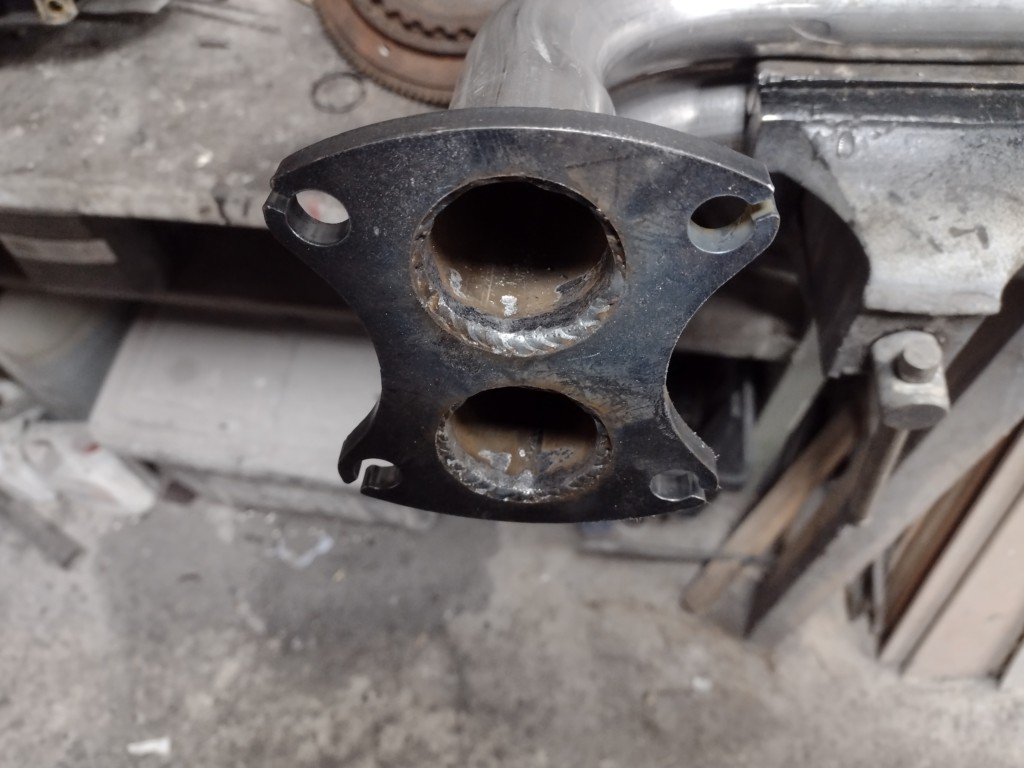
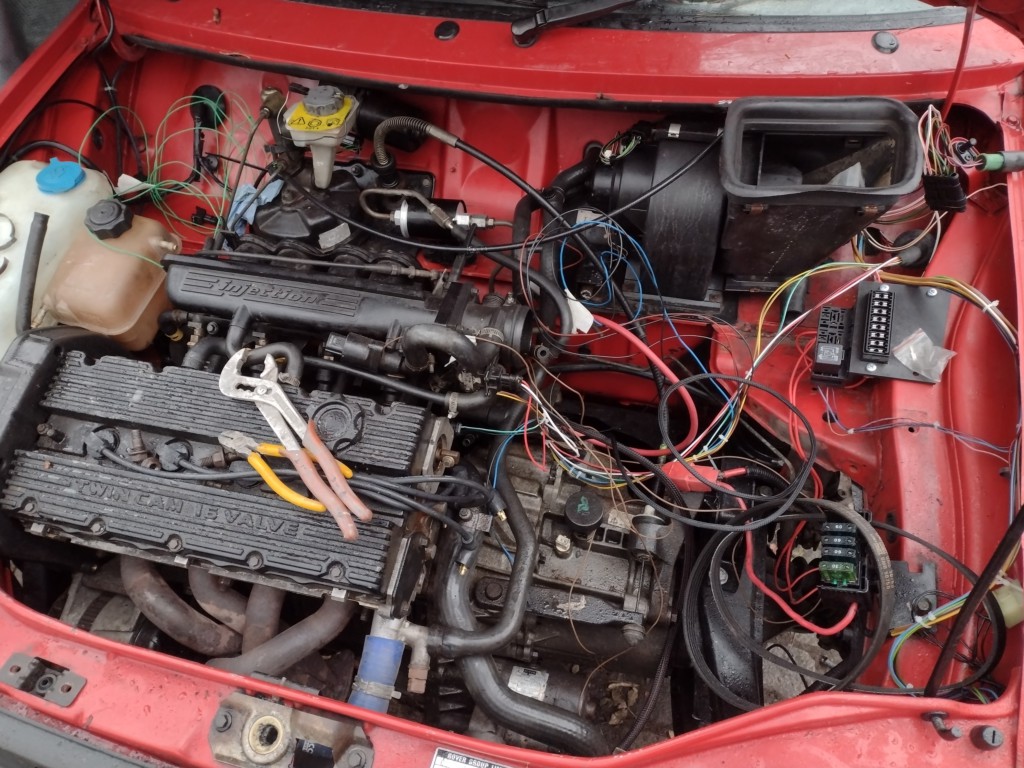
so here is where we are atm, engine in, and its being wired. Its having speeduino ecu, so its a full new engine bay loom.
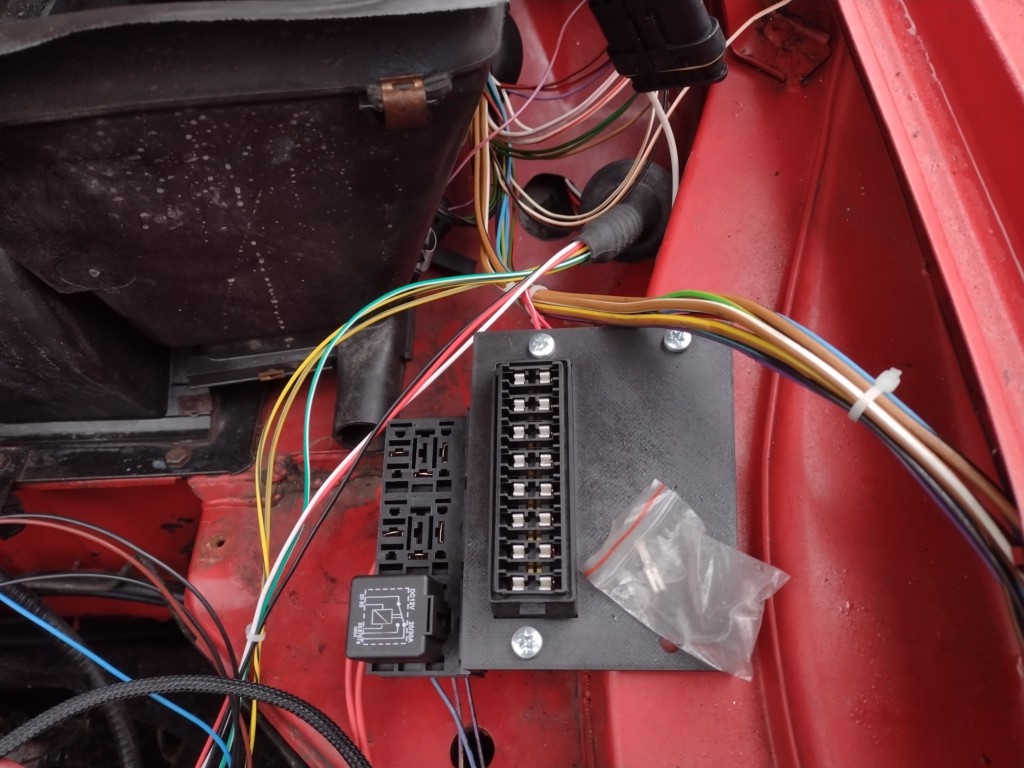
This little panel i 3d printed to hold the fuses and the relays.
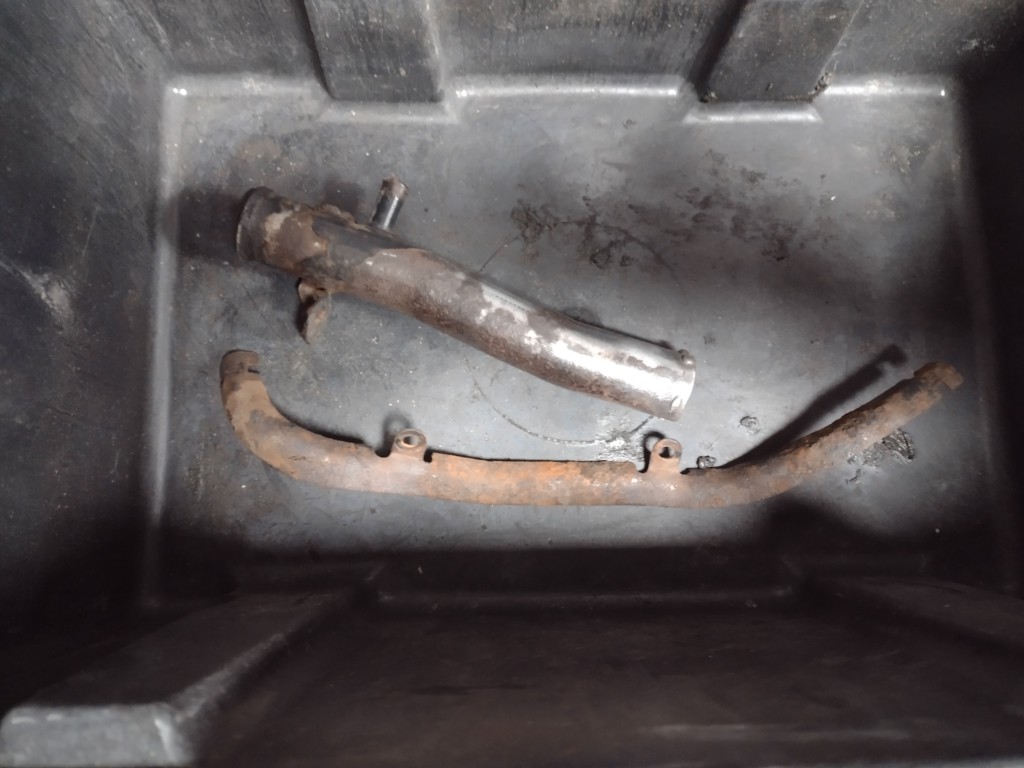
Ive had to chop up water pipe on the rad, im not finished as ive just bought a new ally rad on ali express, so that will be ehre soon, its a mgf one, and is slightly different, so will fit it and make the pipes suit.
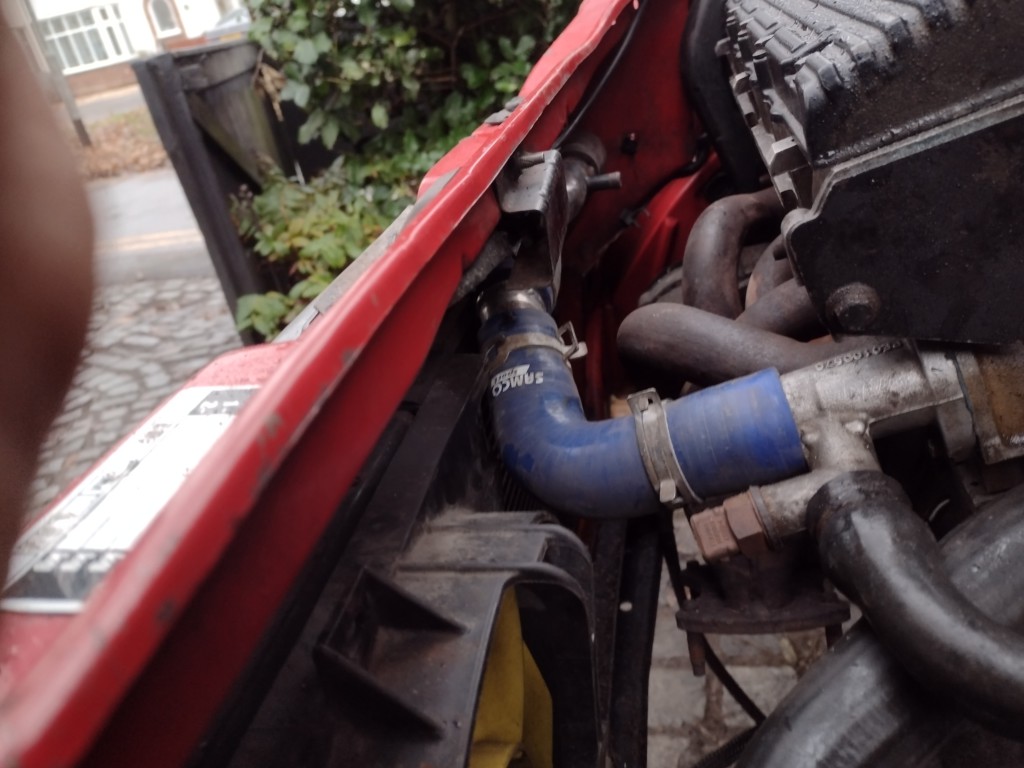
But this will do if i get as far as starting it up
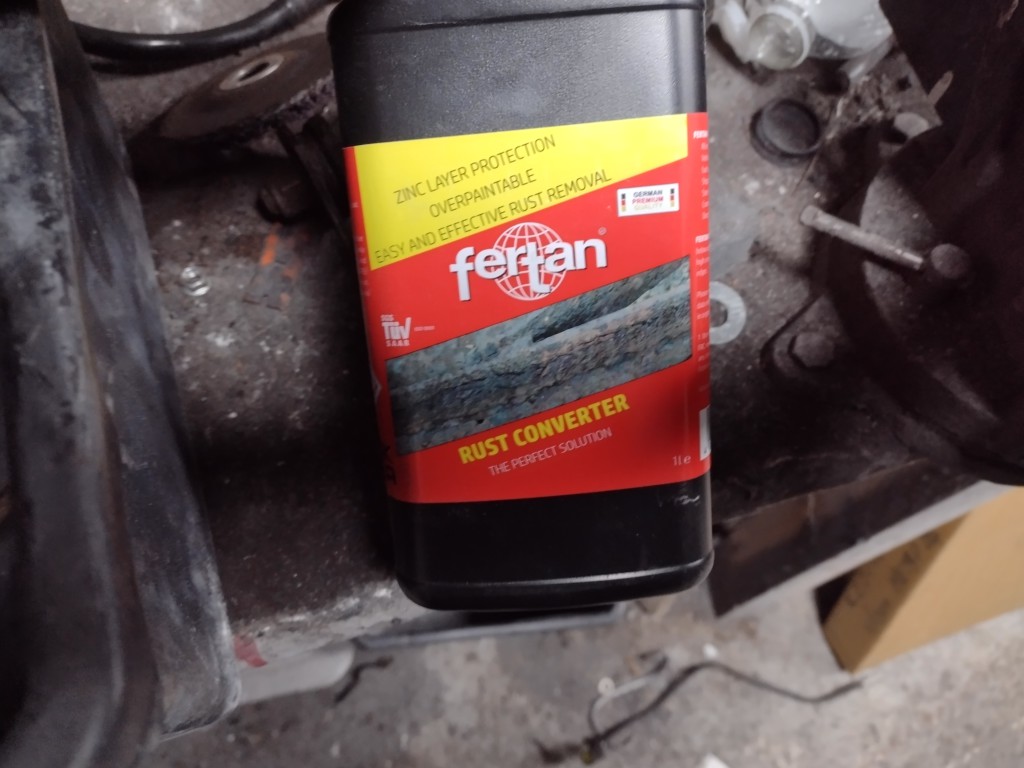
one of the pipes was a bit rusty so i put it in some new rust killer i bought, and it after an hour was well better. il post a pic of the results tomorrow though
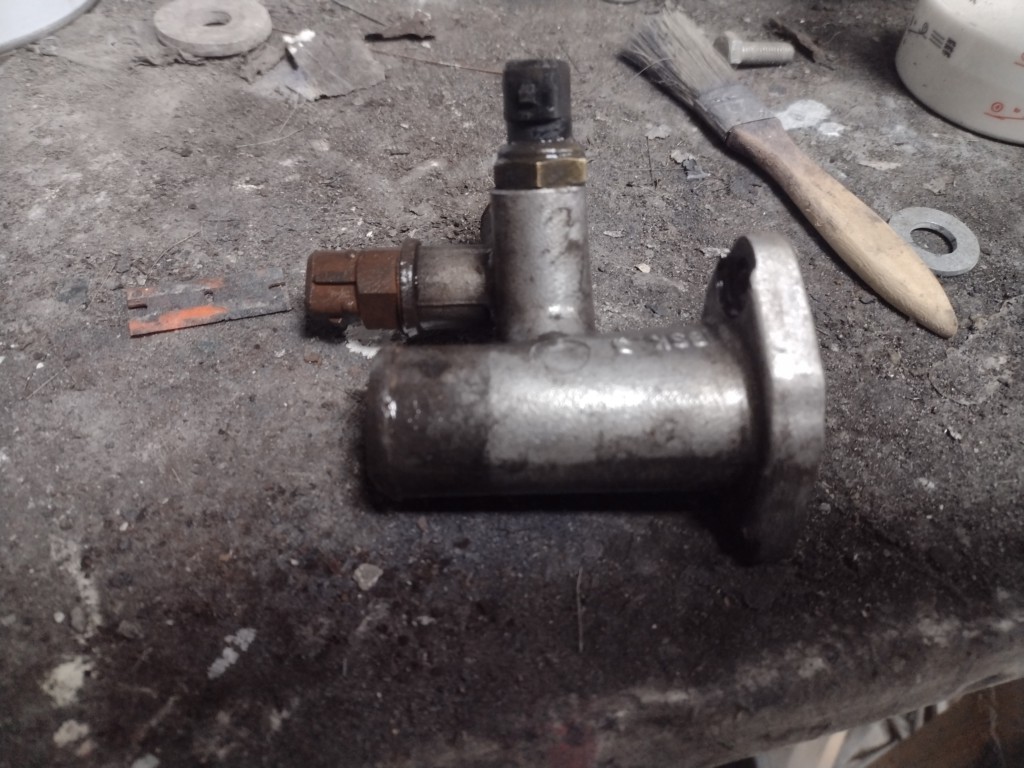
ive had the outlet on the head off for the coolant, and it needs a new gasket. I want to have this bit finished asap, i had some gasket paper, and my brother has a laser cutter he makes key rings and stuff for sale on ebay. he cut me a gasket
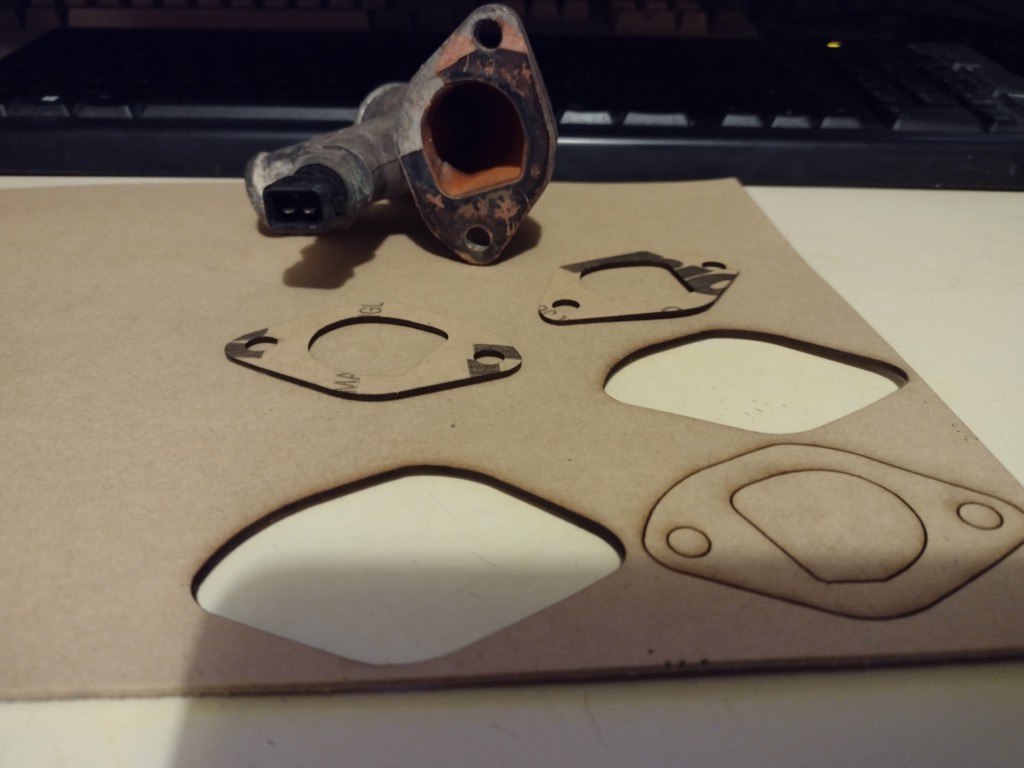
really good, first did this on my rally car when i needed a gasket for the volvo engine that was hard to get. really good.
the speeduino, im looking forward to starting the car on it, but its still a fair way off...
#18

Posted 24 December 2022 - 08:31 PM
i had bought a new rad for it, but it turns out its a A series metro one, so i went on ali express and i have a mgf one on its way.
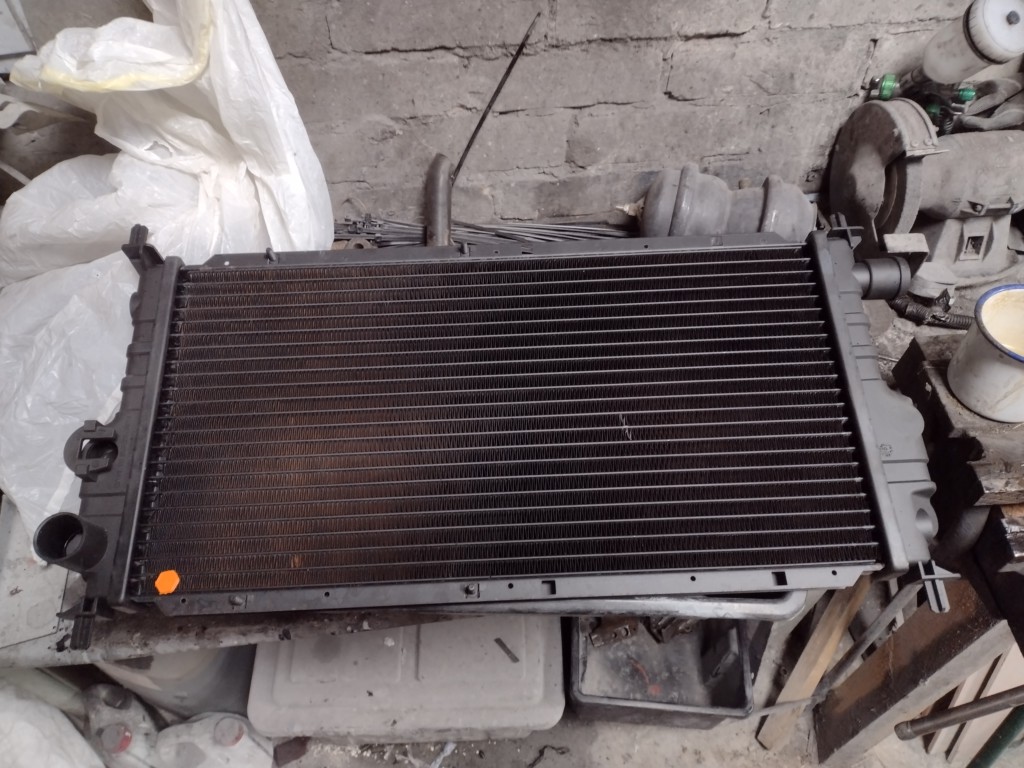
im still doing the wiring, and its taking time but its good. im making all the engine and its parts run on my own loom, so like the engine fan will run from the ecu not the switch on the side of the rad which is not working.
so this is partly done little loom from the alti to the starter, and there is the wires for the alti signal, and oil pressure switch in there. Im using the over brade its good and hard wearing but can be hard to fit with out stripping the loom down to get it over plugs etc.
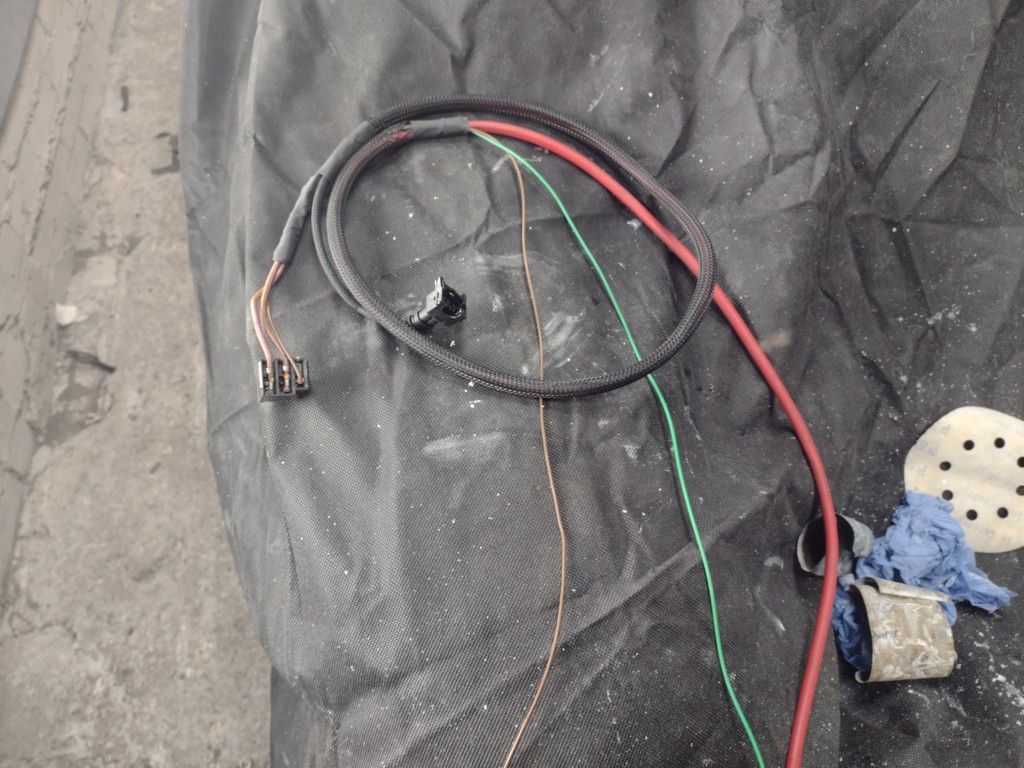
When i did the same type of work on my rally car recently i discovered this stuff on amazon. looks the same but its split type.
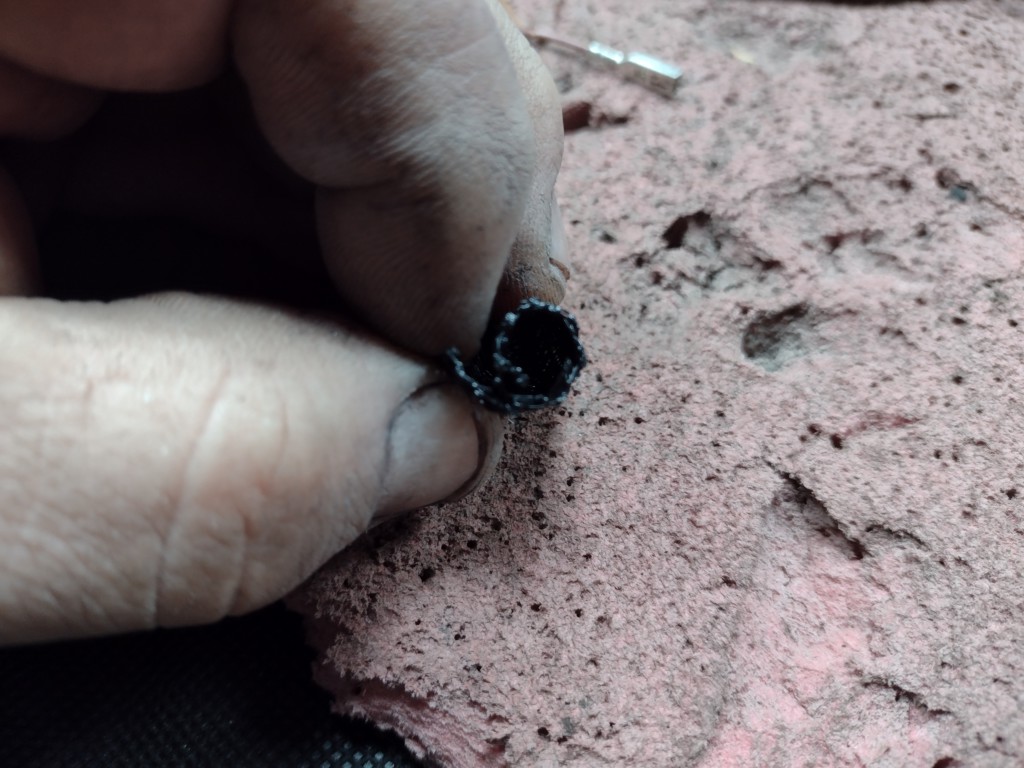
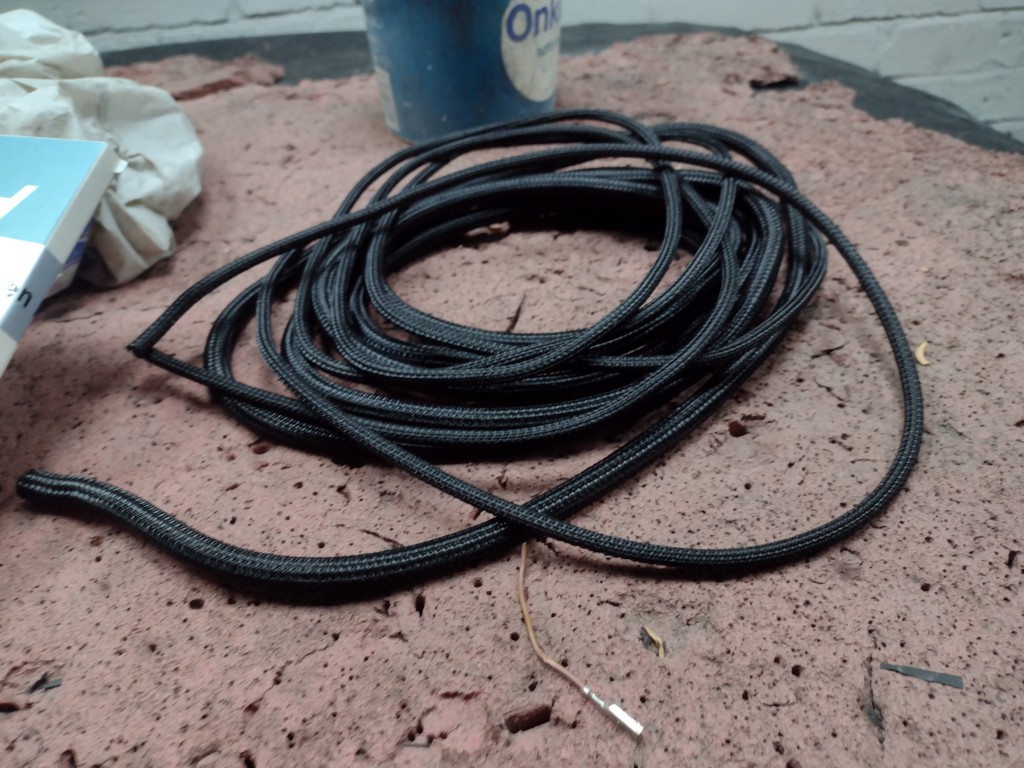
Each end of the wire is waterproofed in the connectors, so the wire only needs protection
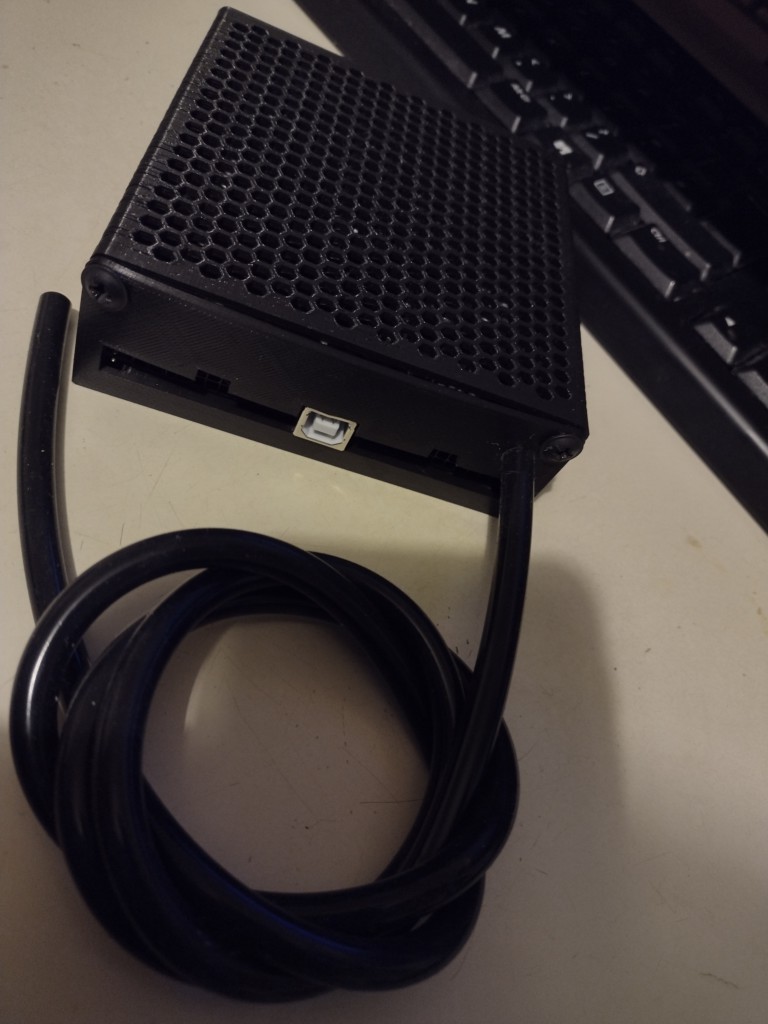
3d printed a case for the speeduino, downloaded the file off thingyverse, i had to mod it as either the guys ecu was different , or he did the front wrong.
i put another water fitting into that fertan for an hour and im well impressed, most of the crud just came off
Mainly waiting on parts now, but i can still get it rolling again, and i need to look into the exhaust as i recon the cat back part is restrictive, so i have the rc40 from the mini, maybe fit that for now. will see
#19

Posted 27 December 2022 - 09:36 PM
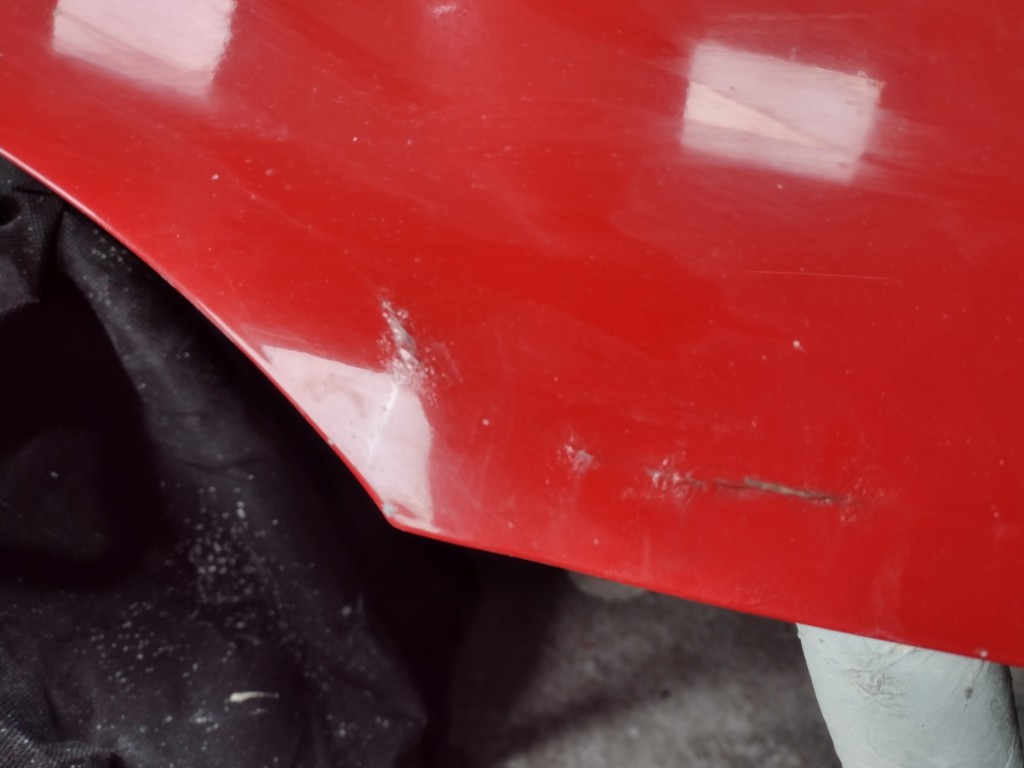
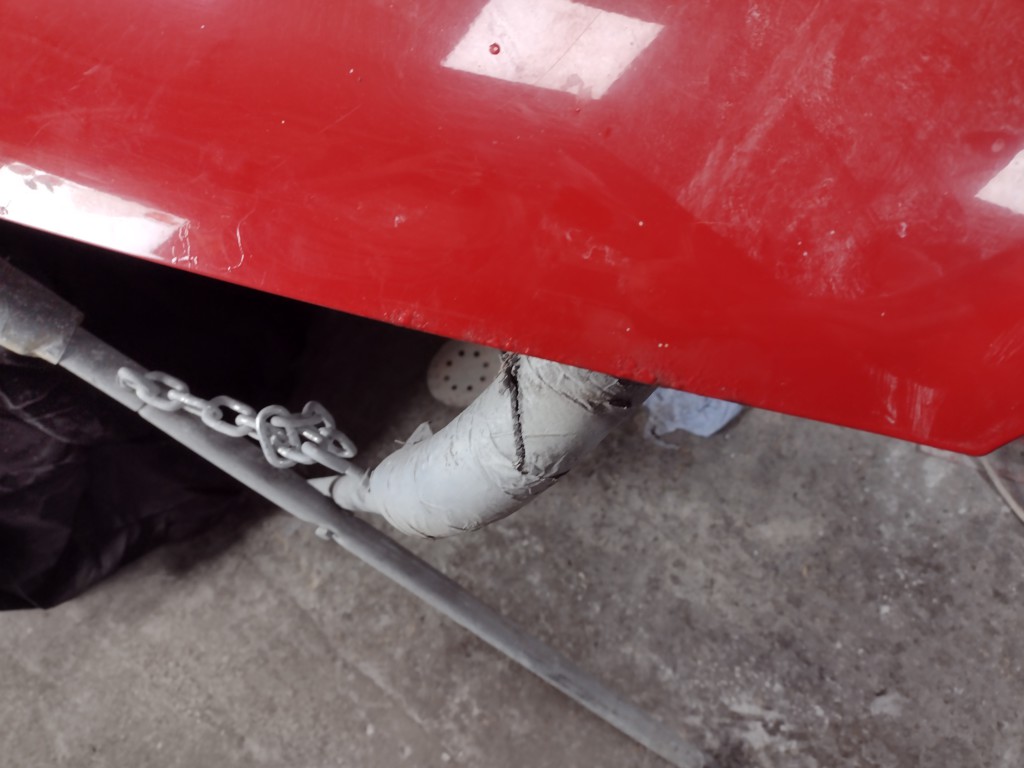
im waiting on a few parts now for the engine, i could do more but the rain comming down, and i do want to crack on with the Rover. So one thing i thought today when it did stop for a min was to paint the bonnet. Its got a bit of rust on the front, and slight damage. Again this will be new to me due to its base coat and lacquer.
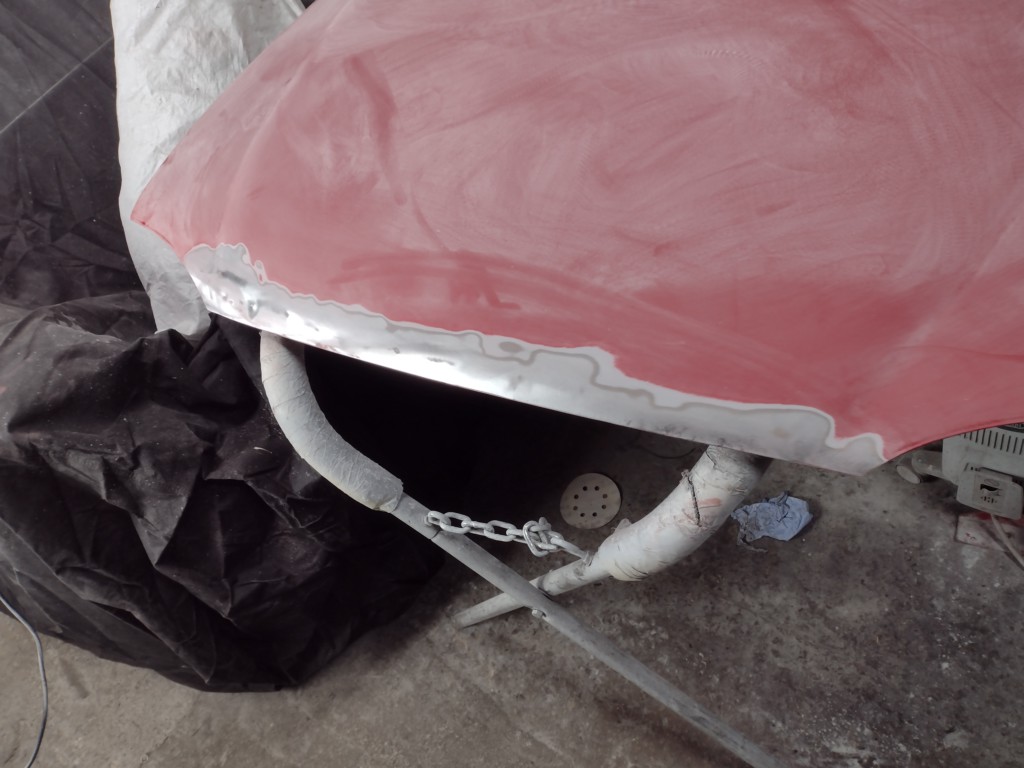
So the main damage was on one side, but there was some rust i hadnt noticed on the front edge and also there was a lot of stone chips in it.
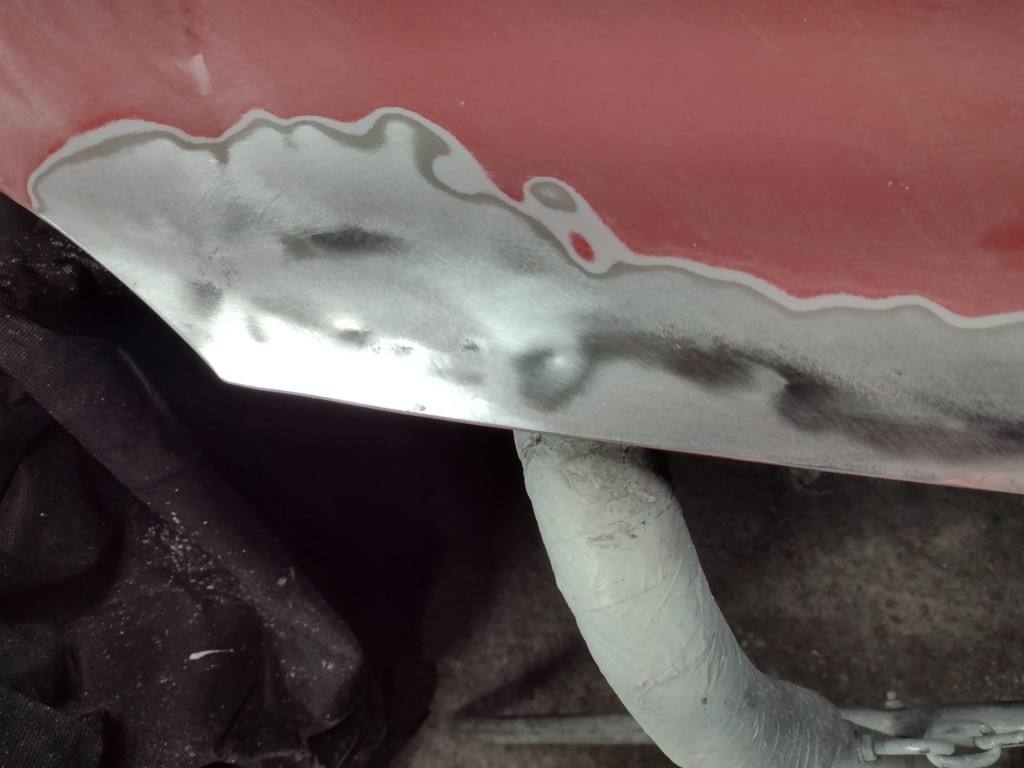
deox-c
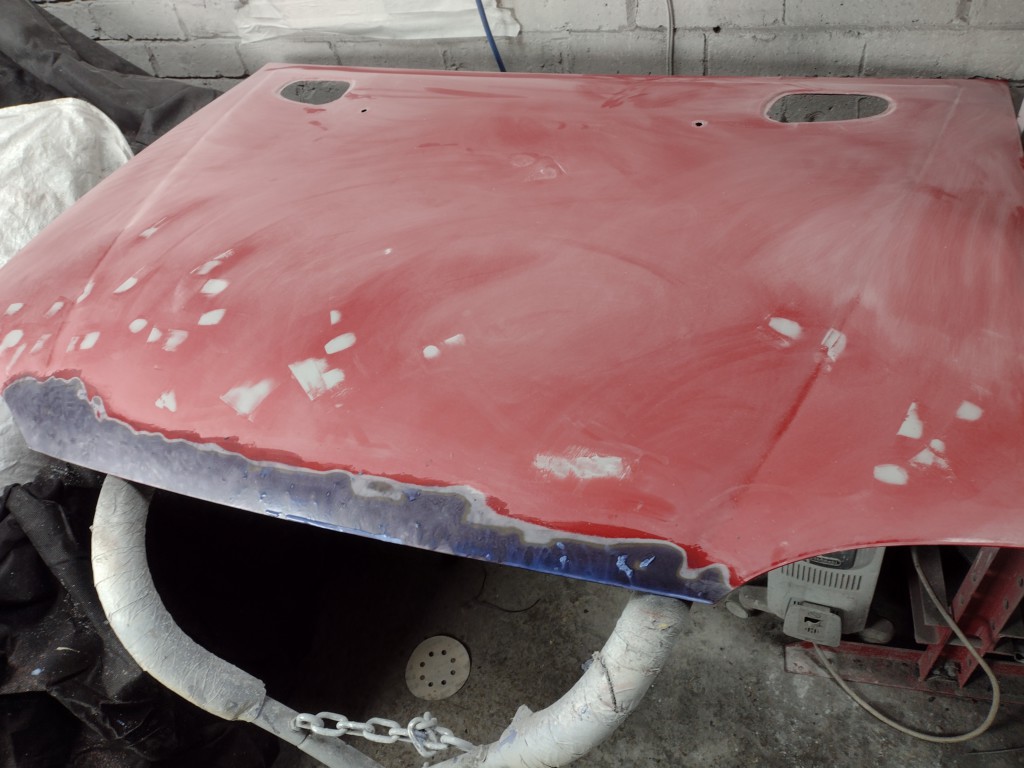
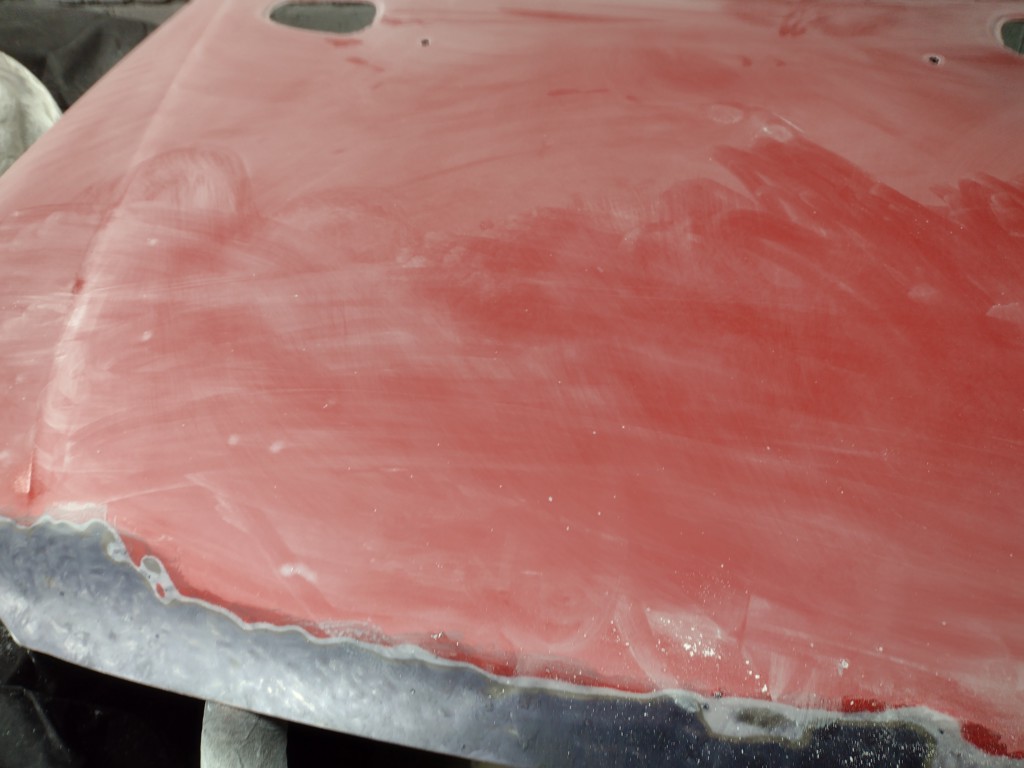
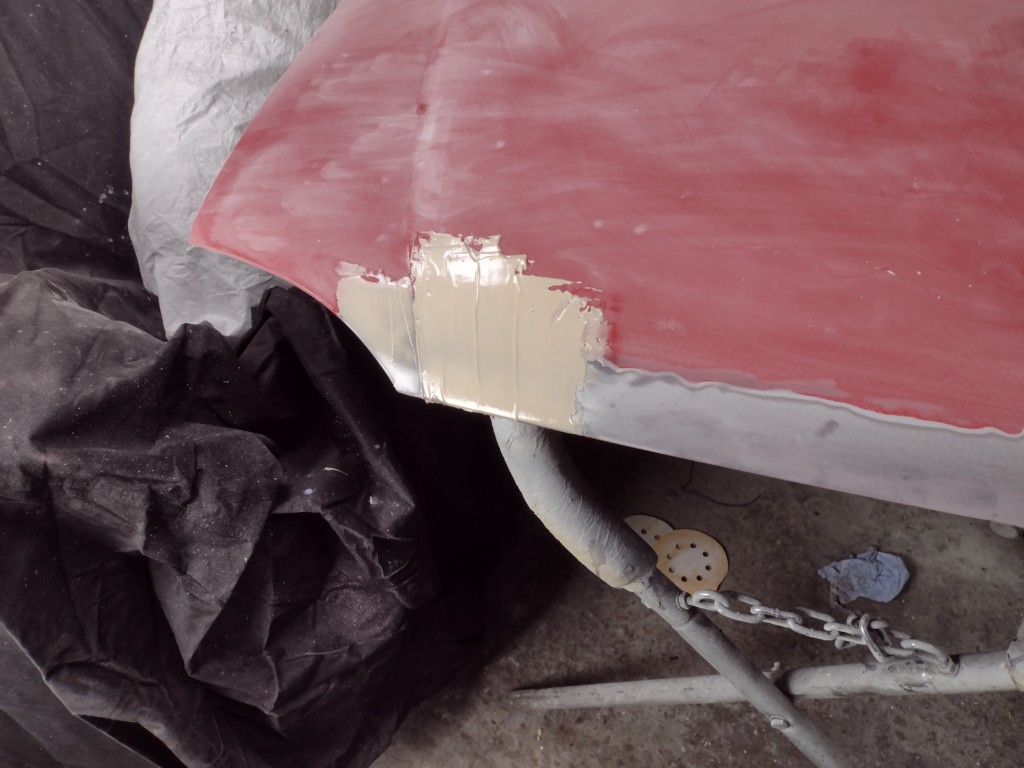
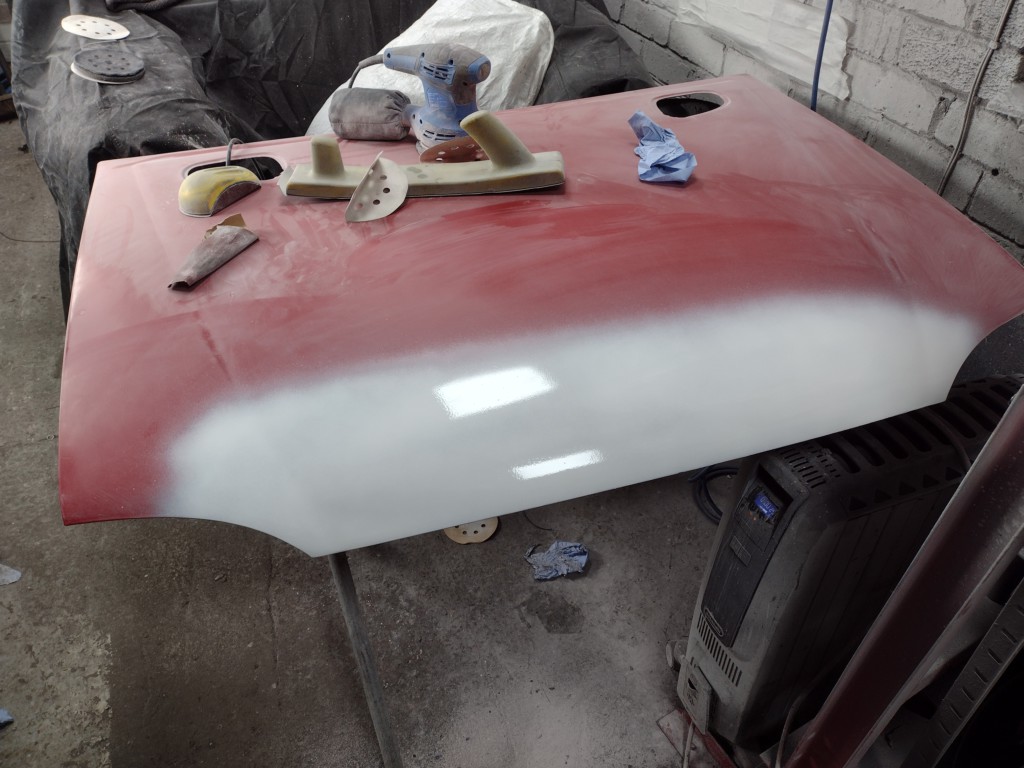
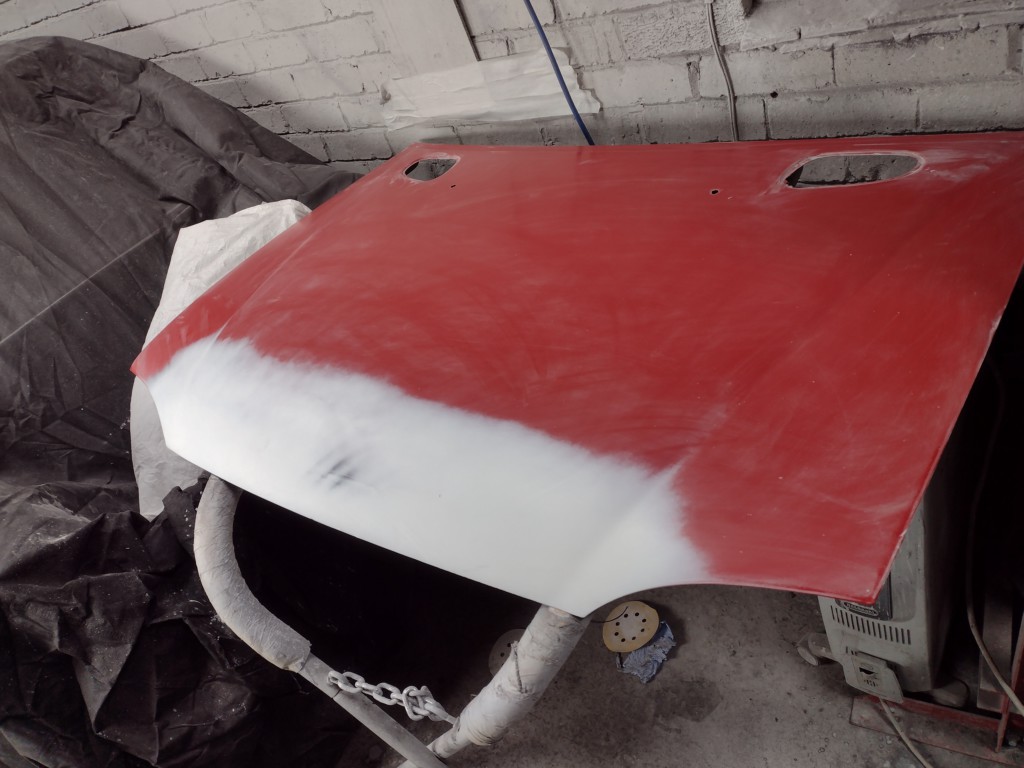
i did spray it in etch primer last thing, ill try to get it painted tomorrow, but may have to do it stood up or take the mini out of the garage if its not raining...
#20

Posted 28 December 2022 - 04:50 PM
bonnet masked up inside, and hung
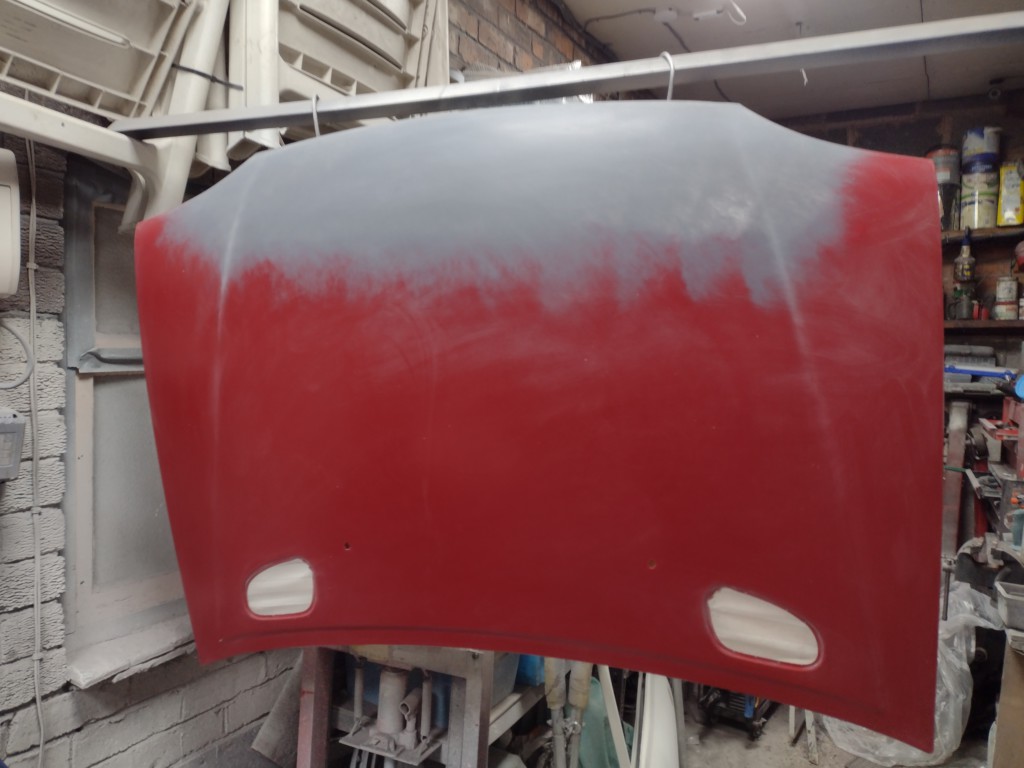
moved it to another location as it was hard to get at there. then i put the base coat on
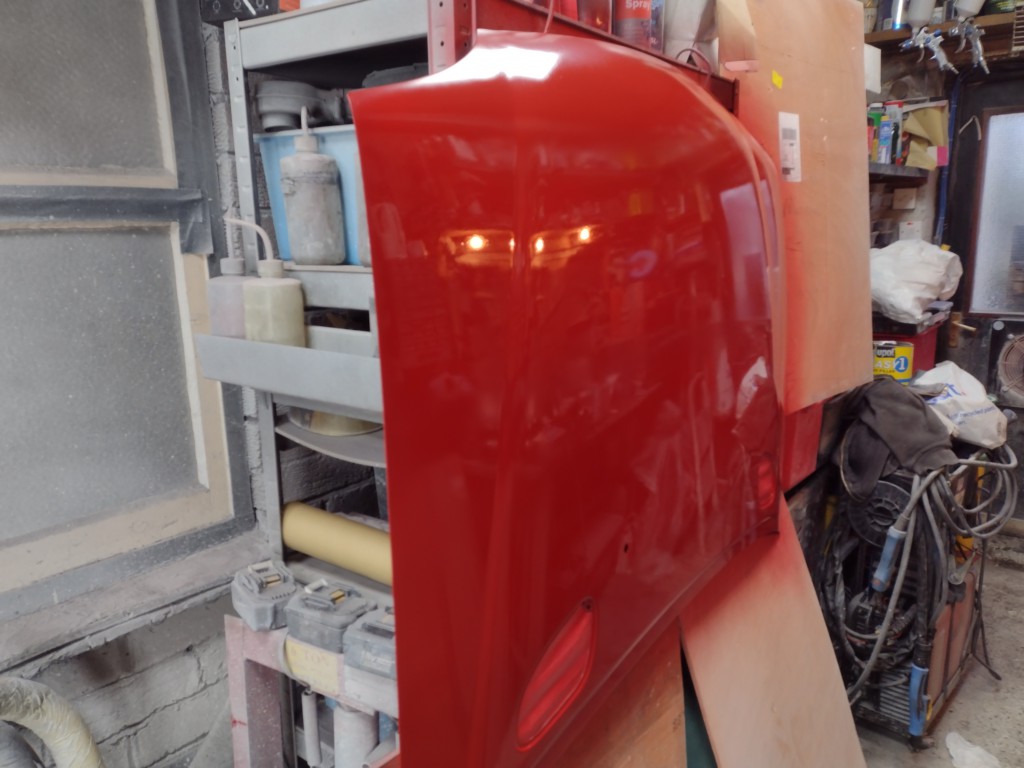
i dont know if its because this is a red car, over my white mini, but that base covers so much better, 2 coats and its done, and then the lacquer..
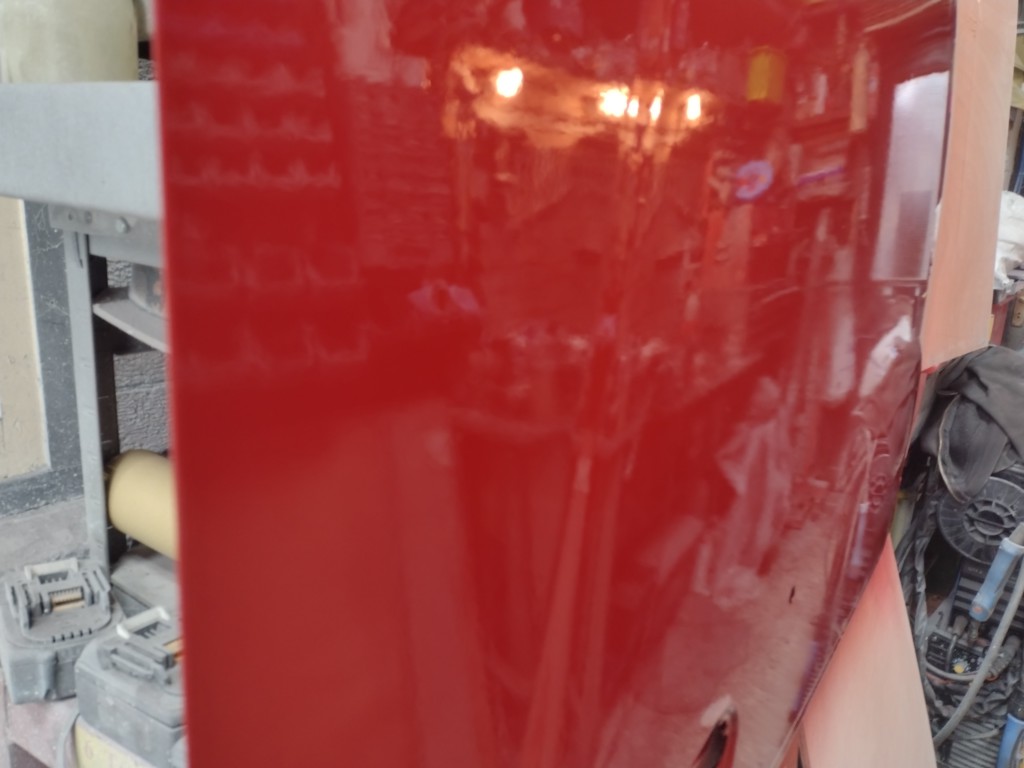
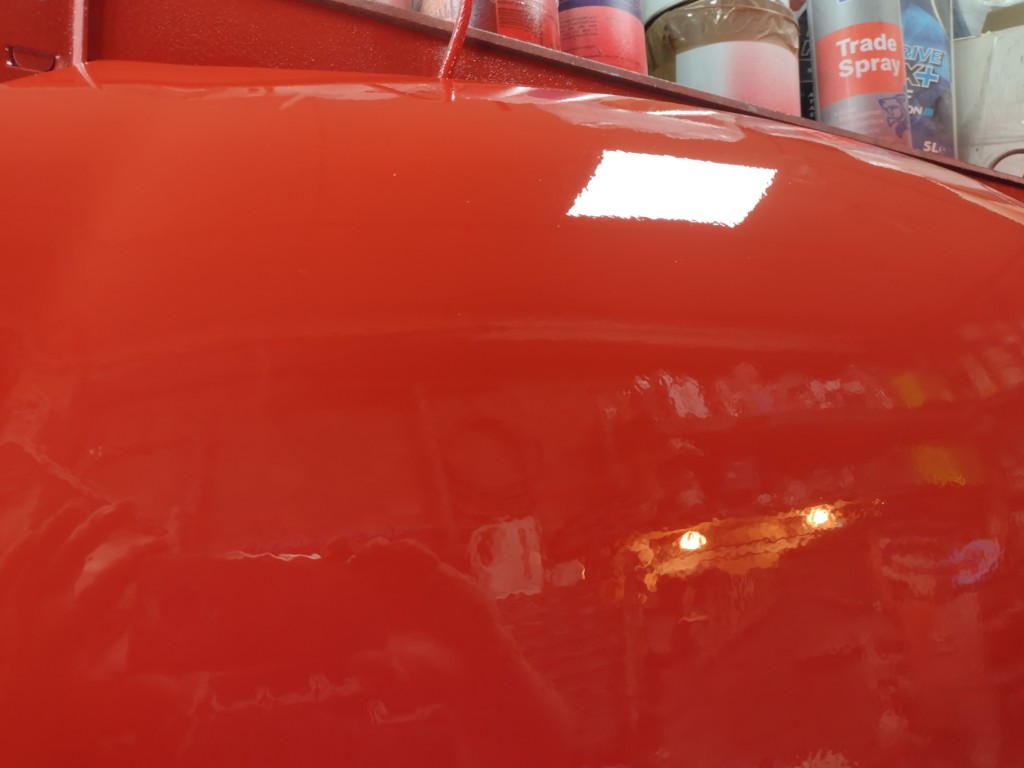
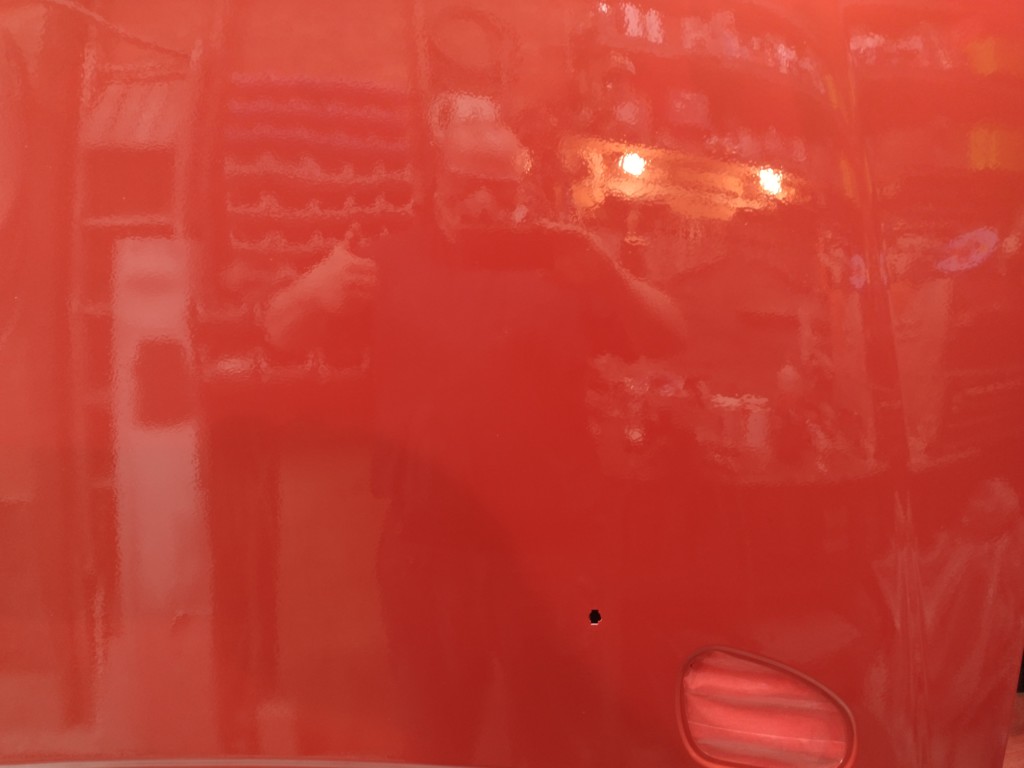
first coat of lacquer i was a little dry in places, but as Brian from paint society says, thats ok, get it on the next one. So i did, i thinned the lacquer down a little too, and did fast strokes of 90% overlap, and it came out well.
The longer you leave it the more it settles, and the finish now im made up with. Just a little polish tomorrow if i can get in the garage and ill be back on the car.
#21

Posted 28 December 2022 - 04:52 PM
#22

Posted 28 December 2022 - 10:02 PM
Nice,looked quite shiny for base coat?Steve..
i think its the light, if you look at the top of the bonnet it looks a lot flatter. It is a solid colour, this is the first time painting this. Think i may paint the mini in base and lacquer now, its a lot easier.
#23

Posted 13 January 2023 - 08:51 PM
well progress has happened. its not running yet but we arnt as far off as we think. Waiting on some parts, and it to stop raining now !
I had bought a coil pack for the car, it was not a lot of money, but it was the same as the one on my bmw rally car, i thought id try to keep it the same for spares reasons. But when it came it was slightly different to the one on the bmw
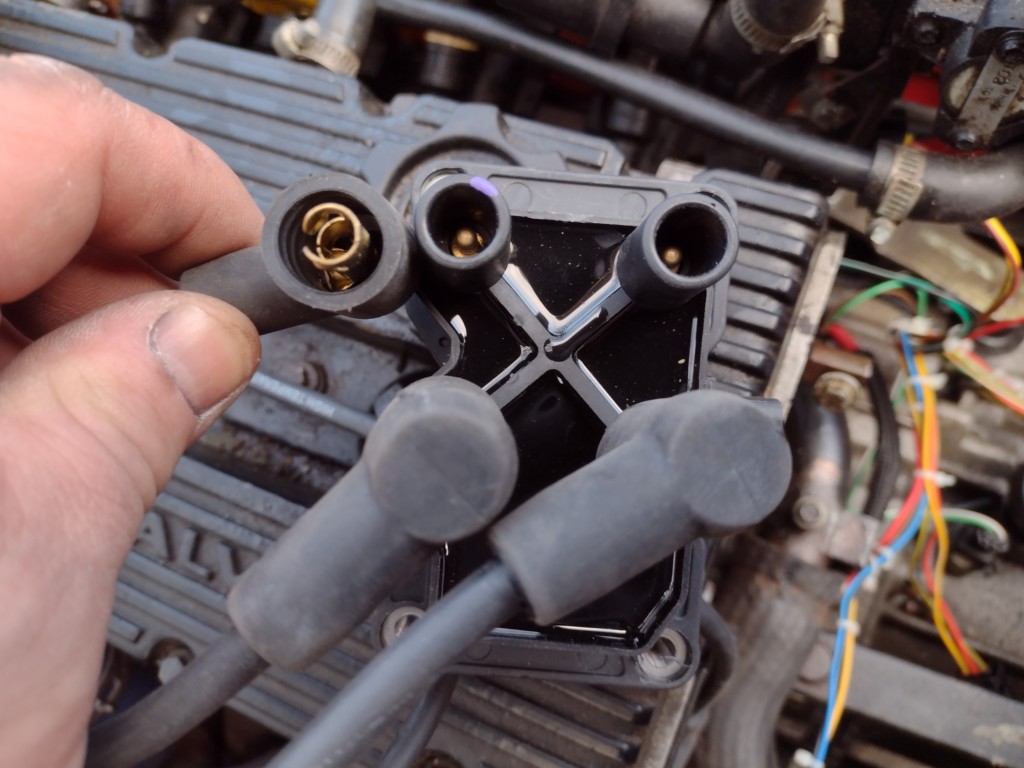
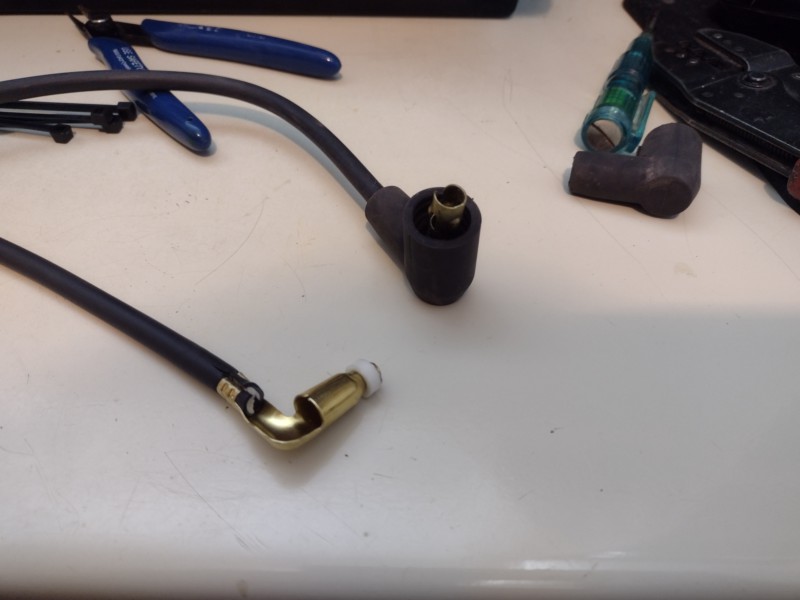
Thats 2 different types, so ive bought a new set of ends for the leads and crimped them up and fitted them today
the terminals for the ecu, the speeduino, they are molex connector, and the crimps i have will not do them, i tried the ones the sparkys have at work and they struggled...
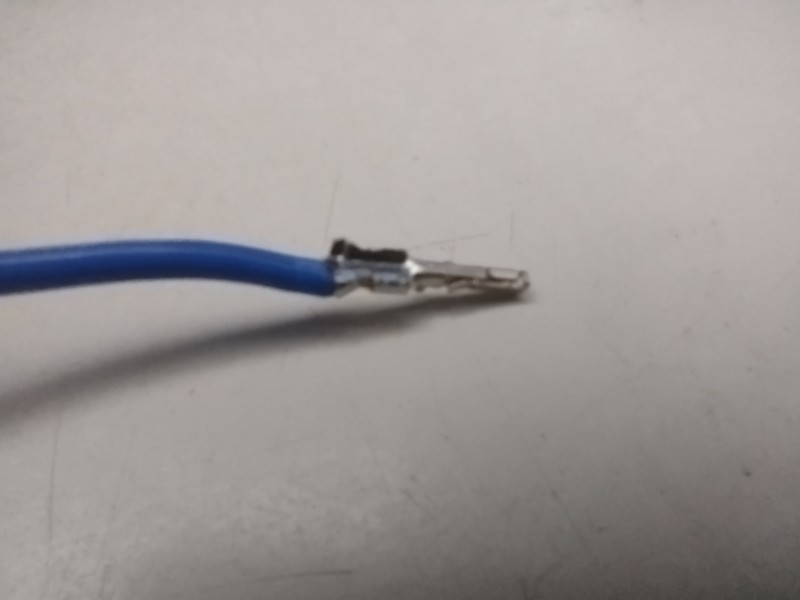
I bought a set of pliers from amazon and it worked! im really surprised as i thought they would not!
now the big one lol
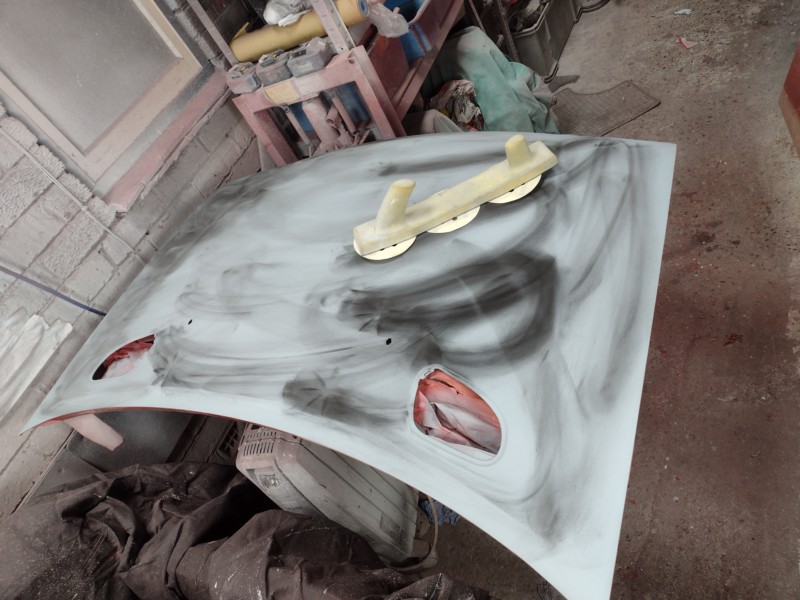
so probably you think the bonnet is on the car, ,its all ok. well no. went to polish it, and was flatting it for ages, and reolised the lacquer was quite orange pealy really, but hit it with the buffer and scratched it. So i flatted it, where i had burnt threw to the metal i primed it with etch and went for the base coat. Now i didnt know, 2k paint is totally different to base coat, the base reacted.
I was gutted, but i stripped the bonnet totally. Primed it in 2k high build, did my repairs, and painted it again. I could see threw some of the red into the primer. SO i rubbed it down again.
So in the mean time my car was off for mot, my mate howie does it, telling him all about it, and he was saying that hvlp guns are rubbish, the old suctions use more pressure and atomise the paint better. He is old school. He got one of his old guns he has had for YEARS and plugged it in, sprayed some thinners out, and said, look how nice that is! He said use 3 bar pressure.
So i took the gun home, excited lol turned the pressure up and i plugged it in...
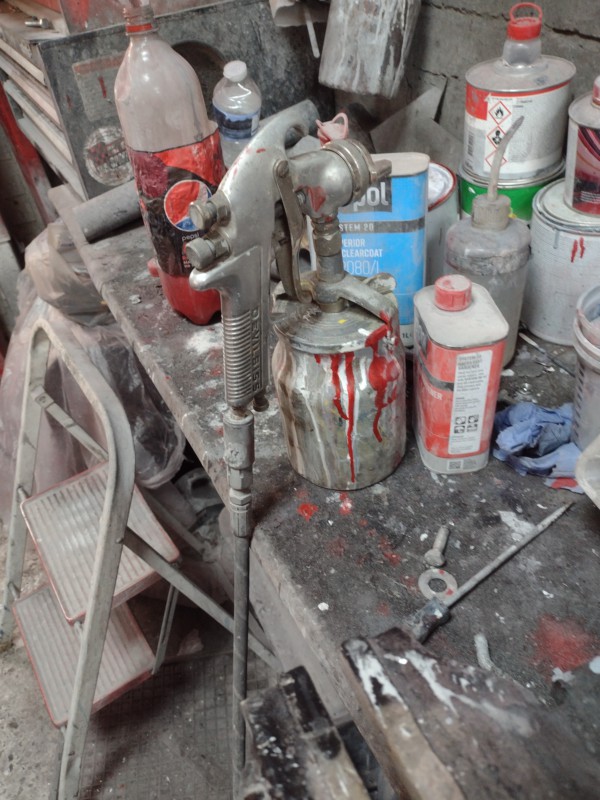
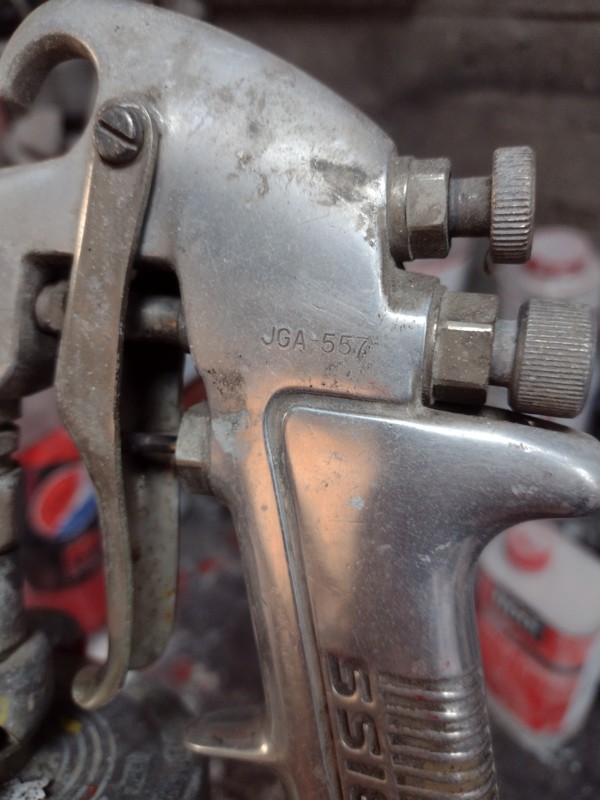
Pulled the trigger, same thinners, same gun, and Pfffffffffffffffffffffff... Then and only now its all clear to me! my pressure gauge is on the wall, the airline is 3/8 hydrolic hose, the gun is 10 meters from the gauge. turned it up to 4 bar and it was like at howies.
Turned the pressure up and put my gun back on.
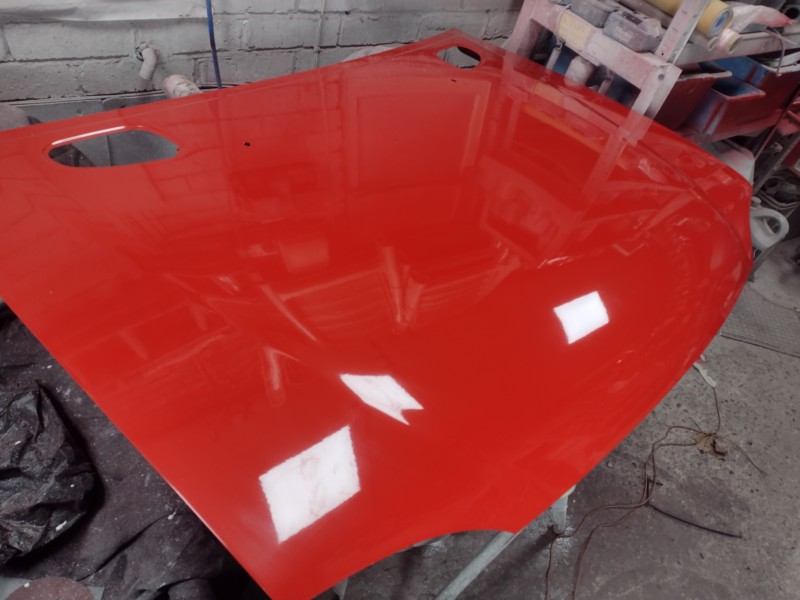
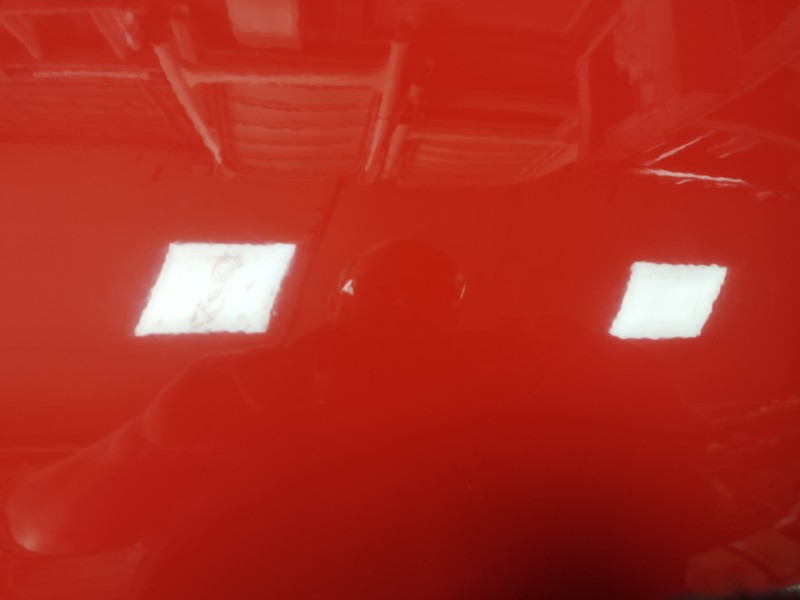
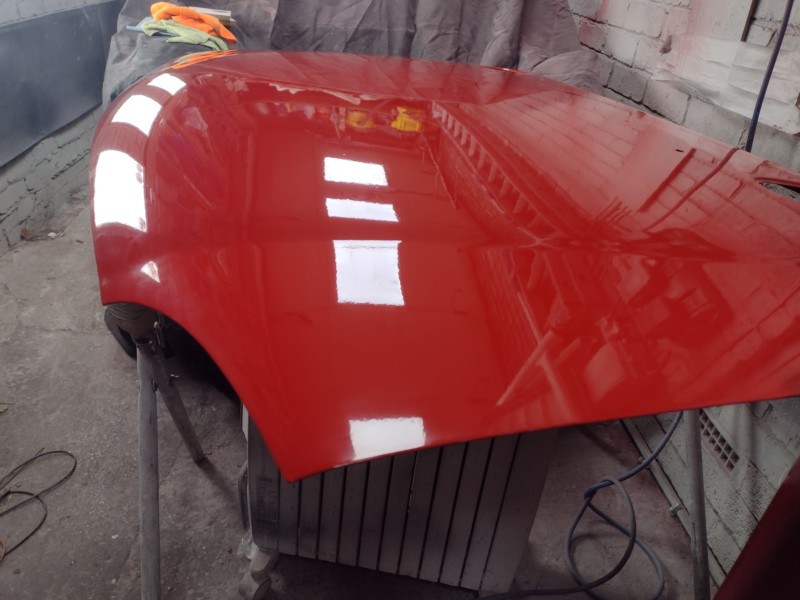
lightly flatted with 2000, then wiped over with a trisac disc, buffed and im happy! I need to buff it a bit more, im still getting used to it. But i just cant believe it. When people like Ben_o [hope you are well!] where saying 2 coats of base should cover and im doing patches then full coats so like 10 coats in places, nope, 2 coats and its mint.
;)
#24

Posted 31 January 2023 - 08:47 PM
progress has happened, i have tried to start it but the crank sensor isnt reading, so ill look into buying tuner studio to fault find the problem and go from there.
Fitted a mgf rad to the car, on forums etc, everyone is asking about how to fit them and how hard, its not that easy, and im not that happy with the fit but its in there for now, ill take some pics and show you at a later date when ive finished the coolant pipes.
inbetween, ive take taken the front bumper off, it was scuffed, and firstly washed it, then flatted any scuffs out. Then used some plastic filler to fill the scratches. A lad at work told me about impa bumper paint, and that is what ive used.
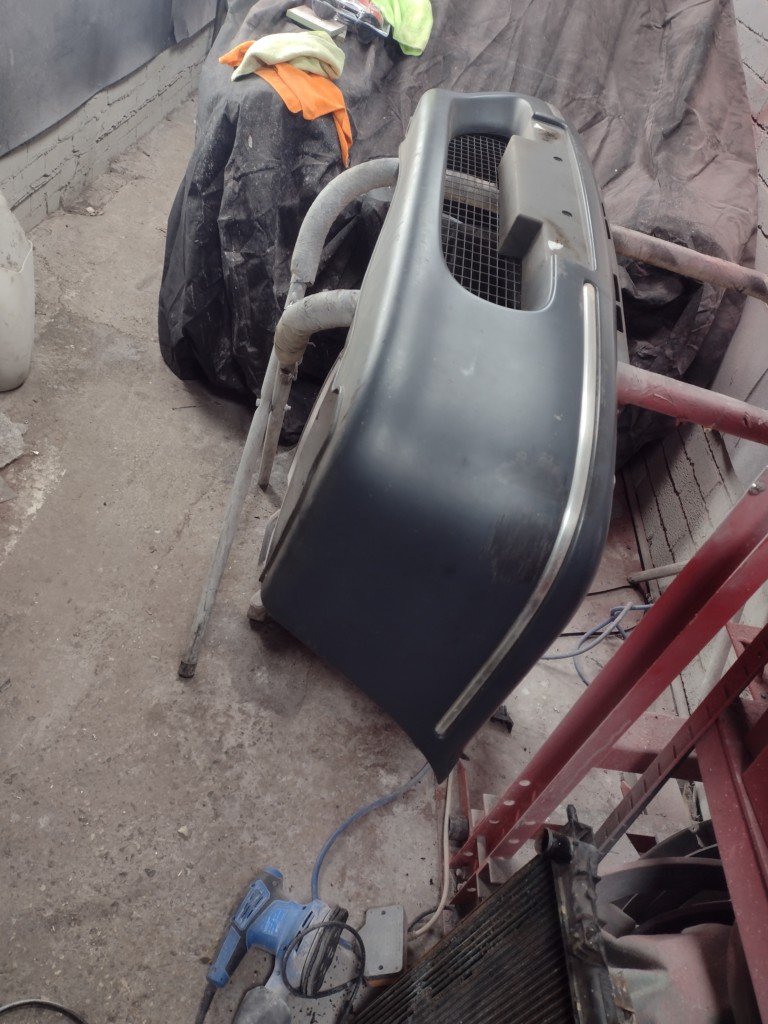

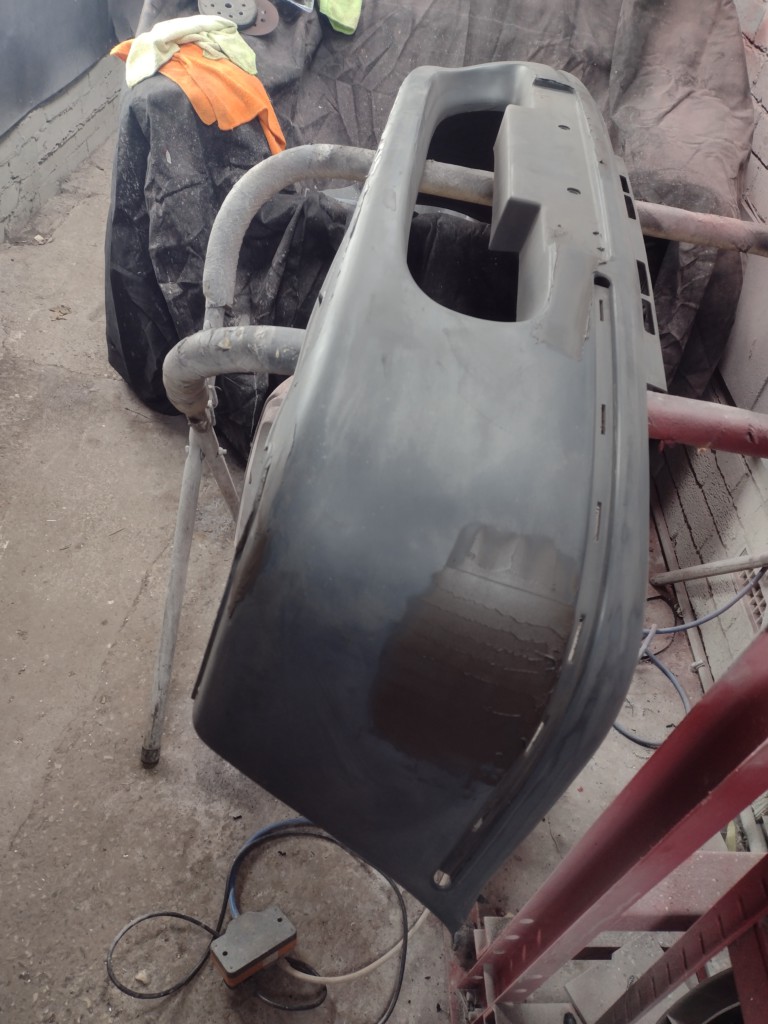
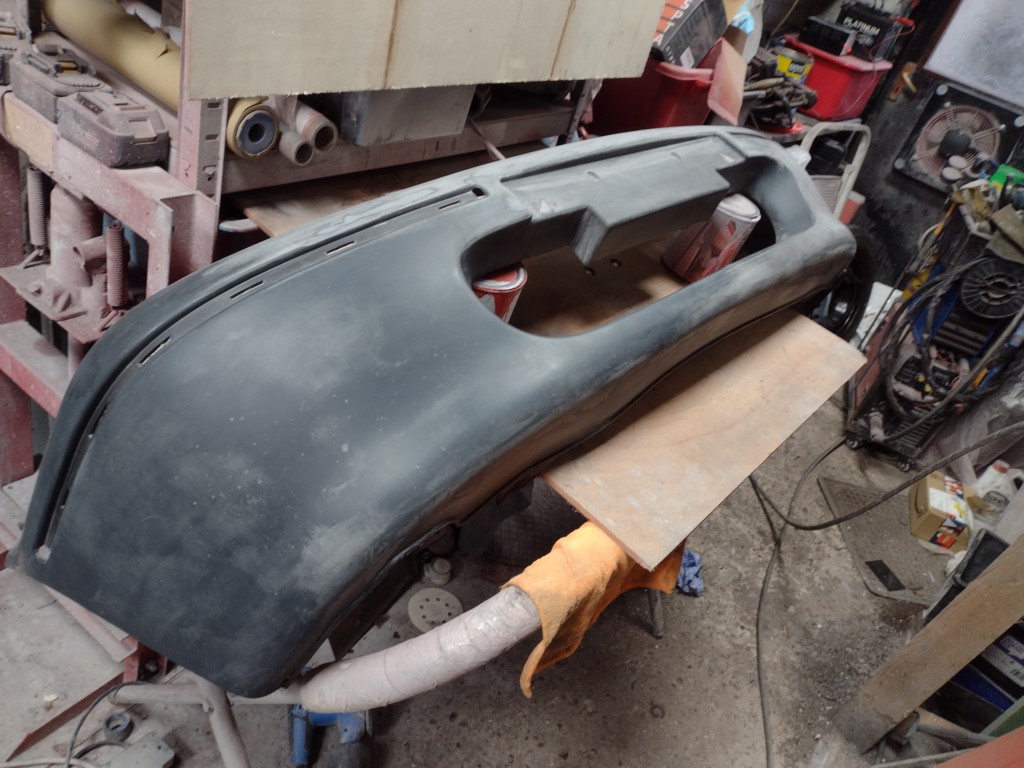
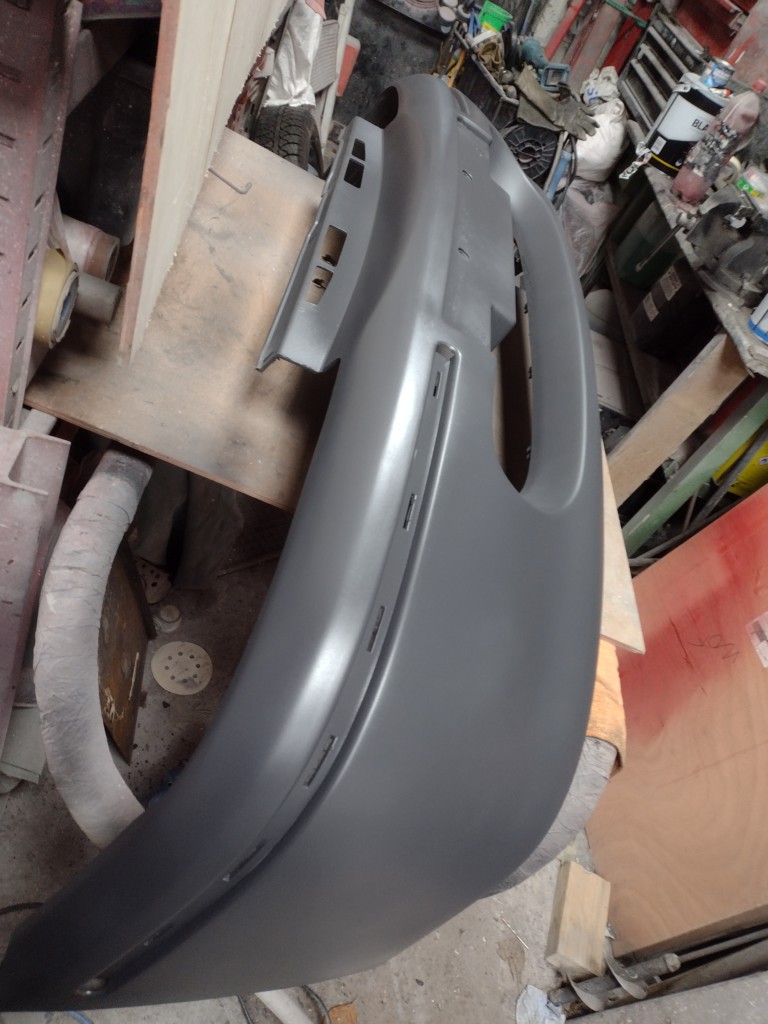
i could have done a better job of it but its looks well good enough for now.
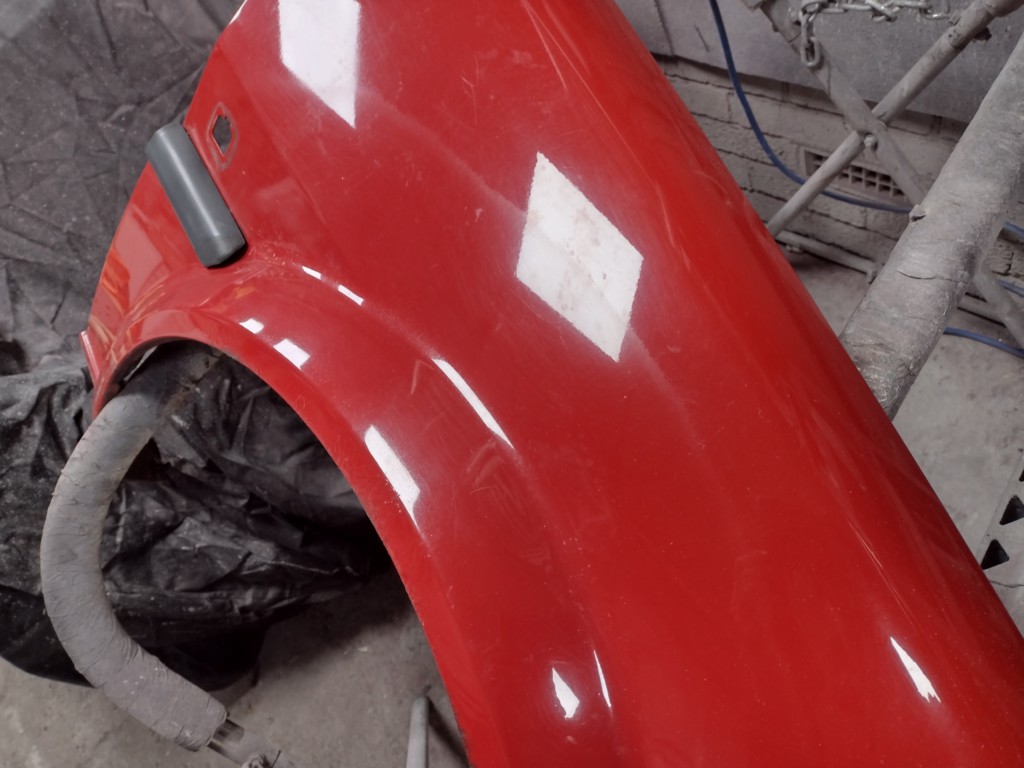
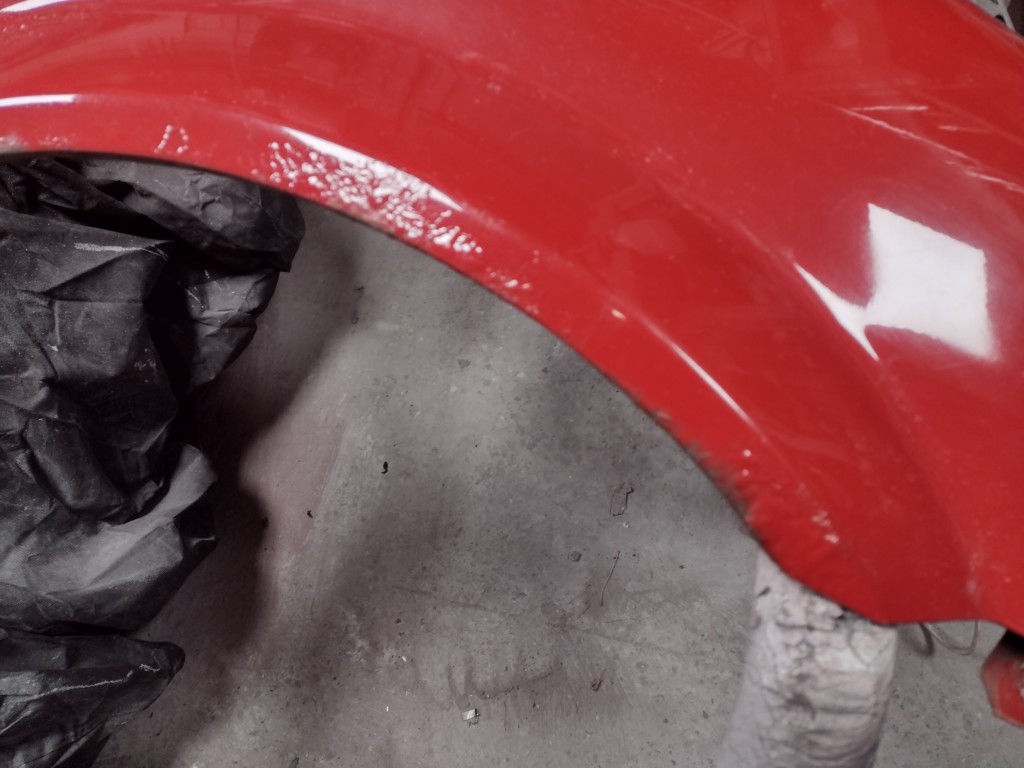
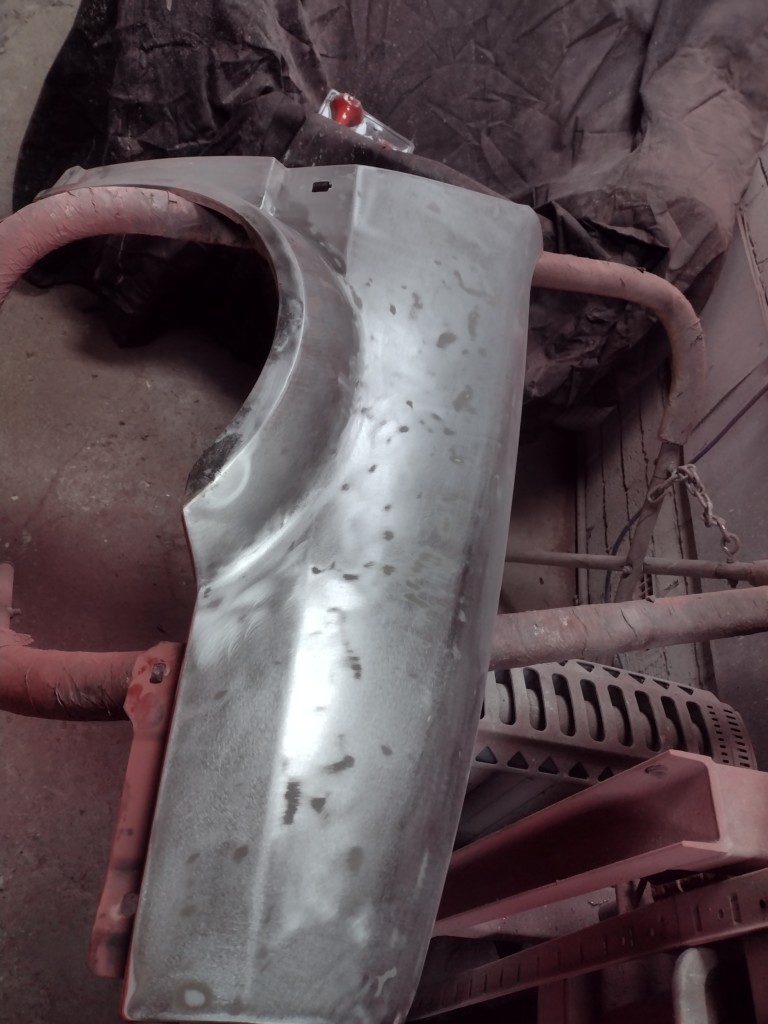
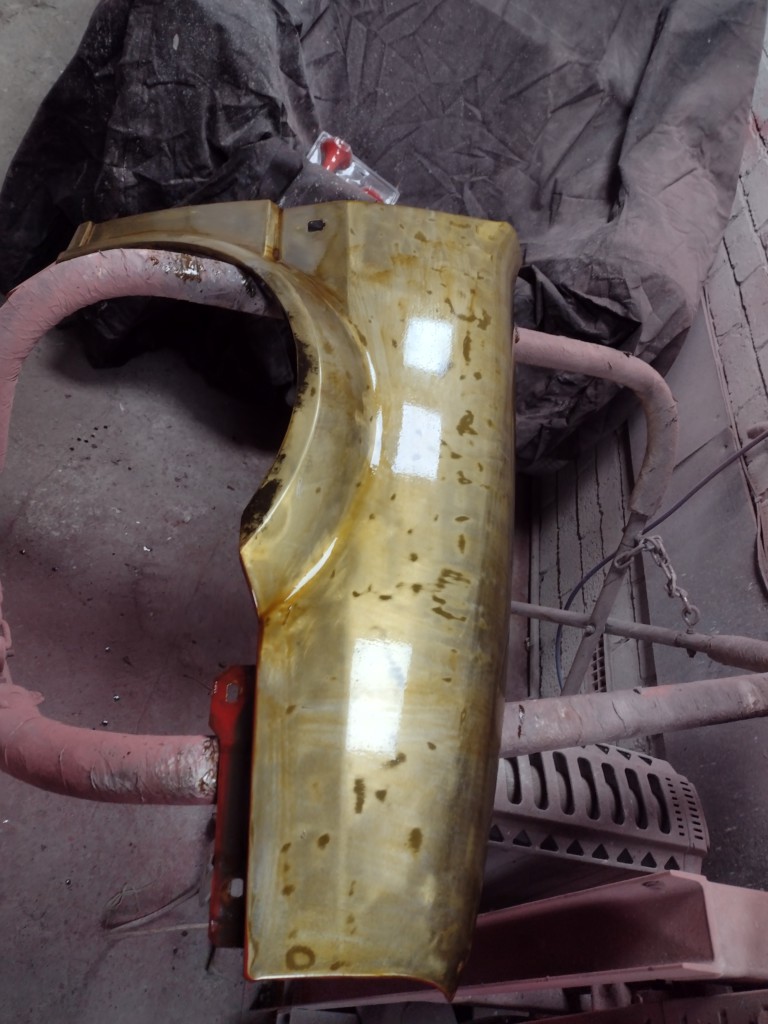
I took the o/s wing off, there was rust in that, and it had been painted to cover it at some point, you can see a ring of red around the arch. i stripped the wing totally, then painted it in fertan, washed that off a day later and filled the rust marks. i then put it in 2k high build which is where i am atm...
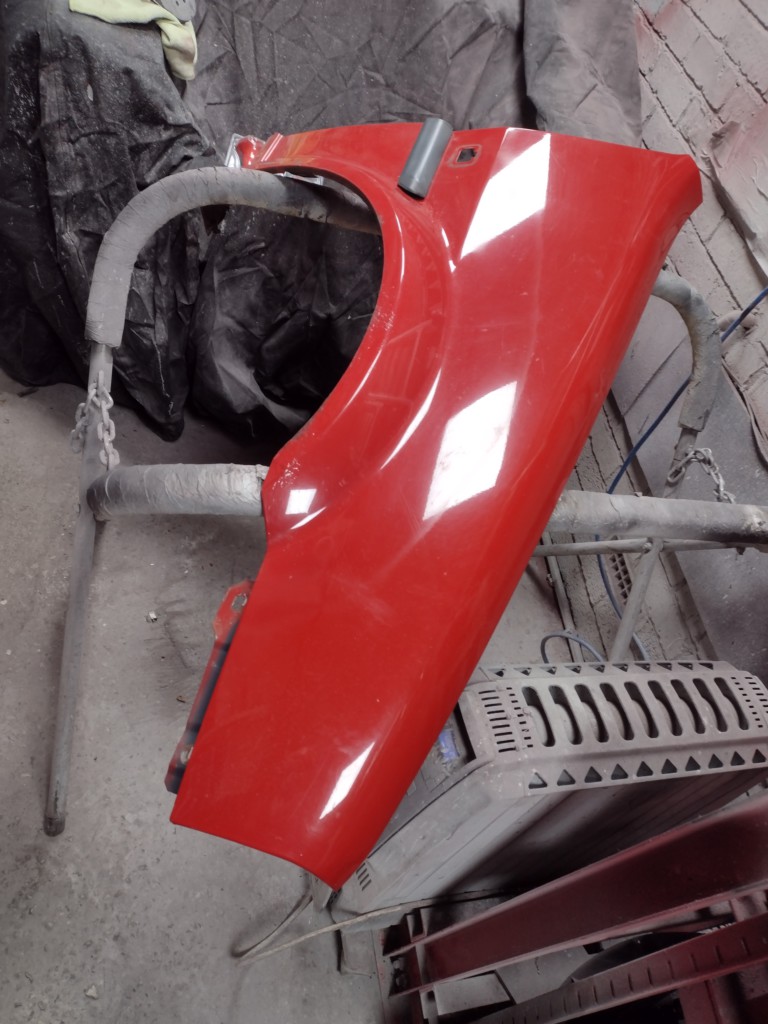
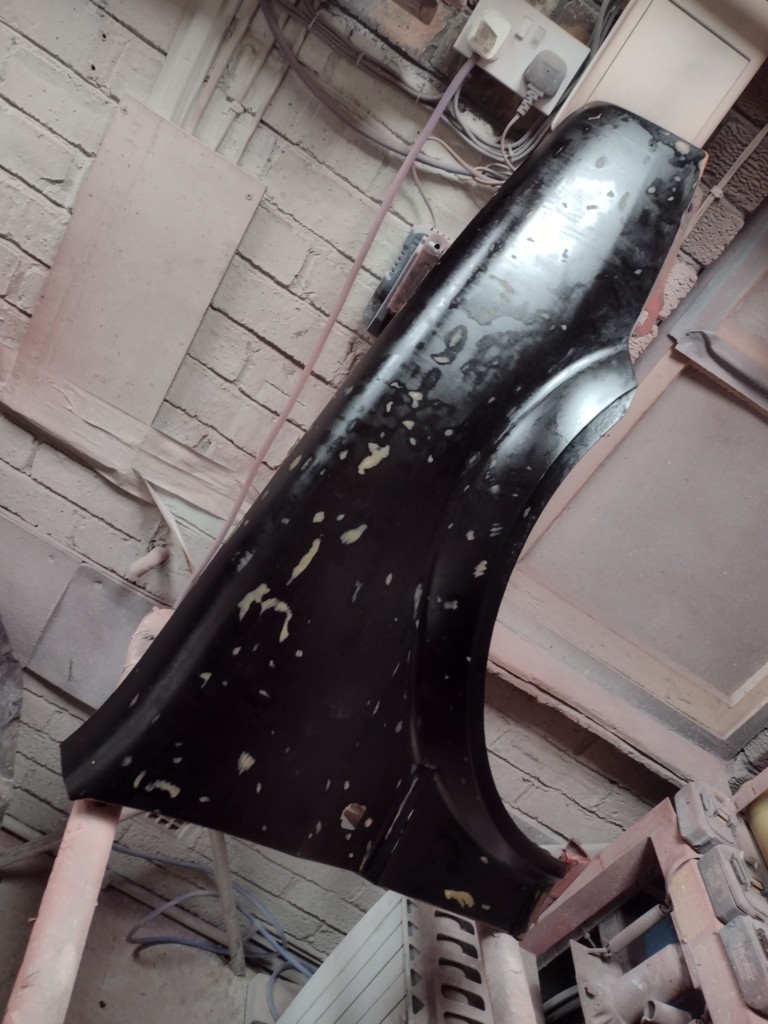
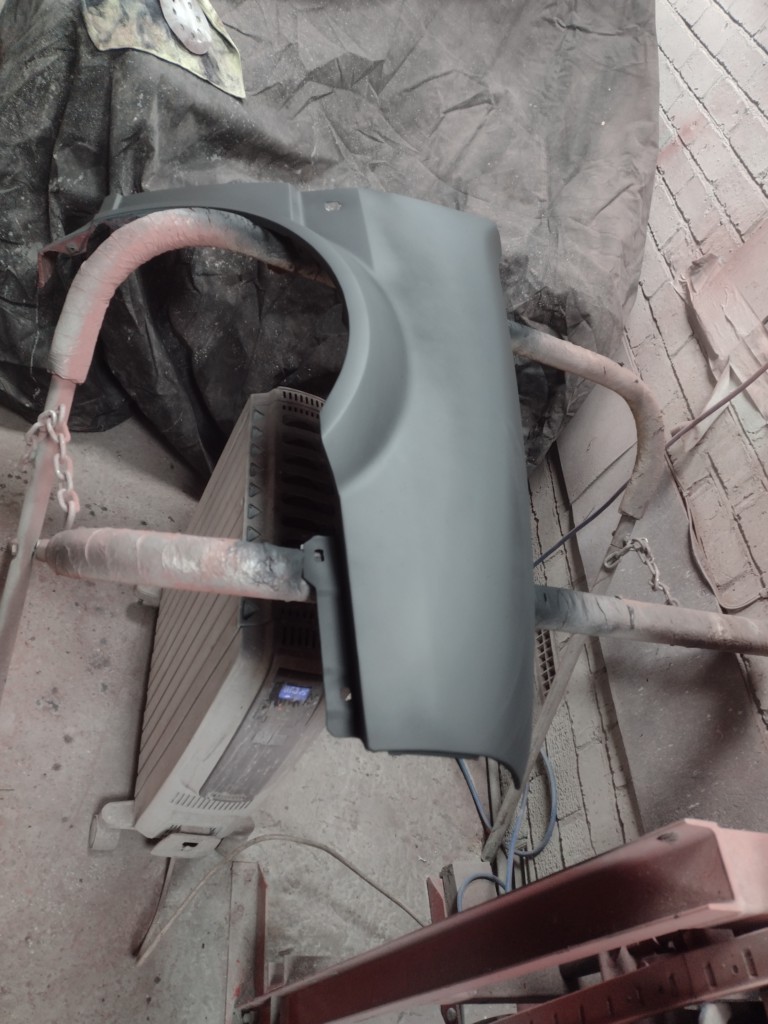
Need to get this running now, i know its january but that isnt far off car show time at all!
#25

Posted 11 February 2023 - 12:20 PM
i painted the wing, it looked good for all of 10 seconds when the lacquer ran off. thinking of what i was doing, the method was ok, it was just it was too cold. i flatted it a few days later and repainted it but had an infrared heat lamp on too.
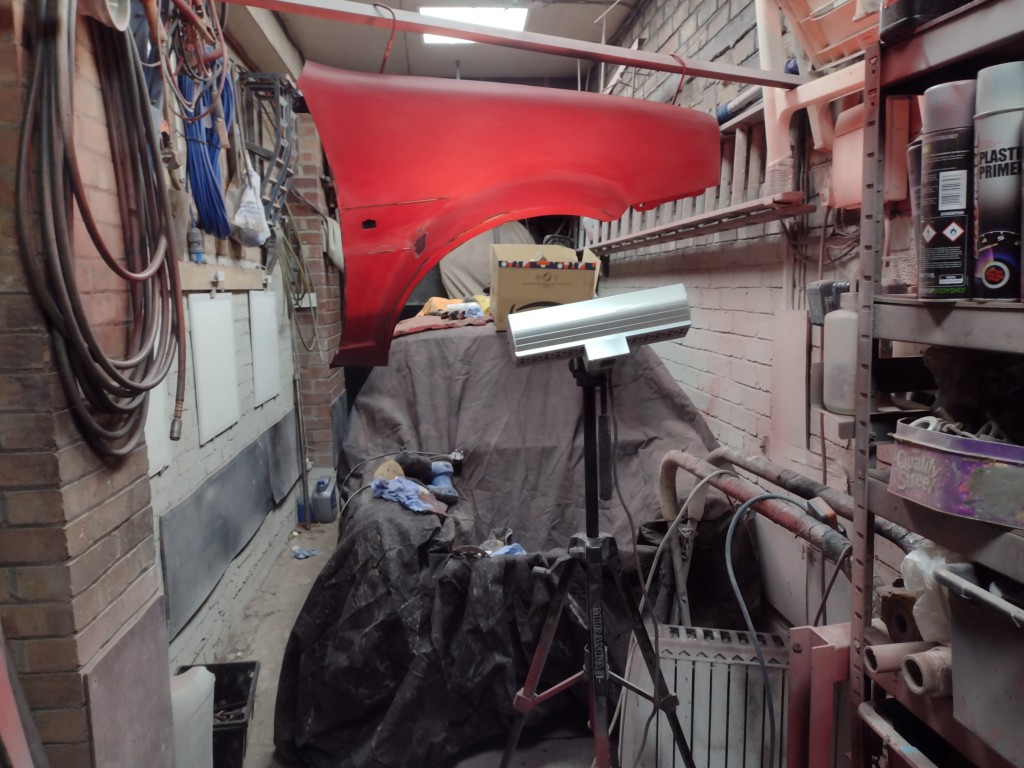
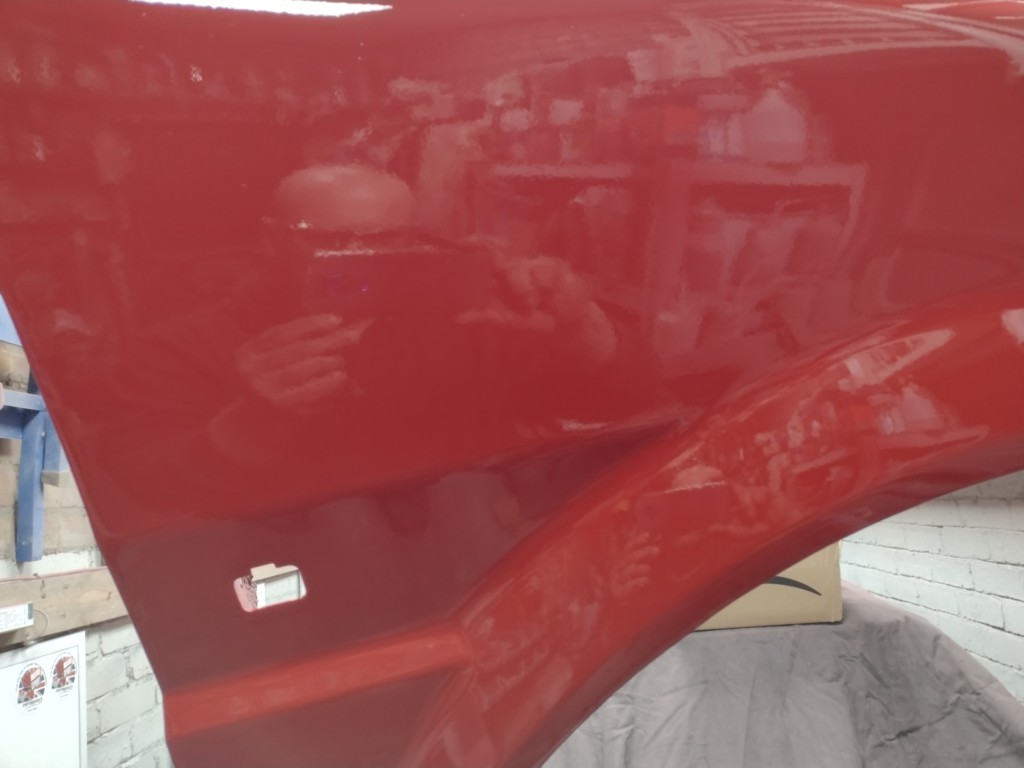
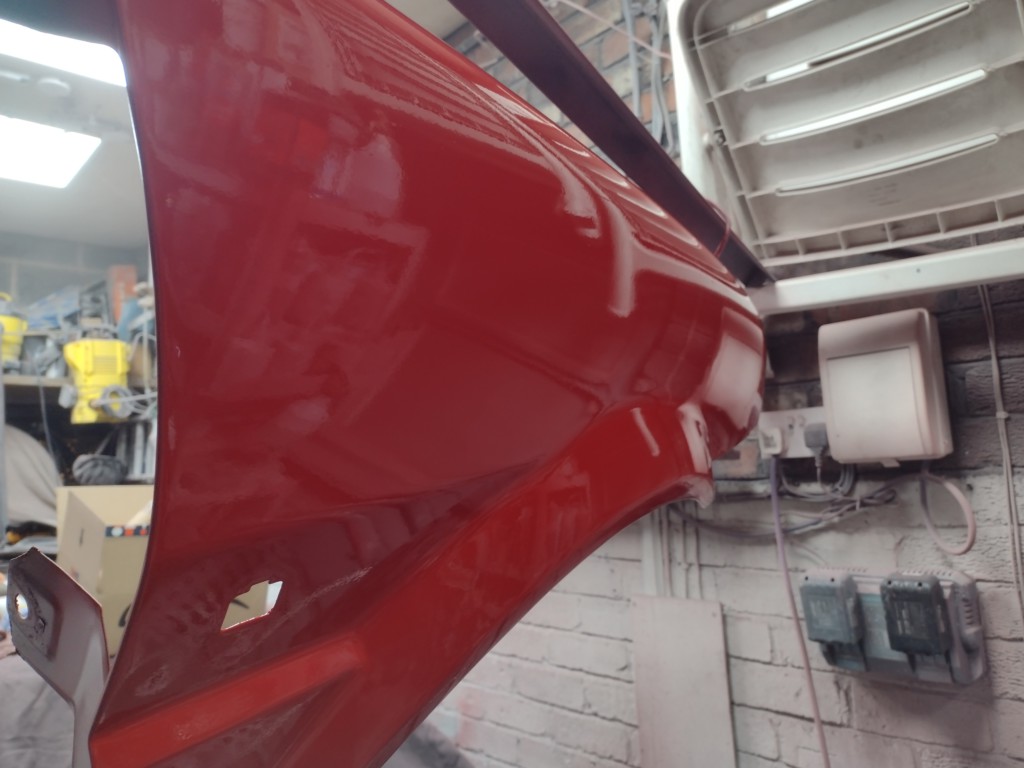
finish was really good, but a lot of dirt in it. it flatted out mostly, and put on the car, it looks exactly the same finish as the rest of the car.
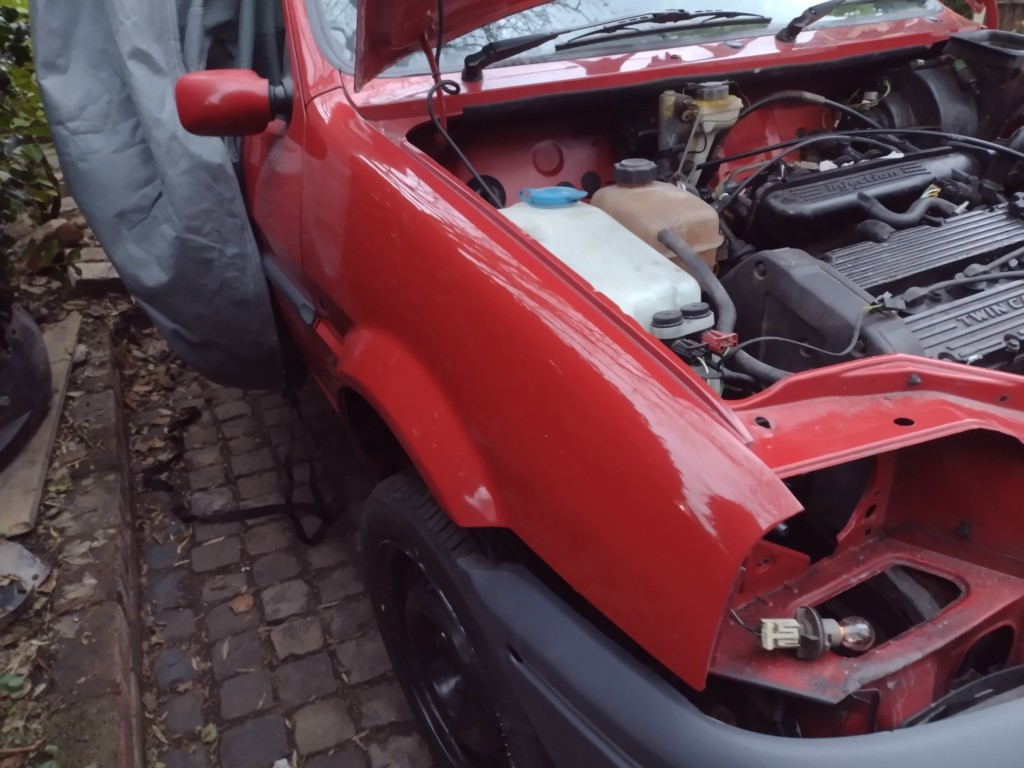
i put a new chrome strip intot he bumper, just some stuff i got from amazon.
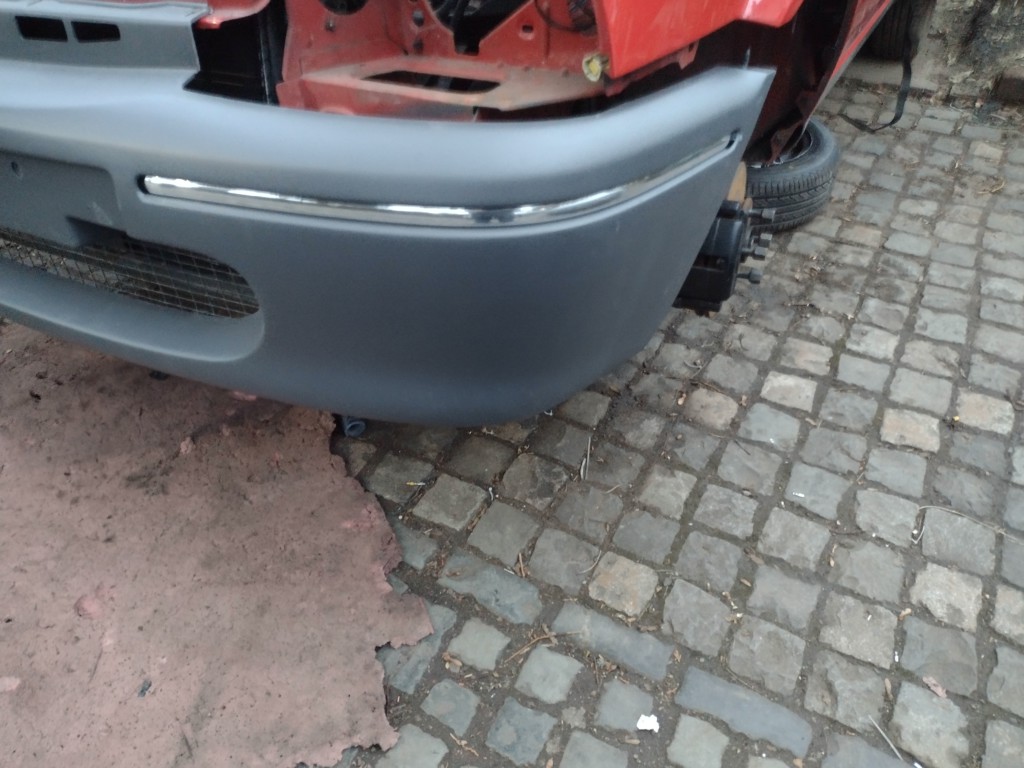
ill take off the other wing now and paint that in the week, weather is changing, need to get this car back on the road.
#26

Posted 25 February 2023 - 10:51 PM
https://www.youtube....rts/keDH2B6W6gM
it started!!! will do a proper post about what ive been threw to get to this point later lol
#27

Posted 23 March 2023 - 08:54 PM
a bit has happened since last post... not really with the engine running, but i had started to redo the wires into the speeduino as they seem to not like the terminals they supplied, so i bought strand ones from aliexpress and i am half way threw soldering them on.
The inlet that came with the engine was a plastic one, im having really problems with it as it seems to be split, so i bought an ally one from ebay from a guy local who is into MGF;s who also is into rallying. was at his house for hours talking lol. So that is on but i need to work out what im doing with the map sensor as the ally one has one built in but im not sure how to use that with the speeduino as it has a map sensor built into the board. But ill work it out later.
I put the panels i painted back ont he car and the colour match is well off. SO i took the plastic cover over the lock on the tailgate to get colour matched and painted the wings and bonnet again...
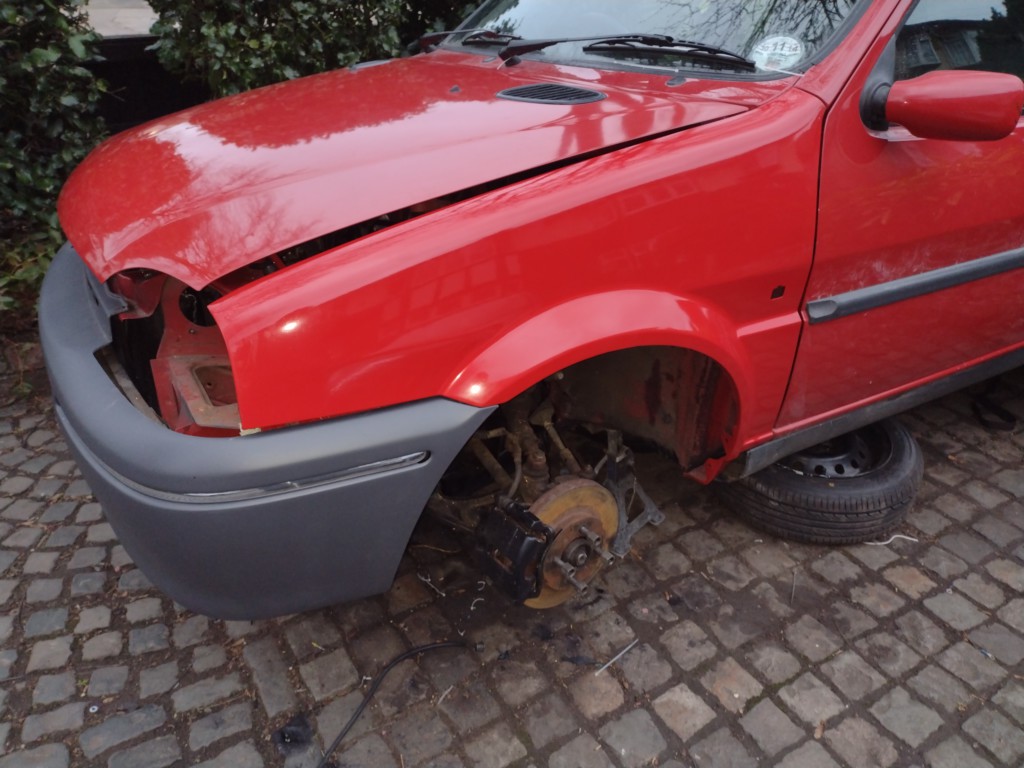
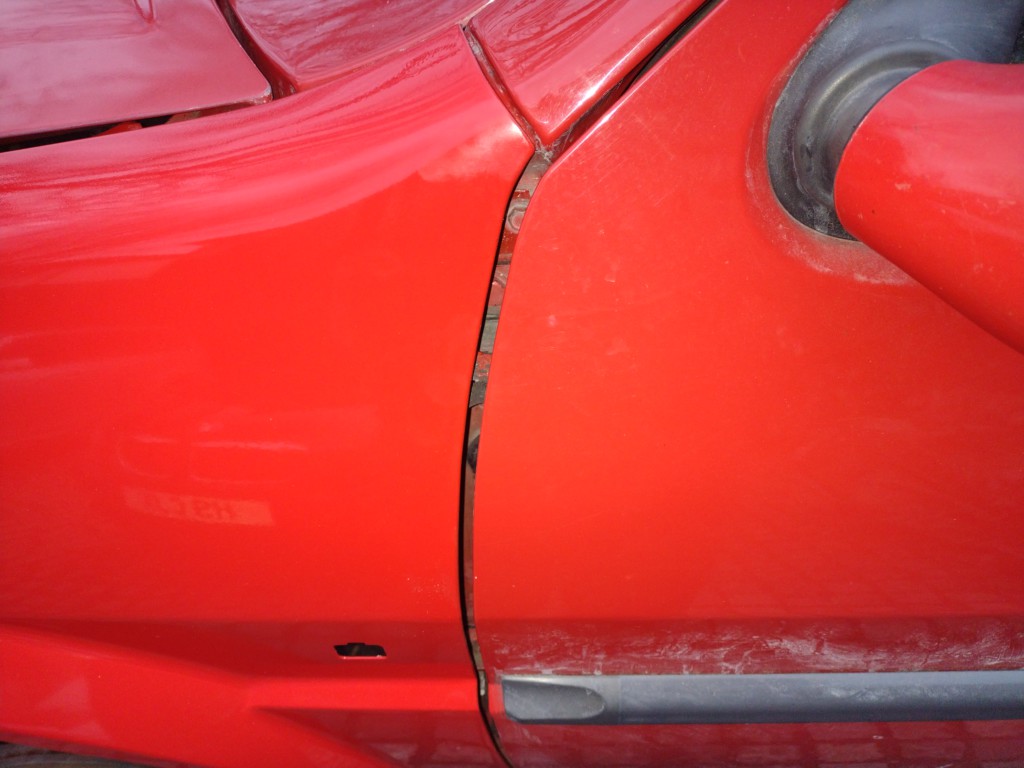
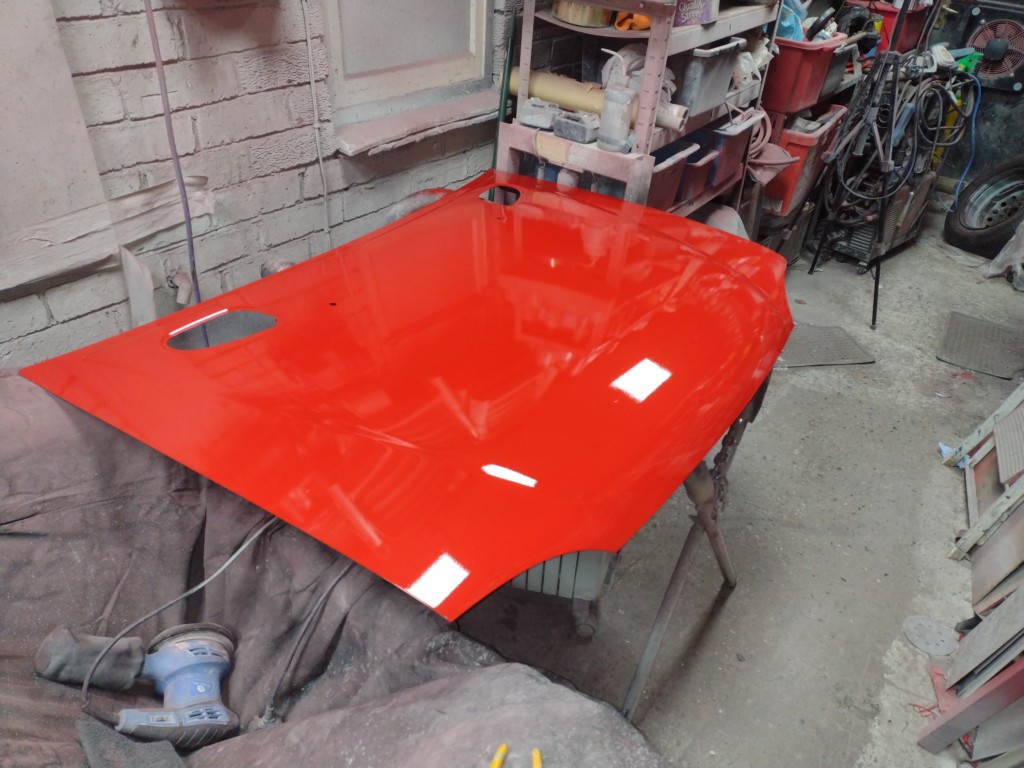
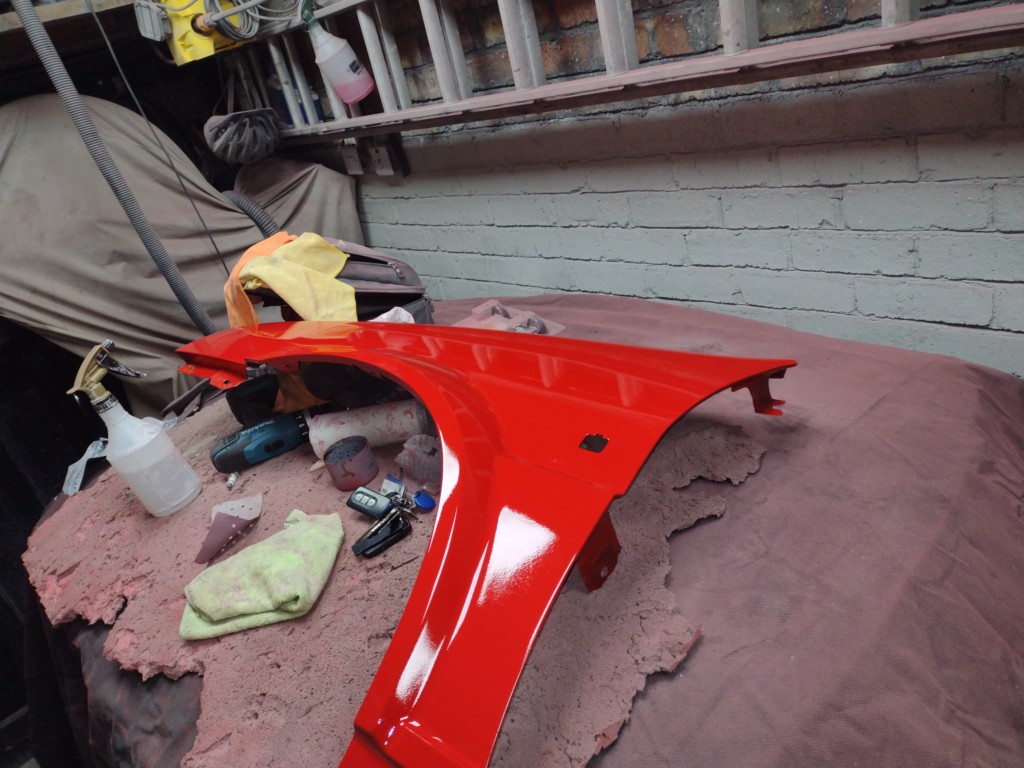
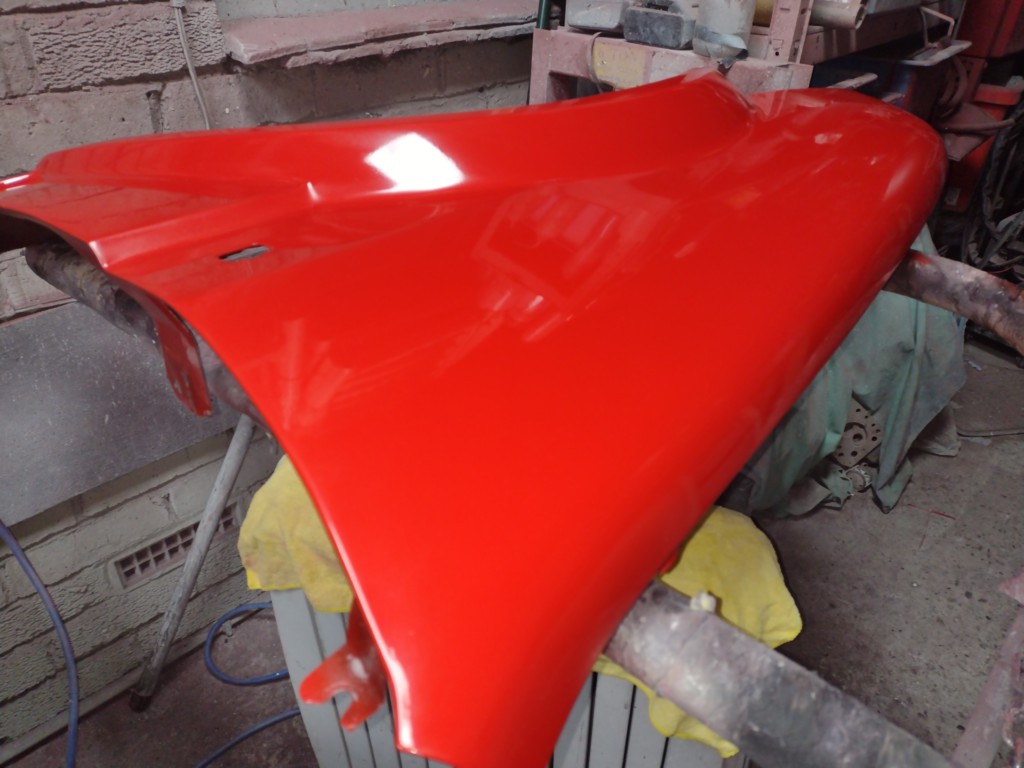
Put them back on the car and they arnt right, my painting however has come on loads, its quite good now. The colour is not right and looking at the tailgate, the red of the car seems more faded than the plastic bits, so ill have to paint them AGAIN but ill have to do it when the car is back on the road.
painted the rear bumper
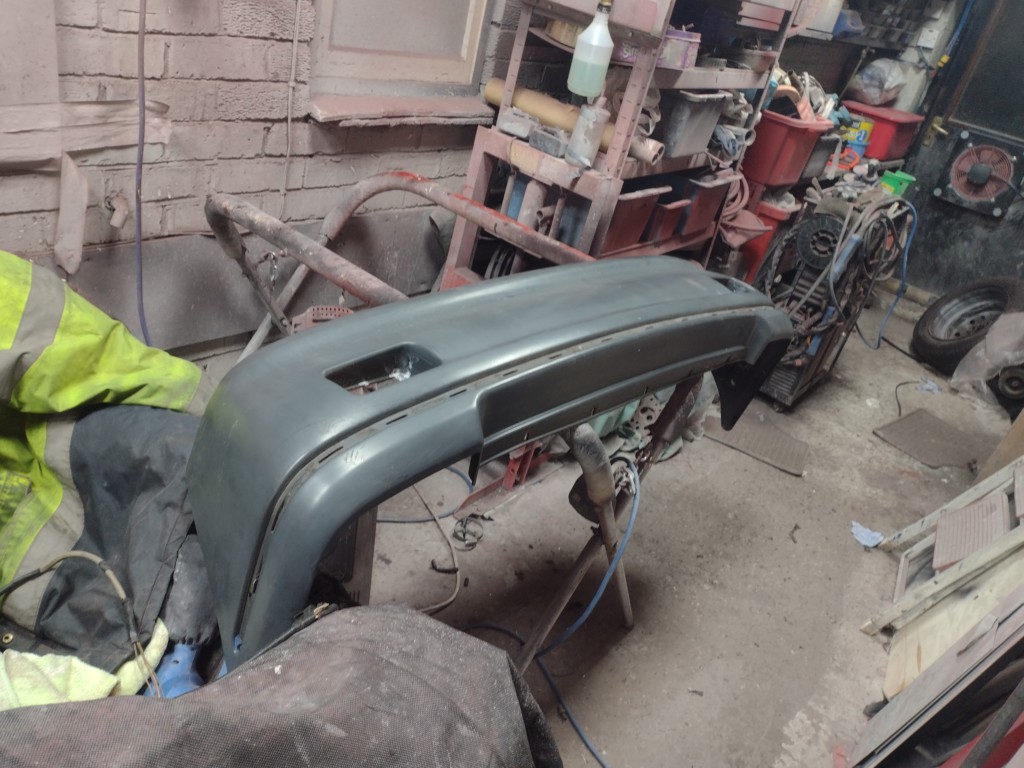
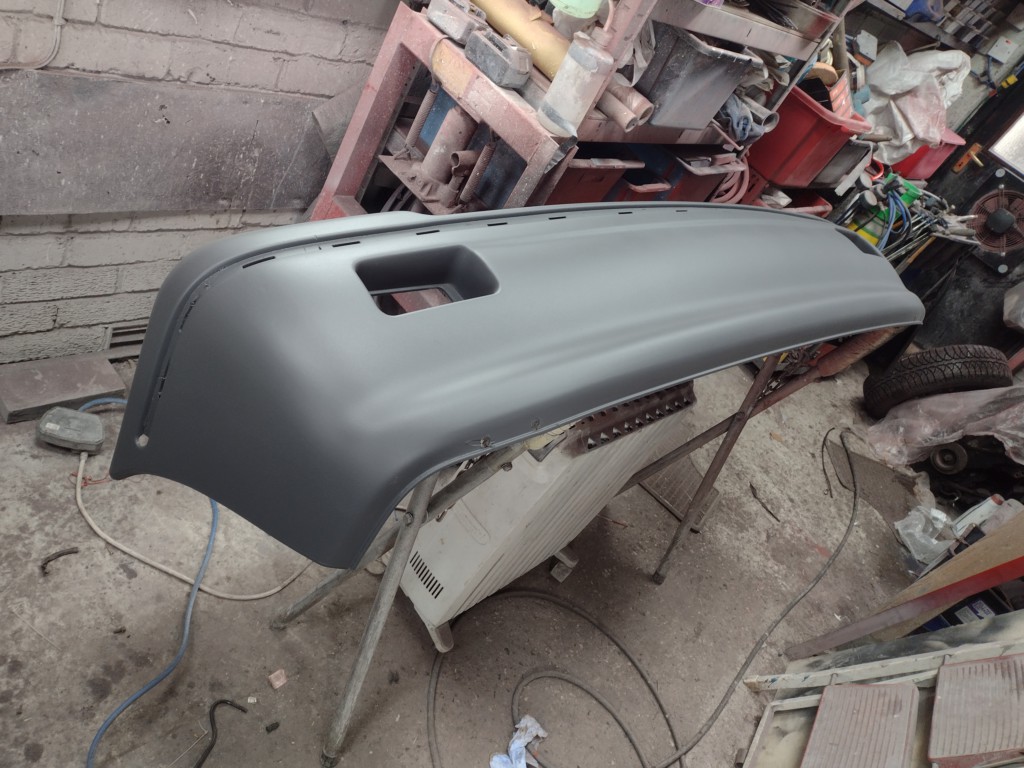
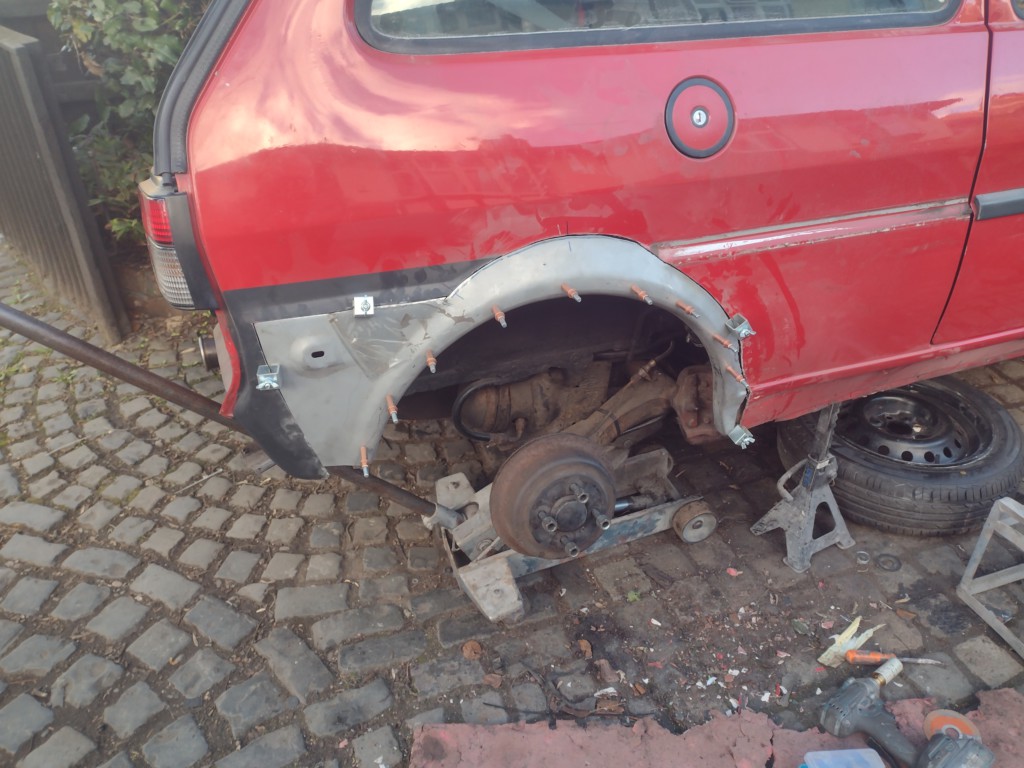
So while the bumper was off, i was looking at why one wheel hit on the arch, and then this happened...
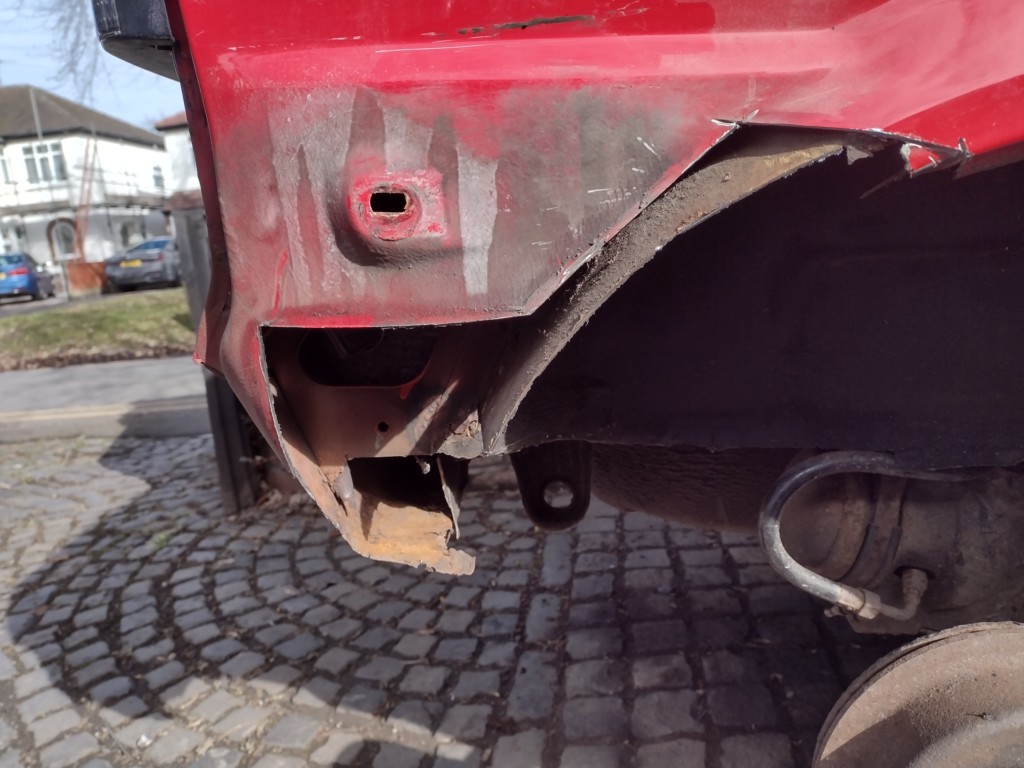
I cut out the quarter to get to the inner arch. I was happy at first as the outer arch looked good, but it wasnt. I made it all up again.
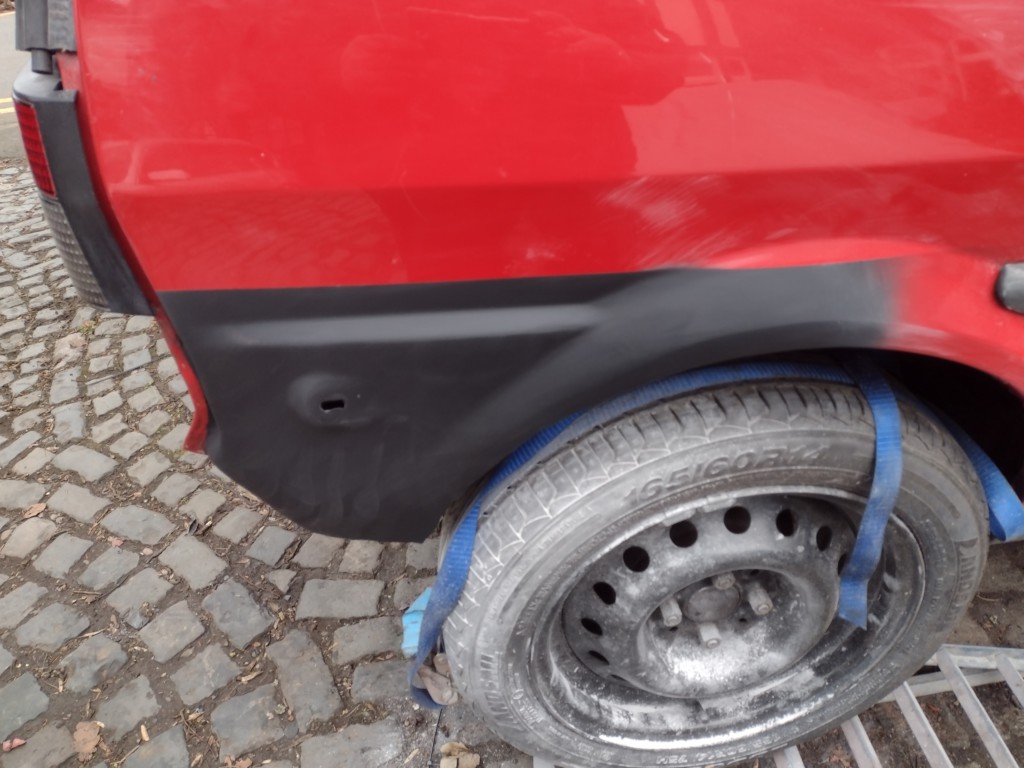
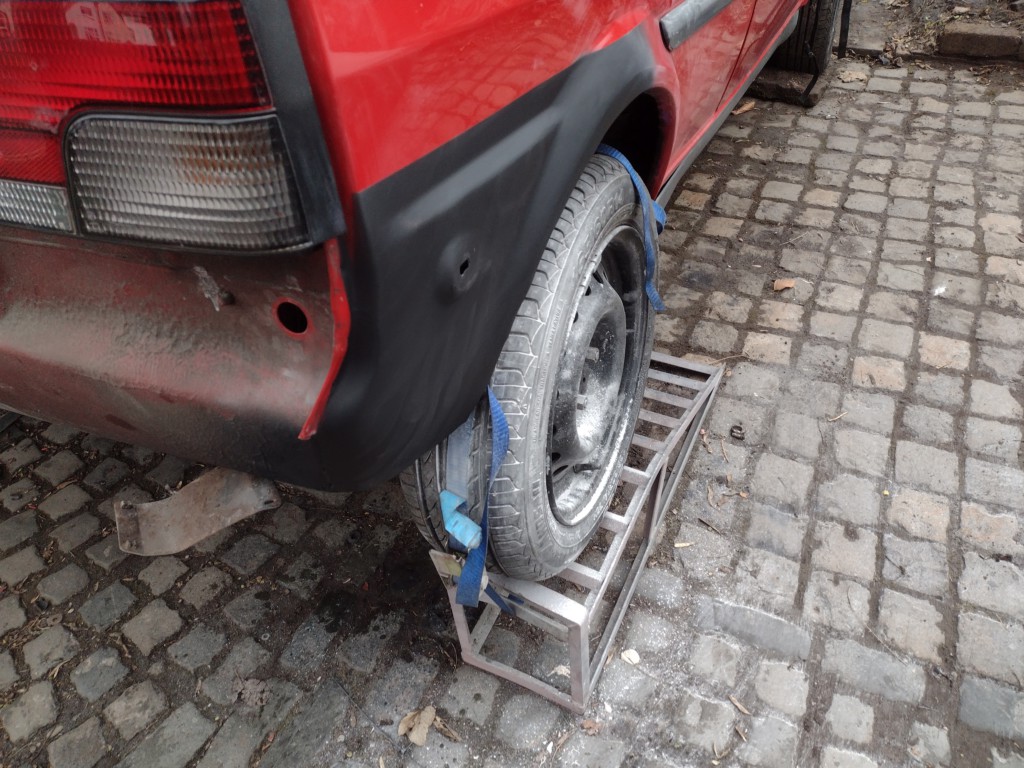
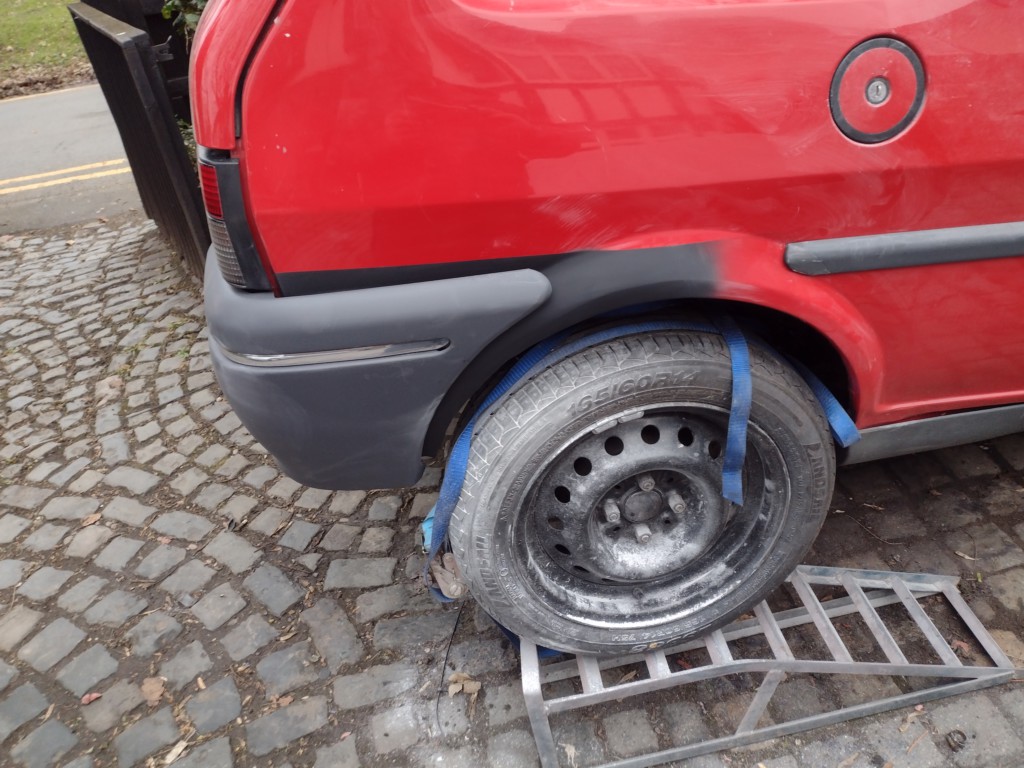
You cant really see in the pics, but the inner and outer arch i couldnt work out the shape properly, so i guessed, and it went a bit wobberly.
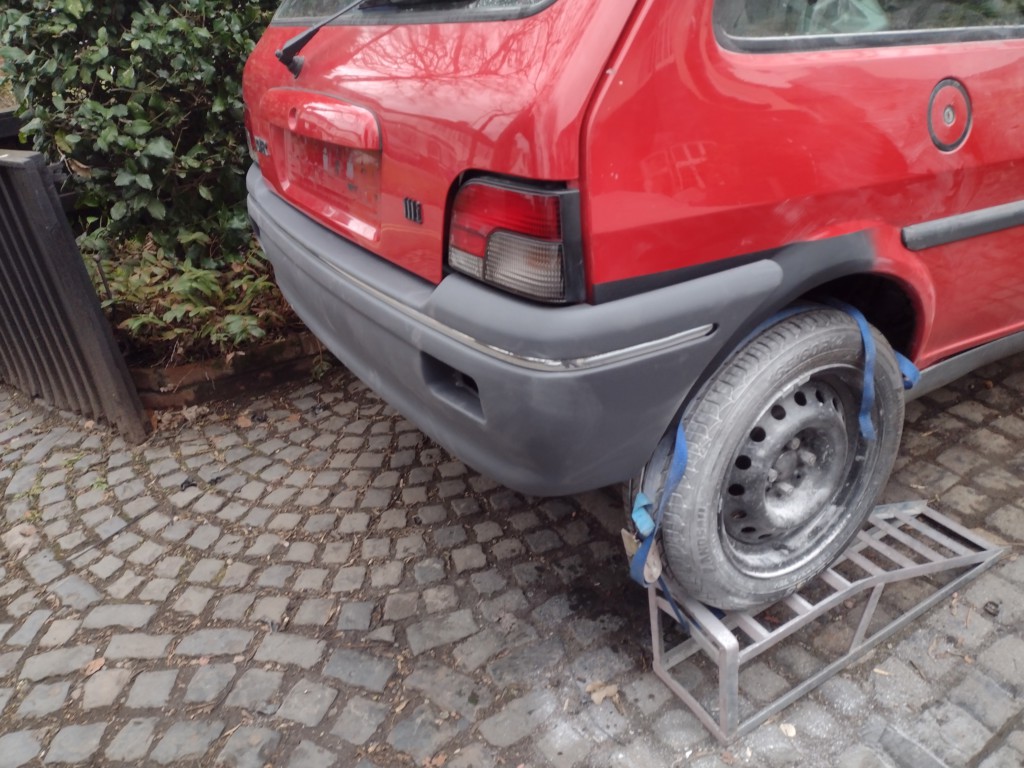
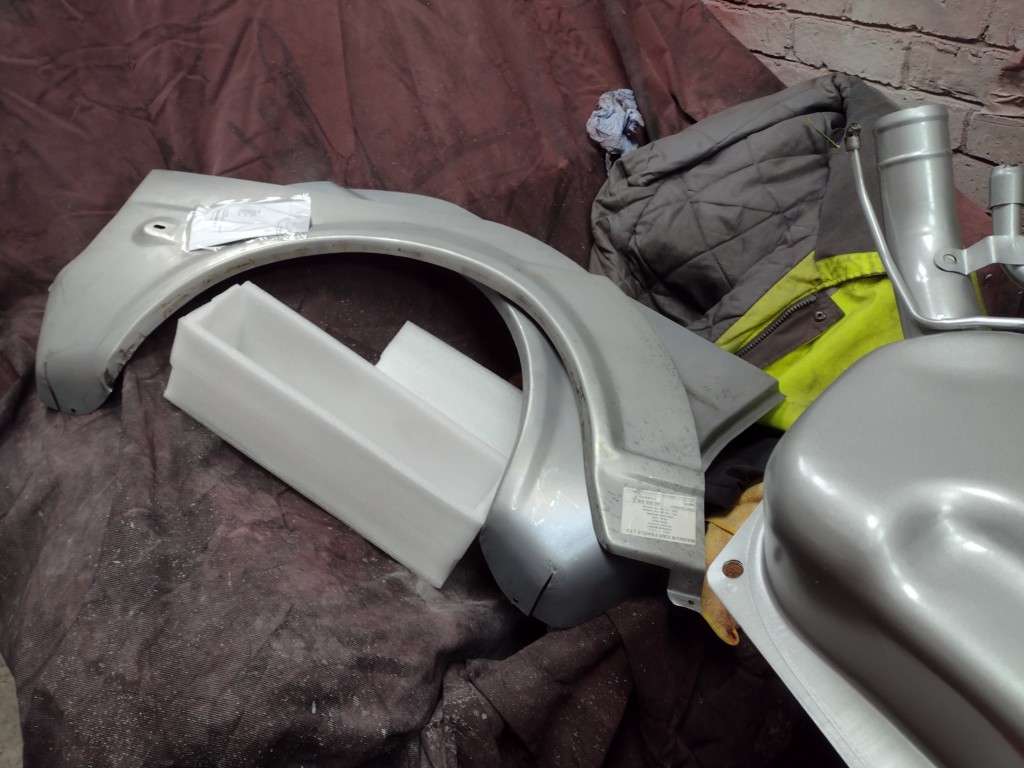
Since then ive bought the repair panel to get it much better. Its easy to weld a panel in, its not so easy to make inner arches and outer that look good by hand when you dont want to annoy your neighbours!..
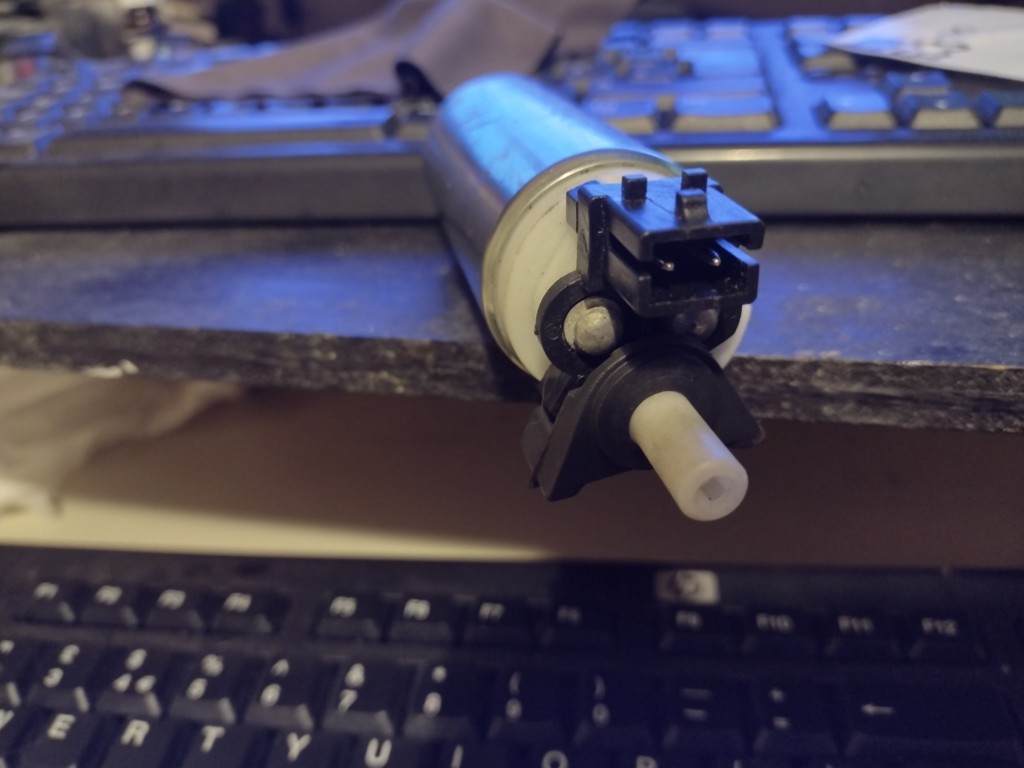
So while the panels where comming i knew i had to change the fuel pump t o a high pressure one as the old one was a spi one. I tookt eh tank out, and well...
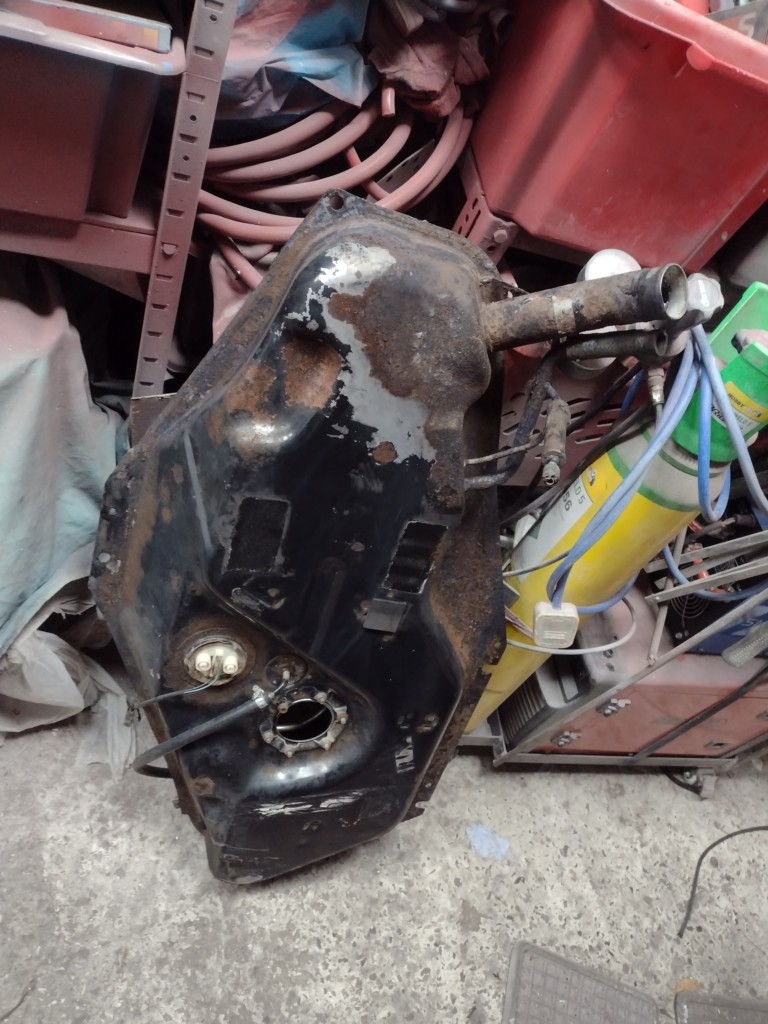
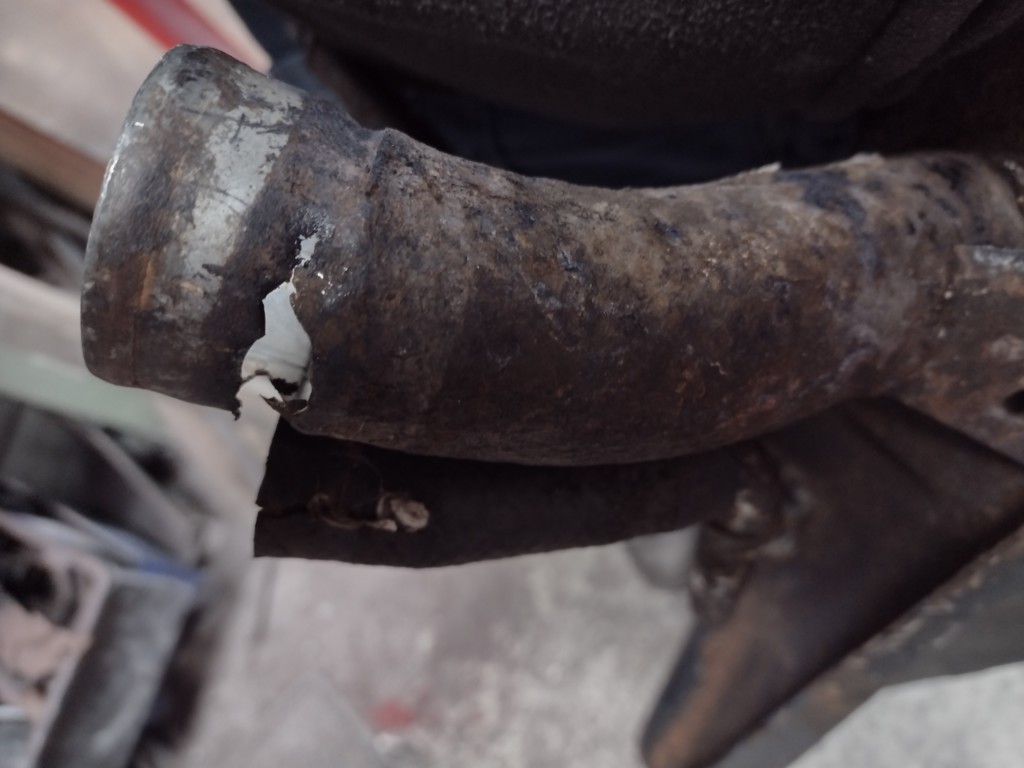
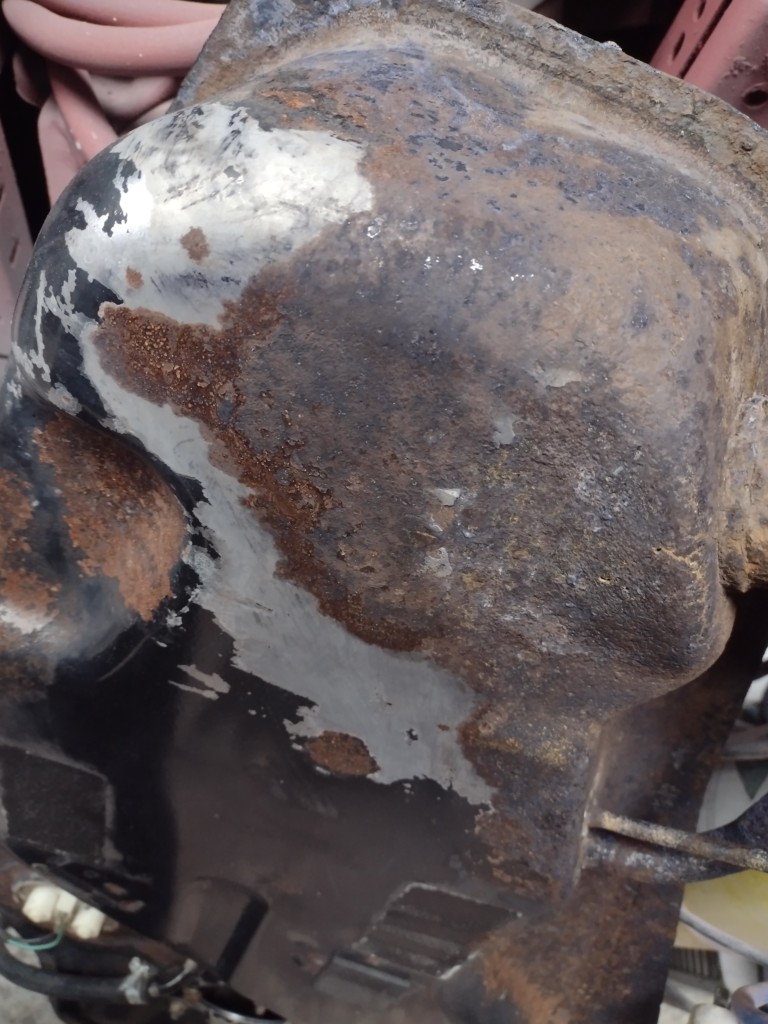
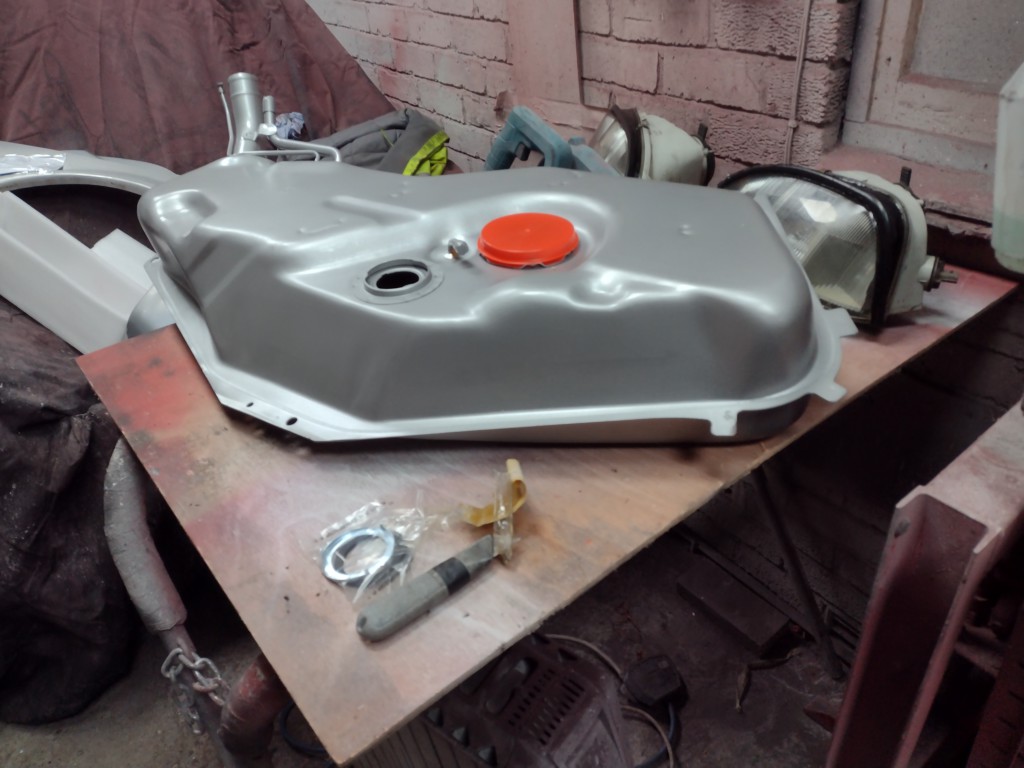
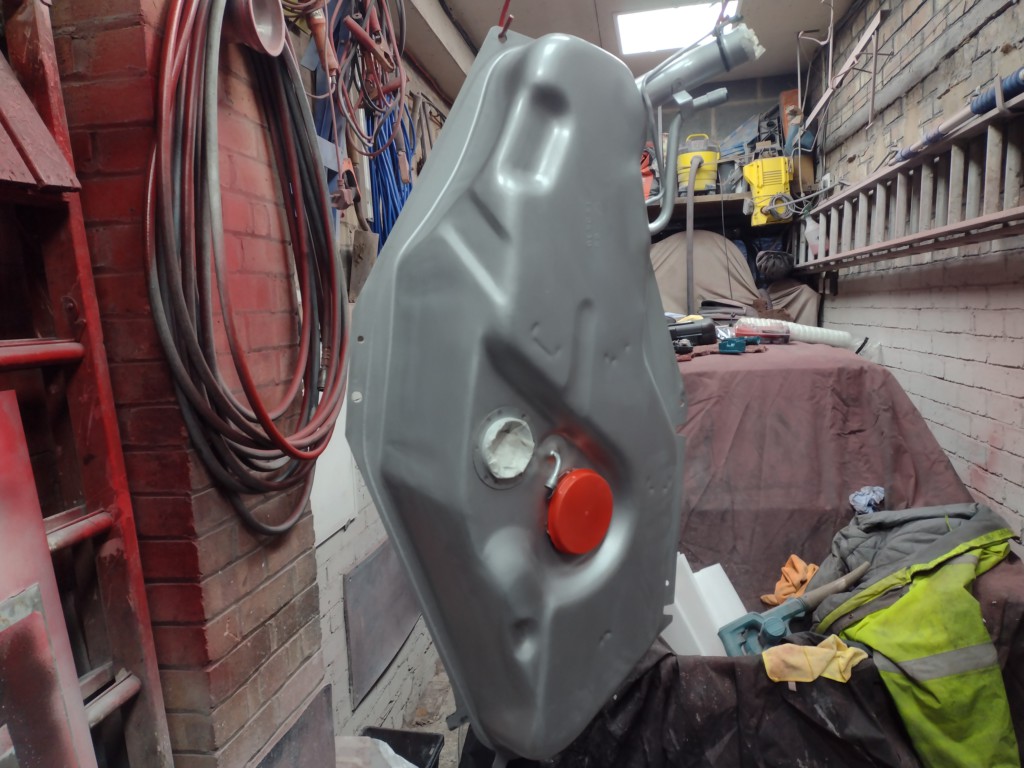
So i thought about using some of that chemical stuff to repair the little holes int he top and welding up the neck, but for time i thought ill just buy a new one and its right... it came silver so i painted it 2k black
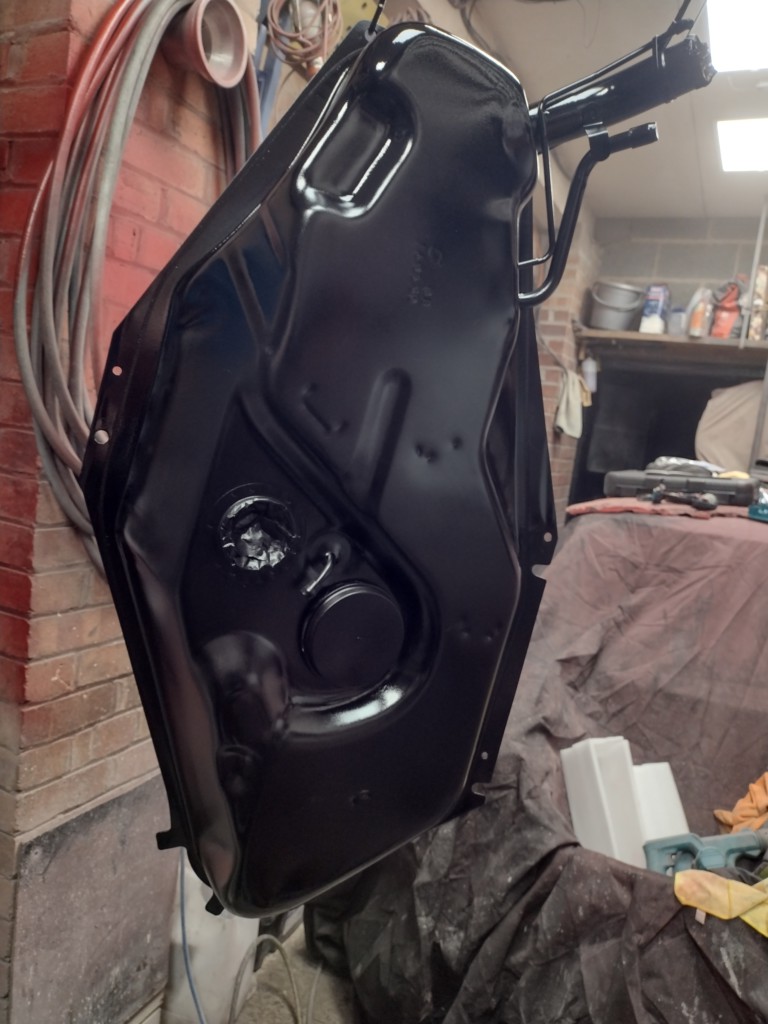
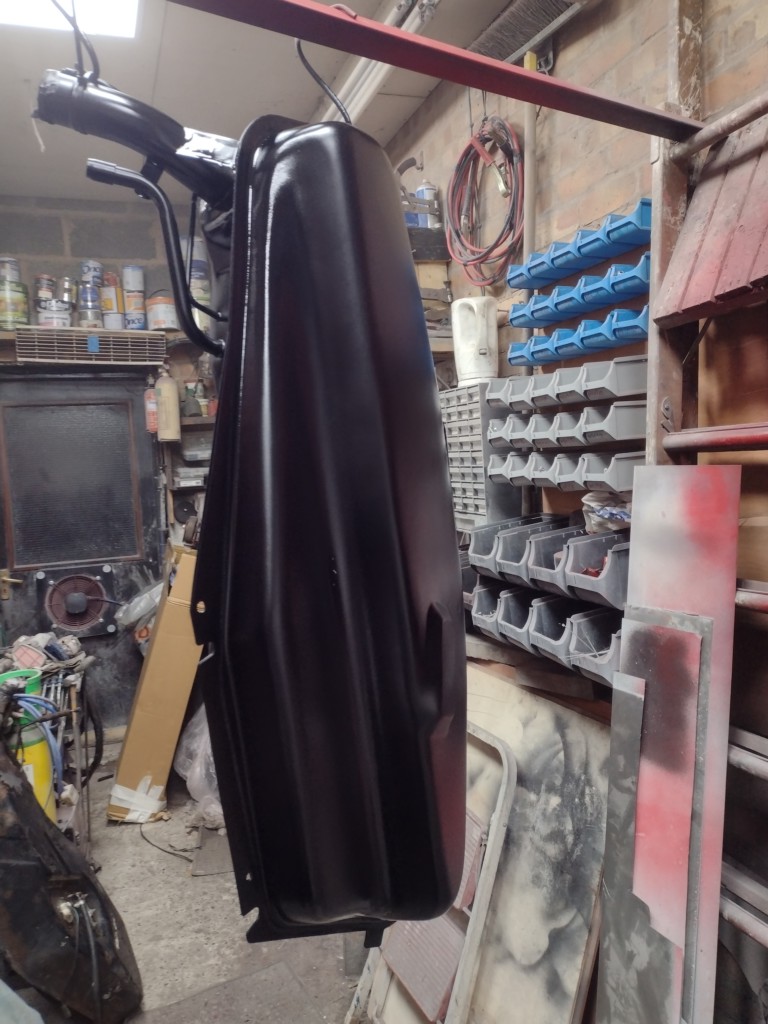
repair panels came
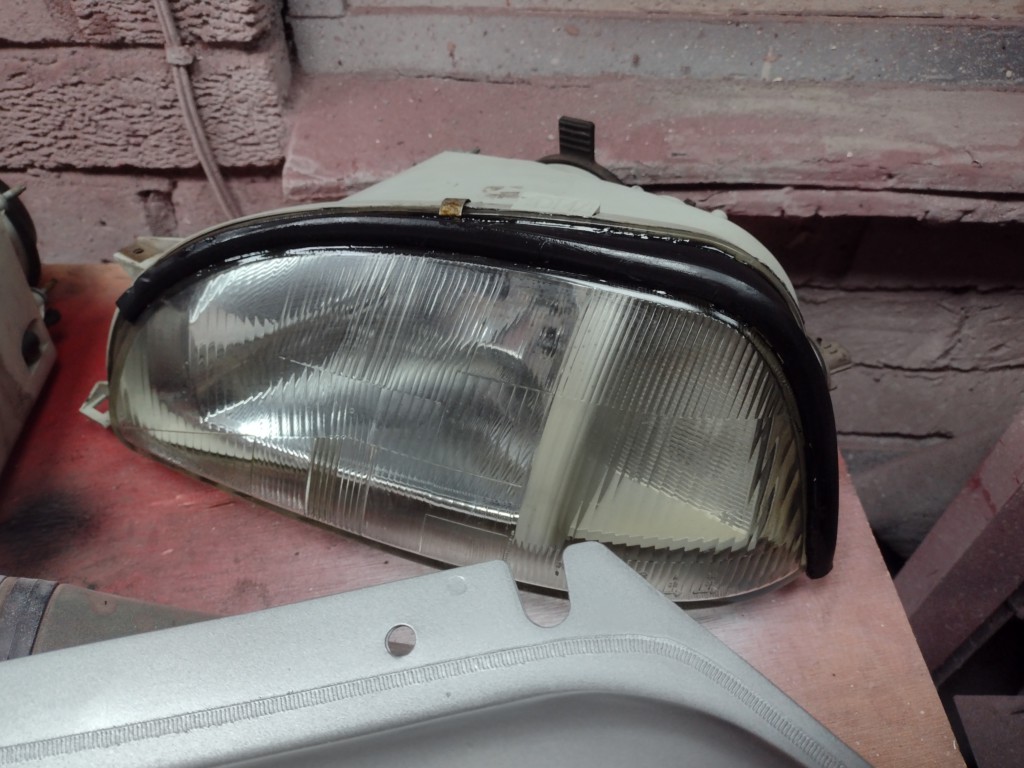
I glued the trim back on the headlights too
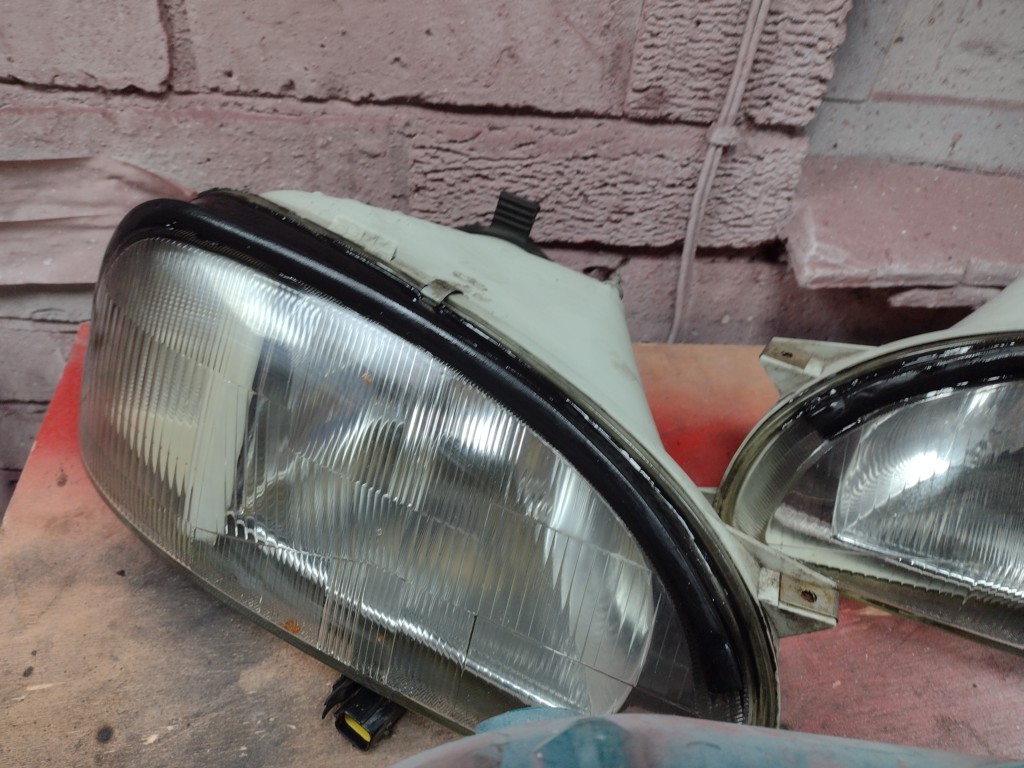
im goign to have to get it running and take the car to get colour matched, or repaint the whole thing. See what the match looks liek first but i can borrow a paint booth at work one weekend.
i cant wait to get it back on the road now!!!
#28

Posted 22 April 2023 - 09:27 PM
bit of an update
had a few problems with the fuel pump when i put the tank back in, the junior timer connector had a rubber seal on it, when it got fuel on it, it expanded and pushed the connector off the pump and it stopped working
i wasnt happy with the rear arch repair i had done, so i bought a repair panel and set too
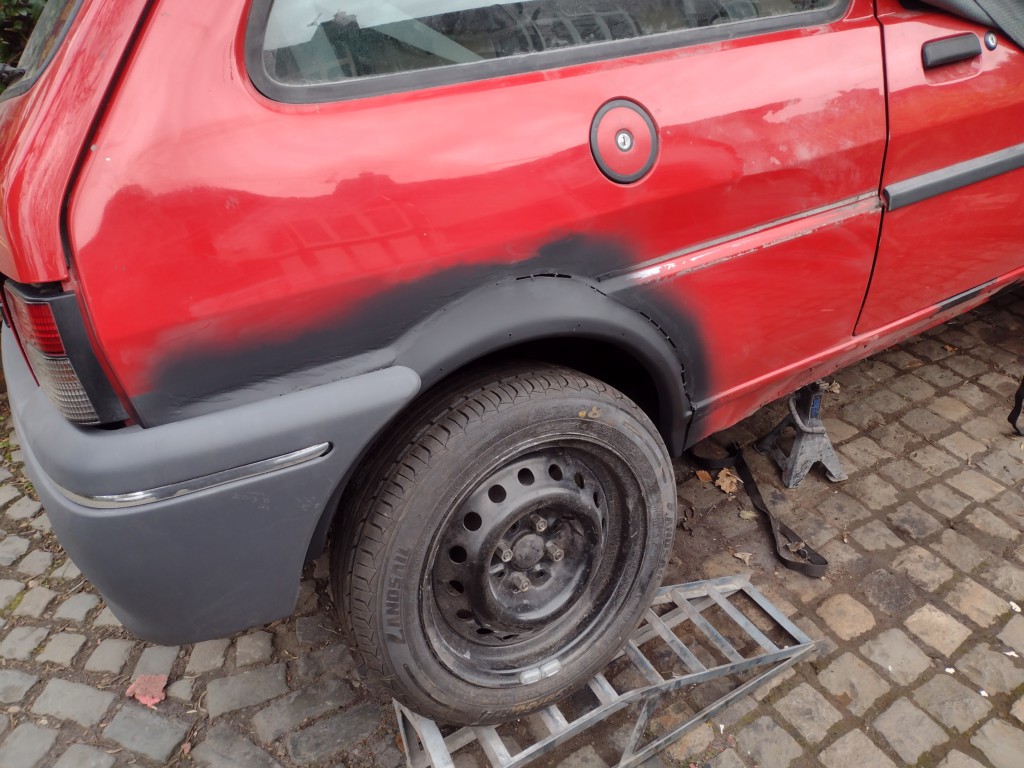
not finished there, but i primed it in 2k at the end of a day. ive filled now, there is a ripple int eh quarter, but im not so bothered, just want it back on the road now.
bought a full stainless system from ebay, fits really nice, but the tail pipe is not what i want !!
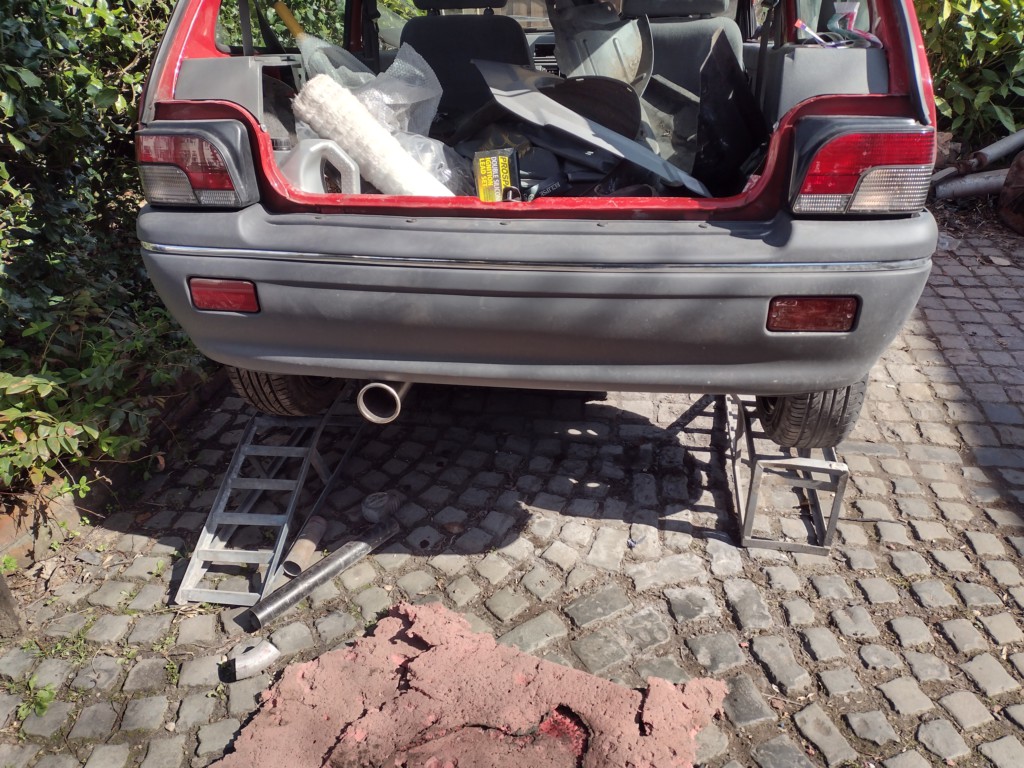
I have cut the end off now, and put something more mg metro on to it, the 45deg pipe with slash cut but its not right, will take a pic some time
with the speeduino had a lot of problem trying ot get the car to run, it had done, and never did so well afterwards. I did a data log of it turning over, and its a bit weird. talking to some people online , my crank sensor is a hall sensor... look at this and see this part.
Crankshaft sensor
Siemens NSC 100630, Hall effect acting on profiled target on flywheel
well no it isnt, its a VR sensor, so sent off to Xtronics and got a VR sensor conditioner, and well...
my mate came around and did some basic tuning. I thought the engine was a little rough sounding and it had a bit of a piston slap noise. i had bought 2 for £160 so to be fair wasnt expecting much. Breathing hard from the dip stick tube, just not happy. So the second engine was stripped today.
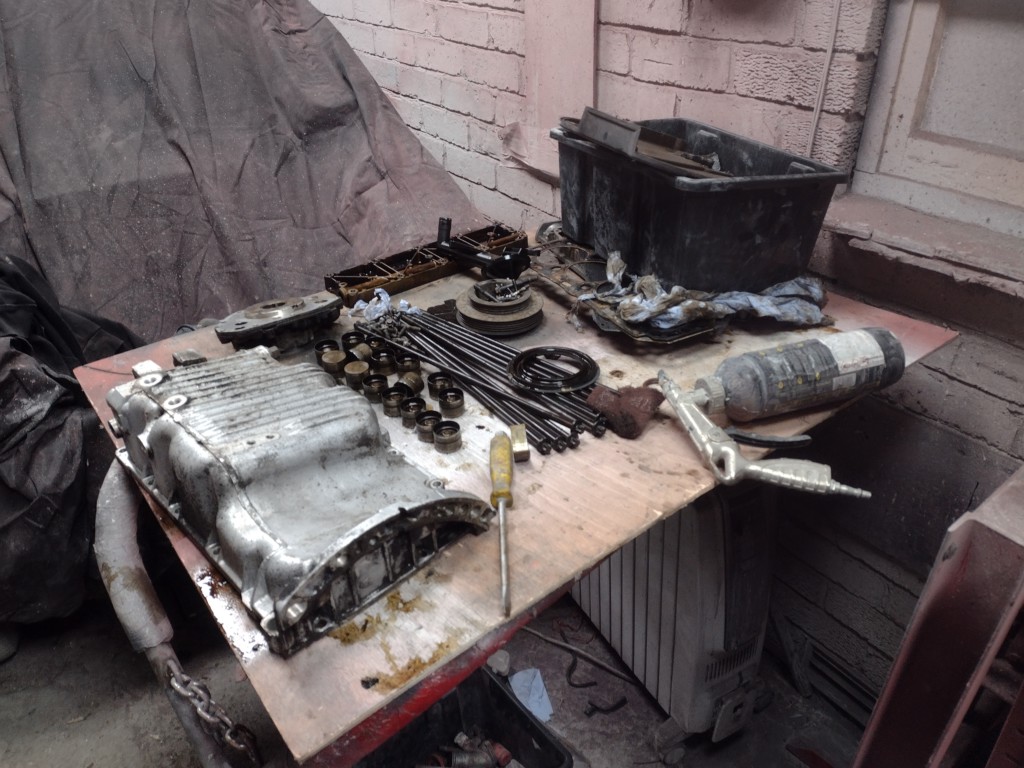
the block and parts are in the boot of my bmw, head gasket failure on this engine, and one of the liners came out easily, so i think its time to get my bank card out and spend more money. I want it back on the road asap but a fully rebuilt engine means a lot to me.
#29

Posted 28 May 2023 - 08:19 PM
engine is totally rebuilt, the only thing i didnt do is pistons and liners as they looked fine. I had the crank polished, head rebuilt, and put it back together myself. To be fair, i was a bit worried about the liners as they aparently are hard work but no, it was much easier tahn an A series for example.
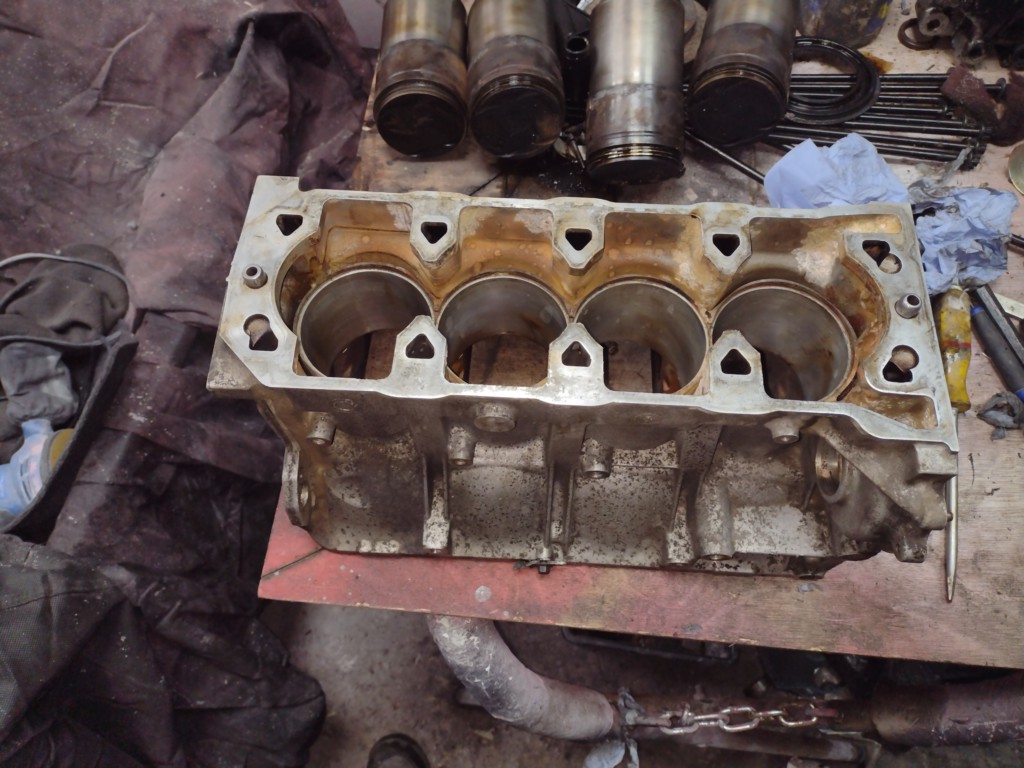
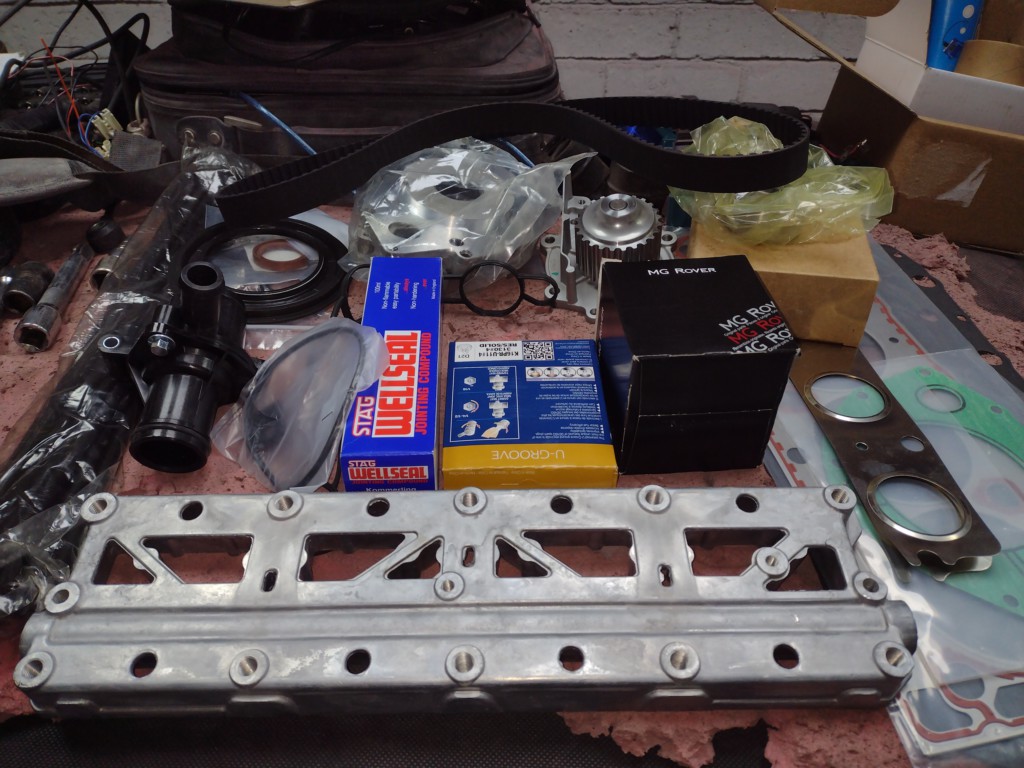
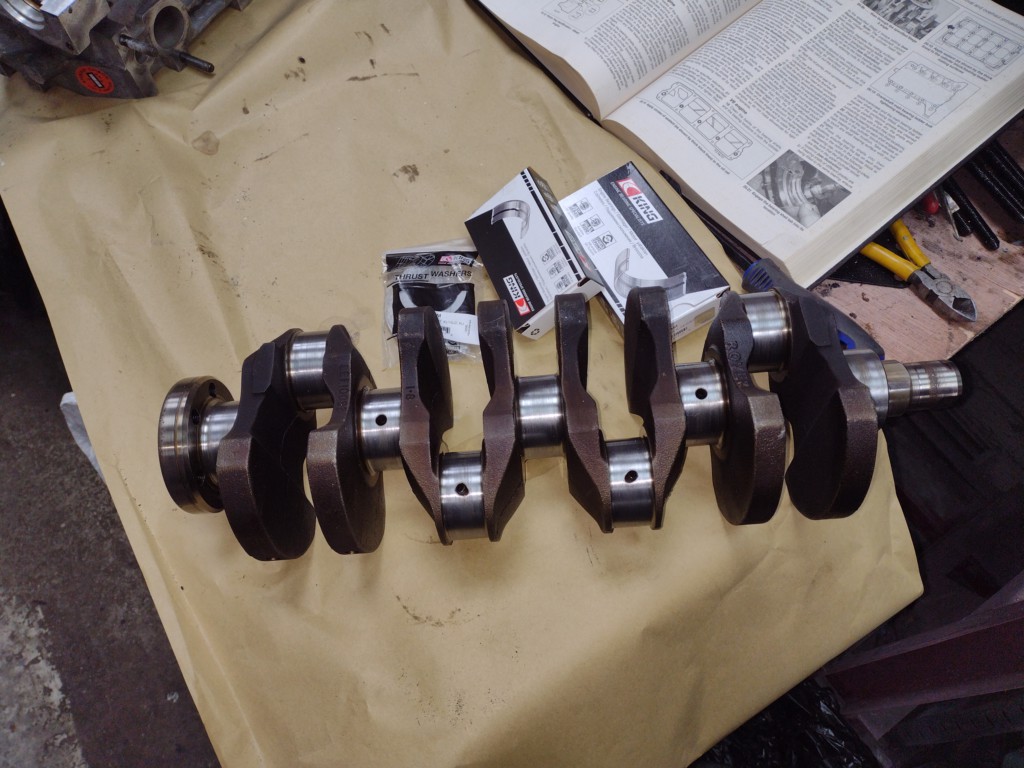
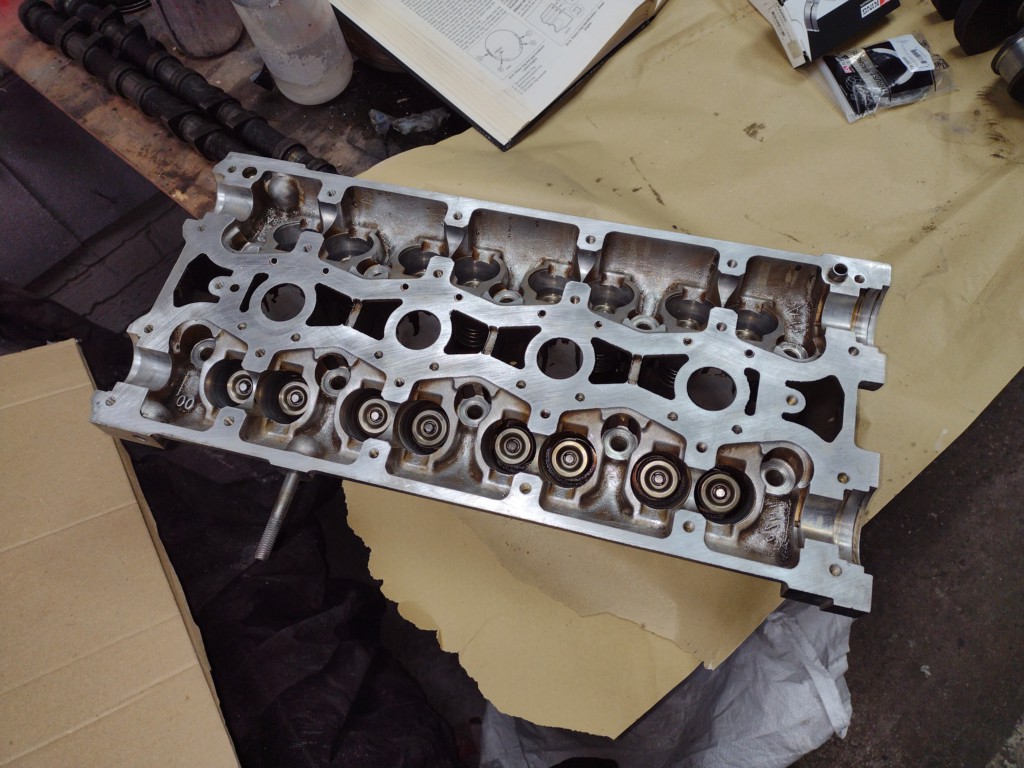
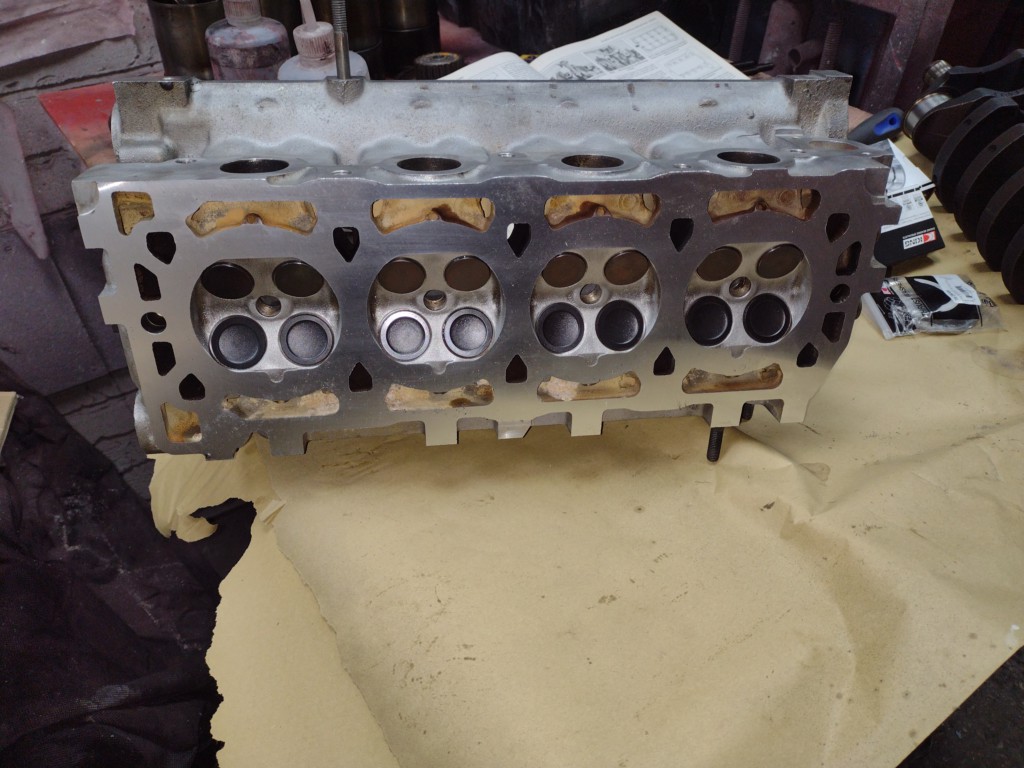
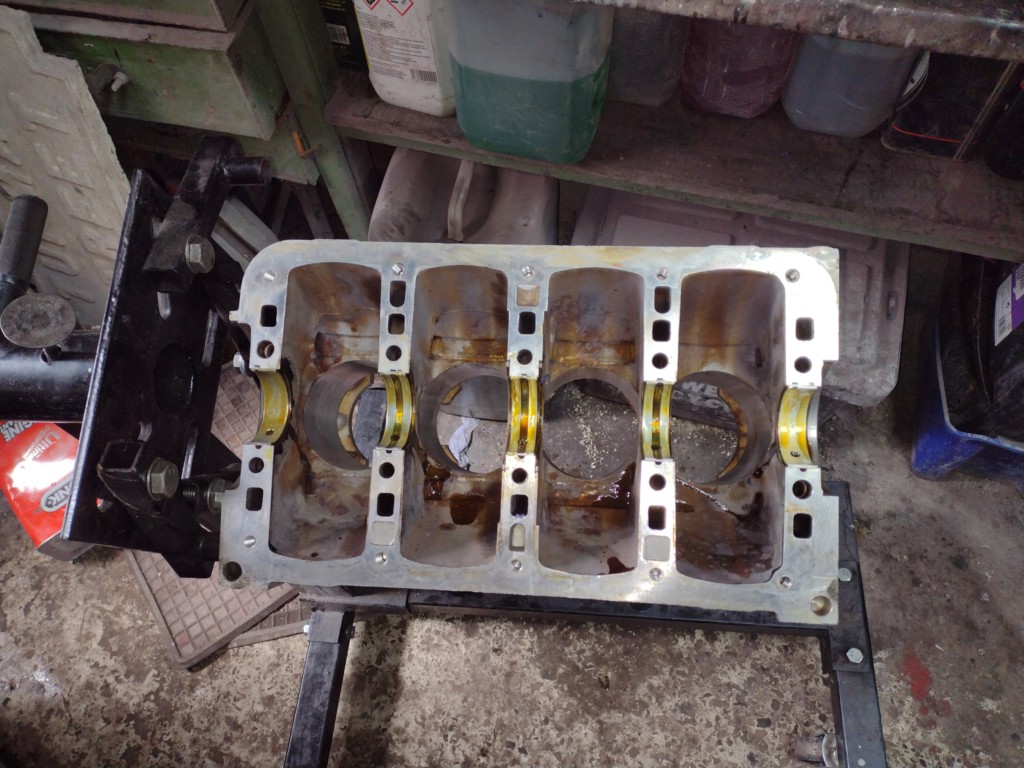
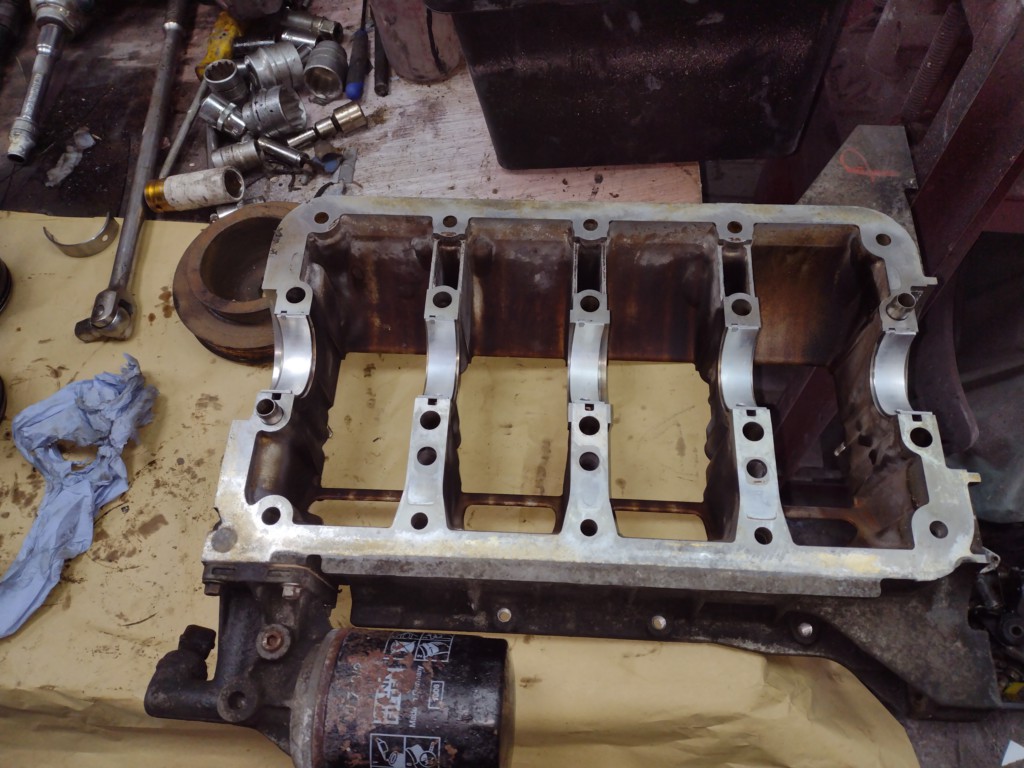
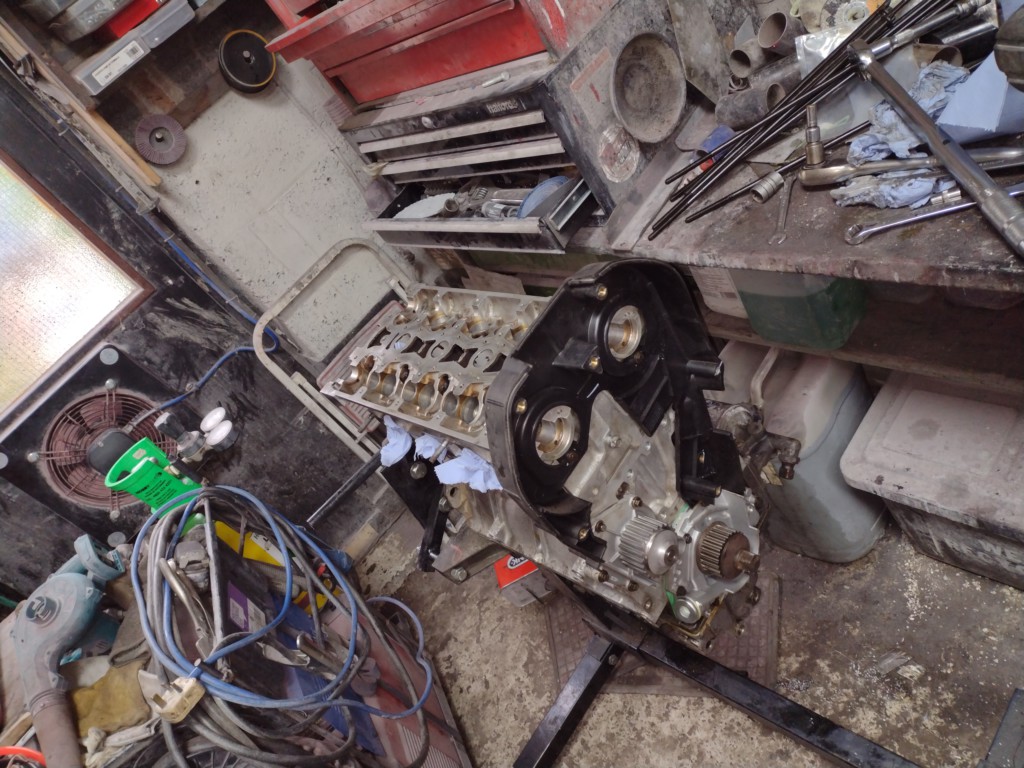
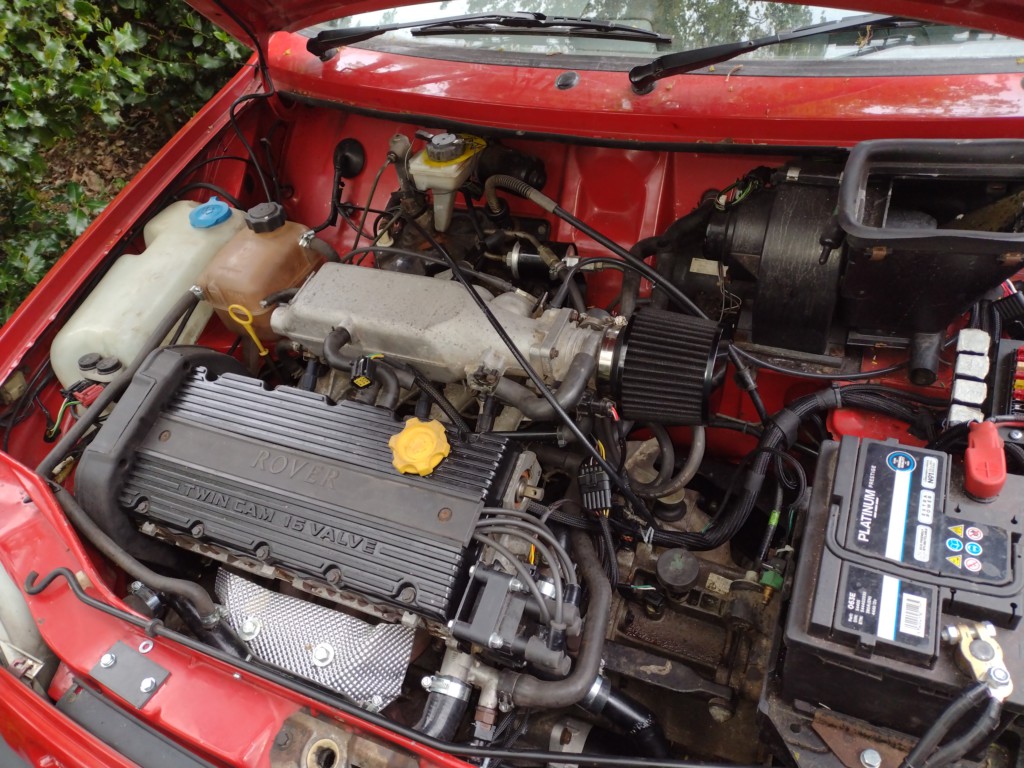
so back in the car, started up fine, sounded nice.
was trying to tune it with teh speeduino and came across a problem where i modded a value in say the VE table and the ecu went off line. found out it was as i had a special test version installed as of the rover mems crank trigger setup. then i had coolant temp sensor problems so i took the ecu out and messed with sensor s in the house. put the ecu back in the car and it didnt see the crank sensor.
long stoory but i have ordered another speeduino but its comming from america, so wont be here for a few weeks.
speeduino and rover mems trigger set up, with the latest version of the firmware, it detects all rover mems flywheel patterns, so if you are thinking of speeduino, its quite easy for a K series.
#30

Posted 02 June 2023 - 02:56 PM
A great little project and coming along nicely. Nice to see a Metro getting a bit of love. Good luck with it
1 user(s) are reading this topic
0 members, 1 guests, 0 anonymous users


