1983 Mini City
#121
Posted 29 May 2021 - 07:49 PM
It also turns out I don't have enough space in the shed to have it on the rotisserie! Can't close the doors and it right back against back wall!
Took it back off and have the shell back on a pallet now, considering my next move as I don't have enough space to work on it.
#122
Posted 29 May 2021 - 09:01 PM
ive replaced all the panels on my car, lots of the floor etc, all i did was make a roof rack that had wheels on it. As a shell its not that hard to push over... hth./
#123
Posted 06 June 2021 - 12:20 PM
Tried to remove the tie rods to disassemble the entire rack, but they wouldn't budge and I didn't want to put too much force on it and end up breaking something else.
#124
Posted 11 June 2021 - 09:43 PM
Also put in a distribution panel with separate trip switches for welder and sockets/light.
Changed plug on welder to 16A blue plug and have a 16A outlet directly from distribution panel, so hopefully that will stop any voltage drops.
Also picked up a 20L argon cylinder and regulator, get it rigged up tomorrow and see how some welding goes!
#125
Posted 12 June 2021 - 07:07 AM
Got it all made up today and put the shell on it, but didn't work out as I hoped, looks like the 2 pipes are not inline so when it turns it moves the stands.
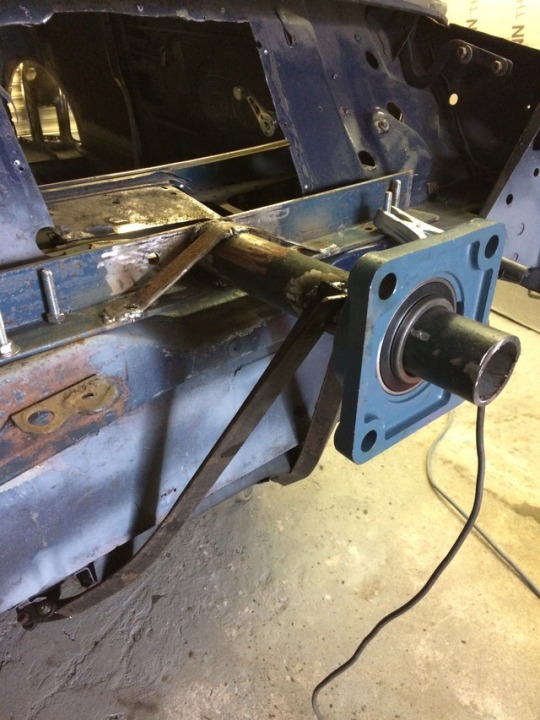
I had the same problem with the first spit i made for my mini. I then used a 4 bolt flange with a self aligning bearing. (see image below)
The bearing moves around 5mm in all directions within the flange - so, as long as your two horizontal poles are pretty much the same height either end of the car and reasonably level with one another, the movement the bearing has in the flange stops any movement in the legs of your stand - or it did with my one anyway.
Maybe worth a try..? Just be careful when spinning it around if using a bearing either side tho, two bearings make for a very smooth, fast spin and you obviously cant lock the bearings in place to hold shell in place, for this i used timber to prop it and a ratchet straps to secure it to the structure of my garage incase i accidentally knocked the prop. Bit sketchy, i know, but i was carful and had no issues.
I did wounder if only one bearing could be used, so to keep the other end as you currently have it to drill holes for a steel pin to hold in place..?
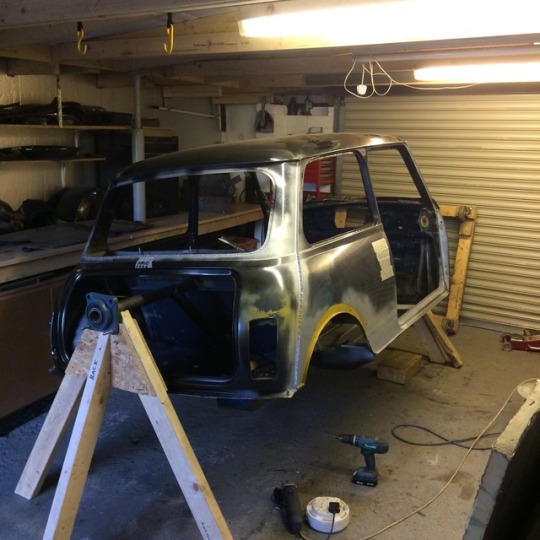
Also, my spit was much lower than yours, my roof gutter was around a foot from the floor when i spun it around. This made it incredibly easy to work on all areas without having to tip toe or use a step up. Having it so low also made it incredibly easy to take it off the spit, for this i jacked up the front, removed that side and lowered it down onto a pallet, then simply jacked the other and removed that. My pallet also had trolley wheels screwed to it so i could move the shell in and out of my garage. It was literally, on and off the spit all the time, and took 10 mins to do so.
The inner race of the bearing has two grub screws to lock onto the pole, so the pole section of my spit stayed bolted to the car. That, along with the height is the key in making it so easy to put on and off in very little time.
Maybe this helps solve your problem of not been able to store it in your garage on the spit?
This is the flange and bearing setup, see the two grub screws on the inner race..?
here is my spit...
Edited by slyrmini, 12 June 2021 - 07:45 AM.
#126
Posted 14 June 2021 - 09:00 AM
Thanks for that info slyrmini. Do you remember what height you made your jig? Mine is currently 1050mm to the centre of the sleeve, I may shorten mine to 850mm as thats what I have calculated the minimum rotational height to be, with a bit of clearance.
A quick solidworks sketch, blue line is the side of the shell rotated to about 50degress to give 812mm,,
This will make it much easier to get onto the jig also as currently its a 30cm lift.
Once the upstands are done, I can then look at shortening the pipes at the front and rear, I think I can get at least 100mm off each of these, plus I have a 30mm overhang on the sleeve that I can trim off.
I got the last of the wiring to the shed sorted, done some test welding on some off-cuts, seems to be much better, better penetration and not blowing through.
Have had a chance to change over to gas yet, but I'm hoping the voltage drop was more to blame than the user!
#127
Posted 15 June 2021 - 08:46 AM
Got my gas hooked up, but noticed a hiss coming from the barbed connector. Had to open the welder to fix the loose fitting inside, a combination of a fitting with no ptfe tape and a plastic tube that wasn't cut square.
I guess I figured out why I used a small hobby bottle so quickly then! <10mins! Opened the valve on cylinder and set it to 10L/min, closed the valve and let it sit for an hour or so, checked it again and it was still at 10L/min so hopefully thats the leak sorted.
Also attached the welder to a trolley, much easier to move it around now.
Put in the new wire reel but of course it got tangled so had to disassemble the feed guide. The small clamp that holds the liner in place wasn't holding it at all, so a dab of superglue should sort it.
Now to figure out the settings needed for gas welding...more practice, practice, practice...
#128
Posted 15 June 2021 - 08:03 PM
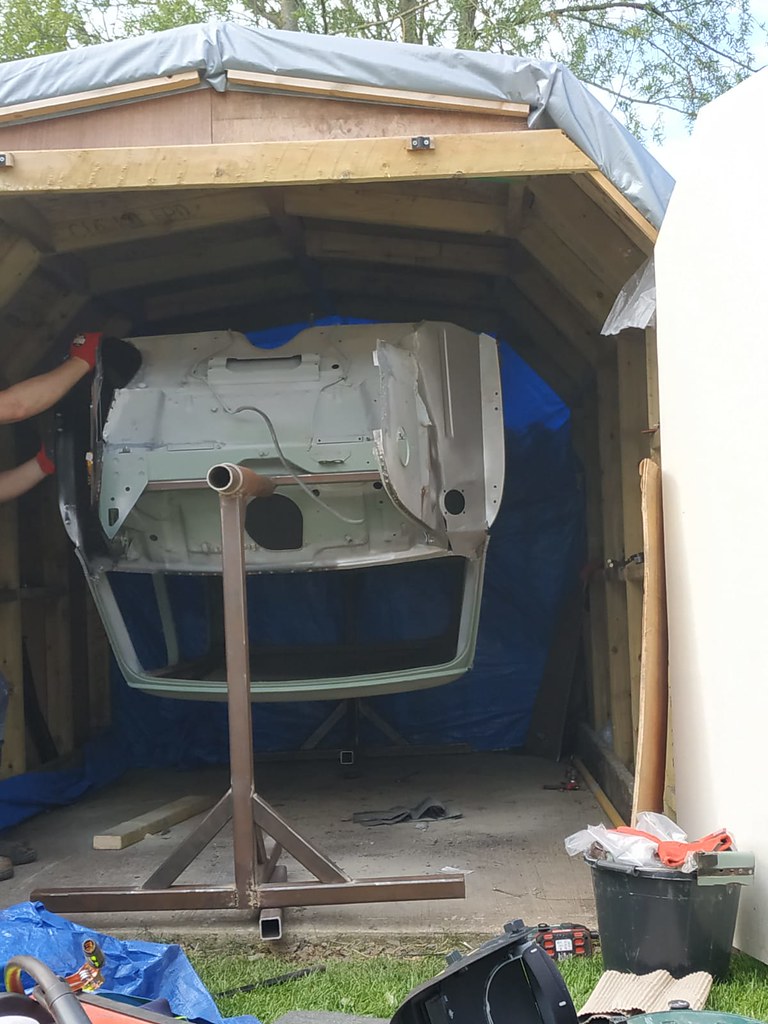
Got some 50x50 box section off cuts and some pipe to make up a rotisserie. Got it all made up today and put the shell on it, but didn't work out as I hoped, looks like the 2 pipes are not inline so when it turns it moves the stands.
It also turns out I don't have enough space in the shed to have it on the rotisserie! Can't close the doors and it right back against back wall!
Took it back off and have the shell back on a pallet now, considering my next move as I don't have enough space to work on it.
I was thinking on doing one myself. Where did you get the steel from? I saw some rotisseries that have a connecting profile linking back and front, that should get both pipes aligned?
Good to see that your project is at a similar stage as mine, so I will be following to share the pain! ;)
Victor.
#129
Posted 16 June 2021 - 03:04 AM
#130
Posted 16 June 2021 - 09:46 AM
I saw some rotisseries that have a connecting profile linking back and front, that should get both pipes aligned?
This only works if you have the removable panel on the back seat panel, or if your willing to cut a hole in that panel.
Some jigs have a linkage running from front to back underneath the car, but I believe this is to help the 2 ends from spreading
#131
Posted 16 June 2021 - 09:46 AM
Have you cut down your rotisserie yet to see if there is enough clearance to fully spin?
No, not had any time to look at this yet...
#132
Posted 16 June 2021 - 05:15 PM
I saw some rotisseries that have a connecting profile linking back and front, that should get both pipes aligned?
This only works if you have the removable panel on the back seat panel, or if your willing to cut a hole in that panel.
Some jigs have a linkage running from front to back underneath the car, but I believe this is to help the 2 ends from spreading
Yes, I was referring to the linkage running underneath the car. That might give you some additional stability, but only in theory...
#133
Posted 16 June 2021 - 07:15 PM
Thanks for that info slyrmini. Do you remember what height you made your jig? Mine is currently 1050mm to the centre of the sleeve, I may shorten mine to 850mm as thats what I have calculated the minimum rotational height to be, with a bit of clearance.
A quick solidworks sketch, blue line is the side of the shell rotated to about 50degress to give 812mm,,
I cant remember off the top of my head, I'll measure next time i'm in the garage and let you know.
#134
Posted 03 July 2021 - 02:46 PM
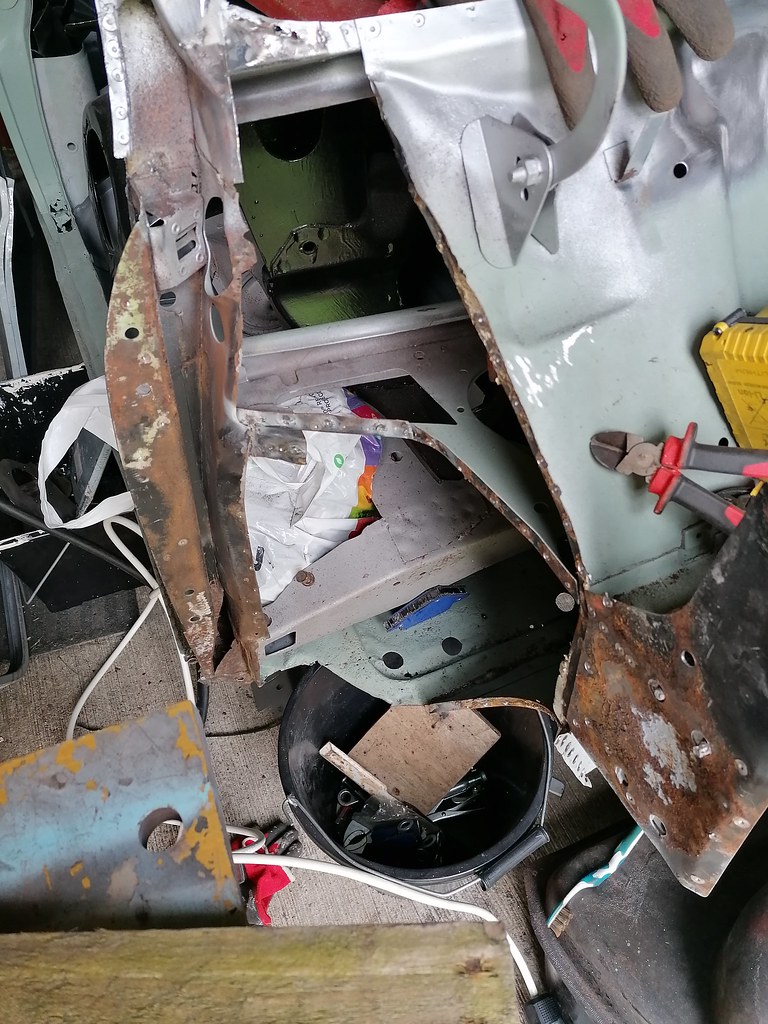
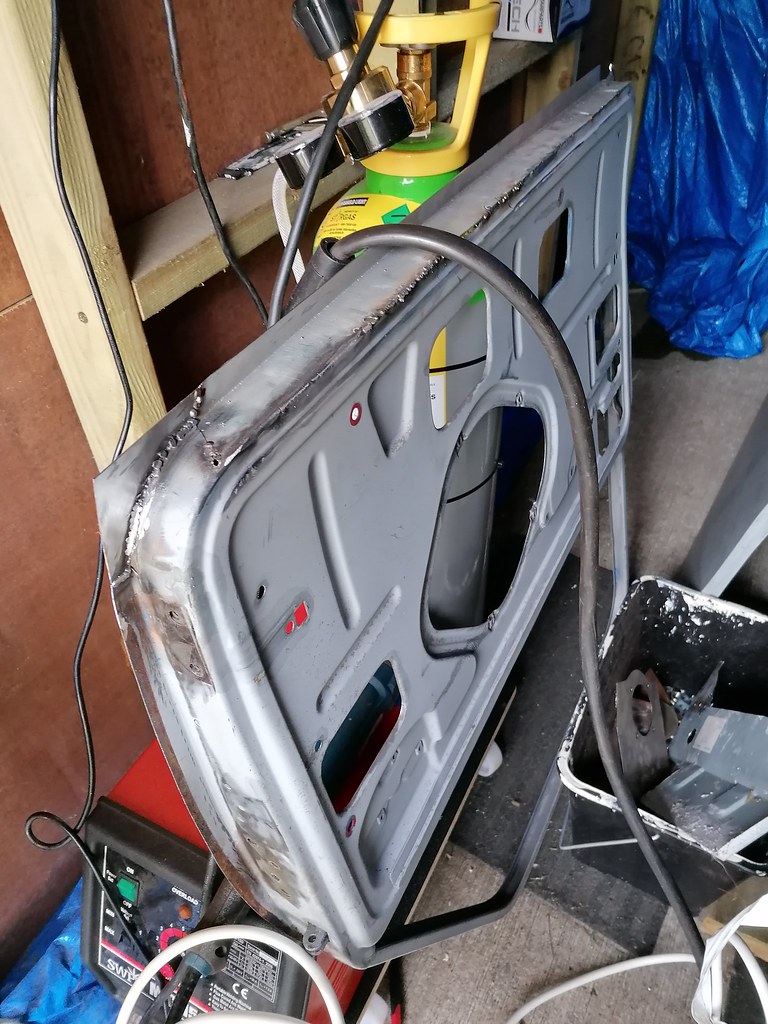
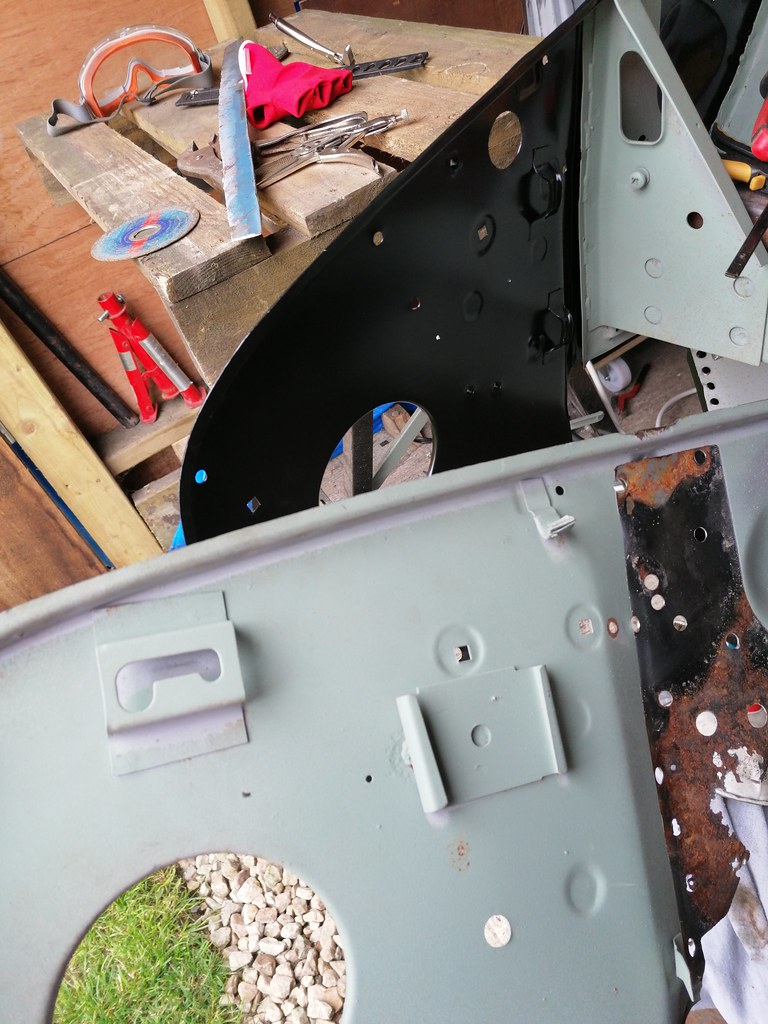
Wasn't happy with inner wing repair panel so I've opted to replace the entire inner wing, also have a lot of corrosion on upper door frame at the hinge holes so decide to replace that at the same time.
Made a start on repairing the doors, new skins and lower repair panel. Made some silly string with the welder and nearly lost a finger as I nicked my knuckle on my index finger with the back of a flappy disc so decided to call it a day...
#135
Posted 06 July 2021 - 05:44 PM
Some parts will need to be salvaged from old inner wing, bonnet strut locator and the washer bottle mount.
Door frame repair will need to be slightly adjusted to match the step repair panel but fit looks good.
Ordered from Limora, not sure if they make them themselves.
I've everything I need panel wise to complete from door step forward including the sills, just need to find time, patience and practice now...
2 user(s) are reading this topic
0 members, 1 guests, 0 anonymous users
-
Bing (1)