1983 Mini City
#106
Posted 06 March 2021 - 06:24 PM
I'll make a cardboard template from the LH inner wing and try to patch it that way.
There was also a small amount of rust just on the top of the inner wing, just below the edge of the scuttle panel, patched in a small piece of fresh metal.
Seemed to weld in fine, but had a few pin holes that I ended up chasing.
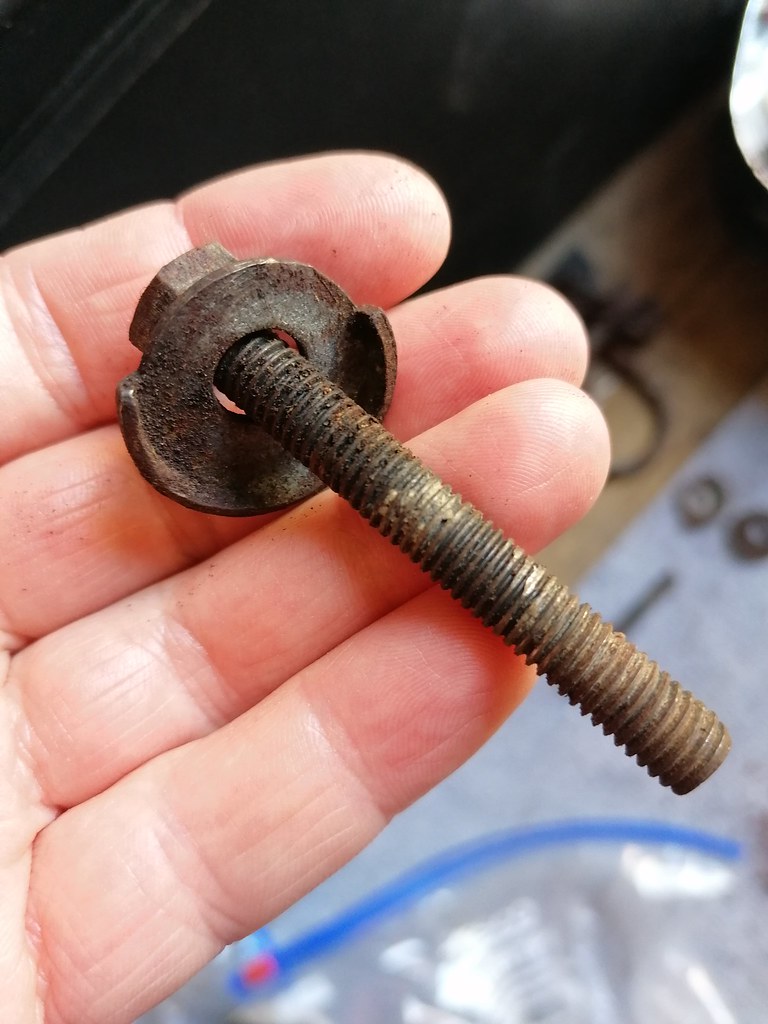
Went to attach the teardrops to the new front panel, using the bolts from the old panel, bolts felt tight so cleaned up the threads with 5/16 die, offered them up again and the captive nuts broke off the panel! They look to be 5/16 unc rather than unf that was in old panel! Tried the opposite side and it was the same, so new nuts and bolts needed for that...
#107
Posted 06 March 2021 - 08:06 PM
#108
Posted 07 March 2021 - 07:59 PM
#109
Posted 16 March 2021 - 07:43 PM
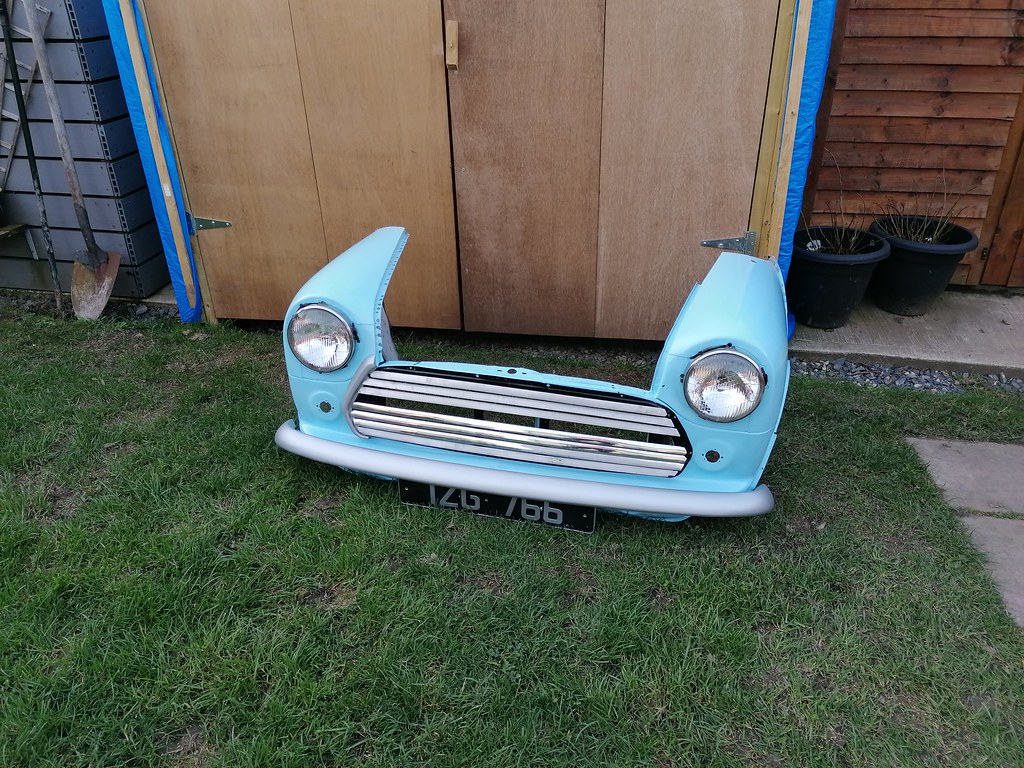
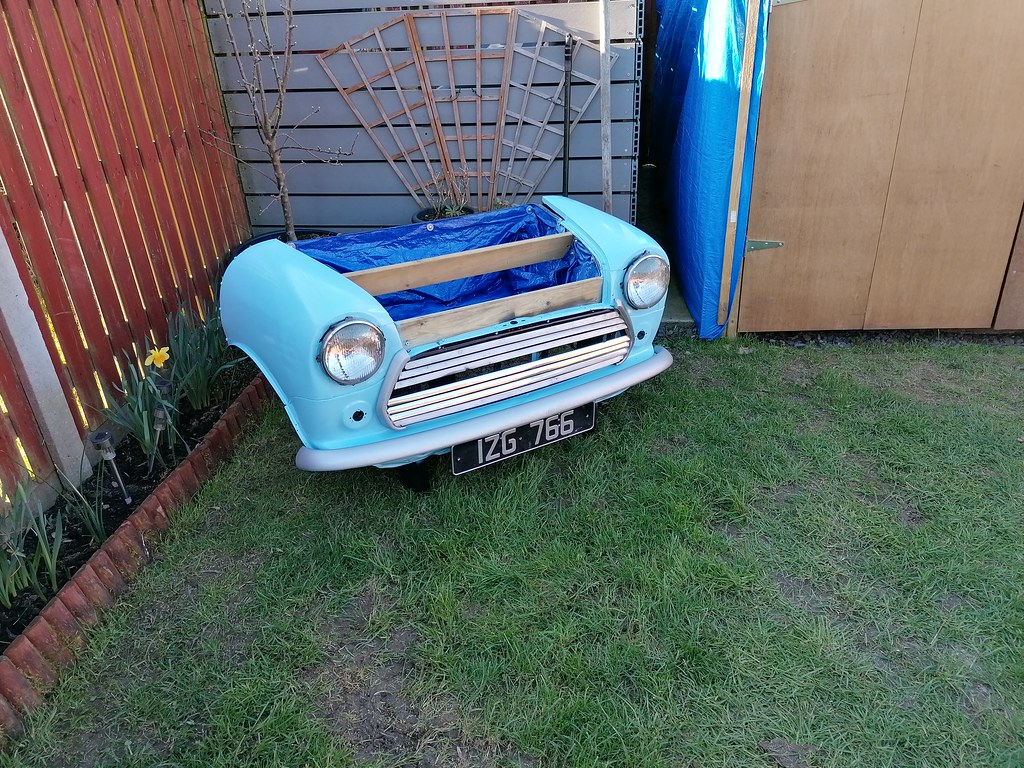
Gonna stick in a wooden frame to give it some strength, then maybe 2 old wheels and tyres just to finish it off...
Cleans out some of the old parts from the shed. Looks like weather is picking up so might be able to get something done on the car.
#110
Posted 25 March 2021 - 12:56 PM
#111
Posted 14 April 2021 - 09:06 PM
#112
Posted 15 April 2021 - 09:30 PM
Brake master is a black tag GMC167, rebuild kit hasn't been available for quite some time on minispares, but I thought I'd have a look see what condition its in..
Rubber boot was missing when removed from the car, and bottom of body was quite corroded. Plunger also rusty and holes elongated. Circlip was missing it's eyelets for compressing it and was rusted into the body. Eventually got it out but not a chance of getting the piston out, the bore has swelled up with corrosion to prevent it sliding out. Straight to the bin...
That's another part added to the shopping cart!
Had a quick look at clutch MC, have a rebuild kit for it, but plunger eyelets are elongated too, lots of corrosion on the canister so might need to replace that one with new also...
#113
Posted 25 April 2021 - 06:42 PM
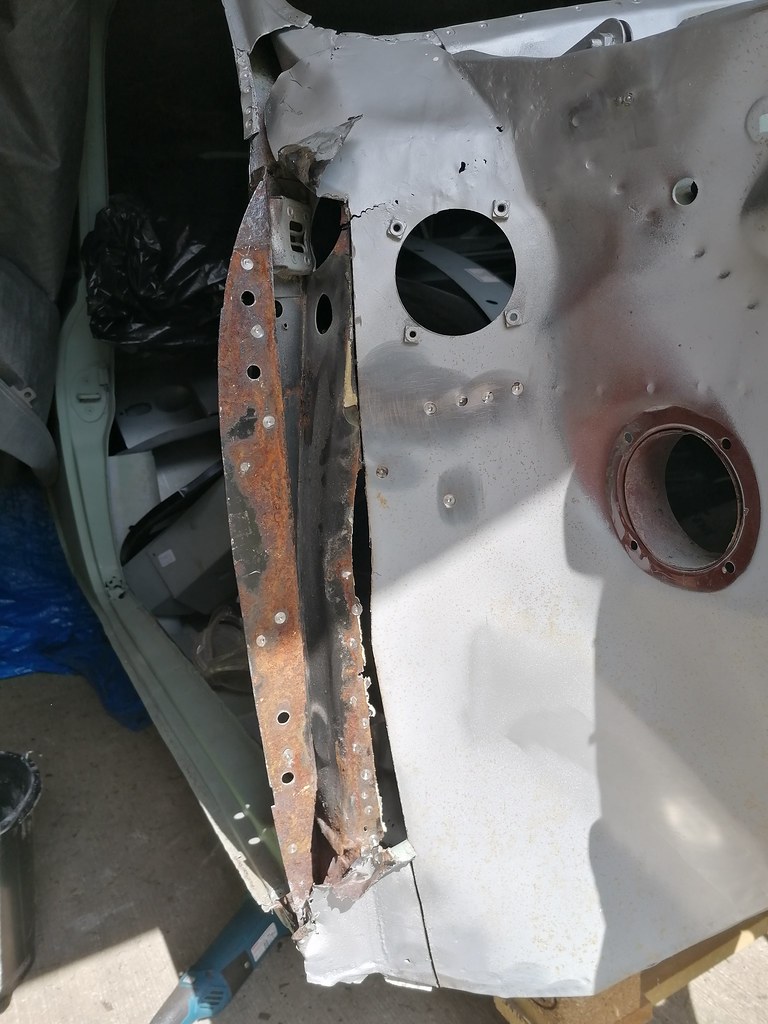
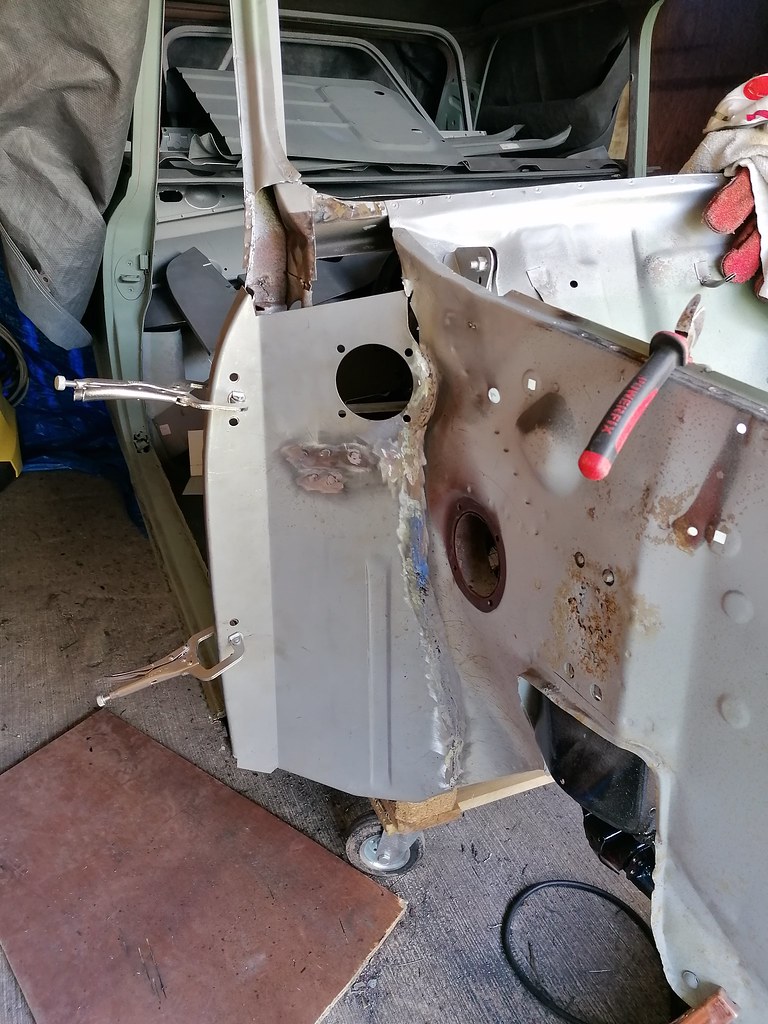
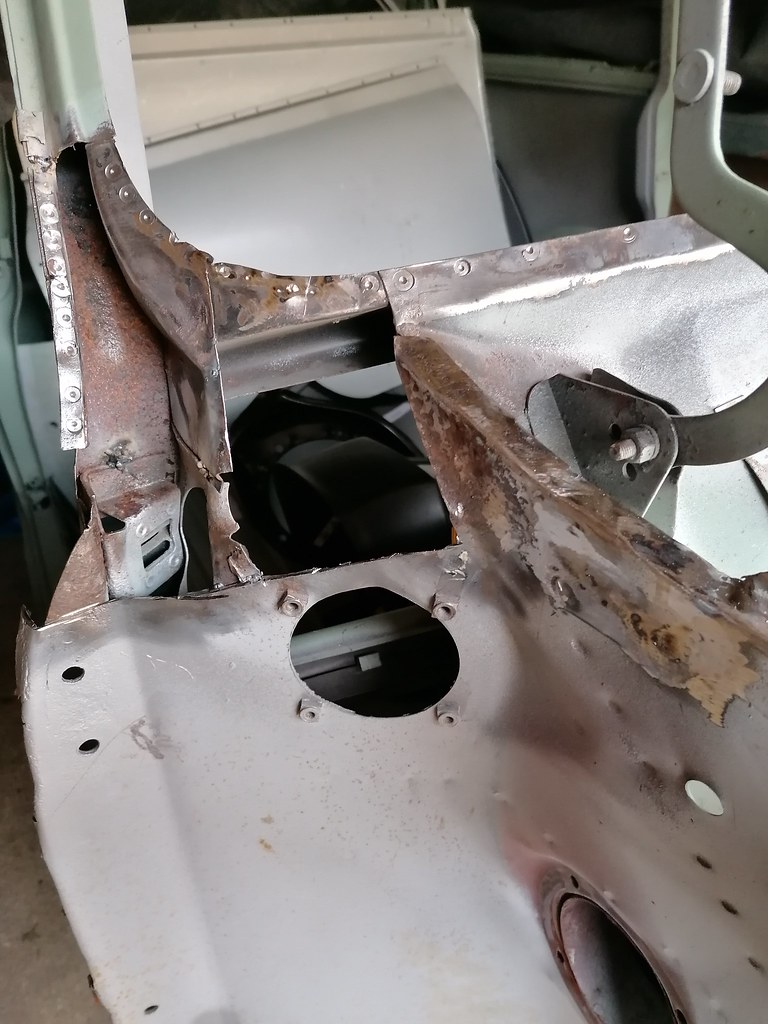
Made a start on the inner wing repair using the new panels, took my time carefully cutting out the old panel piece by piece, and not to cut through the inner a-post like I done on passenger side 😬
A-post was pretty solid with only a small bit of surface rust...
Got it cut nicely then set about welding it in, but still getting lots of pin holes and blow through.
Went over it again filling any pin holes then dressed it off with flap disk..
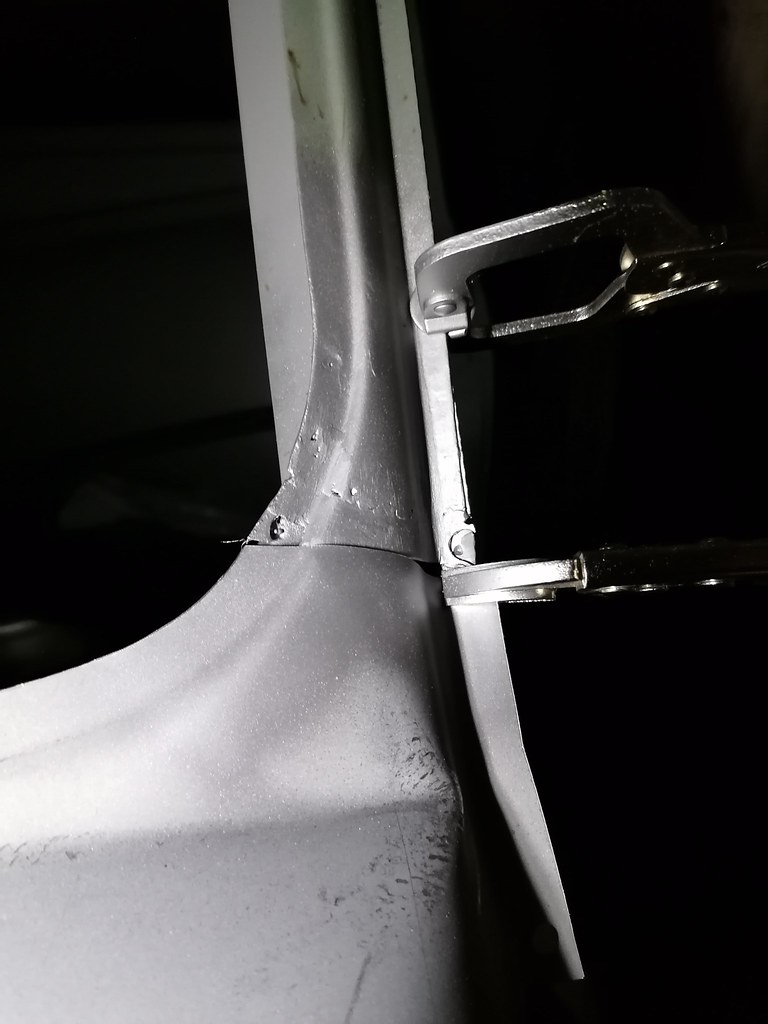
Used part of the upper flitch repair panel to close in the top, a few small triangular piece to complete it are need but was getting too stressed about the welding I called it a day...
#114
Posted 26 April 2021 - 10:02 AM
Looks good, have you a spot welder for welding the flitch to the a post? Just you havent drilled any holes for plug welding etc
#115
Posted 26 April 2021 - 12:50 PM
Looks good, have you a spot welder for welding the flitch to the a post? Just you havent drilled any holes for plug welding etc
Not yet, planning on clamping it tight then using spot weld drill bit to cut through just the repair panel, then plug it.
#116
Posted 26 April 2021 - 07:41 PM
Similar to the 470383 that was on the inner wing
#117
Posted 08 May 2021 - 10:03 PM
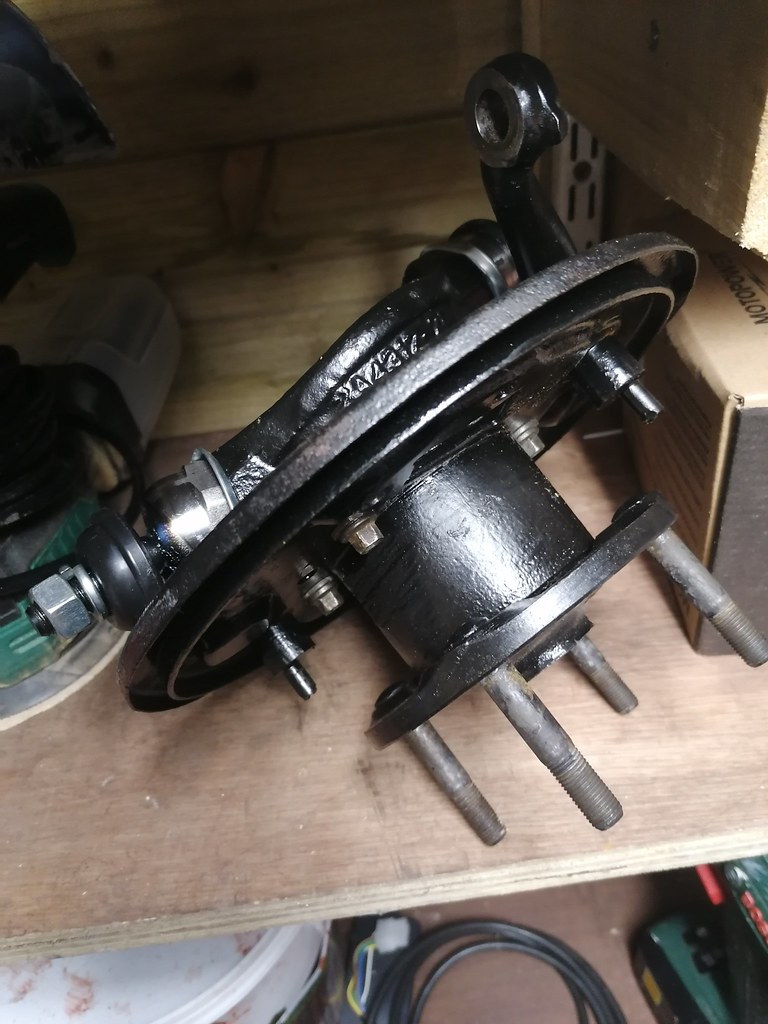
Then decided to finish 1 radius arm, didn't get much further than getting the backing plate offered up then struggling to find the right nuts and bolts...hmmm gonna take a while to identify all these...
Thankfully the majority of the bolts are bagged up and labelled, so just have to sort these and chuck the ones that I have replacements for...
#118
Posted 13 May 2021 - 04:20 PM
#119
Posted 13 May 2021 - 07:57 PM
#120
Posted 13 May 2021 - 08:09 PM
Edited by colinf1, 13 May 2021 - 08:09 PM.
3 user(s) are reading this topic
0 members, 3 guests, 0 anonymous users