1983 Mini City
#76
Posted 28 November 2020 - 08:55 PM
Just a few quick pictures of some areas that need attention..
Bumpers has some pitting, so blasted them with intention of powder coating them satin black, but they have plenty of holes now...
I knew doors need attention, not as bad as what I had expected..
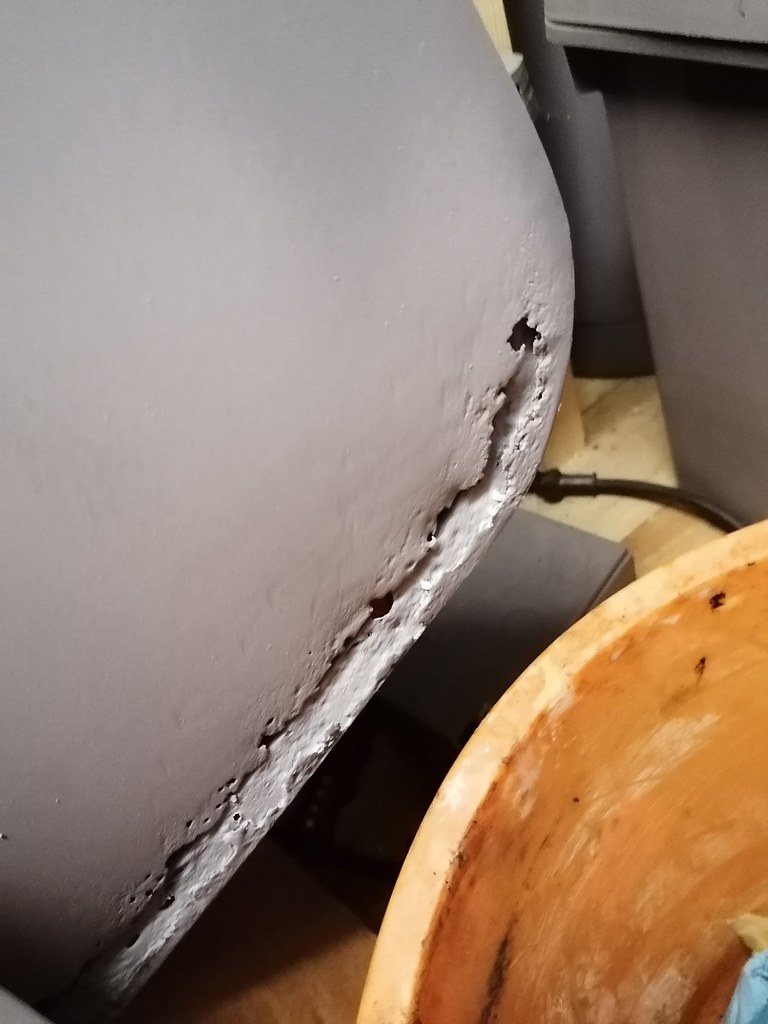
Rear corner of and front underside of bonnet need attention..
Wheels look mint, really looking forward to getting them painted.
Didn't get a full inspection of shell as it was nearly dark when we got it back, but passenger sill needs doing, a few pin holes in rear floor pan, a few at bottom and rear seat panel.
I'm going to try and sheet the frame with some plywood, then maybe throw a bit of felt on the roof incase the tarp blows off..
#77
Posted 29 November 2020 - 09:43 AM
Do you plan to spray the body with primer ? Bare metal will rust quickly and you have plenty of humidity up there.
#78
Posted 29 November 2020 - 12:00 PM
#79
Posted 29 November 2020 - 07:00 PM
Both doors need bottom inner frame and skins..
Passenger door step and sill
Rear valance totally gone one drivers side, it must have been held together with paint..
Drivers door aperture, small hole and pitting along gutter
Drivers side A panel, bit rough at the rear of panel also. A few small holes in flitch panel
Both sides need work at shock mounting location..
Small hole in front valance..
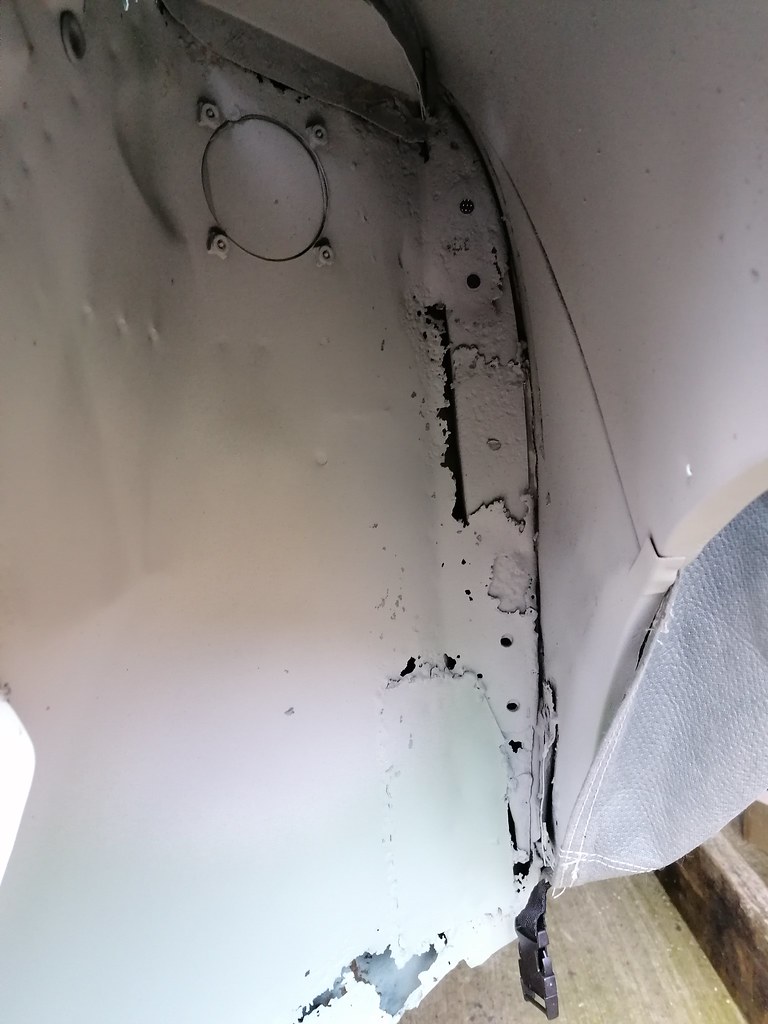
Passenger inner wing, might get away with the repair panel and a few patches
Bonnet gutter both sides
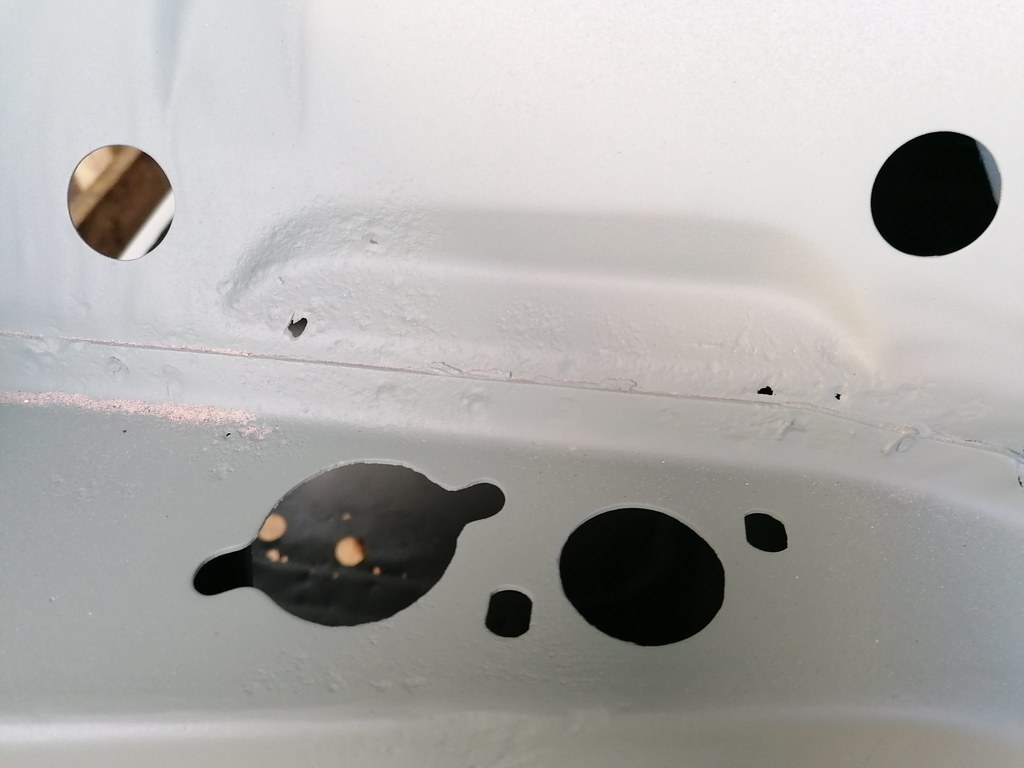
Small hole on bulk head by master cylinders and pitting
Anyone know what this number is for? Drivers inner wing, just behind A panel
#80
Posted 01 December 2020 - 10:33 PM
Powder coating guy has some concerns over the primer, cellulose, so we'll have to wait and see if it takes it ok...
Rear subframe had a small rust bulge, so cut out a small square and tried welding in a new piece, but welder at work is too heavy duty, so was blowing through.
It's mainly used for 10mm plate and cast steel, so even with low settings it was impossible!
Need to invest in my own mig, thinking the Clarke 135 TE turbo, should be good enough for panels?
Anyone any other suggestions?
#81
Posted 02 December 2020 - 11:47 AM
Here's a few more photos of the areas that will need attention....
Both doors need bottom inner frame and skins..
Passenger door step and sill
Rear valance totally gone one drivers side, it must have been held together with paint..
Drivers door aperture, small hole and pitting along gutter
Drivers side A panel, bit rough at the rear of panel also. A few small holes in flitch panel
Both sides need work at shock mounting location..
Small hole in front valance..
Passenger inner wing, might get away with the repair panel and a few patches
Bonnet gutter both sides
Small hole on bulk head by master cylinders and pitting
Anyone know what this number is for? Drivers inner wing, just behind A panel
Think that number is a bum steer...that panel has been repaired before hence the welding to the right..its more than likely just a number which happened to be stamped on the repair piece of steel used..
#82
Posted 02 December 2020 - 01:27 PM
Got front subframe back from powdercoating...as expected the cellulose primer reacted when it was being baked...
The bottom wasn't primed, it does look good!
#83
Posted 05 December 2020 - 12:51 AM
#84
Posted 05 December 2020 - 01:42 PM
#85
Posted 05 December 2020 - 07:49 PM
The inner wing flitch panel was covered in some sort of black silicone roof sealant!
Dropped off the subframes for blasting again, just getting them back as bare metal this time.
#86
Posted 08 December 2020 - 02:30 PM
Looks a good project mate. I'd probs recommend cutting out all the areas with pitting as the metal will be quite thin in those areas (you may already be planning to do this).
#87
Posted 11 December 2020 - 02:48 PM
Ordered the panels required to remove all the rot from the car, I'm hoping I have everything I need as its looking likely that anything bought from UK will be liable for import duty from 1st January.
Thankfully the € to £ rate is quite good at the moment, so that has taken some of the sting out of the cost!
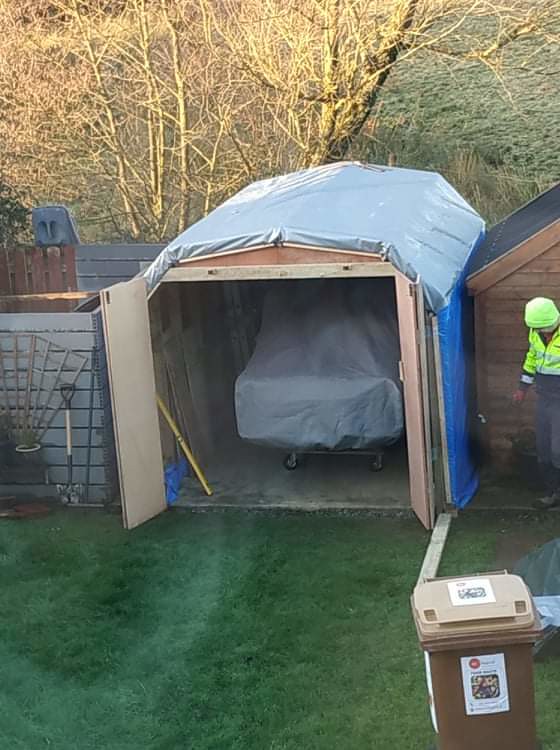
Planning on adding some doors to the "carport" this weekend, I lined it with plywood last weekend, then recovered it with a few tarpaulins, its been quite wet the past few days but looking in at the concrete under this cover, its completely dry!
#88
Posted 12 December 2020 - 07:49 PM
Had to do bi-folding doors as concrete base is a bit lower than the grass. Fixed up the tarpaulin on the side, pulled the excess under the side to the inside so that should stop water collecting in it.
I know it looks a bit rough, but the main thing is that the shell should now be pretty well protected from the elements...
Minispares order has been processed today, going for new wings, new rear quarters, inner sills, door skins, complete new LH inner wing, door frame repair panels, door step panels, A panels, rear valance and a new front panel.
Quite a lot more than I initially wanted to do, but better to do it right.
I'm still planning on patching boot floor, 1 - because I already have those repair panels and 2 - I just couldn't stretch the budget as it's a very expensive panel!!
#89
Posted 16 December 2020 - 11:02 PM
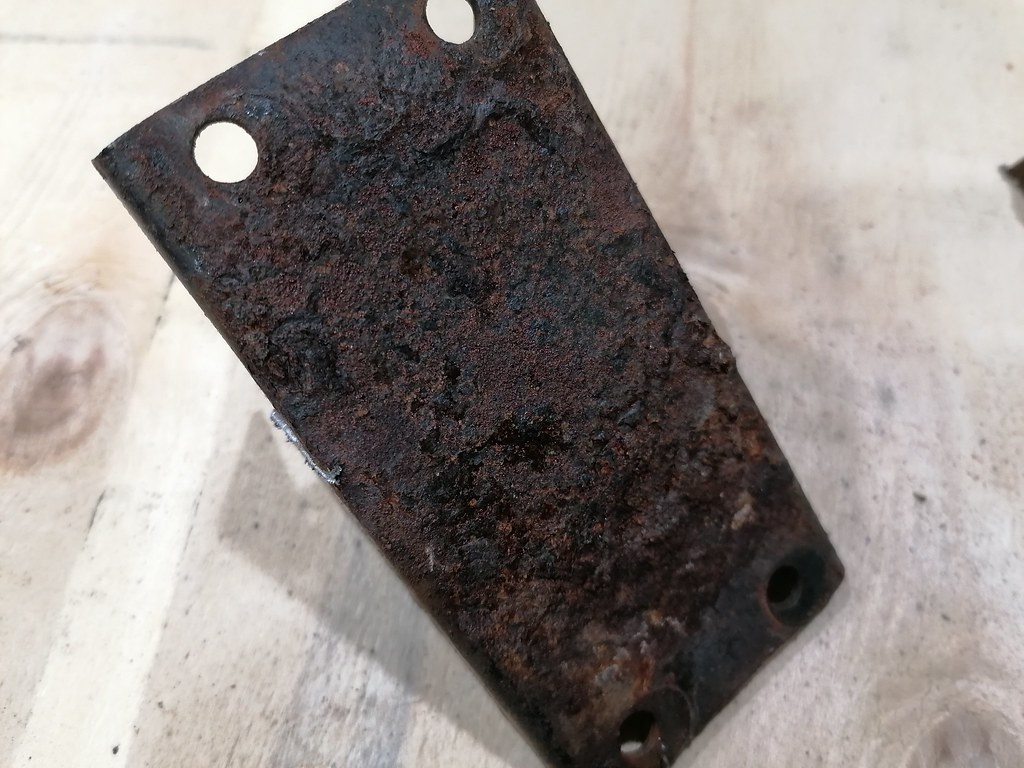
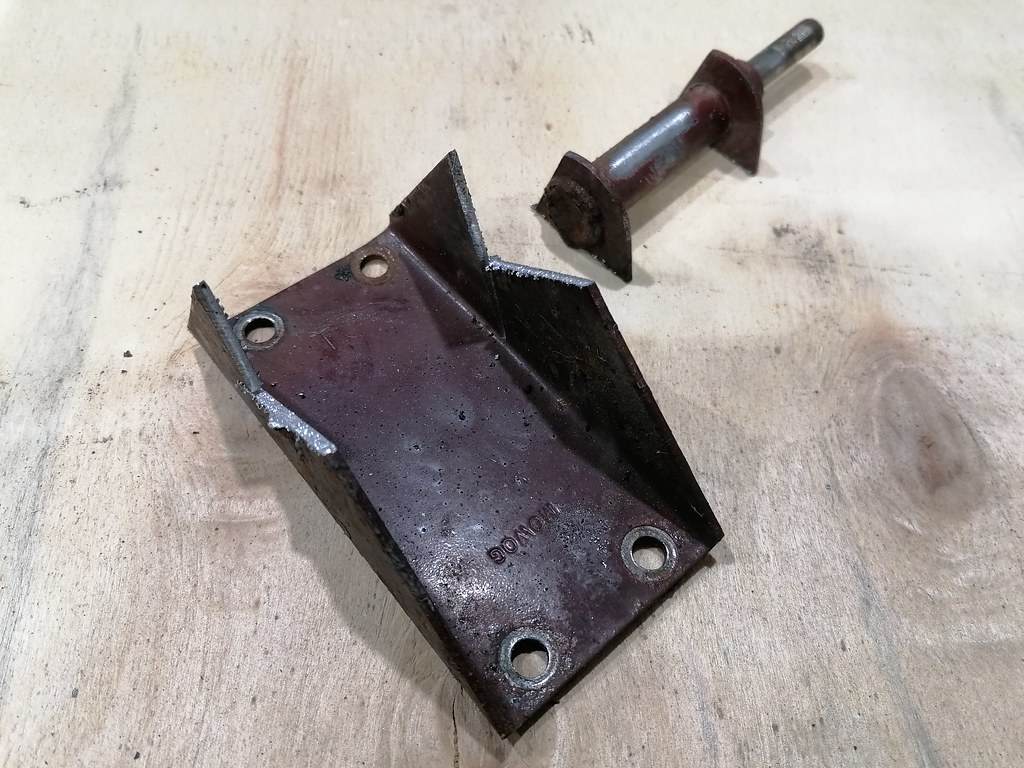
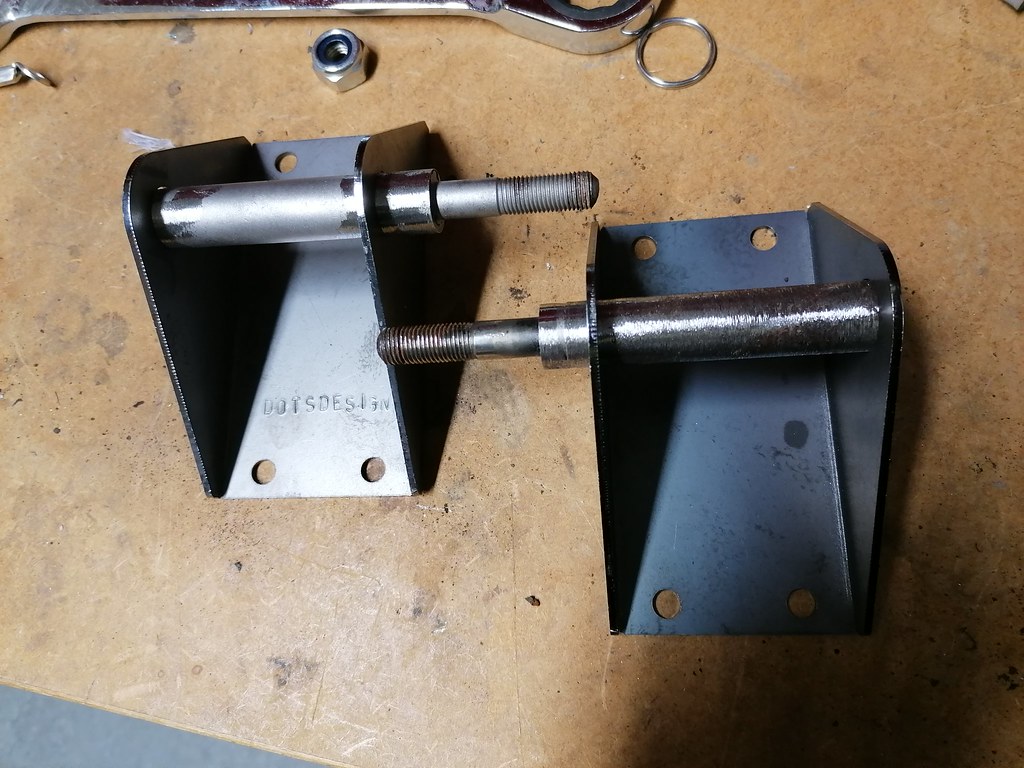
1st job was to salvage the pins, cut them out and cleaned off the remaining bracket...
Then offered them up to new bracket and welded into place, no picture of the finished article yet as I have to linish back the welds and some splatter...
Got my minispares order delivered today, 3 big boxes 😄😄
Unpacked it in the kitchen, soon ran out of floor space..🤣
Nice new heritage inner wing, arrived in a big box by itself!
Hopefully I can fit everything inside the shell of the car, plus I've a tonne of cardboard packaging to try and fit in my recycling bin!
#90
Posted 17 December 2020 - 08:18 AM
lots of lovely stuff there mate. I'm hoping that under your crossmembers you dont need to do any repairs as those panels wont help.
1 user(s) are reading this topic
0 members, 1 guests, 0 anonymous users