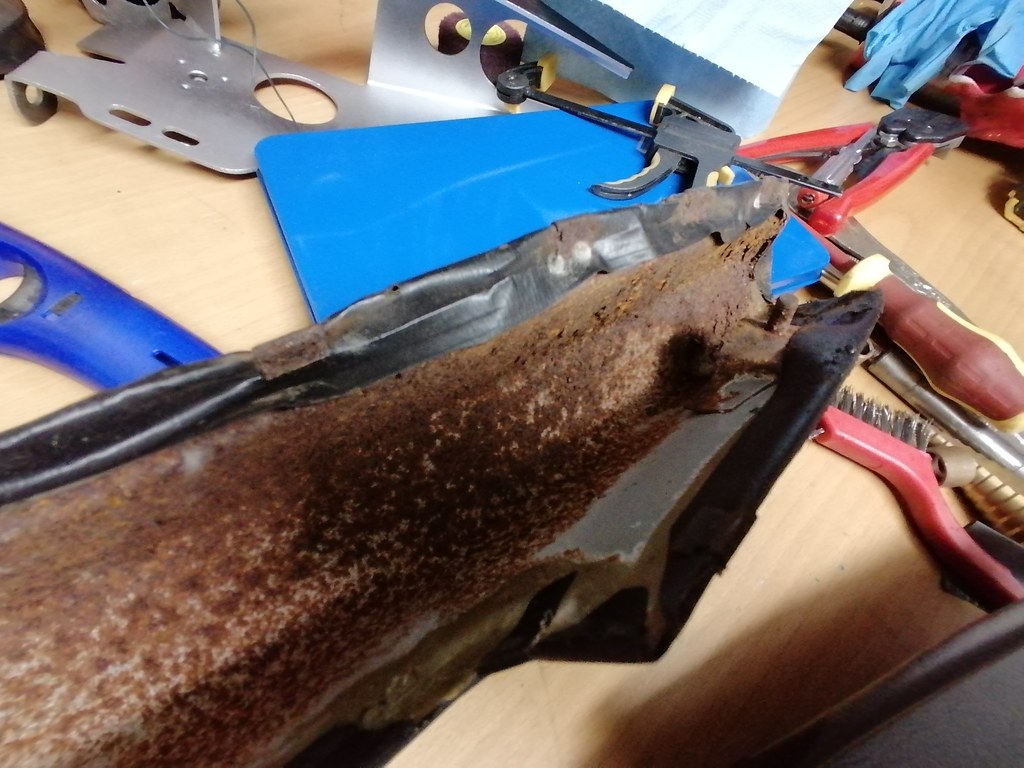
Mine are beyond repair.

Back very rusty..
Picked up the grill as I don't like the chrome one that was on it.
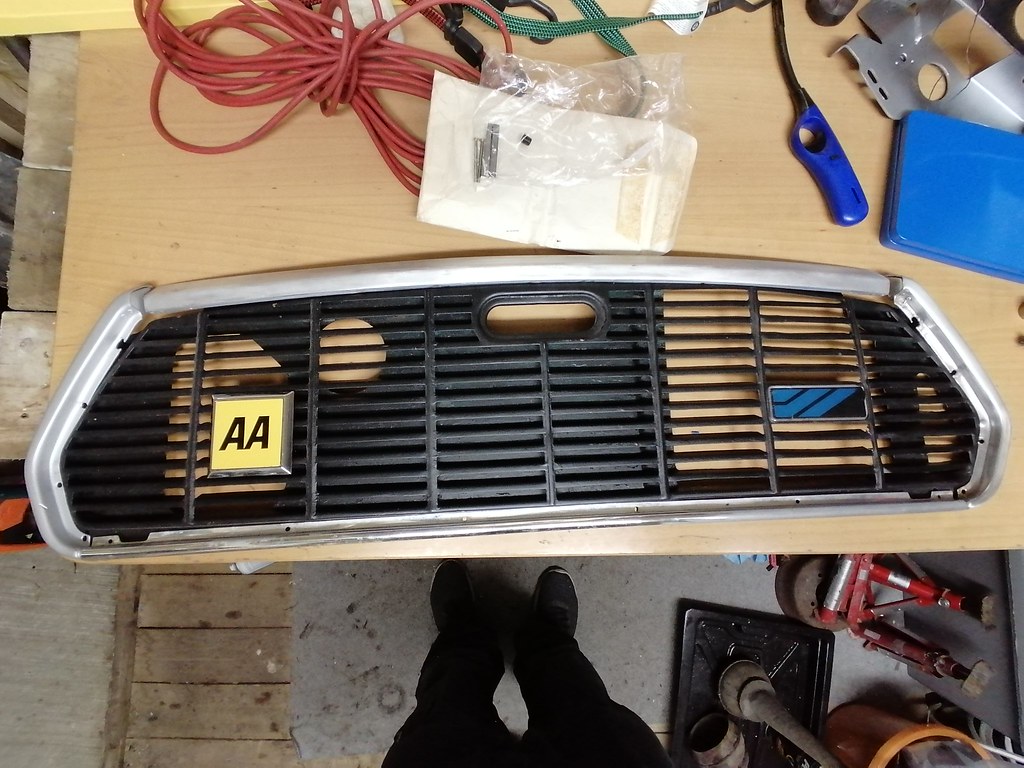
Also picked up a NOS AA badge that should look nice when car is fully finished..

Posted 02 October 2020 - 07:13 PM


Posted 03 October 2020 - 11:50 AM
Looking good!
Posted 03 October 2020 - 05:55 PM


Posted 09 October 2020 - 08:37 AM
Posted 18 October 2020 - 10:32 PM
Posted 29 October 2020 - 11:32 PM
Seem to be getting more done to the mini than proper sleep at the moment, but unfortunately its only been an hour or so a day...
Got a nice delivery from minispares, lots of suspension and subframe bits. Annoyingly its another part delivery from DHL, box 2 is supposedly "Access restricted by the Consignee or Regulatory body" and "Delivery will be arranged when restrictions are lifted"
I had painted the upper arms last week after blasting them a few weeks ago. New bearings installed along side new swivel grease nipple and a new knuckle joint and lower shock absorber pin.

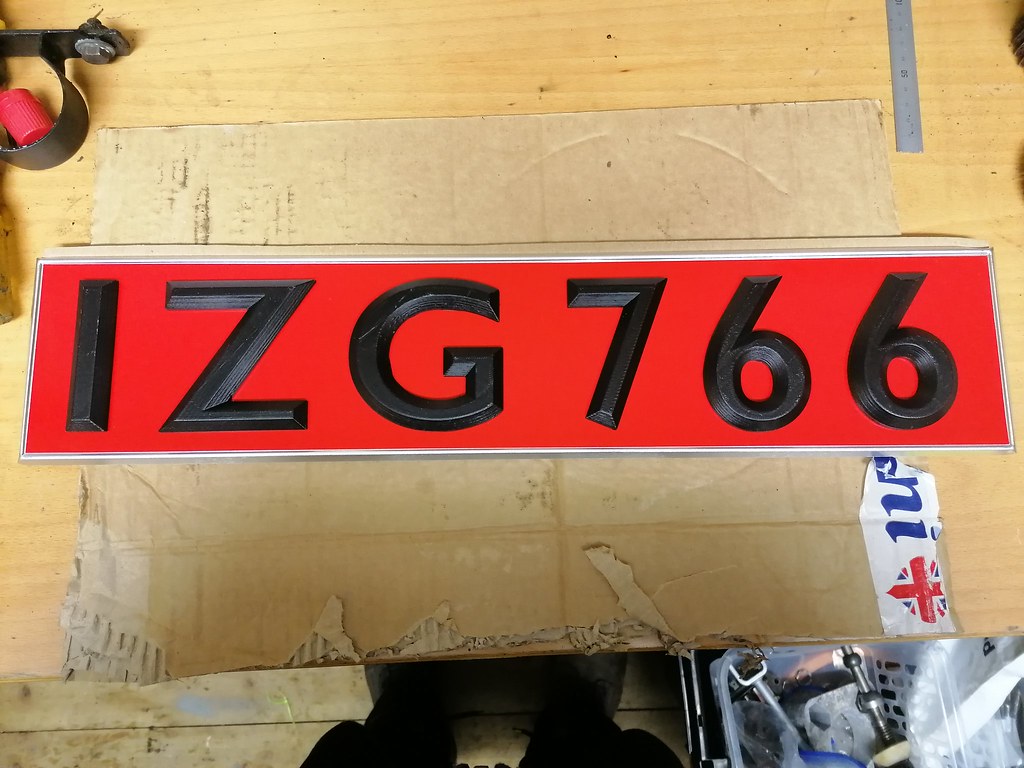
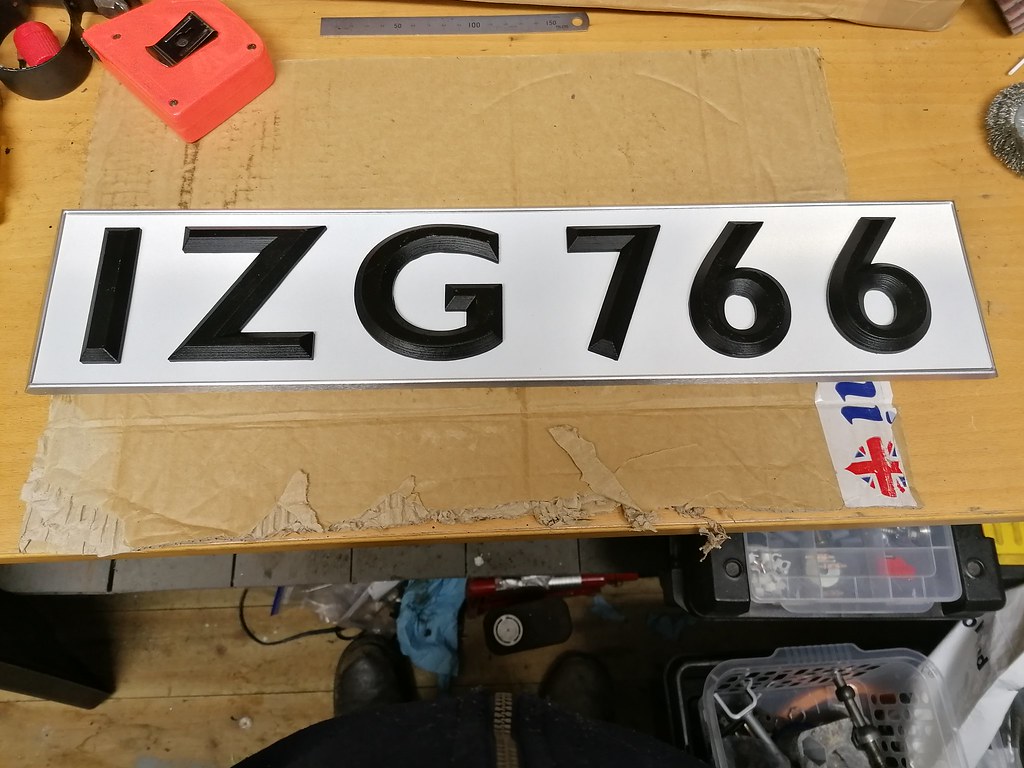
Got some blank period style number plates delivered this evening, couldn't resist offering up my 3d printed numbers to see what they will look like.
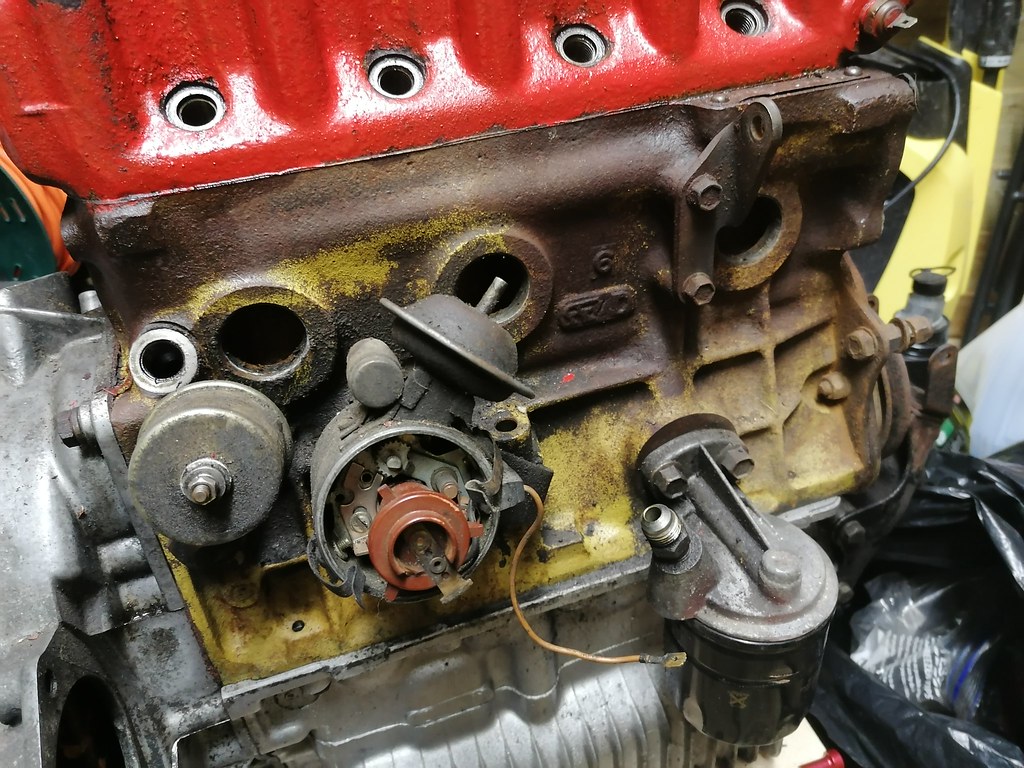
I removed the head from the engine to see if it had any work done like unleaded valve seats, but doesn't look like it.
Also found out that the engine is not the original I had thought it was.
Logbook recorded as 99H791PZ 134199 and engine block has 99H997P 134199. Not that it makes much difference but it would have been nice to have it matching.
When I looked at it first, I think I just seen the 99H and the 199 either end and disregarded the other numbers and letters.
Guessworks engine decoder is giving me this info for 99H997P134199
A+ 998 cc Transverse mounted
Lucas 16AC alternator with -ve Earth
1st Alternative compression ratio
Mechanical petrol pump
ADO 20 Design variants
Std. Ratio Rod Change gearbox with Pot Joints
2.95:1 Final Drive
and this for 99H791PZ 134199
A Series 998 cc Transverse mounted
Lucas 16AC alternator with -ve Earth
1974 requirements
Mechanical petrol pumpGearbox features :
Std. Ratio Rod Change gearbox with Pot Joints
3.44:1 final drive
A Series Gear Ratios (A+ Mainshaft)
Edited by colinf1, 29 October 2020 - 11:35 PM.
Posted 30 October 2020 - 09:19 PM
Posted 31 October 2020 - 08:36 PM
Got another mini in my life now, so this will be but on the back burner for a while...new mini is 7lb 14 and a boy called Lucas...anyone seen any sleep anywhere?
Posted 02 November 2020 - 09:28 PM


Posted 03 November 2020 - 01:42 PM

Posted 03 November 2020 - 01:49 PM
They look great - the printed digits are spot on.
Posted 05 November 2020 - 04:50 PM
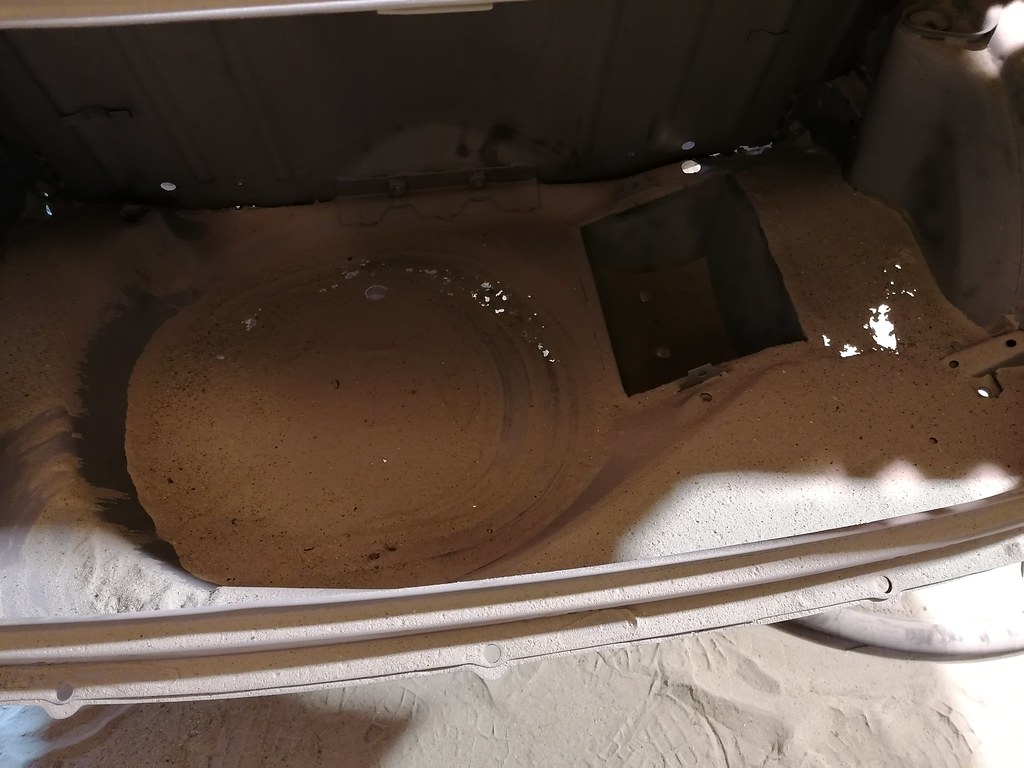
Sent the shell off to be media blasted today, bit of a rush job getting last few bits stripped. A bit of careful maneuvering to get it from concrete pad at bottom of garden, across the grass and down side of the house to be loaded onto a trailer at the front.


Bonnet got slightly squashed on one side when moving it, hopefully that will pull out of it
Nuts on door hinges were a bit awkward to get off, especially on passenger side where they had been covered in body filler and silicone. A few sheared, but the main thing is the doors were off.
Got to the blasters and realised I forgot to take the VIN plate and door striker plates off. I have to drop round my alloys to get done so I'll take them off then.
Both sub-frames and bumpers sent also, be a few weeks before its back, but I'm not in any rush.
Found this stamp on the rear subframe, looks like its the original subframe

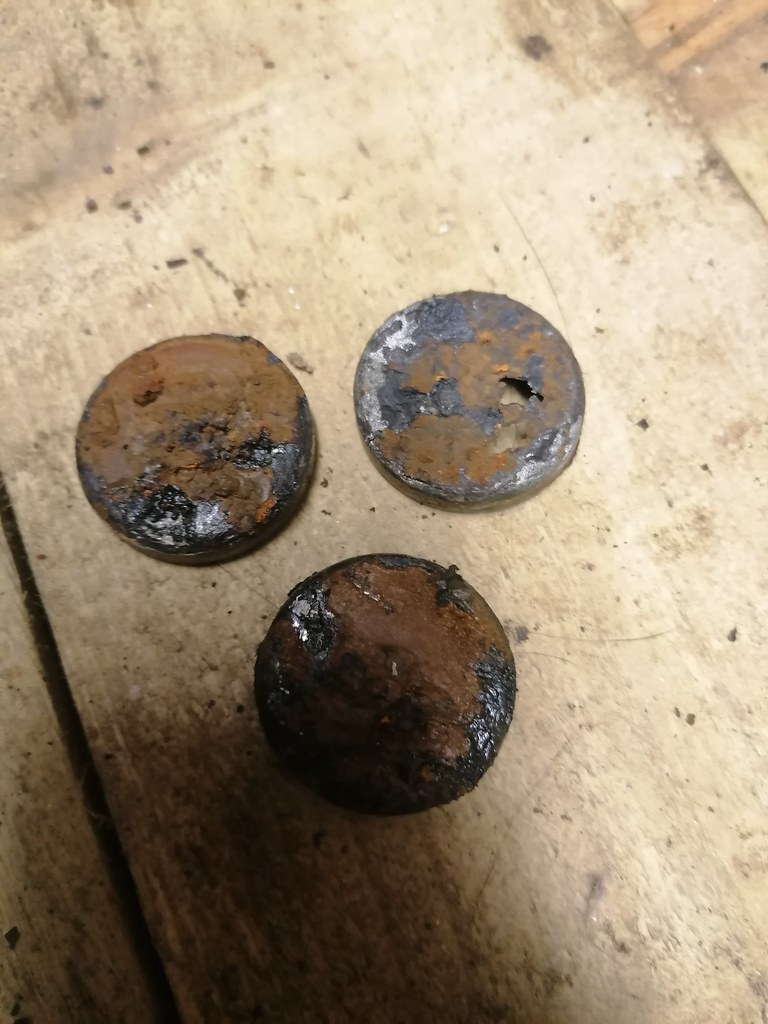
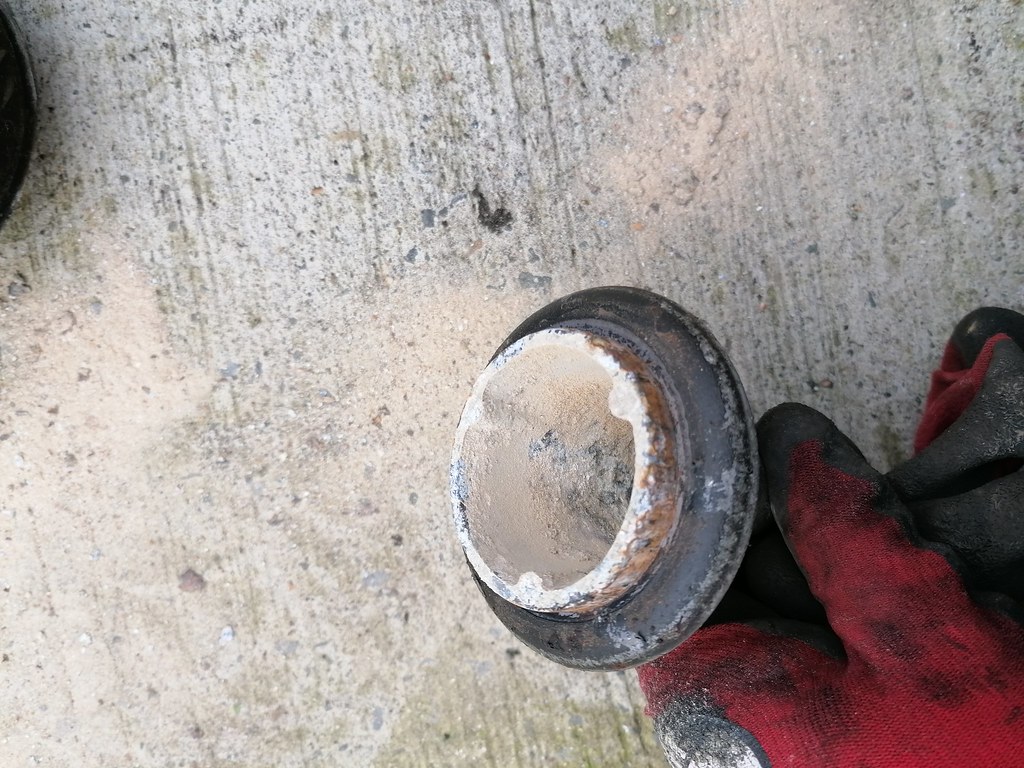
Separated the old cones from the trumpets on the front, I honestly dont think one of the cones was threaded onto the bolt at all, trumpet was full of gunky water and thread on the cone was extremely corroded.

The totally opposite on the other side...it was full of bone dry sand!
Posted 06 November 2020 - 11:23 AM
Great progress, there's something really special about cleaning up parts and having them laying there looking lovely and new, ready to be fitted to your shell when it gets back. Fingers crossed you don't have too much of a surprise when it returns from the media blasters. be surprised how many holes start appearing!
look forward to seeing more progress as/when the new addition to the family allows!
Posted 07 November 2020 - 09:40 PM


Posted 14 November 2020 - 06:28 PM



0 members, 1 guests, 0 anonymous users