1983 Mini City
#211

Posted 03 May 2022 - 08:40 PM
#212

Posted 03 May 2022 - 09:36 PM
I also wanted it to look they same, even though this is the top side thats hidden against the body.
Its not overly difficult to do, just noisy and takes a bit of time to get it looking kinda right..
#213

Posted 16 May 2022 - 05:47 PM
Now to try and enjoy the last days of my holidays after getting food poisoning!
#214

Posted 16 May 2022 - 07:27 PM
Really looking to see those new quarter panels in! Take care mate.
#215

Posted 21 May 2022 - 04:51 PM
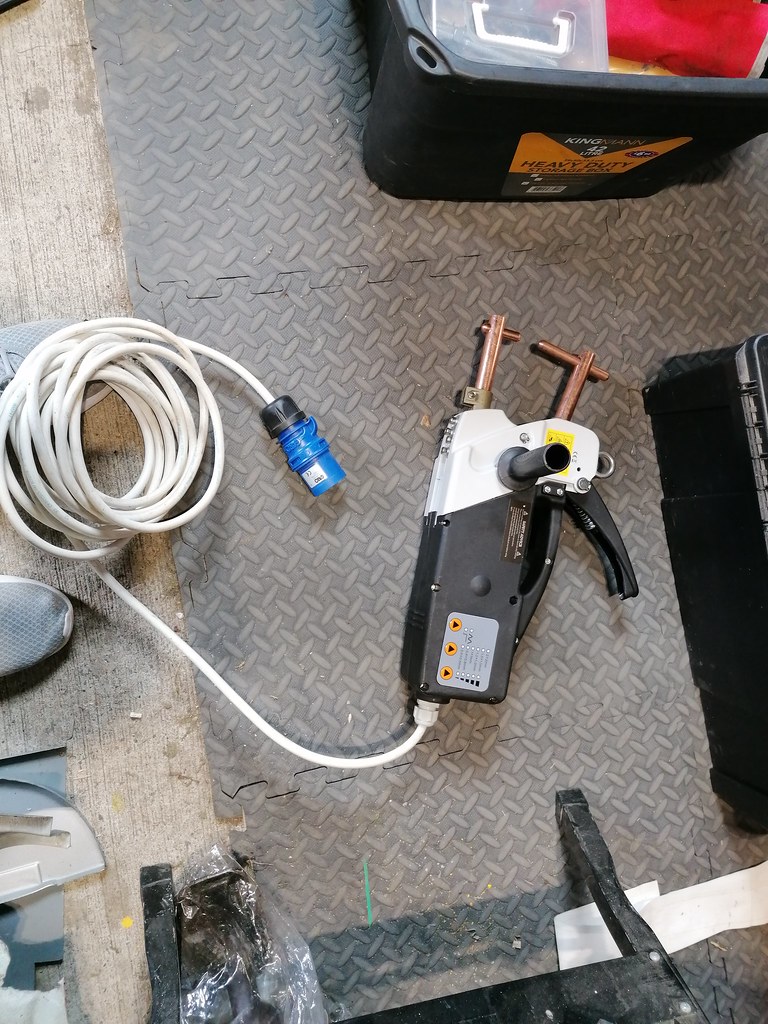
It a Vevor spot welder, around £300.
Looks to be a clone of a Sealey SR123.
Theres a good review on youtube for it, https://youtu.be/SGwXRm3TyHY , although he does show some issues with loose fittings.
It arrived with a euro 2 pin plug on short 1M - 1.5mm2 cable, I swapped this out for 2.5mm2 and a 16A plug that is around 3M long. While it was open, I doubled check all connection, a few loose so tighten them all up.
Cut a few test strips, old magnum panel that has the silver coating, didnt clean this off and tried it on 0.6 setting, worked pretty good, bumped it up to 0.8 and worked even better. Tried some 1+1mm, that worked, then 1+1+0.8 that would be same as boot floor/valance and that worked good too.
So hopefully it will work as good as this when I go to do the front end!
#216

Posted 21 May 2022 - 06:16 PM
Oh my, my!
I just opened a post about buying a spot welder and look at that one online as well! I'm glad it is working, because I don't really want to spend more money on the kit.
I understand why you changed the cable, seems a very sensible thing to do. Apologies for the silly question, but what is the blue thing at the end? It doesn't look like a normal plug? Do you connect this to a standard socket at home, or do you need something else?
I will be following your progress with the new toy...
#217

Posted 21 May 2022 - 07:07 PM
you need a 16Amp socket to plug it into
https://www.screwfix...cket-250v/1858f
I did this due to it being power intensive, a standard 13amp fused plug would probably keep blowing and I already have my mig with the same plug.
I had a read of your thread about the welder, I will be testing what Ben has suggested for the peel test tomorrow to ensure its setup correctly! 🤞
#218

Posted 21 May 2022 - 07:16 PM
Cheers Colin, thanks for the info!
#219

Posted 28 May 2022 - 05:46 PM
Kept chasing holes so decided to cut the bottom piece of the B-post out and remake ot from an off-cut of the A-post. All welded in and much better now.
Also tackled the rear quarter, plenty of trial fitting, grind off a bit more, try it again, over and over til eventually it was fitting as best it could. Cleaned off all my edges and gave the spot welder a go on where I could get to, mainly the wheel arch lip. A few wouldnt weld on normal mode, so had to switch it to pulse and it worked then, the lights in the shed also flickered when on pulse mode.
Heres how I've left it for today,
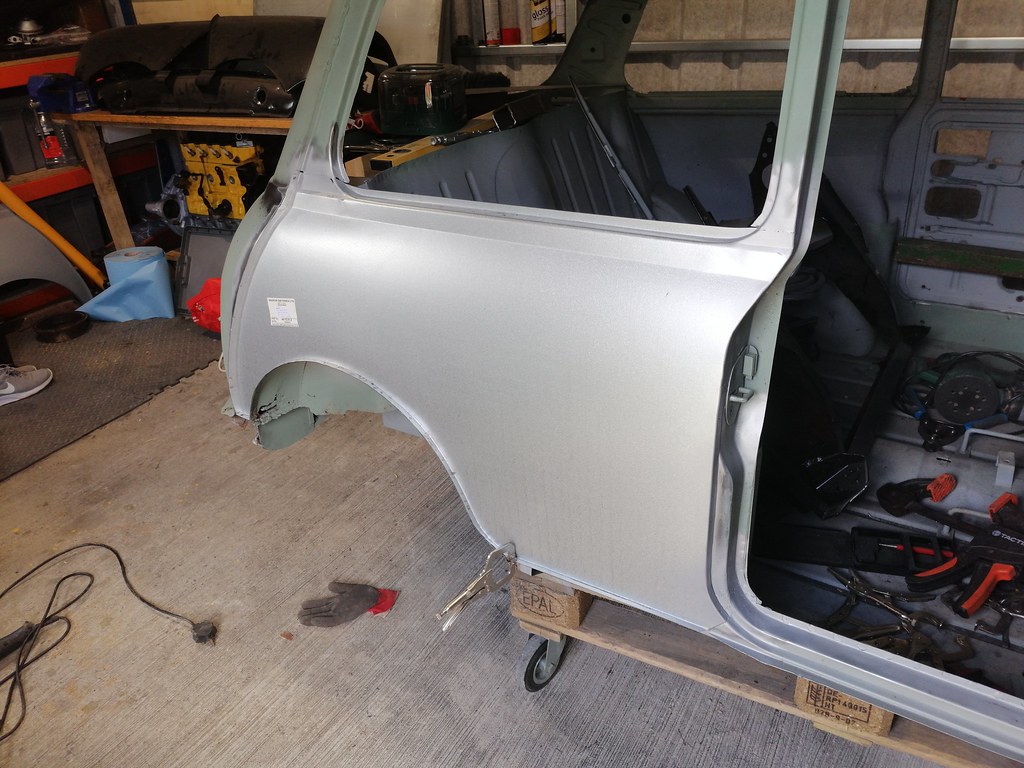
Still to finish off the butt welds, will have to bend the electrodes to try and give it more clearance to do along the rear panel edge.
I was thinking of drilling a hole at an angle to pass the electrodes through on the opposite end (the end thats currently clamped into the machine) then that would give clearance, but would that work?
#220

Posted 31 May 2022 - 07:25 PM
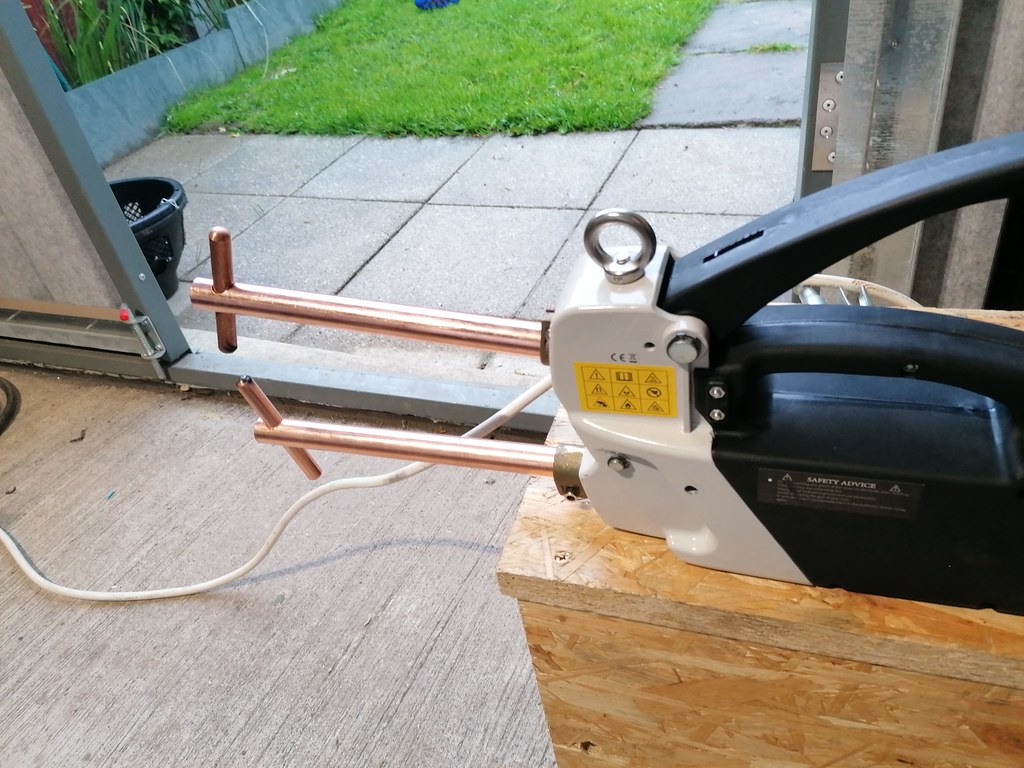
Tested them out this evening, works pretty good, although with the longer arms you lose a lot of the clamping force compared to the short arms, so spot welding vise grips will be needed. Had to use the longer electrodes in both arms to get them to touch.
Got spot welds about every 20mm along the back panel seam, even got some on the small closing panel in front of the rear wheel arch/quarter panel/boot floor area that had some zinc primer that wasnt spot weldable - using the pulse mode.
Arms were a bit warm, but not hot, doing around 3 spots per minute.

#221

Posted 01 June 2022 - 06:20 PM
Hi Colin, Looking good. Why do you need the longer arms for that quarter panel? Probably a stupid question, once I get to my own...
Victor
#222

Posted 02 June 2022 - 10:01 AM
Hi Victor,
With the short arms, the end of the arm (were the grub screw is) touches the body on the panel, so it could arc at this point. When the arms are closed and the electrodes are in contact with the seam, it was only able to touch along the edge. Now with them at an angle, they can get in further.
I don't think the longer arms are needed, it was just I decided to machine those instead of removing the short arms from the machine.
#223

Posted 02 June 2022 - 12:48 PM
Okay, that makes sense.
Cheers.
Victor
#224

Posted 05 June 2022 - 10:45 AM
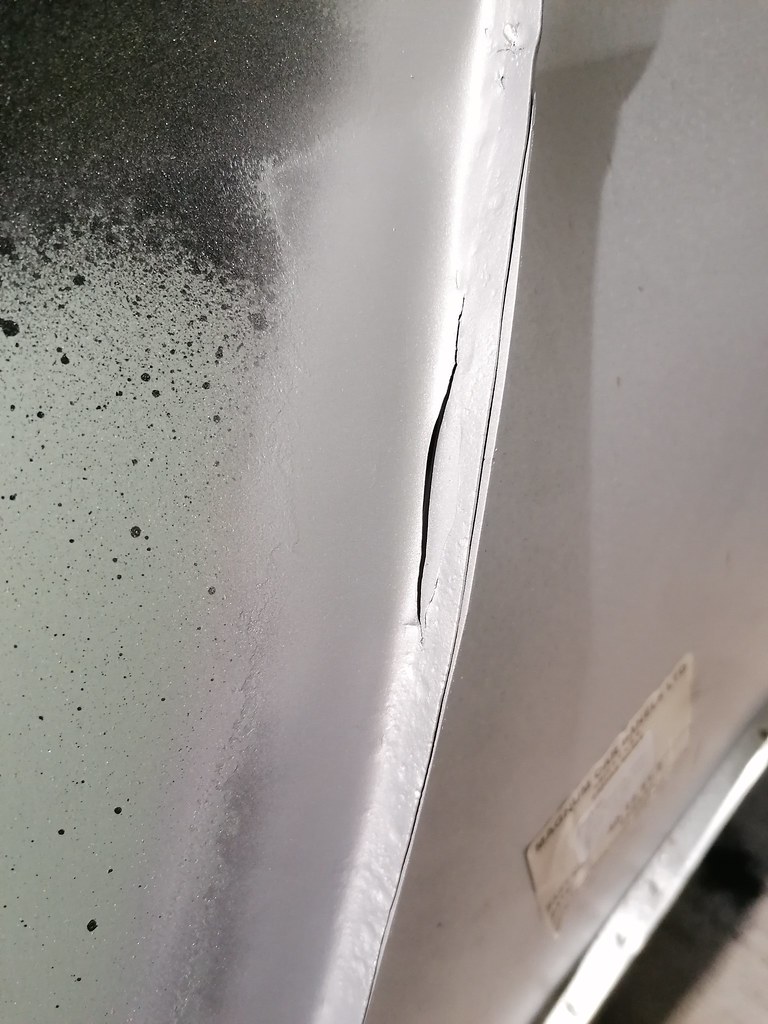
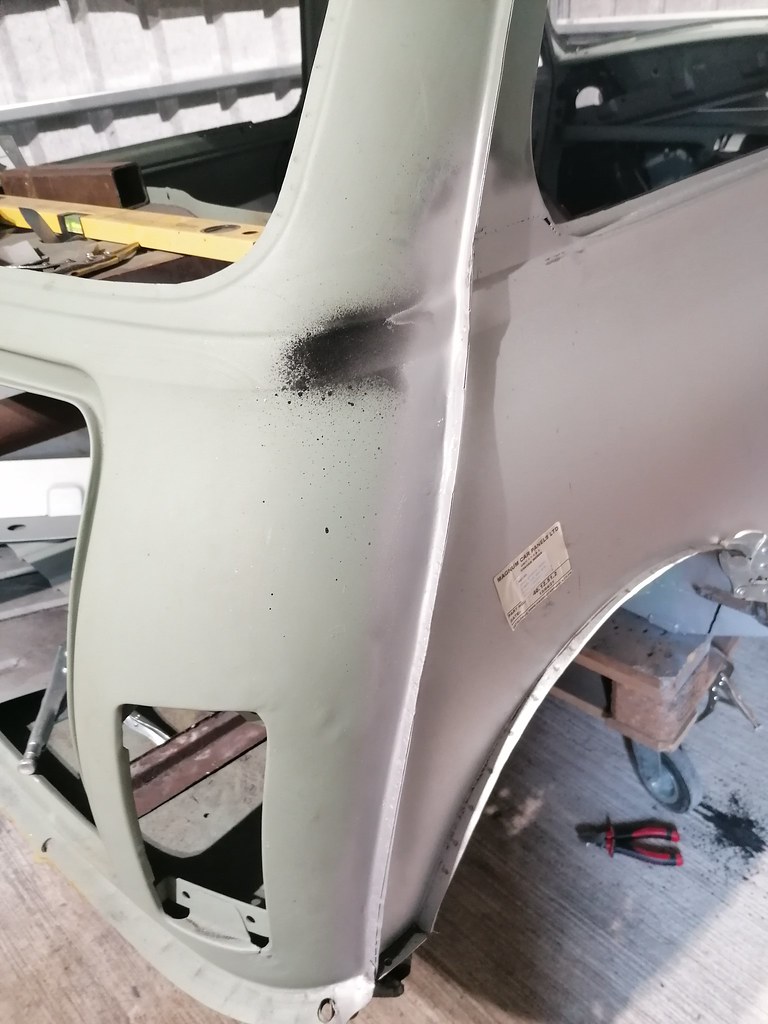
Cut as little as possible out and welded in patch, took it real slow with the grinding to get it to blend as much as possible.
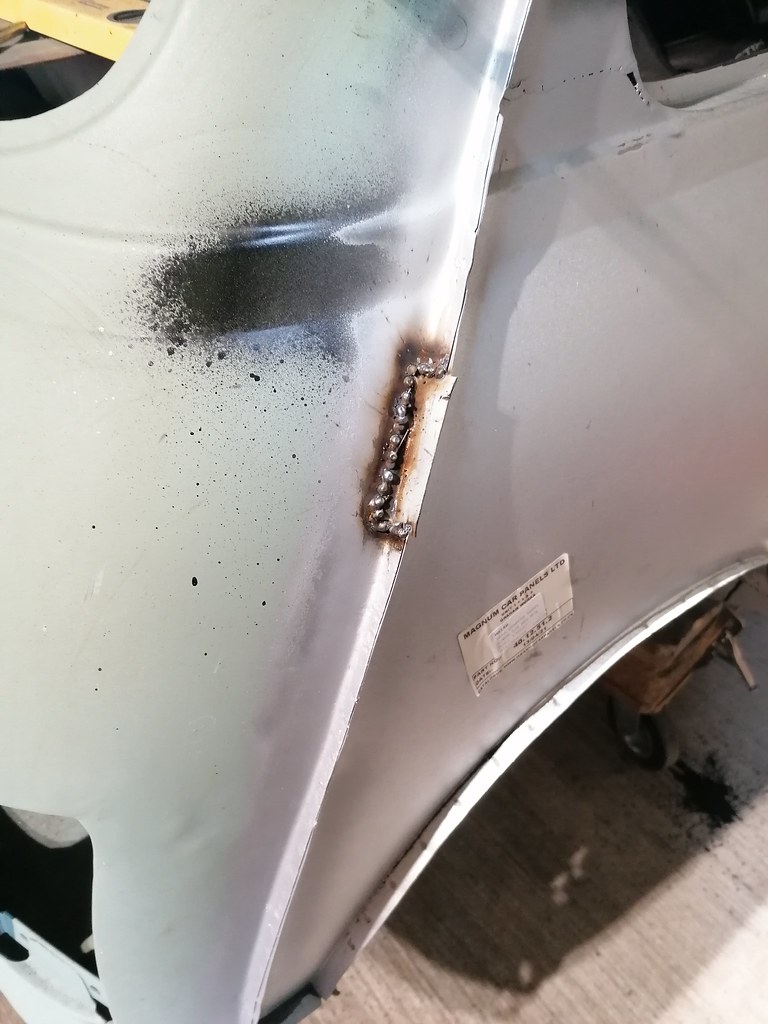
Zinc primed to protect it...
#225

Posted 05 June 2022 - 04:57 PM
Finished off welding the drivers side rear quarter panel, this now just needs a skim of filler to blend in the joint.
Cut out a small section of rust on the bulkhead seam, new piece welded in.

Also made a small section for the inner A-post panel with the hole for the door strap that was chopped out by accident.

Prepped all the mating surfaces for the inner wing, all cleaned and weld-thru primer on.
Should be able to get most of the inner wing done with longer arms on spot welder, just around the dash shelf and along the toe-board/floor will need plug welding!
2 user(s) are reading this topic
0 members, 2 guests, 0 anonymous users


