1983 Mini City
#181
Posted 01 March 2022 - 09:07 PM
I wonder how long before I find the original one....
#182
Posted 04 March 2022 - 04:56 PM
#183
Posted 06 March 2022 - 04:43 PM
Started clearing out the shell ready for welding...
#184
Posted 06 March 2022 - 08:10 PM
I like very much the colour! I will have a chat with you when the time comes to do my engine...
Victor.
#185
Posted 17 March 2022 - 10:57 AM
#186
Posted 18 March 2022 - 08:37 PM
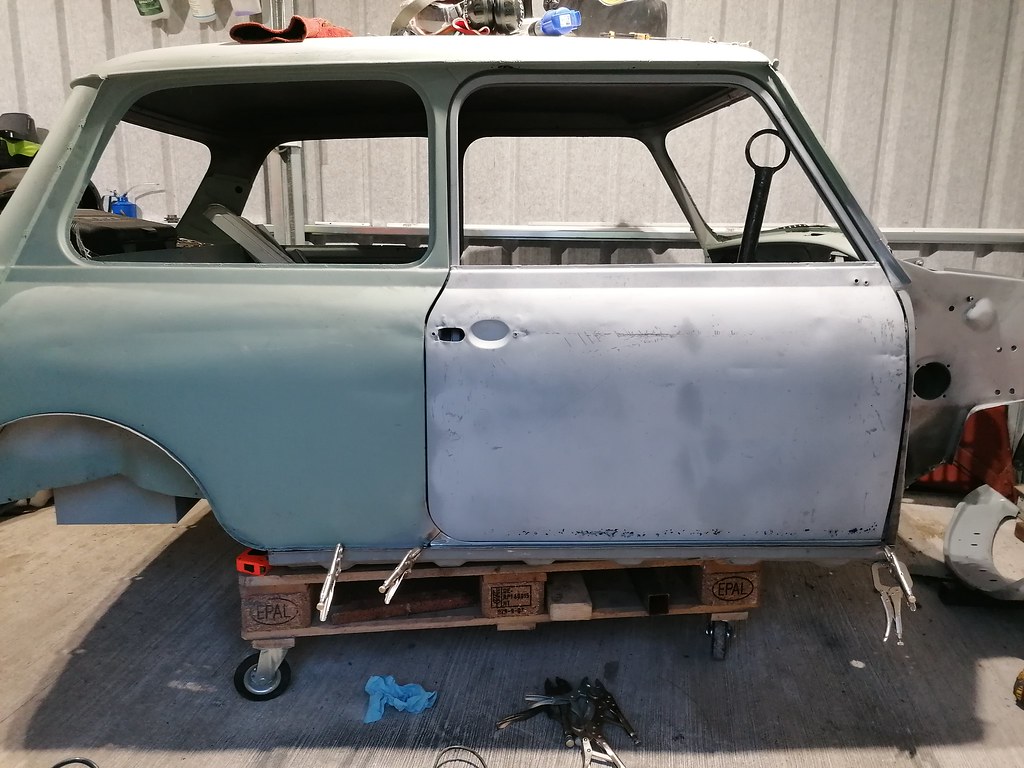
Tried door back on to check clearance, all seems fine. Was a bit tight at A-post but noticed a big gap at the top so enlongated the hinge holes slightly to all a bit more clearance amd close the top gap.
The liner in the welder is catching the wire so the feed is inconsistant, so I'll need to order a new one before doing any more welding.
#187
Posted 05 April 2022 - 07:58 PM
Got on the lathe on my lunch break, this is attempt number 2...it's pretty much spot on. 1st attempt I turned it around once I had the smaller diameter side done, this put it slightly out-of-line, around .25mm, so tried again, machining it all and keeping everything in the same axis.
I wonder how long before I find the original one....
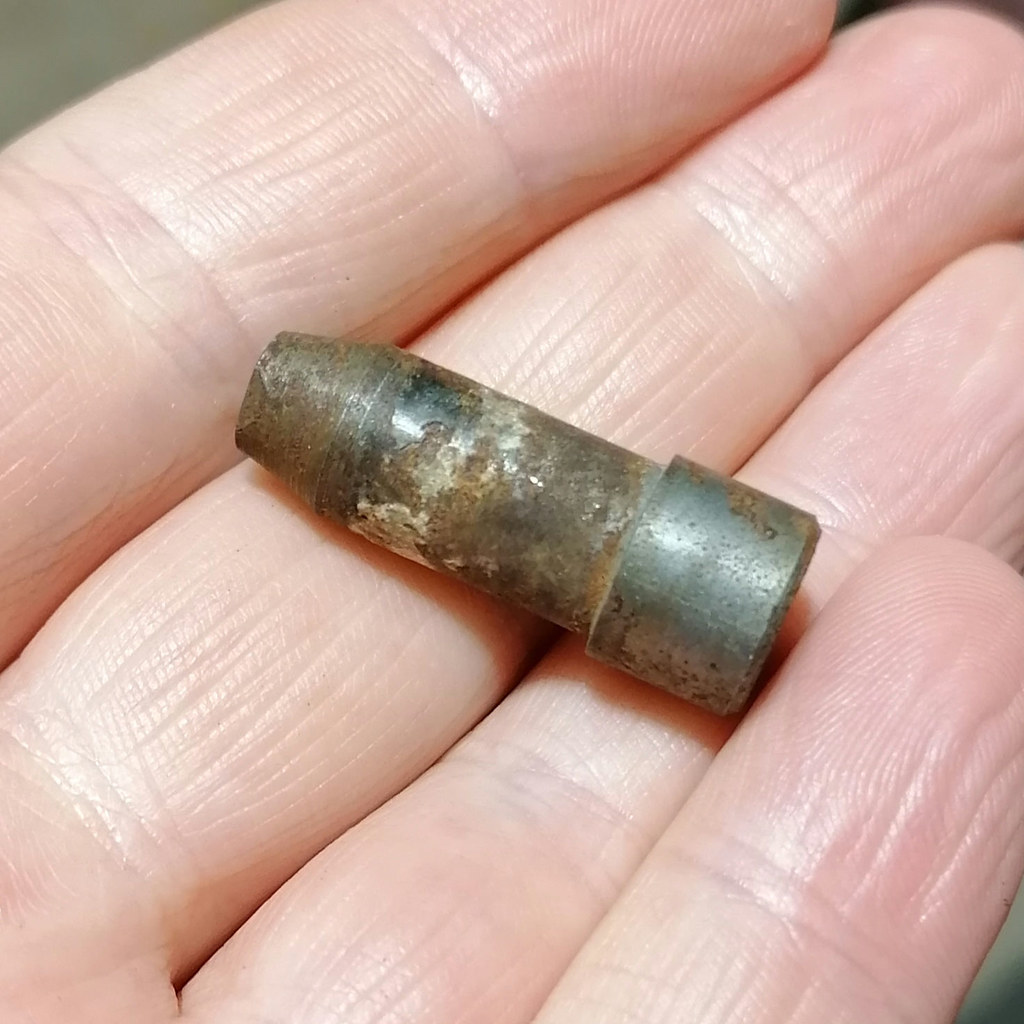
Well, well, well, look who decided to show up...
Hiding in a box full of random bits n pieces..
#188
Posted 10 April 2022 - 04:14 PM
#189
Posted 11 April 2022 - 02:11 PM
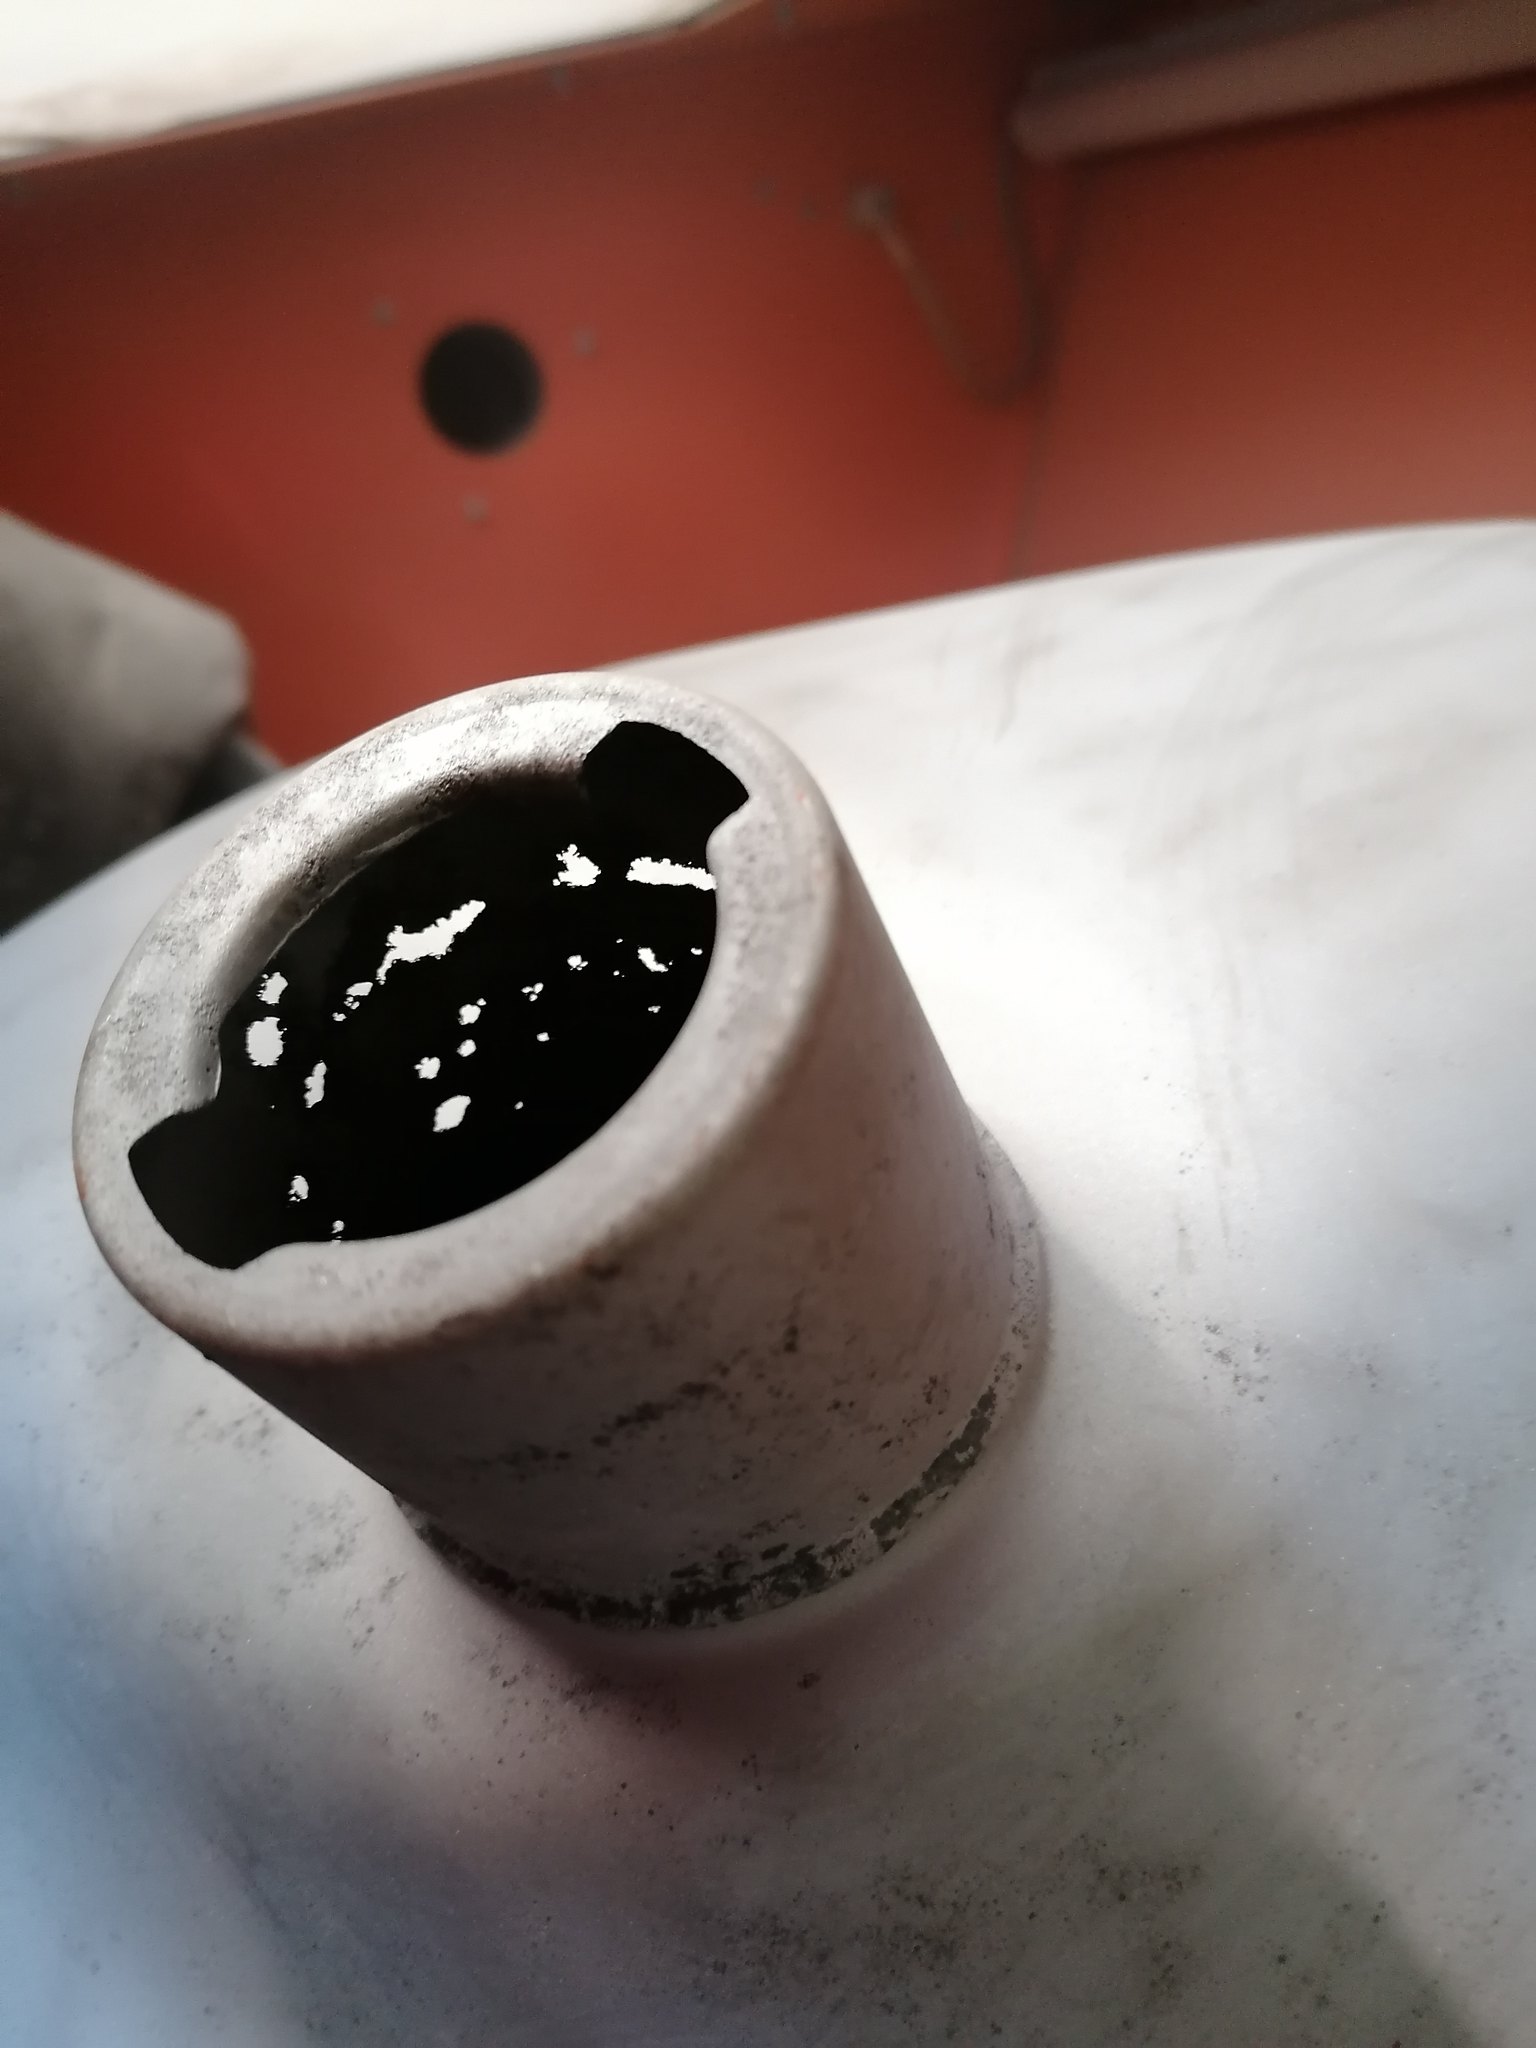
Sandblasted the fuel tank, gonna need to repair the neck, a bit holey....
#190
Posted 15 April 2022 - 06:44 PM
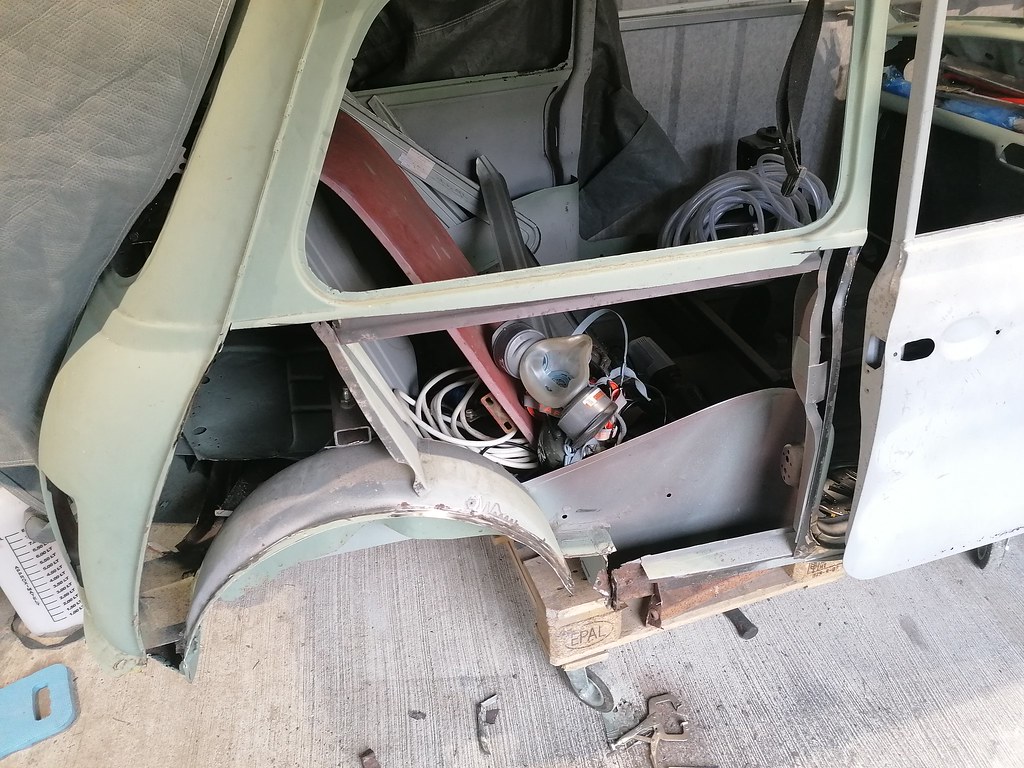
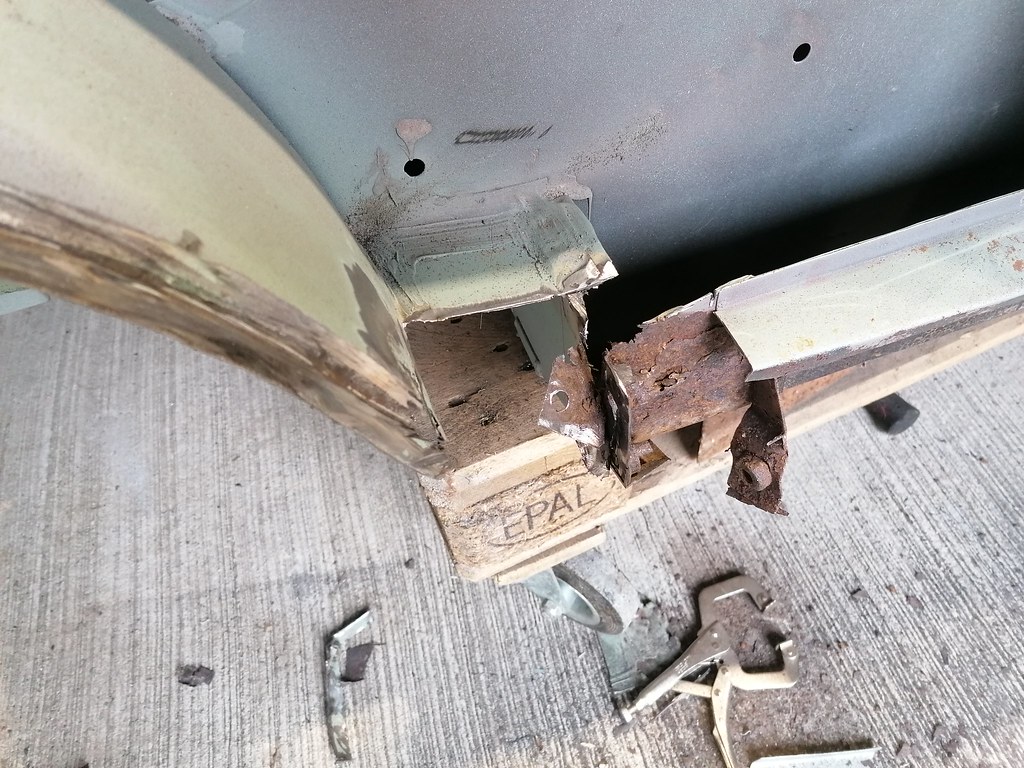
Both bolts had snapped on the driverside heel board, way back when the subframe came off the car, and no amount of heat would budge them.
The stiffner bracket was almost corroded away to nothing, as was the end of the wheel arch closing panel and the rear bin closing plate, reinforcing bracket and the top of the inner sill were both very rusty.
There was also a hole in the front of the wheel arch.
Got the wheel arch filler piece made up and welded in place,
I also made a repair patch for the rear bulkhead as it had rusted where it joins to the waist rail, made a small repair piece for the waist rail too..
I have the end of the heel board repair made, just need to make an inner support bracket with some nuts welded on, but I'll offer up subframe to mark the correct position for them.
Overall I'm happy enough with what I got done, even though it was only 3 or 4 small patches that actually got finished.
Wasn't getting too much hassle from the welder, new liner seems to be much smoother, plus seems more secure in the holder at the feed end.
#191
Posted 16 April 2022 - 06:48 AM
Hi Colin, this is very interesting for my own build. May I ask how you managed to remove the quarter panel, especially around the wheel arch?
Thanks.
Victor
#192
Posted 16 April 2022 - 09:12 AM
I used a 1mm cutting disc to open it along the lip, then a flap disc to grind the lip of the quarter panel off. This takes a lot of time and makes a lot of dust, but leaves a nice clean panel
You have to be careful going around the arch lip as its easy to cut into the arch (I had to weld a small cut, oops!)
#193
Posted 16 April 2022 - 09:14 AM
Cheers mate, that makes sense. Is there anything easy to do on these cars???
#194
Posted 16 April 2022 - 10:38 AM
Is there anything easy to do on these cars???
Yes...spending money!
#195
Posted 17 April 2022 - 04:51 PM
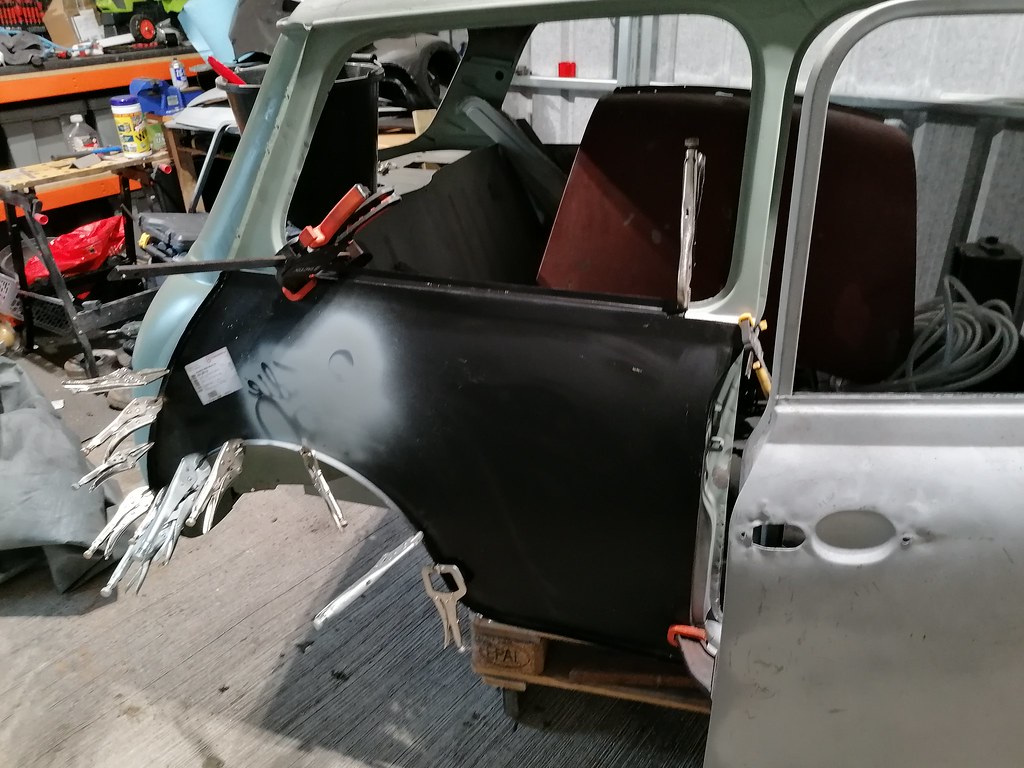
Offered up the panel then cut a bit more of the old panel to let it sit in a bit better. Its a pattern part so its gonna take a bit of work to get it fitting and looking correct.
Welded on the heel board patch, and the inner sill upper section. I measured the passenger side to get it in the correct location. Also clamped on the outer sill to make sure the bottom of the quarter panel and the repair piece are all lined up.
With the quarter panel in place I made a cardboard template for the rear bin closing panel, but called it a day.
2 user(s) are reading this topic
0 members, 2 guests, 0 anonymous users