1983 Mini City
#166

Posted 01 January 2022 - 06:46 PM
Layshaft is around 0.003" so that's fine too.
Disassembled the diff, replaced old cross pin with new upgraded version,new fibre washers on either side also.
Went to reassemble everything onto the gearbox and turns out I don't have any gaskets 🤦🏻♂️
I had a set in my cart on minispares but I think I swapped it out with the upgraded green&black gasket kit and didn't think to add the extra gaskets for diff/Speedo drive housing.
Will order these soon, but as usual there will be something else that I need once that order has been processed!
#167

Posted 03 January 2022 - 07:17 PM
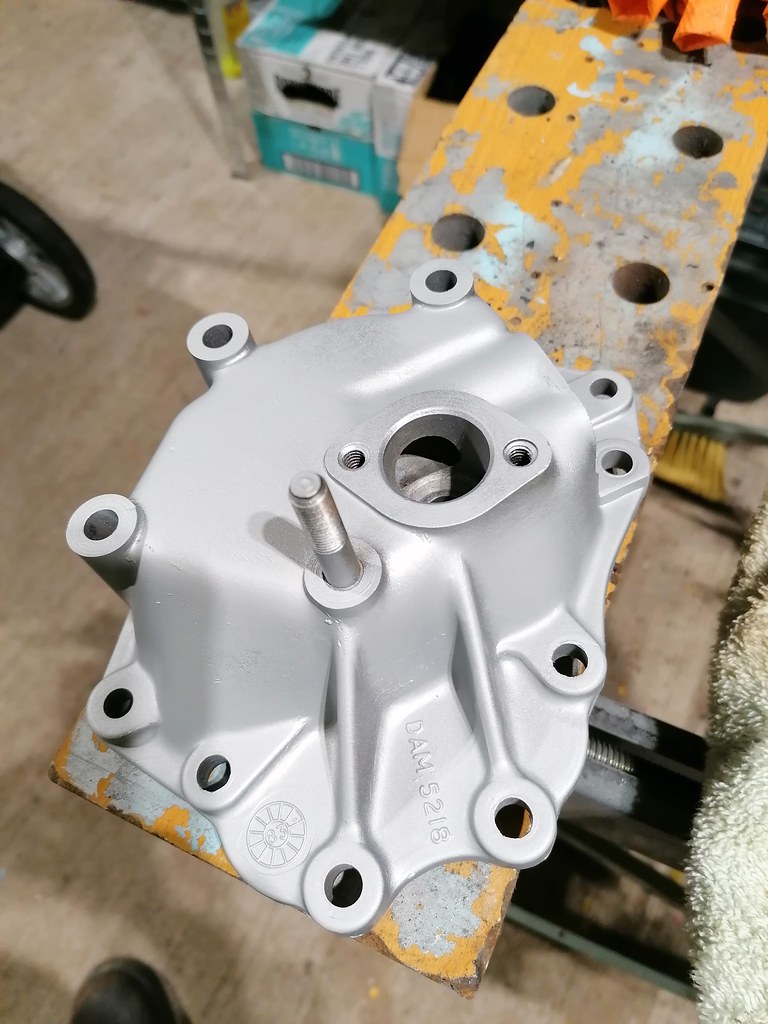
Started cleaning a piston, some rings snapped when taking them off. Lots of gunk in the oil control ring. Took out the gudgeon pin for inspection, all good
One complete piston ring set installed, new con rod bearings also, only 3 more to go...
#168

Posted 03 January 2022 - 08:19 PM
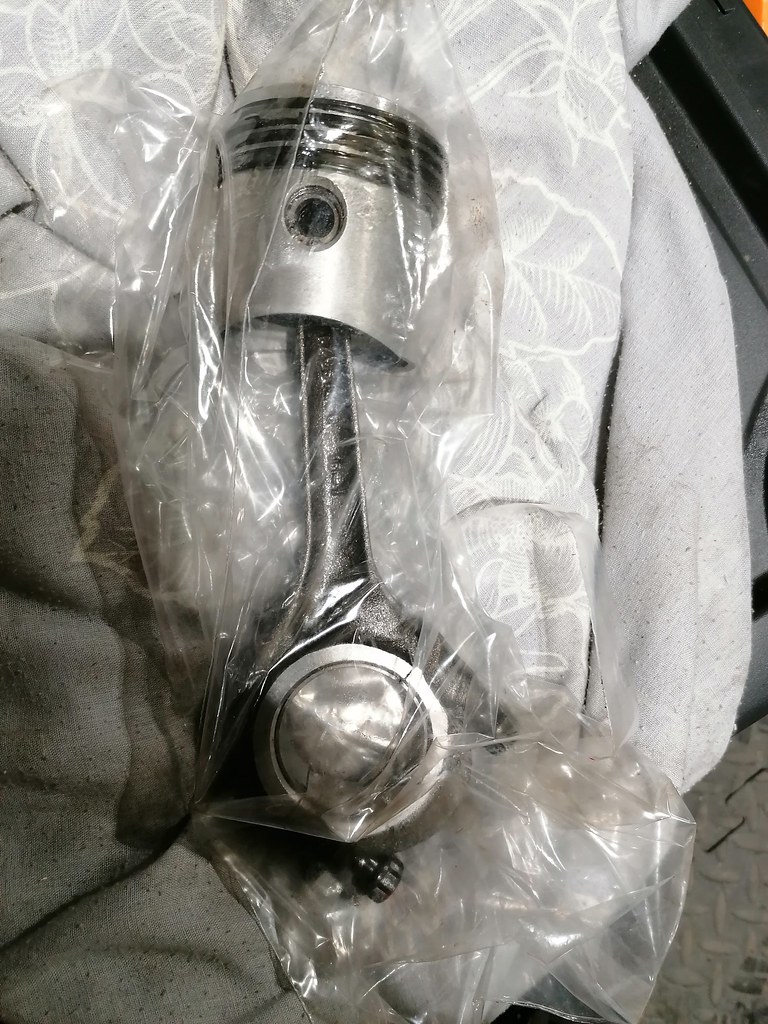
The cover looks really smart with the fresh paint ![]()
#169

Posted 20 January 2022 - 11:17 PM
Crank is back in with just over 0.002" end float, pistons have started to go back in too, until I came across an issue tonight.
Had assumed the "A" stamp on the piston top wash to show front, but after installing 1 & 4, I noticed an "A" stamp on the engine block...but to the rear..
I have no reference pictures to look back on as the piston tops had heavy carbon build-up..
Red circles show stamps...

Not sure what to do, as there will be 1 odd one if I put all "A" marks to the rear as the piston tops also have the word front and some numbers, so number 4 will have stamp to rear but "front" will be upside down if viewed from front of engine...
#170

Posted 21 January 2022 - 04:53 PM
I believe that the mark 'A' is a factory reference only. It guides the workers to fit 'A' sized pistons to 'A' bored blocks.
You should read "FRONT" as you looking to the engine from the front. No. 3 piston is correct on your picture.
#171

Posted 22 January 2022 - 05:49 PM
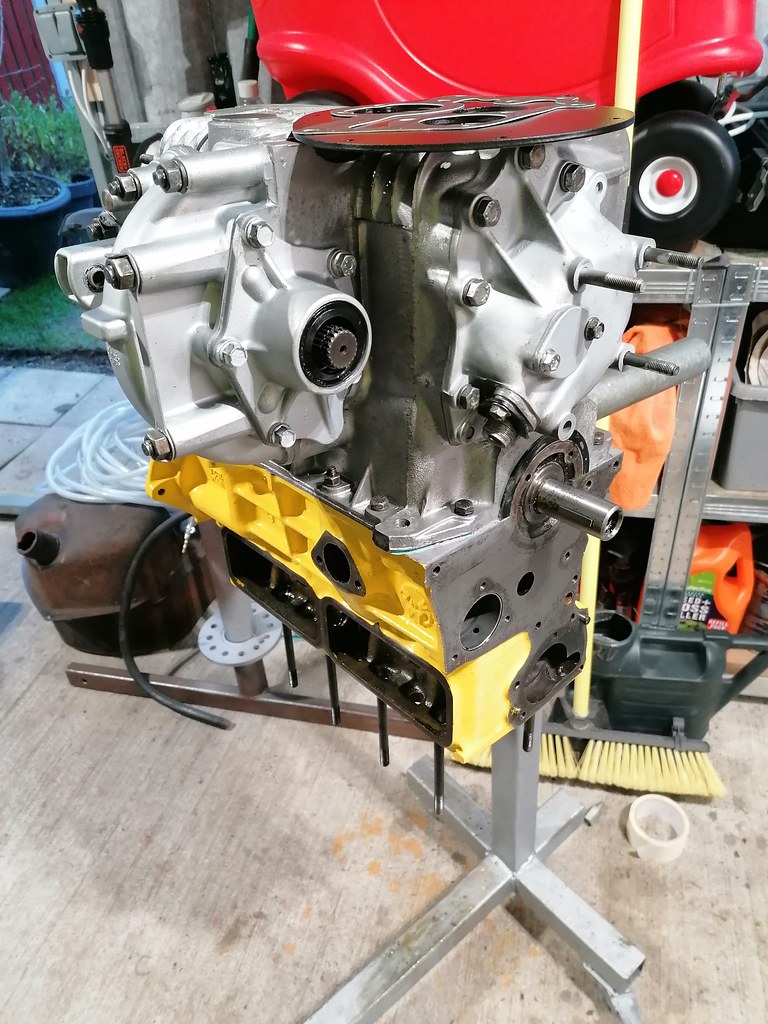
Have end plate ready to go on, just need to finish cleaning all bolts for that.
All new gaskets, new Speedo drive oil seal, half moon seal and gearbox o ring, diff output seals.
Planning on giving all alloy parts a final paint once clutch housing/wok is on just to get all nuts and bolts painted too.
#172

Posted 22 January 2022 - 06:24 PM
Looking good! ![]()
#173

Posted 22 January 2022 - 11:08 PM
#174

Posted 05 February 2022 - 08:12 PM
A bit of touching up to do on the paint then they can be put back in the storage boxes ready for the rebuild.
Hopefully get the rest of the engine built up so I can put that to one side and get back onto the bodywork!
#175

Posted 05 February 2022 - 08:44 PM
I really should have read the instructions for fitting the duplex timing chain... freshly painted front plate needs countersinking and freshly powder coated timing cover needs a bump bashing out of it...♂
Also check the chain clears the circular baffle plate around the timing cover breather hole - mine just touched it.
#176

Posted 19 February 2022 - 08:04 PM
 [/url]
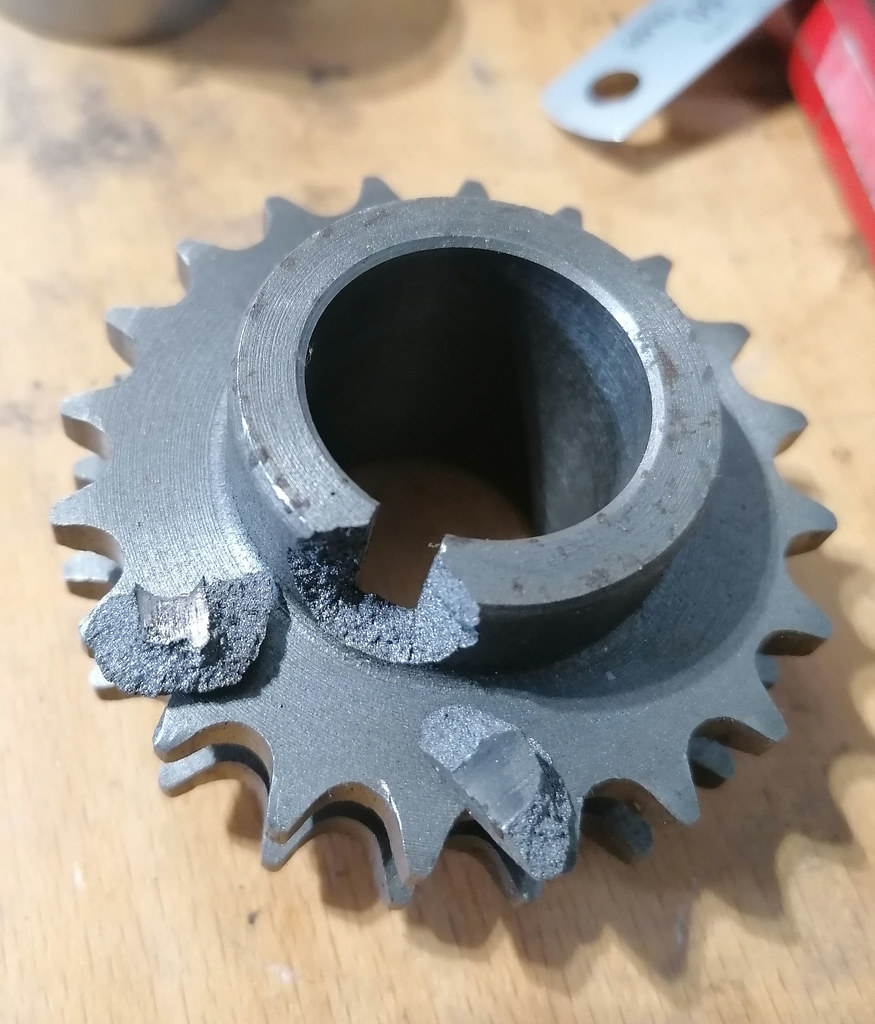
Got a couple of parts cleaned and primed after soaking in a mild acid bath for a few days to remove the rust, then my Dad slipped on the snow and broke his leg in 2 places! To top it all off my son was extremely cranky due to teething, so all in all not a great day 🤣🤣
#177

Posted 19 February 2022 - 10:13 PM
Oh dear! breaking bad! Hope things improve.
#179

Posted 24 February 2022 - 09:01 PM

I'm going to use some blueback to see how much clearance there is with everything dry fitted, hopefully I won't need to tighten the flywheel that I'll need to use the puller on it to get it off...
#180

Posted 26 February 2022 - 09:36 PM
Searched everywhere in my shed, pulled out benches and boxes but it's nowhere to be seen.
I have the one that goes on the inner near the crank, so I'll measure that up and hopefully turn one up on the lathe at work...
1 user(s) are reading this topic
0 members, 1 guests, 0 anonymous users


