 Kreacher-at-Gemstone.jpg 56.91K
16 downloads
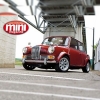
I'll post this pic for attention, and put up some build photos later. I've had it finished for about a year and taking it to lots of shows and generally enjoying it.
Posted 06 January 2020 - 07:49 PM
 Kreacher-at-Gemstone.jpg 56.91K
16 downloads
I'll post this pic for attention, and put up some build photos later. I've had it finished for about a year and taking it to lots of shows and generally enjoying it.
Posted 17 January 2020 - 11:30 PM
Posted 13 September 2020 - 05:20 AM
Posted 06 October 2020 - 05:31 PM




Edited by Red Riley, 06 October 2020 - 06:45 PM.
Posted 06 October 2020 - 06:00 PM
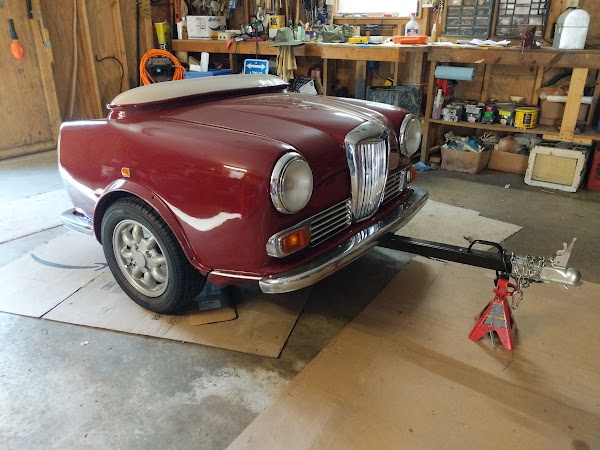
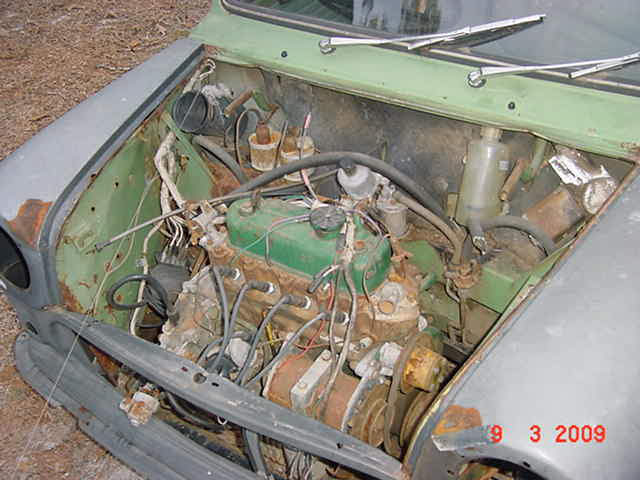
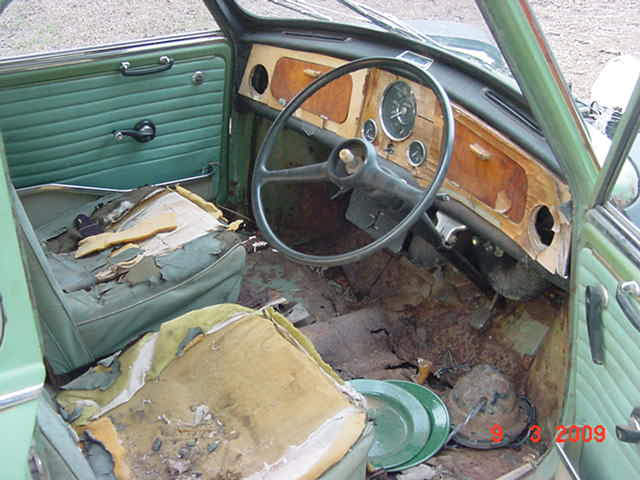
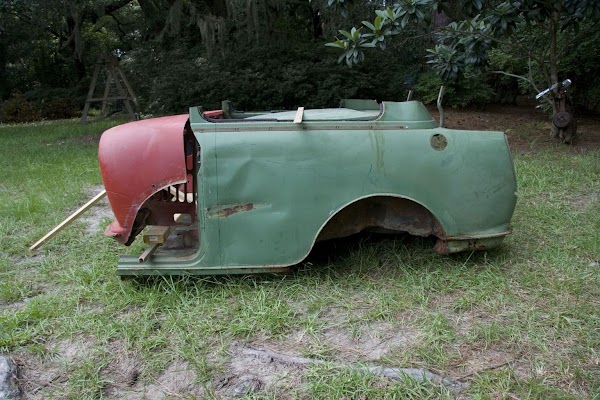
Once Eric took the sawzall to the little green guy, and rescued what parts could go to help resurrect some other cars. I got down to evaluating what I had to work with.




Edited by Red Riley, 06 October 2020 - 06:42 PM.
Posted 06 October 2020 - 06:50 PM
I stripped everything off that I could and started figuring out where to start. I decided that the bonnet would attach to the rear bulkhead, so that's my first reference point. Not sure at this point how much of this old front clip I can use, but it's a start. It's definitely going to have to be moved back, so the door frames will be going. I thought I could use this little utility trailer for a frame, but it's way too high in the air. But it's a good starting point and the overall dimensions work for tongue length and wheel center. So after cutting off some more metal, I've got the basic layout that I'll be working with.




Posted 06 October 2020 - 06:58 PM
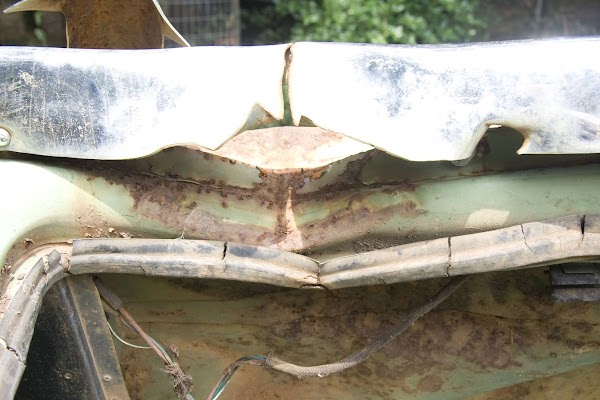
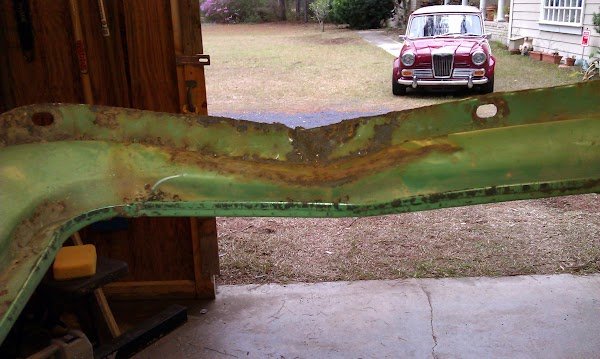
I needed to get this huge dent straightened out, and absolutely no chance of getting a repair panel for this section on an Elf, so I put some pressure on it to see how far I could get it, and maybe save some of the boot floor. No way I was going to get the floor straight, so might as well cut it out along with what was left of the rotten valance. Now I could get somewhere with un-bending the boot lip.




Posted 06 October 2020 - 07:06 PM
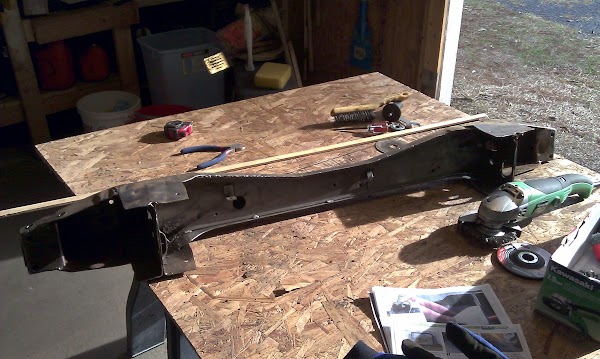
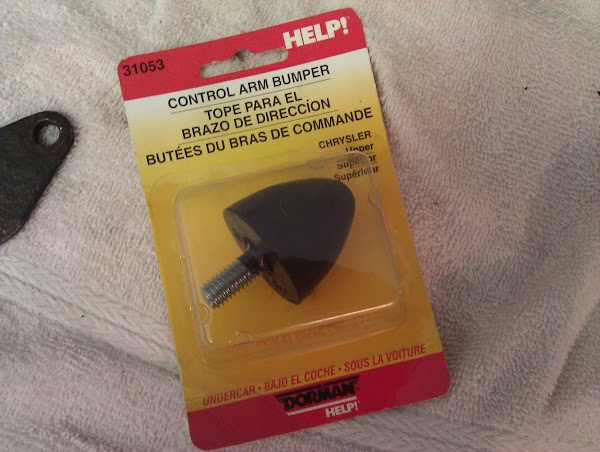
Next on the list was getting a frame figured out to get the trailer down closer to the ground. I had seen an article in Mini magazine by Keith Calver on making a beam axle out of a rear subframe, so I thought I'd go in that direction using the pretzel shaped hydrolastic subframe that came on the pigpen Elf. Started by cutting off the bent crosspiece, then cutting off the rest to get it down to just the front beam. Then cleaned it up and seam welded the places where it was two layers of metal. I added some gussets and also welded some short pieces of pipe through two holes along the length of the beam to add two extra mounting points. I stripped all of the brake parts off of the radius arms, then made a couple of backing plate spacers to take the place of the now missing drums. I had the arms rebuilt with a fresh set of shafts and bushings, and had the stub axles swapped out with a set for dry cone suspension Minis, since I was going to need the shock mounts which the hydrolastic arms don't have. Fresh paint and like new. I also modified the existing bump stops with a set of control arm bumpers to make them functional.






Posted 07 October 2020 - 01:45 PM
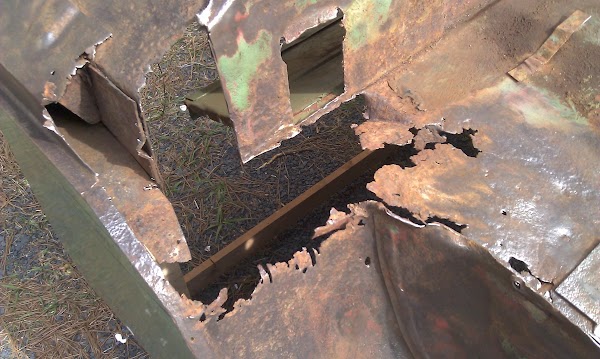
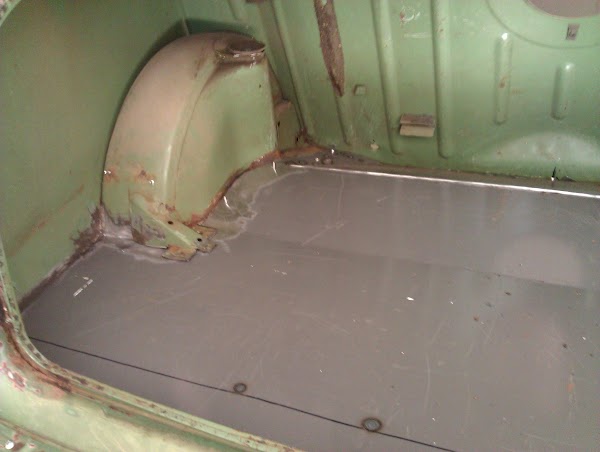
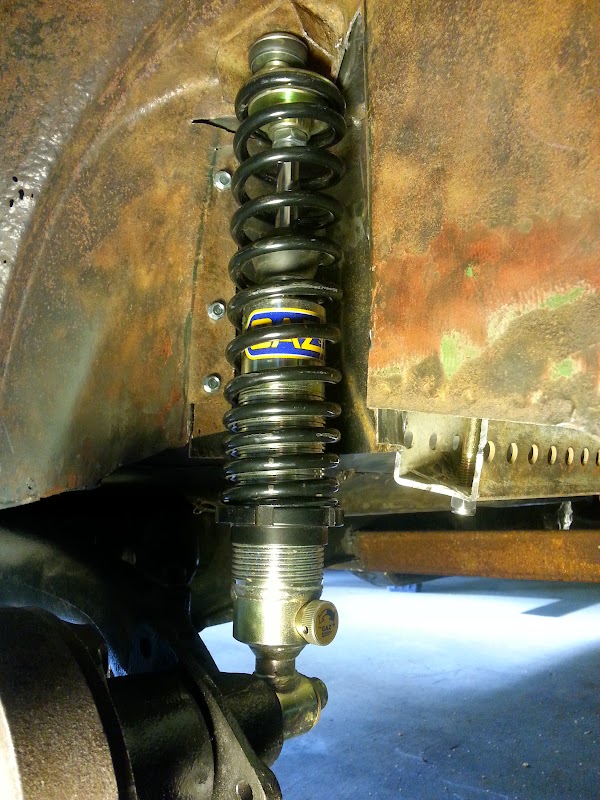
Now I needed a place to attach the new beam axle to. Unfortunately the ends of the heel board, along with most of the surrounding metal, were MIA. I ordered a pair of patch panels. They were the wrong ones. I think these were made for a van. Oh, well, I can make it work. I just started welding patches in until I had enough metal to weld the heel board ends in. This was pretty much my first welding ever, and I was using an old borrowed flux-core MIG welder, so I was learning as I went. Hey, you gotta start somewhere. I knocked up a pair of temporary shocks and got it on its new set of old 12 inch Minilite wheels. I think I got the ride height pretty much where I want it.



Posted 07 October 2020 - 01:55 PM




Posted 07 October 2020 - 06:27 PM
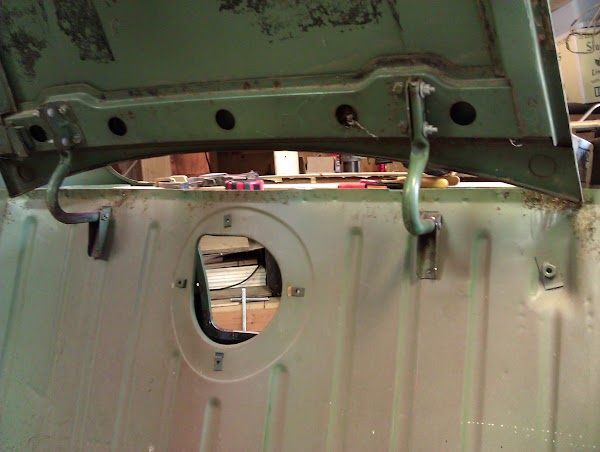
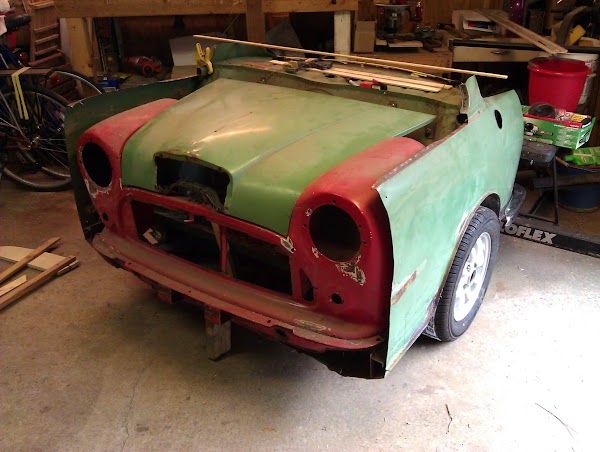
After many hours of precise measurements and a few best guesses, I got a pretty good idea of where the bonnet needed to sit, and mounted the hinges to the bulkhead. I had found a full set of usable front wings, and trimmed the front clip down to just the grill panel and valance. Then it was lots of trial and error to get the jigsaw puzzle more or less where it needed to be. I had to trim the lip of of the wings, since they needed to blend into the rear quarters. There was lots of sitting and thinking before I took a deep breath and starting cutting into the quarter panels. I needed to blend the mostly flat rear into the round front, while at the same time filling in the area where the front wheel well used to be. I finally settled on a diagonal and curved cut going from above the rear arch down to the front corner of the grill panel. Then lots more measuring and clamping and fitting before cutting into the wings to prepare for butt-welding.



Edited by Red Riley, 02 April 2021 - 01:13 PM.
Posted 07 October 2020 - 08:02 PM
Fantastic work!
Posted 08 October 2020 - 12:30 PM


Posted 08 October 2020 - 12:46 PM
I needed to finish the frame under this thing, so I hit the scrap pile again for a piece of 2x2 square tubing and a another piece of lightened 2x2 that the county road sign guys conveniently left next to the road. Ii took a lot of trial fitting to finally get everything at the right height and level, but the end result was to let the draw bar up into the modified subframe beam and kick up the rear crossmember. I thought about adding some diagonal trusses, but with all of the welding that I've done to the shell, I think it's going to be plenty stiff. The beam is going to be bolted on at the ends and at the two additional center points that I added, and at a few places through the floor into the crossmember. I'm never going to put a lot of weight into this thing, so I think it will be fine.


Posted 08 October 2020 - 12:54 PM
More welding up top. I turned filing cabinet parts into bracing under the wings. Then worked on fitting a Mini scuttle panel to close the gap behind the bonnet. There were some gaps at the sides, so patched those up, along with the redundant fuel filler hole.


0 members, 5 guests, 0 anonymous users